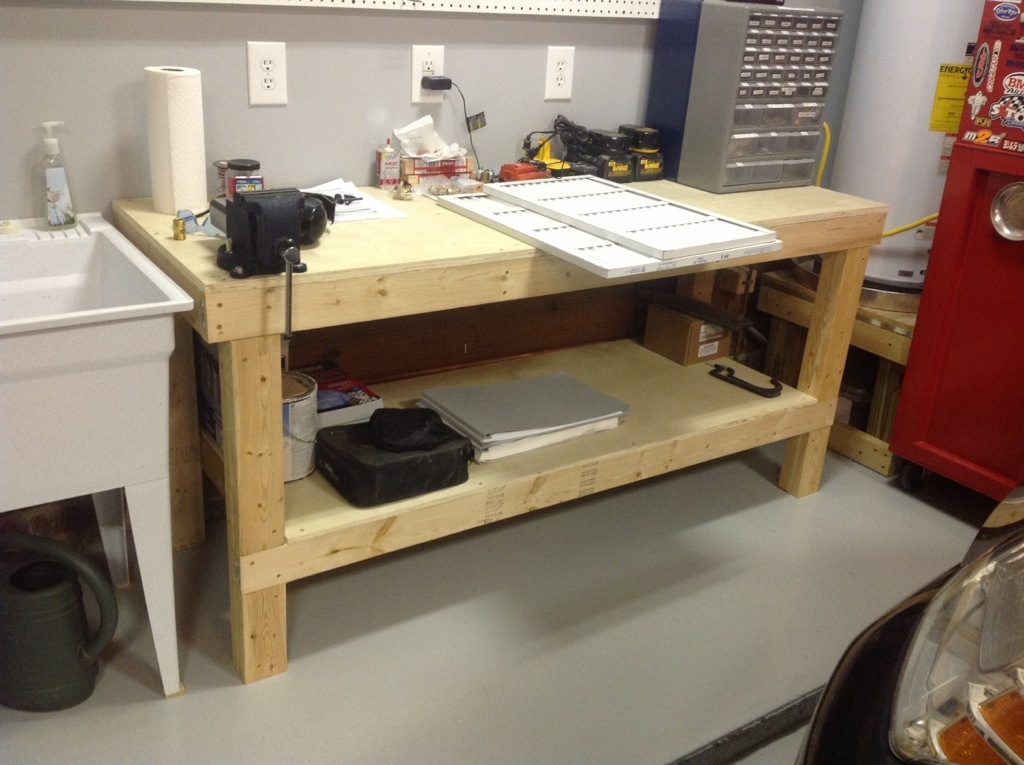
I spent very little time researching ideas for workbenches only because the EAA plans are so rock solid. I built two mobile benches for working on the plane and then a larger stationary for a traditional workbench anchored against the wall.
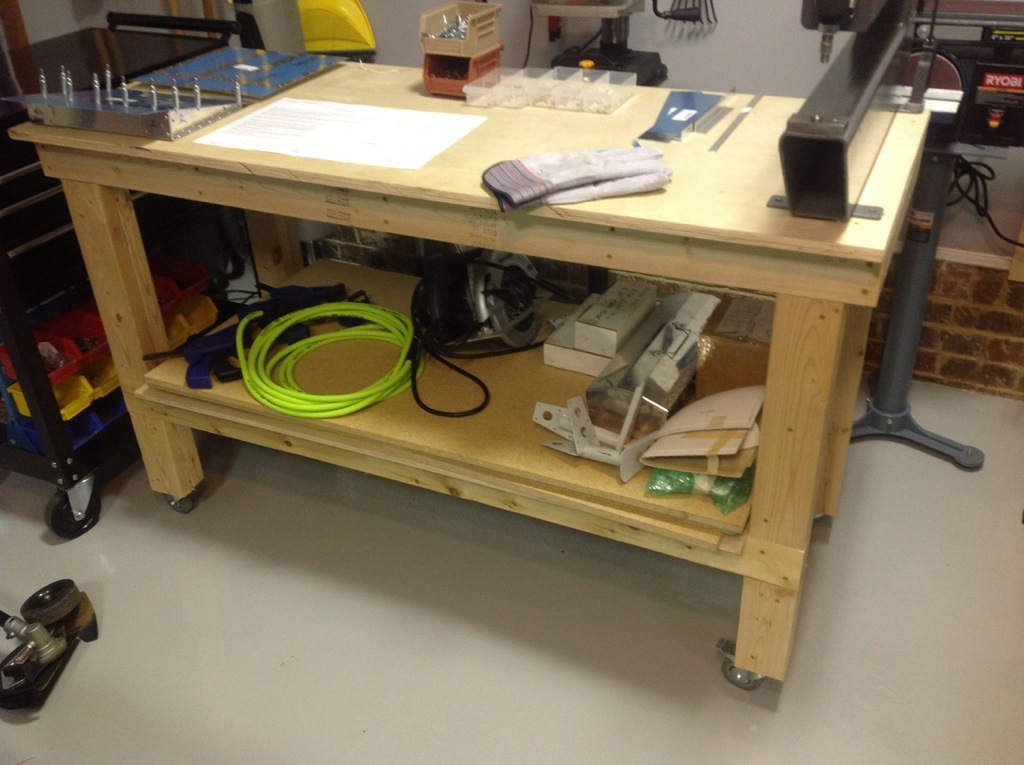
The only modification I made for the mobile benches was to add locking, swivel casters and to have the top surface hang over by two inches on one side. This allows a good surface to clamp pretty much everything you need. The casters allow me to position the benches anywhere in the garage and keep Laura happy by making room for her car!
This is a great project and super easy. A quick trip to Lowe’s Aviation Hardware and about $150 set me up for a Sunday putting everything together. This would be a great project for kids to help out with!

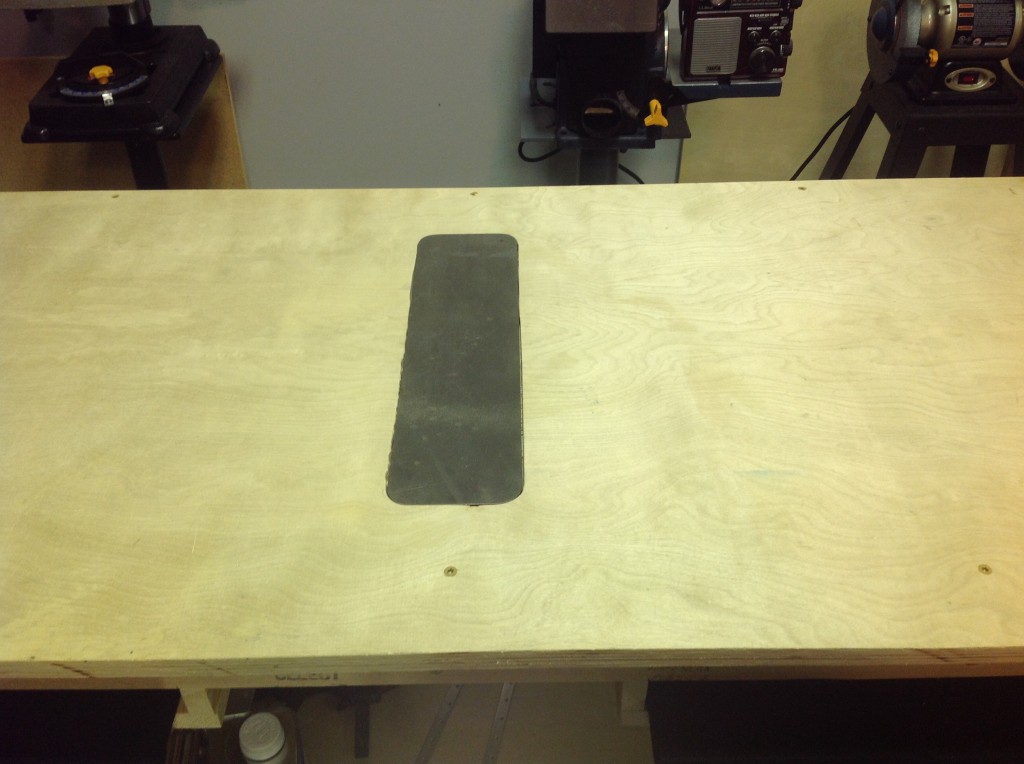
I did make a couple of improvements after using the benches. First, I used a 1/2″ straight cut router bit to cut out a recessed area for my back riveting plate. I have it so it sits flush with the surface of the bench and is centered in the bench directly above one of the cross members to help support the load of riveting. This has been a great improvement with the skins of the elevator and I’m sure other pieces to come.
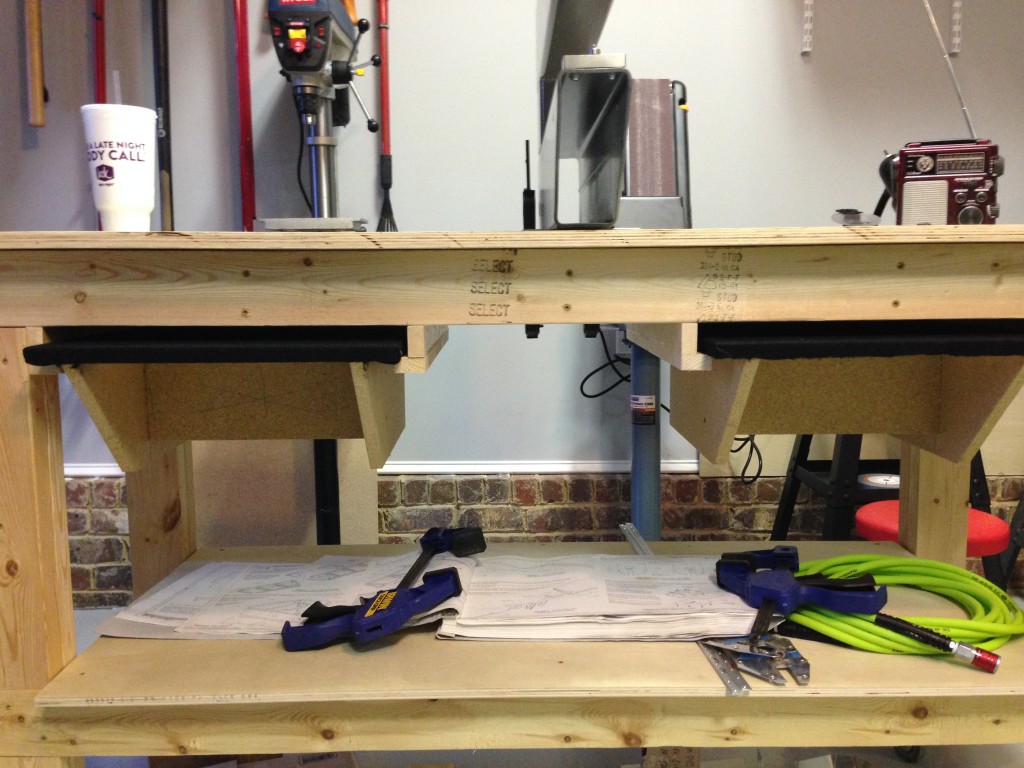
I also built two dimpler tables according to the plans that came with the DRDT2. The plans called for one table that fit over the dimpler, however, I split it in two and added a second support leg on each side so that I had two independent tables that could be moved and positioned as needed. I just used 5/8″ fiberboard from Lowe’s and glued it together, setting it with finish nails. The fabric is felt from Hobby Lobby that I applied using a spray adhesive. Be sure to wrap extra around the edges and underneath to prevent it from peeling.
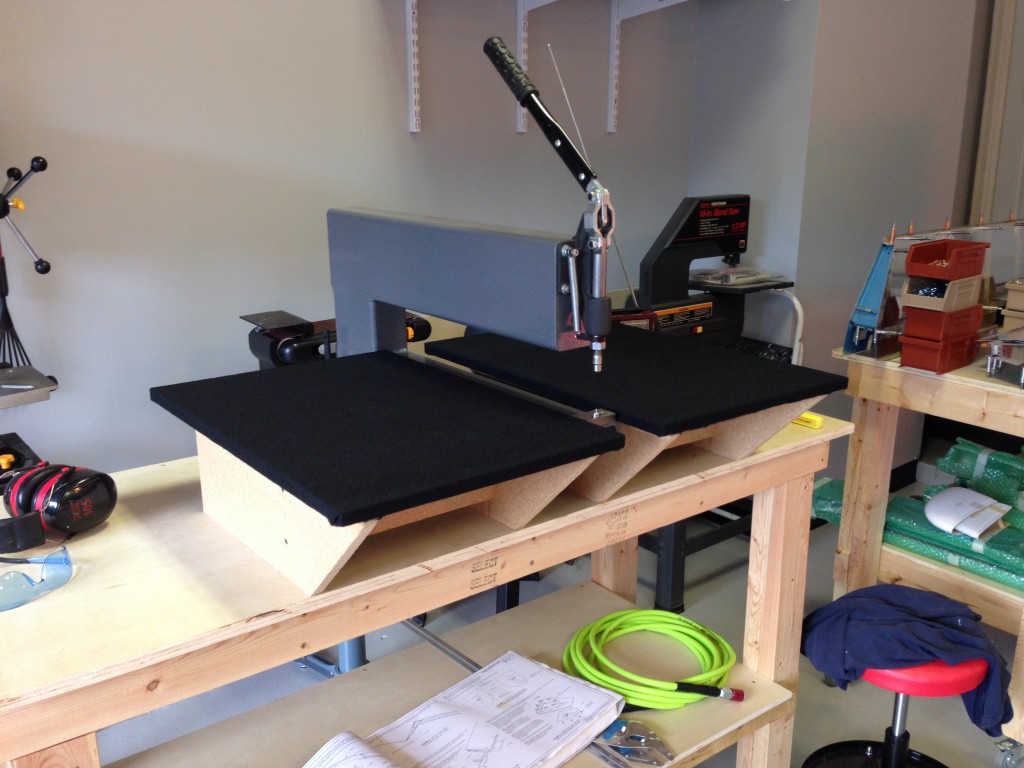
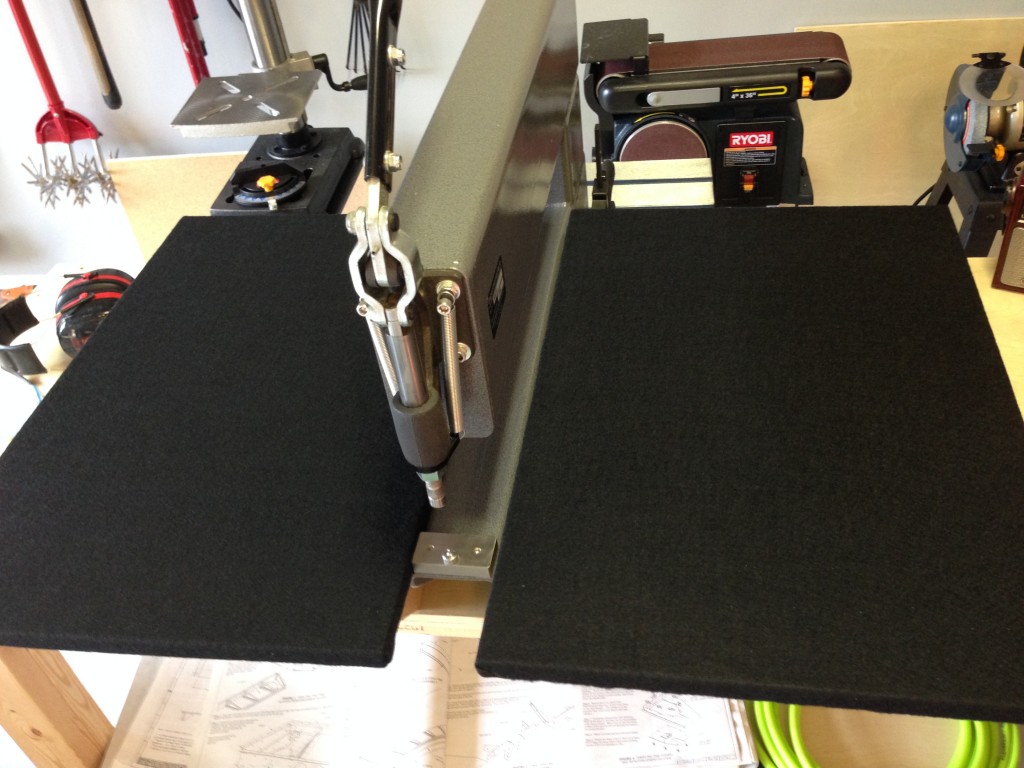
Finally, I wanted a place to store them so they weren’t always in the way when not dimpling. I also picked up a 1″x2″ and cut sections that were the width of the tables. I glued and finished nailed them to create an L bracket and made one for each side of the dimpler tables. I used a 3″ deck screw to mount them to the 2″x4″ frame underneath the table and gave about 1/2″ extra so I could slide the dimpler tables in with ease. Now they stay close but out of the way and are ready when I need them.