Anytime you have to cut a huge hole in the side of an airplane, your palms should start sweating. Mine sure did, especially since I’ve already cut two holes in the bottom of my airplane. Since the condenser duct system was cured and ready for install, I marked the exhaust cutout area got the Dremel out.
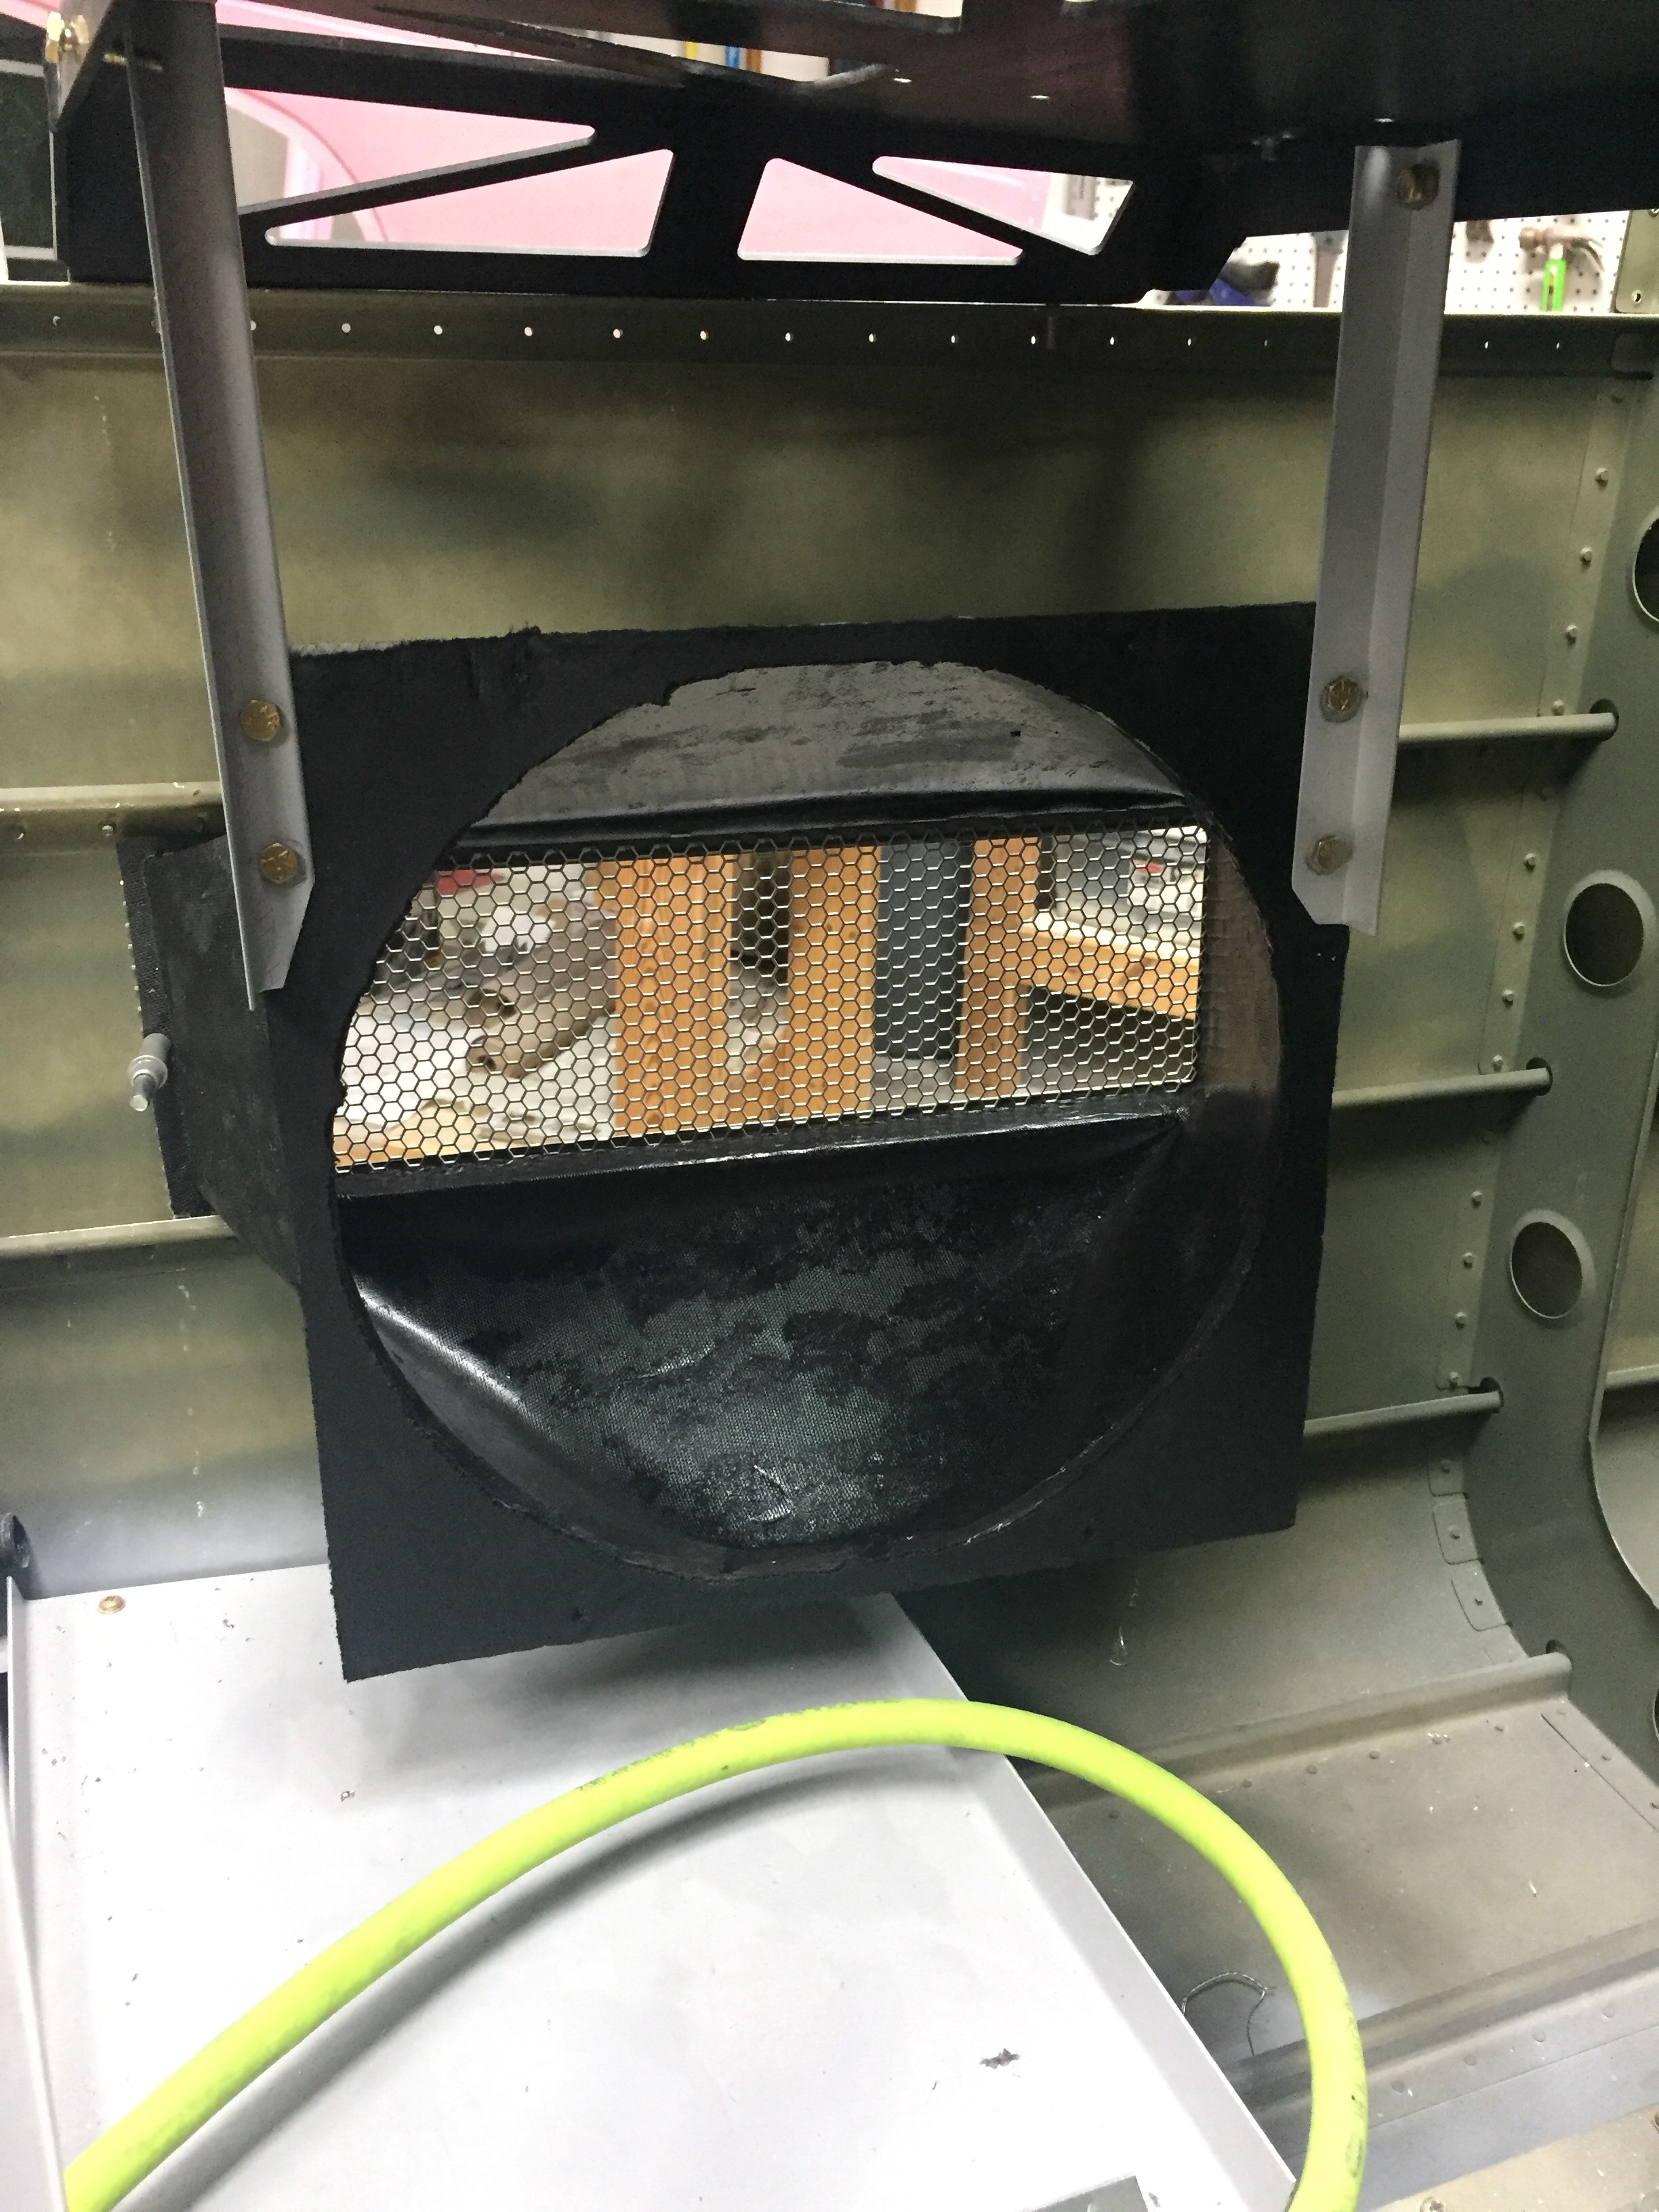
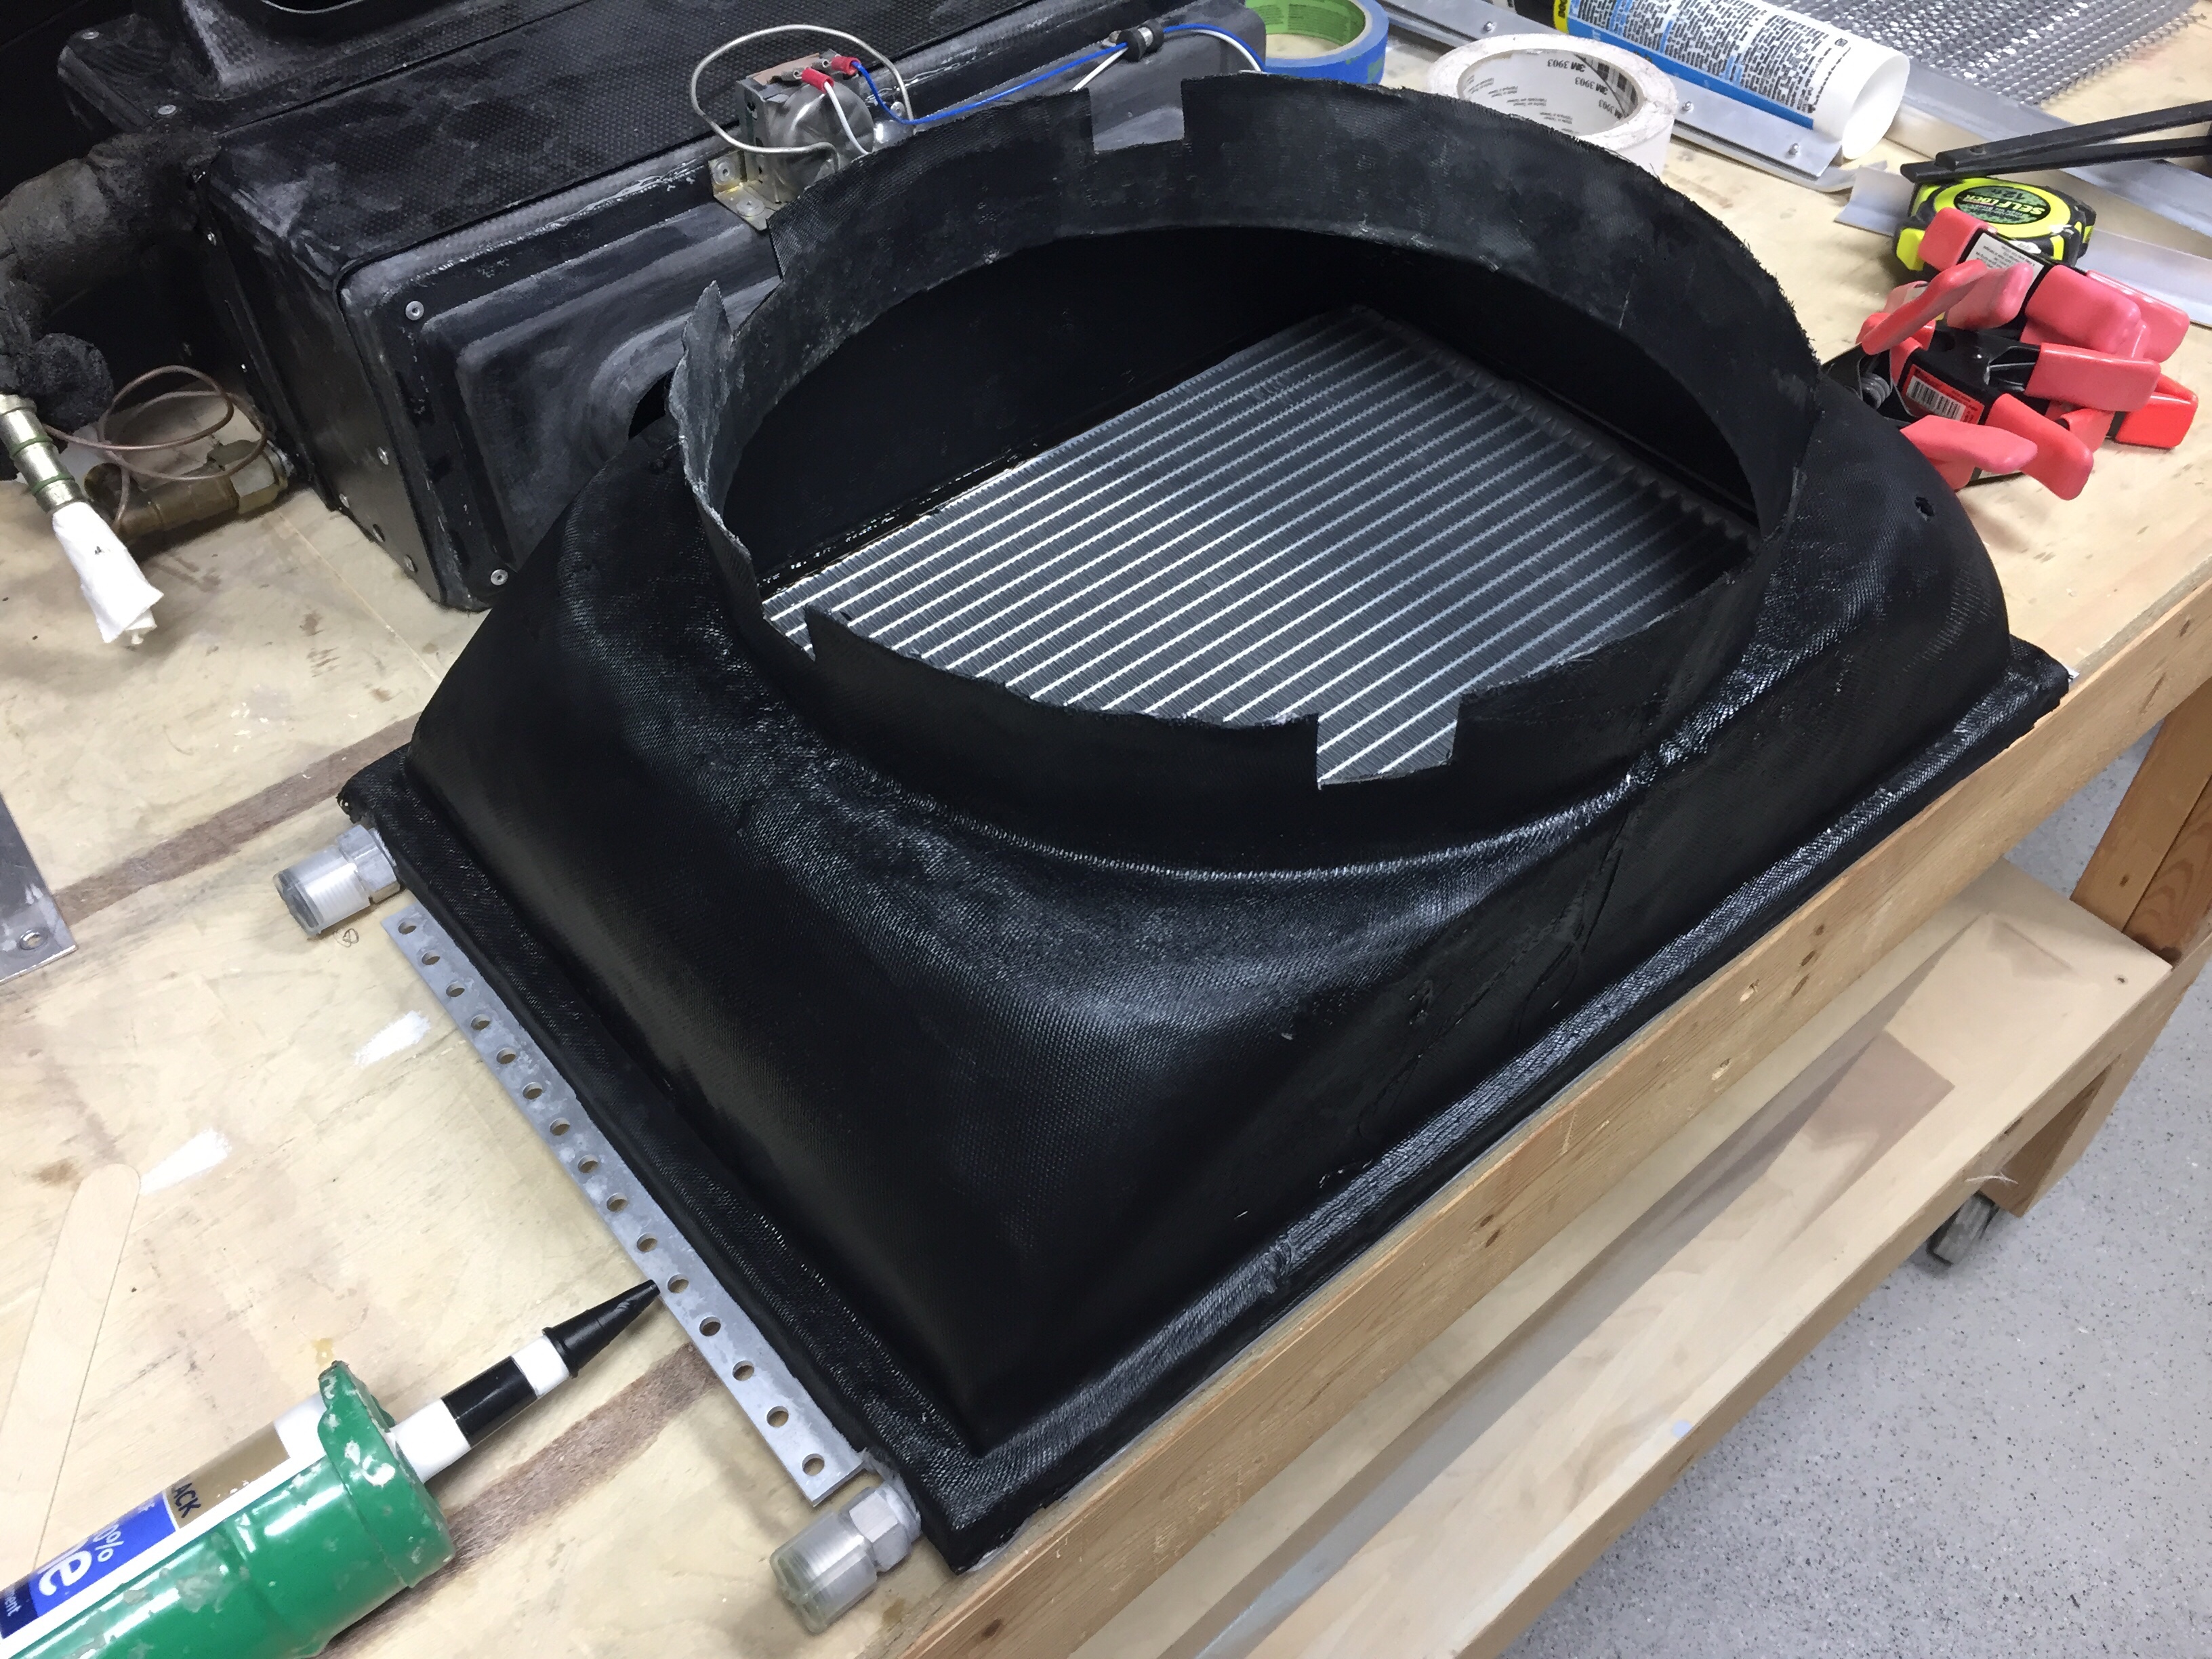
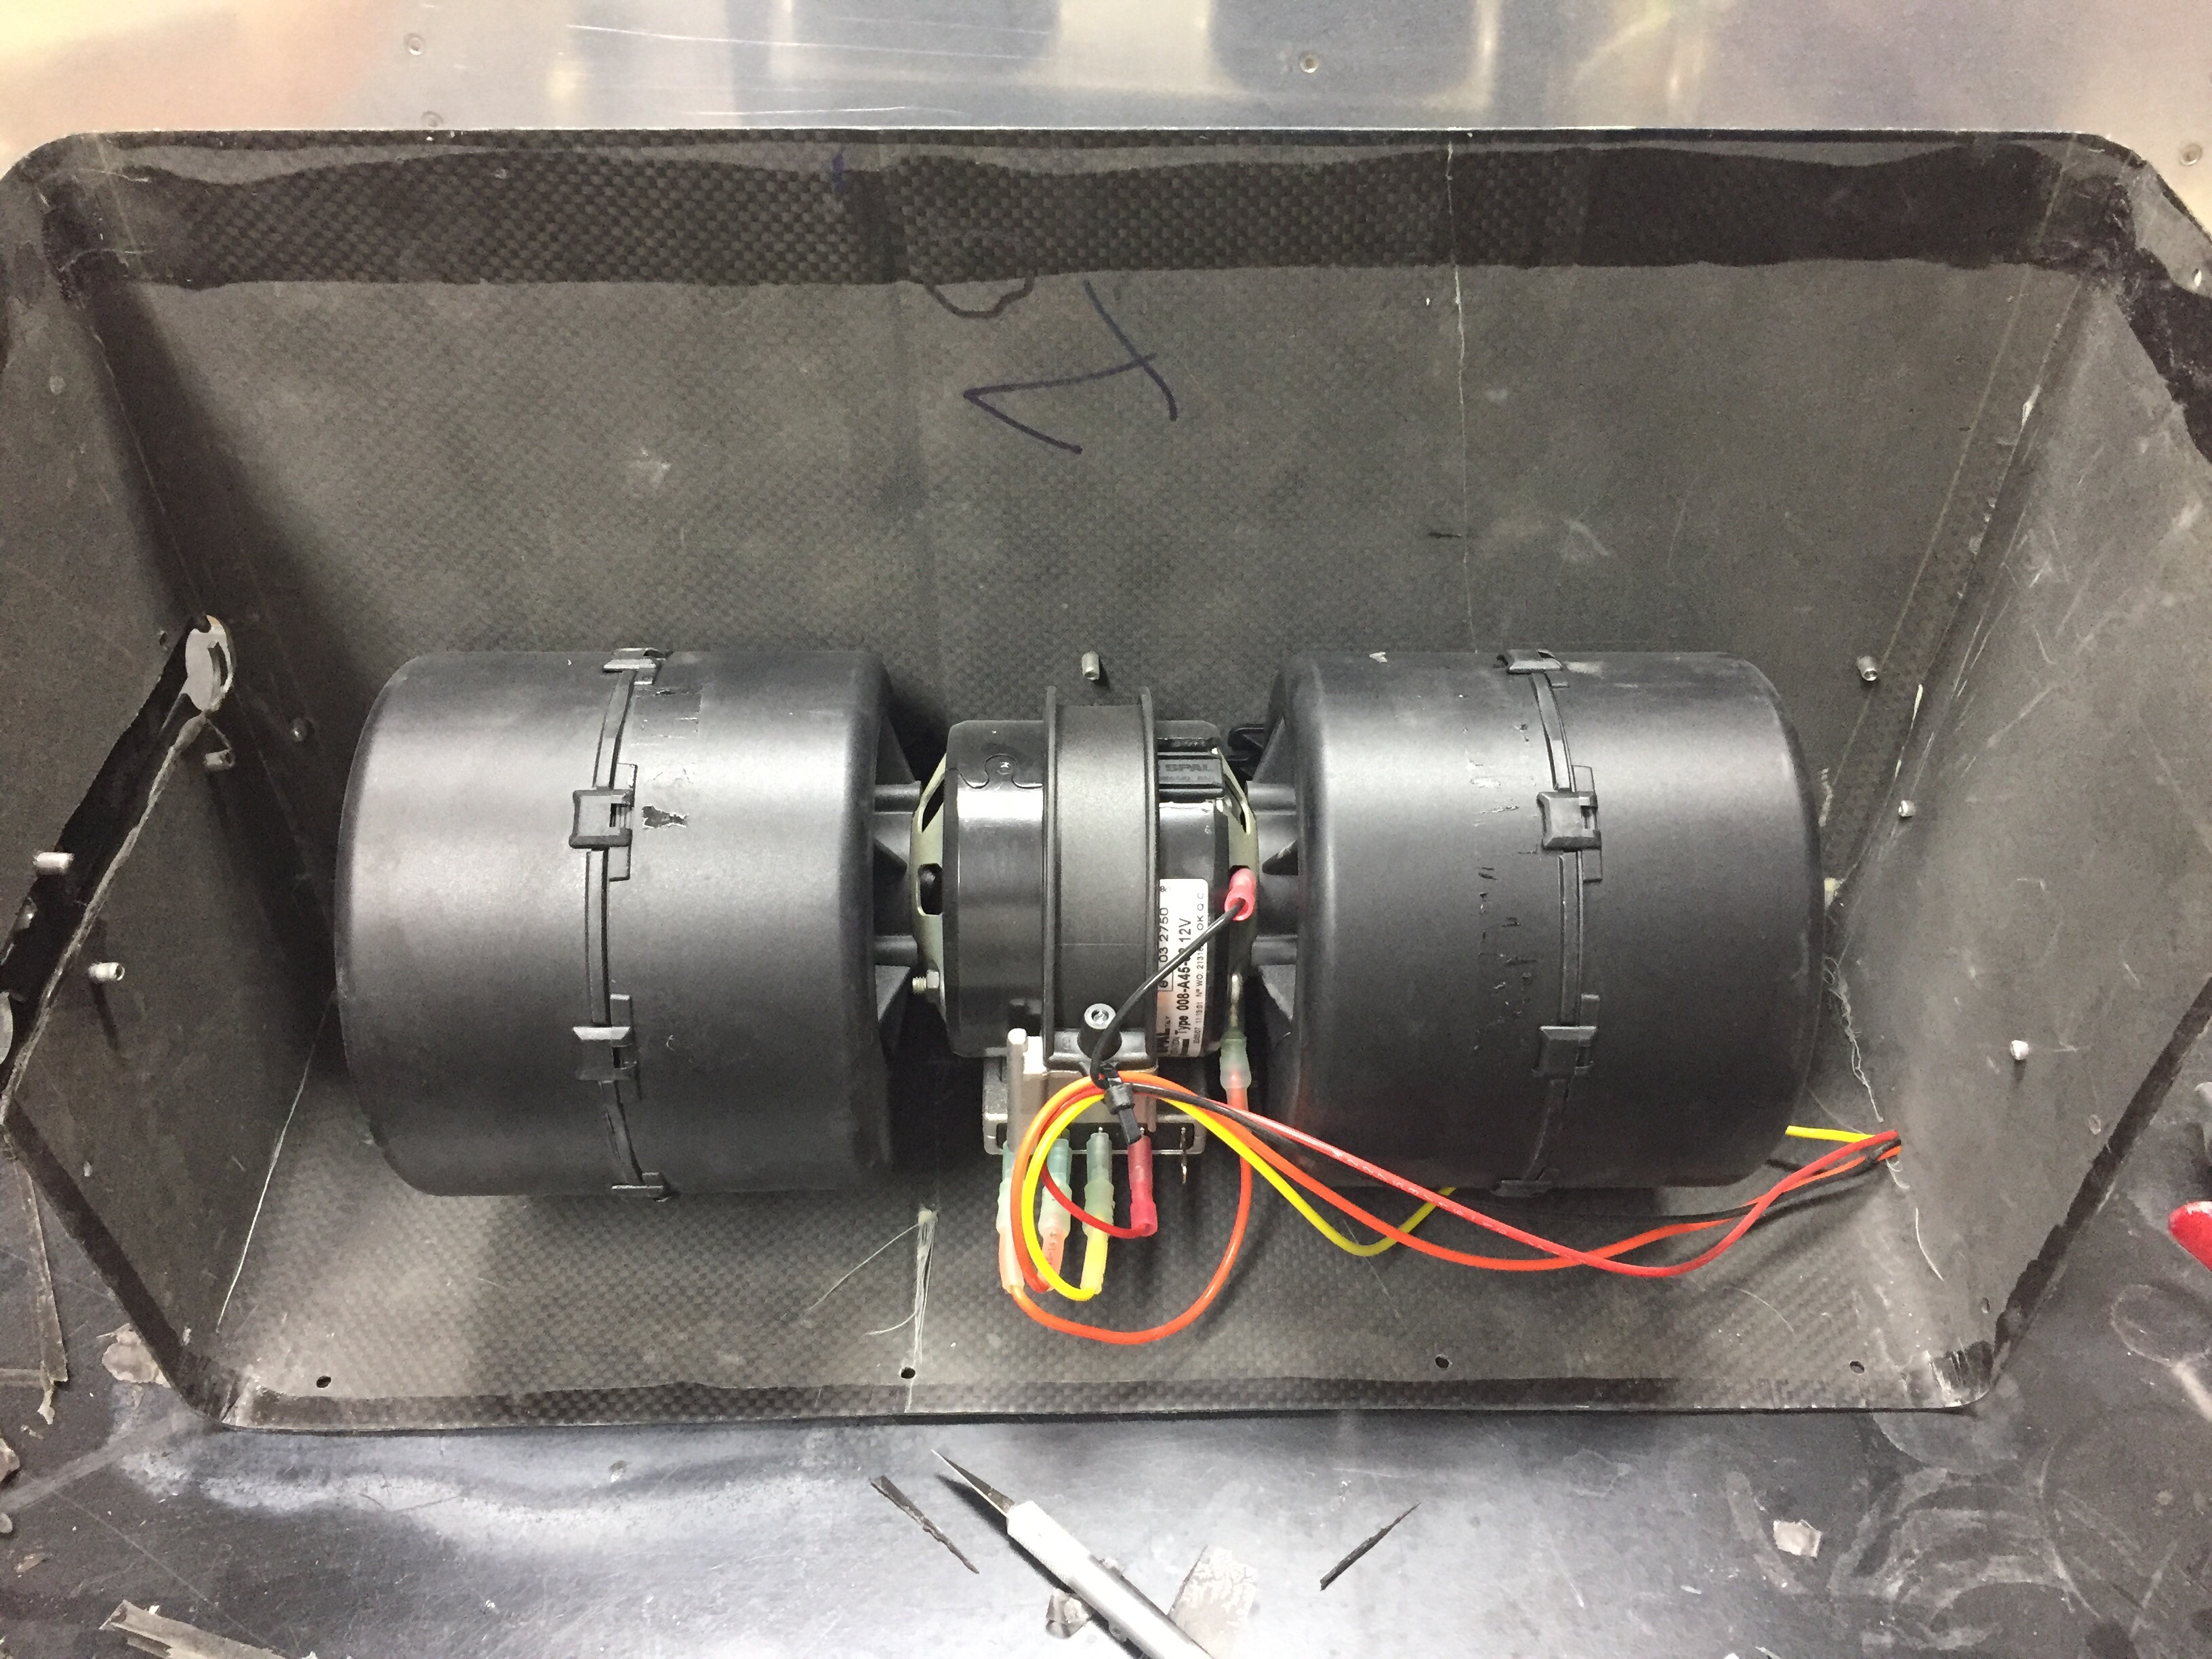
I had already ordered some auto grille material that provides some debris protection while allowing good air flow from the fan. It’s very similar to what Beechcraft is using on the Bonanza. I spray painted the plenums to minimize cosmetic issues once the plane is all finished. I used flox to epoxy the grille and duct onto the skin, making sure the grille didn’t have any extra epoxy on it. Once that was all sorted, I got the fan mounting plate hung via angle pieces to the AC equipment tray. The fan bolts to the mounting plate which is sealed to the plenum with a gasket made of neoprene, so the fan is replaceable and will also allow me to block off the fan during final paint.
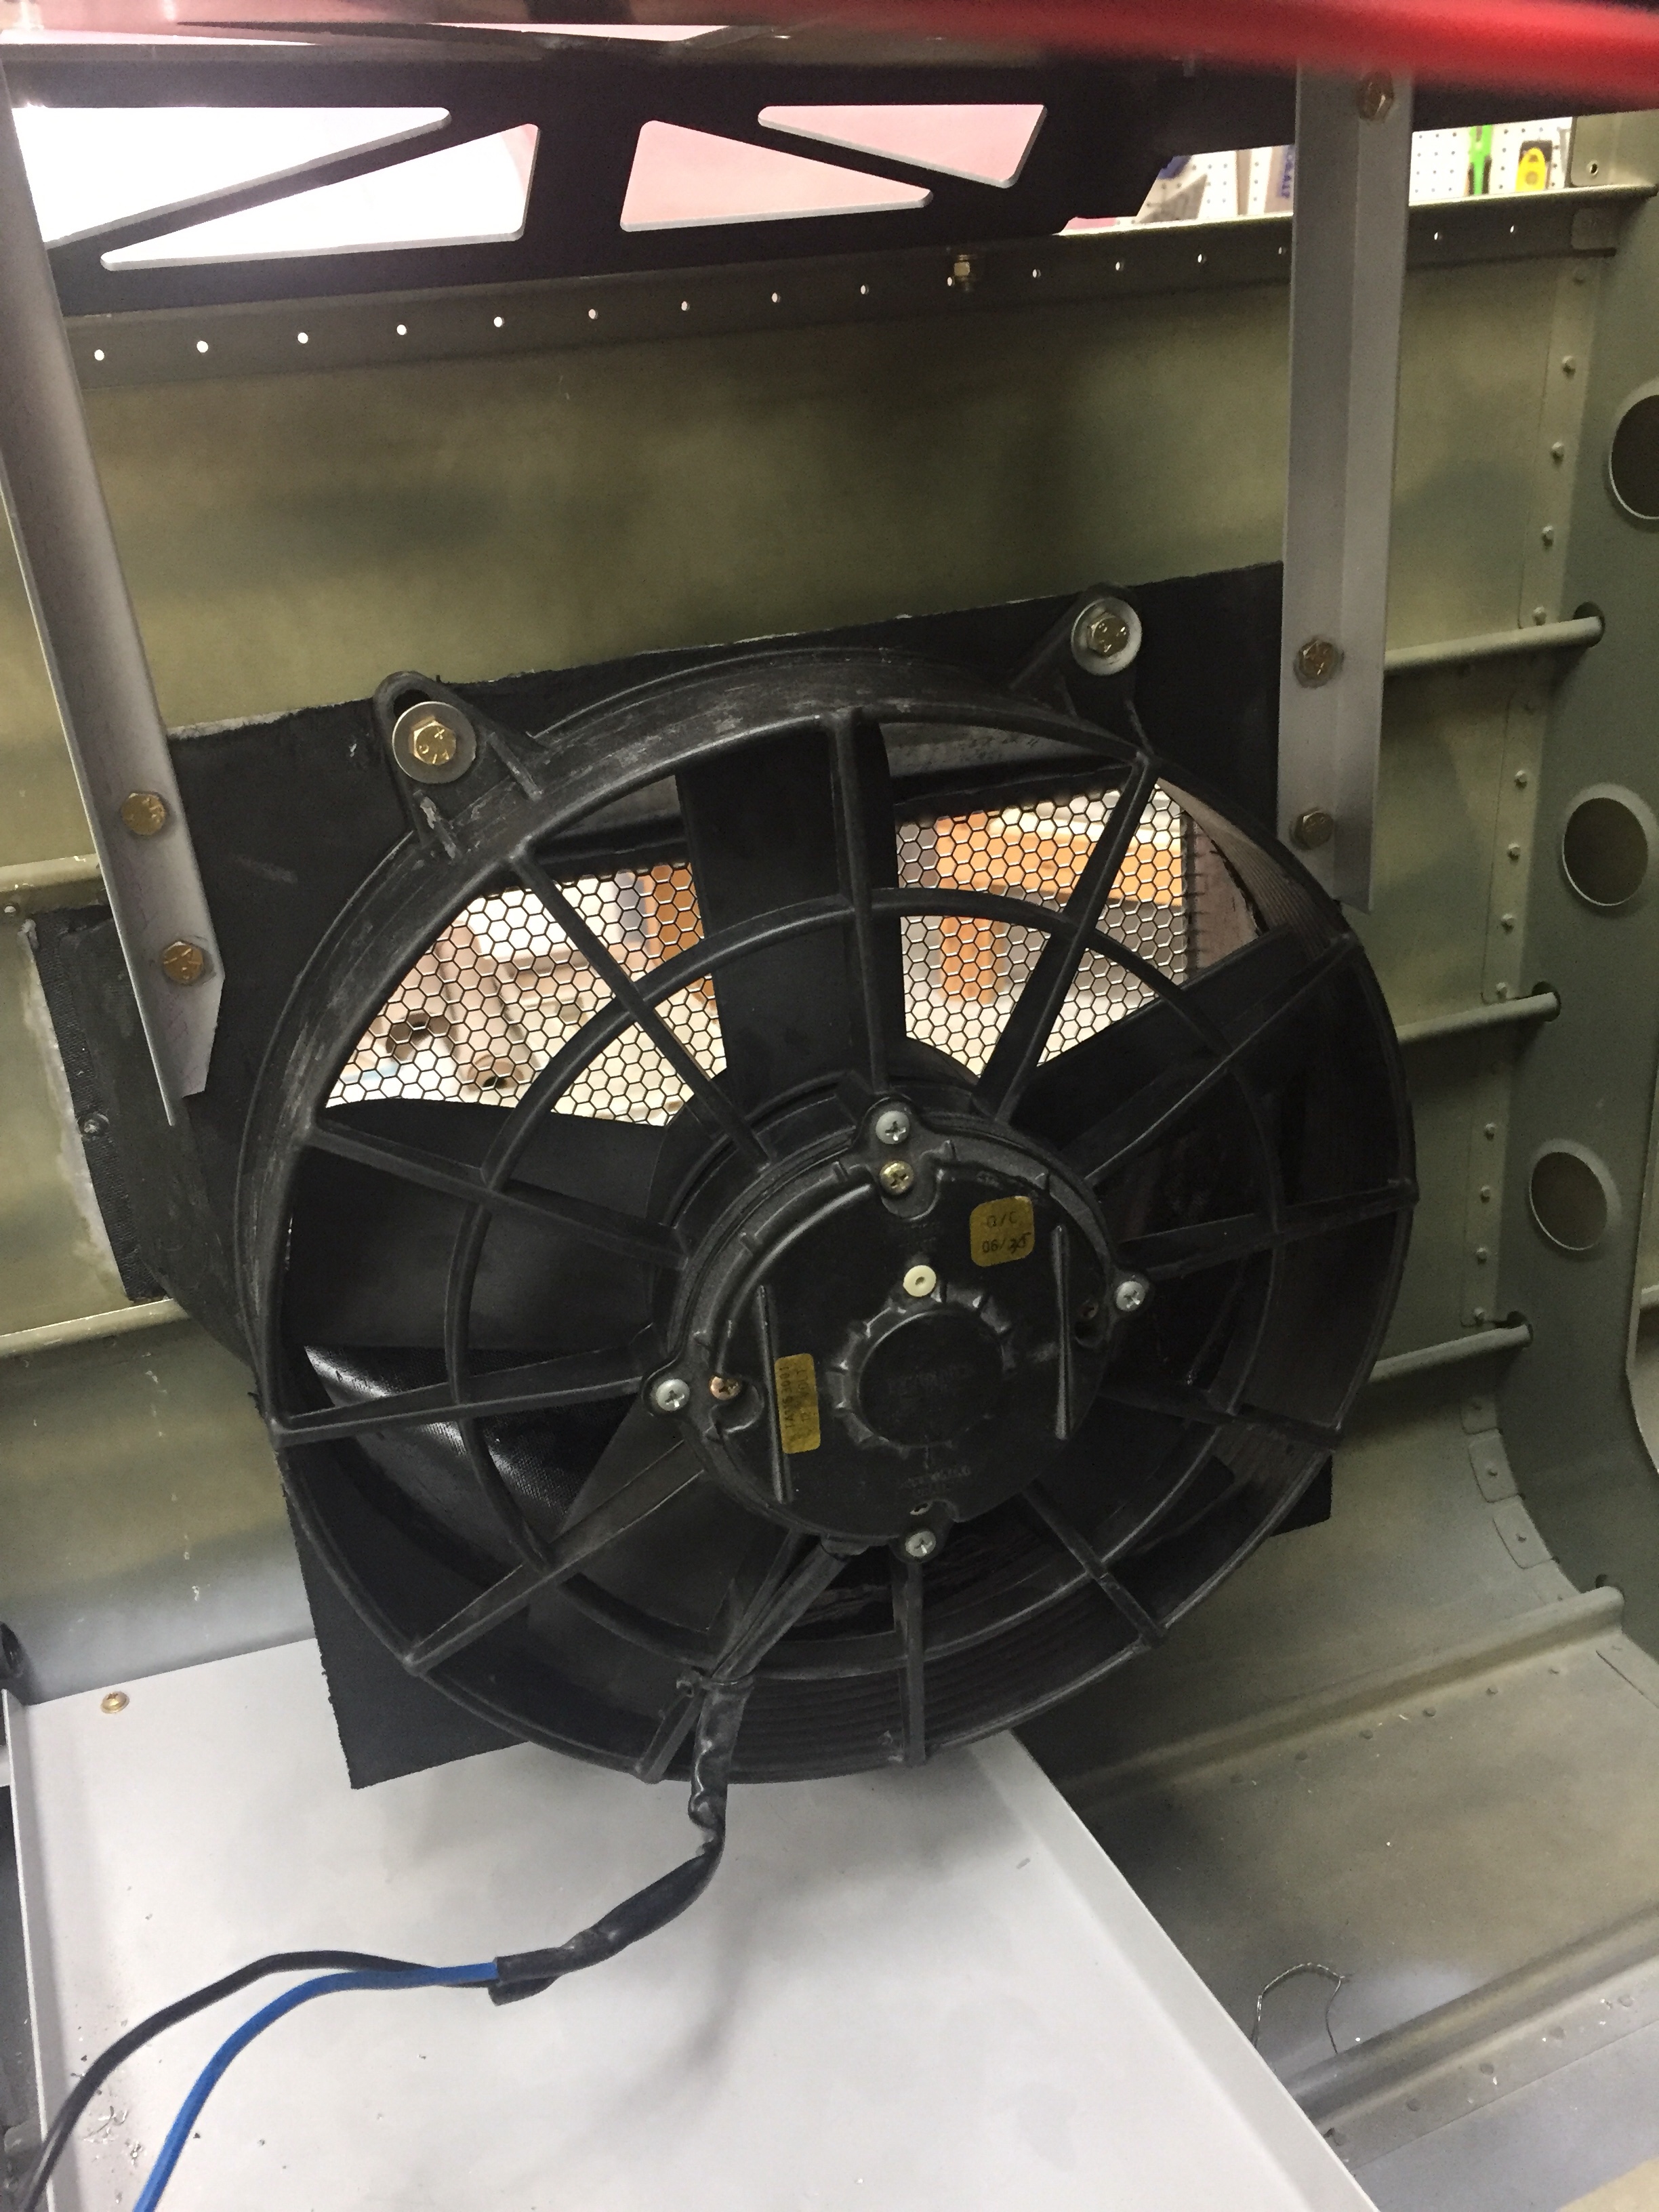
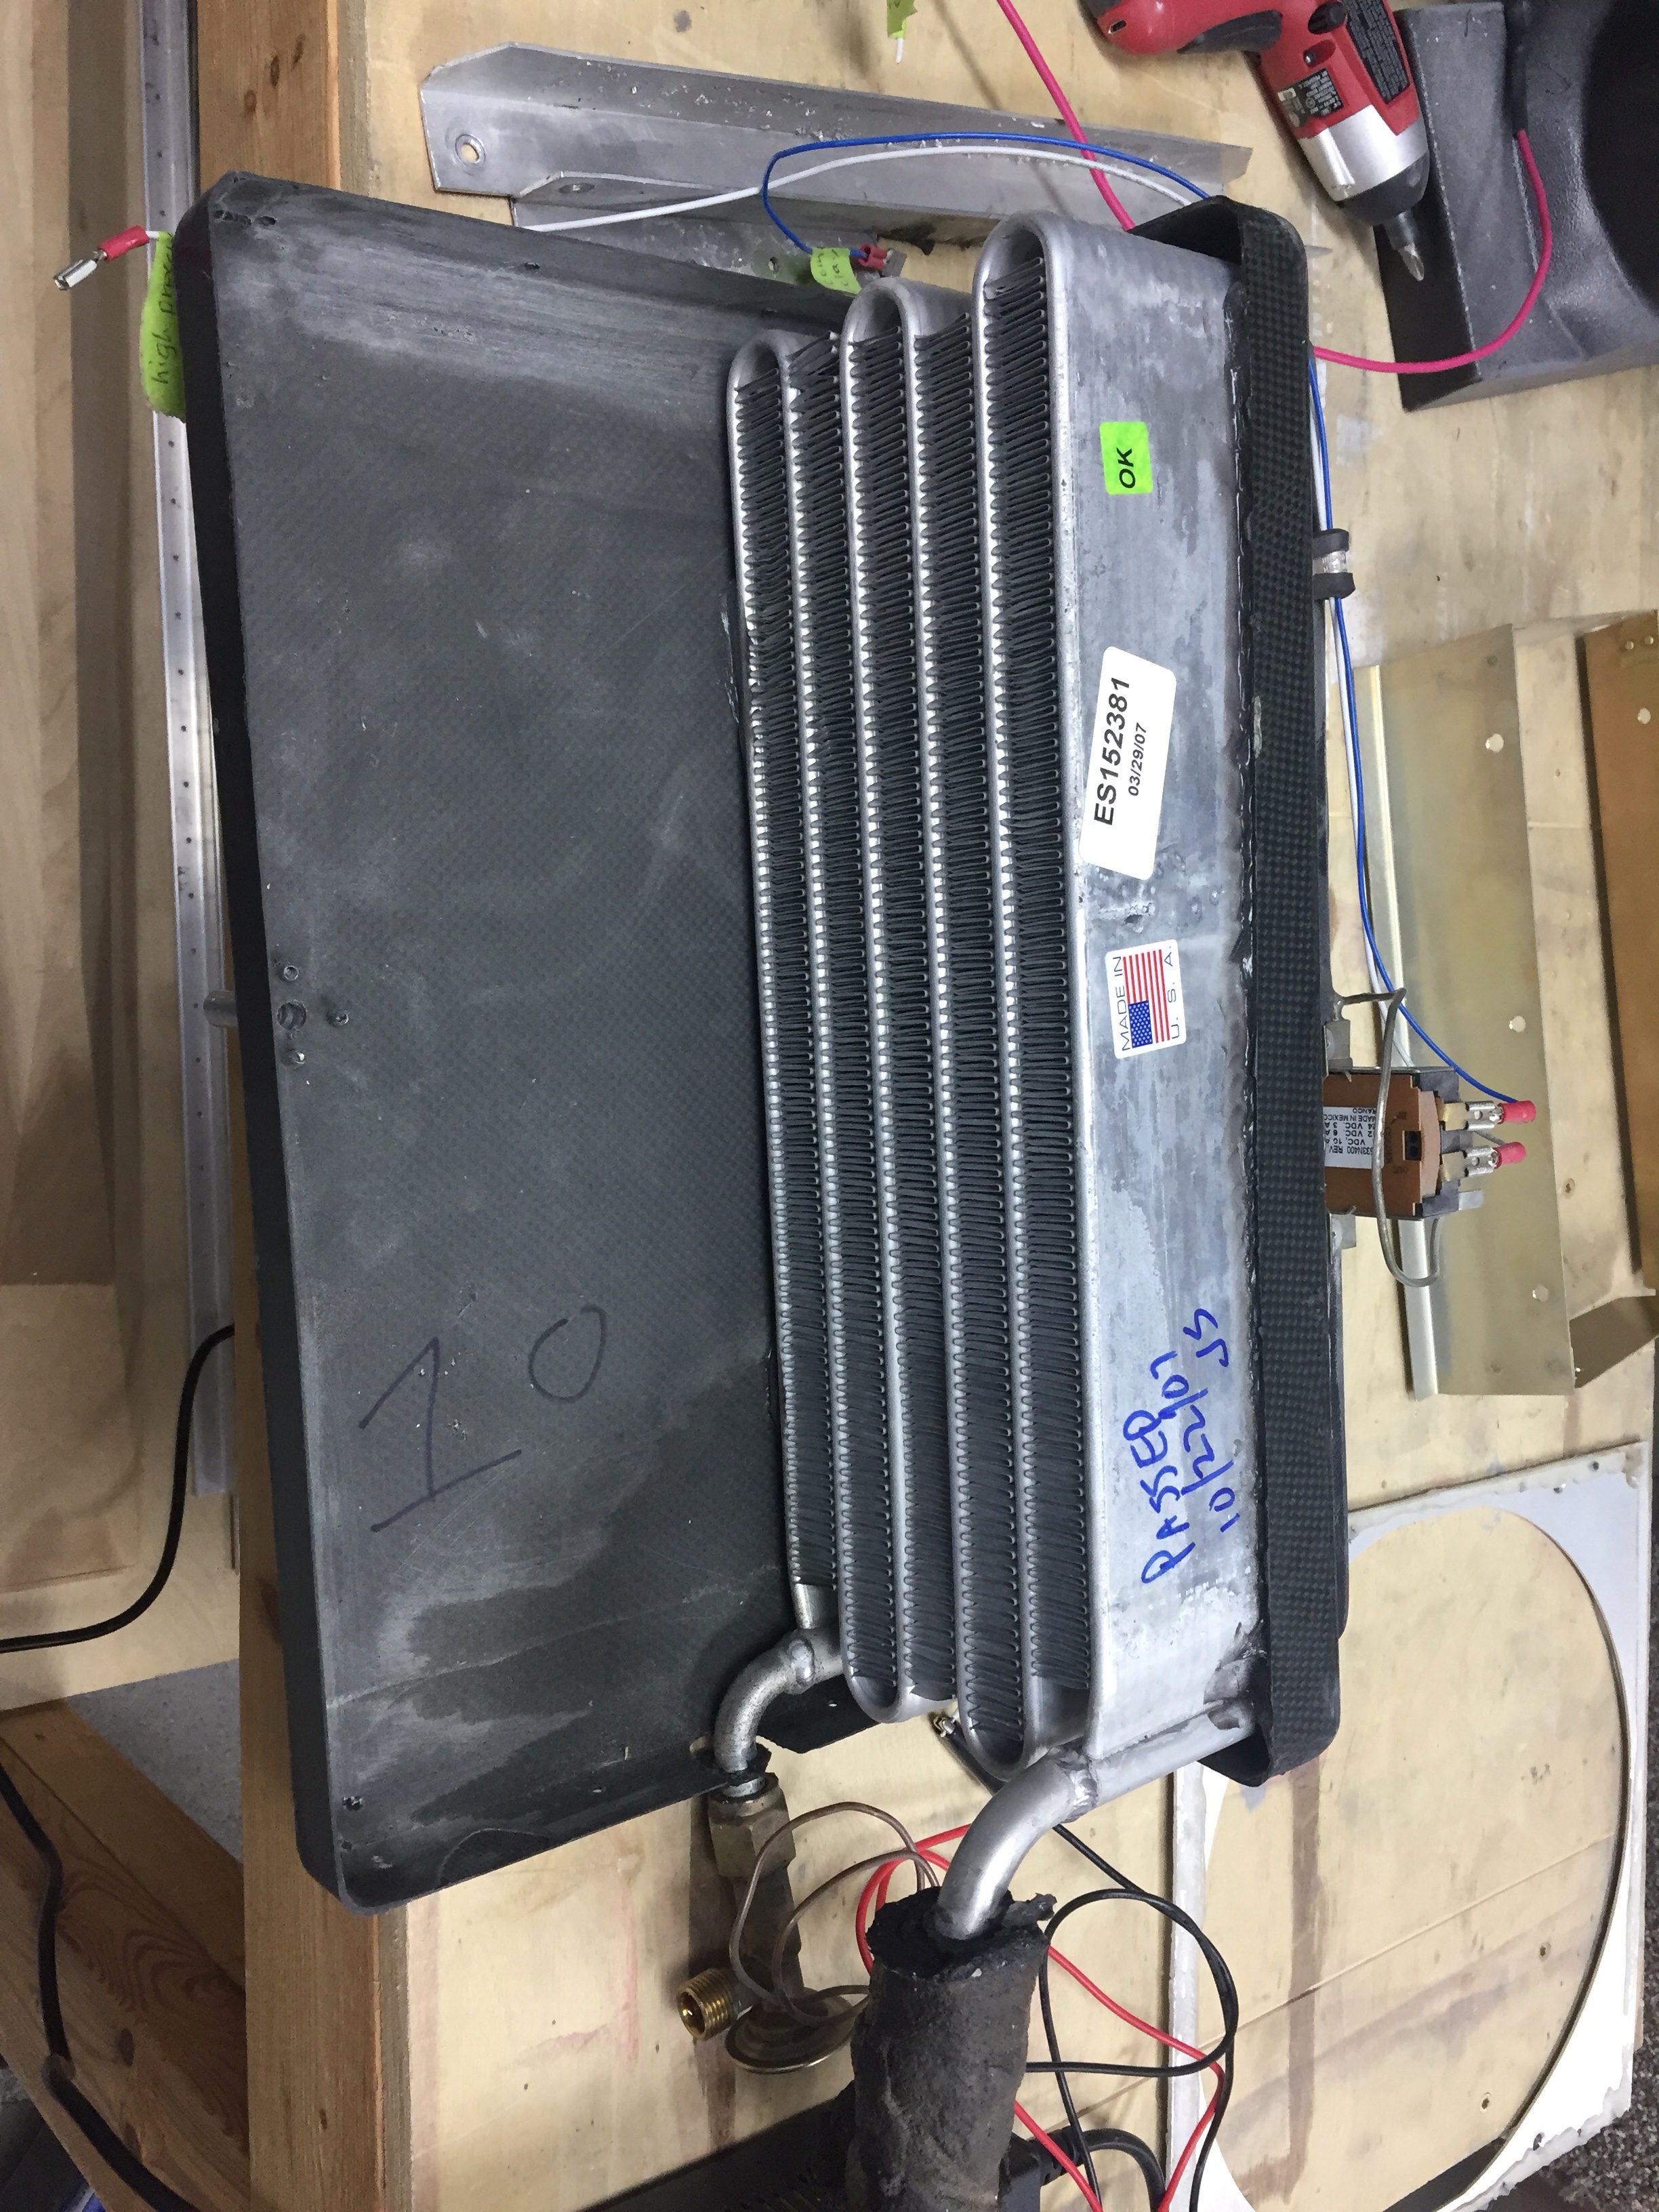
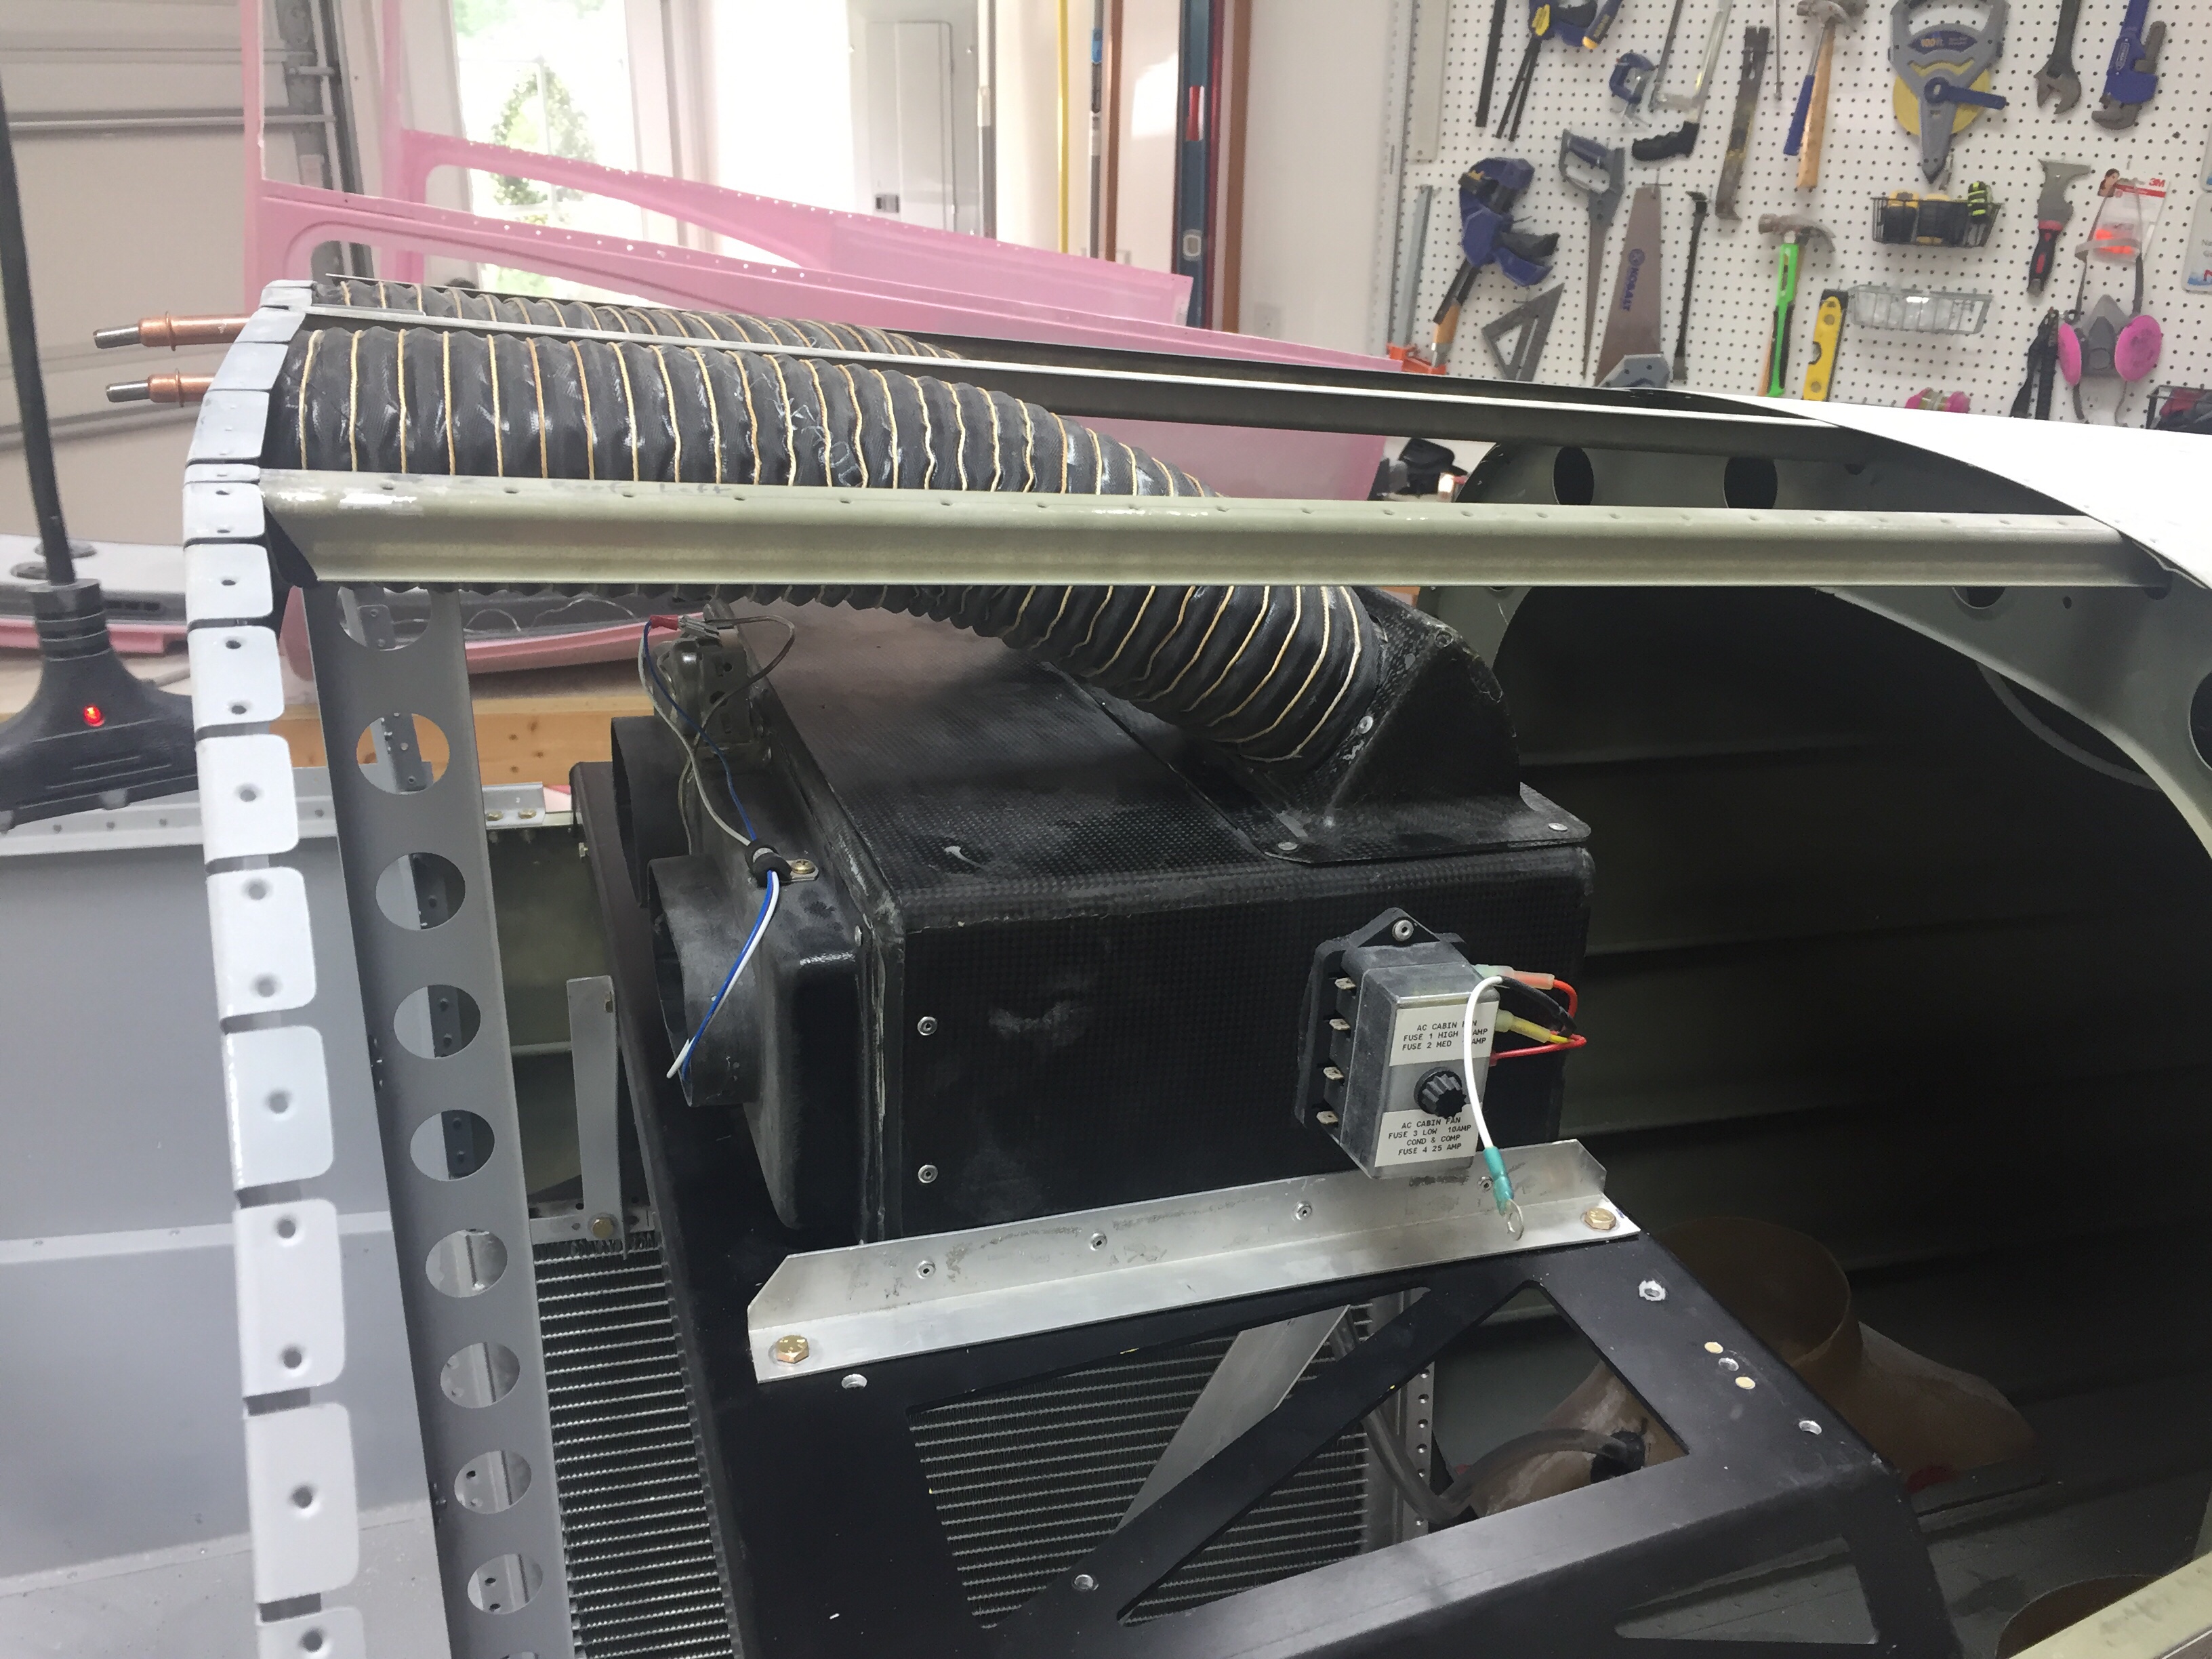
Next is the condenser to fan plenum which I sealed to the condenser with silicone. This slides over the fan frame and is sealed with a small bead of silicone around the seam, keeping the air moving where it should. The condenser also hangs from the equipment tray and has a flat stock support bar that keeps it from swinging. Once it was all together, it was very stable and will still allow a very tight, but passable cavity for me to crawl into the tail cone.
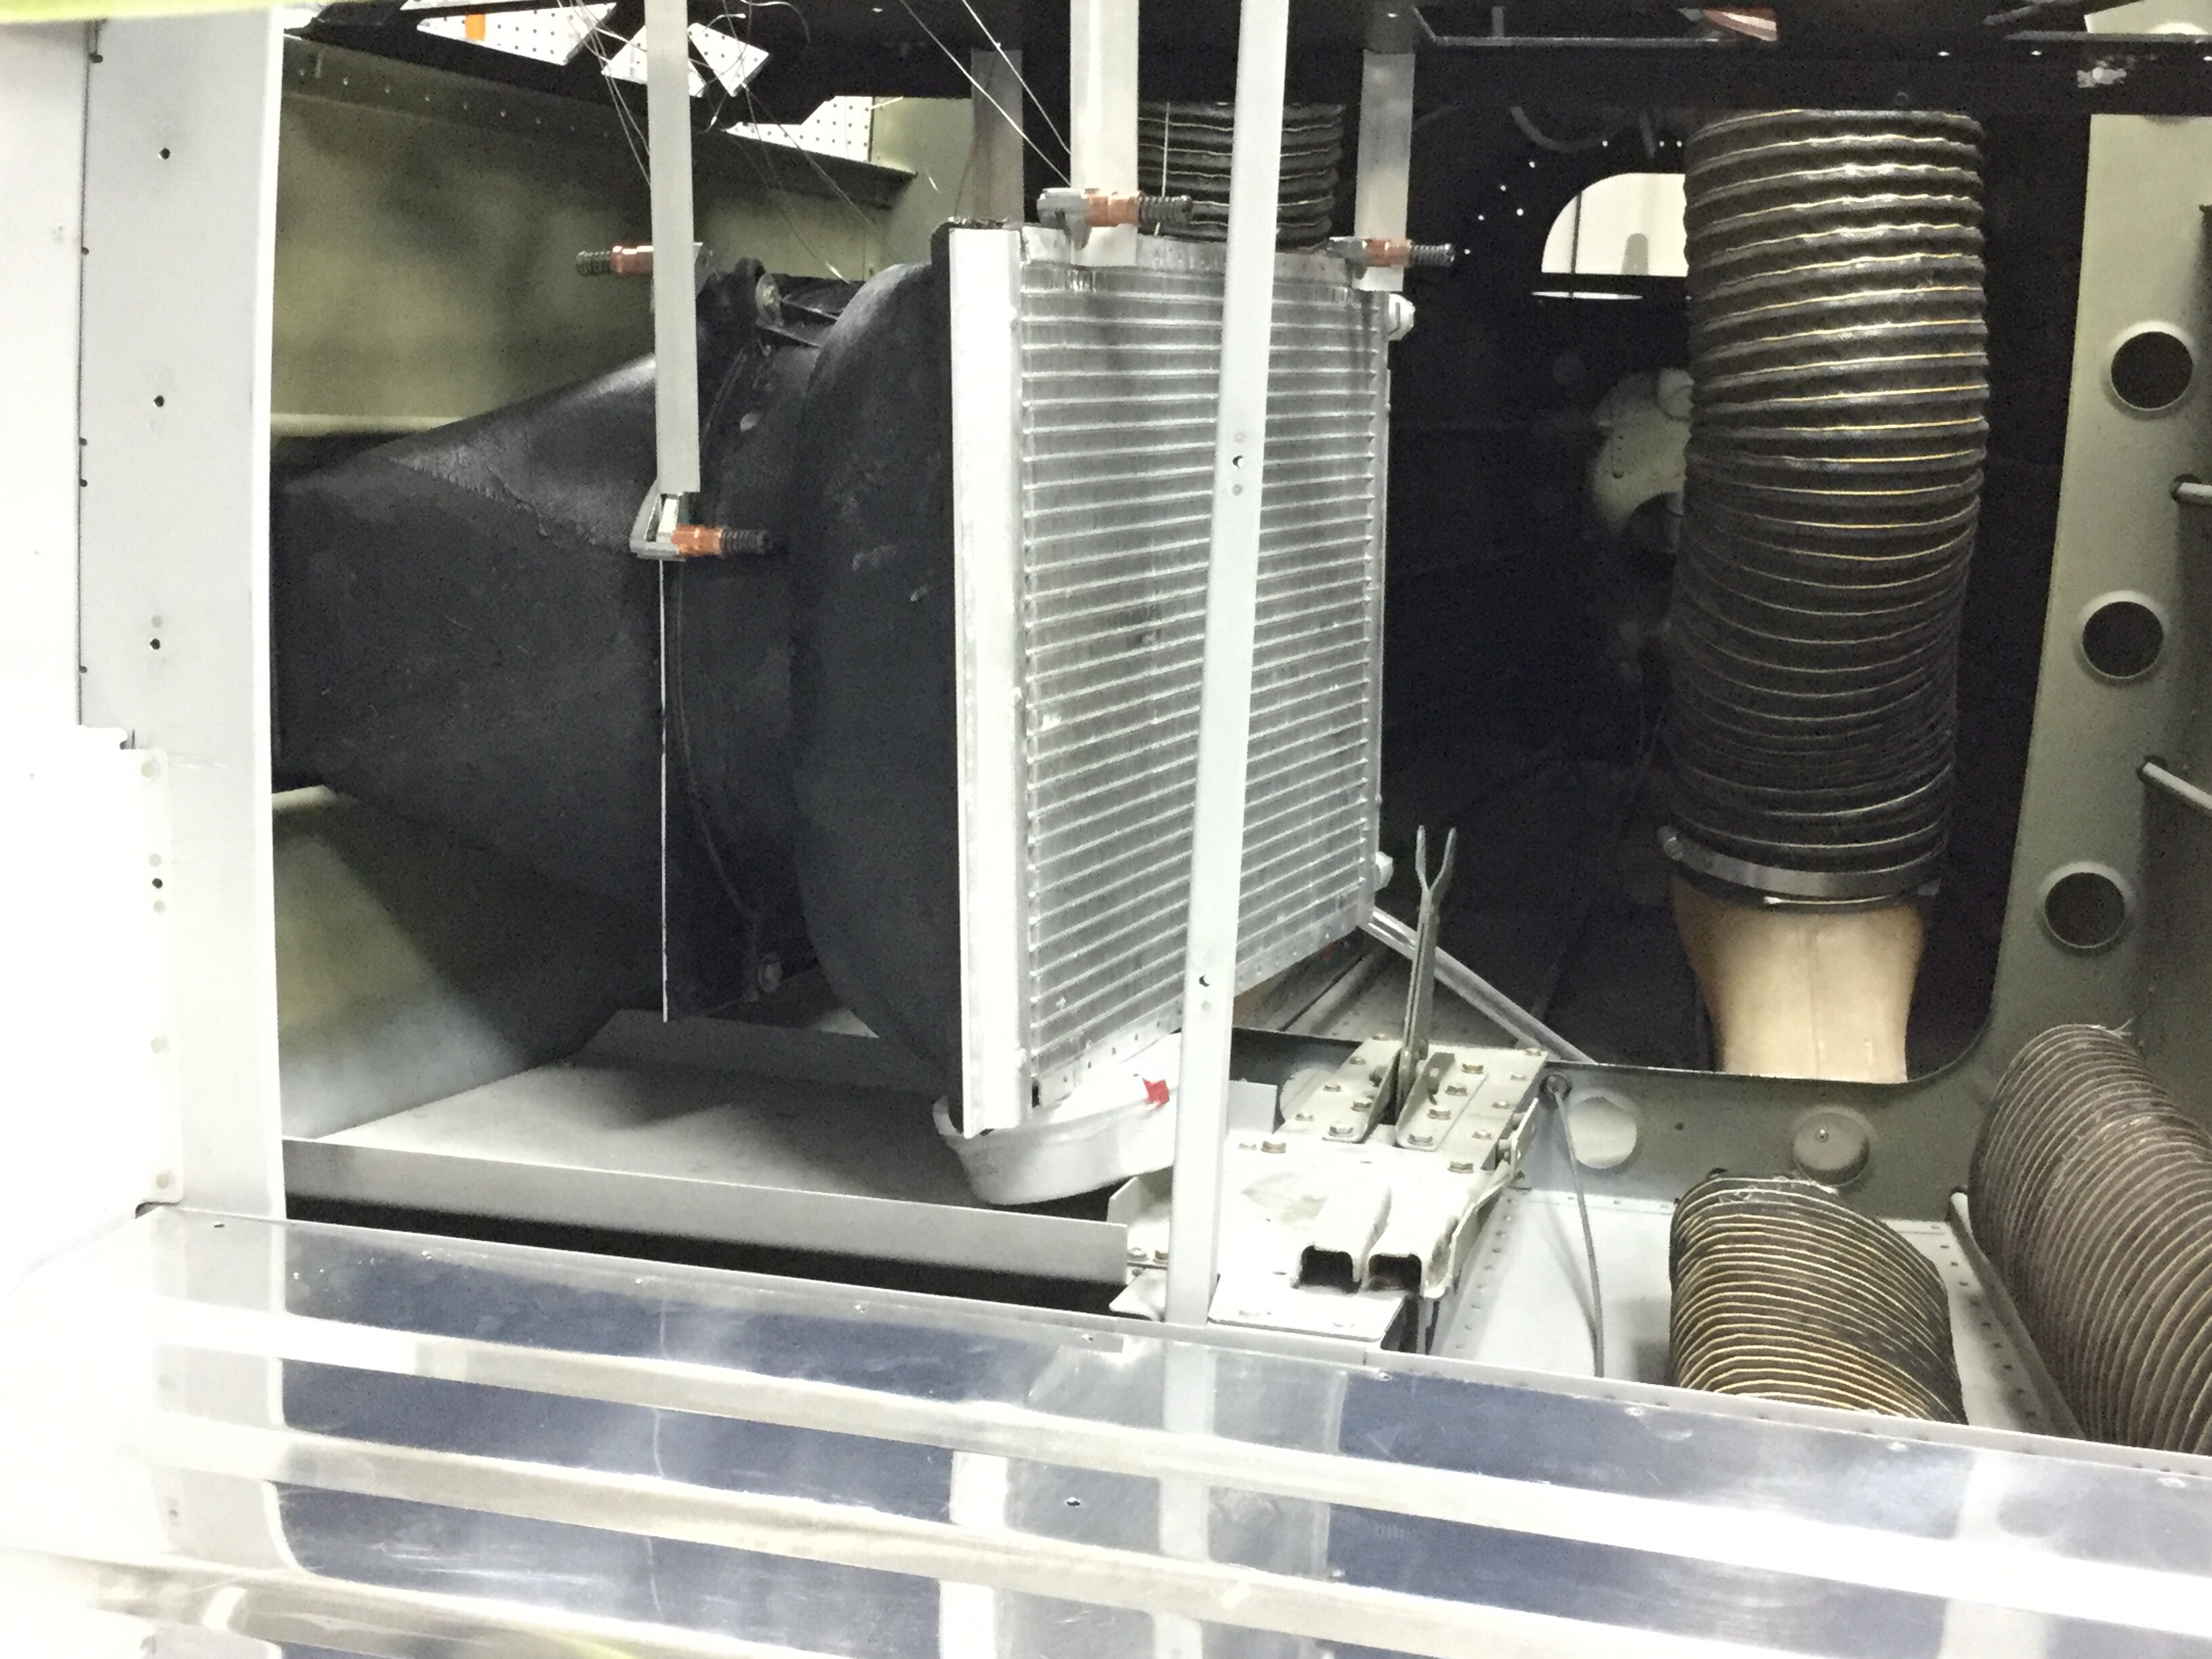
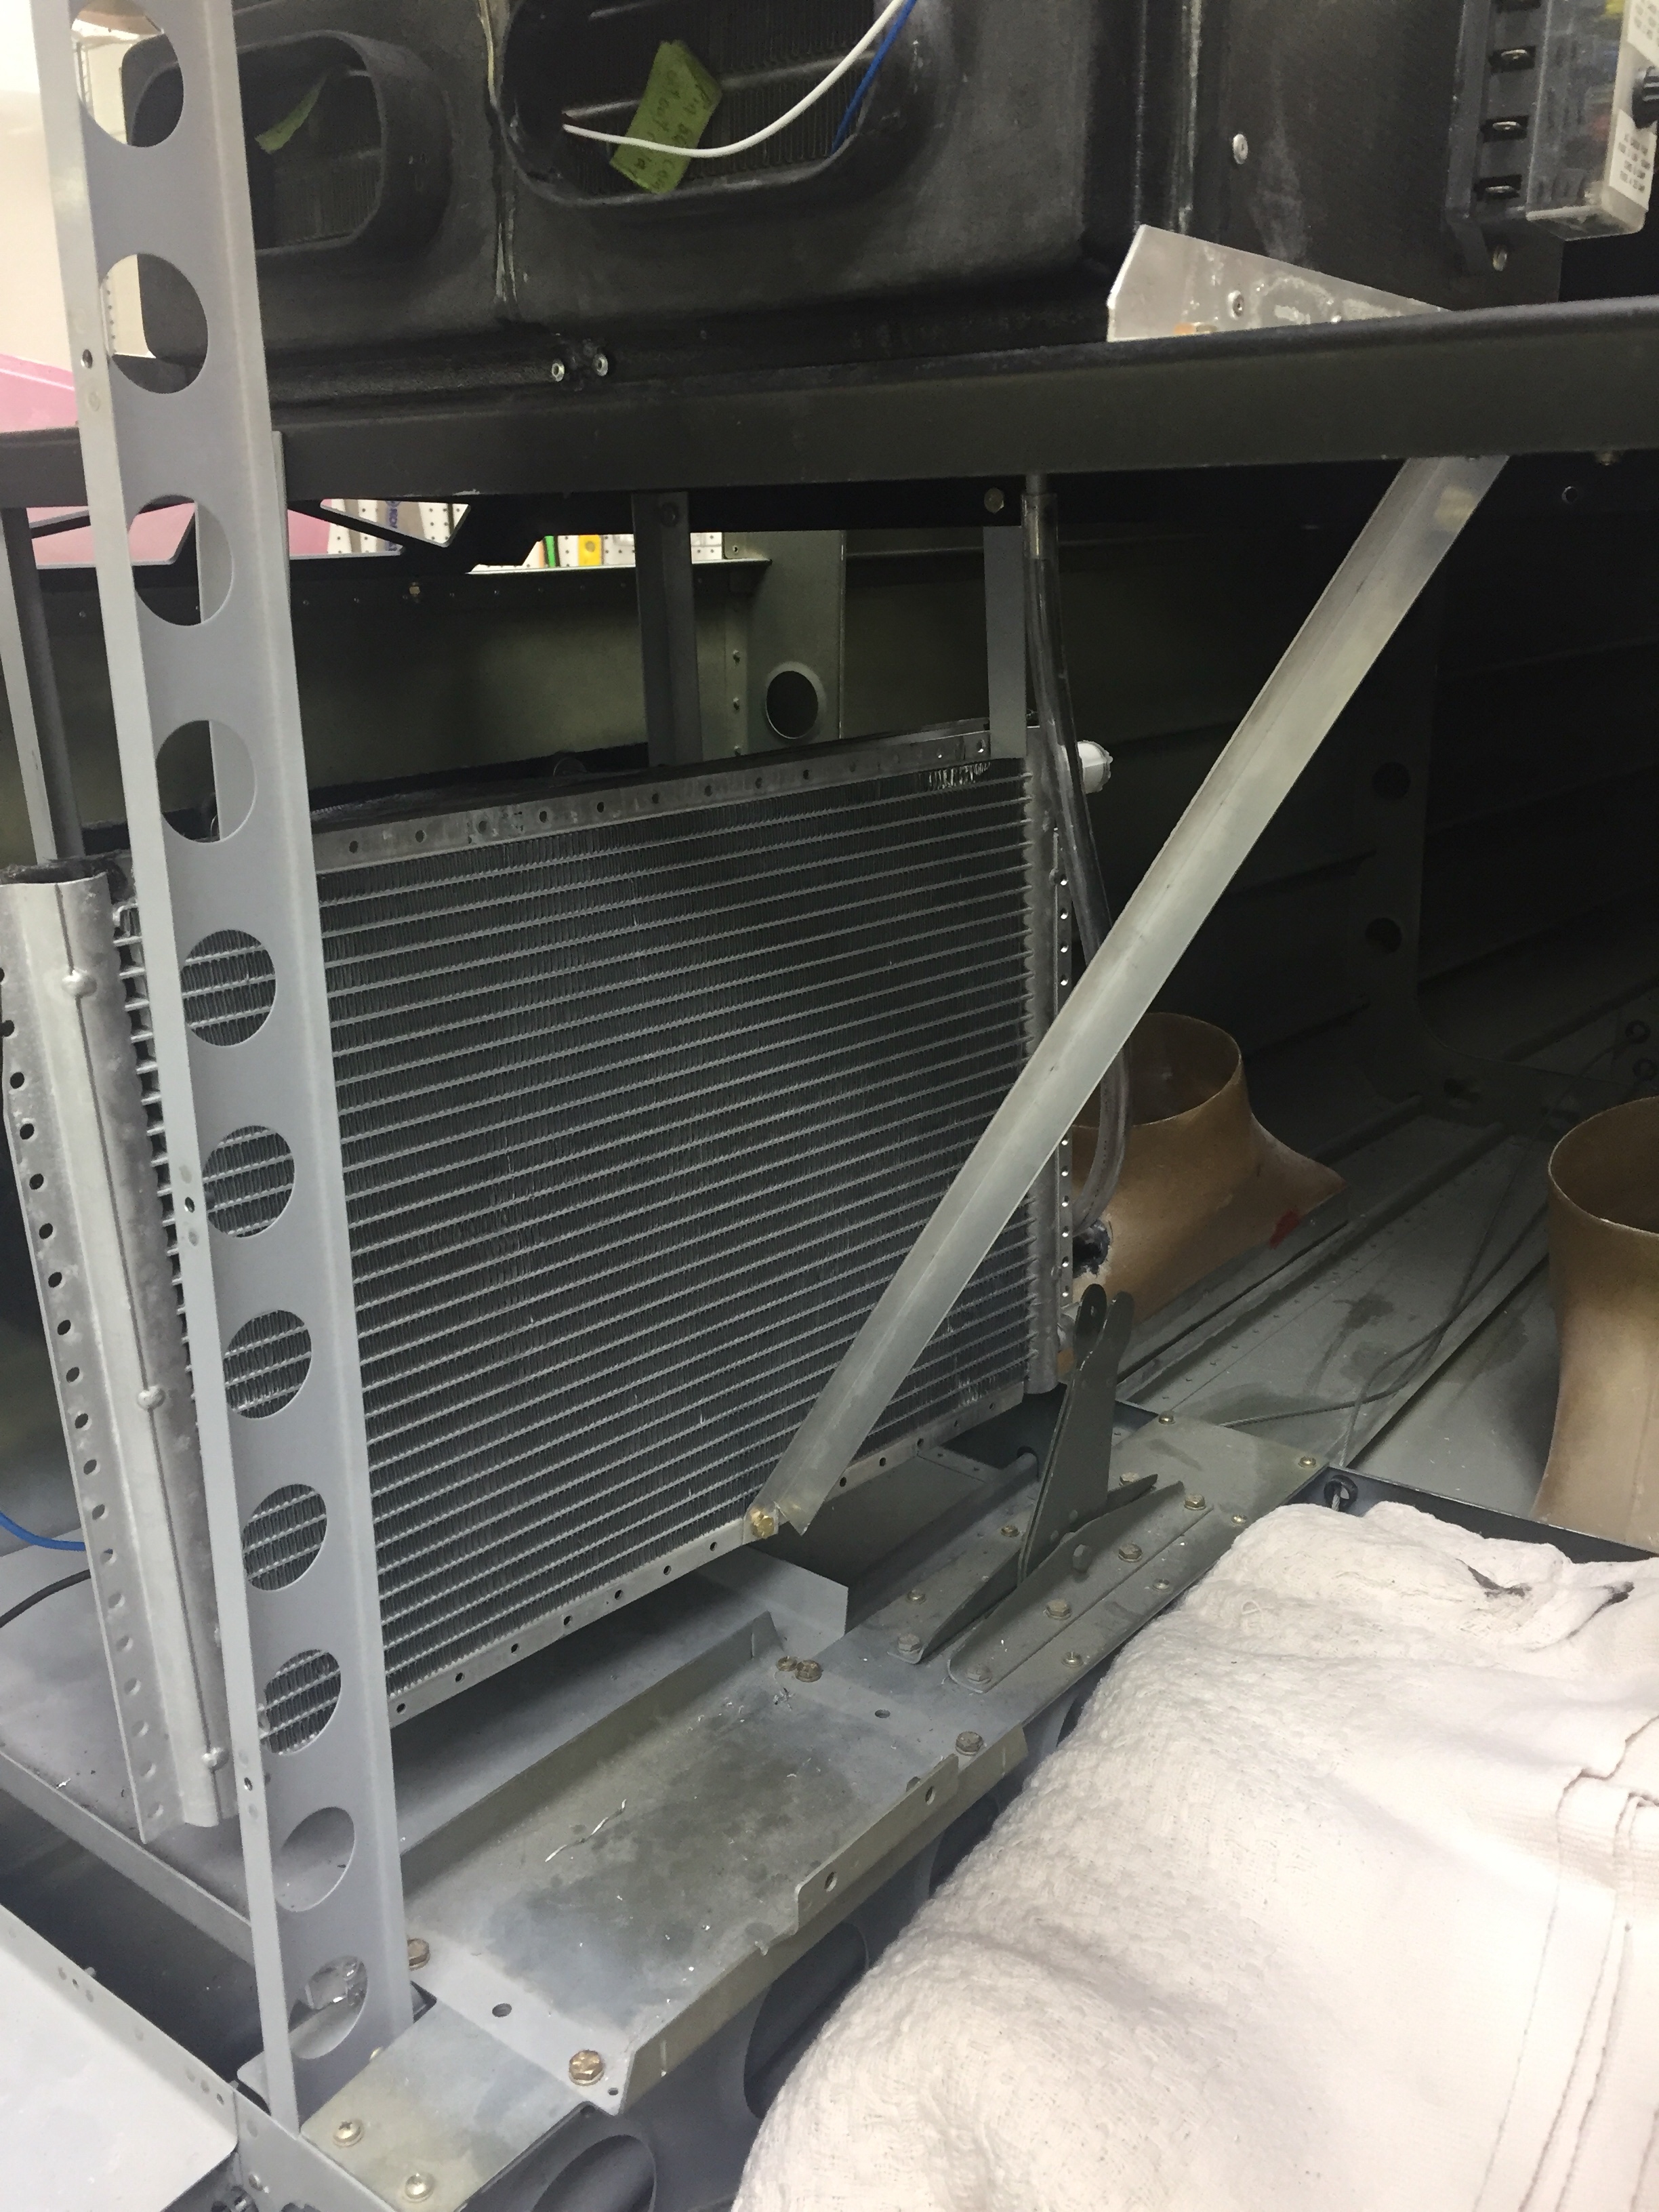
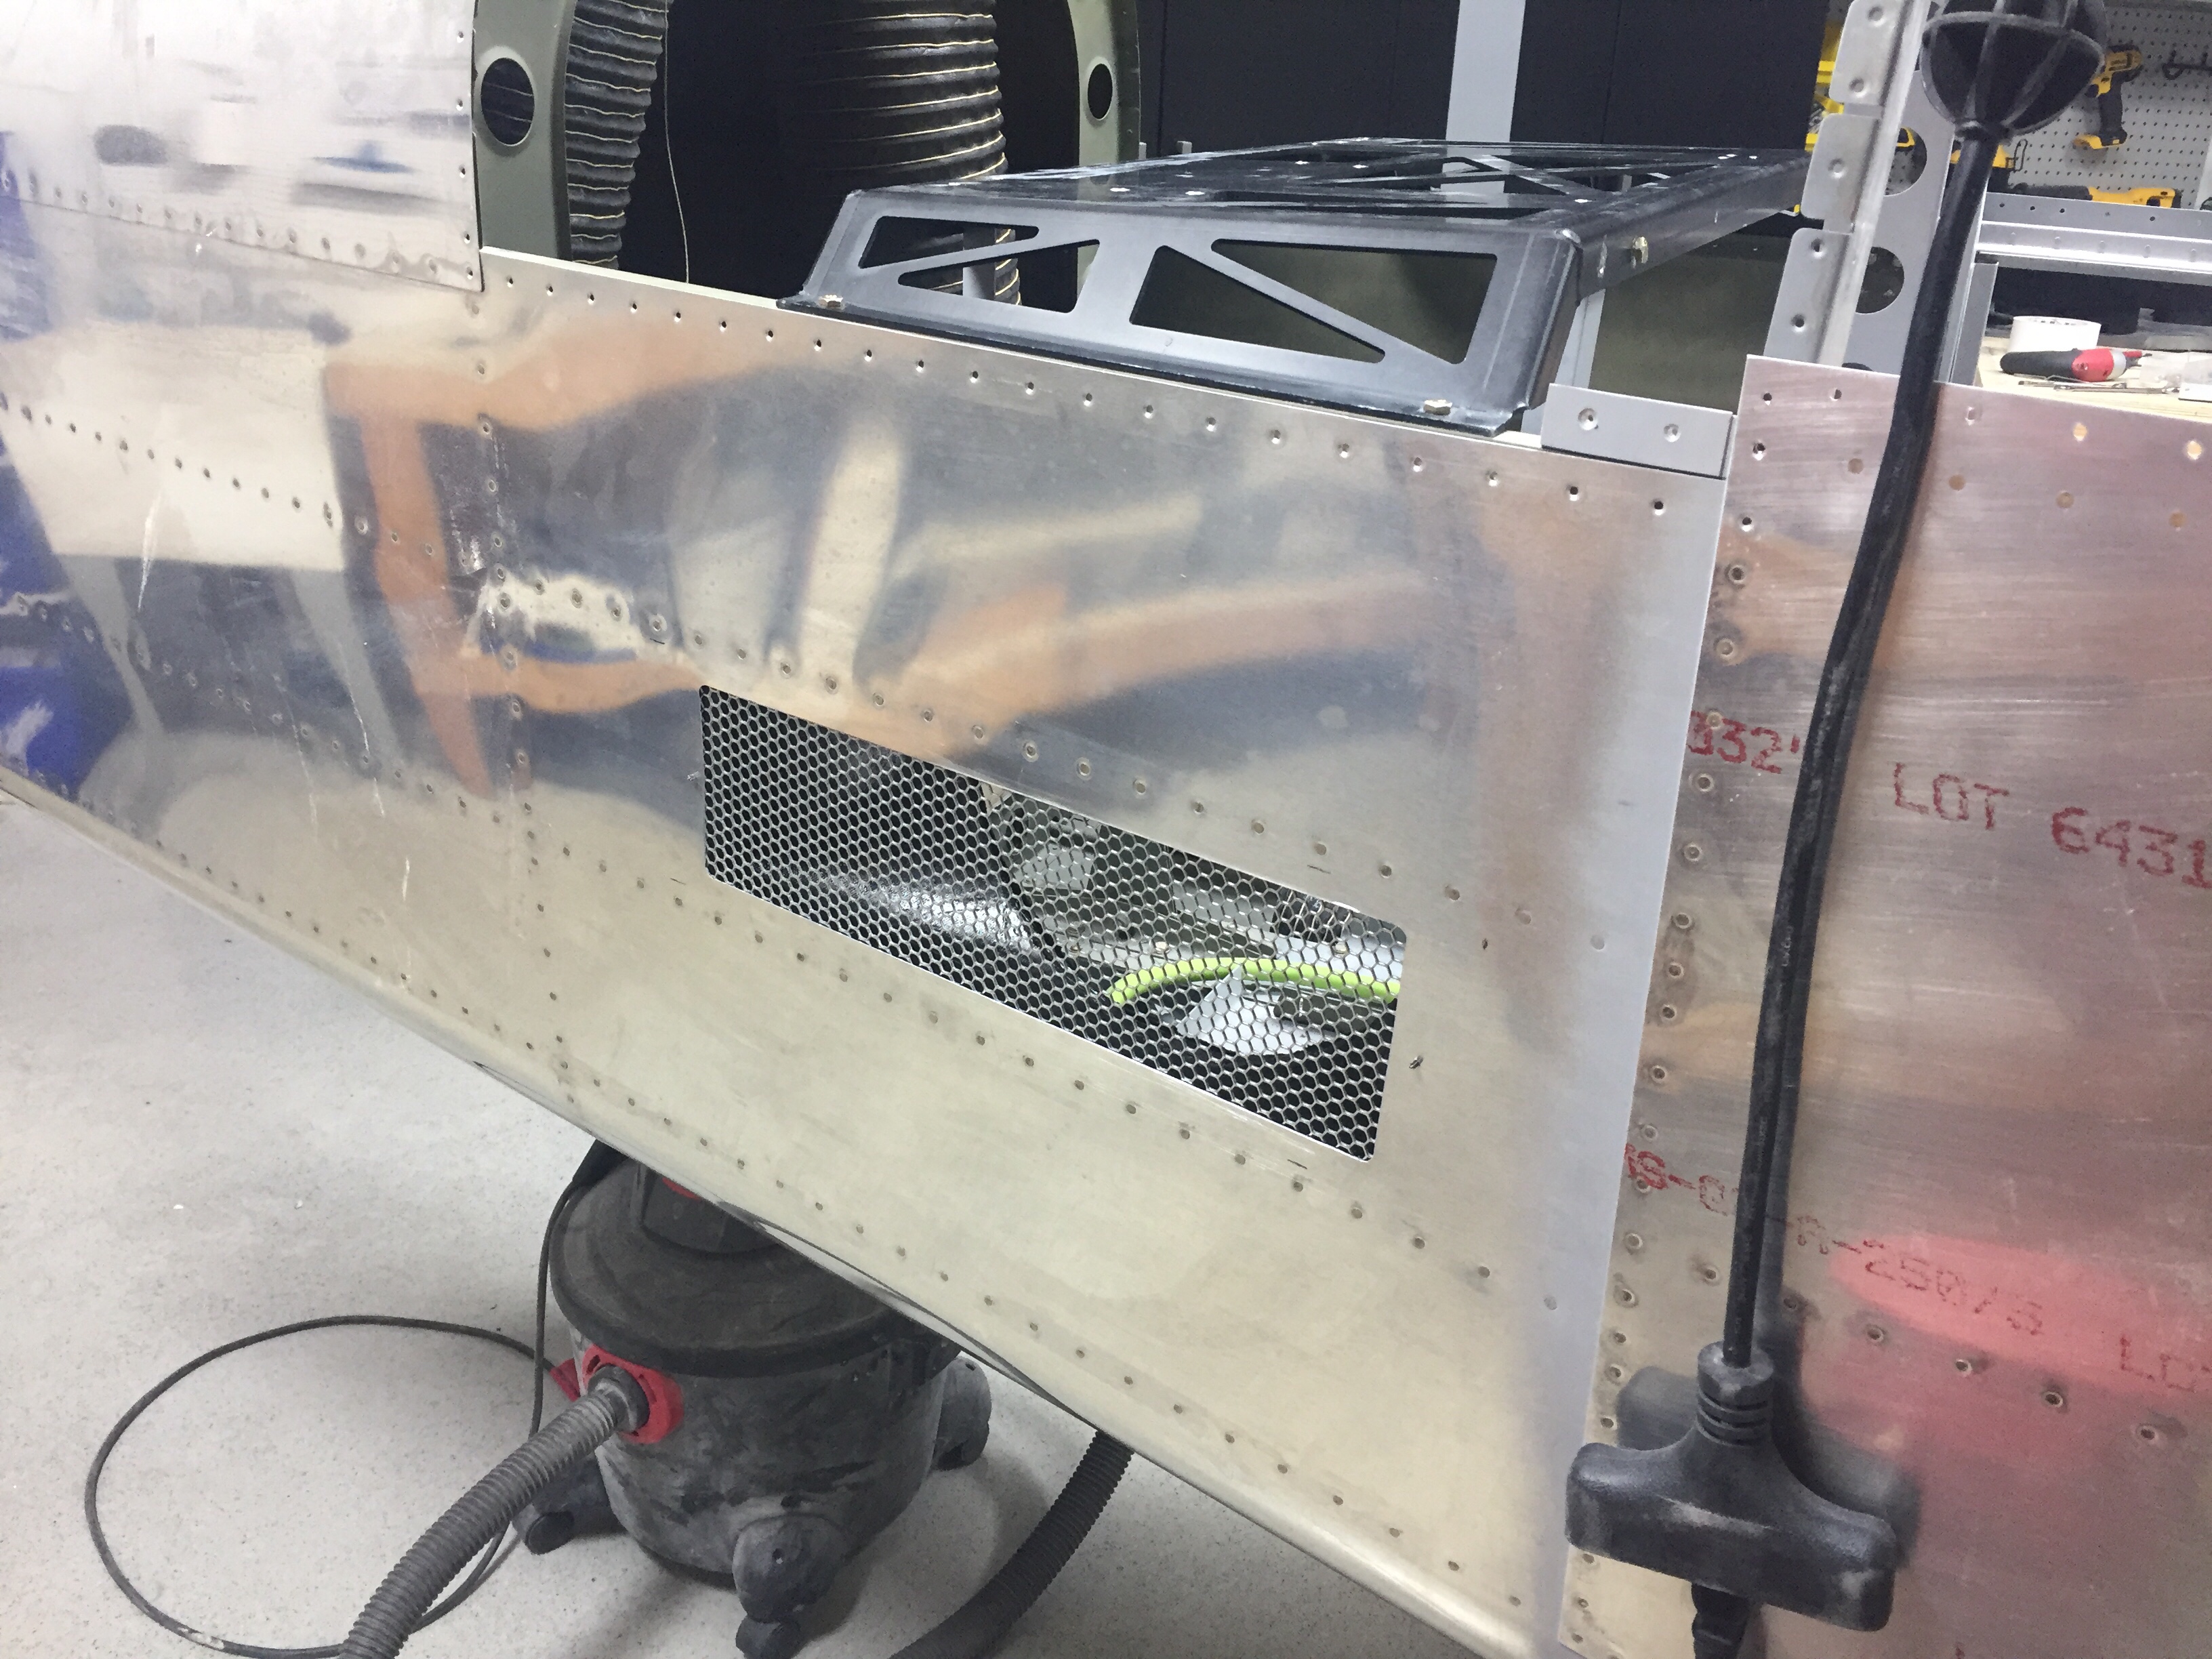
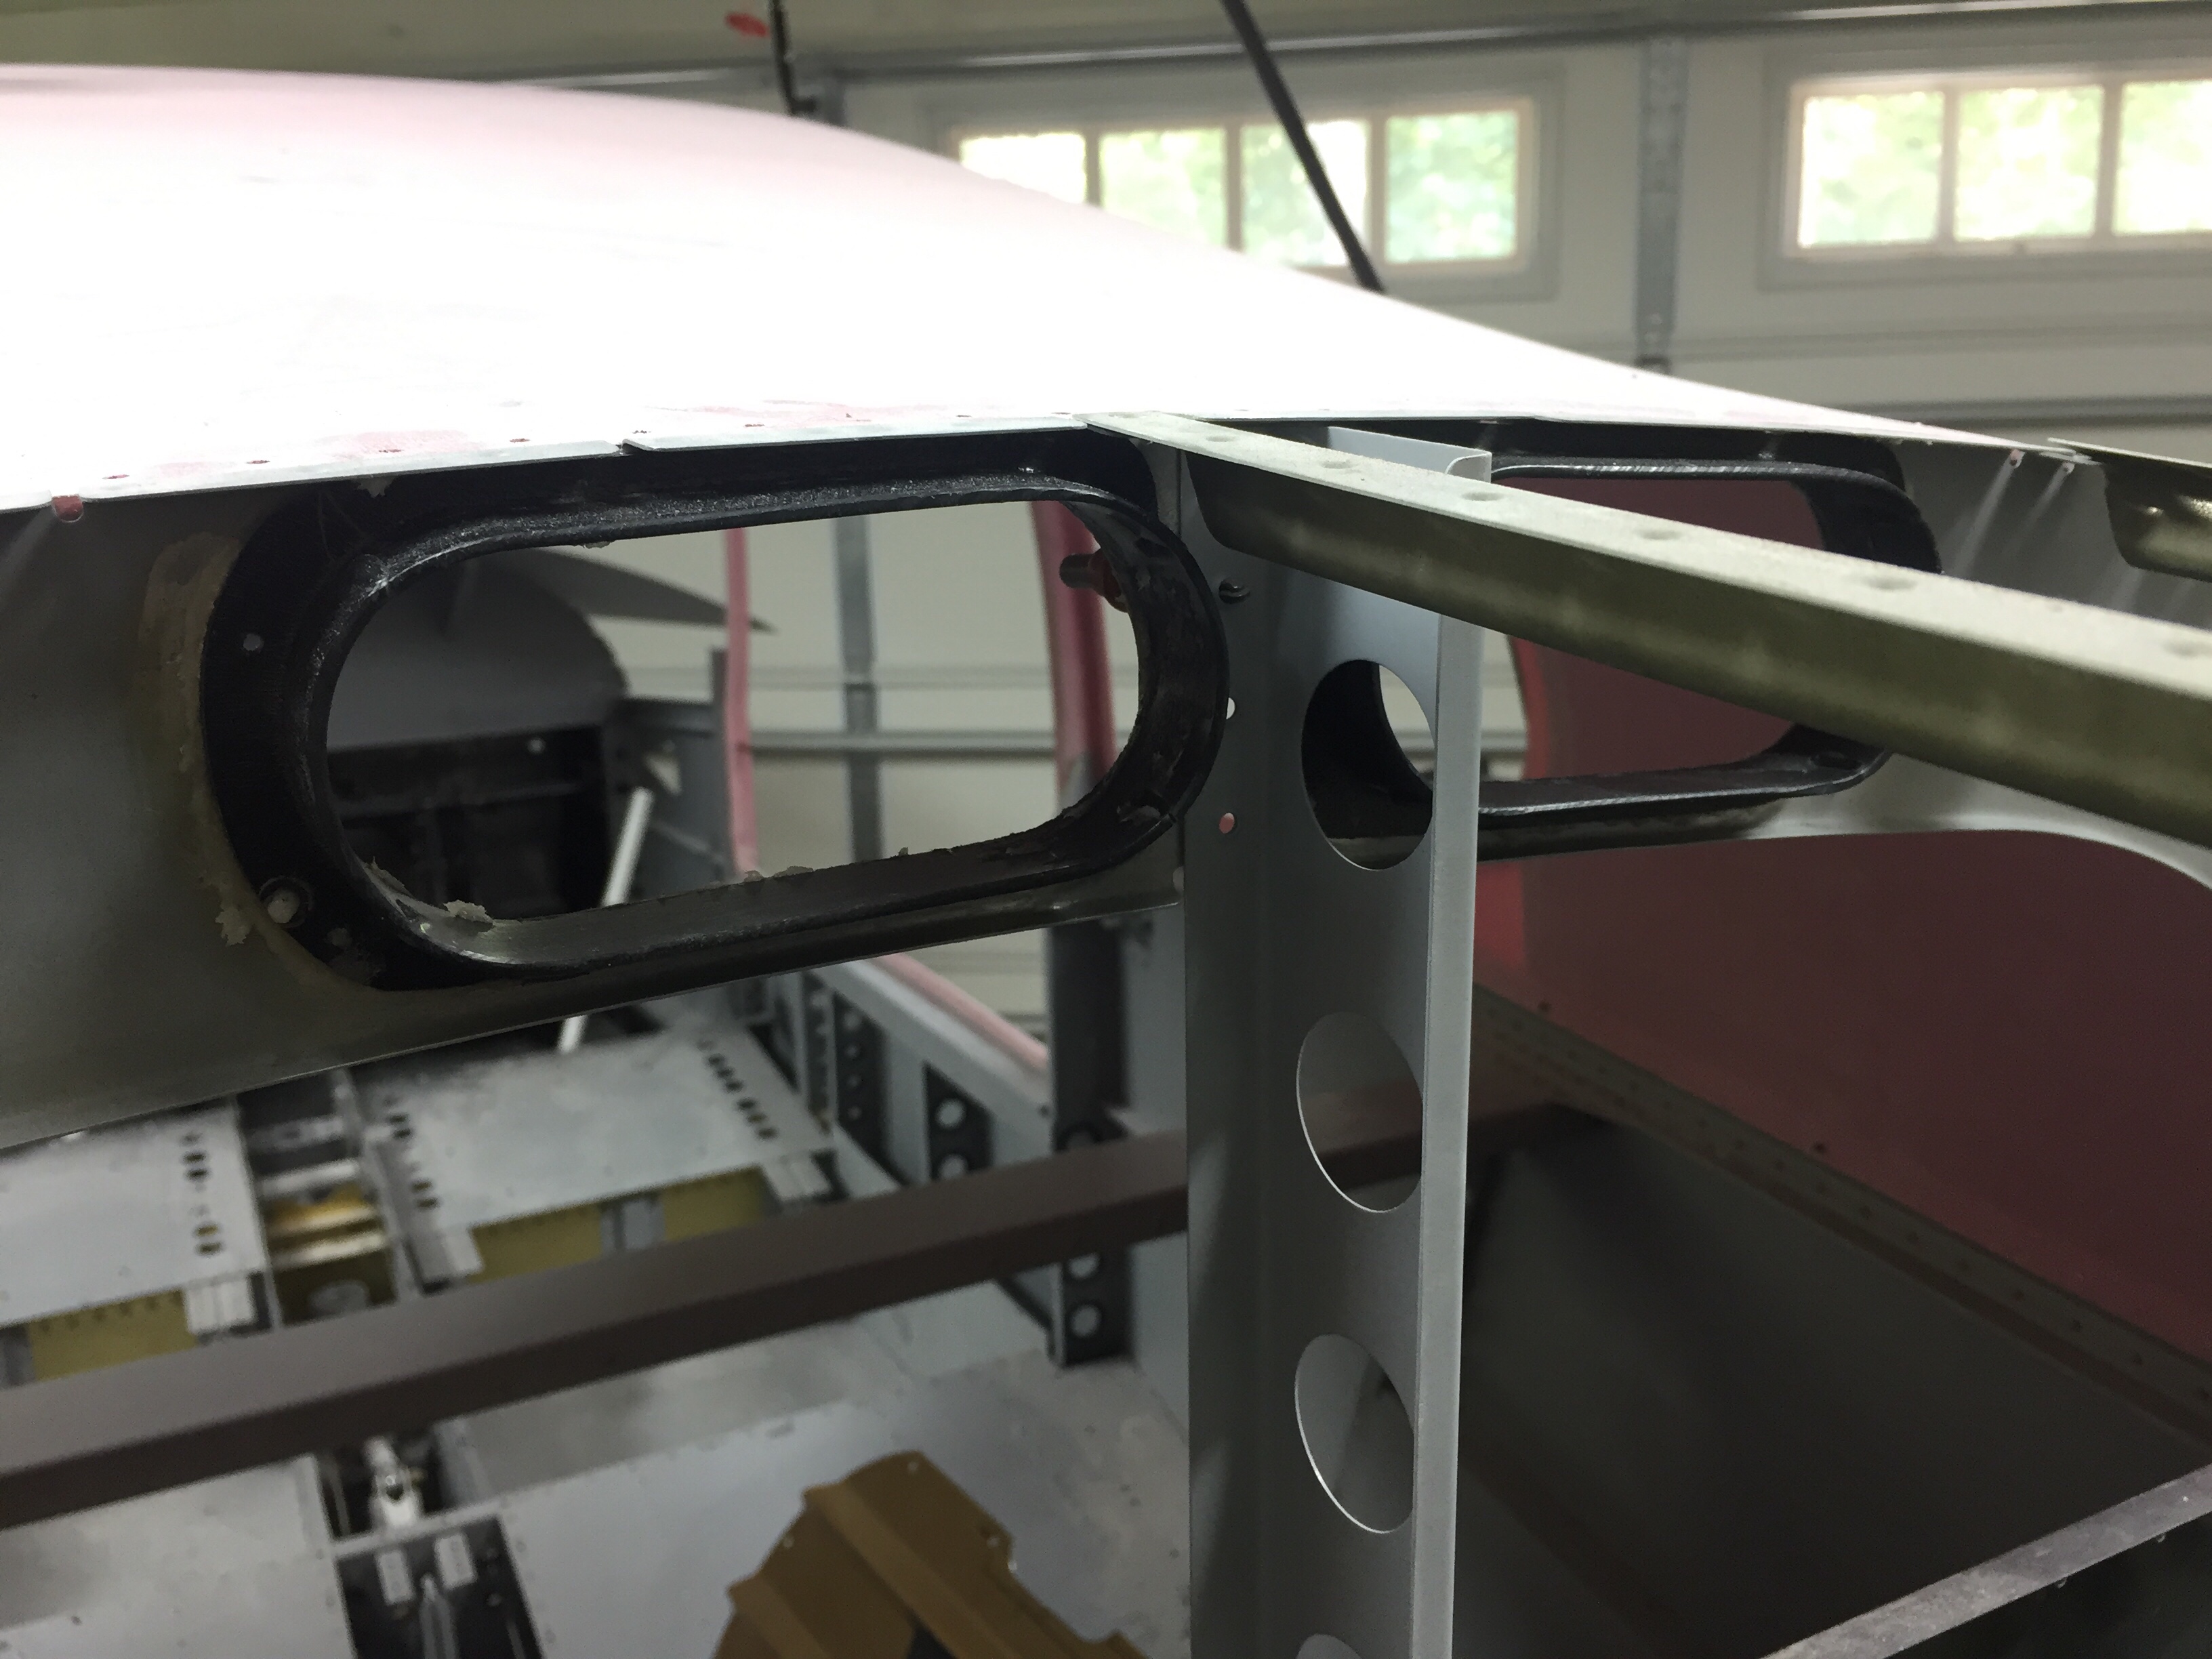
The clearance between the condenser and the pitch torque tube and pitch auto pilot servo is tight but it does all fit with no interference. With all of the equipment and exhaust ducting in place, I need to supply a fresh air source. The stock setup used one of the ducts you can see in the floor of the tail cone above, but they scooped air out of the exhaust heavy airstream. Again, like factory setups, I decided to have a vent on the opposite side of the tail cone with some small louvers just forward of the horizontal stabilizer. If any moisture does come in, it has an easy way out around the tail tie down and won’t affect electronics either.
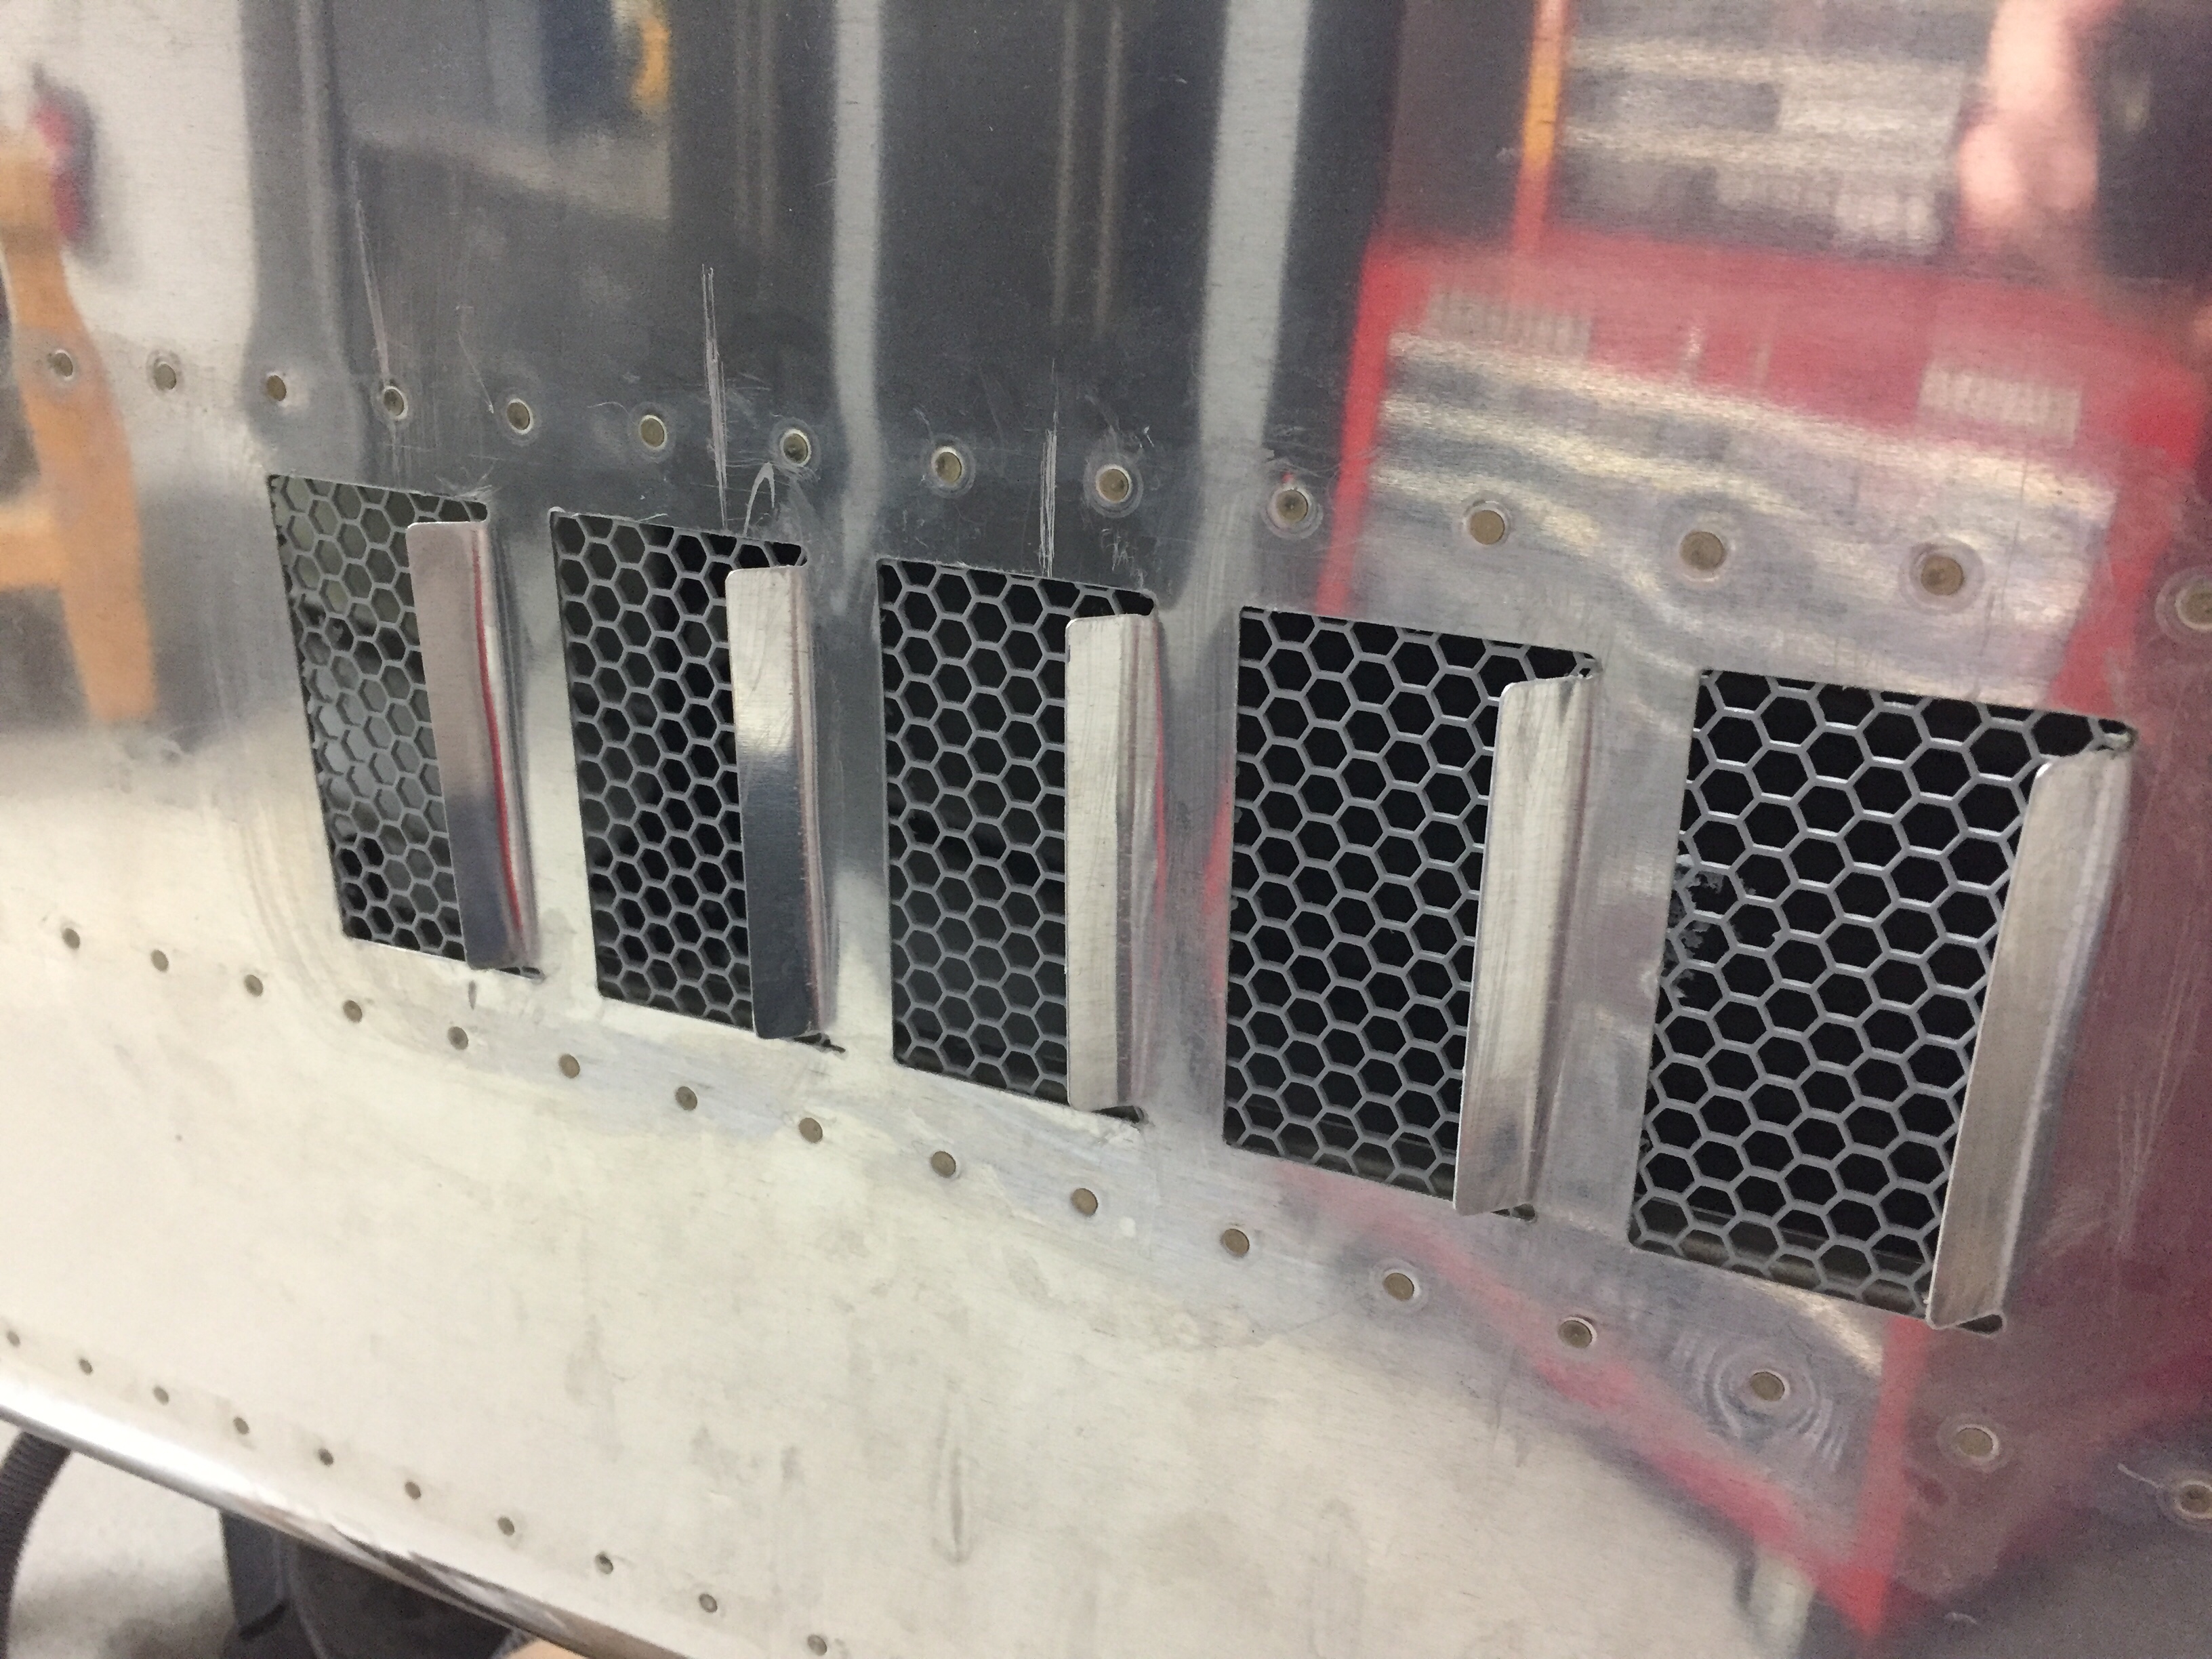
I kind of wish I had put louvers such as these on the exhaust side, but they’d be pretty easy to add later if needed, so I’ll add them after flying if I have any issues. The same grille material was epoxied in using a flow mixture that was used for the exhaust grille and plenum.
On the cabin side of the system, I cut the holes for the supply ducts into the baggage bulkhead and epoxied the duct shells into place. These line up into the Aerosport overhead console and the return air for the evaporator will go through the bulkhead itself as I am reusing the original owner’s setup and will have a faux trim covering the bulkhead to dress it up a bit.
Since I had taken everything else apart, I tore into the cabin fan box as well just to see what it looked like. It’s a pretty simple system but seems to work well. One thing I did notice was the fan speed control having four speeds. The wiring was to the low, medium, and high speeds with the max being unused. I decided to slide all three to the right so the speeds are med, high, and max which should give even more airflow out of the vents and through the cabin.
I took some extra time to silicone seal the assembly back together and made sure it was nearly air tight once complete again in the effort to increase efficiency. The equipment tray already had the mounting provided, so it was bolted back in and I went to work putting the flexible duct to the bulkhead supply duct headers.
I’m ordering some thin worm clamps to clamp the ducting to the headers since the zip ties don’t really create a good seal.
After all said and done, this was a lot of work but it wasn’t terrible work. I’m very optimistic that the bones of the system will now work even better to provide cool air to the cabin and minimize the amount of attention the system will need over time. I still need to run the electrical and refrigerant hoses, which I’ll cover in a later post.
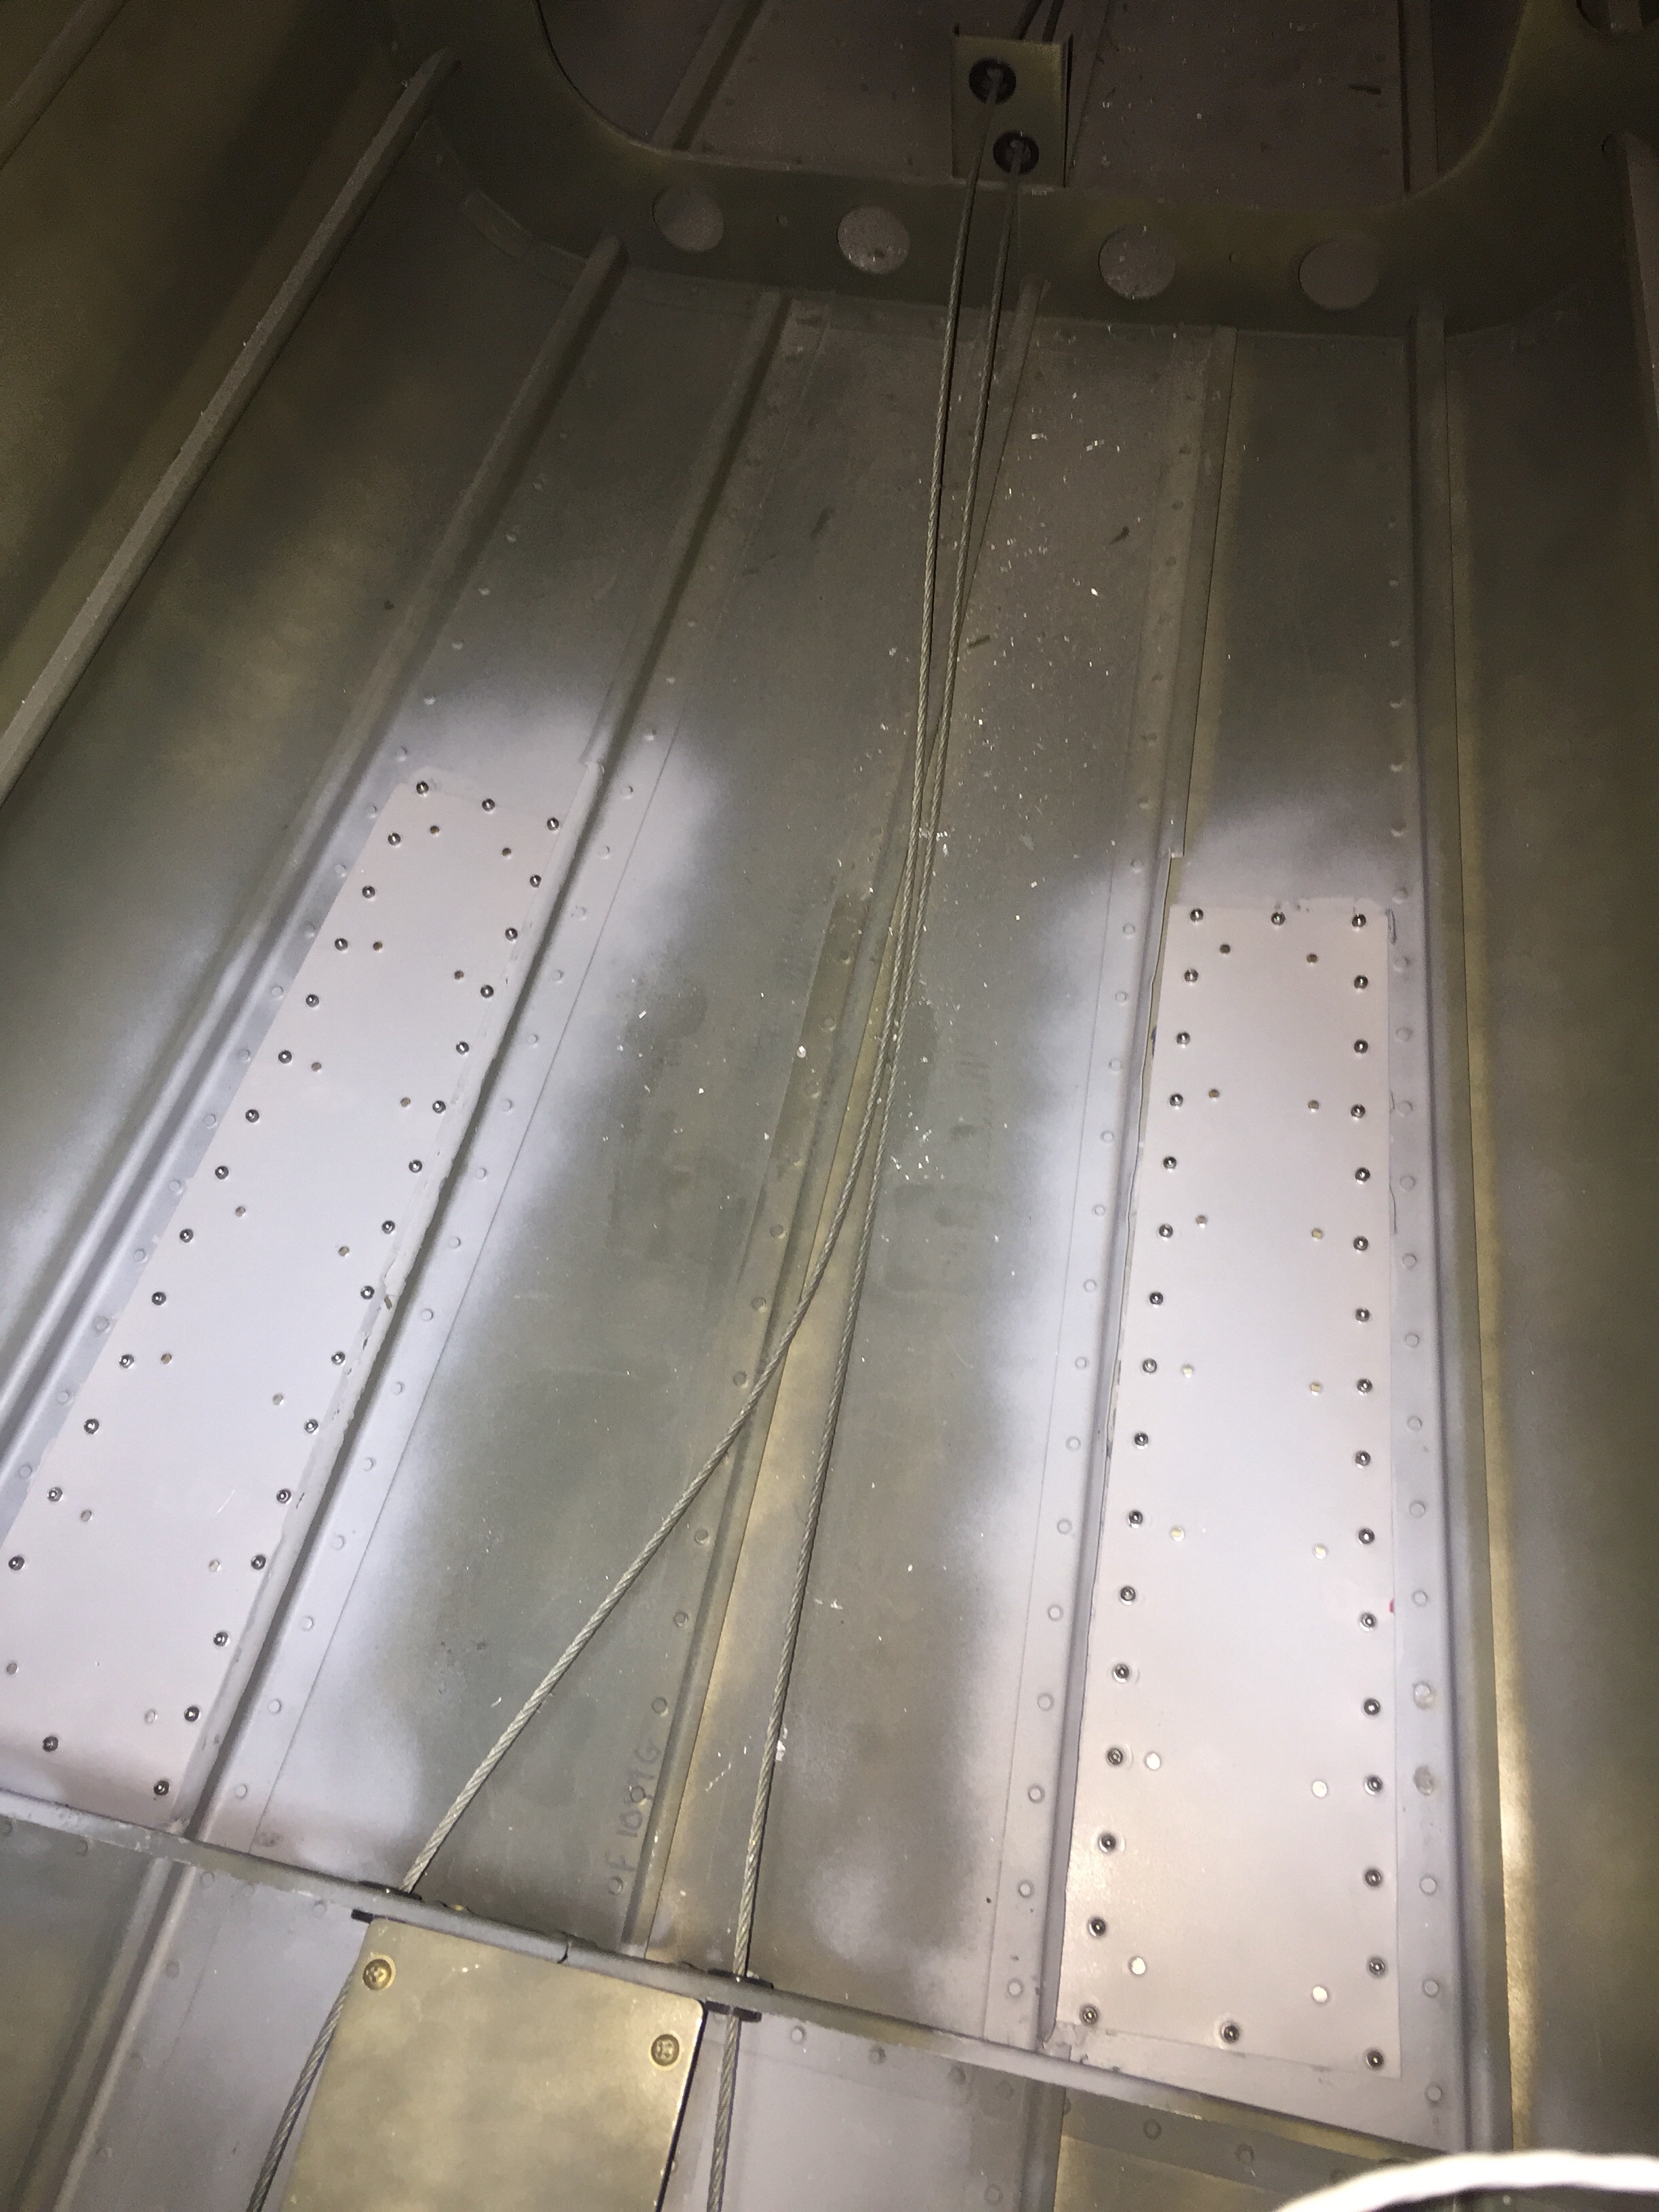
On a side note, I am still knocking little jobs off of the list such as the rudder cable fairings on the tail cone and a few other mundane tasks. Little bites at a time equal eating an elephant. Although you shouldn’t eat an elephant because you’d be a terrible person.
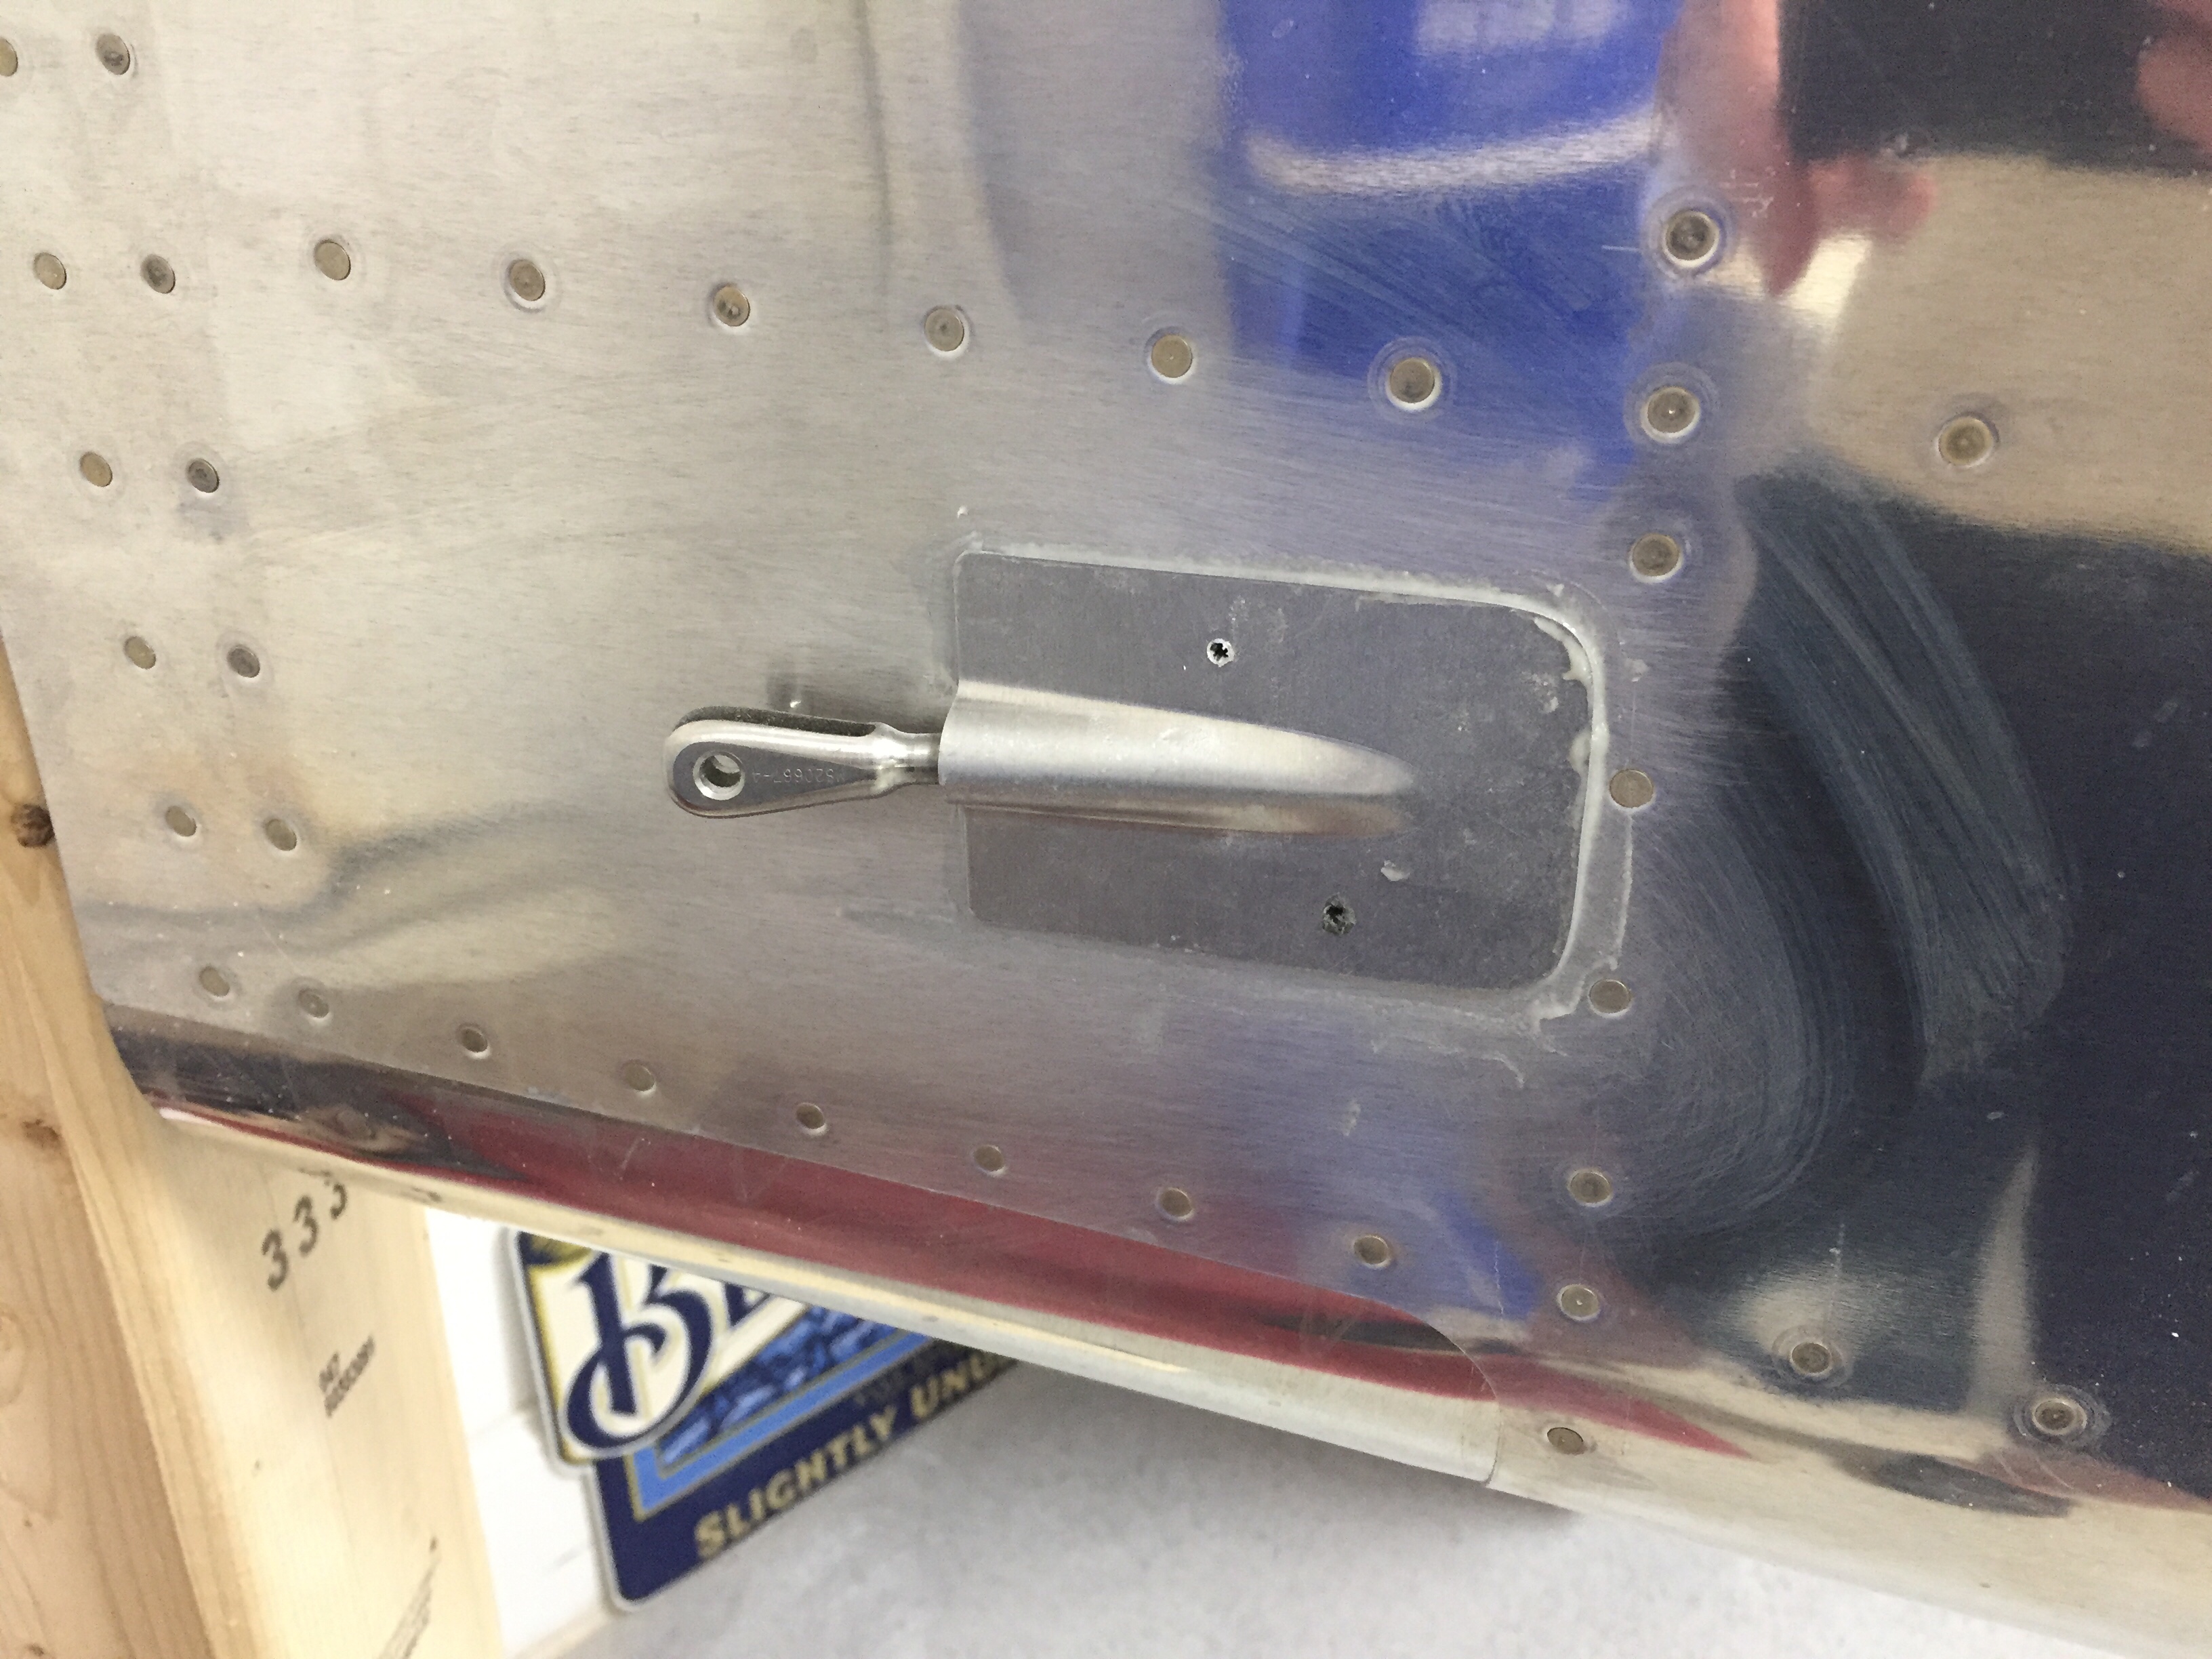
I also took out the stock intake and exhaust vents for the air conditioning and patched them using the original skin and backer plates made from the trim kit. I’ve finished that up by putting some filler in the cracks and smoothing it all out. It’s not perfect, but good enough for the bottom of the fuselage. If you’re judging my plane that much, you better have a rag and cleaner to wipe it down while you’re under there!