
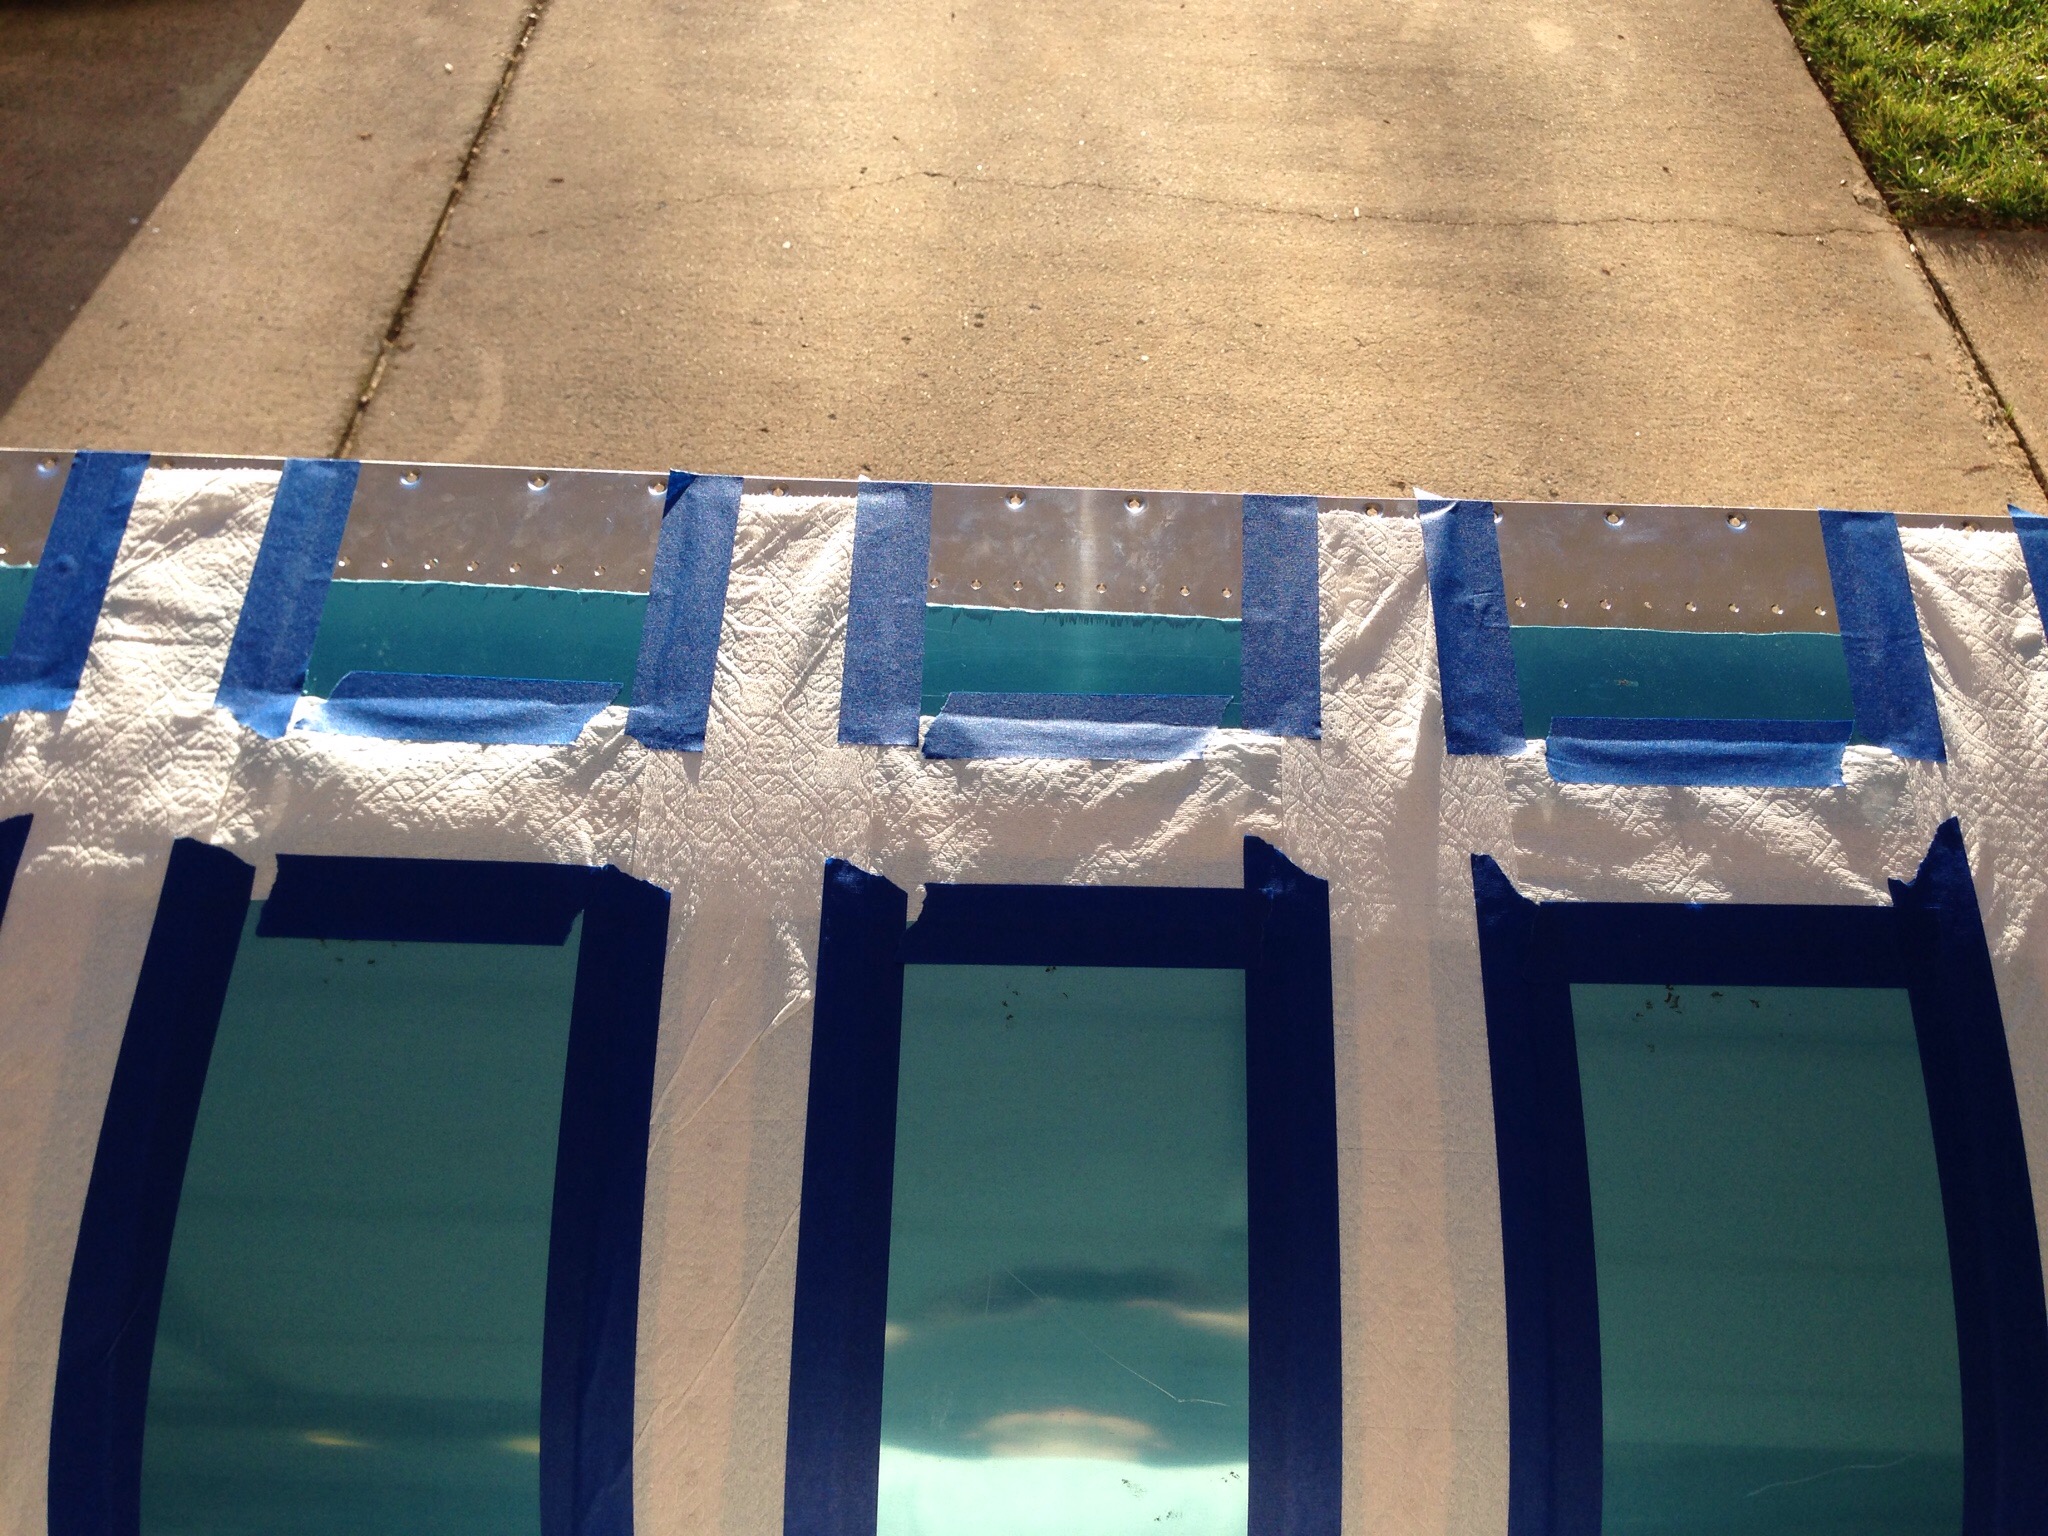
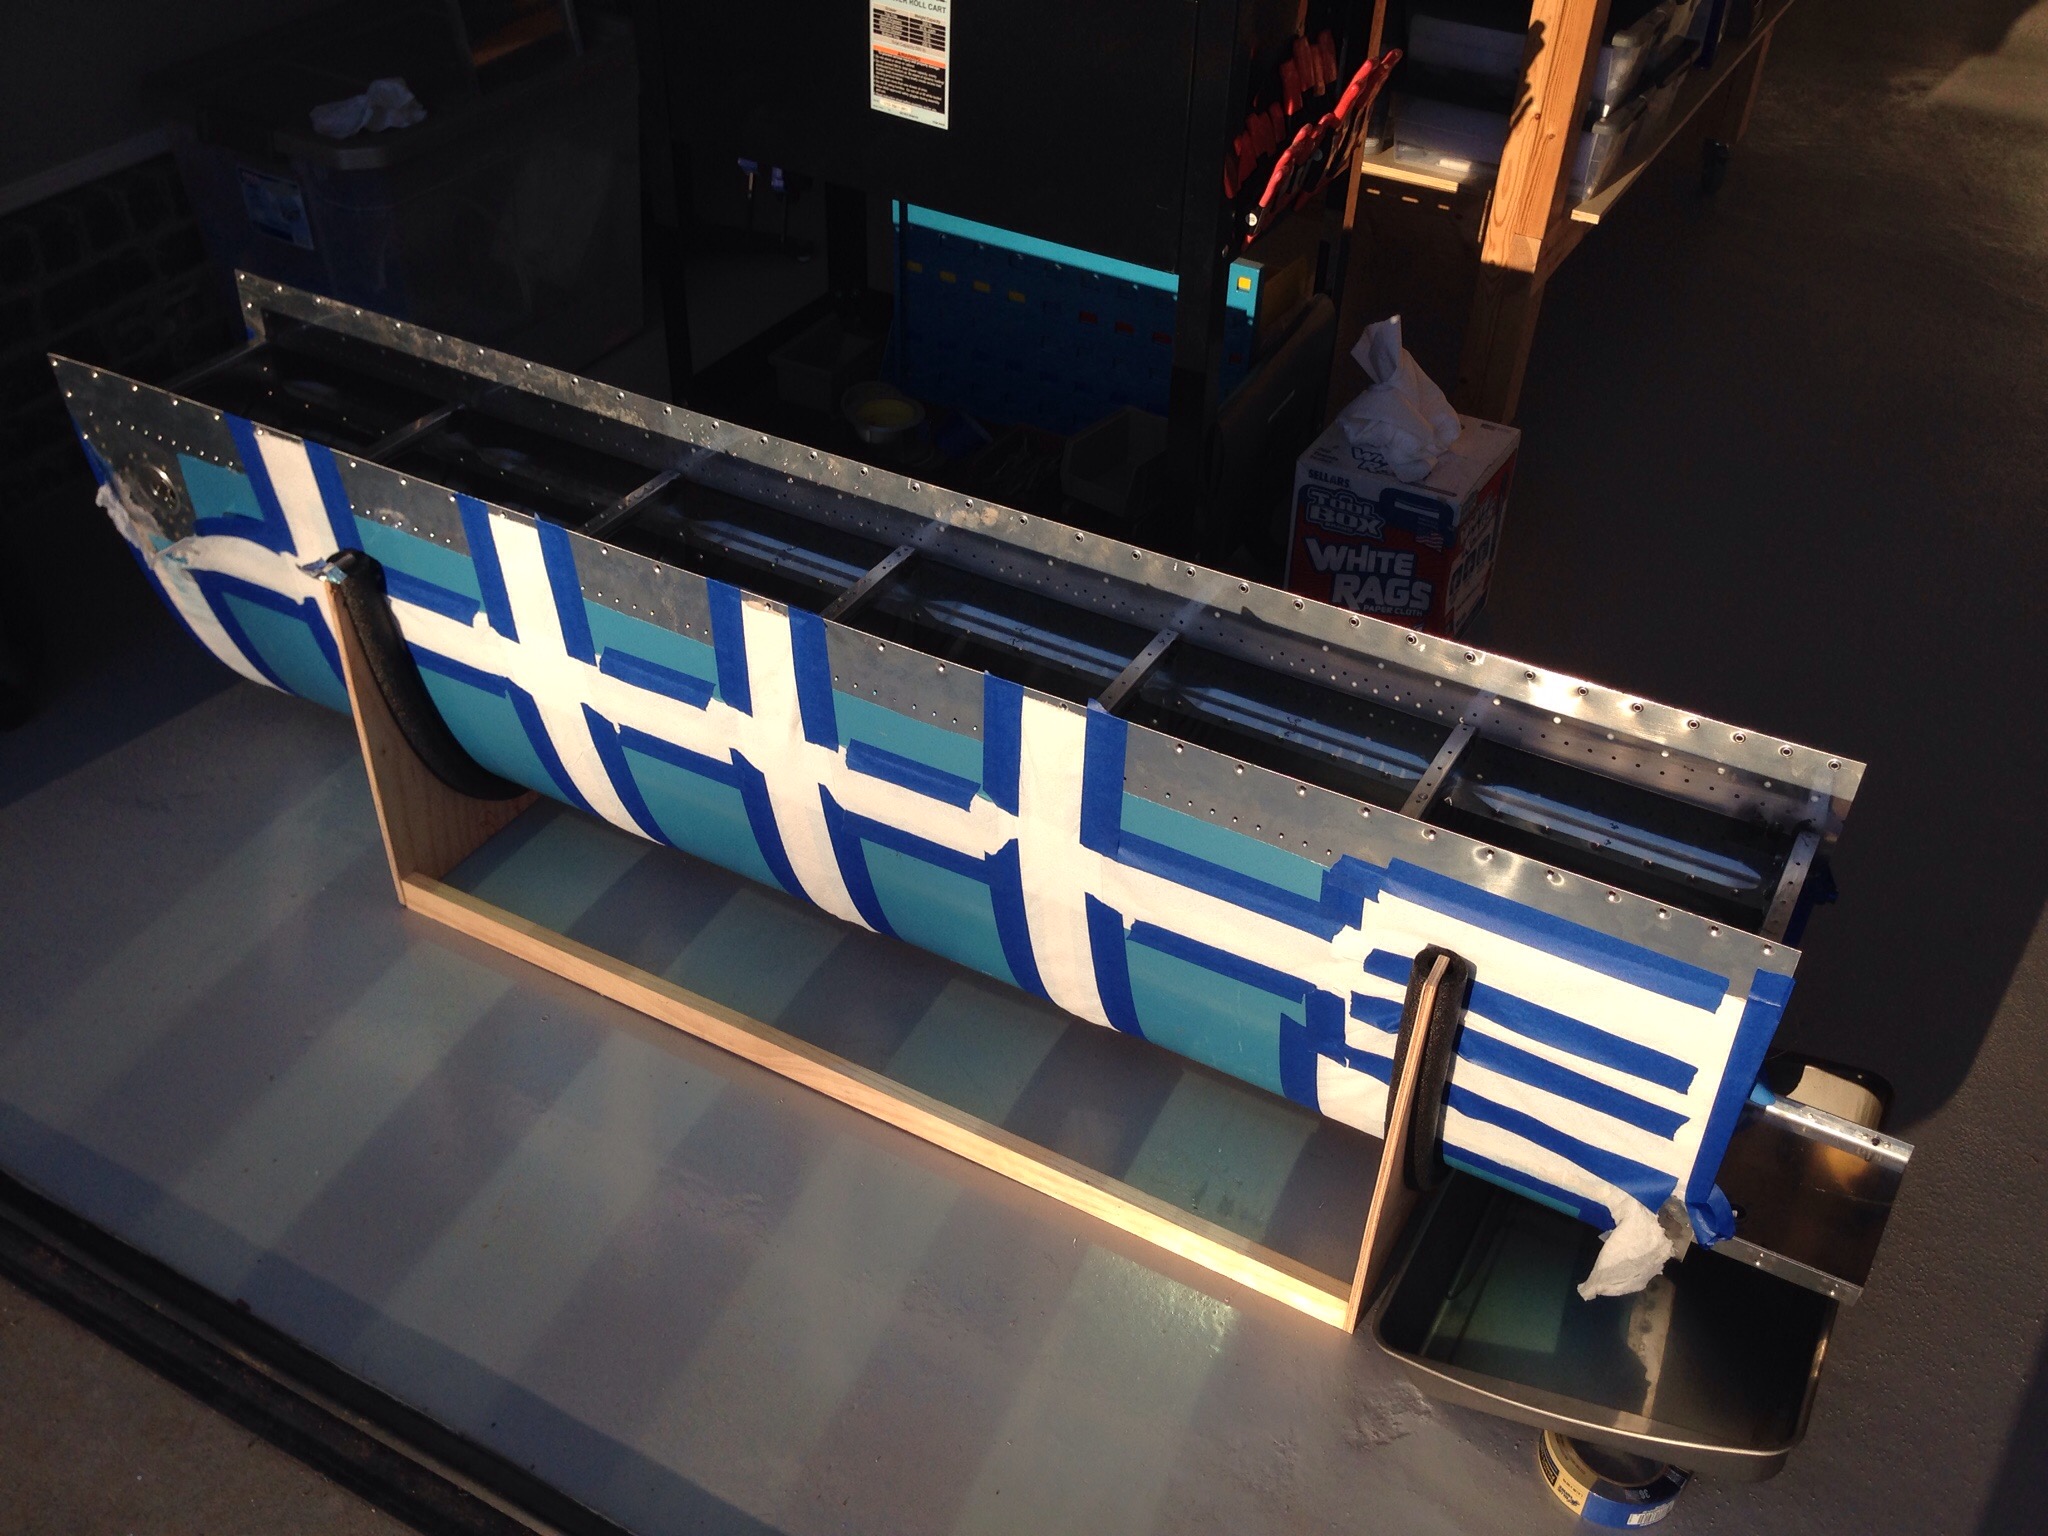
You can guess how it went by the title. I read another build log and saw the idea of testing the tanks before sealing the rear baffle in with water and food coloring. The guy had taped toilet paper on all the seams to be able to identify weeping rivets / leaking joints. I decided that was a good idea since I’m not in a hurry and it would allow me to fix any spots with Pro-seal instead of having to tear into the sealed tanks.
Boy am I glad I did this.
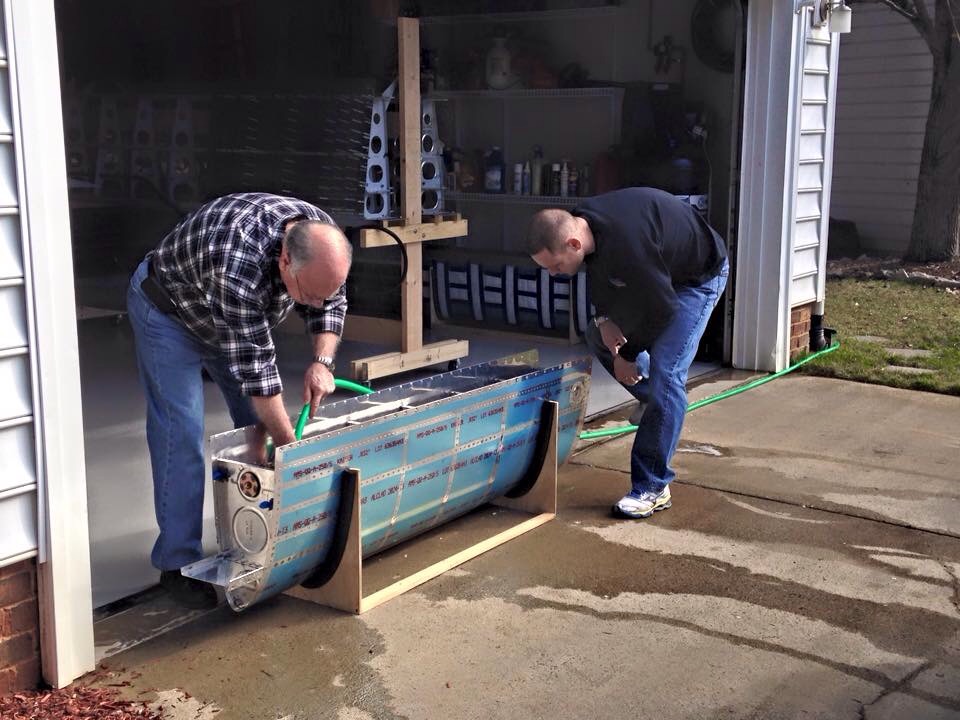
My dad and I got out the hose and filled up the right tank first. Overall, I’m really happy with my first Pro-seal job. I had one weeping rivet (a solid, steady drip) at the fuel cap flange and a stead little stream at the seam between the front spar and skin. After a little inspection, I think I can see where I didn’t get a complete fillet on that joint, so I’m confident it will be a quick fix. I also had one drop appear on the fuel sender plate after letting it sit for 24 hours, so I’ll beef up the Pro-seal on those as well.
The toilet paper really wasn’t neccessary, so I didn’t repeat the prep on the left tank. We filled it up and were immediately standing in water. I missed a fillet on the outboard rib and it was a pretty good leak there. I also had one weeping rivet on the bottom leading edge of a middle rib that I’ll need to put some more on.
I’m pretty excited that my work was solid and method proven capable. I didn’t use nearly as much as others and my tanks look clean. While I know it wont’ win any awards, it makes me feel better not having the extra mess, weight, and sloppiness inside my tanks. My plan is to fix those few spots after a couple of days of drying and then retest for a few days to ensure they are all set before cleaning and sealing the rear baffles.