The Aerosport interior panels have been sitting for some time with a little work done but nothing complete. Now that the inner door frame is all filled in and sanded, it was time to make the final fit fixes to the panels and tidy up the interior. I had made a mistake on the pilot side front panel so used some scrap from trimming the rear panel to create a patch. With a little filler, it will be as good as new. I also followed other’s lead and misdrilled a hole that required a fix, again not a huge issue. It’s tough to fit all of these, as you don’t really know where they should line up with until you just dive in. I trimmed them along the molded trim lines and took my time to sculpt a few areas where it meets the fuselage structure. The hardest part was around the door frame / windshield pillar. The right side was an easy fit fortunately, but the left side took some work. I didn’t fill the cabin top in far enough down the pillar so I had to apply a filler block, epoxy, then SuperFil to finish it up. Once the panels were located properly, I drilled the recommended mounting holes and installed nutplates on the fuselage. I also drilled the pockets and cup holders onto the front panels.
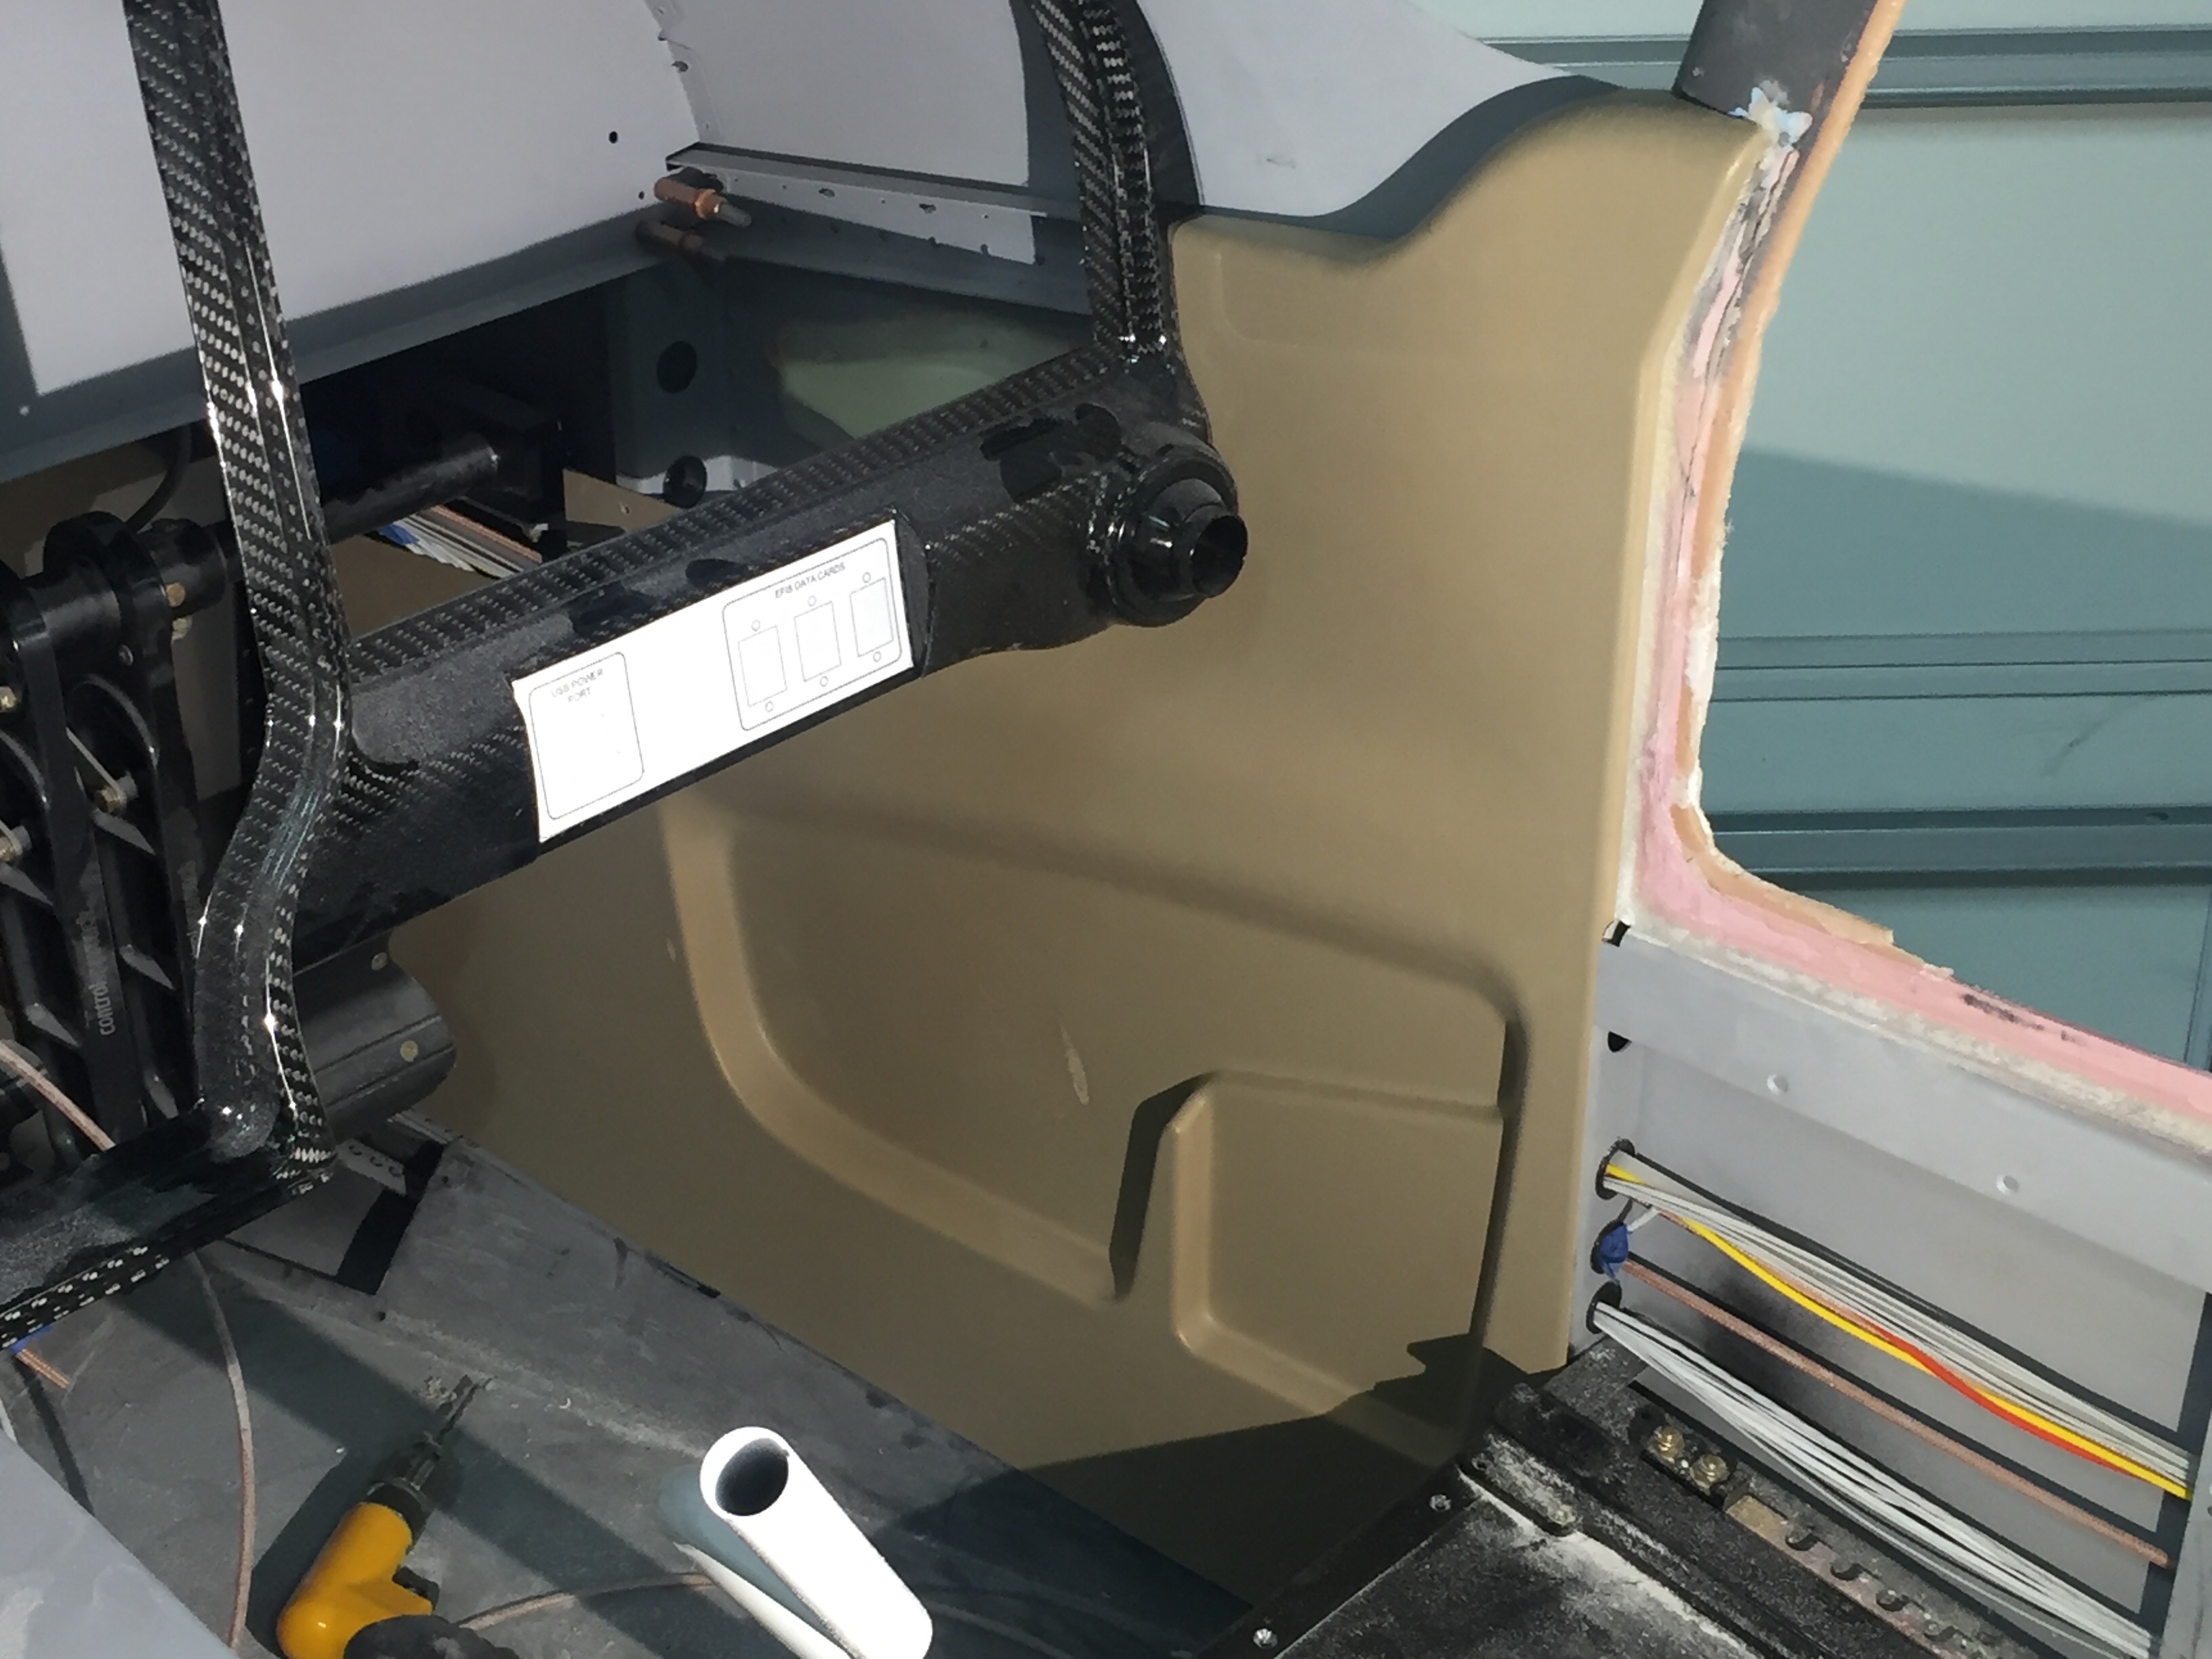
The front Mountain High oxygen ports will be installed in the front panels using the relief in the port to hold them in place. I measured 54 times and then cut twice, purposely leaving the cut too small the first time. I did not want to ruin a panel by cutting a gaping hole. While it’s a snug fit and not something I want to do a lot, the ports pop into the panels and look really clean. I had to grind the thickness of the panel down a bit as it was too thick for the groove machined into the port case. Unfortunately, my pace of work has increased and my pace of taking photos has decreased, so stay tuned for final install pics of these.
I followed the same method to install the rear seat panels and baggage area panels which went pretty smoothly. Once I get the headliner all made up, I’ll go back and do some final trimming on the top edge of the rear and baggage panels to fit. I also fit and drill the baggage door panel, although I won’t rivet it on until later in the finishing stages. I tackled the rear vent install which was not nearly as difficult as I had feared. I followed the install guide from Aerosport and got it all done in one evening’s work session. I wound up using silicone to adhere the ducts to the inside of the fuselage skin since paint won’t hit them and it will allow a bit of flexibility to snap them on to the vent covers in the rear panels. I also had to put a bit of SuperFil in a few areas to finish off the door frames. All in all, very happy with the results and the cabin will look very nice once all painted and buttoned up.
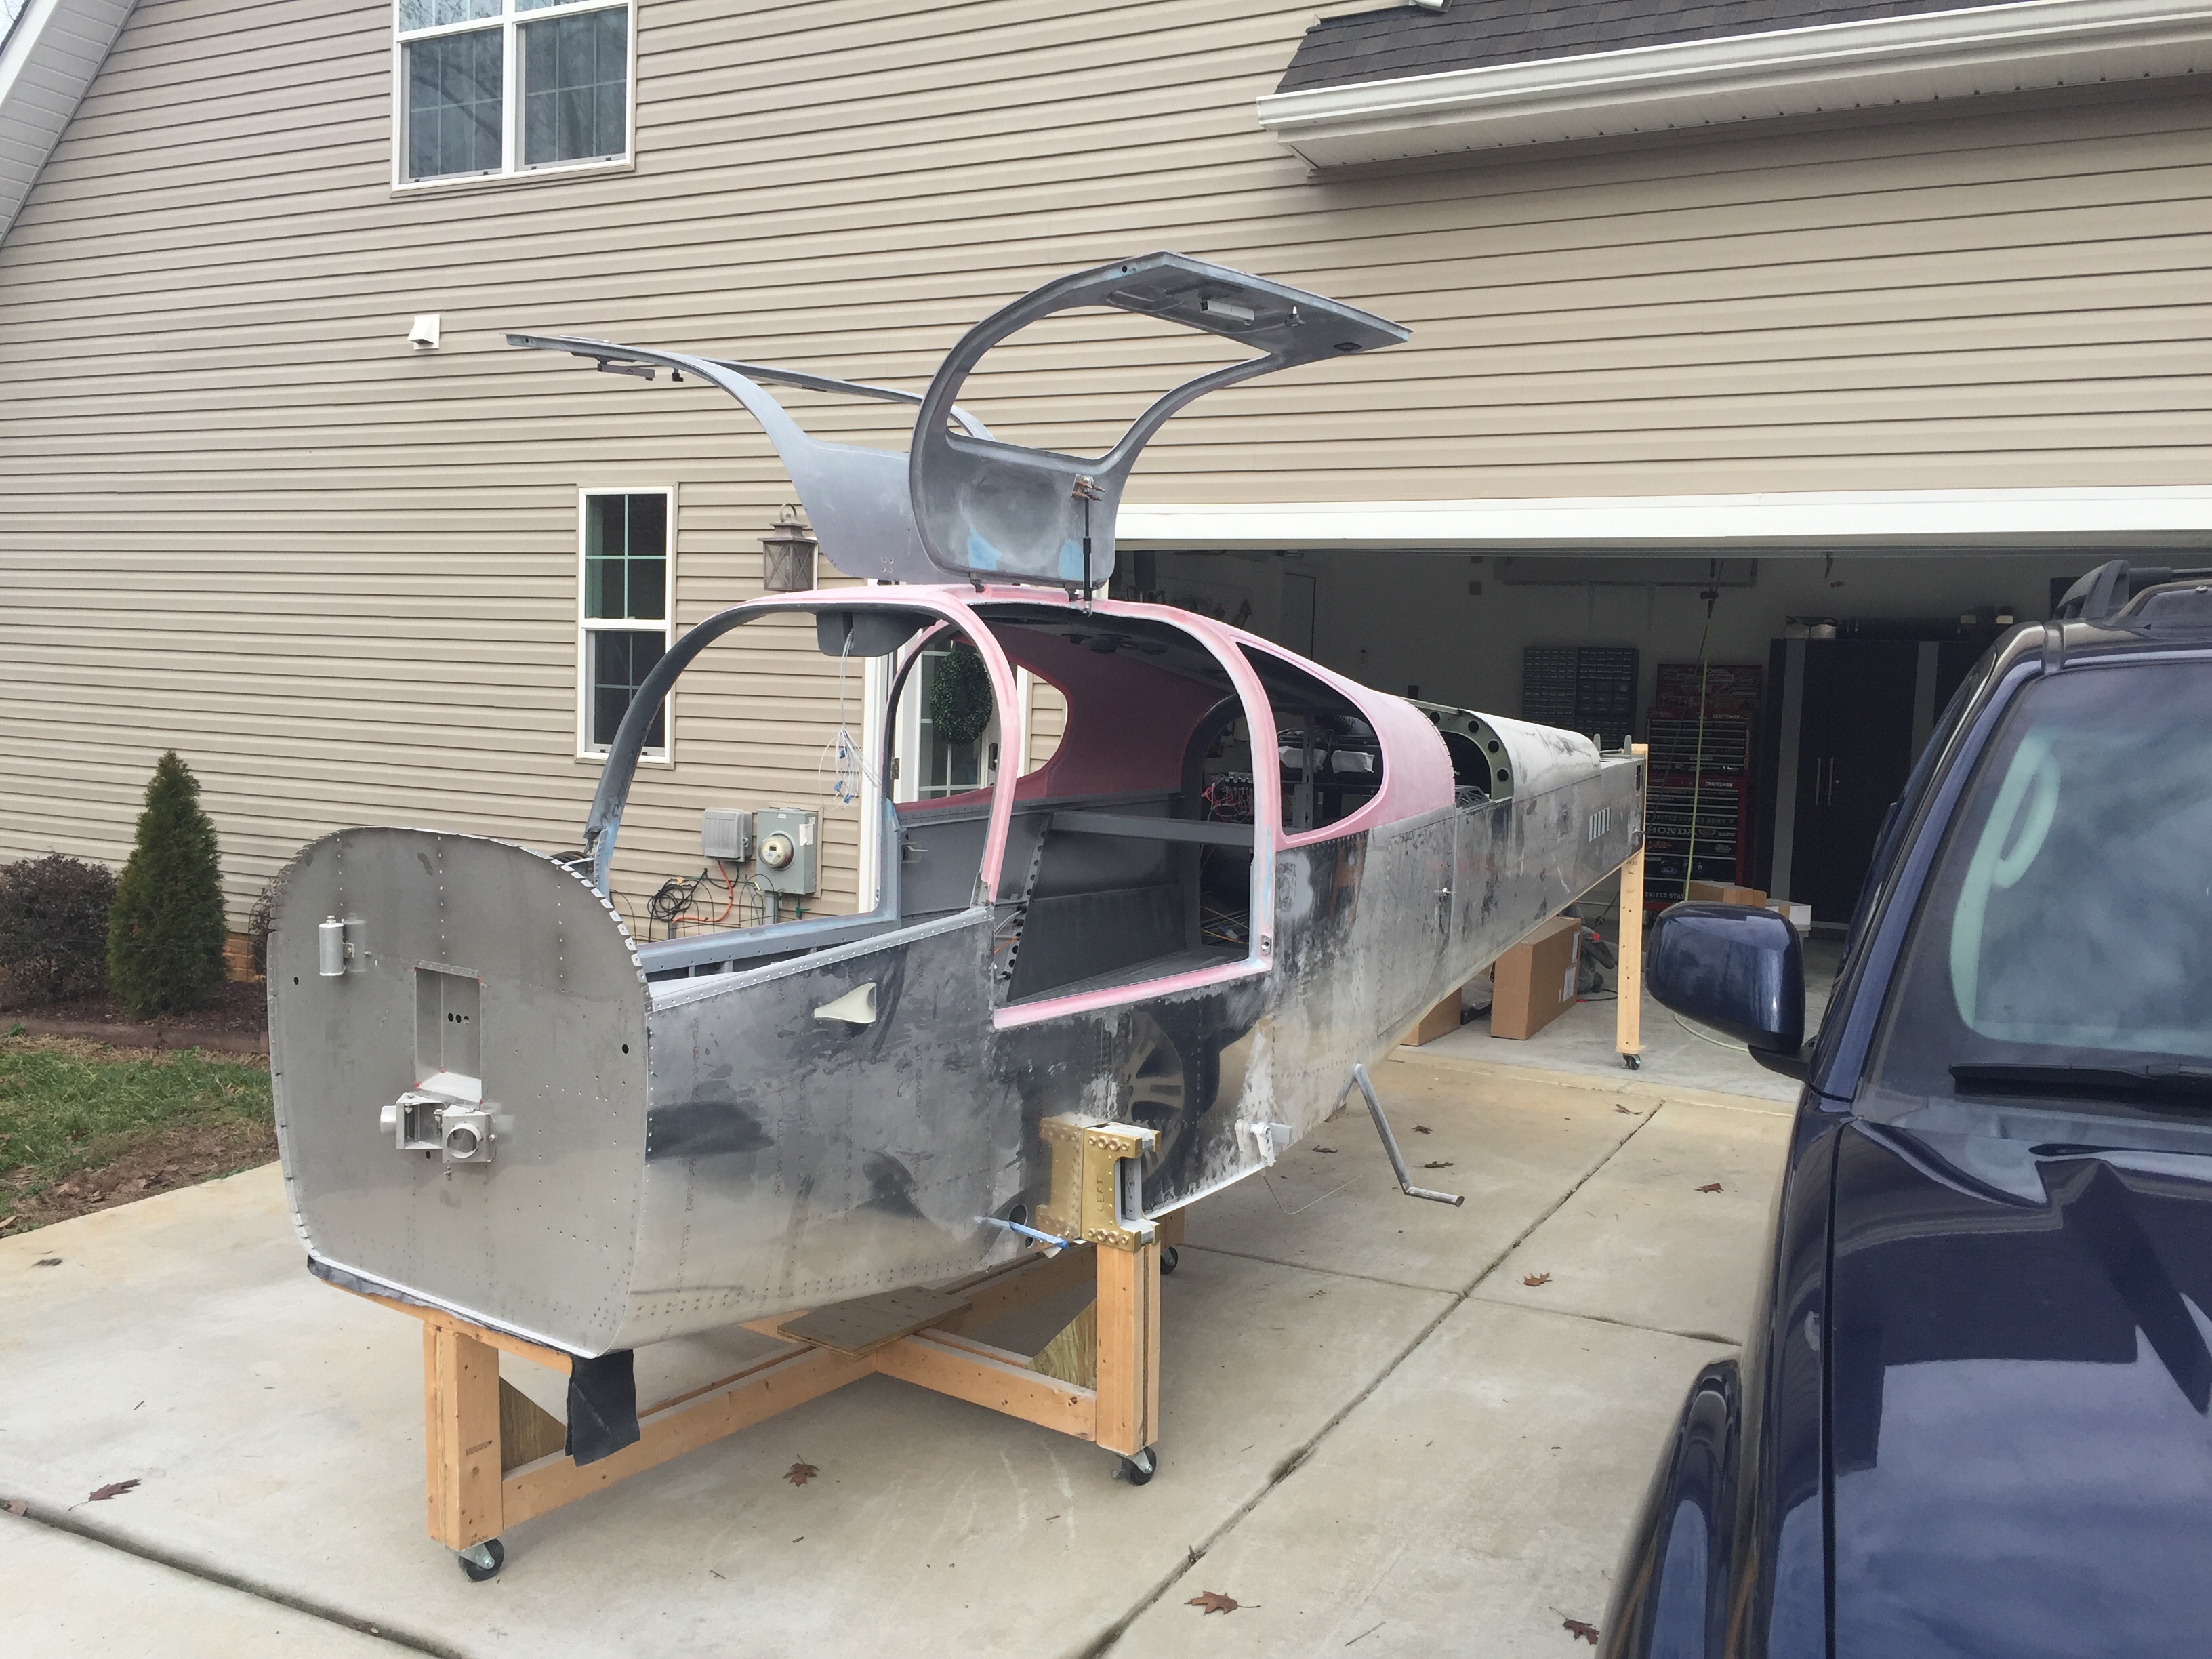
With the sanding done on the inside and door seal area, it is time to get some things cleaned up before pressing on. The entire shop, fuselage, and parts of the hardwood floors inside are covered in fiberglass dust from the preceding weeks of grinding and sanding. I want to get it mostly dust free before moving onto the seatbelts and interior. It was a beautiful day outside, so I took the opportunity to roll the fuse outside and start vacuuming. I wound up using my air gun to blow most of the hard to reach areas out while simultaneously vacuuming the bulk of the dust out. What a mess! I repeated this twice and followed it by a final blow out to get everything I could. I’ll go back and wipe the wires and everything down before closing anything up.
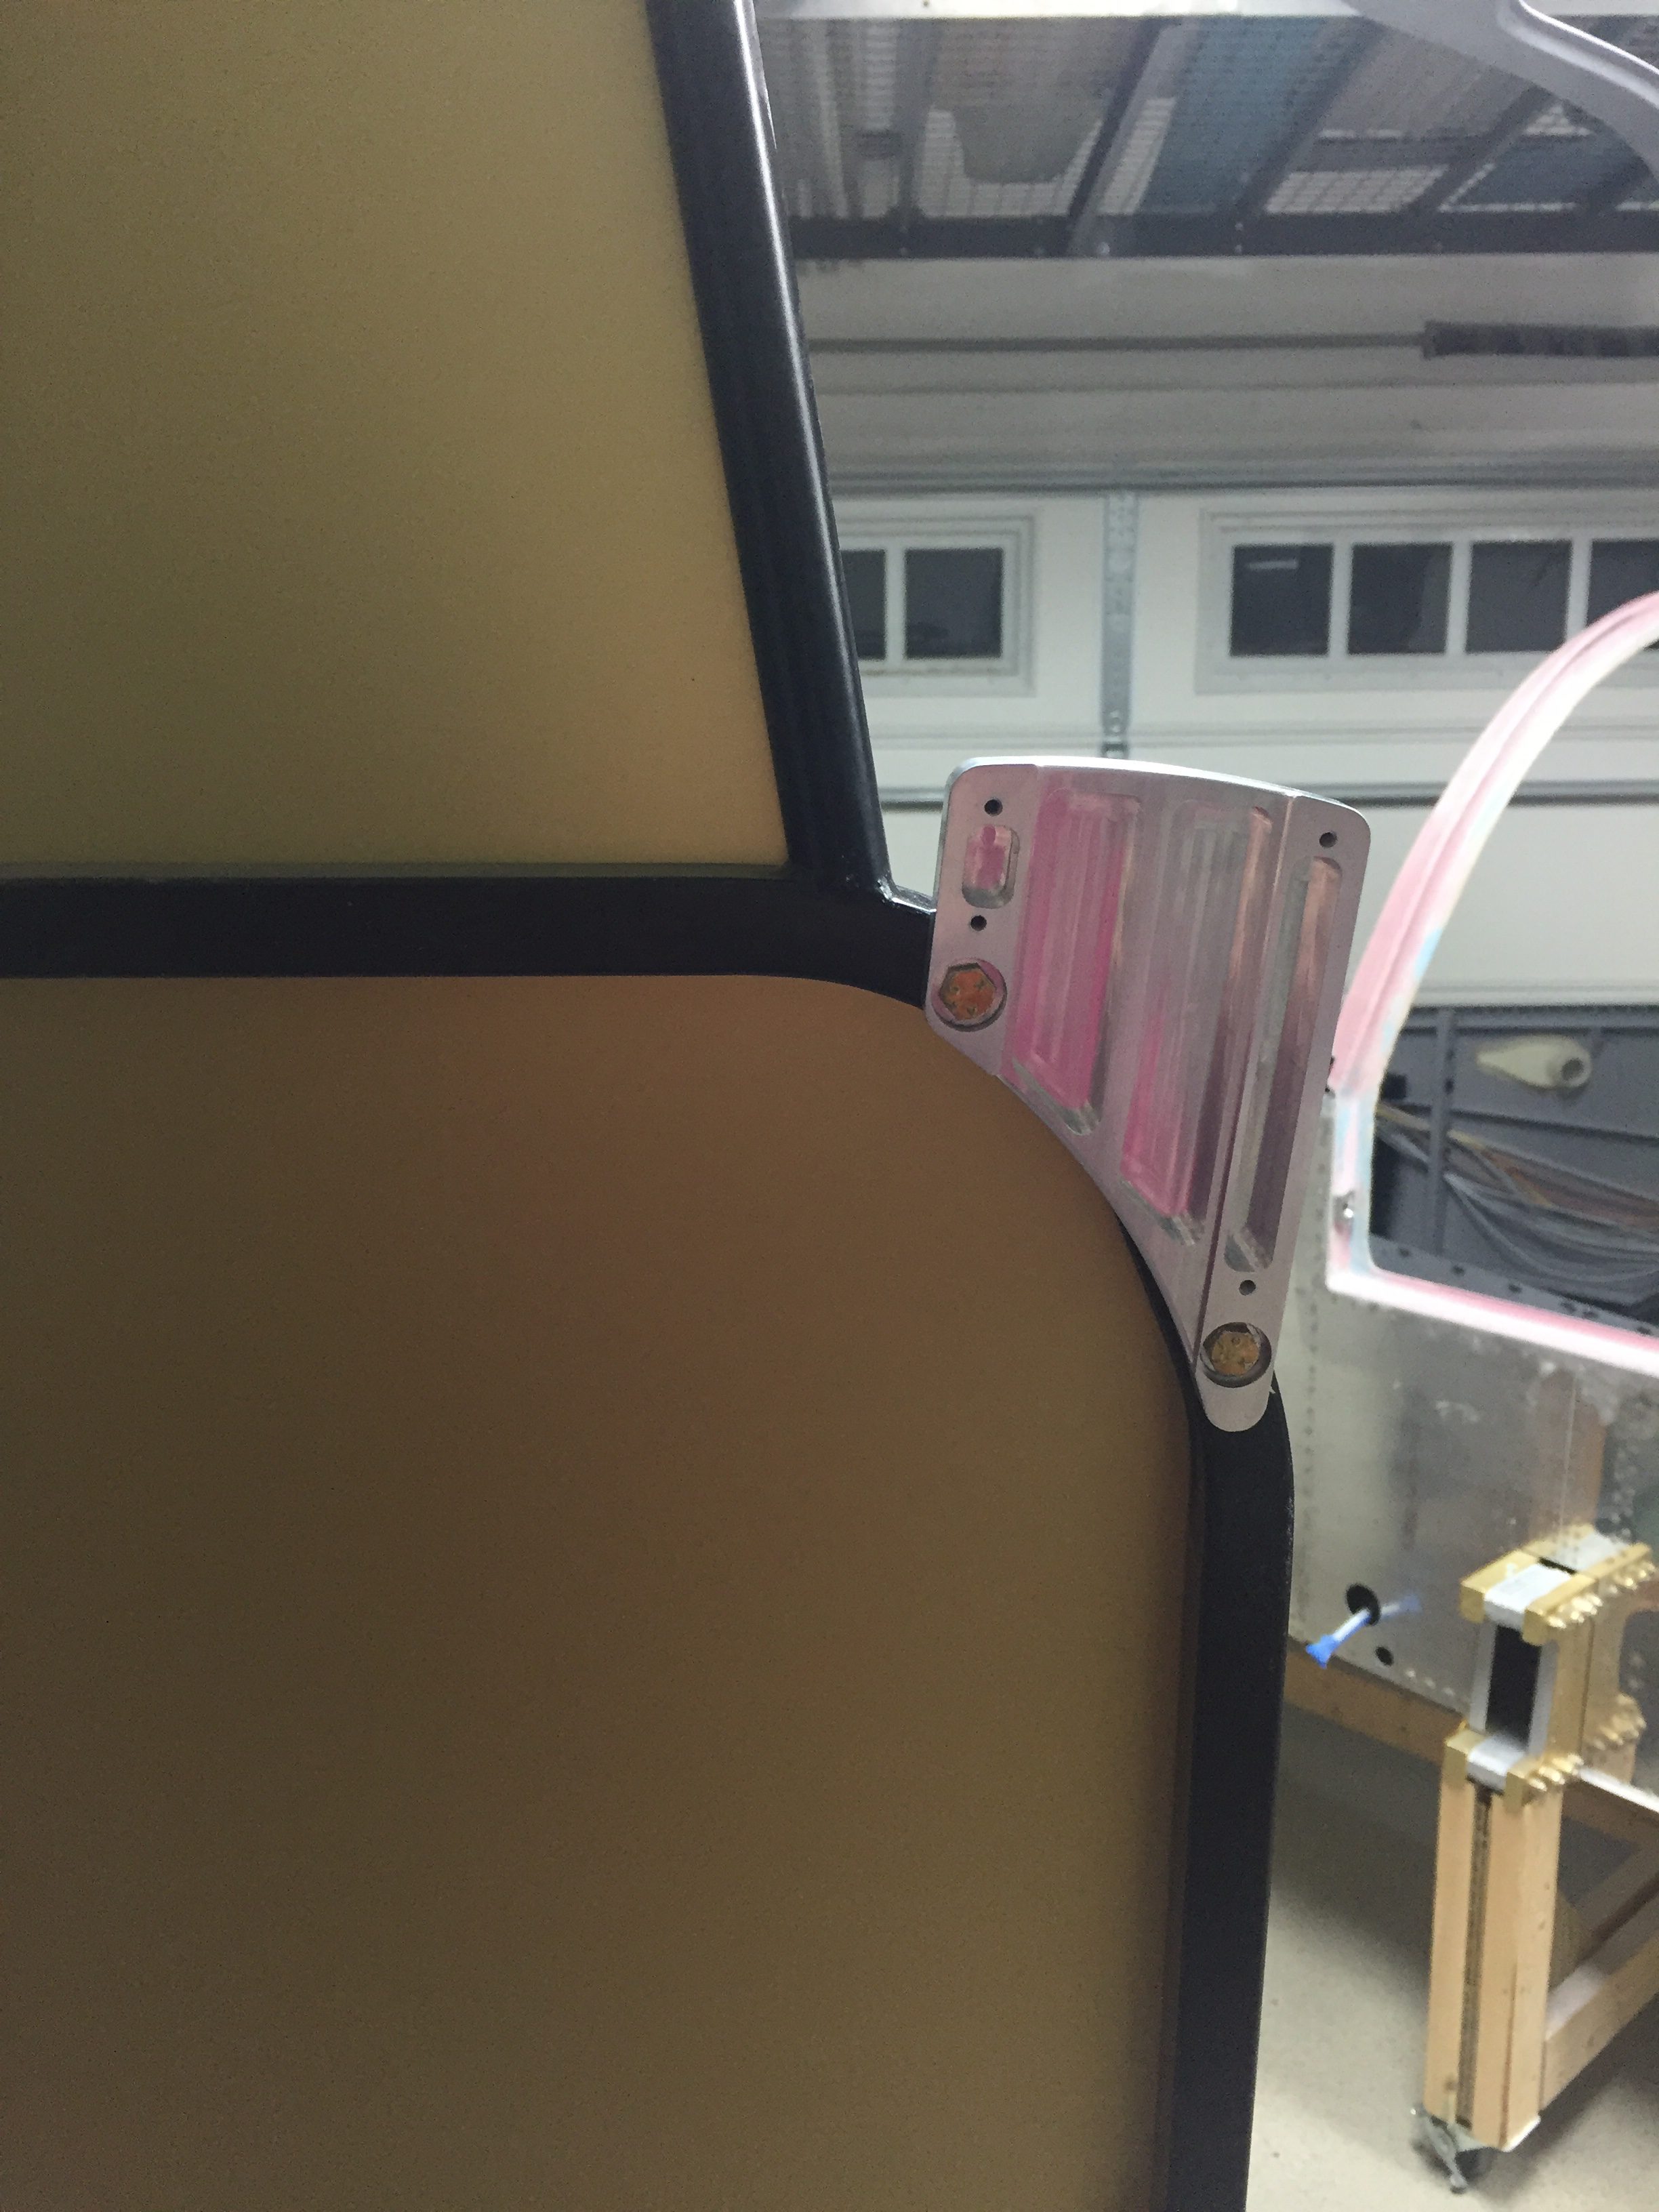
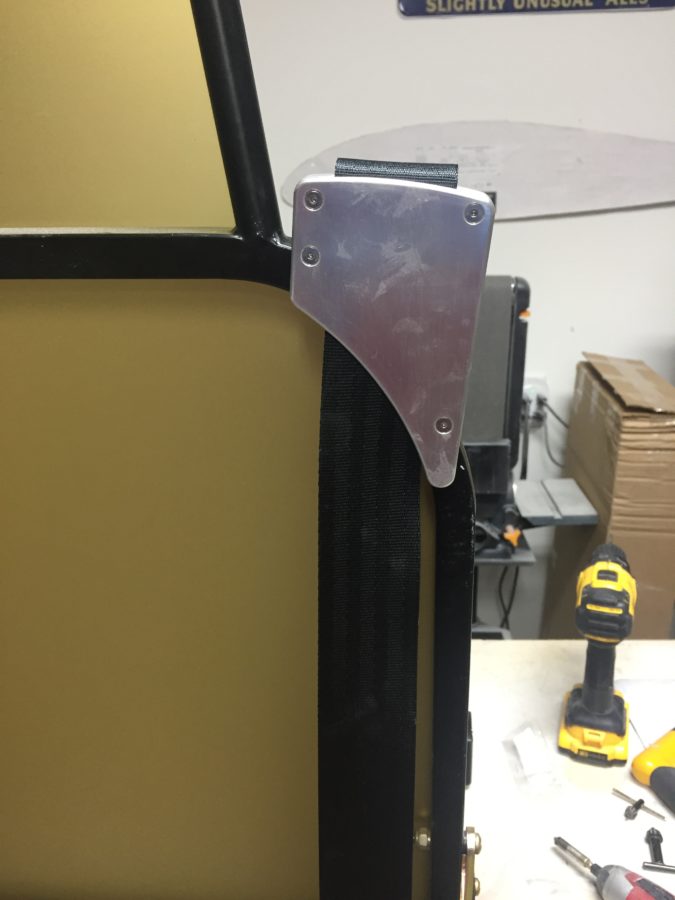
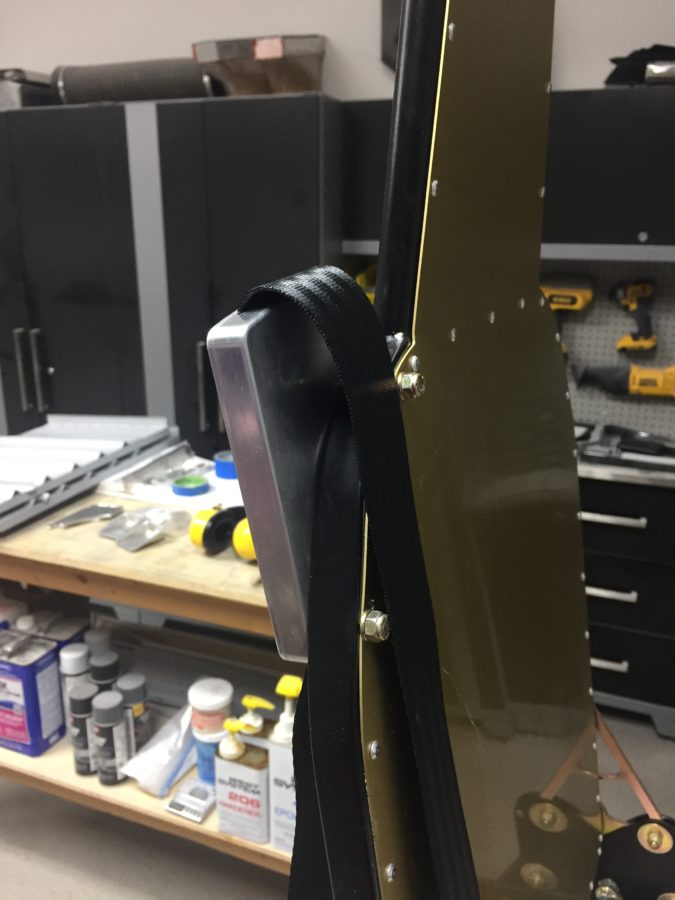
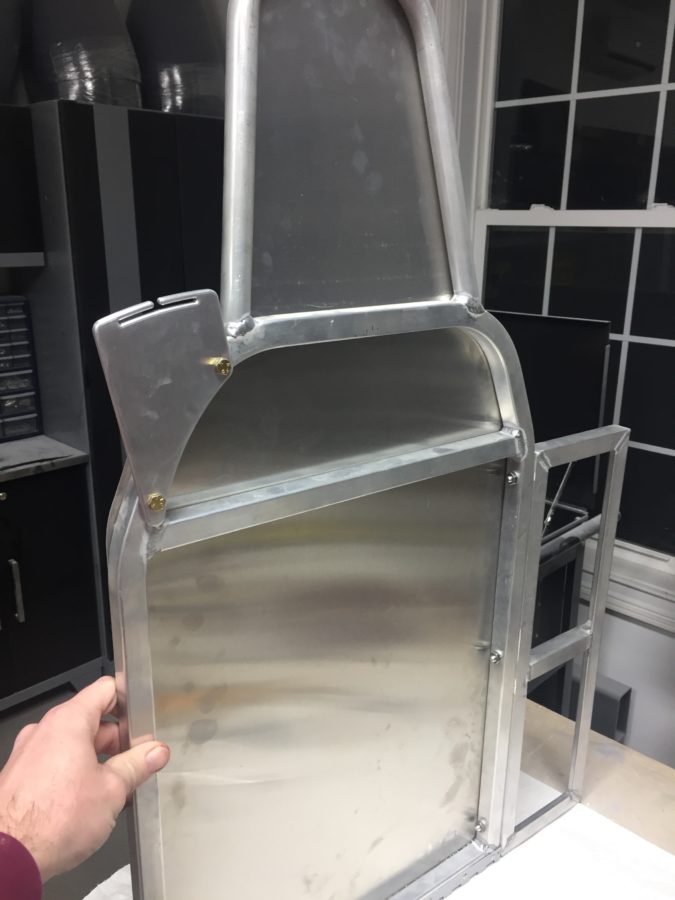
Once back in the “hangar” garage, I went to work on the seat belt brackets that I had machined from Mark Cooper’s design. These have a long story of trying to convert files and design, but in the end I got a hold of the guy he had machine his and just ordered my own set. Since I’m using inertial reels and a three point harness on all four seats, I only needed one shoulder bracket for each front seat. A couple of weeks after placing the order, the brackets arrived and wow, are they nice! The belts came from Seatbelt Planet after a custom order was placed. I used the brackets as guides to drill mounting holes into the front seat frames. I realized then that the bracket sewed onto the belt was sewed on the wrong side, with the offset not fitting into the mounting bracket. A quick call to Seatbelt Planet and I had an RMA for them to rework the error. Once back, the reel will mount to the aft spar with a plate and captive nut. The belt will run behind the seat back through a small bracket to keep it in place and up through the shoulder bracket. The seat covers will have an opening for the shoulder bracket. Since I can simply unbolt the reel and webbing at two locations, seat removal will still be quick and easy.
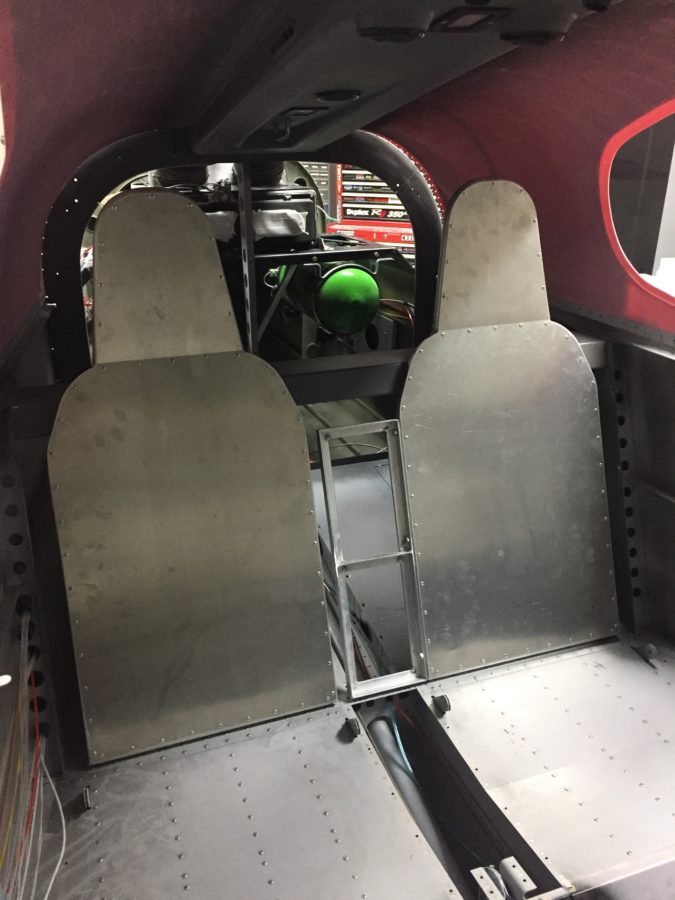
I moved onto mounting the rear seat back frames from Aerosport which required removing the hinge half from the stock seat backs and installing them on the new backs. Soon enough, I was ready to mount the rear belt brackets which are a bit different in design than the front. They allow the belt to pass through them and keep it routed properly from the reel mount on the underside of the cross bar. Since the same error was made on the rear belts, I sent them back as well. Once I receive the corrected belts, I’ll mount the reels for the front and rear seats. The seats are now just waiting on the belts to send off to Aerosport for covering. The front seats will be upholstered with the seatbelts running inside of the seat cover, so I need the belts before I can send them off.
One note is the center section from Aerosport is too short. Andrew is going to replace that when I send in the seats for upholstery. That will cover the gap and hide the cross bar completely.

