Never ending squawk list

The airworthiness inspection is rapidly approaching and it’s crunch time now. This post is about as fast and deep as all the stuff I had to do.

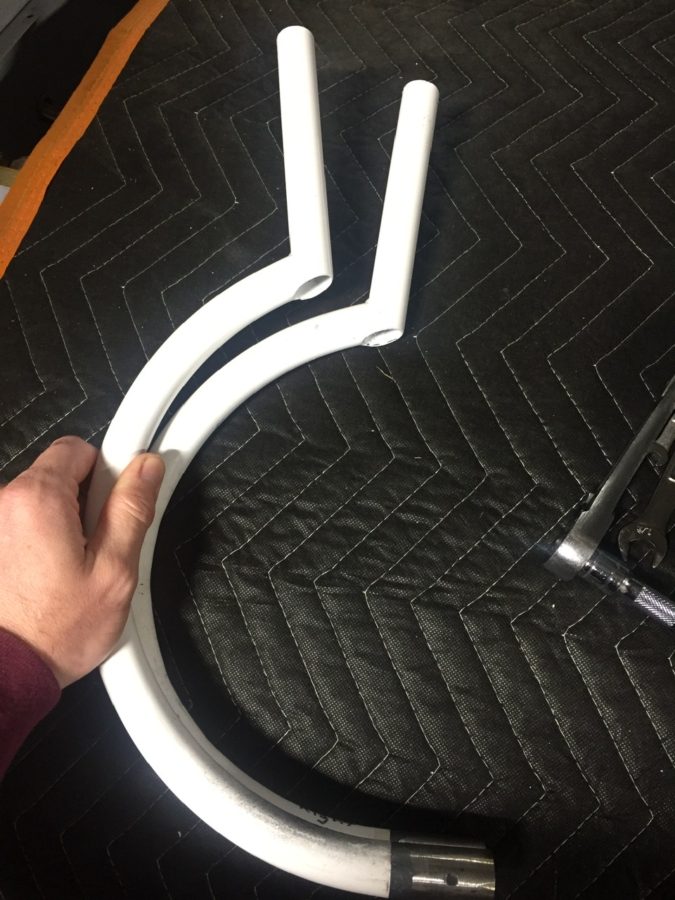
The awesome guys on based helped me bend my control sticks to provide plenty of clearance to the instrument panel. I still hit the flap switch in the full nose down, right roll position, but if I ever have to use that stick input, I have way more concerns about dying.
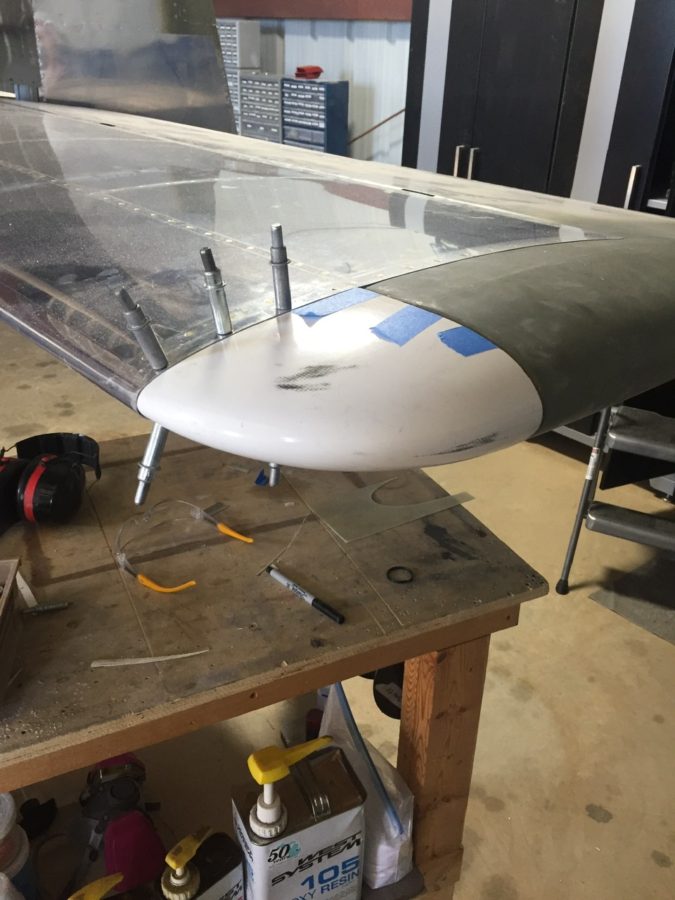
I never installed the tips on the stabilizers, so I wiped the decade old dust off of those and riveted them on then laid up some glass to enclose them. Some tweaking with the heat gun was enough to get them adequate clearance and I’ll let Jonathan do the rest of beautifying them during paint.
I crawled in the tail cone. Again. After I said, “Oh, I’m done back there, I won’t need to get back there.” Hell, at this point I can’t even remember why I had to go back there. I’ll flash forward and tell you that still wasn’t the last time. Either way, here’s how I feel about doing that little shit job.

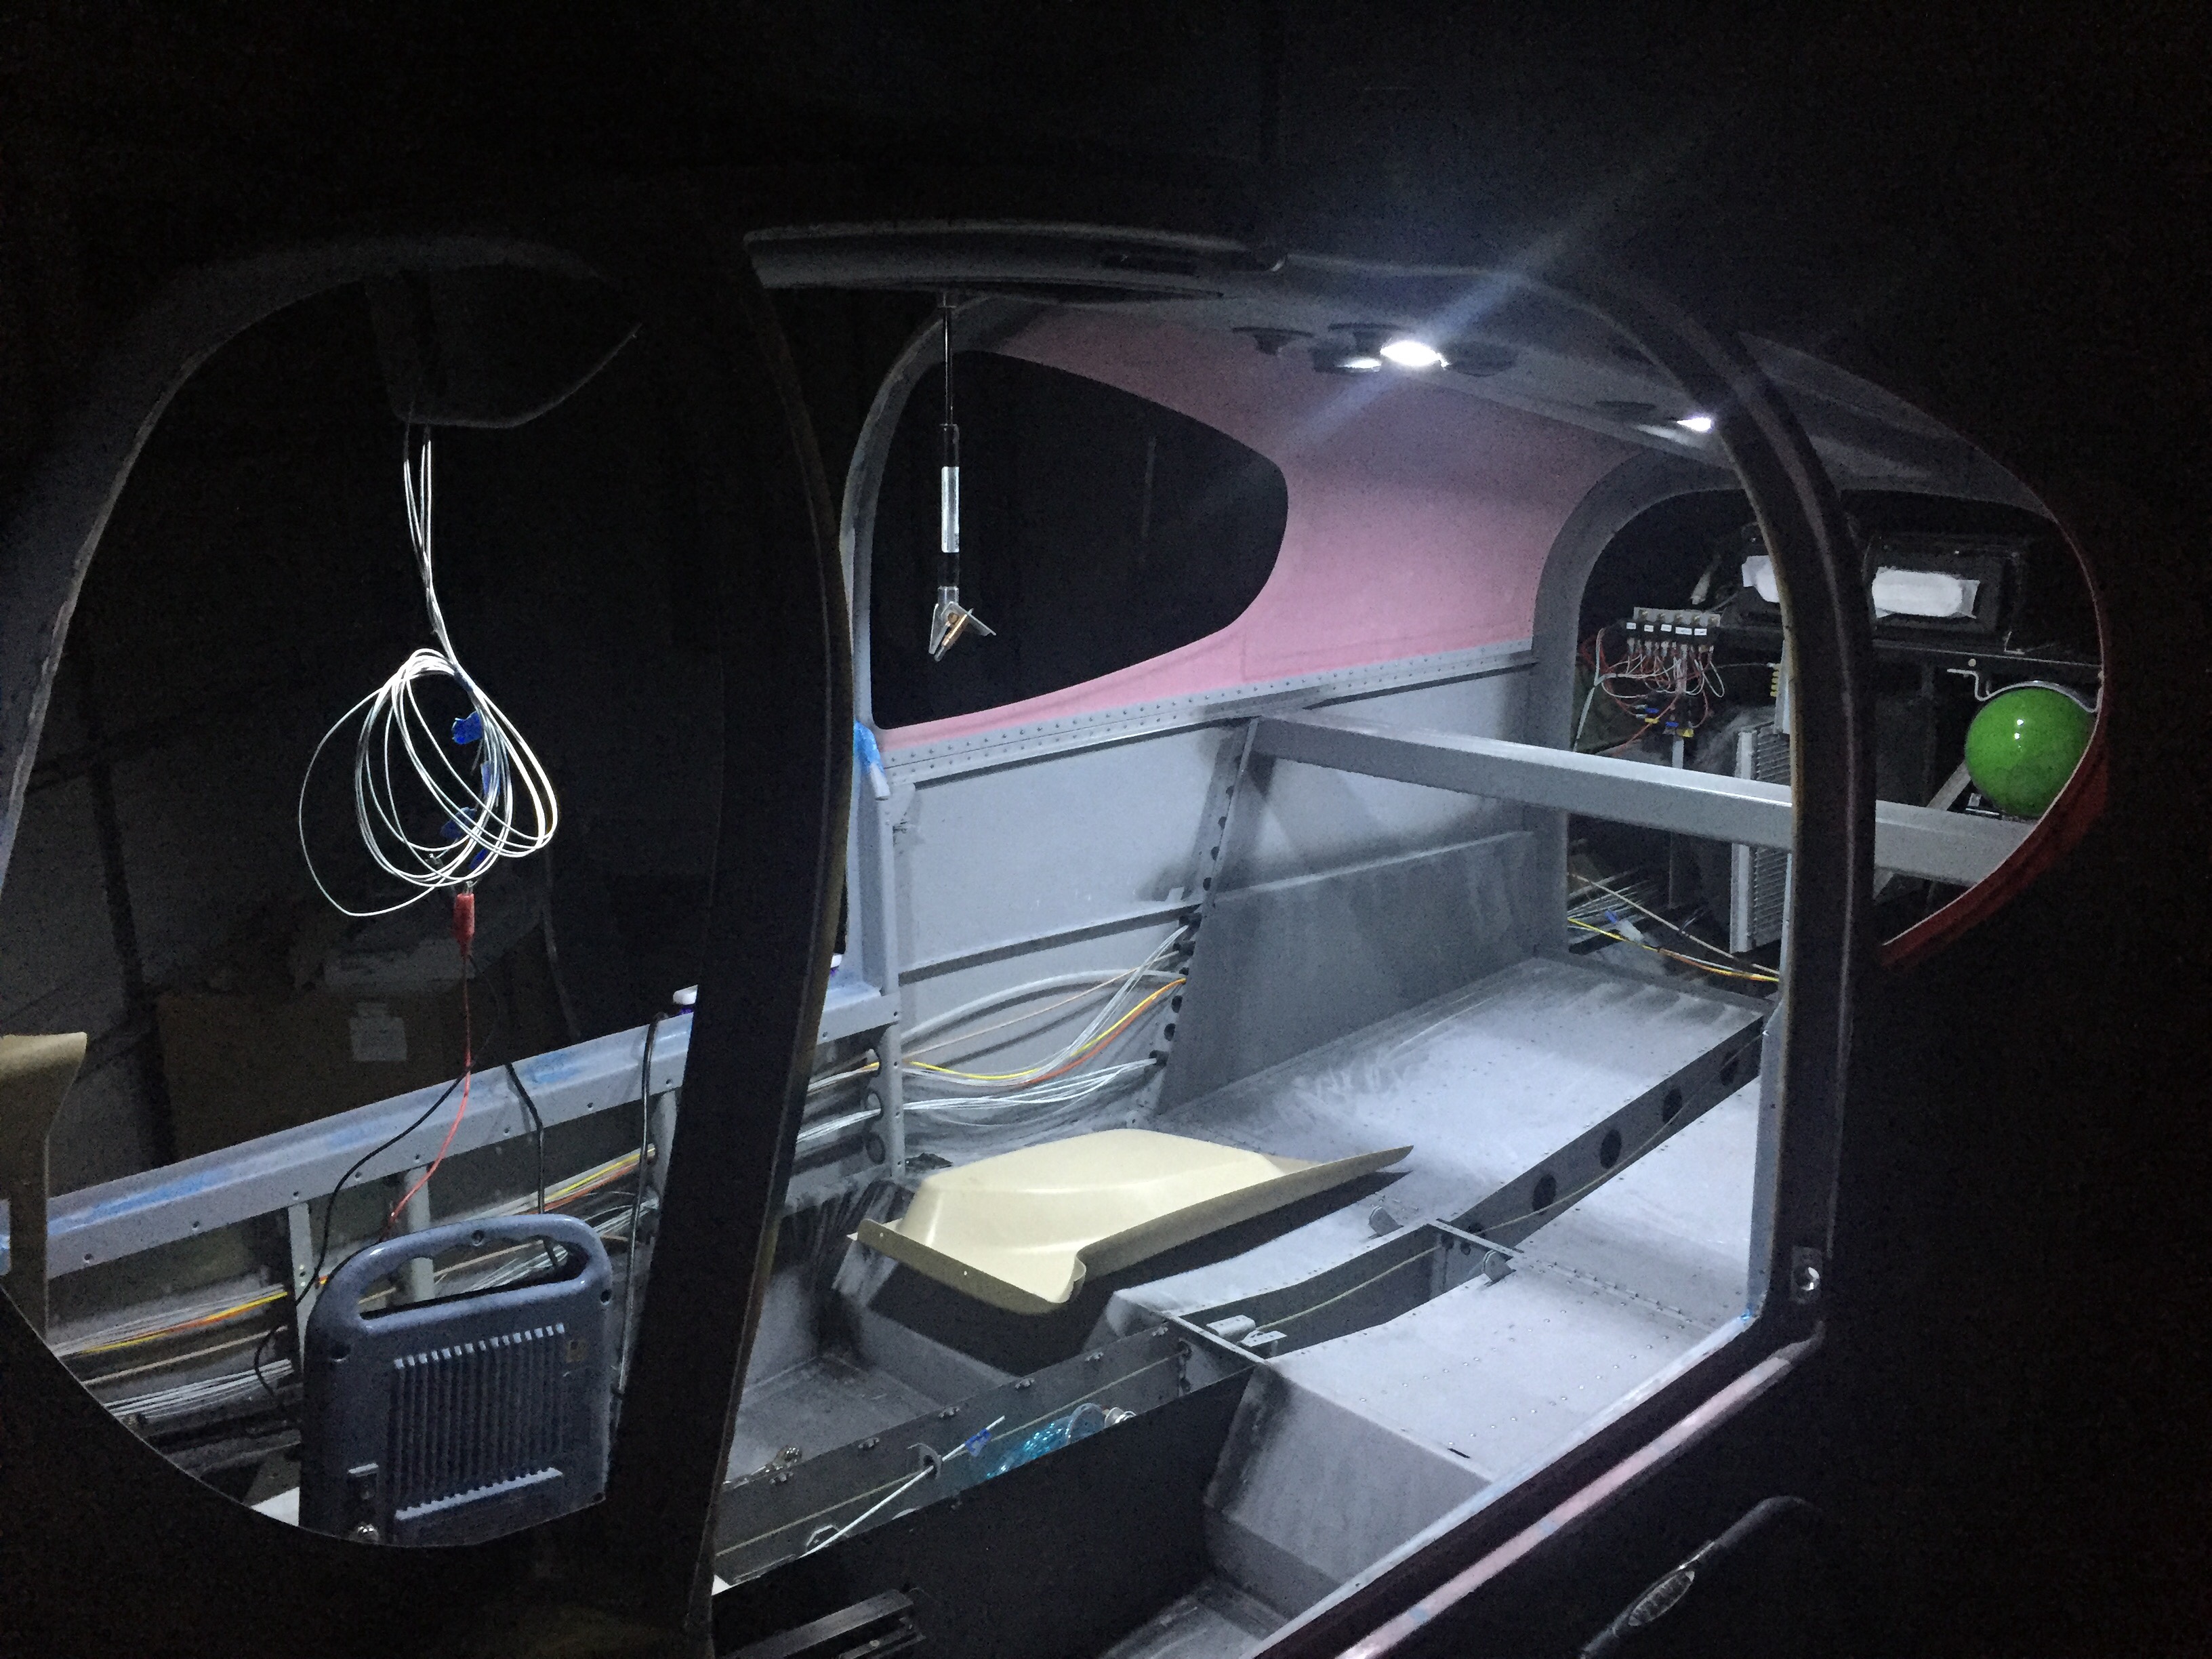
The rest of the interior went in and lights hooked up. These side panels are pretty tricky to slide in without destroying the paint. I’m happy with how they turned out. The stainless screws also look really nice.

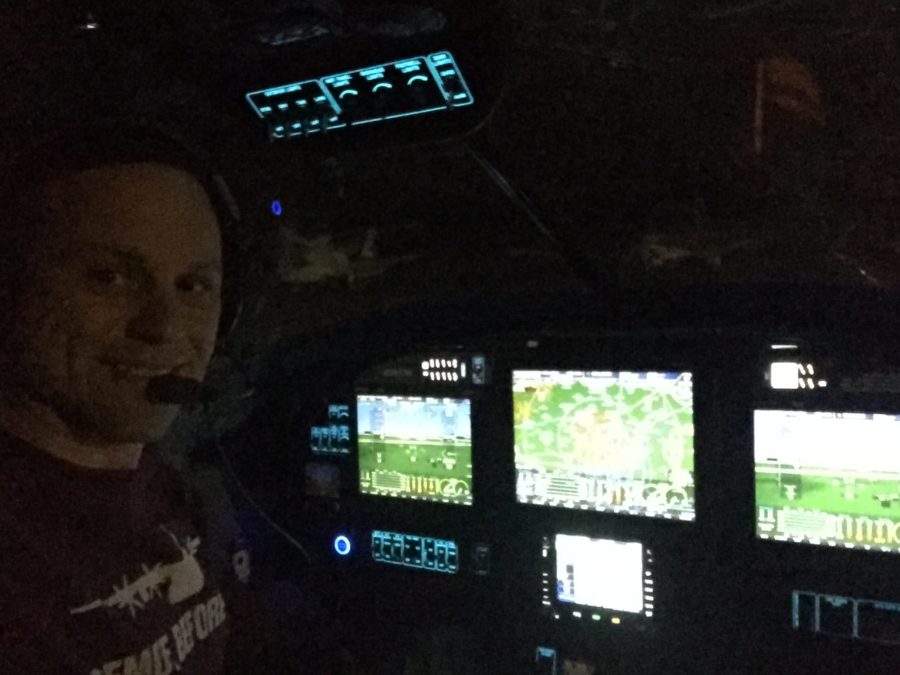
I pulled the plane out for a good GPS and comm check. I’ll have another post about the details, but while everything worked, I have some serious interference with the ZipTip lights and my radios. For now, though, no night flying means I’m safe and legal to fly.
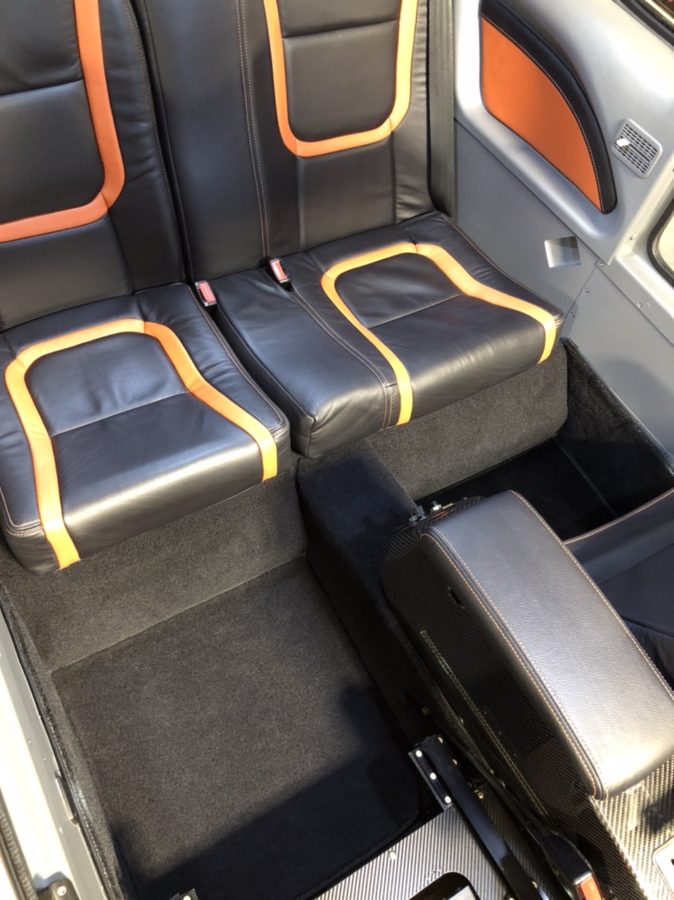
The back seats and carpet are all in now. I had to put a lot of velcro down but man, this Aerosport stuff is amazing. The seats are comfortable, the carpet looks great, and I’m really excited about taking folks flying in this plane!

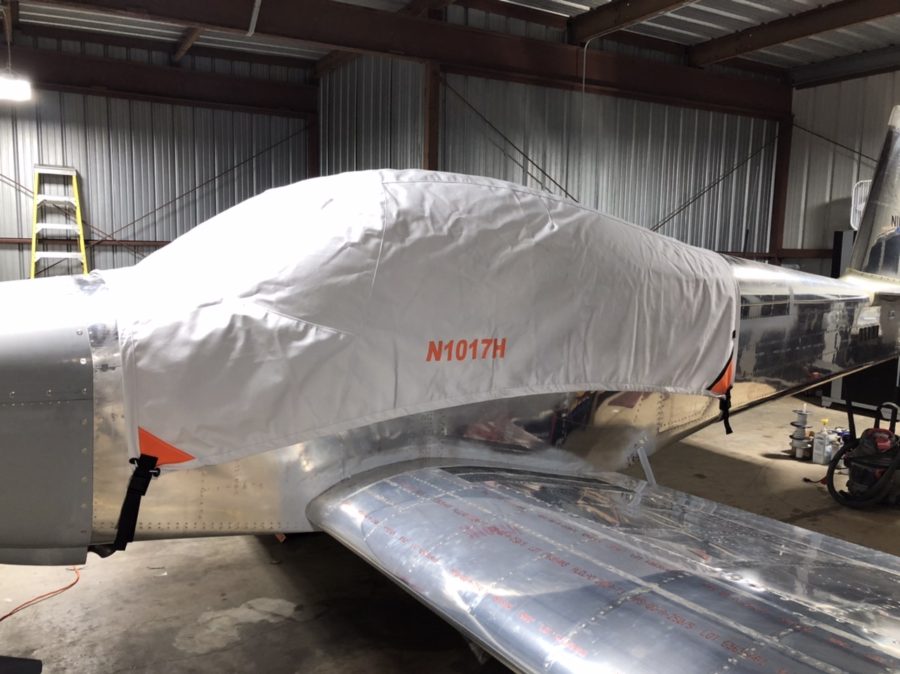
My cover from Bruce’s came in and is freaking sweet. Fits very nicely, has orange, and the tail number embroidered on it makes it so no one can steal it and use it on their plane without me chasing them down.
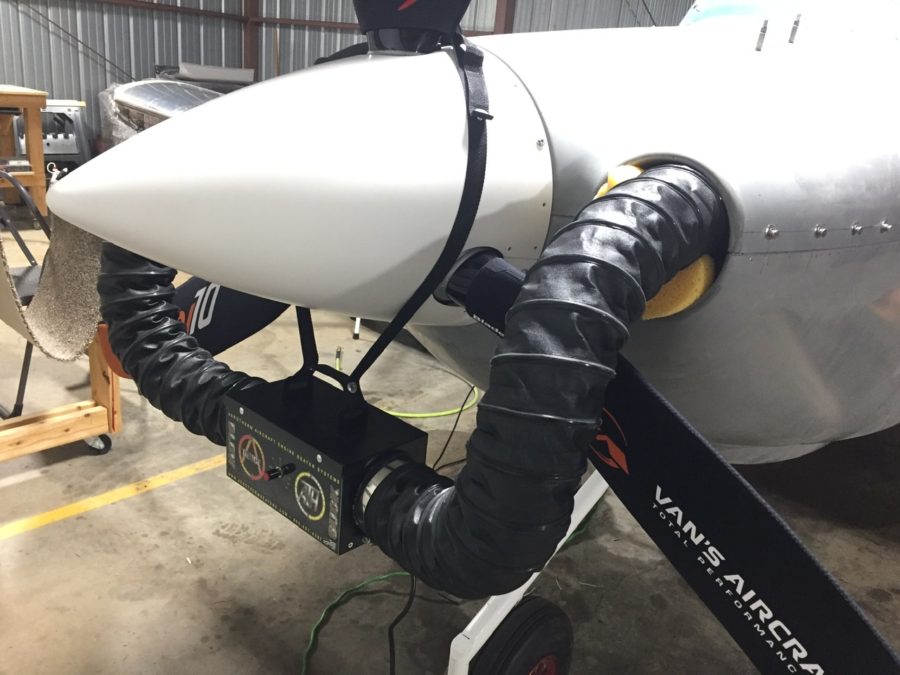
I put the cowling on for a final fit check and hooked up the new AeroTherm engine heater. I’ve used these on the Diamond we fly and really like it. I didn’t like the idea of cylinder heaters and want to keep the engine heated during the winter to avoid cold starts. I know this isn’t as portable, but I’m happy with it thus far. I did have to get a very thick extension cord so it would keep tripping its internal breaker with my crappy 15 amp service in the hangar.
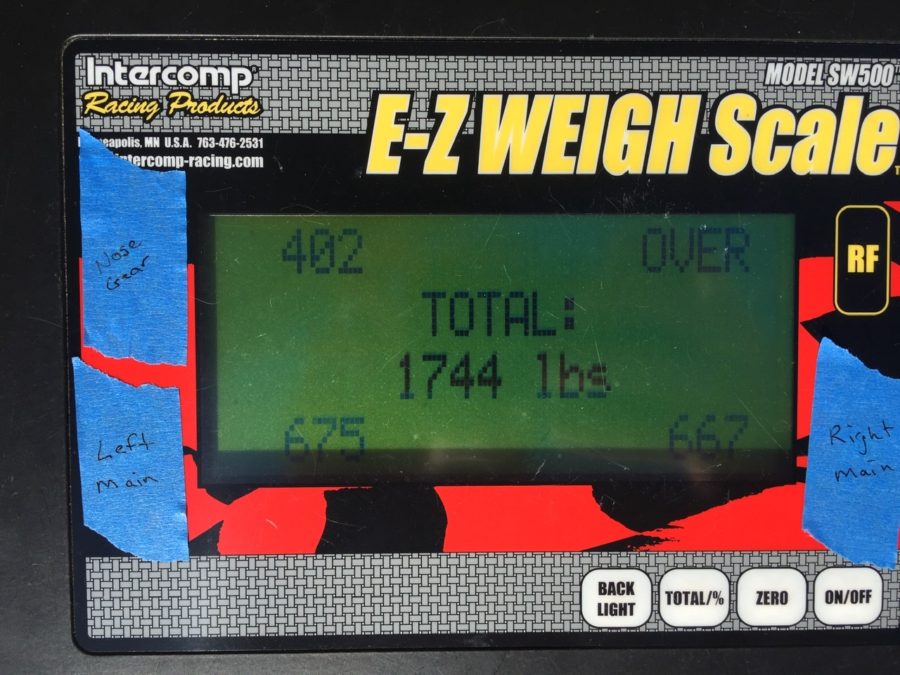
Finally, I weighed the fat little piggy with all of the pants and random stuff not yet on for good in their approximate place. Folks, with full interior, oxygen, air conditioning, three screens up front, and all the extras my credit rating could buy, I’m pretty happy with her girlish figure. This let me sit down and compute weight and CG figures as well. Everything turned out nicely with an empty CG of 106.4 inches.
Cool Colors

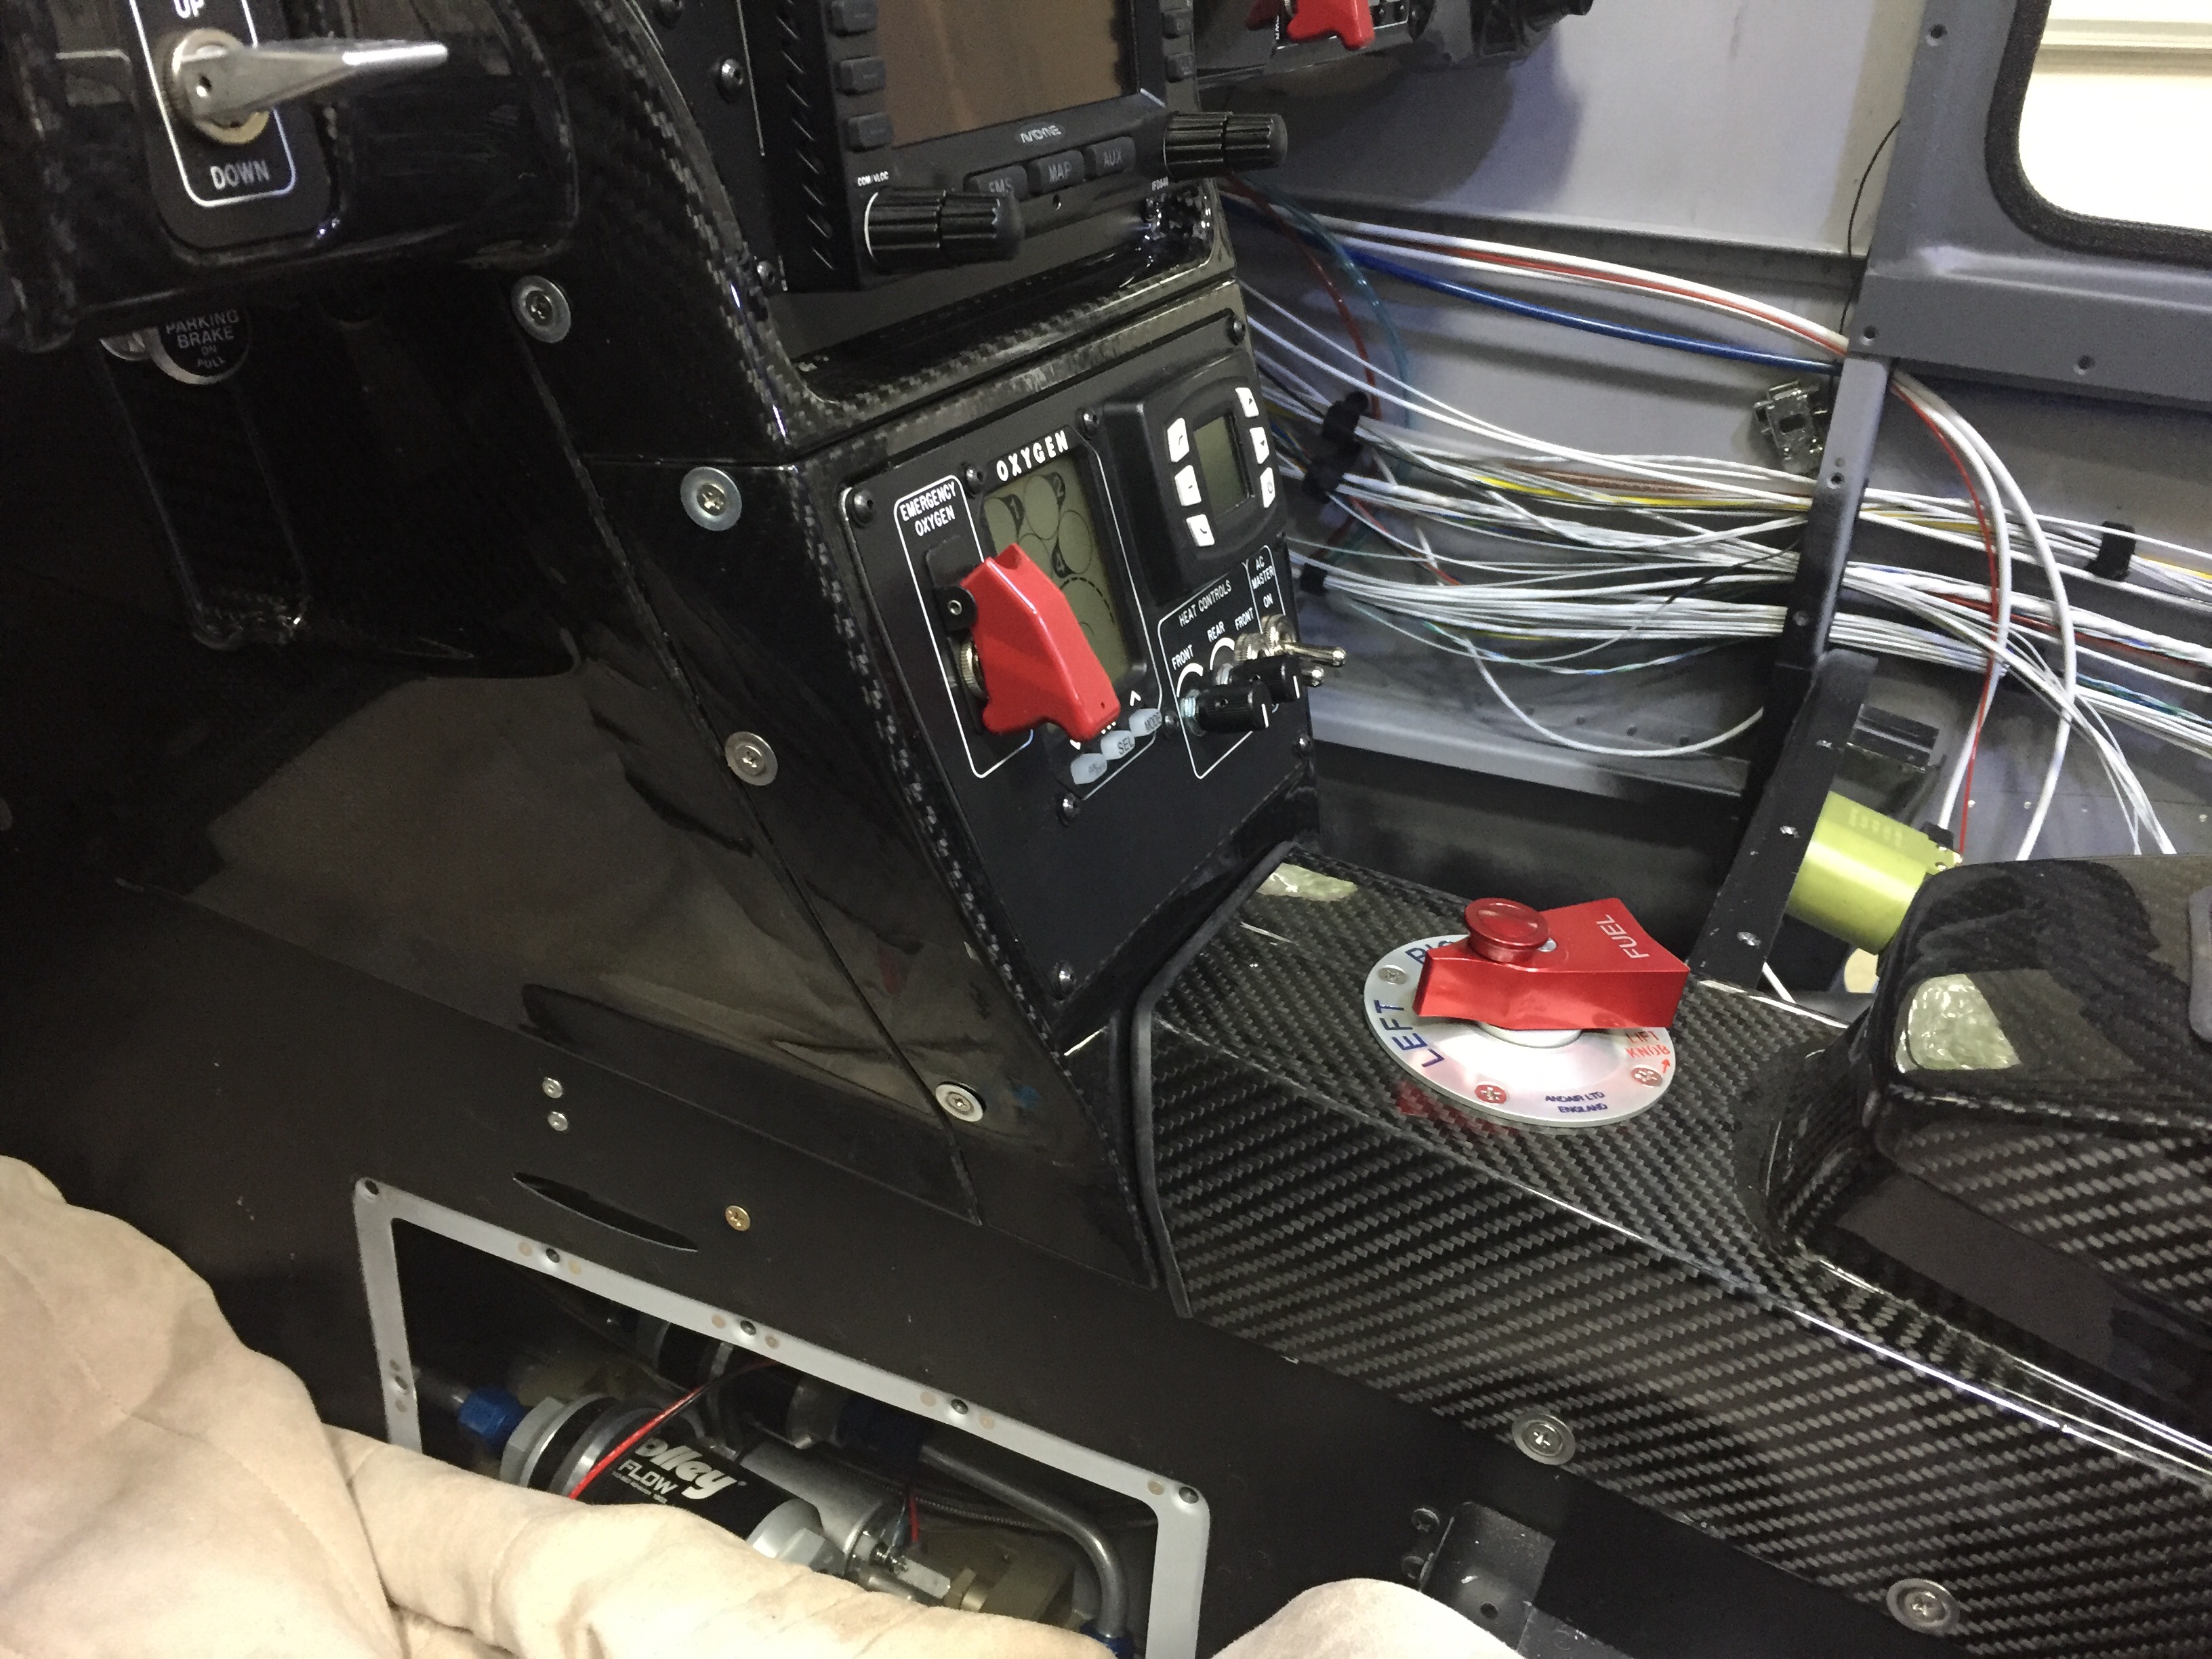
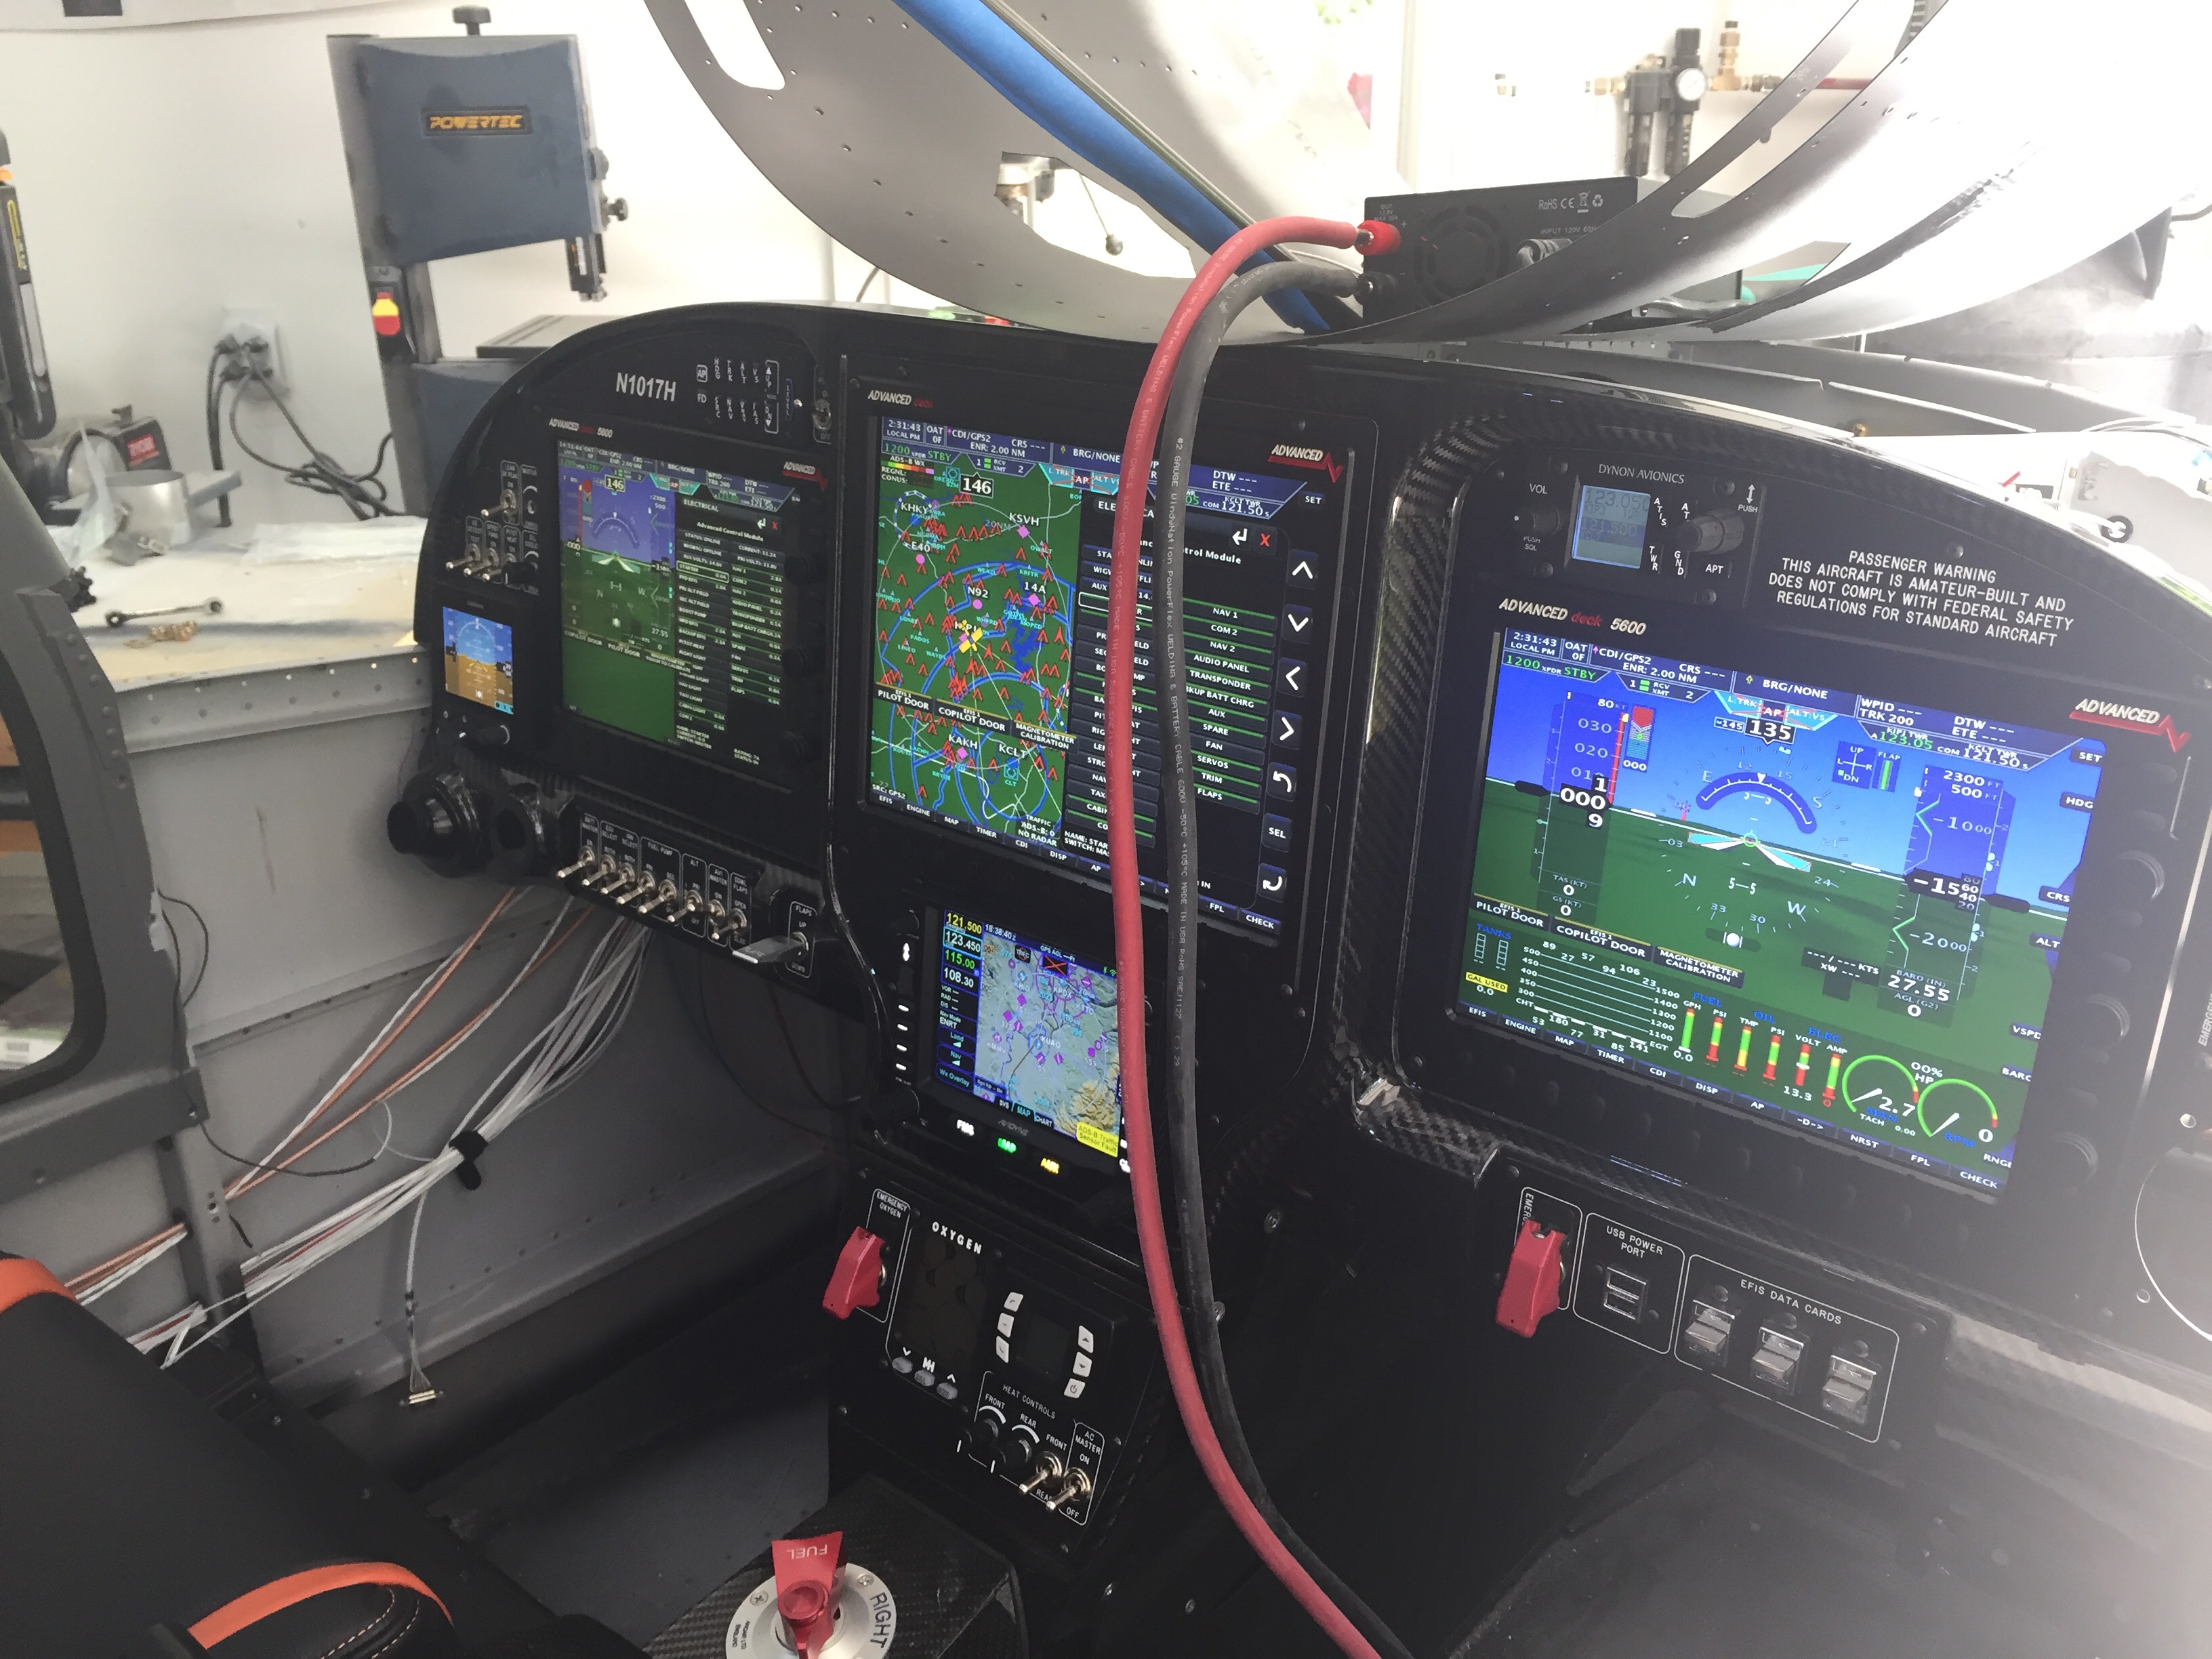
I have fully recovered from the traumatic smoke incident and have made progress on completing initial testing on all of the electrical components in the plane.  I buttoned up the tunnel and got the tunnel cover and lower panel console installed.  I am lucky but allowed JUST enough length in wiring for the components on the lower panel including O2, aircon, and cabin heat controls.

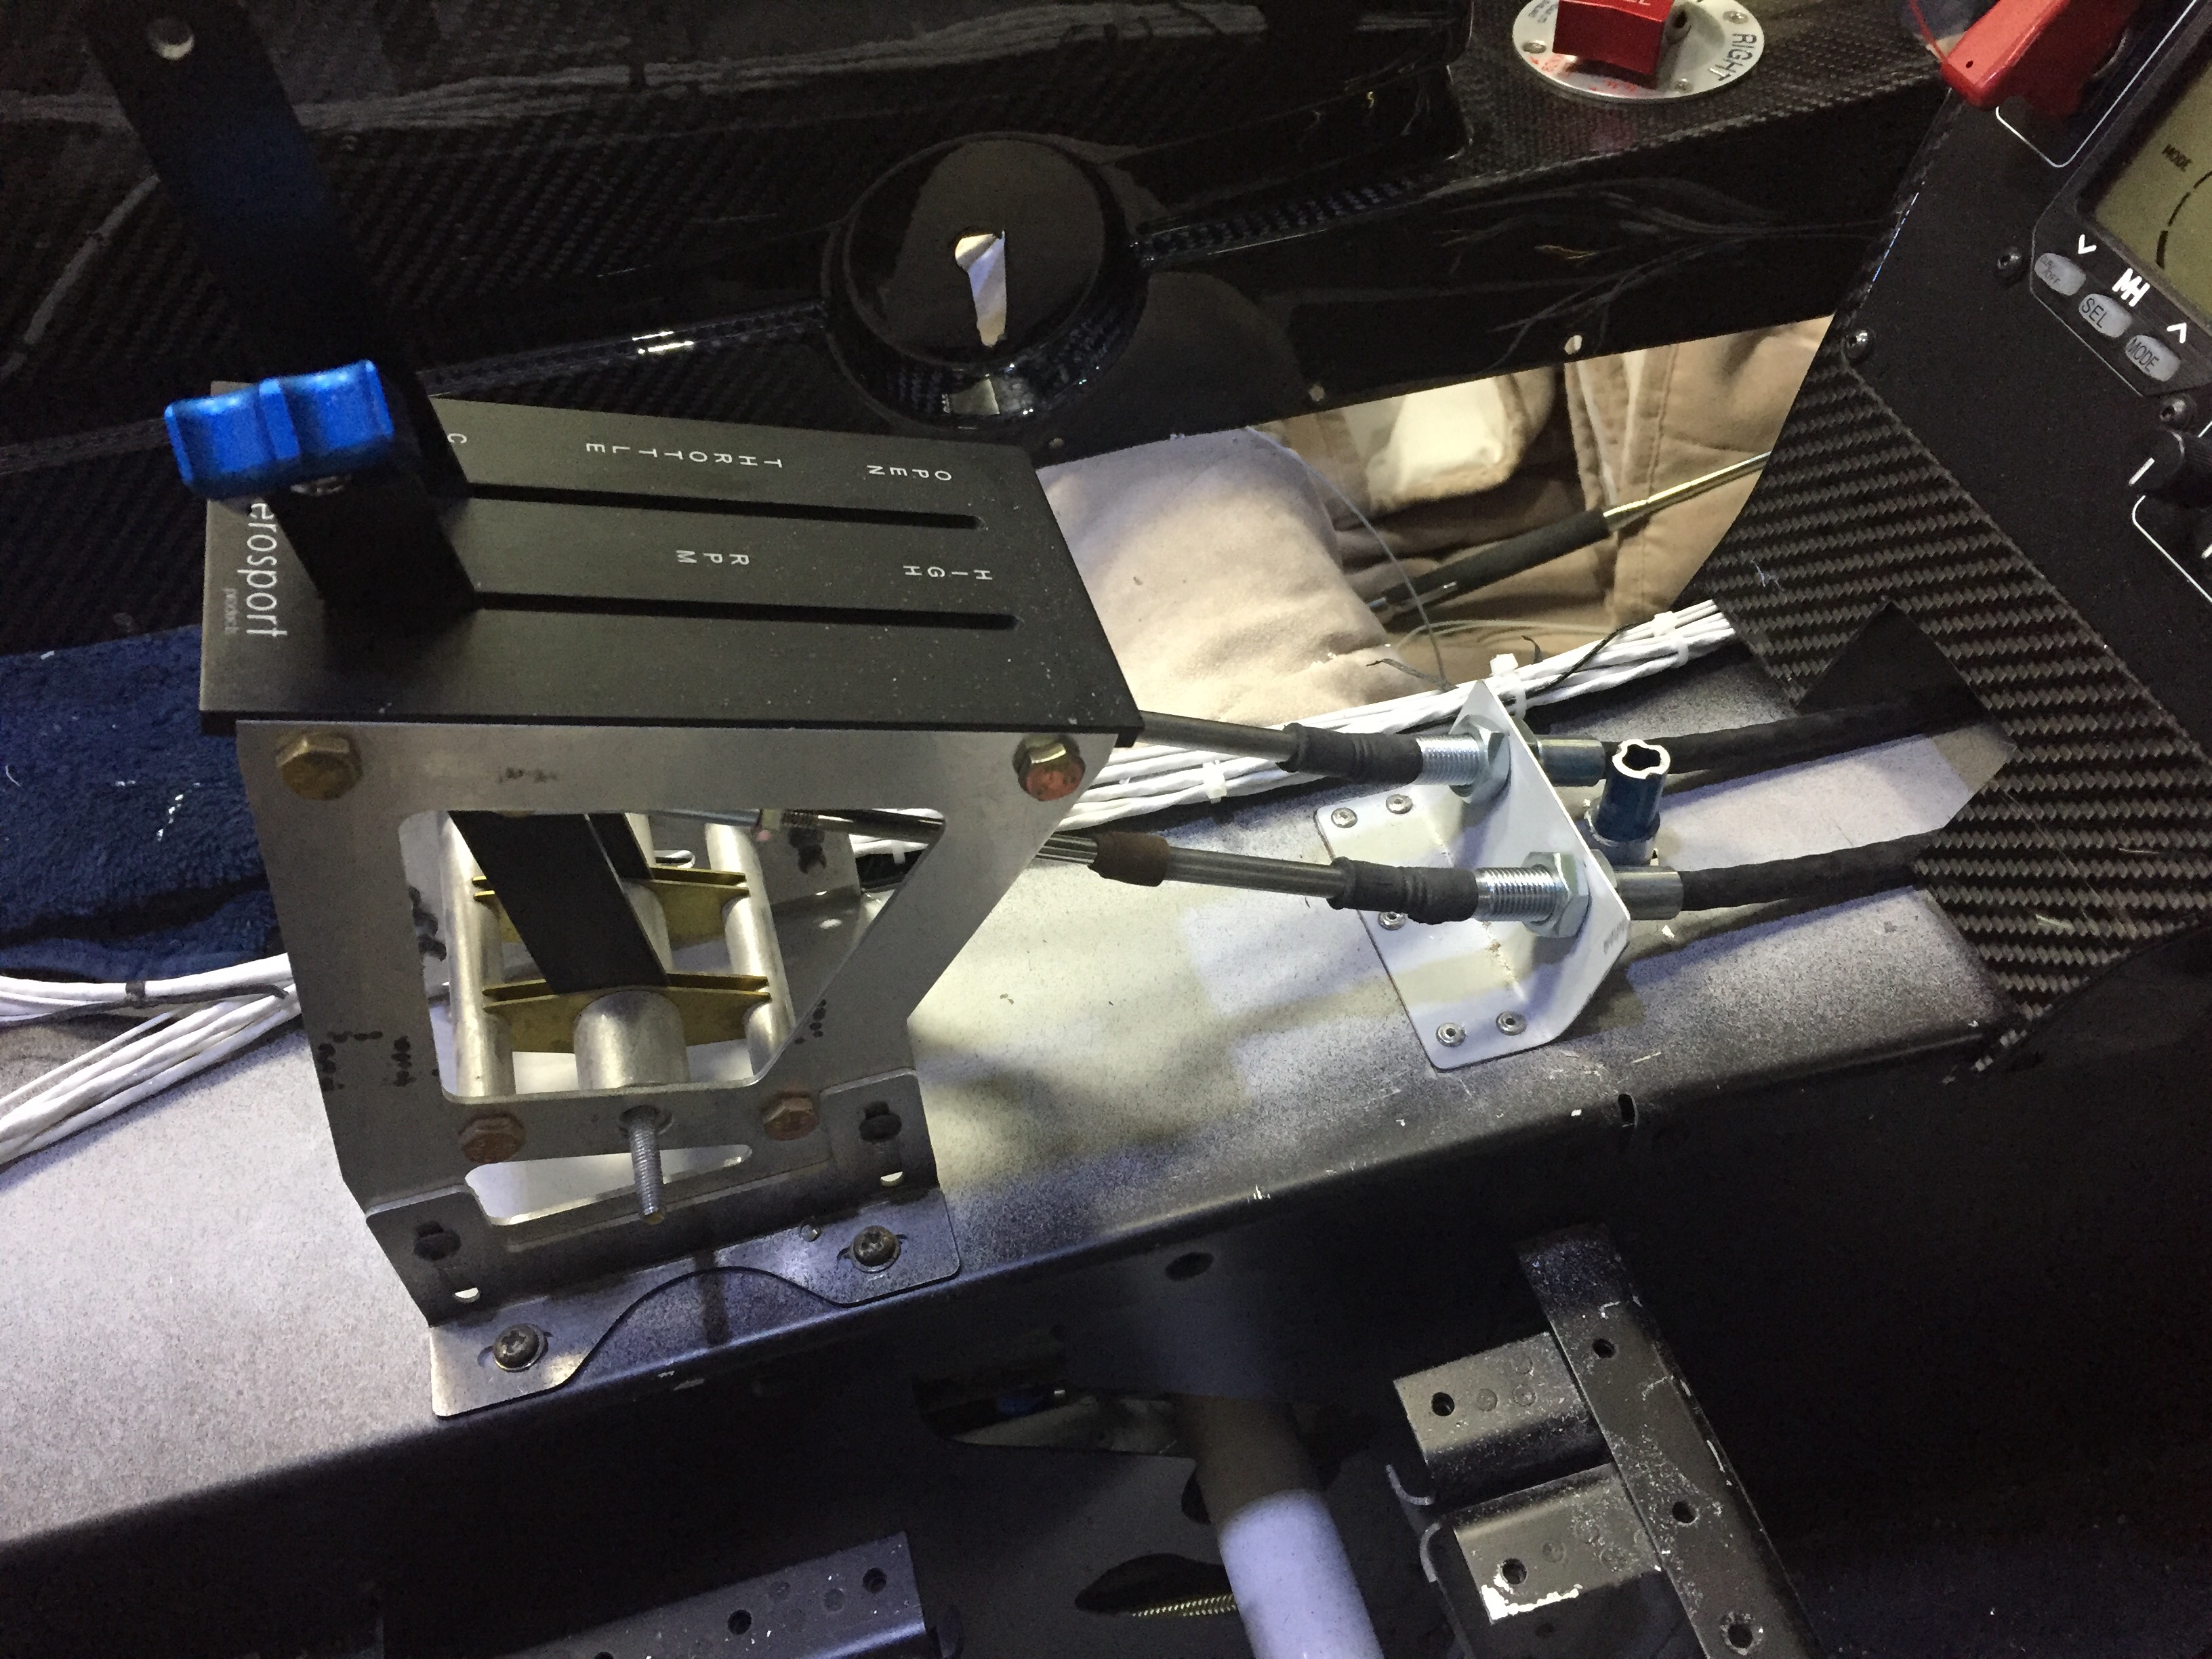
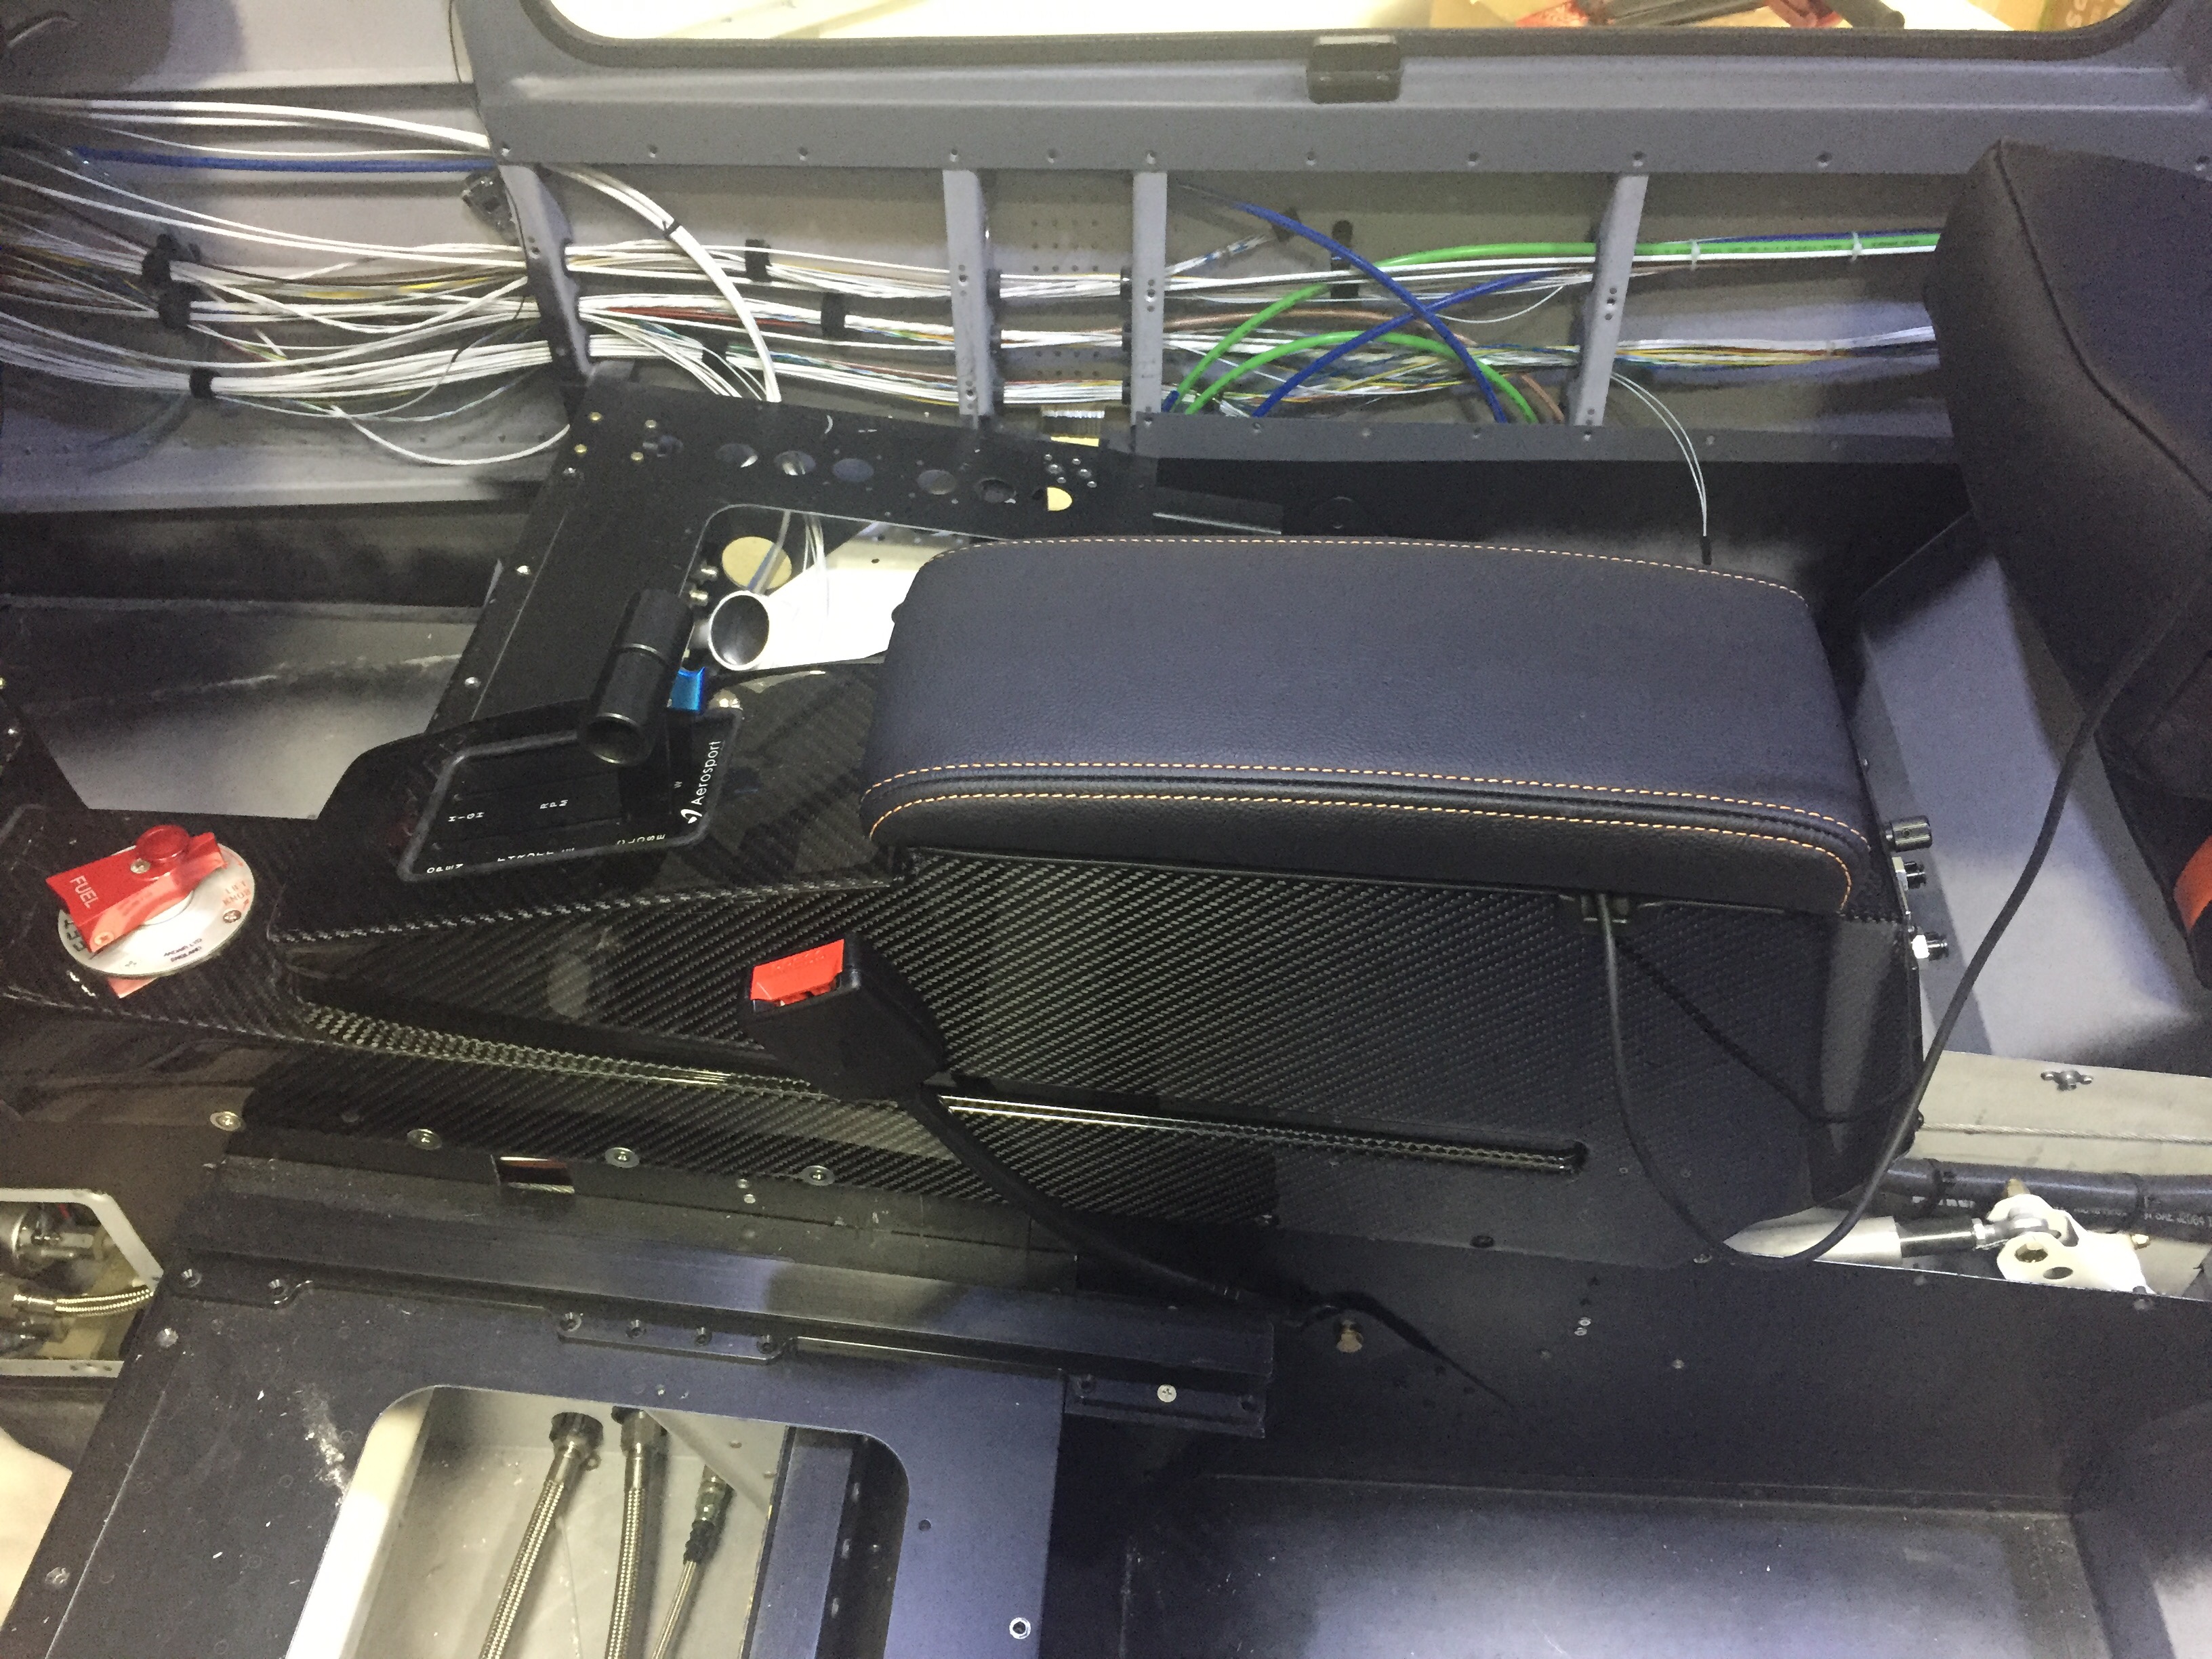
The center console was next to install and went in pretty easily all things considered.  I finished odd jobs with the audio jacks, USB power port, and the wiring runs on top of the tunnel cover to get it all cleaned up.  I also mounted the throttle quadrant for good and fabricated a bracket to route the throttle and prop cable to the quadrant.  All of the O2 lines were hooked up and the fuel selector was verified in the correct position corresponding to the selector.

I haven’t installed the front seat O2 ports, so can’t test the oxygen system completely, but the power and back light input functions properly as do the rear controllers, so I’m optimistic it will all check good.  The only item that gave me a bit of trouble was the aircon. I have the aircon fuse block (bus) powered via a 40 amp relay and master switch to allow for rapid load shedding should I need it.  The switch, relay, and control head all works but I wasn’t getting either fan to come on.  I double checked all connections and wiring runs were correct to include the drier, high pressure switch, and thermostats.  I should have at least gotten the cabin fan coming on but the 24v relay wasn’t clicking on for the selected speed.  That’s right, the 24 volt relay.  Not the 12 volt relay, the 24 volt relay that I’m expecting my 12 volt system to activate.  Dammit.  It took me sitting in the back reading voltages for about 15 minutes with Laura at the control head to figure out the error.  I never put two and two (or 12 and 12) together, so grabbed two spare 12 volt relays and swapped them out.  Sure enough, proper function of the cabin fan and condenser fan!  I ordered new relays and swapped them all a few days later.

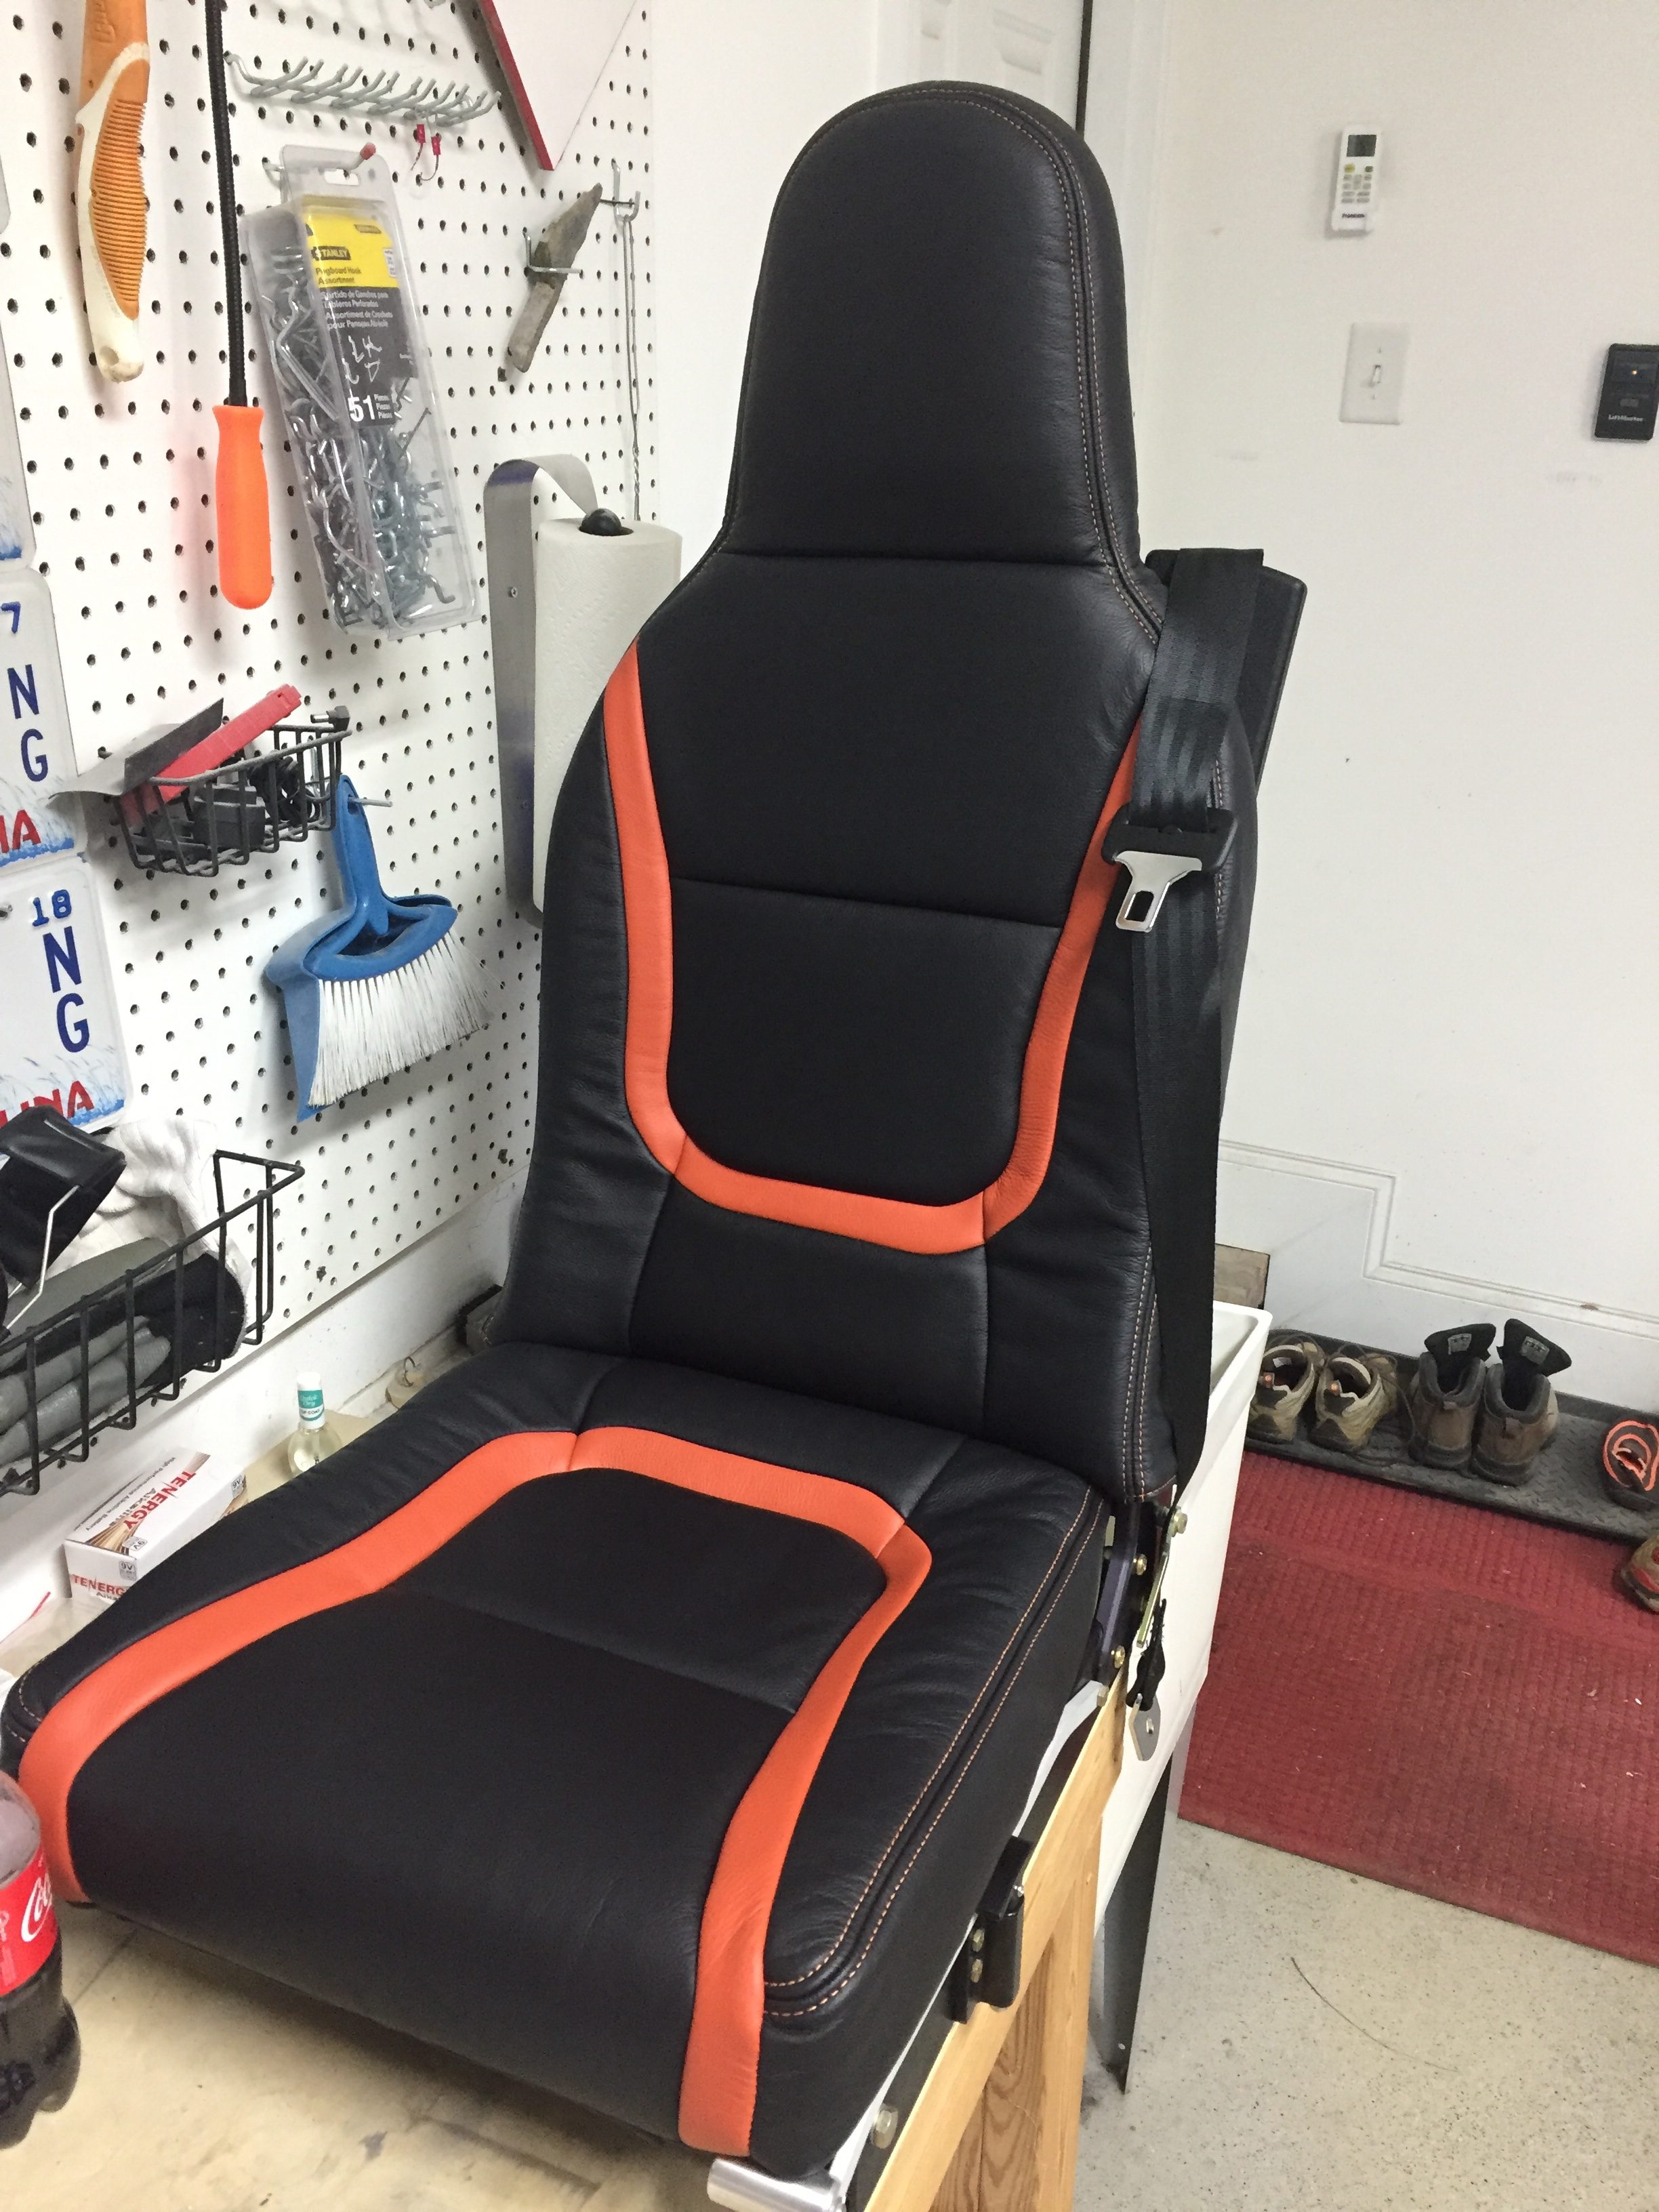
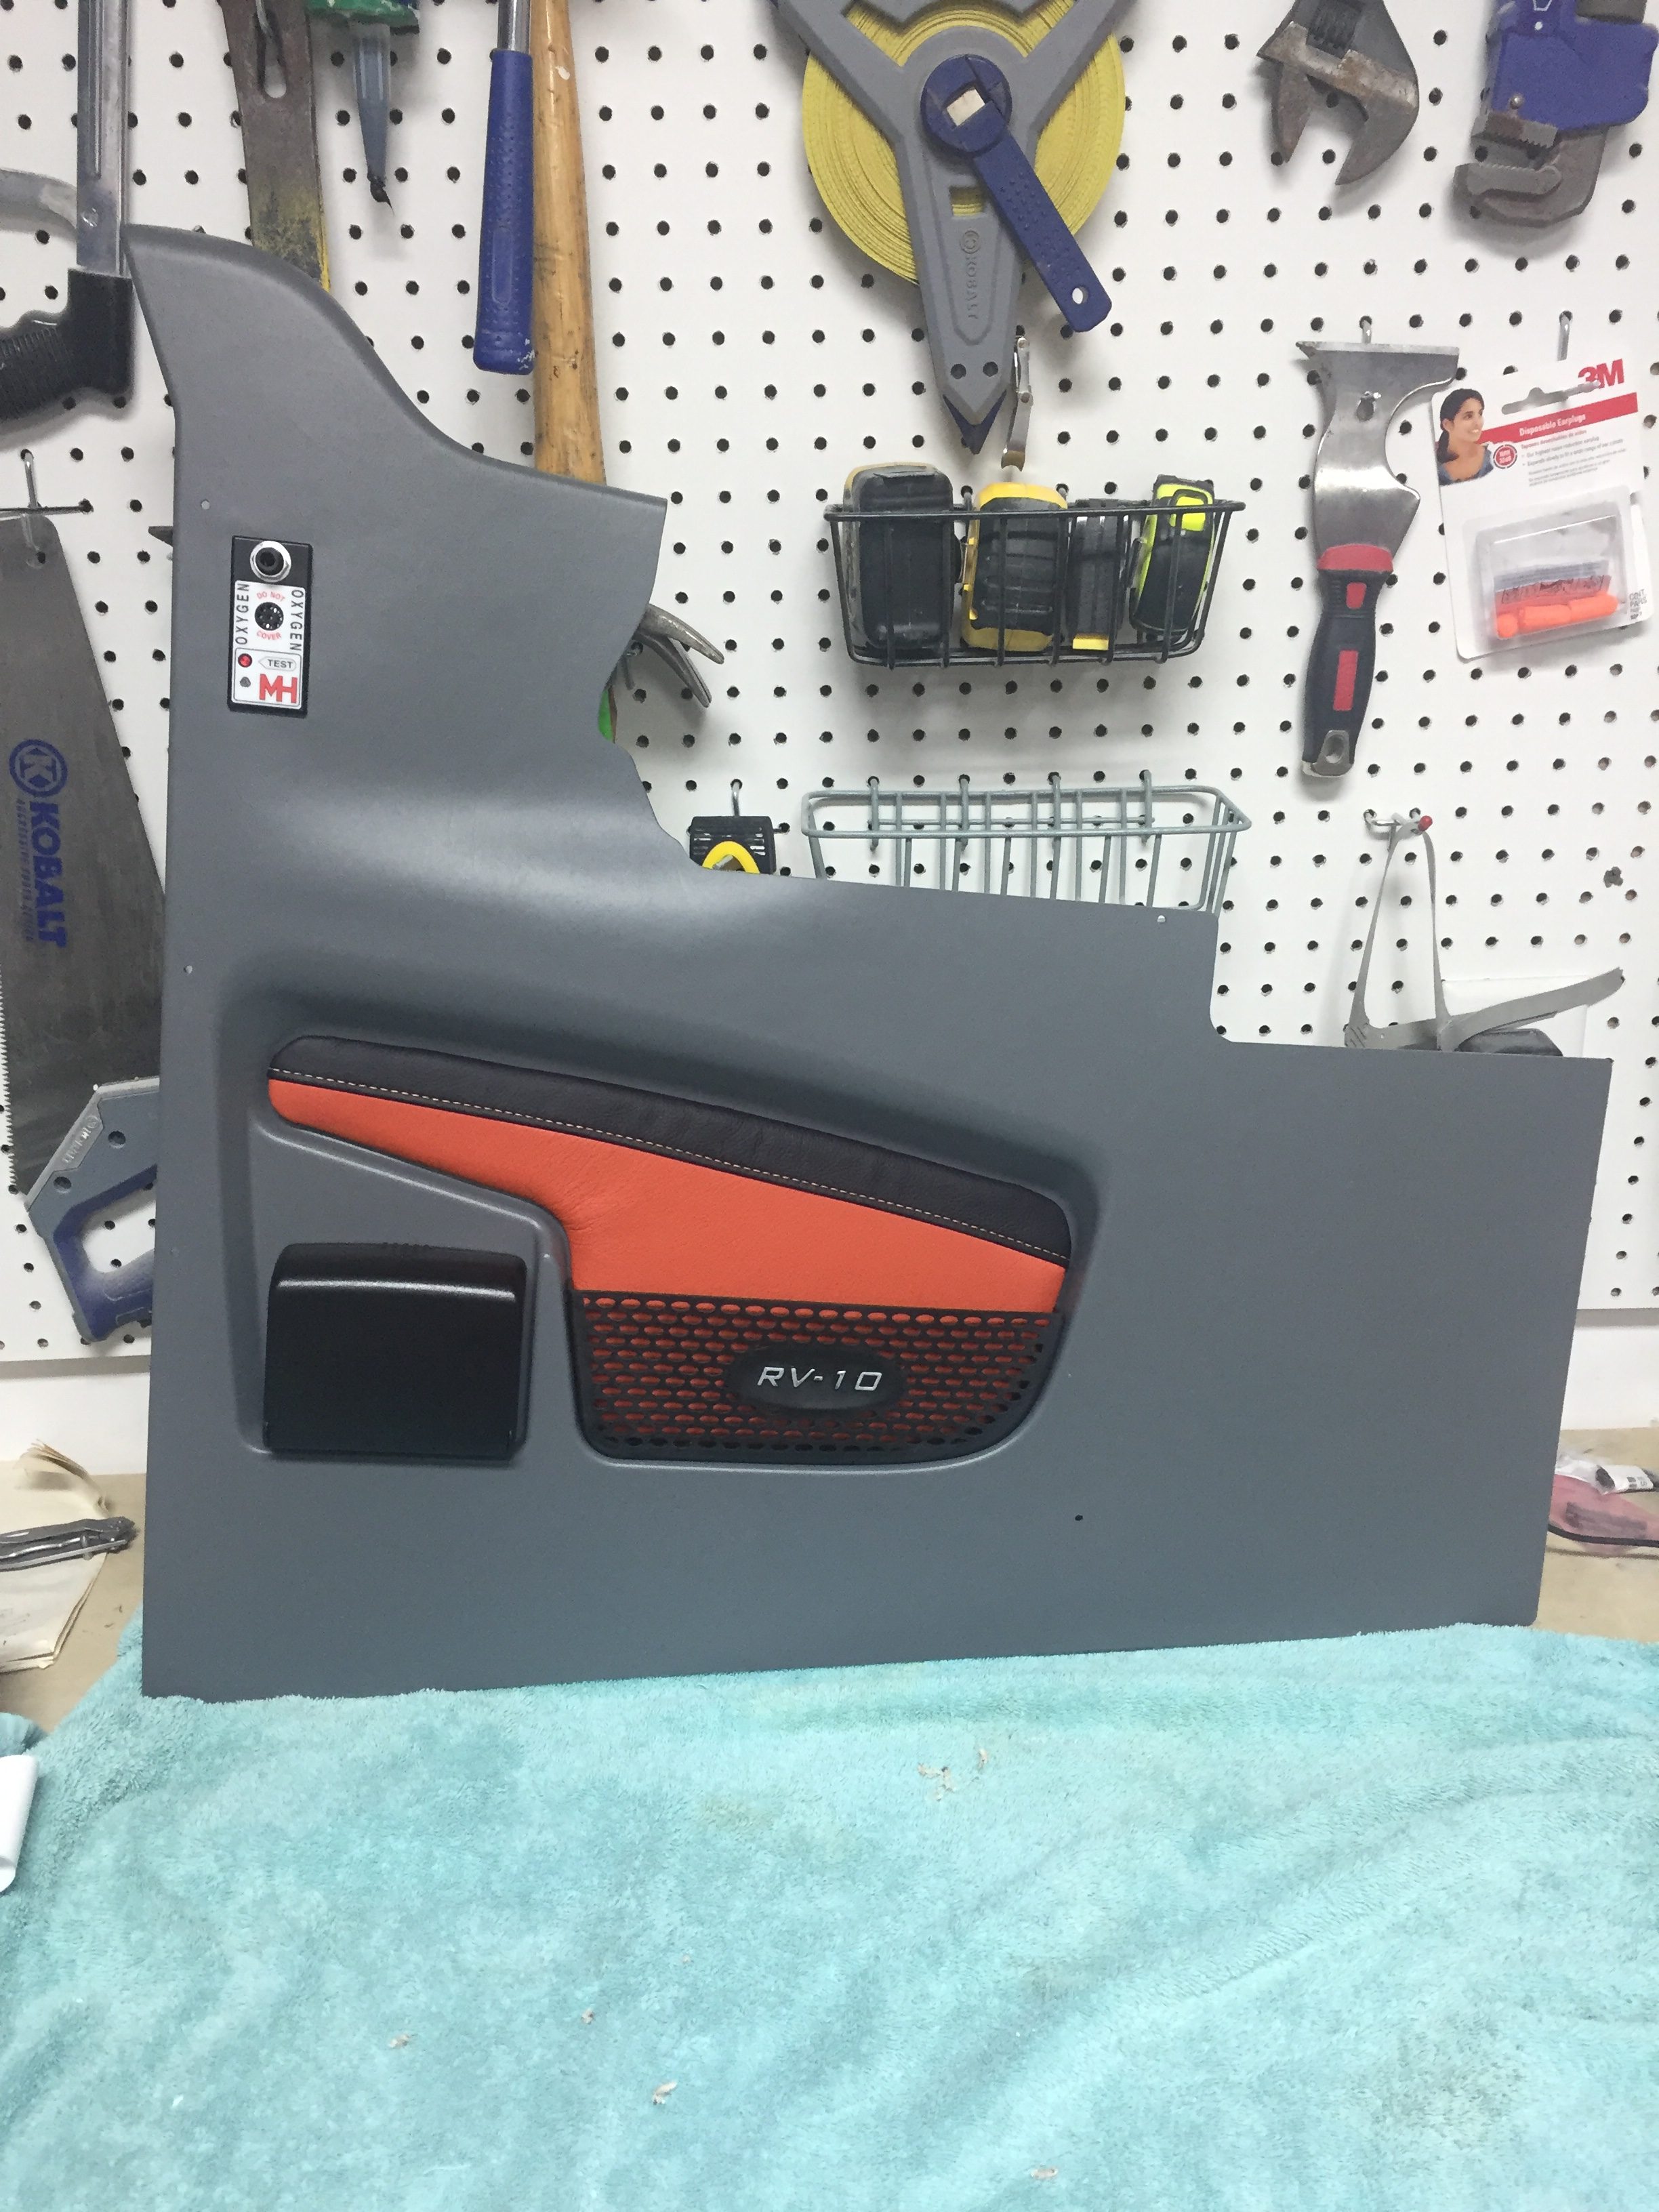
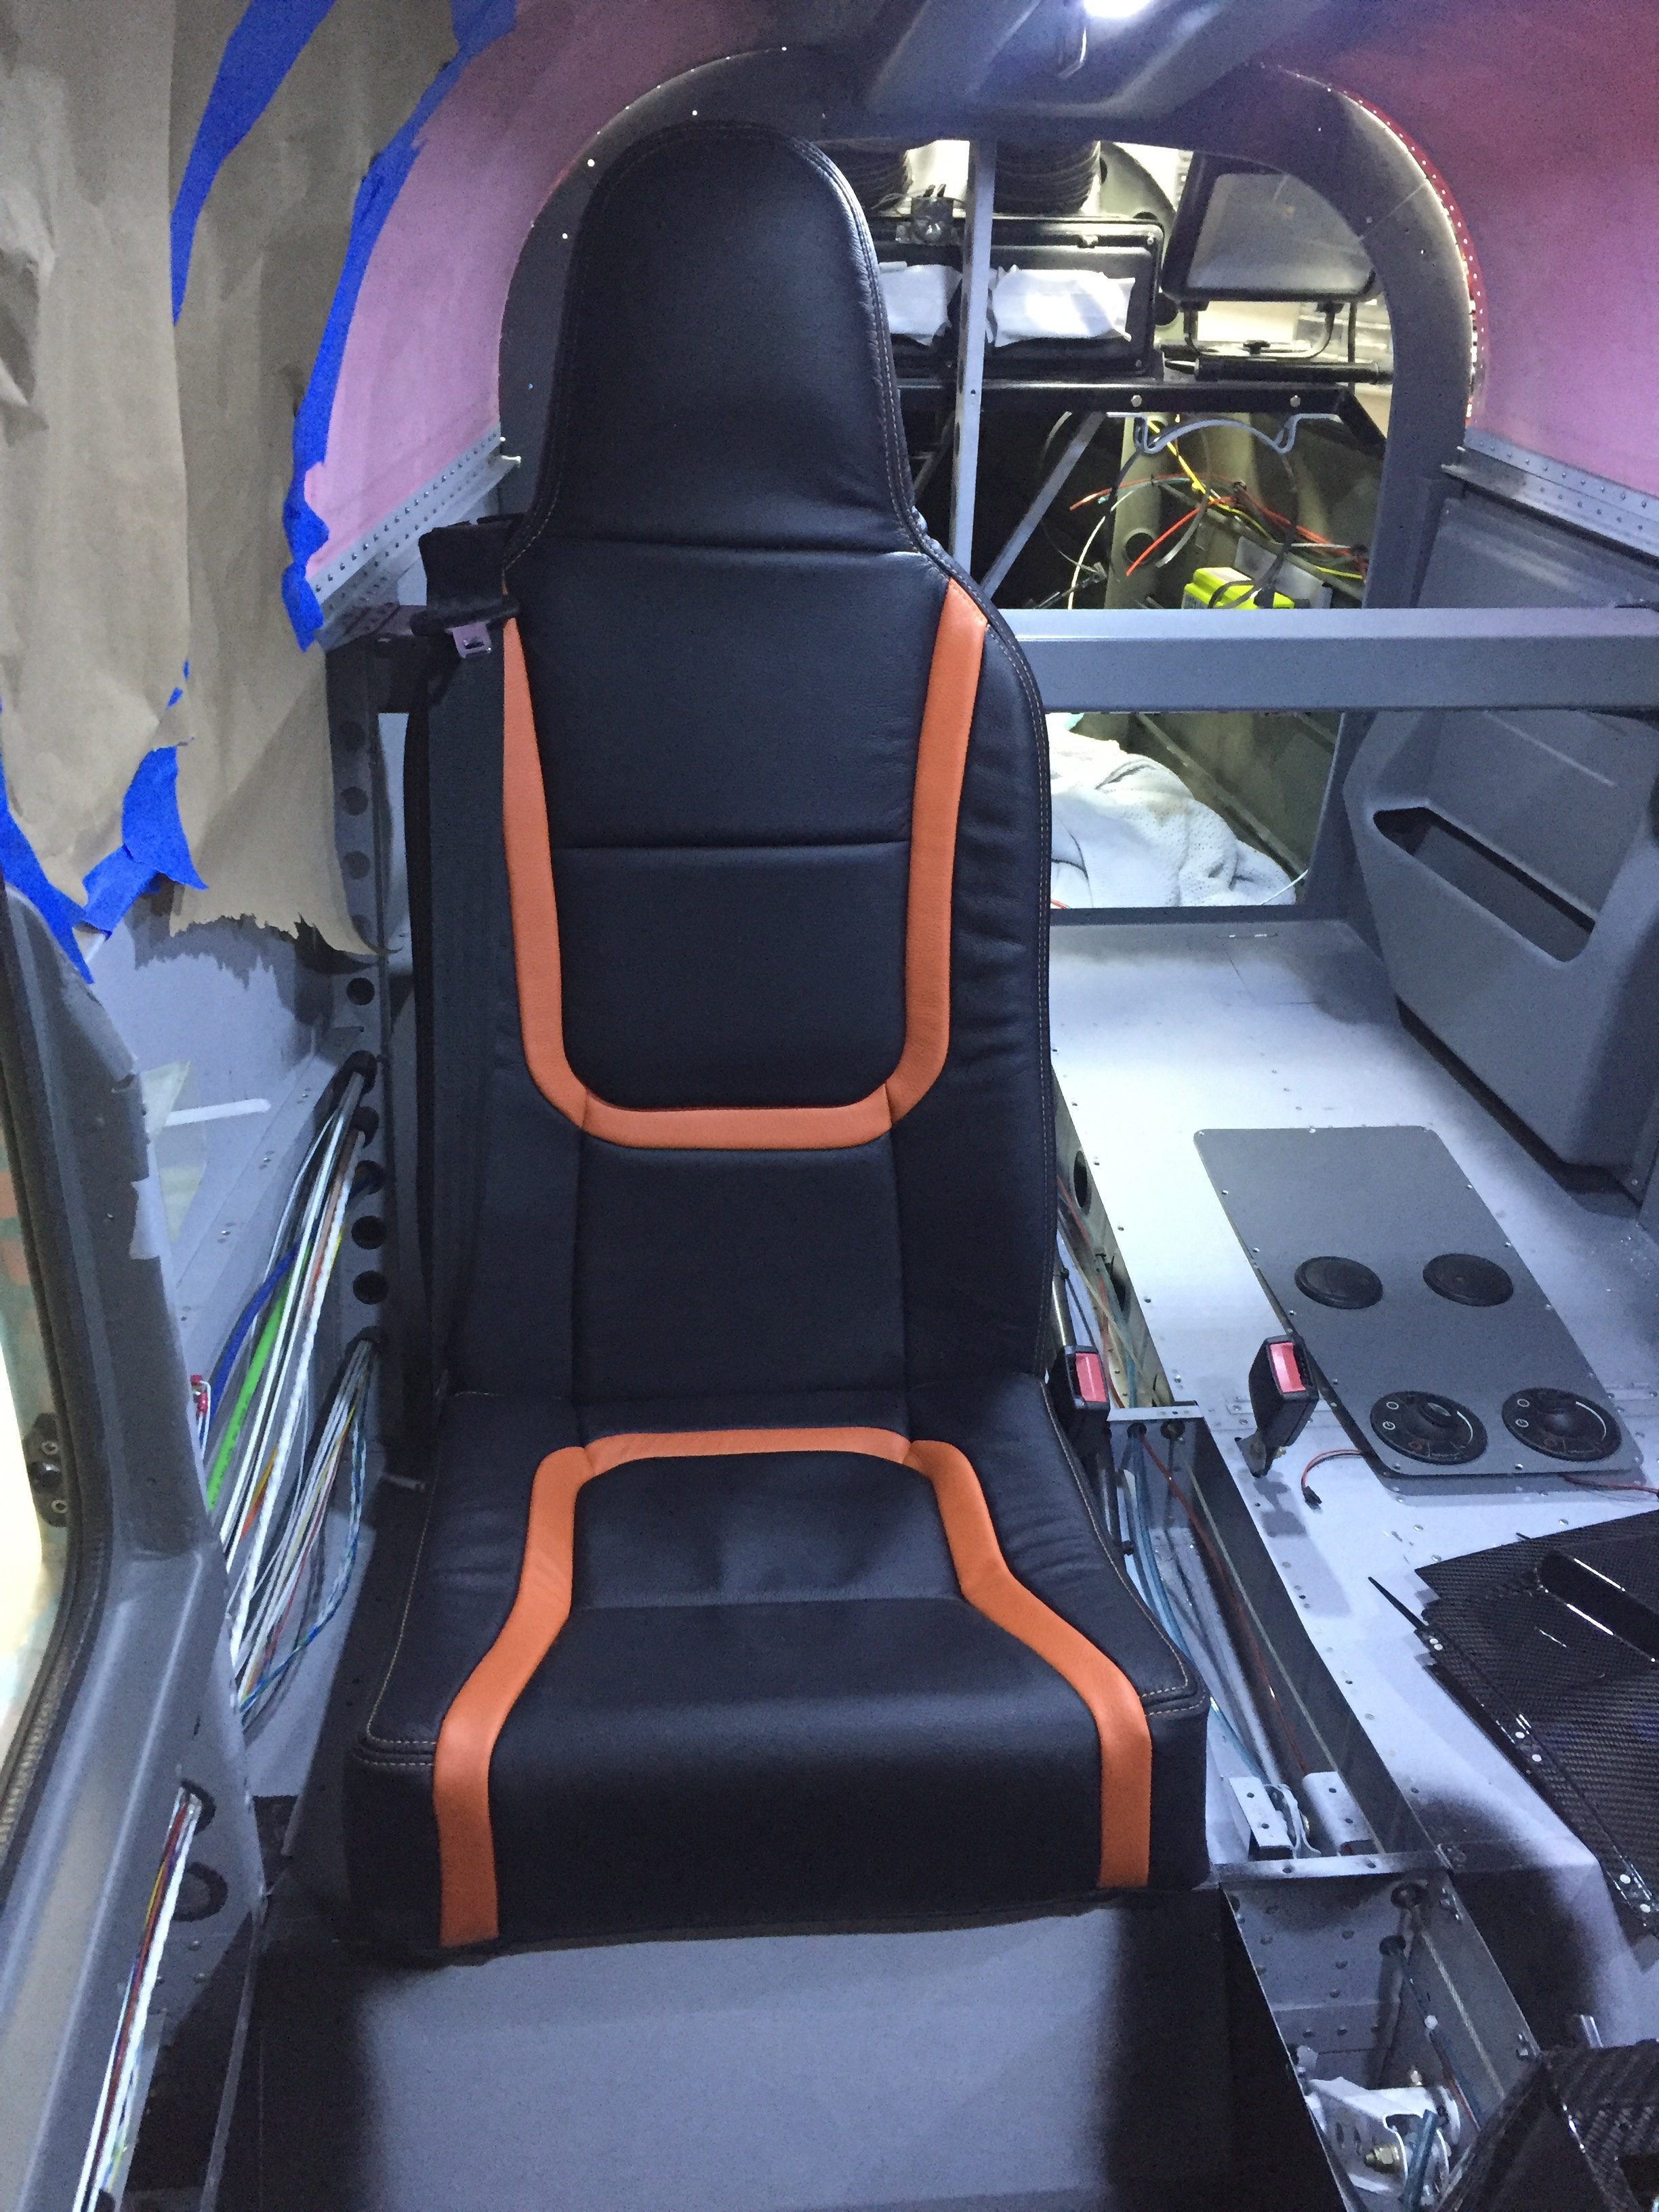
Meanwhile, I received two big boxes full of leather upholstered seats and goodies from Aerosport!  Andrew has been pretty patient with me and man did it pay off!  The seats came out perfect and just what I had imagined.  The orange stitching looks great on the black and matches the leather I sourced perfectly.  They made up the side panel inserts as well as the stick covers and armrest pad, all looking very high end.  I couldn’t help but build up the front seats to see what they look and feel like.

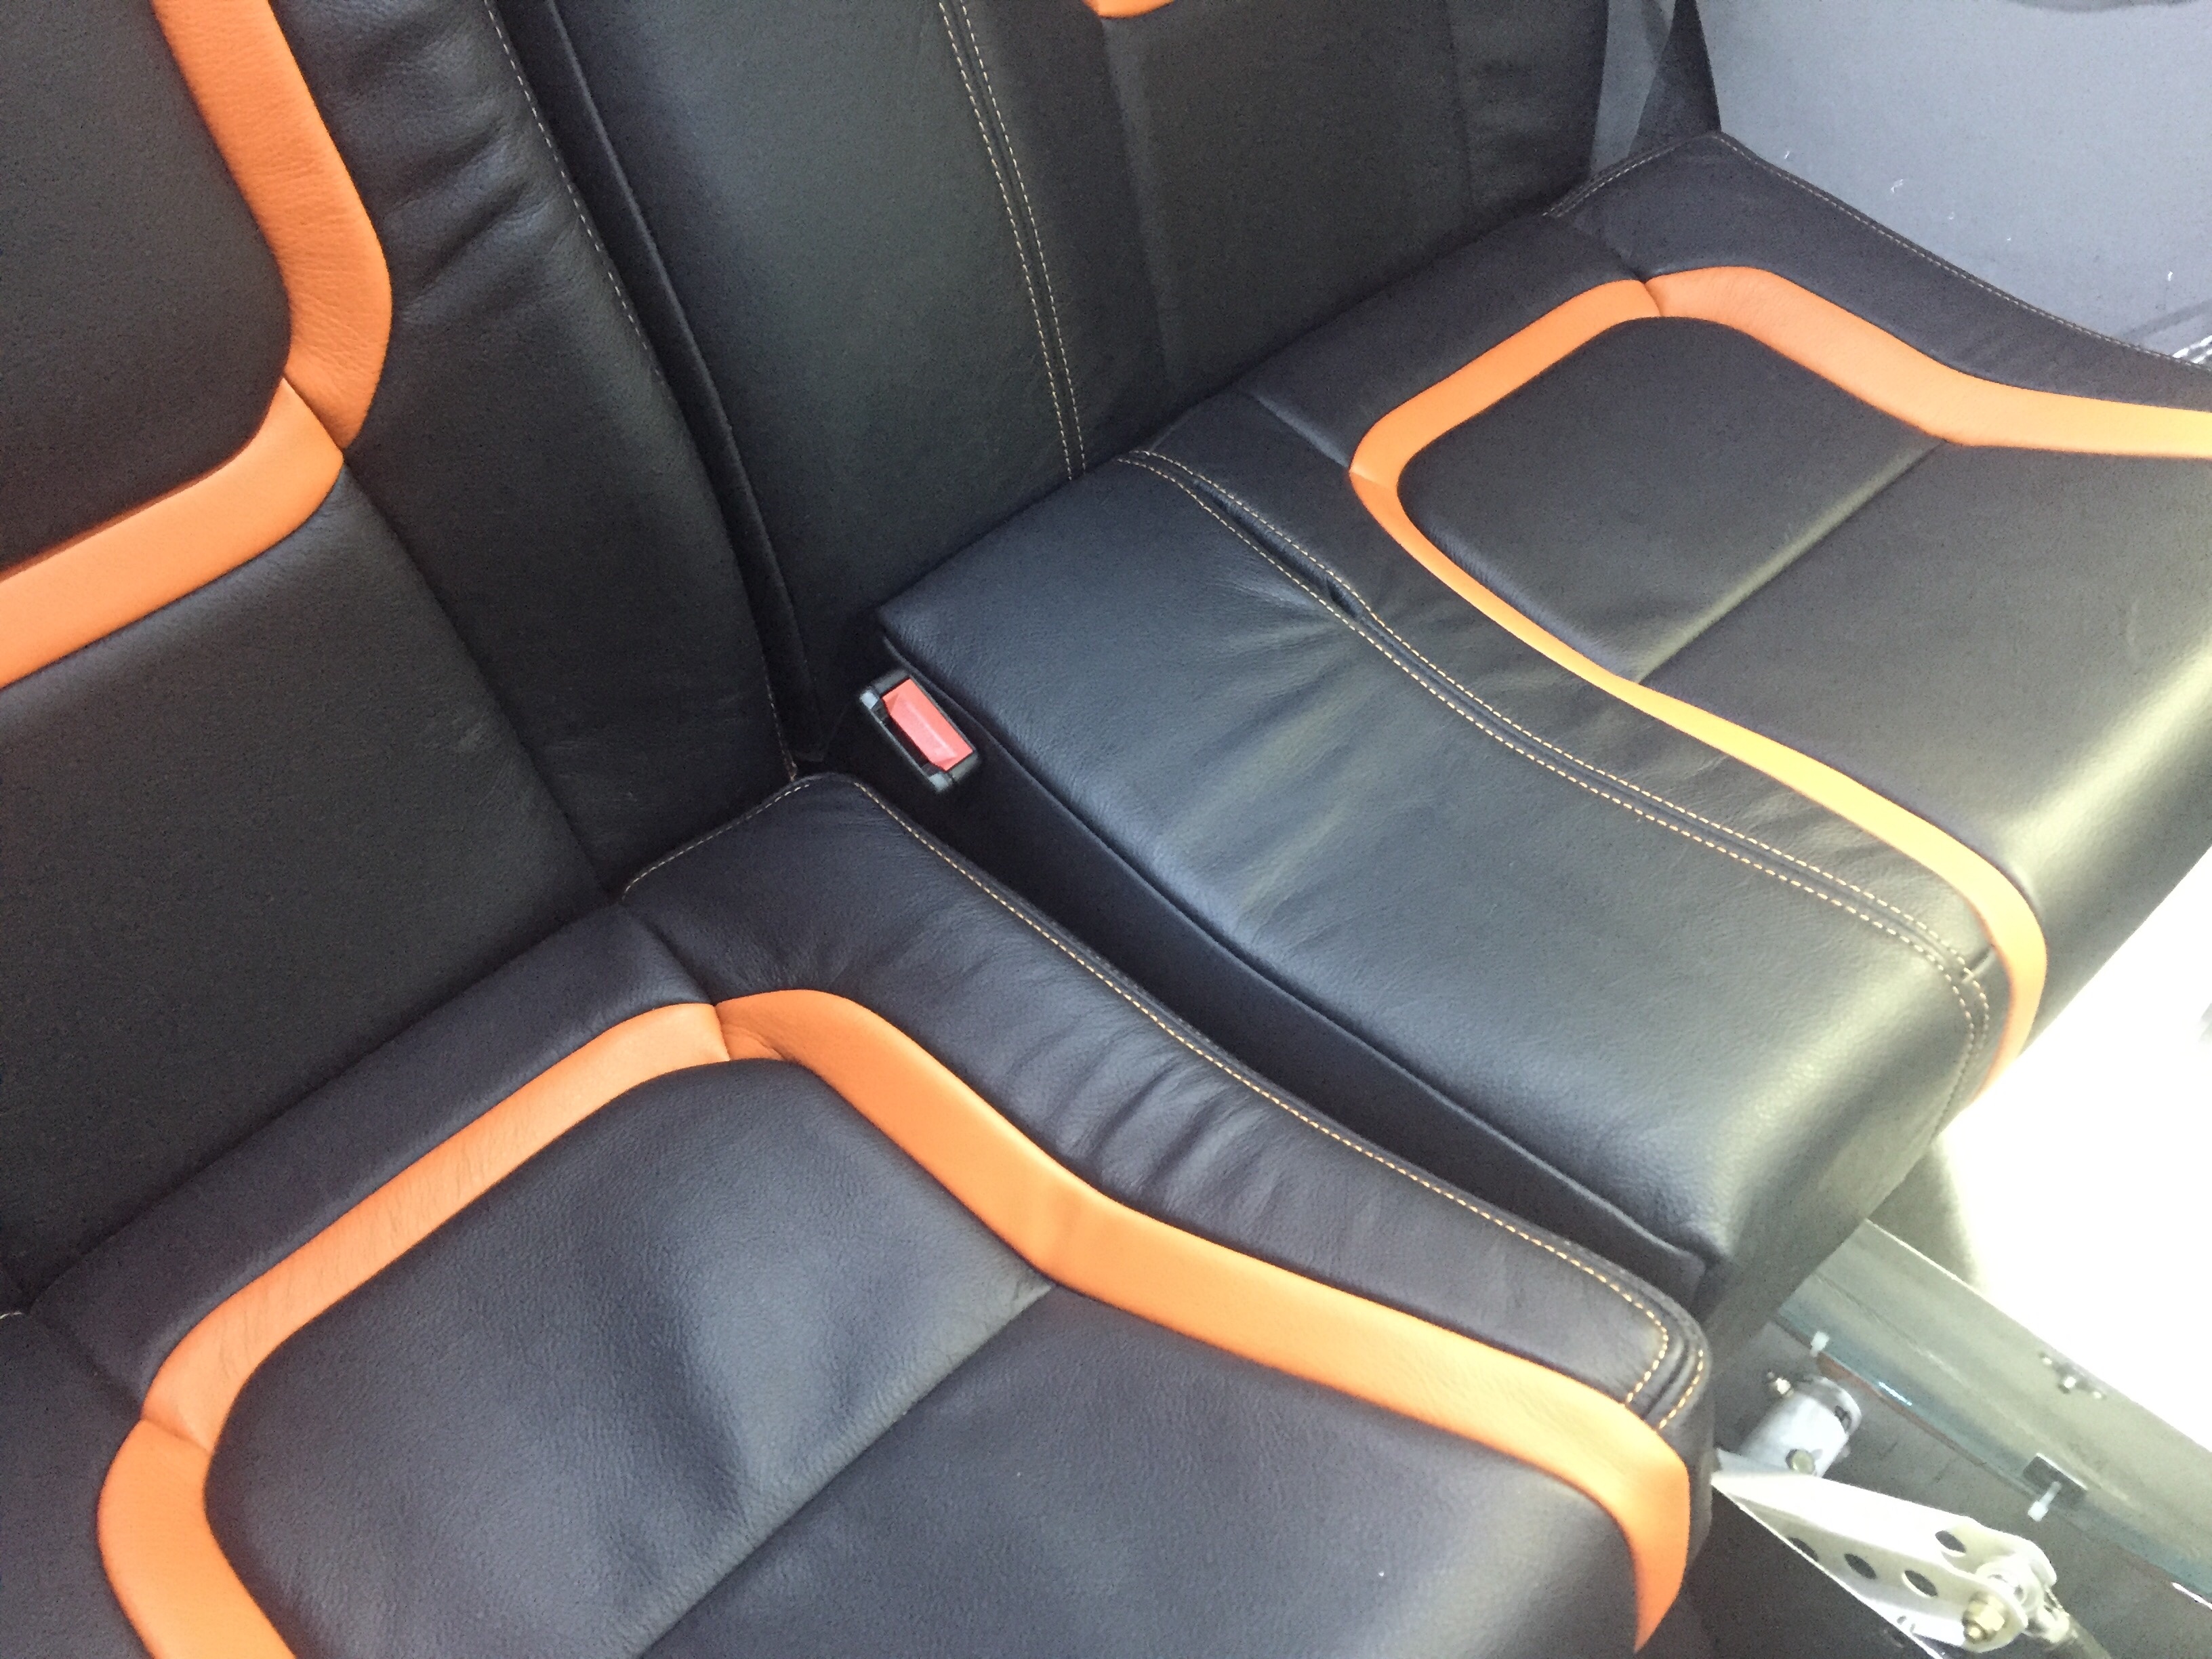
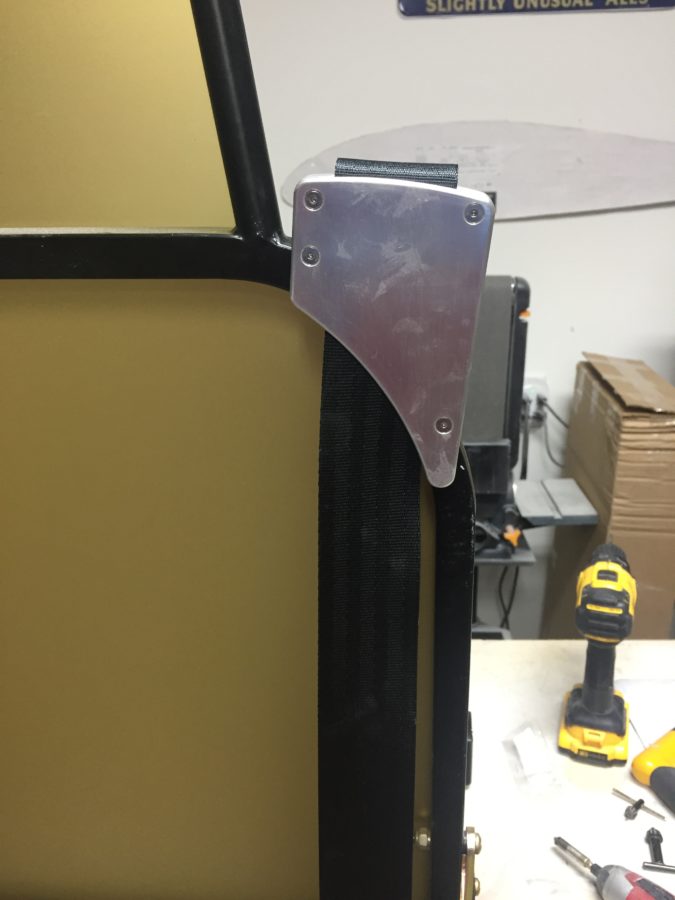
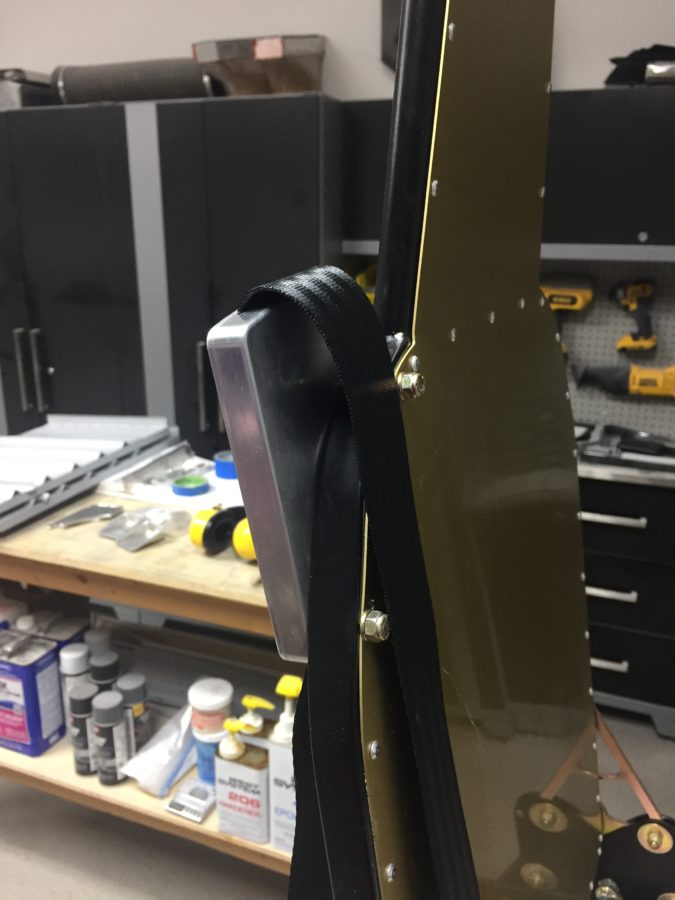
The back seats came out just as awesome as the fronts and feel super comfortable for passengers.  I cannot say enough great things about Aerosport’s stuff, except for their prices!  You do get what you pay for, however, and this is an area that I didn’t want to go cheap on.  Andrew changed up the plan a bit on my front seat belt brackets by designing and 3D printing a cover for the bracket.  This worked out, as I had to open the bracket and widen the belt channel about 1/16″ to get the belt to retract easily.  If Aerosport had done the leather like I had asked, I would have had to pull the entire seat back cover off and I’m sure it would not go back on as well as they have done it.

The left rear seat bottom cushion was the only hiccup, as the seat belt receptacle doesn’t quite fit in the slot they sewed.  Andrew is already on it and I sent the cushion back for modification along with the rear bulkhead substrate after cutting the aircon return vent hole in it.  They then covered it in leather and embroidered the EXPERIMENTAL in matching orange which looks awesome.  The cushion, bulkhead, and new glare shield will be on the way to me in a few more weeks.

Next priority is to finish the remaining items up front and in the back so I can rivet the last skins on and keep the new interior furnishings clean as we finish the build.

Belts and Glass

The seat belts have been a long time coming and now that the parts are anodized, I can install the seat brackets and get the seats off for covering.  I also had to have the belts redone, as the side mount was sewn on backwards, not allowing the belt to be mounted to the side wall.  The front receptacles also had to be special ordered since the mounting brackets for those were also designed for a seat mount, not tunnel mount.  I’ll say that Seatbelt Planet did a fantastic job at creating these for me and their service was excellent.  In the end I wound up with exactly what I wanted despite a lot of custom challenges.

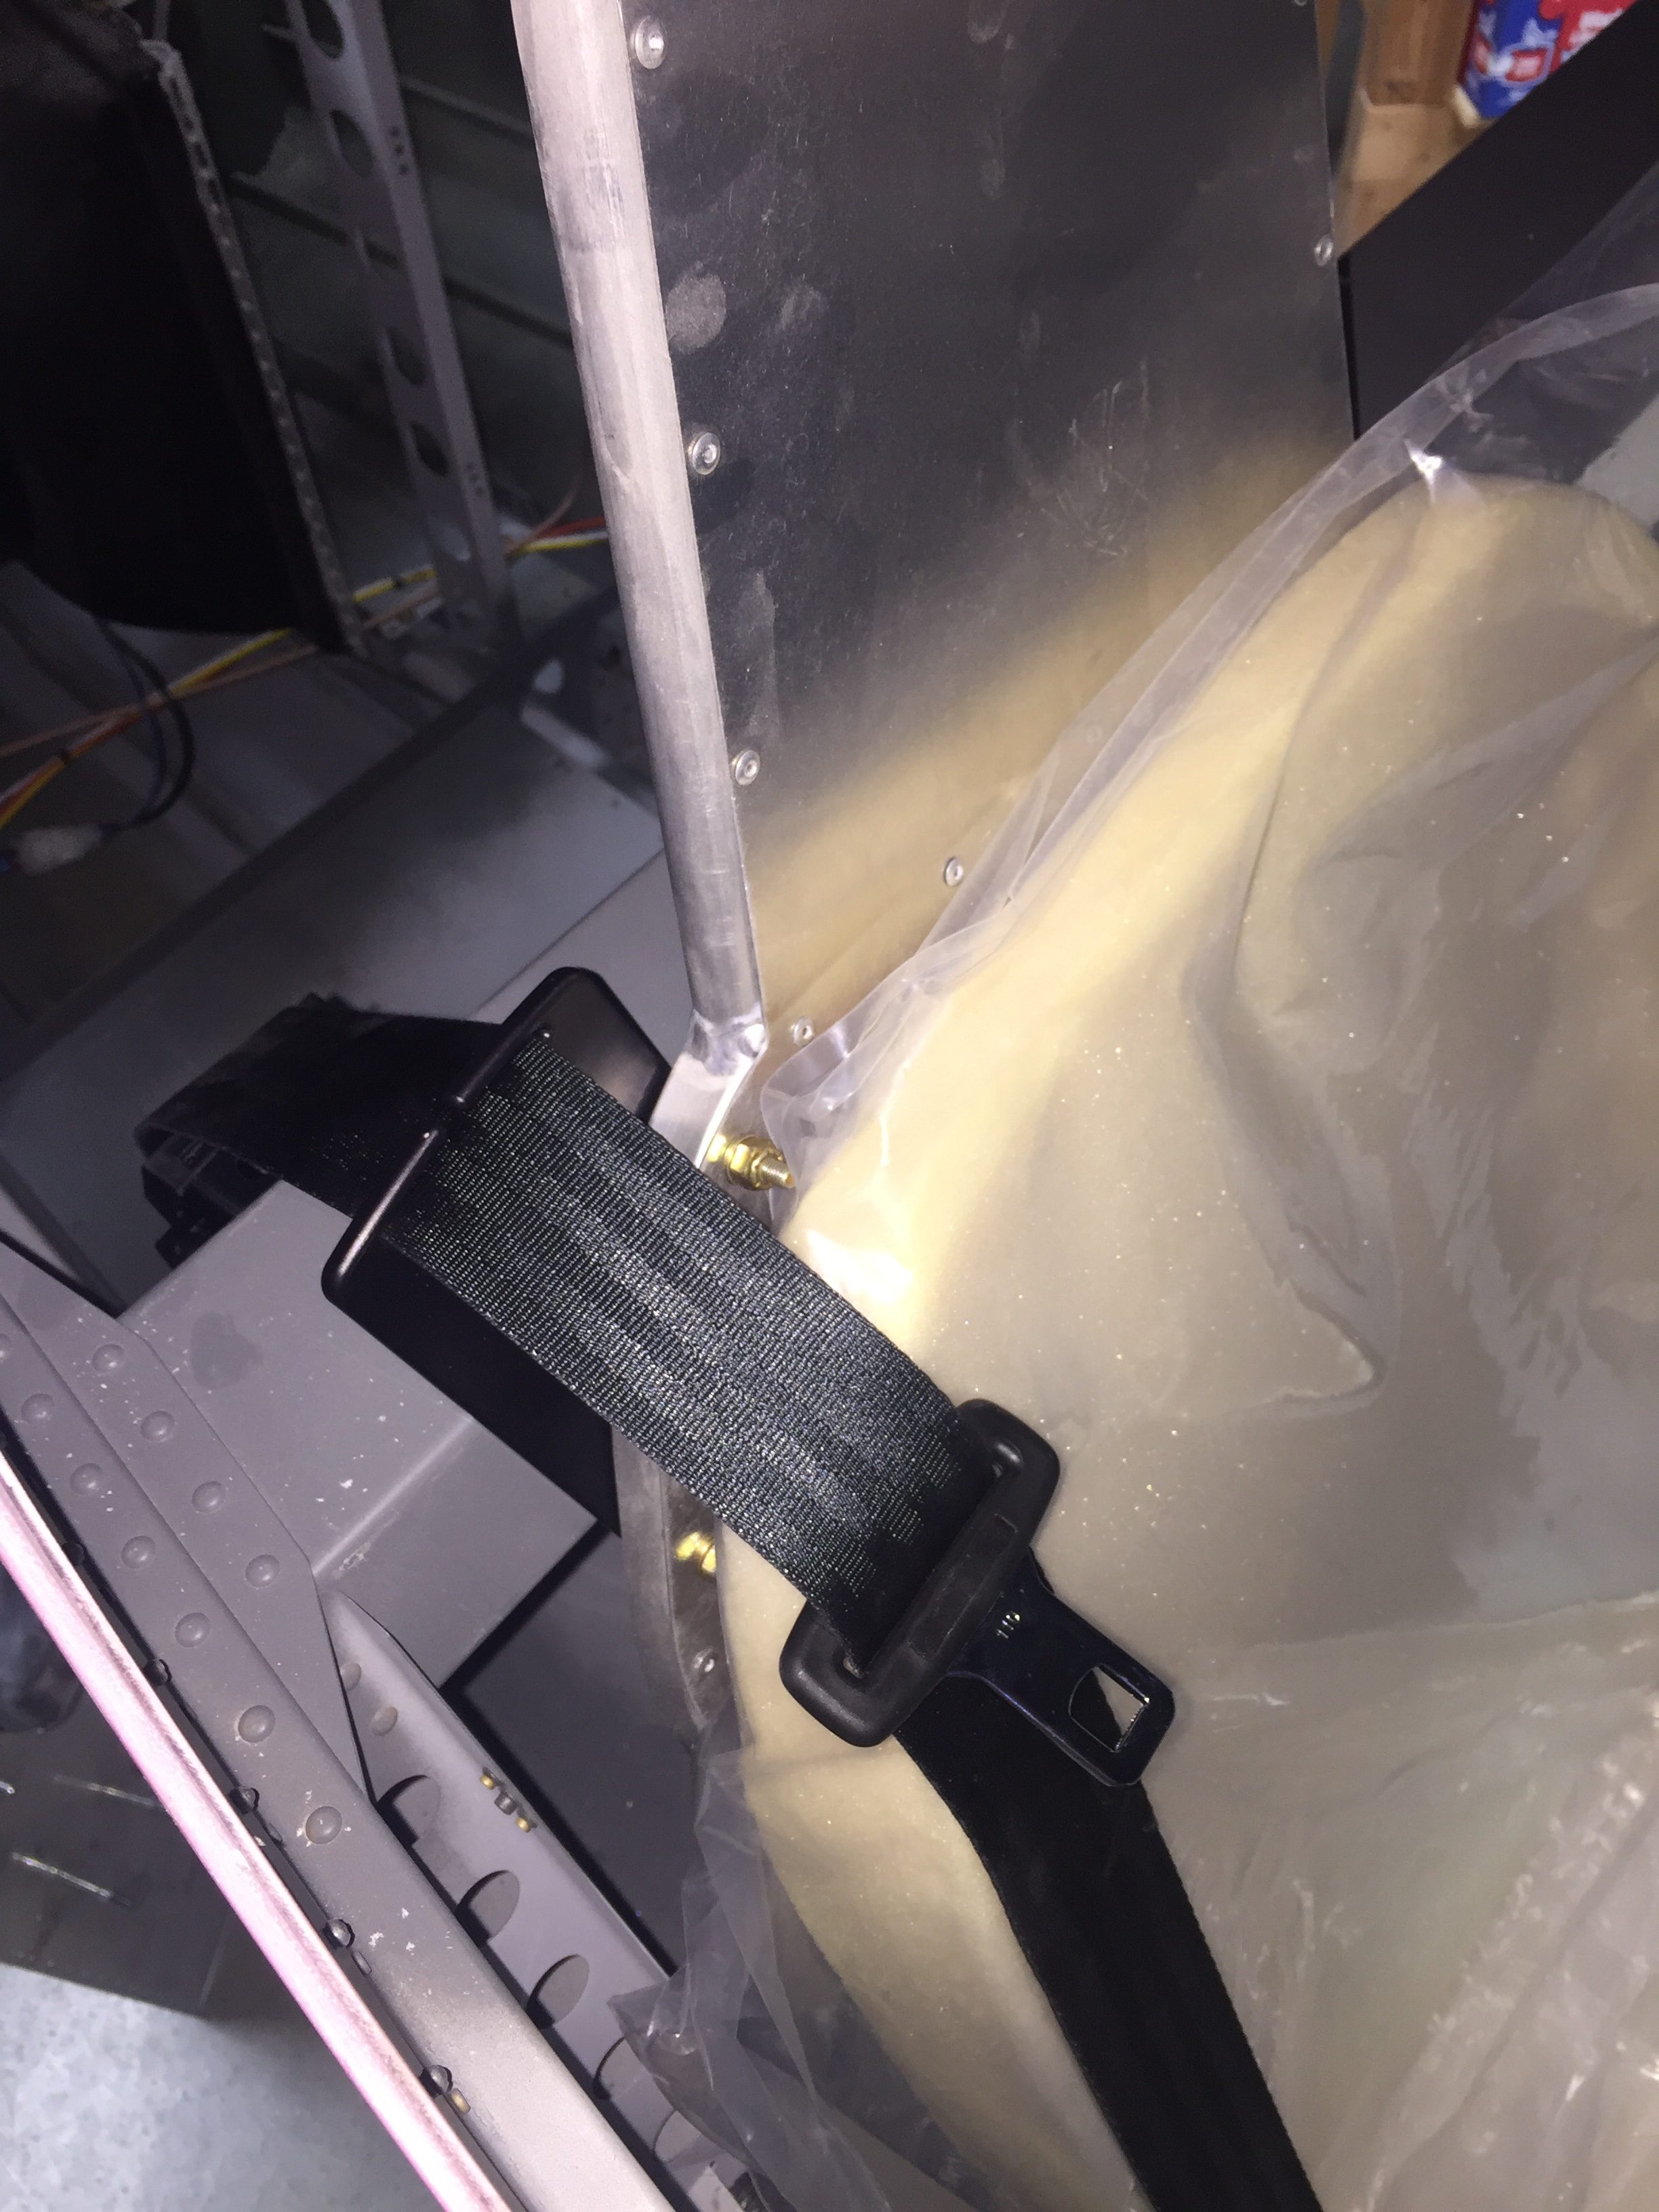
I bolted on the front brackets and then used the guide brackets to locate the holes in the seat back.  Once the belt was fed through, it along with the reel will stay attached to the seat for seat removal. The belt end will be unbolted from the sidewall stock mount and the reel will be unbolted from its mount on the firewall.  The belt will run underneath the leather of the seat.  Thanks Mark Cooper for the design on these!

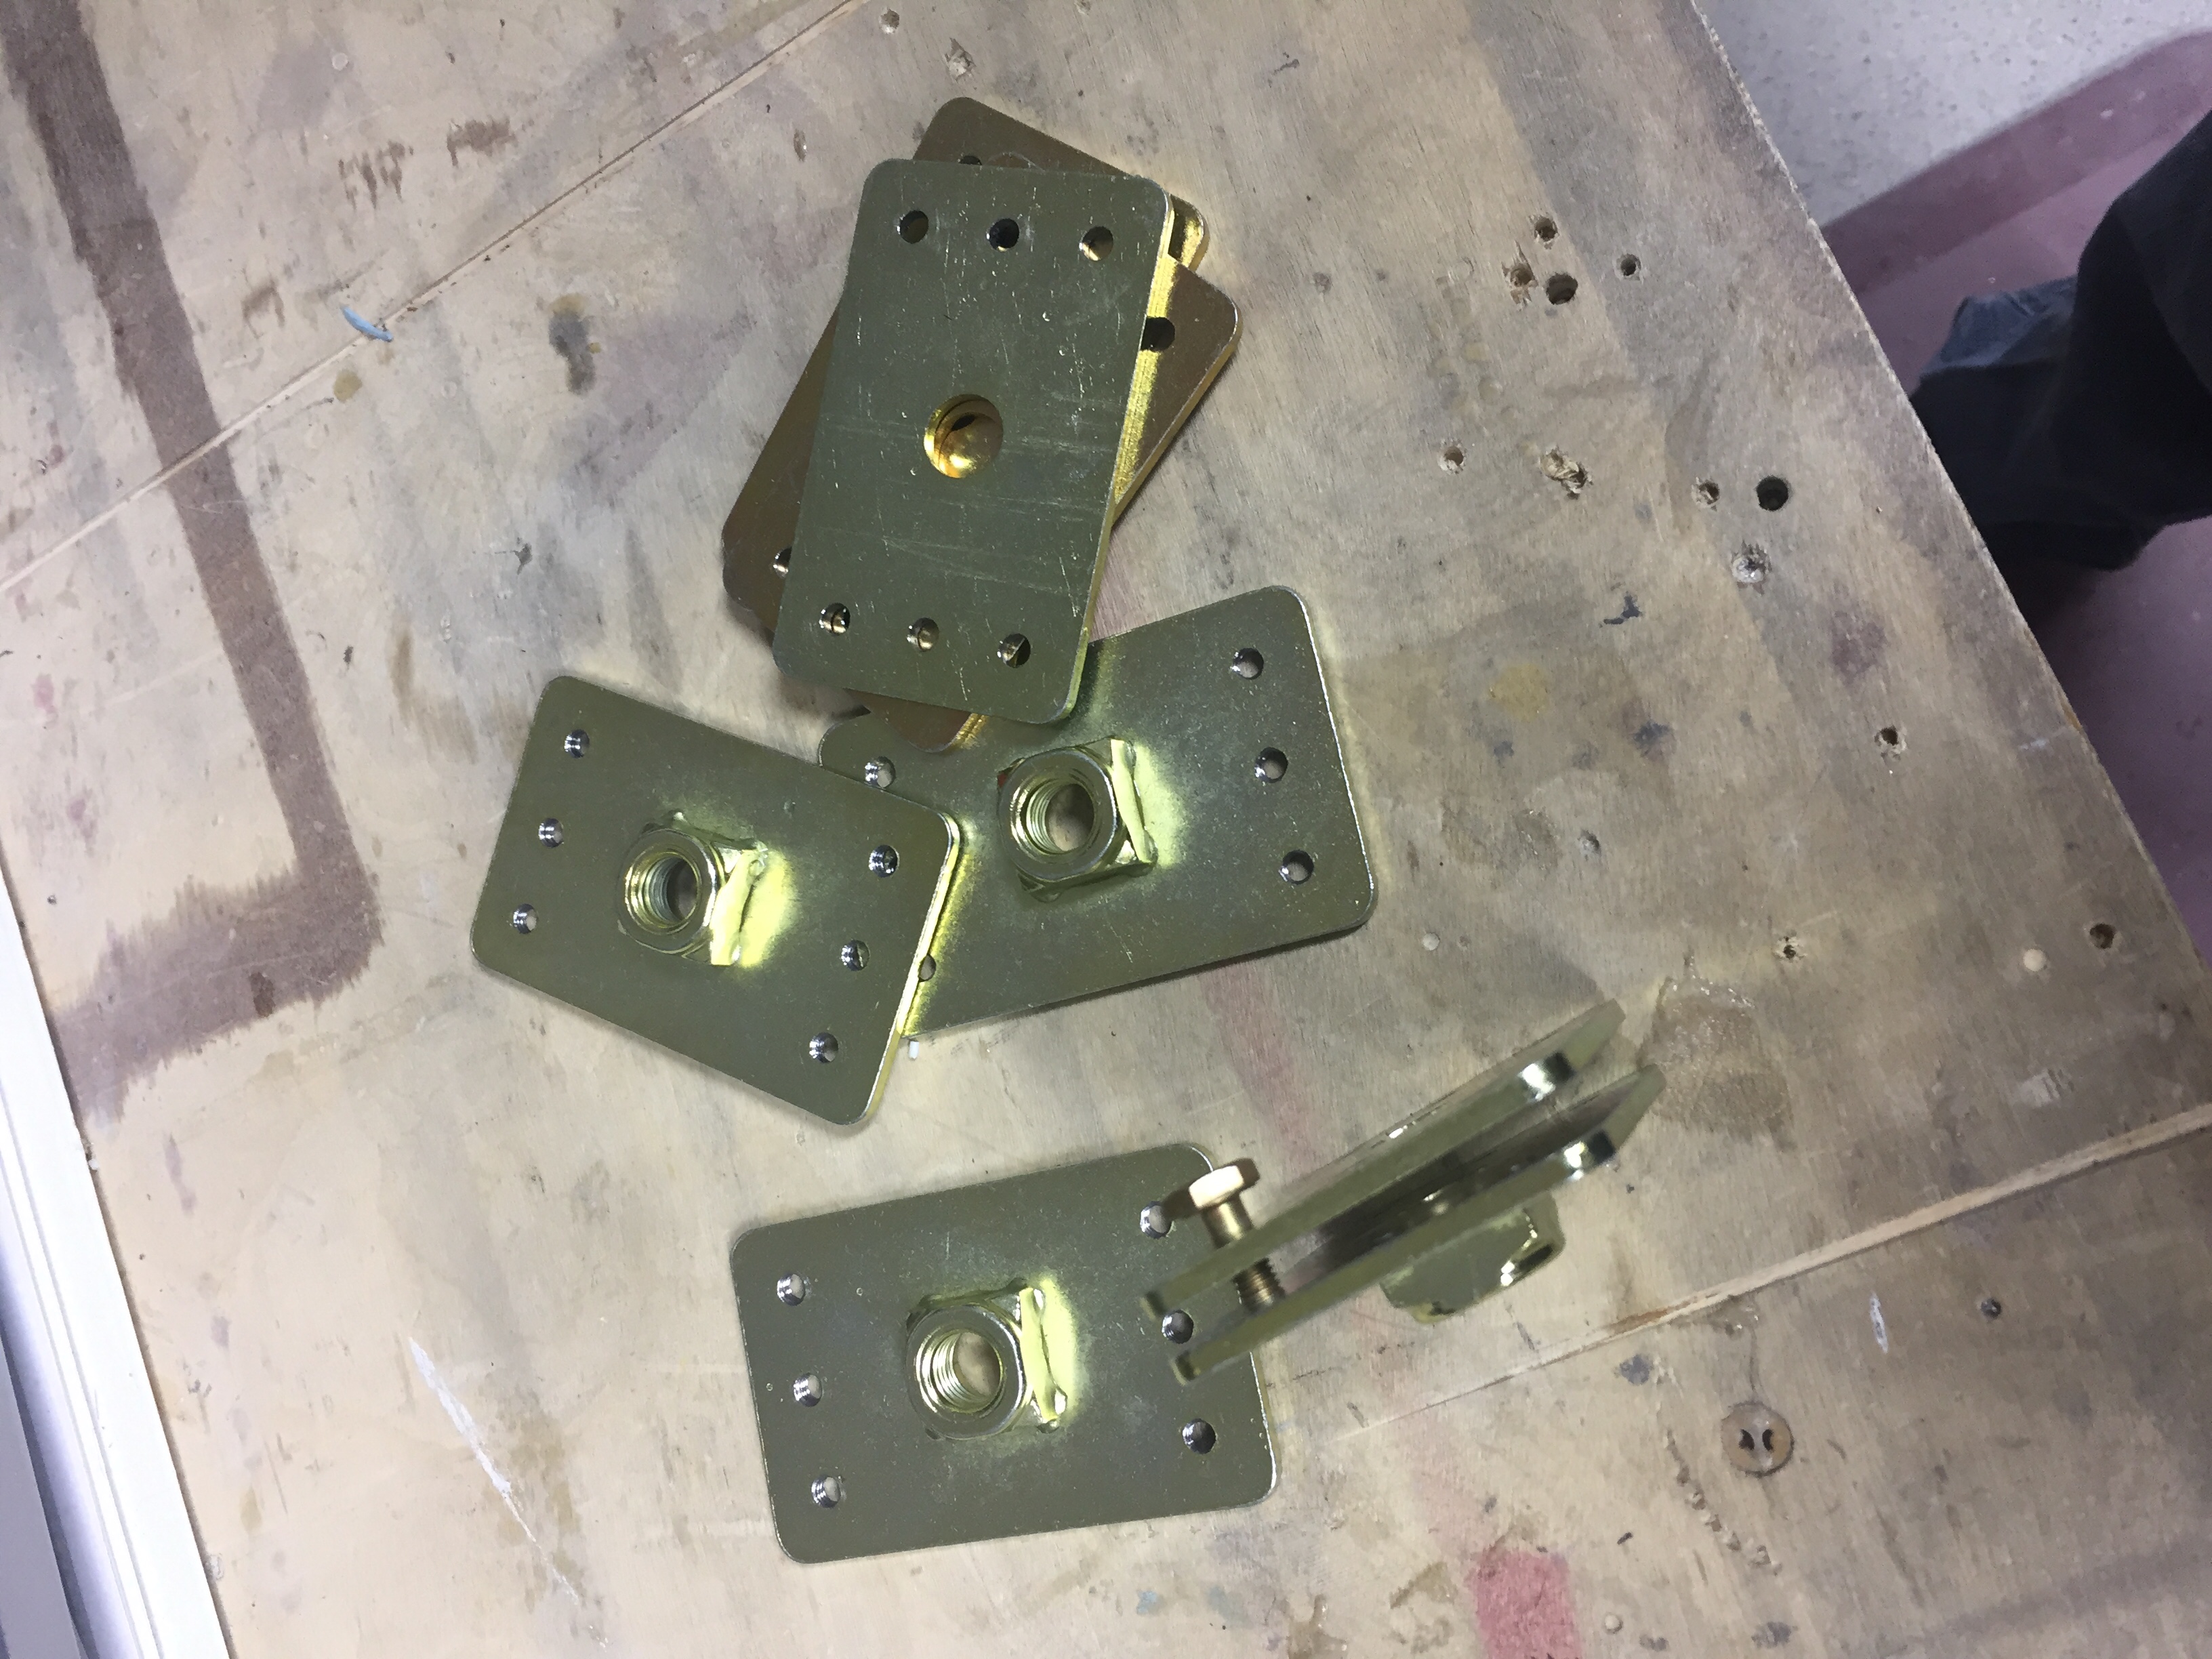
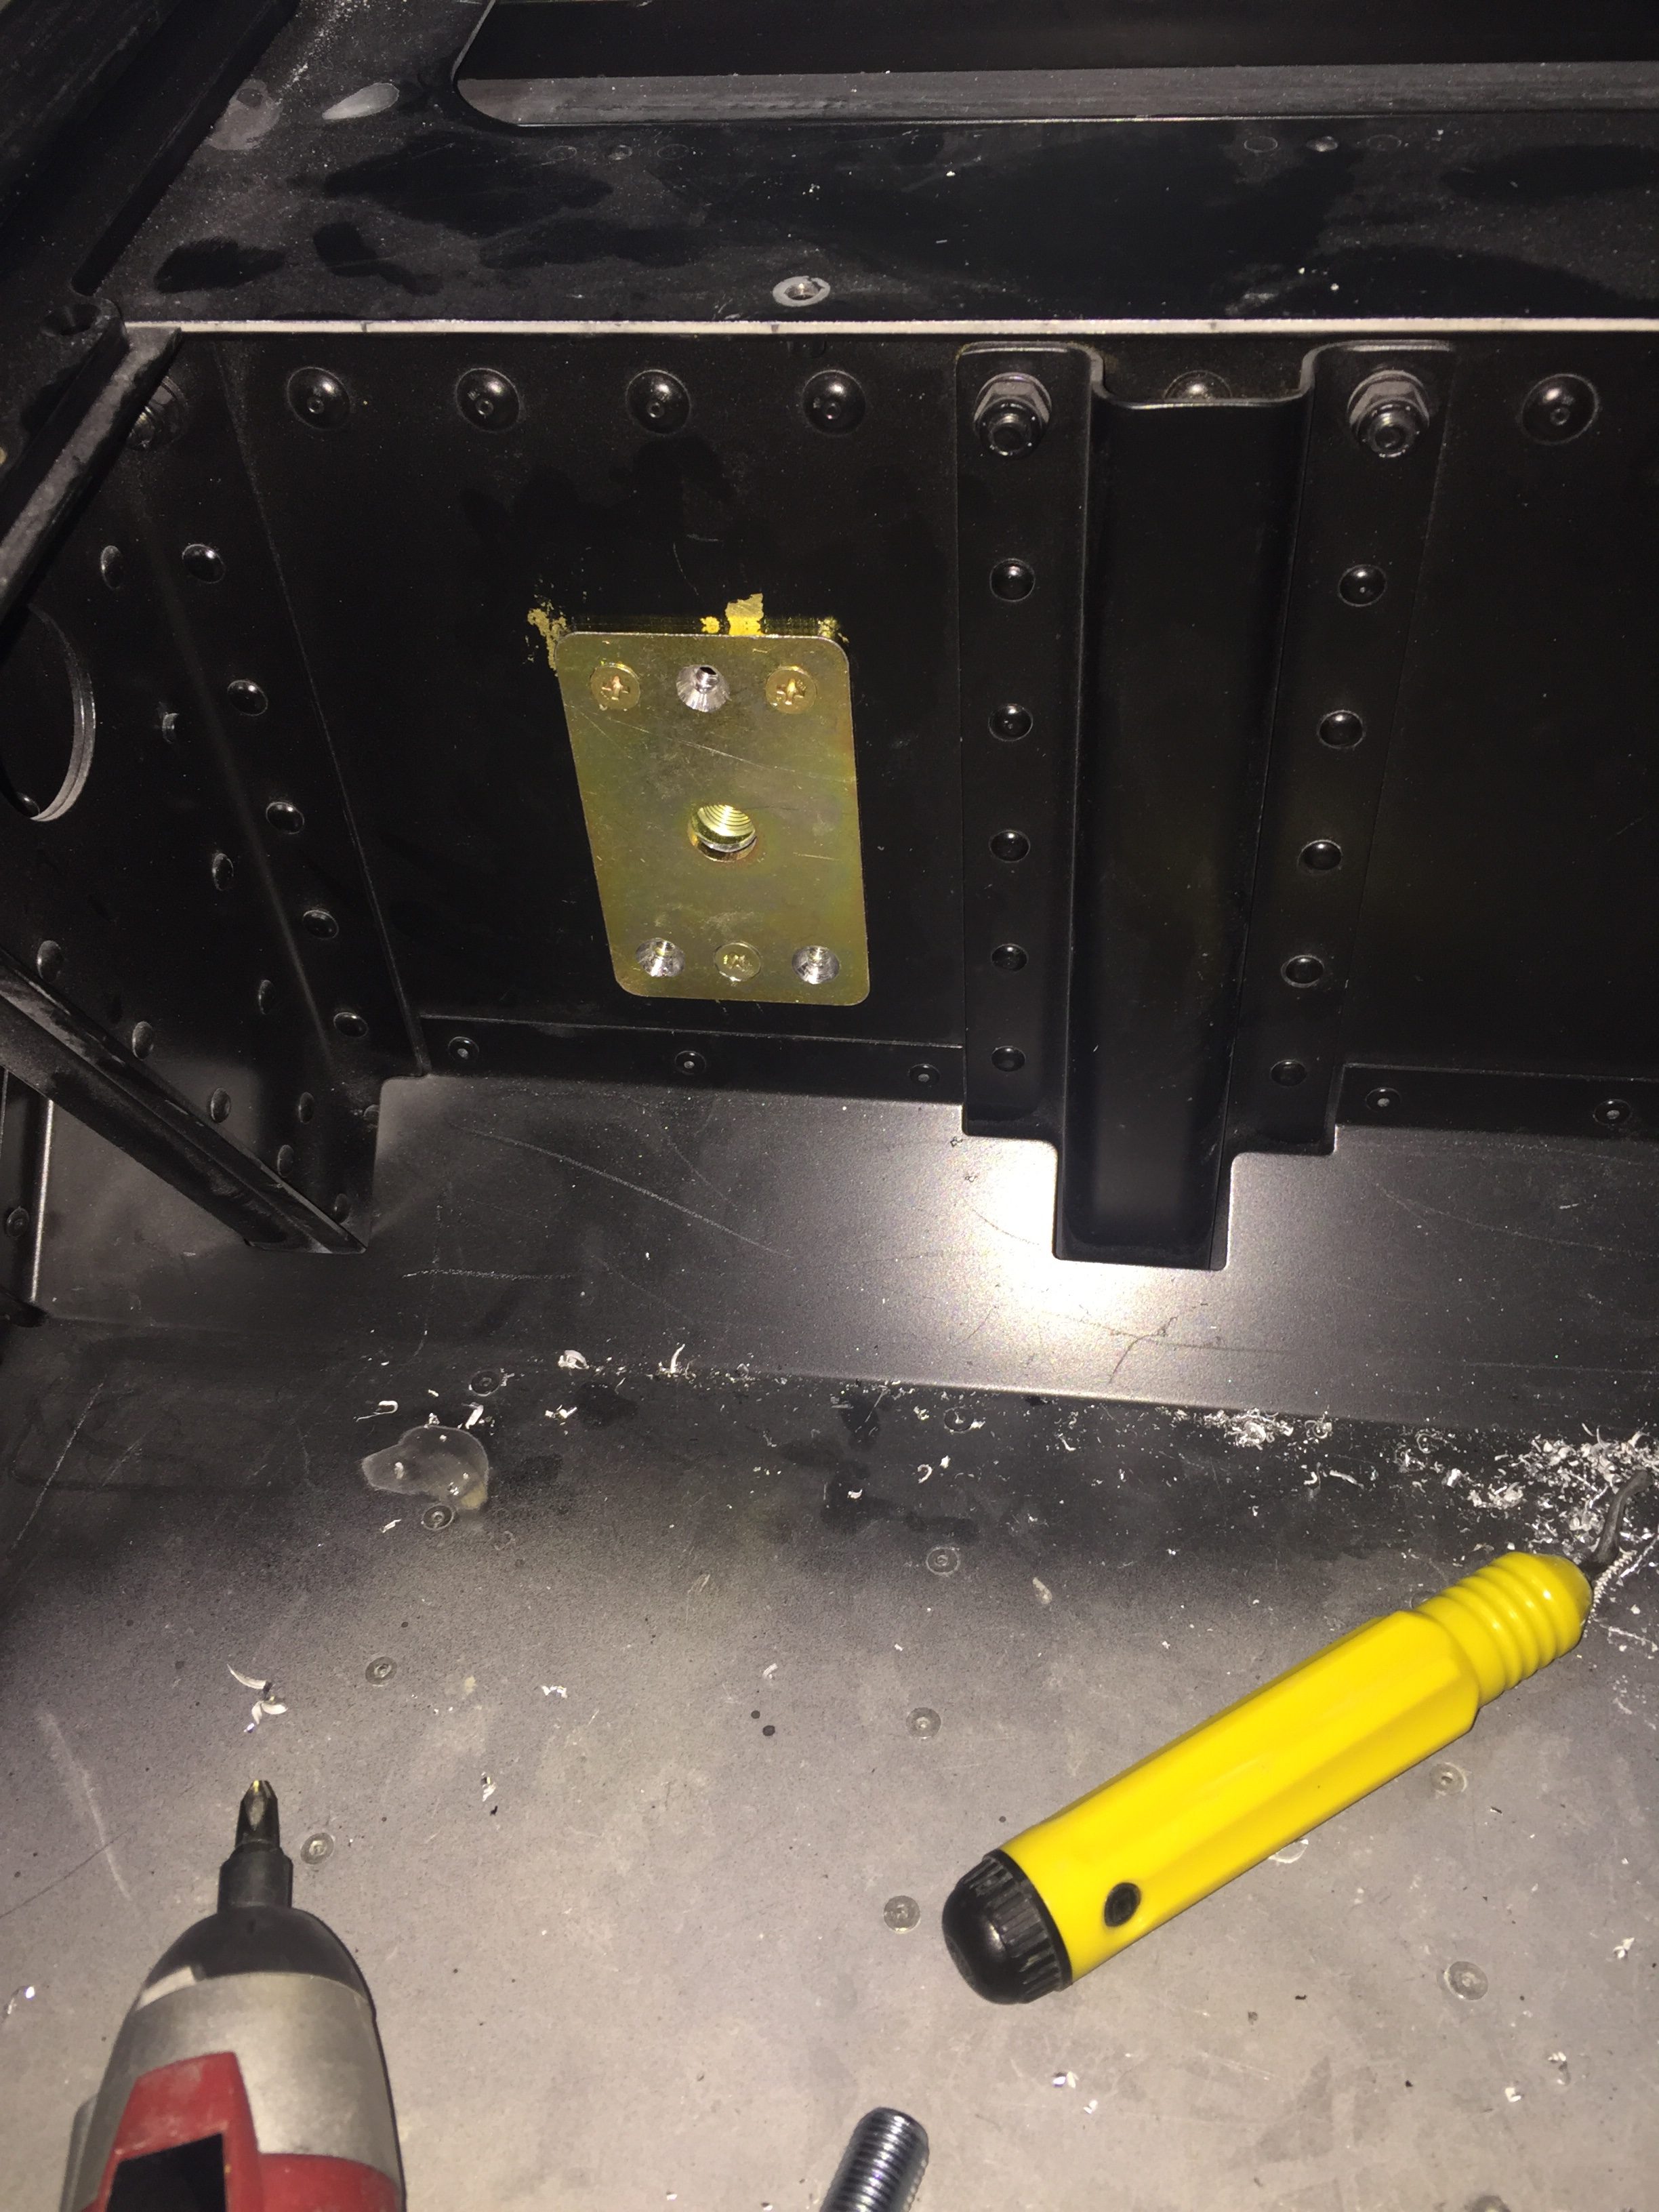
I ordered backing plates to mount the inertial reels to which will help spread the load better in the event of needing to use the belts.  It also acts as a nutplate so to speak and will make for quick removal and install for removing seats come maintenance time.  I wound up tapping the back plate for six screws so again, it’s easy install and secure mounting.  Note the flaking paint from the spar that I didn’t prep or prime.  What was I thinking?  That will need to be stripped down and repainted properly.

For the rear seats, the reels mount to the underside of the cross bar.  I used the same backing plates and located them on the widest part of webbing in the cross bar.  The belt then routes around the bar and into the brackets and mounts to the stock locations on the seat pans.  Since the rear belt brackets have a slot in them and don’t run through the seat cushion itself, they do not have to be removed to remove the seat backs.

I did have to have the sheet metal guys on base machine a few spacers for me since the receptacle mounts have much larger holes than an AN4 bolt per plans.  A six pack of beer was a small price to pay for the use of a lathe and a few scrap pieces of aluminum.

With the final piece of the seats being the seat heaters from Flyboy Accessories, I trimmed the heating pads and labeled them before boxing up all of the seat backs, foam, and pads to be shipped to Aerosport.  I also dropped in the armrest and the orange leather hide that I ordered as Aerosport will be supplying the black leather.

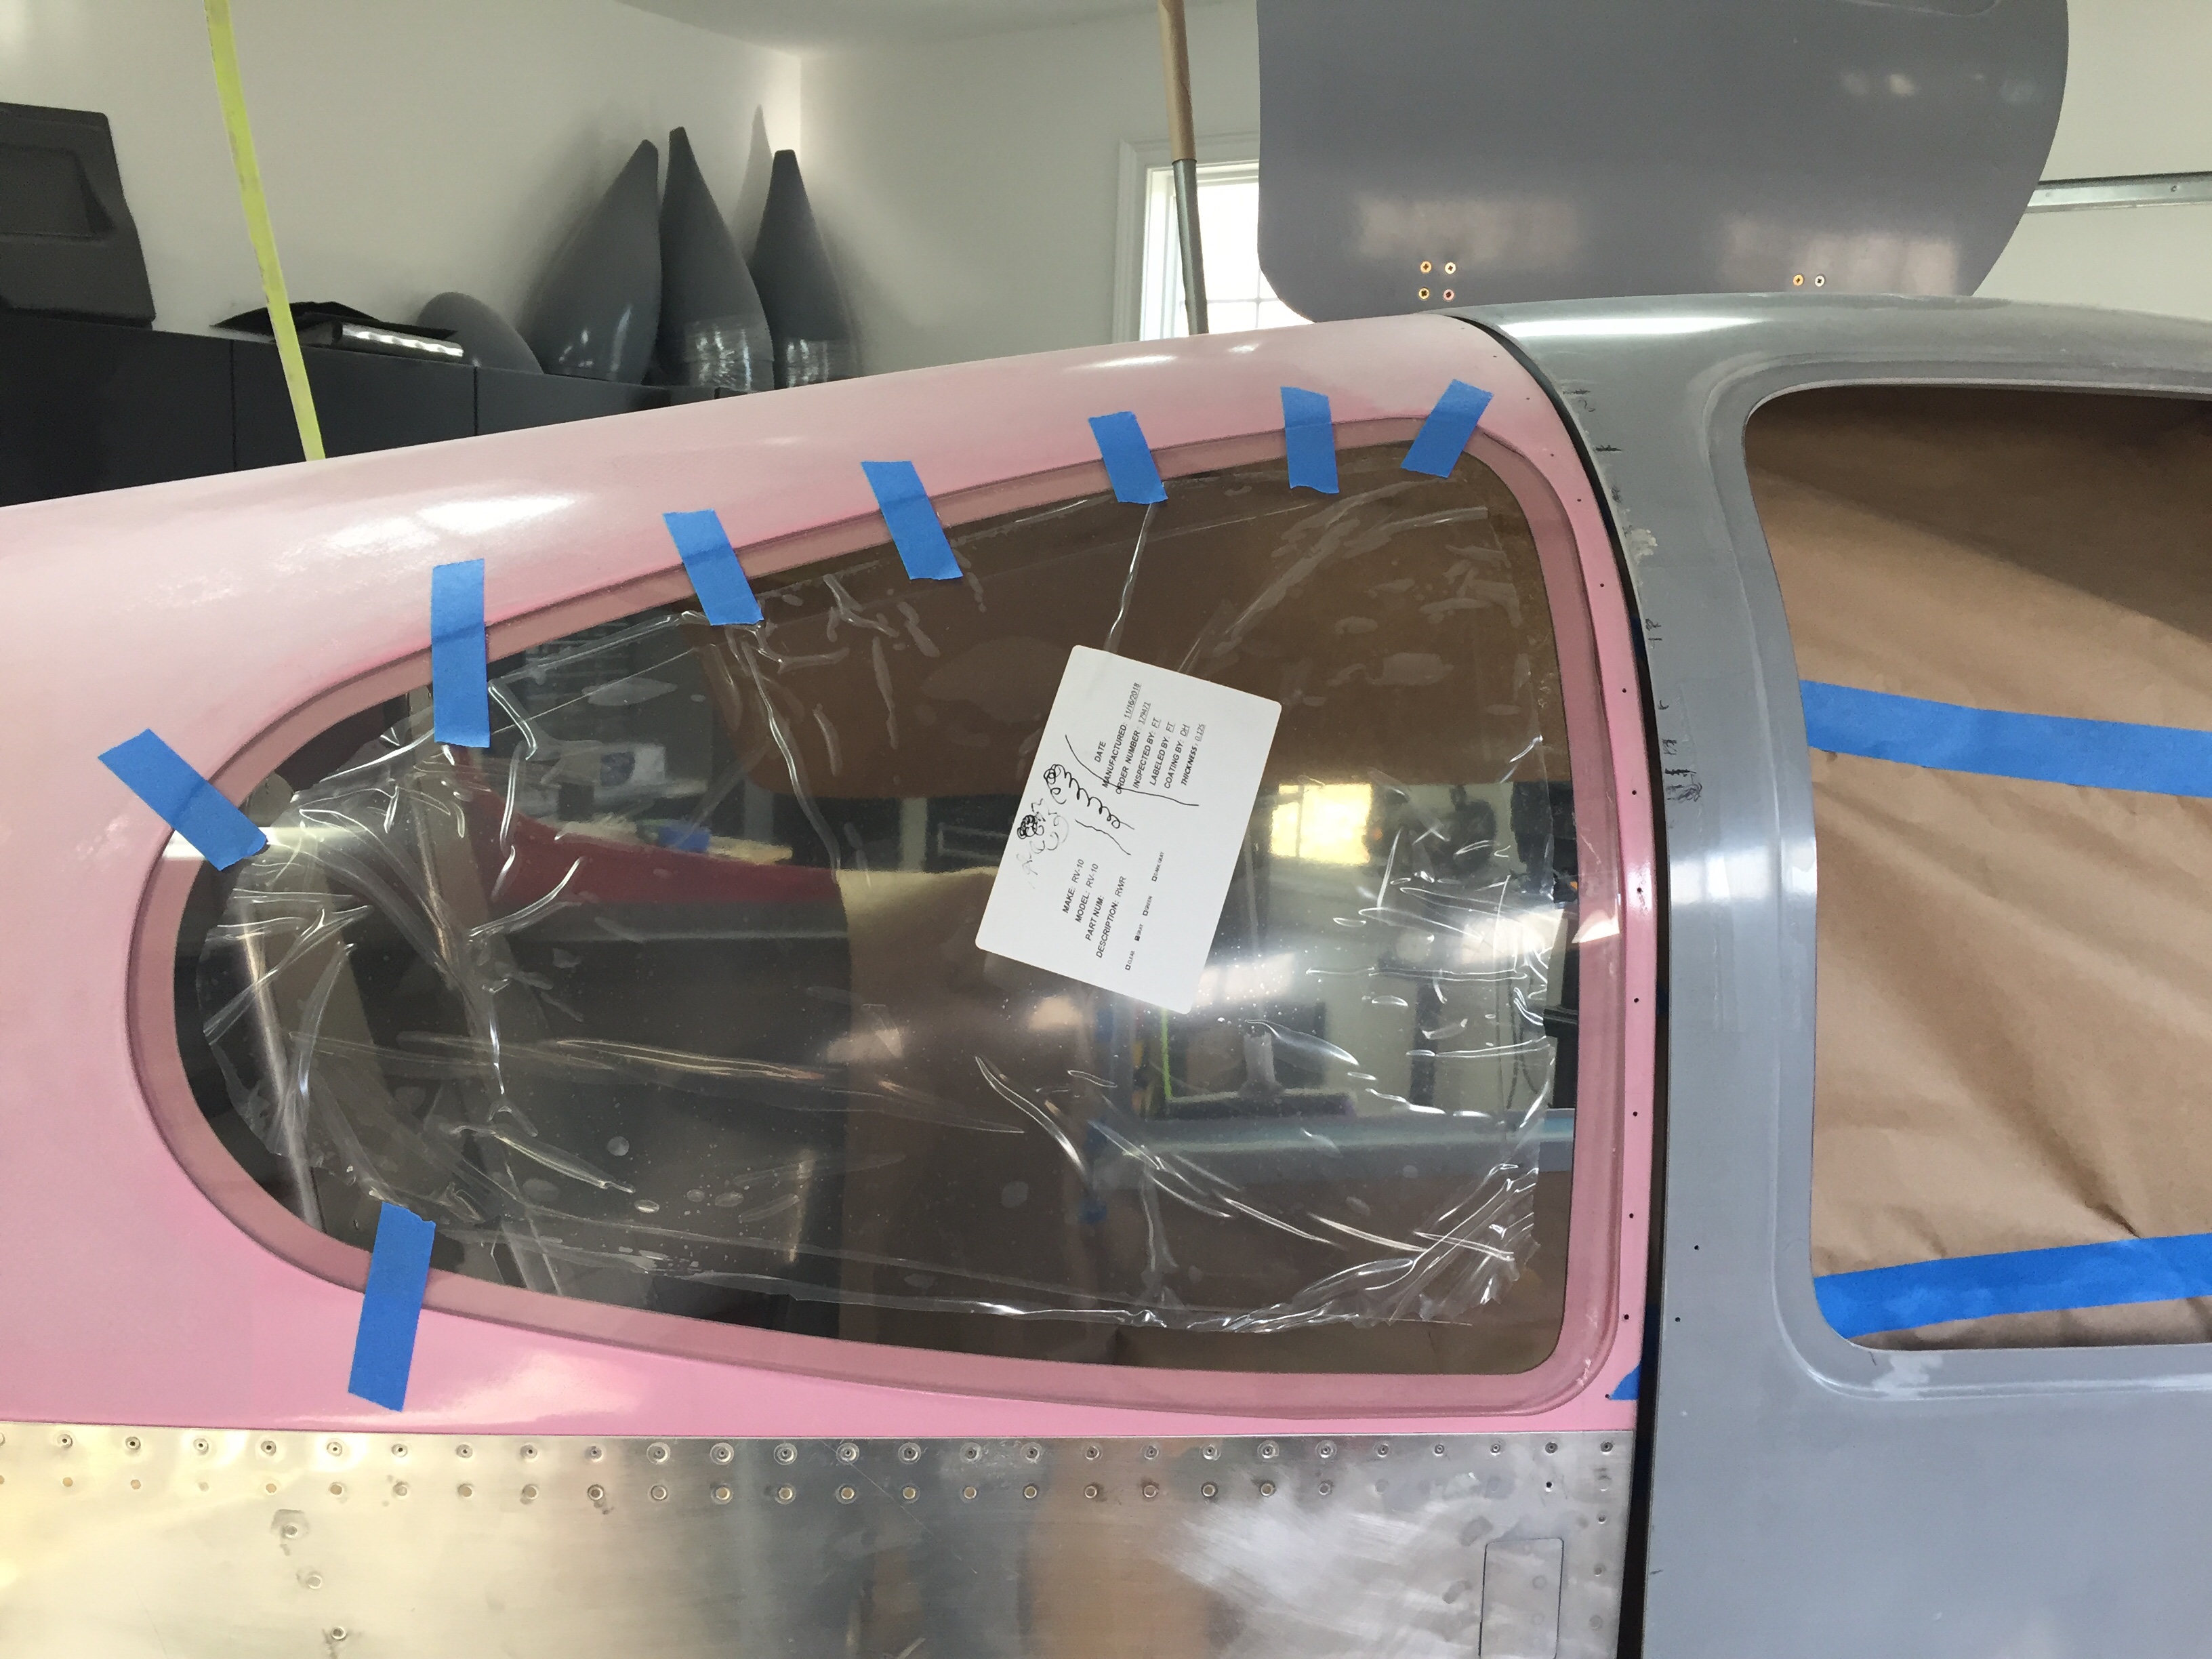
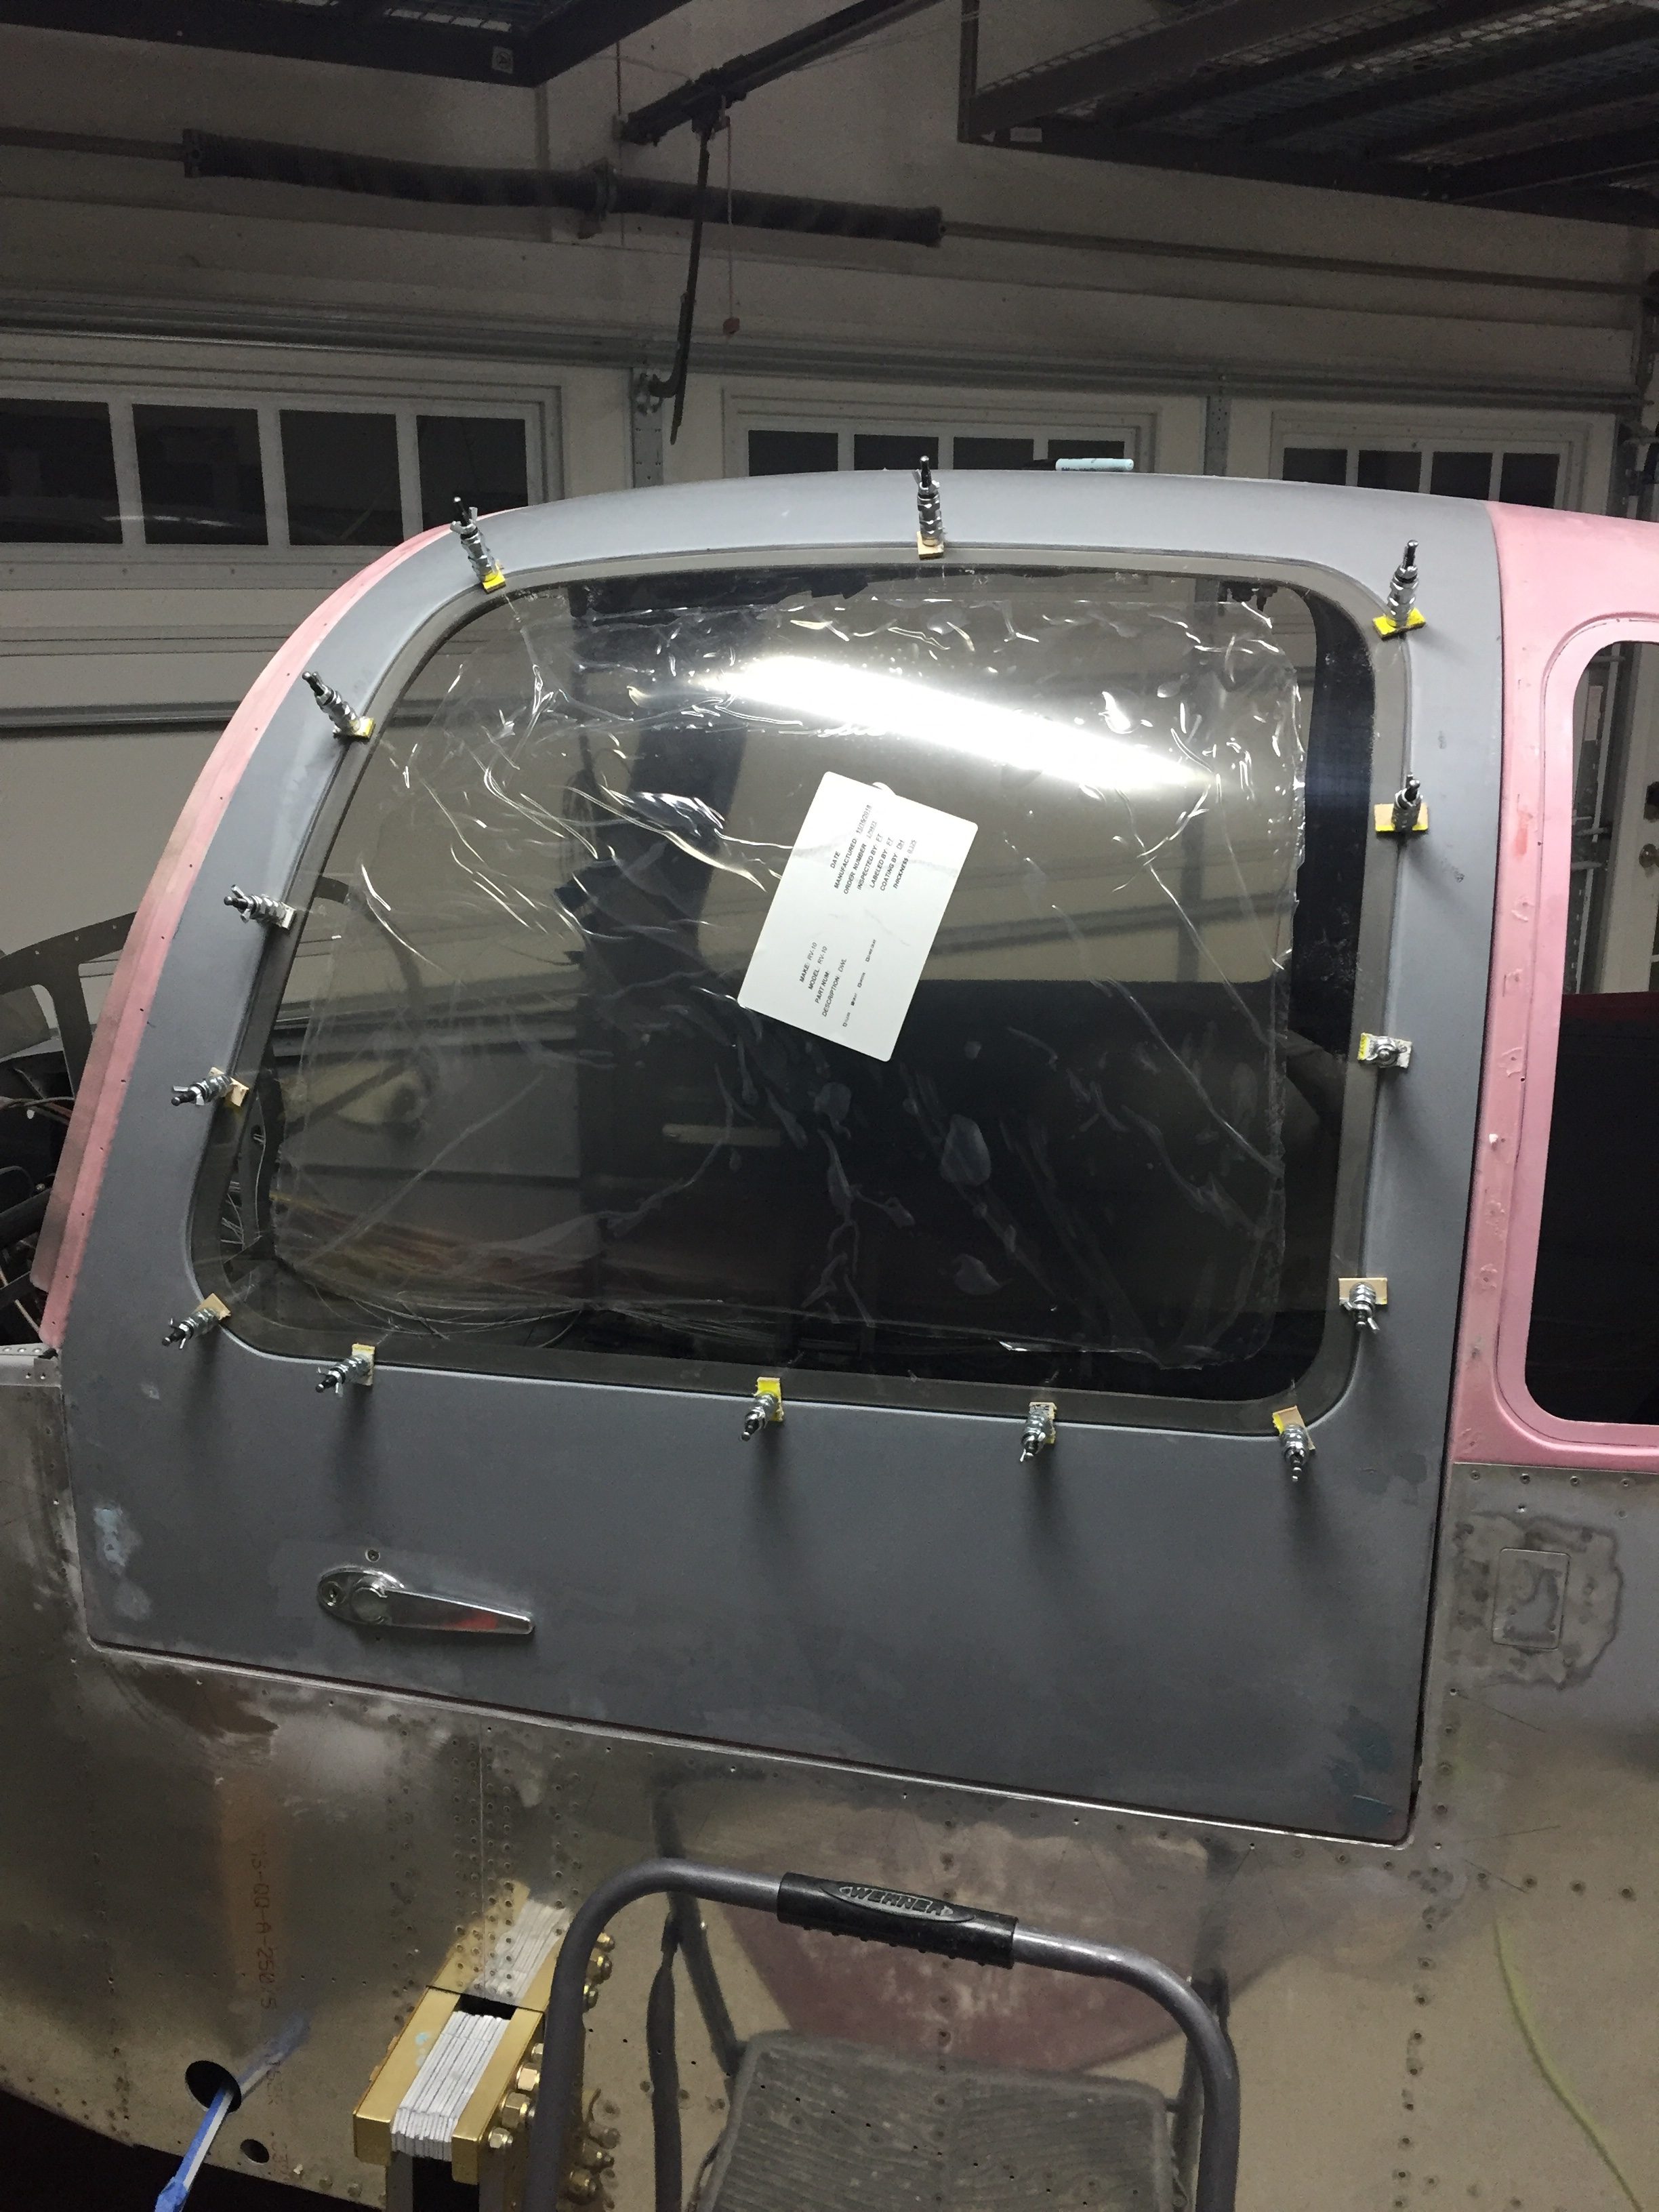
I decided to take a break from sanding the door jams and work on trimming the windows.  I chose to order the Cee Baileys’ windows and windshield versus the stock offerings.  Feedback says they are easier to fit, a bit better quality, and can be ordered with a light grey tint, which I took advantage of.  You’d probably have to put a tint and non tint together to see the difference, as the tint looks clear to me.  The first order to arrive was somewhat of a shipping nightmare.  The box was damaged, so FedEx decided to remove the windows and placed them on the floor of the truck or something.  Long story short, I marked it damaged and peeled the plastic off the windshield to reveal light scratches and pitting smack in the middle of the sight range.  Baileys was awesome and had a replacement windshield shipped in a few weeks.

After doing a lot of research and assessment of my own capabilities, I decided to use the Sportsman method of installing the windows.  This follows the same principle as Van’s except it uses a more flexible material to adhere the plexi to the substrate.  Some use SilPruf, but I decided to use Sikaflex.  It is very easy to work with, paintable (although not many people paint over it), and available online.  I was having a lot of trouble finding Lord, so all the better.  More on the Sikaflex later.

The first step was to trim the windows keeping in mind a 1/4 gap will be needed between the plexi edge and the edge of the joggle on the top and doors.  This will allow for a nice even gap to fill with the Sikaflex and create a clean looking final product.  Using the well documented YouTube videos, I started with a rough trim and then began marking with the wet erase marker.  The new angle grinder I bought was the perfect tool and made quick work of grinding away the excess material.

Once the fitting was done, I drilled holes for the wingnut clecos to hold in the plexi.  After each window was trimmed and fitted, I traced the perimeter of the fuselage opening onto the plexi to use as a tape line.  This is the second most important step in this method so I took my time to ensure it was all correctly completed.  The line is used to mask before installing with the Sikaflex and results in a nice clean finished look on the inside and outside of the plexi.  An hour of taping later, and the windows were placed on the guest bed, I mean, approved aircraft parts storage location, for a very short period of time.

Getting some fresh air

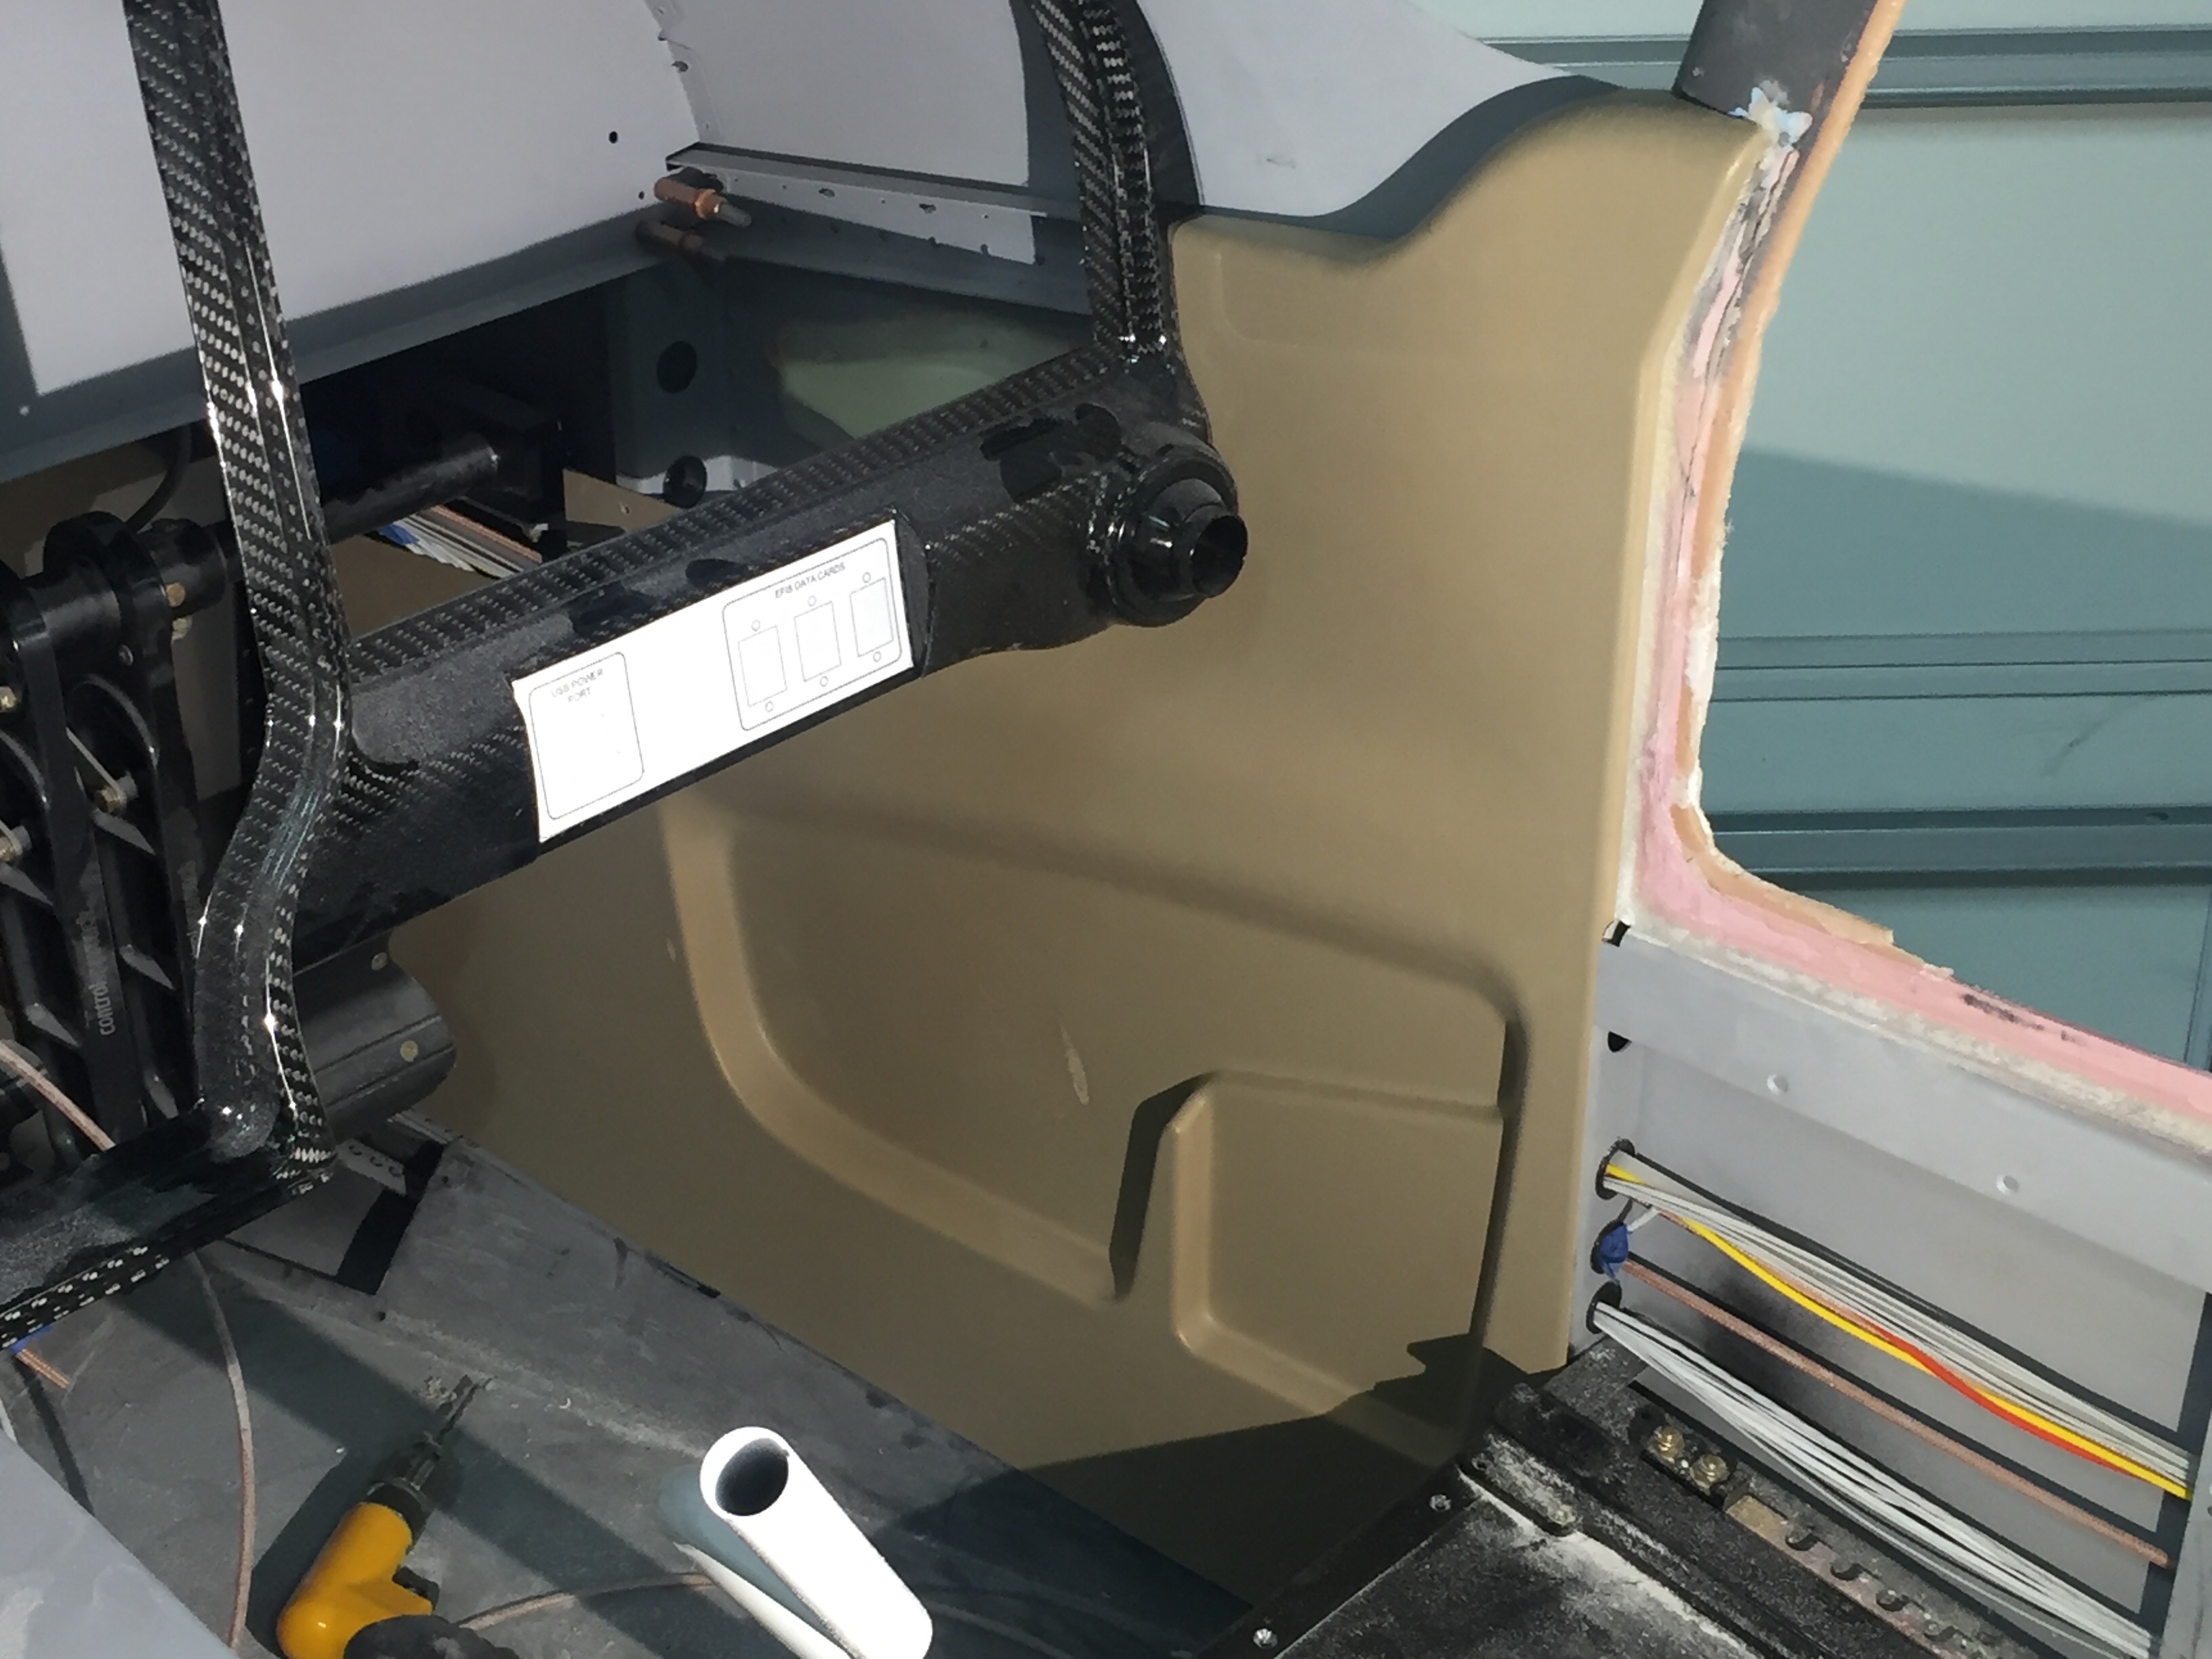
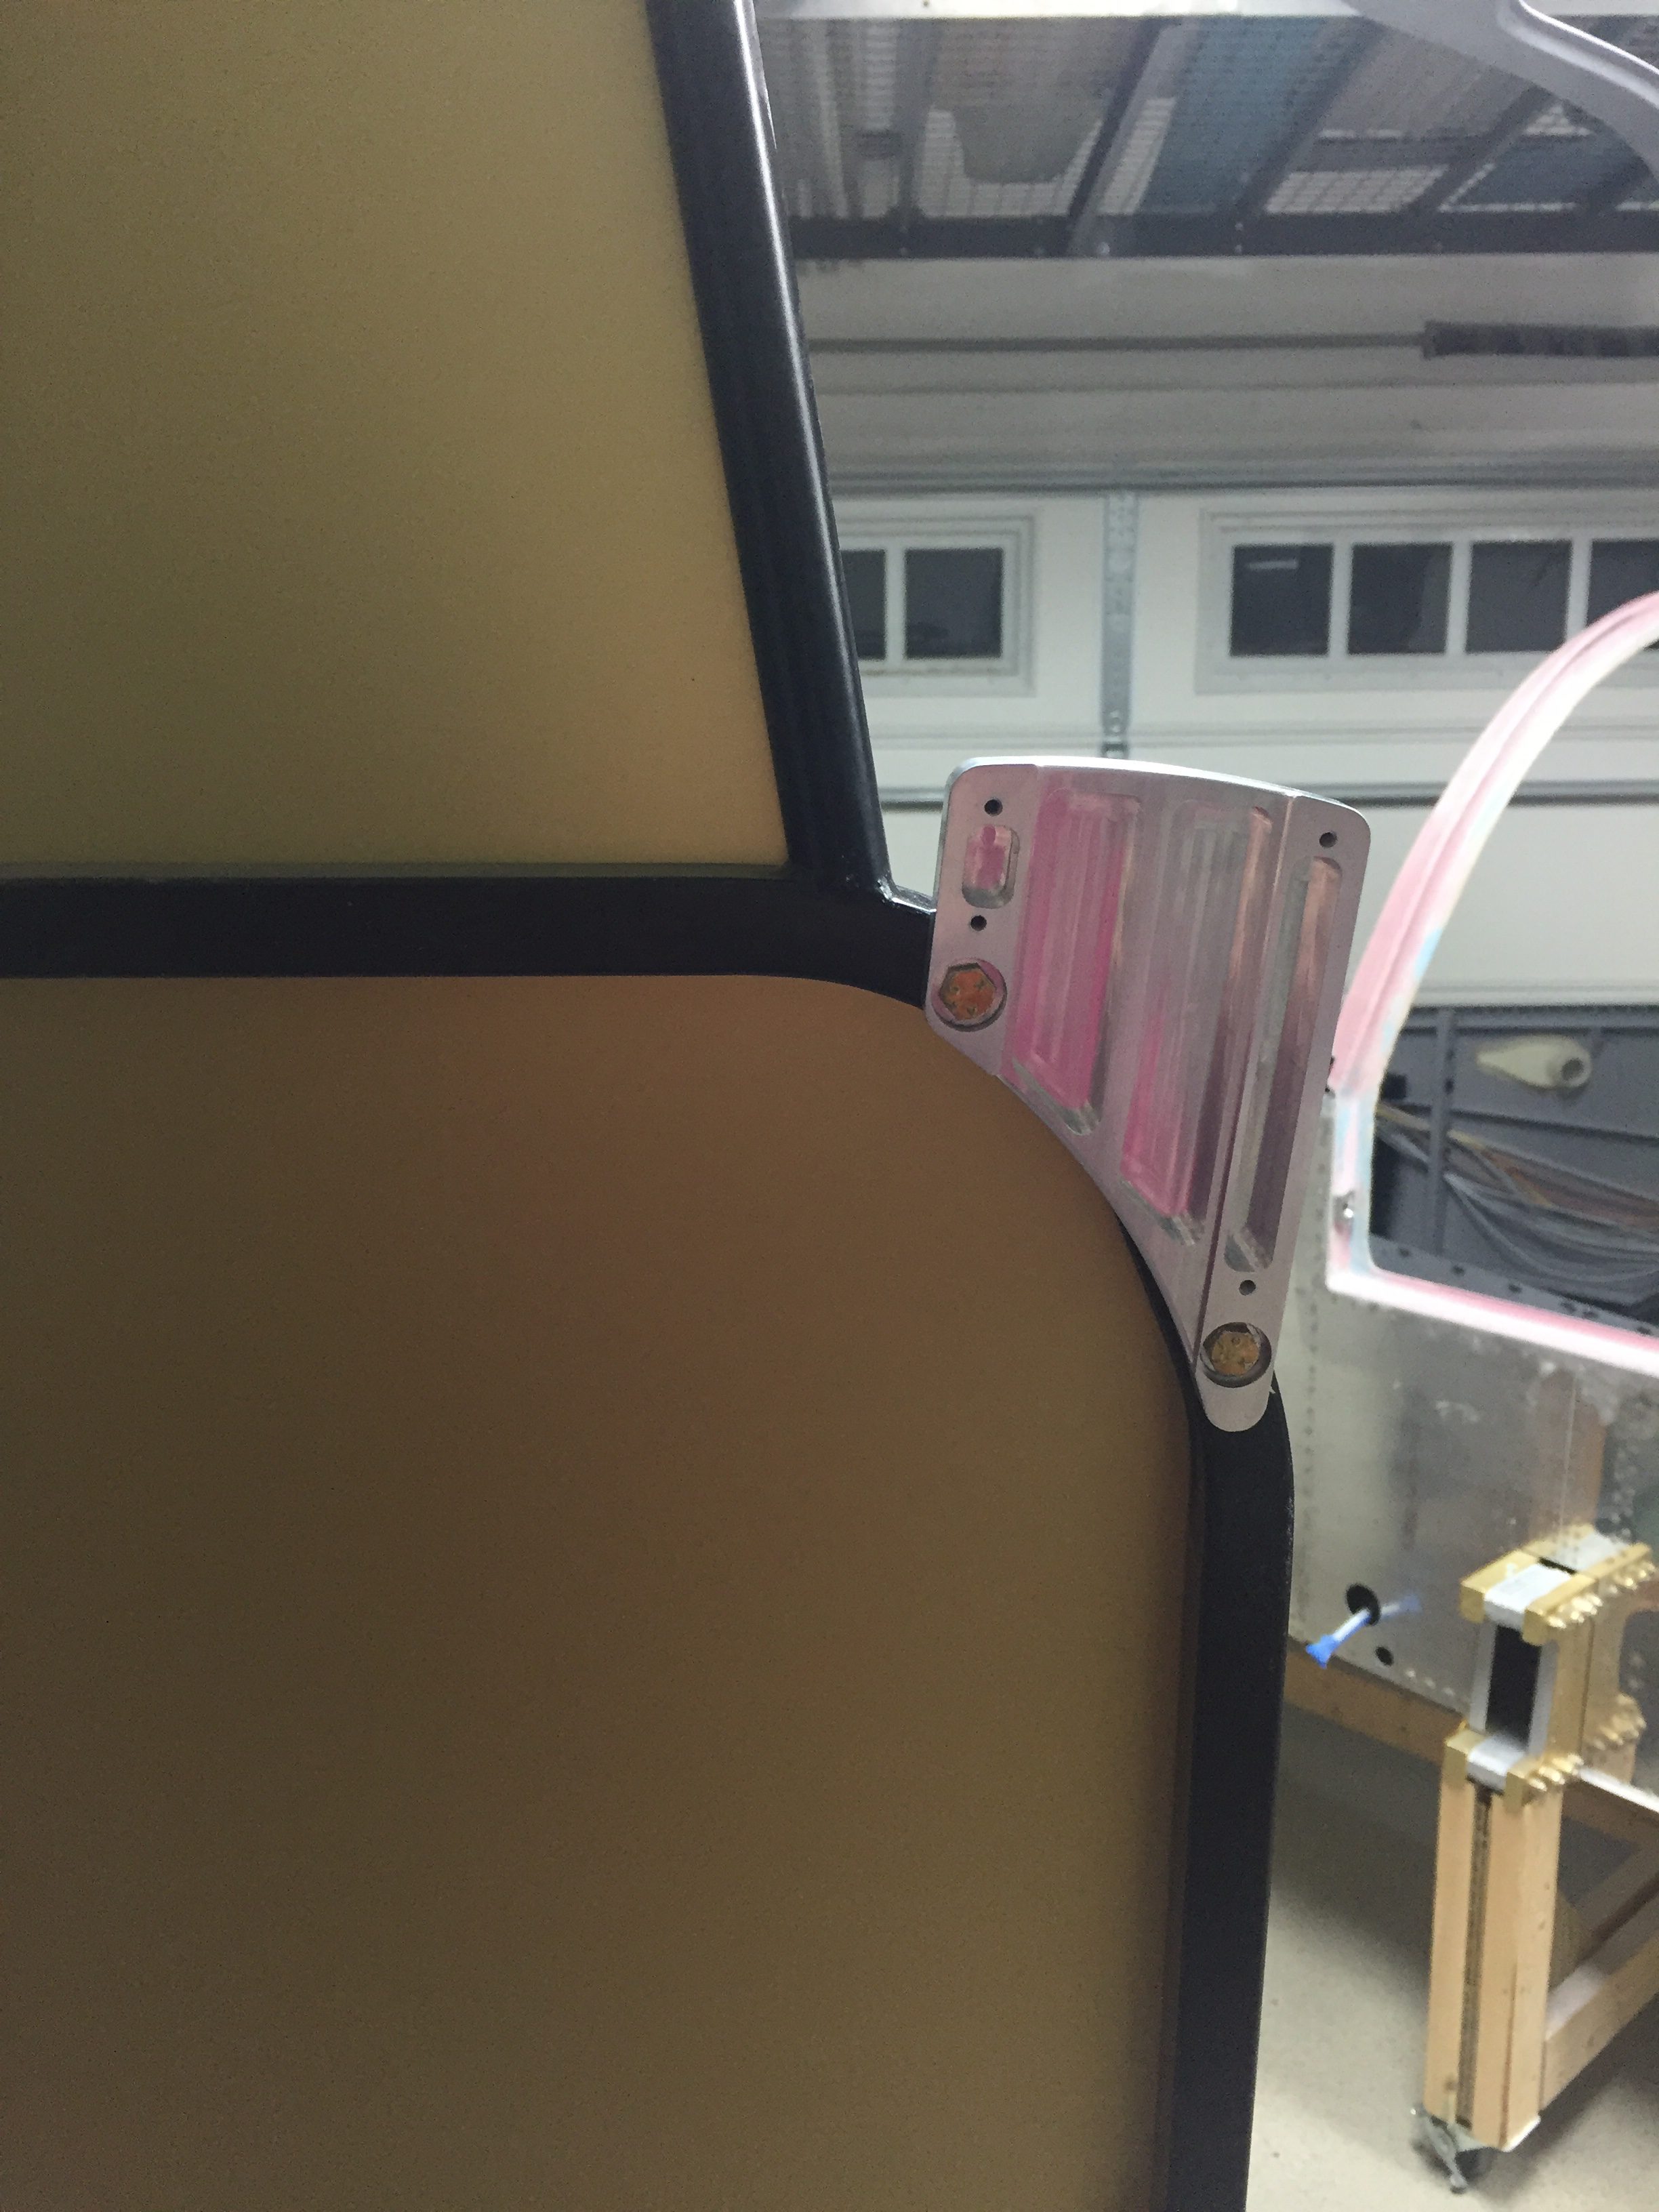
The Aerosport interior panels have been sitting for some time with a little work done but nothing complete.  Now that the inner door frame is all filled in and sanded, it was time to make the final fit fixes to the panels and tidy up the interior.  I had made a mistake on the pilot side front panel so used some scrap from trimming the rear panel to create a patch.  With a little filler, it will be as good as new.  I also followed other’s lead and misdrilled a hole that required a fix, again not a huge issue.  It’s tough to fit all of these, as you don’t really know where they should line up with until you just dive in.  I trimmed them along the molded trim lines and took my time to sculpt a few areas where it meets the fuselage structure.  The hardest part was around the door frame / windshield pillar.  The right side was an easy fit fortunately, but the left side took some work.  I didn’t fill the cabin top in far enough down the pillar so I had to apply a filler block, epoxy, then SuperFil to finish it up.  Once the panels were located properly, I drilled the recommended mounting holes and installed nutplates on the fuselage.  I also drilled the pockets and cup holders onto the front panels.

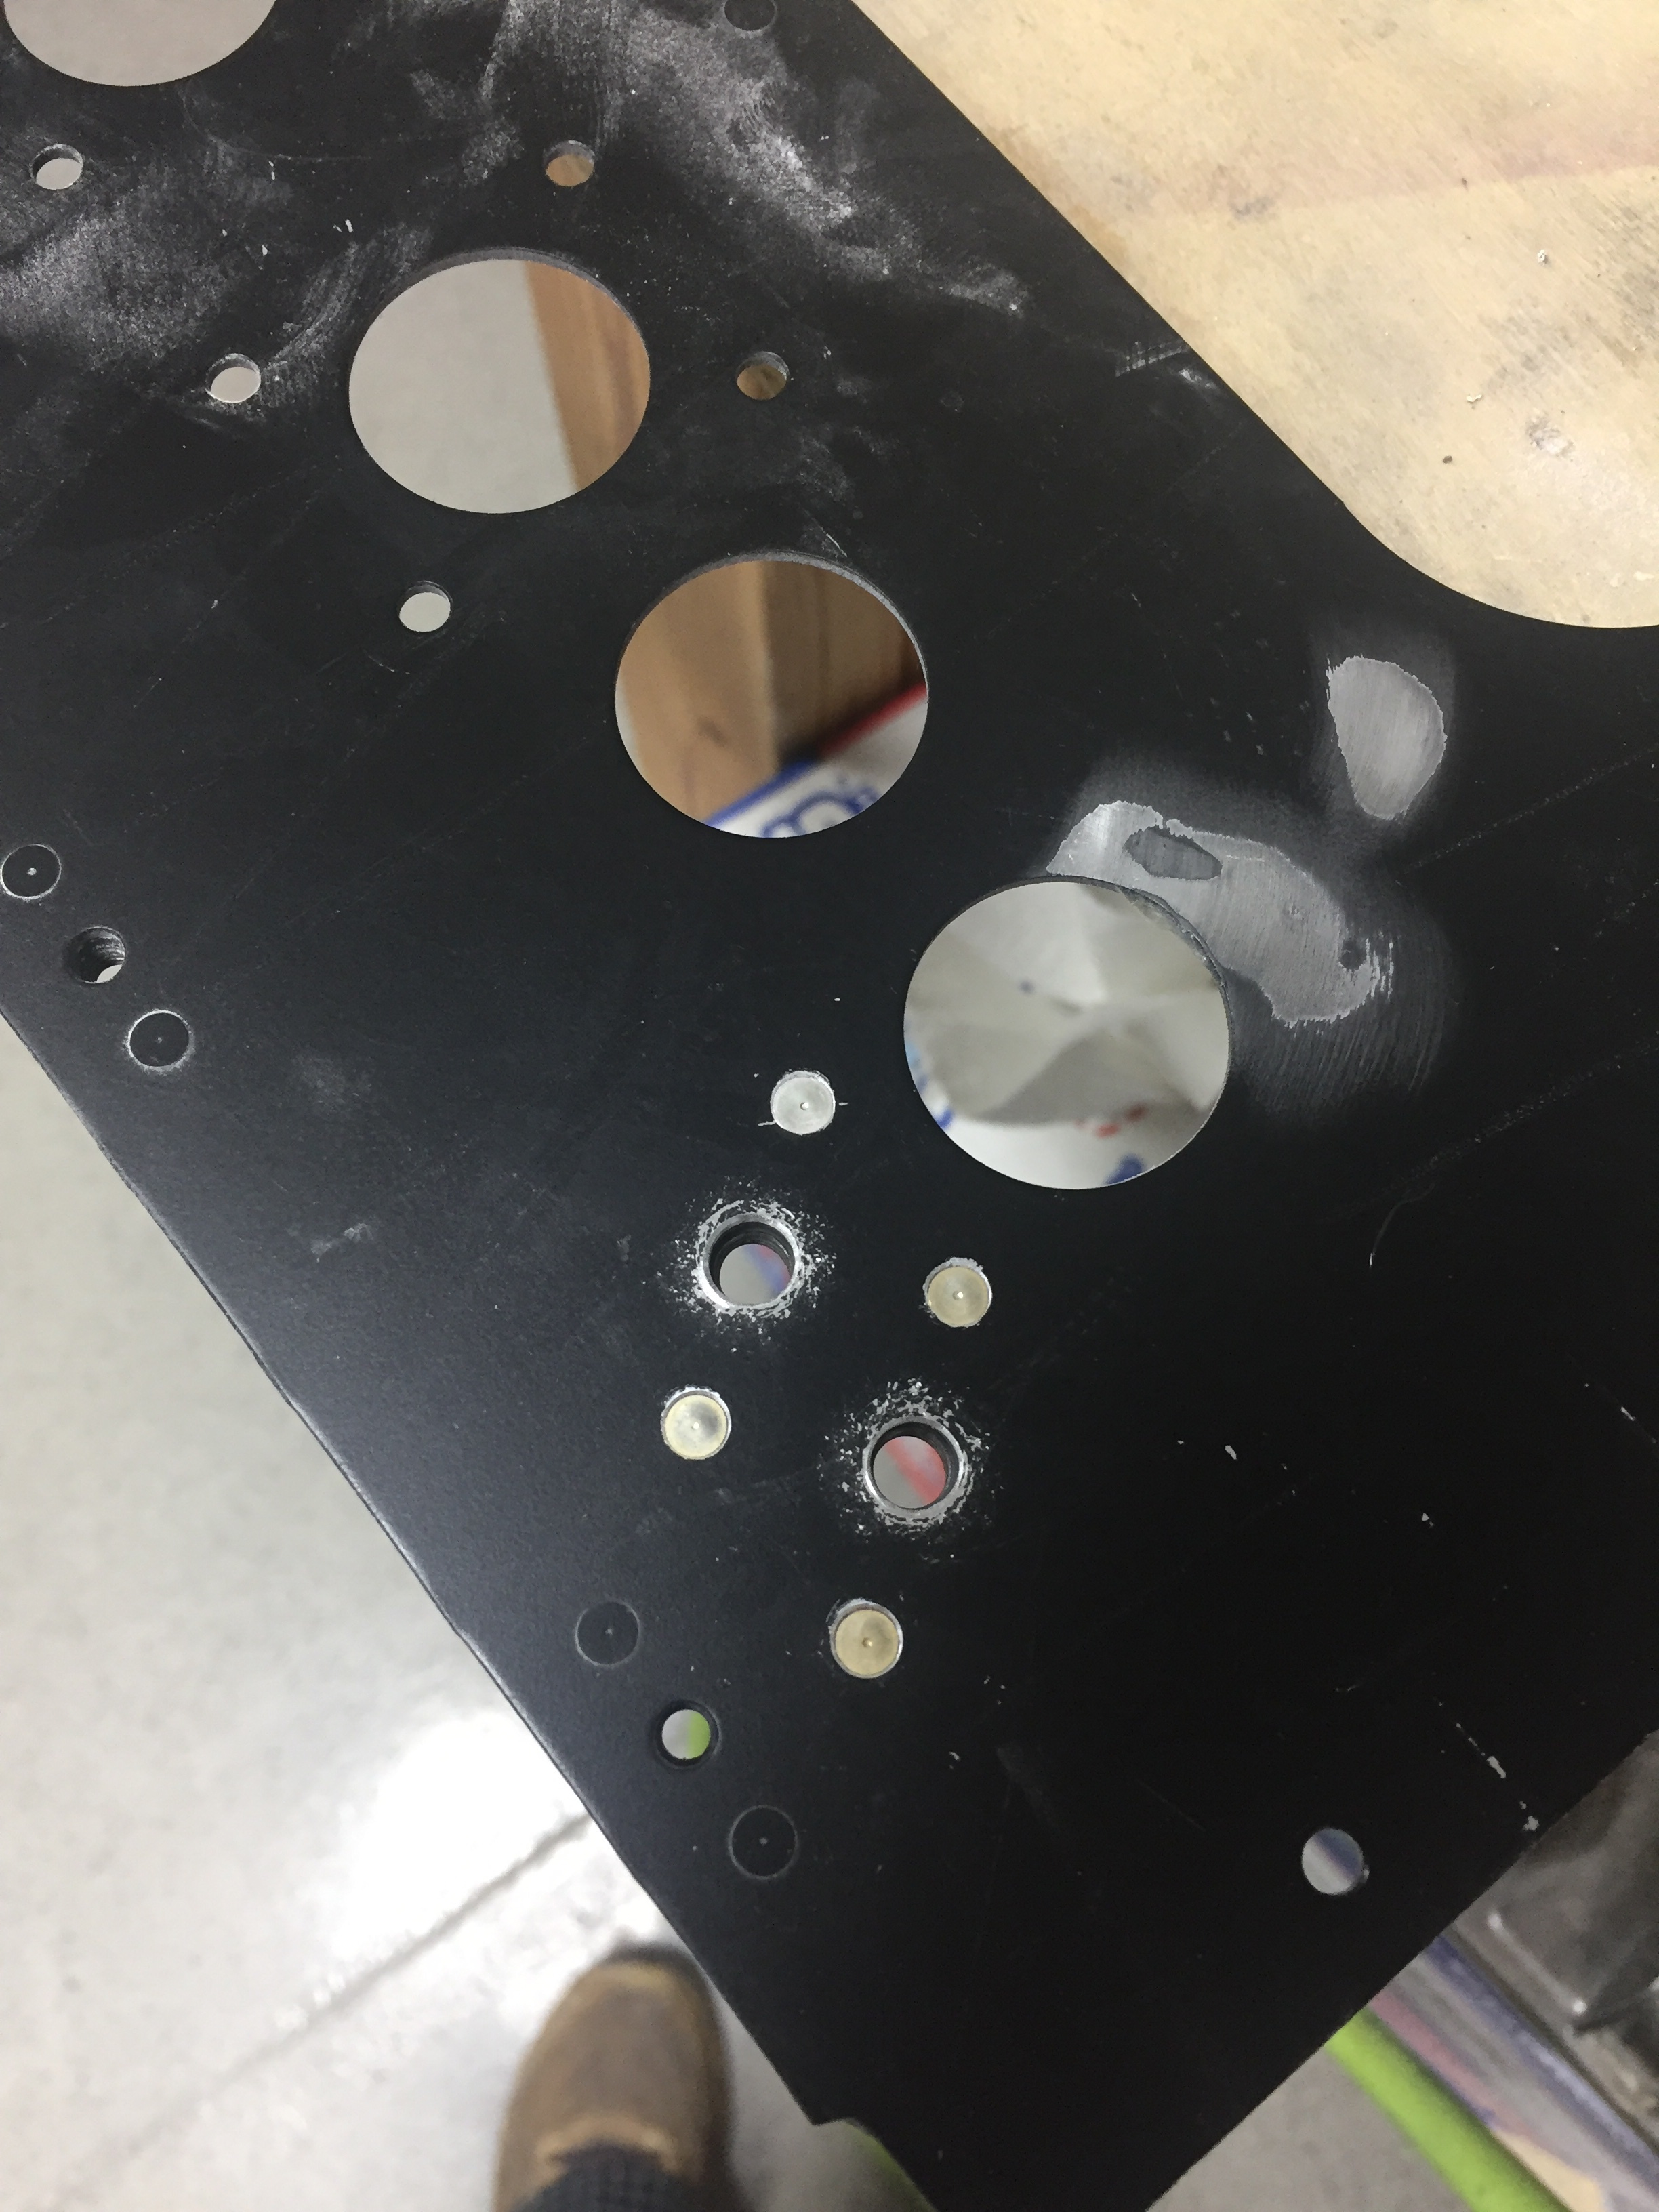
The front Mountain High oxygen ports will be installed in the front panels using the relief in the port to hold them in place.  I measured 54 times and then cut twice, purposely leaving the cut too small the first time.  I did not want to ruin a panel by cutting a gaping hole.  While it’s a snug fit and not something I want to do a lot, the ports pop into the panels and look really clean.  I had to grind the thickness of the panel down a bit as it was too thick for the groove machined into the port case.  Unfortunately, my pace of work has increased and my pace of taking photos has decreased, so stay tuned for final install pics of these.

I followed the same method to install the rear seat panels and baggage area panels which went pretty smoothly.  Once I get the headliner all made up, I’ll go back and do some final trimming on the top edge of the rear and baggage panels to fit.  I also fit and drill the baggage door panel, although I won’t rivet it on until later in the finishing stages.  I tackled the rear vent install which was not nearly as difficult as I had feared.  I followed the install guide from Aerosport and got it all done in one evening’s work session.  I wound up using silicone to adhere the ducts to the inside of the fuselage skin since paint won’t hit them and it will allow a bit of flexibility to snap them on to the vent covers in the rear panels.  I also had to put a bit of SuperFil in a few areas to finish off the door frames.  All in all, very happy with the results and the cabin will look very nice once all painted and buttoned up.

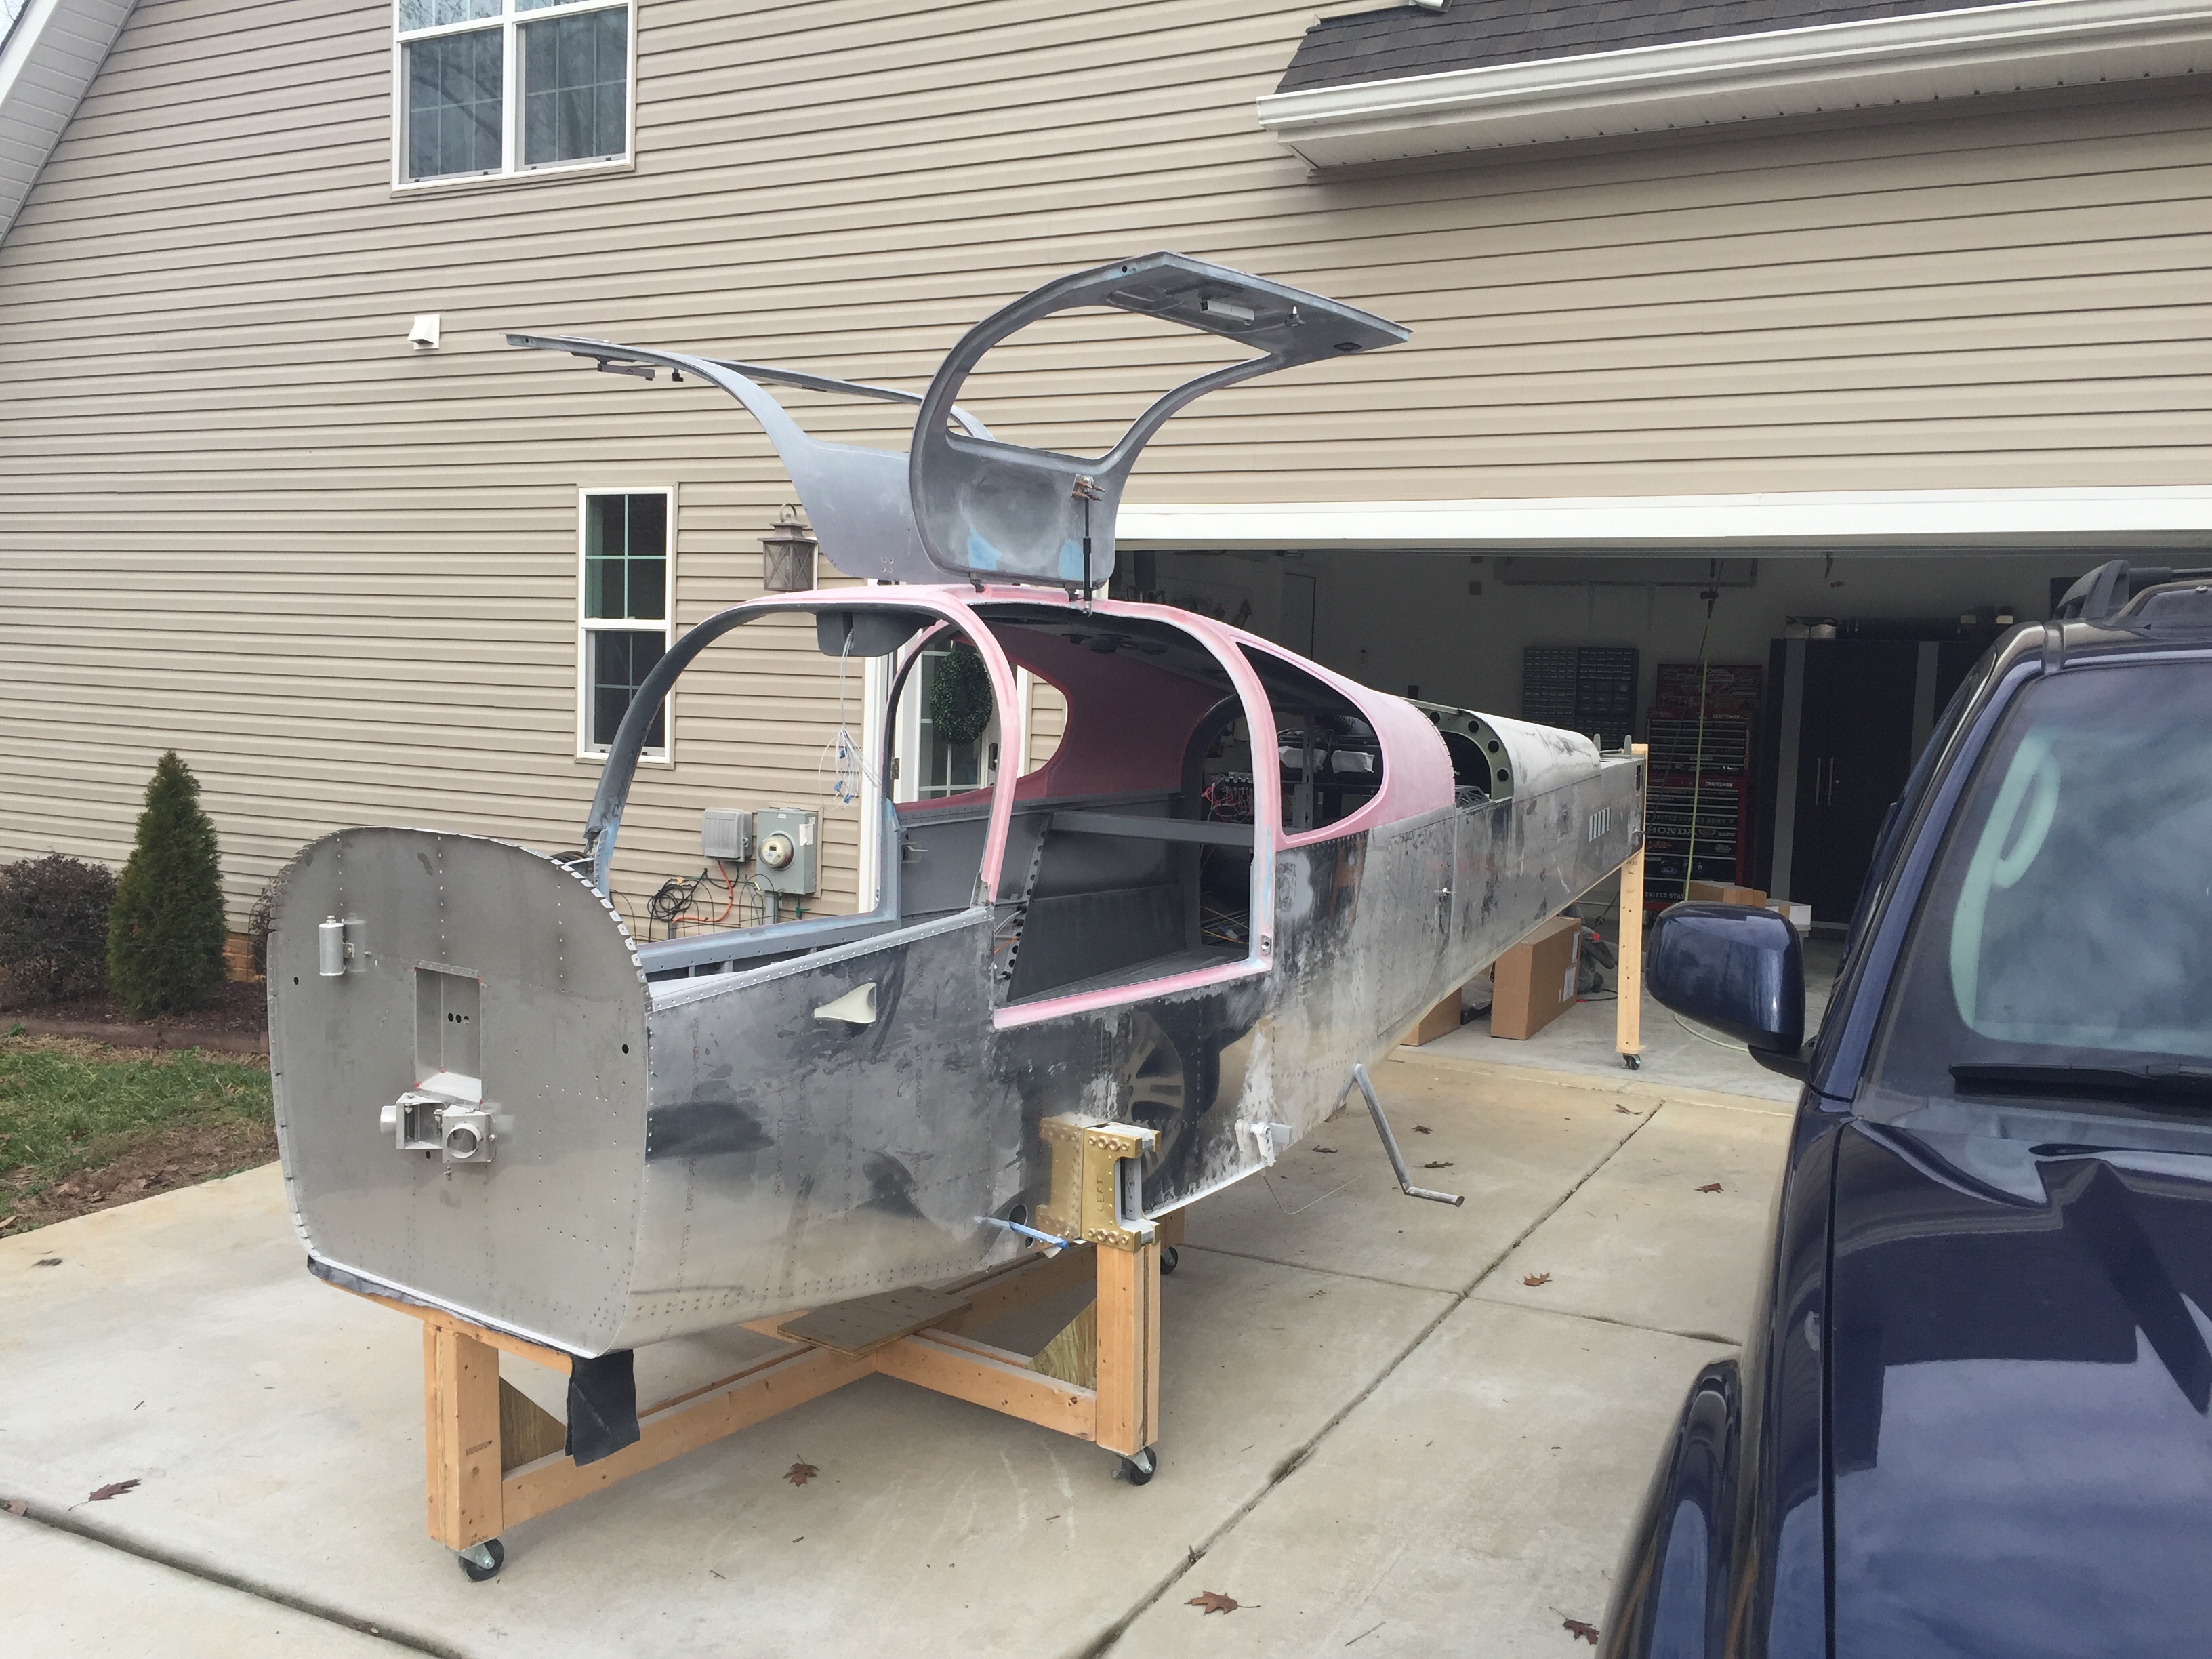
With the sanding done on the inside and door seal area, it is time to get some things cleaned up before pressing on.  The entire shop, fuselage, and parts of the hardwood floors inside are covered in fiberglass dust from the preceding weeks of grinding and sanding.    I want to get it mostly dust free before moving onto the seatbelts and interior.  It was a beautiful day outside, so I took the opportunity to roll the fuse outside and start vacuuming.  I wound up using my air gun to blow most of the hard to reach areas out while simultaneously vacuuming the bulk of the dust out.  What a mess!  I repeated this twice and followed it by a final blow out to get everything I could.  I’ll go back and wipe the wires and everything down before closing anything up.

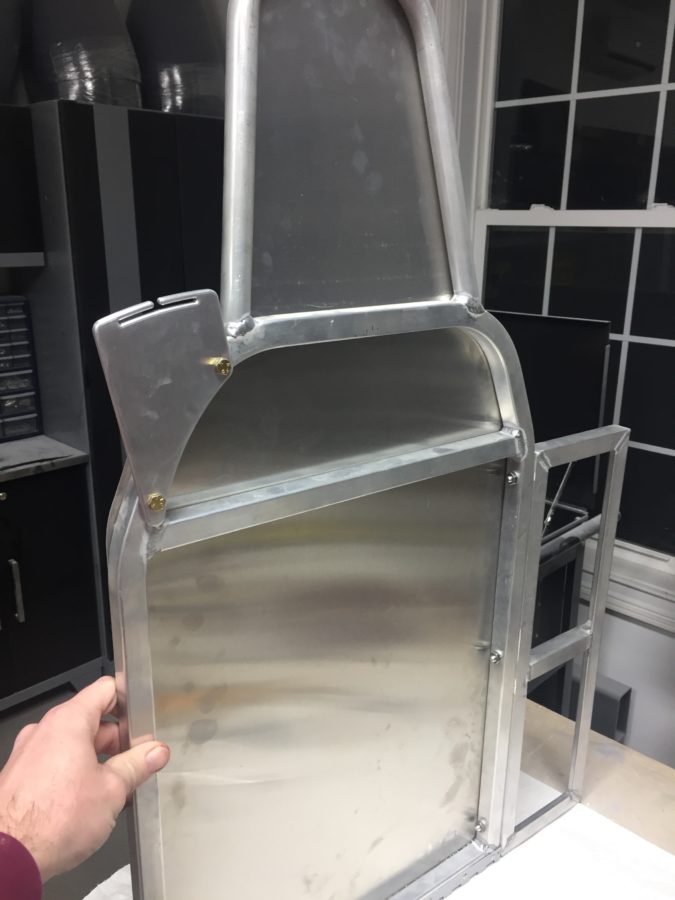
Once back in the “hangar” garage, I went to work on the seat belt brackets that I had machined from Mark Cooper’s design.  These have a long story of trying to convert files and design, but in the end I got a hold of the guy he had machine his and just ordered my own set.  Since I’m using inertial reels and a three point harness on all four seats, I only needed one shoulder bracket for each front seat.  A couple of weeks after placing the order, the brackets arrived and wow, are they nice!  The belts came from Seatbelt Planet after a custom order was placed.  I used the brackets as guides to drill mounting holes into the front seat frames.  I realized then that the bracket sewed onto the belt was sewed on the wrong side, with the offset not fitting into the mounting bracket.  A quick call to Seatbelt Planet and I had an RMA for them to rework the error.  Once back, the reel will mount to the aft spar with a plate and captive nut.  The belt will run behind the seat back through a small bracket to keep it in place and up through the shoulder bracket.  The seat covers will have an opening for the shoulder bracket.  Since I can simply unbolt the reel and webbing at two locations, seat removal will still be quick and easy.

I moved onto mounting the rear seat back frames from Aerosport which required removing the hinge half from the stock seat backs and installing them on the new backs.  Soon enough, I was ready to mount the rear belt brackets which are a bit different in design than the front.  They allow the belt to pass through them and keep it routed properly from the reel mount on the underside of the cross bar.  Since the same error was made on the rear belts, I sent them back as well.  Once I receive the corrected belts, I’ll mount the reels for the front and rear seats.  The seats are now just waiting on the belts to send off to Aerosport for covering.  The front seats will be upholstered with the seatbelts running inside of the seat cover, so I need the belts before I can send them off.

One note is the center section from Aerosport is too short. Andrew is going to replace that when I send in the seats for upholstery. That will cover the gap and hide the cross bar completely.

Back to heavy metal work

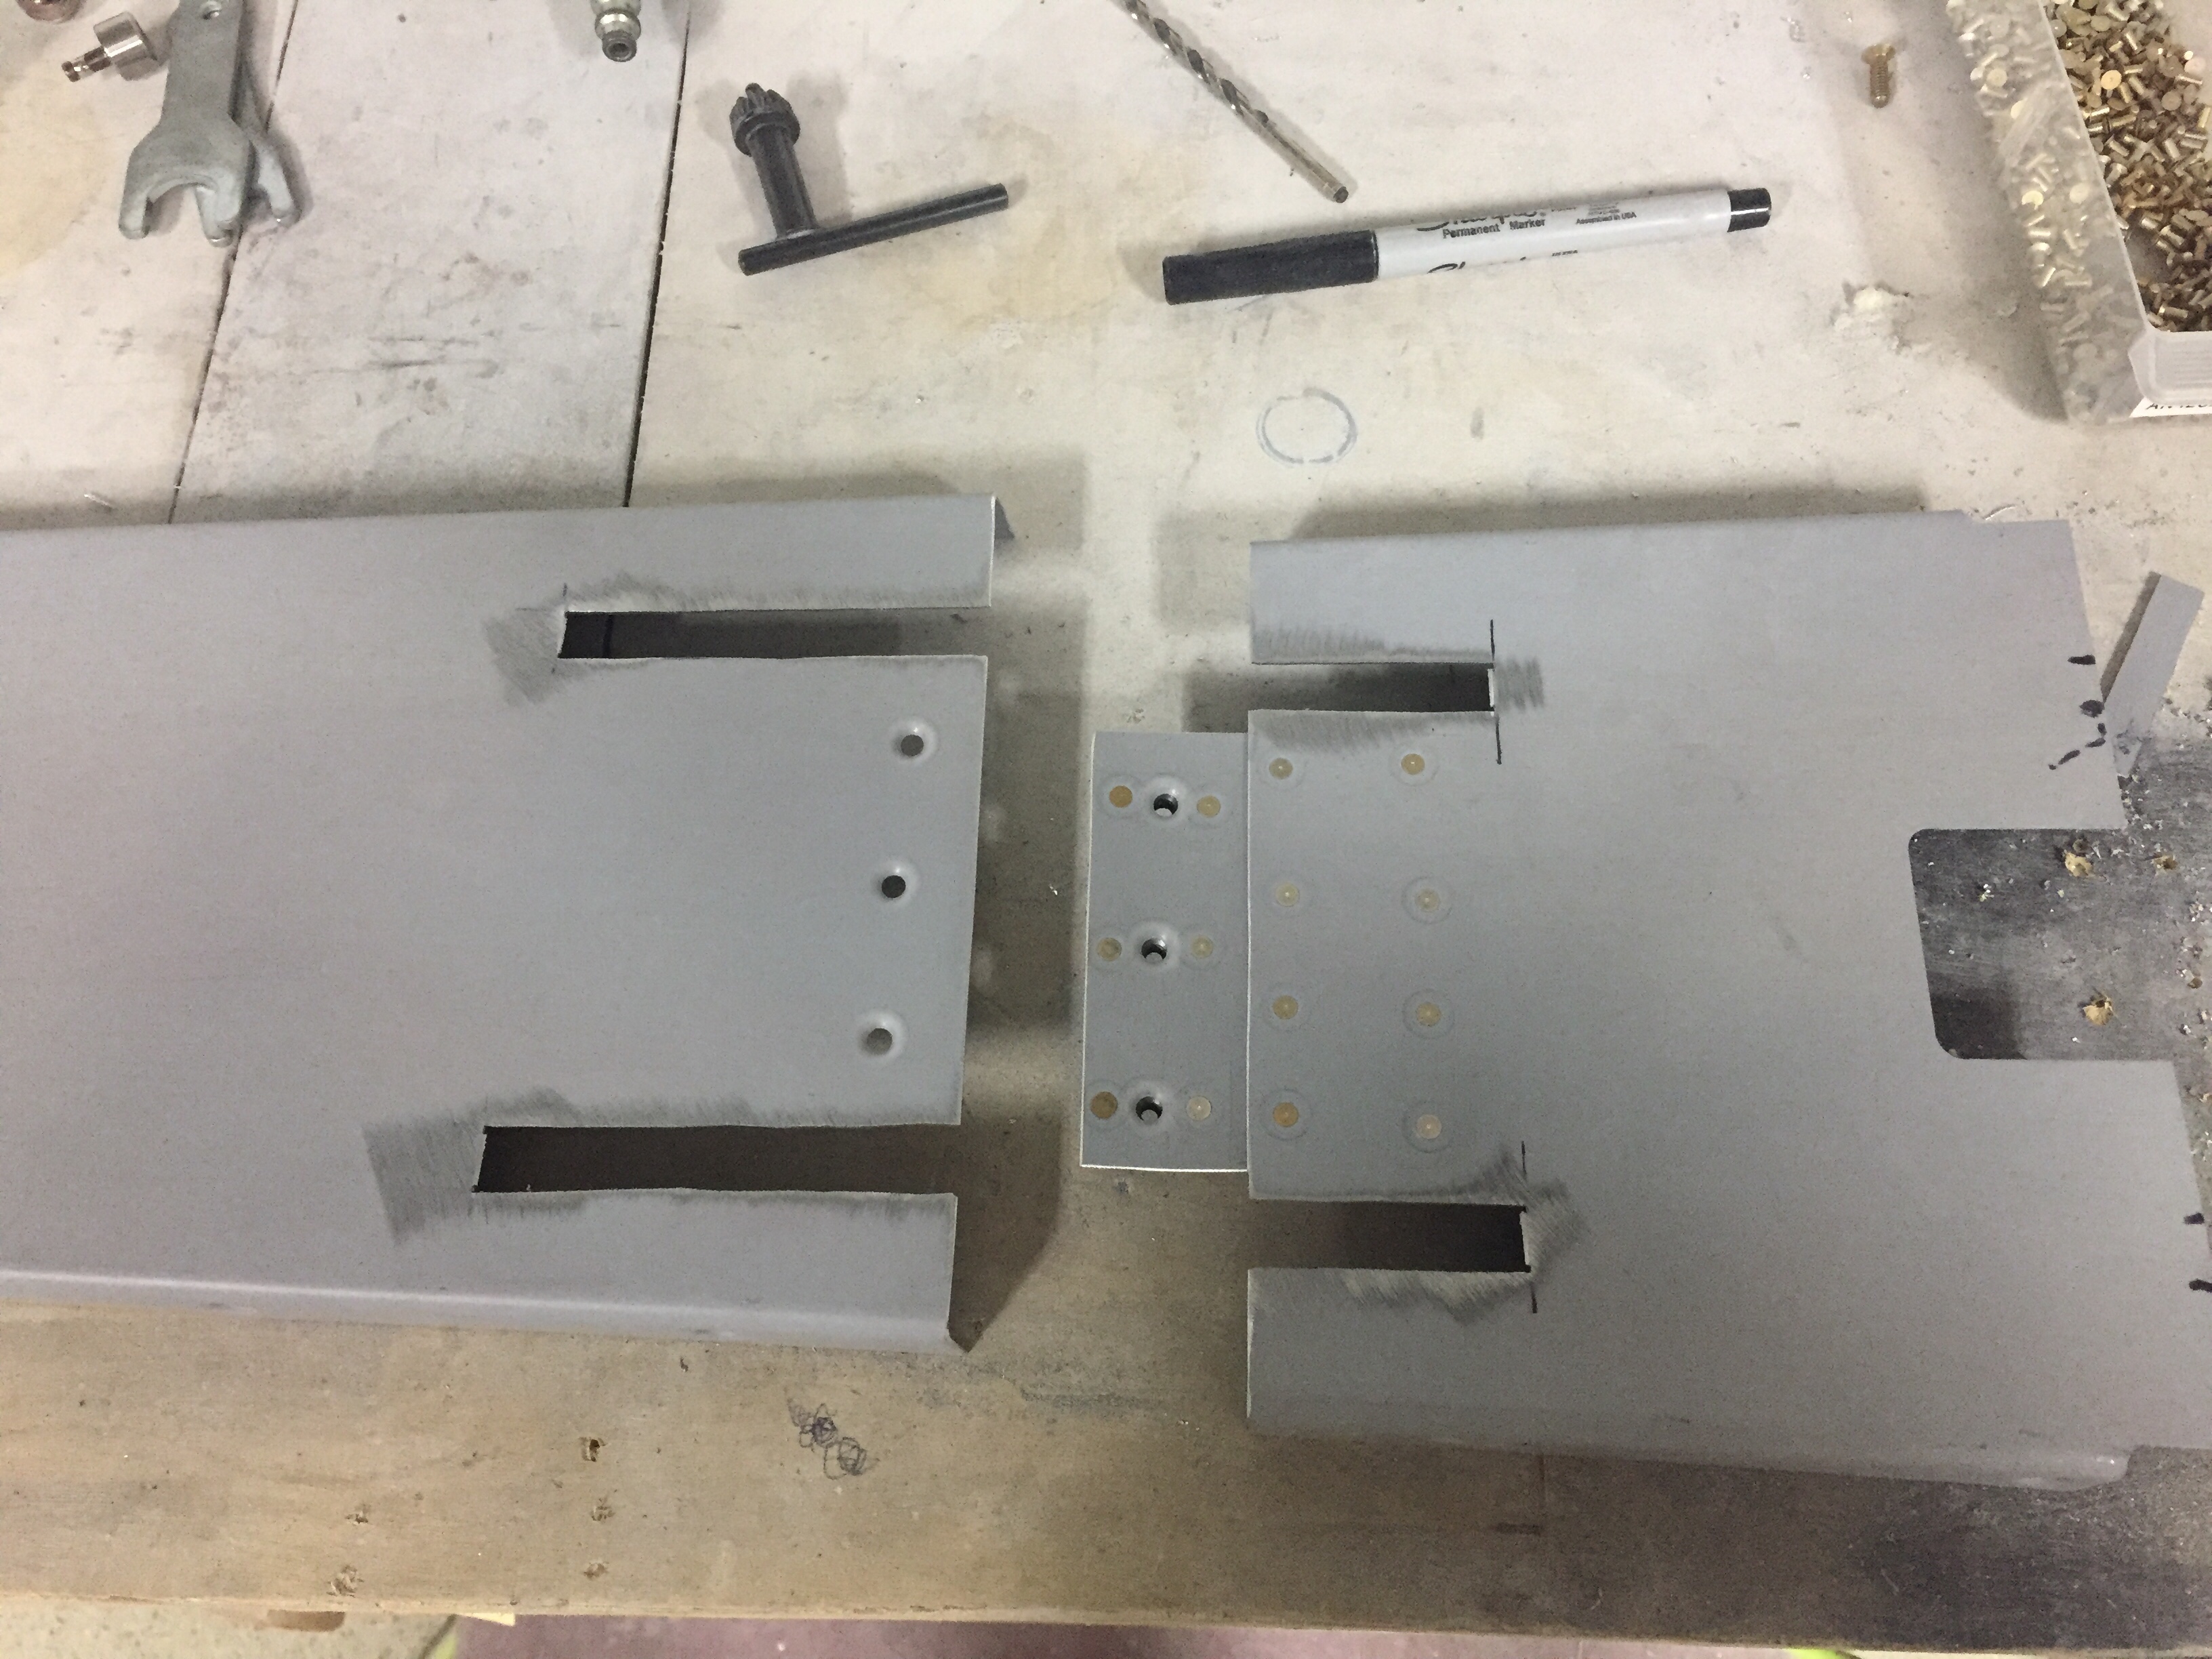
One task that I want to document for others I forgot to mention is modifying the tunnel cover around the Control Approach rudder pedals.  The cable attach arms are relocated inside the tunnel so slots need to be cut for them to move freely in the cover.  I measured their arc and marked the tunnel cover where I wanted to split it into two pieces.  Before cutting, I marked and drilled a center plate to hold nut plates which will allow me to screw the two pieces back together.  It was a pretty simple modification as was cutting the slots for the arms in each piece.  Again, I’m trying to consider maintenance and access down the road as much as I can.

I also took the time to modify the seat rails since I got the Aerosport seat levers.  Others have described this mod and it makes removal of the seats a snap.  Step one is to remove the delrin guides from the seat bottoms and trim the first 1 ½” off followed by reinstalling them.  This allows the seat to be slide rearward on the rails and then tilted around the flap tube cover with the necessary clearance.  I then removed the aft rail stop and drilled through the rail into the plate below.  Installing nut plates below the plates lets you put bolts in place of the screw and nut on the stop.  Now, I can get to the bolts from the top down eliminating the need to reach under the seat plate to get the lock off, allowing the seat to slide freely rearward.  It all makes sense when you look at it.

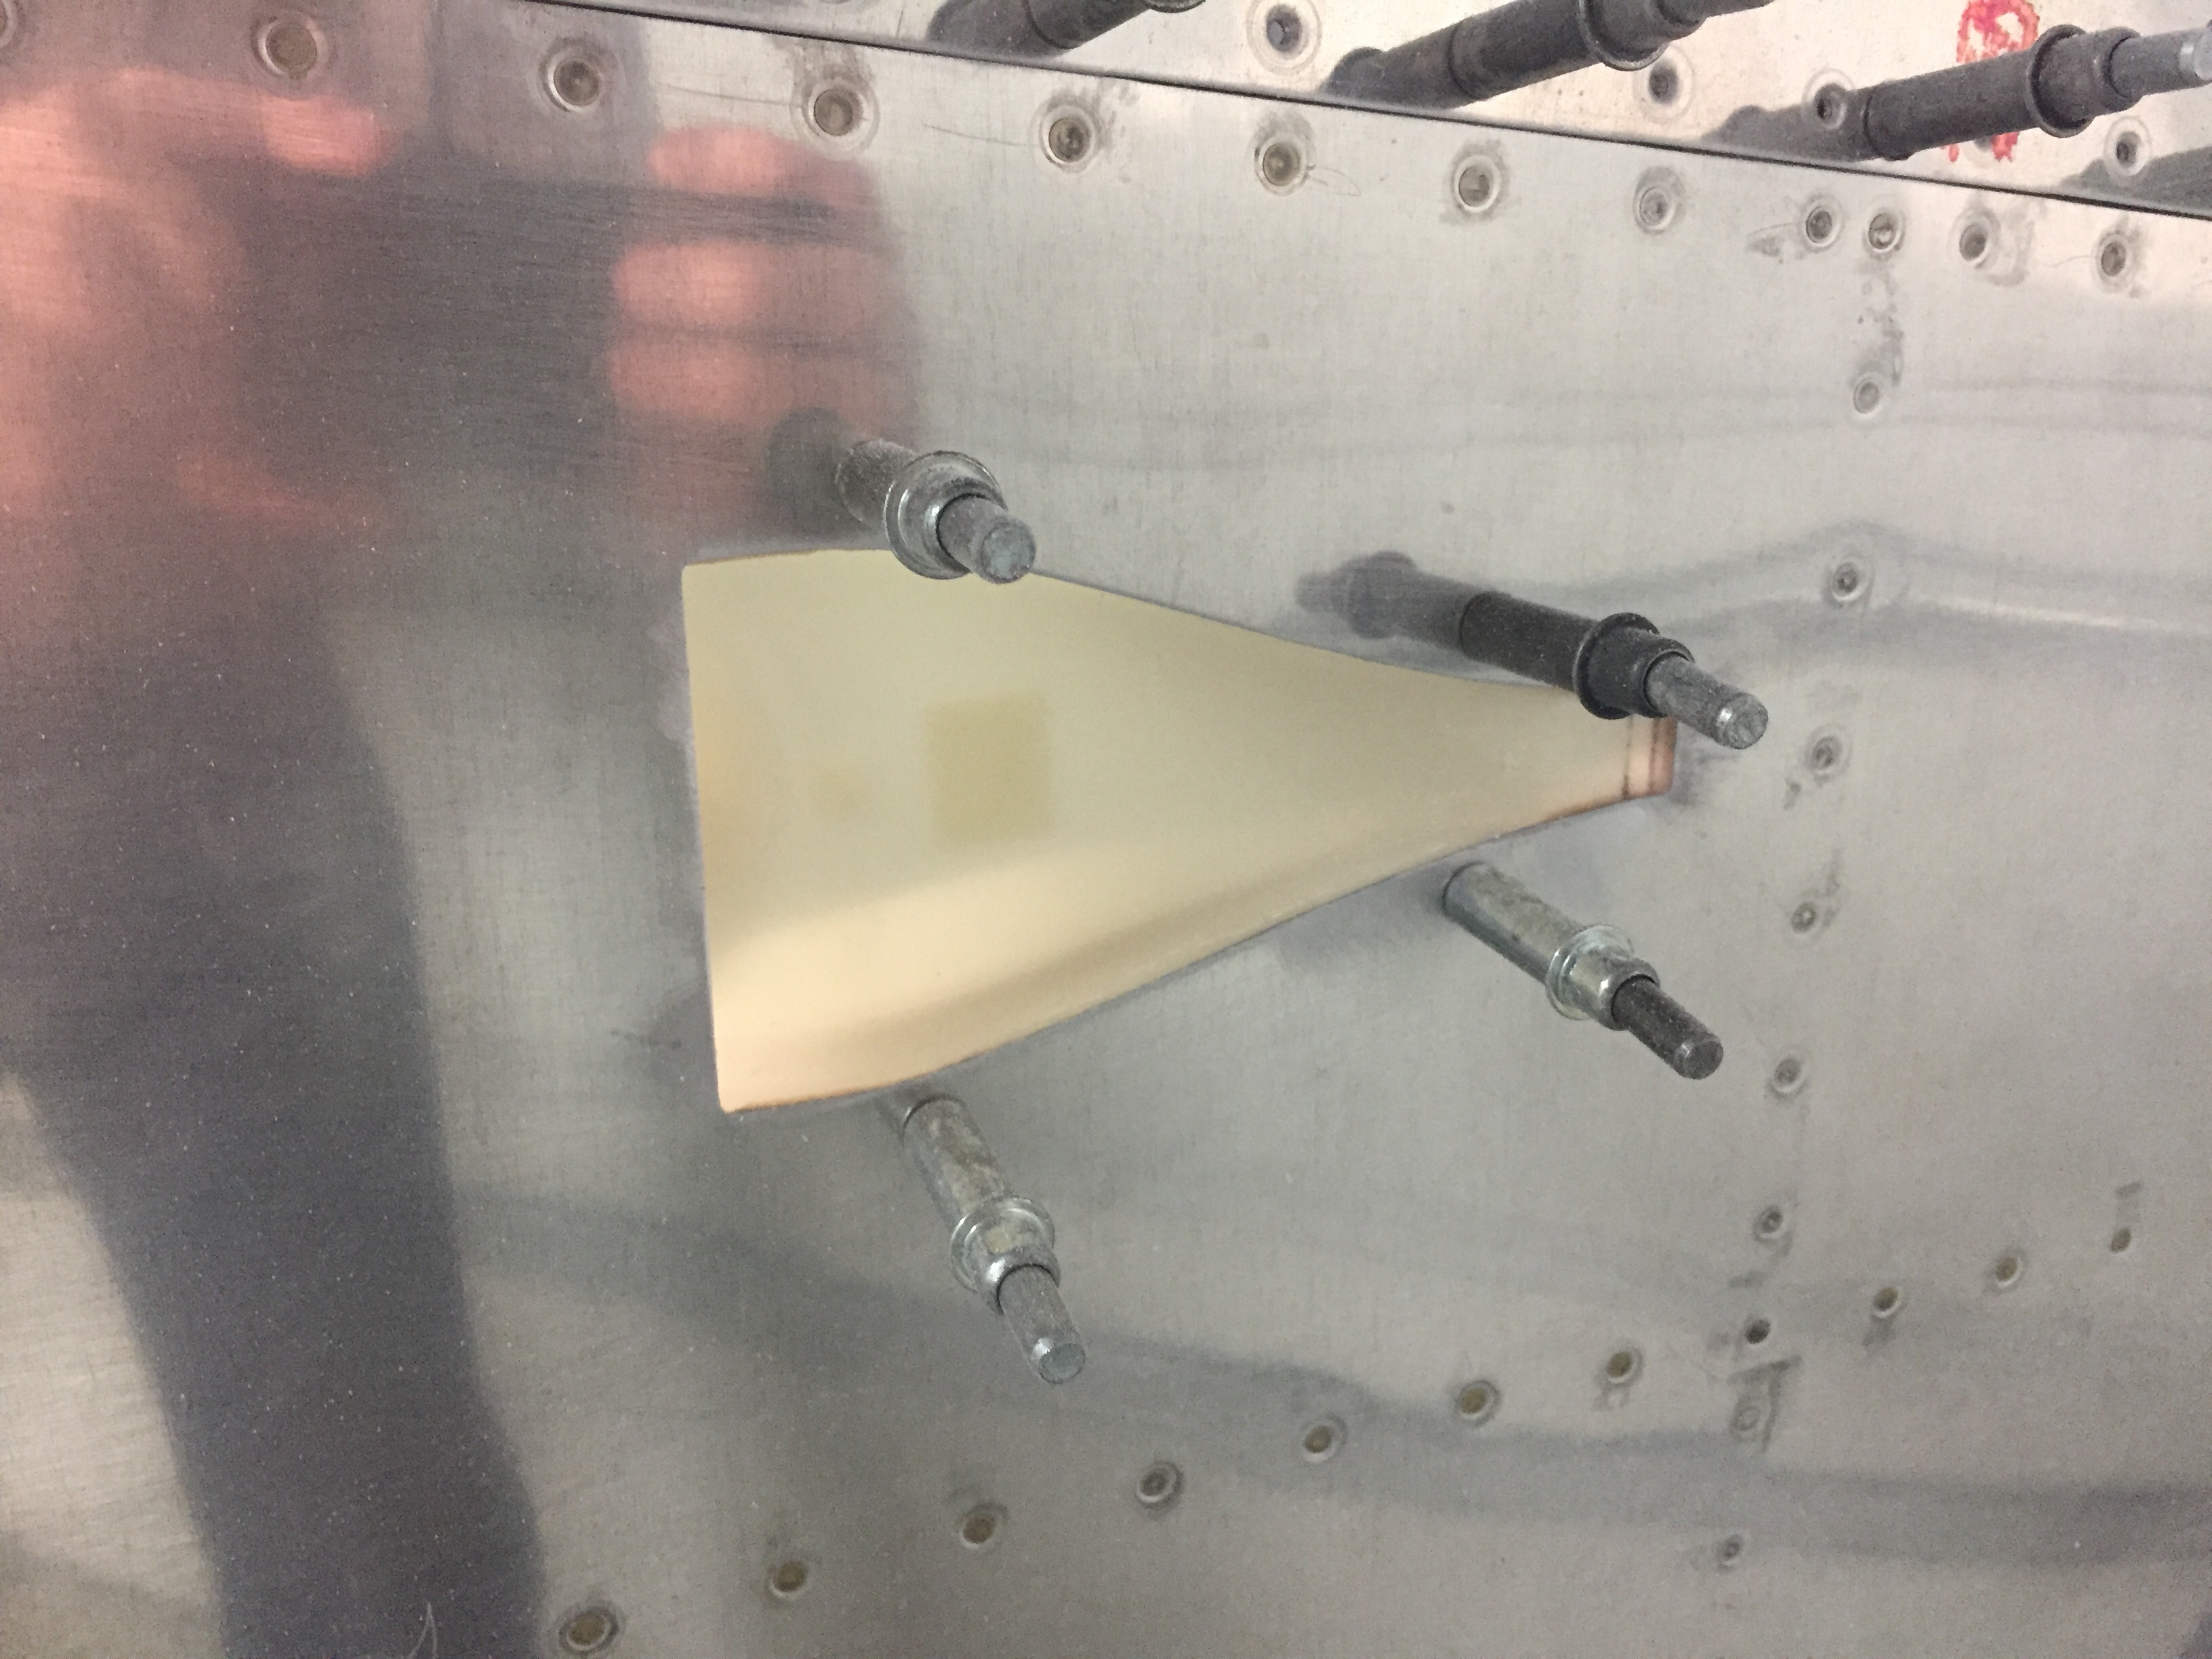
I’m trying to knock out some little side tasks along the way now in the spare time.  I used some excess epoxy from a door filling session to install the front vent NACA scoops.  I drilled a few holes and used clecos to hold them in place while the flox cured overnight.  I don’t have proseal and didn’t want to use any silicone on the area since it will be painted.  With minimal flexing and a good scuffing on both surfaces, I am confident the epoxy will hold these just fine long term.  The scat tube will have a short run from there to the Aerosport vents that I installed in the instrument panel.

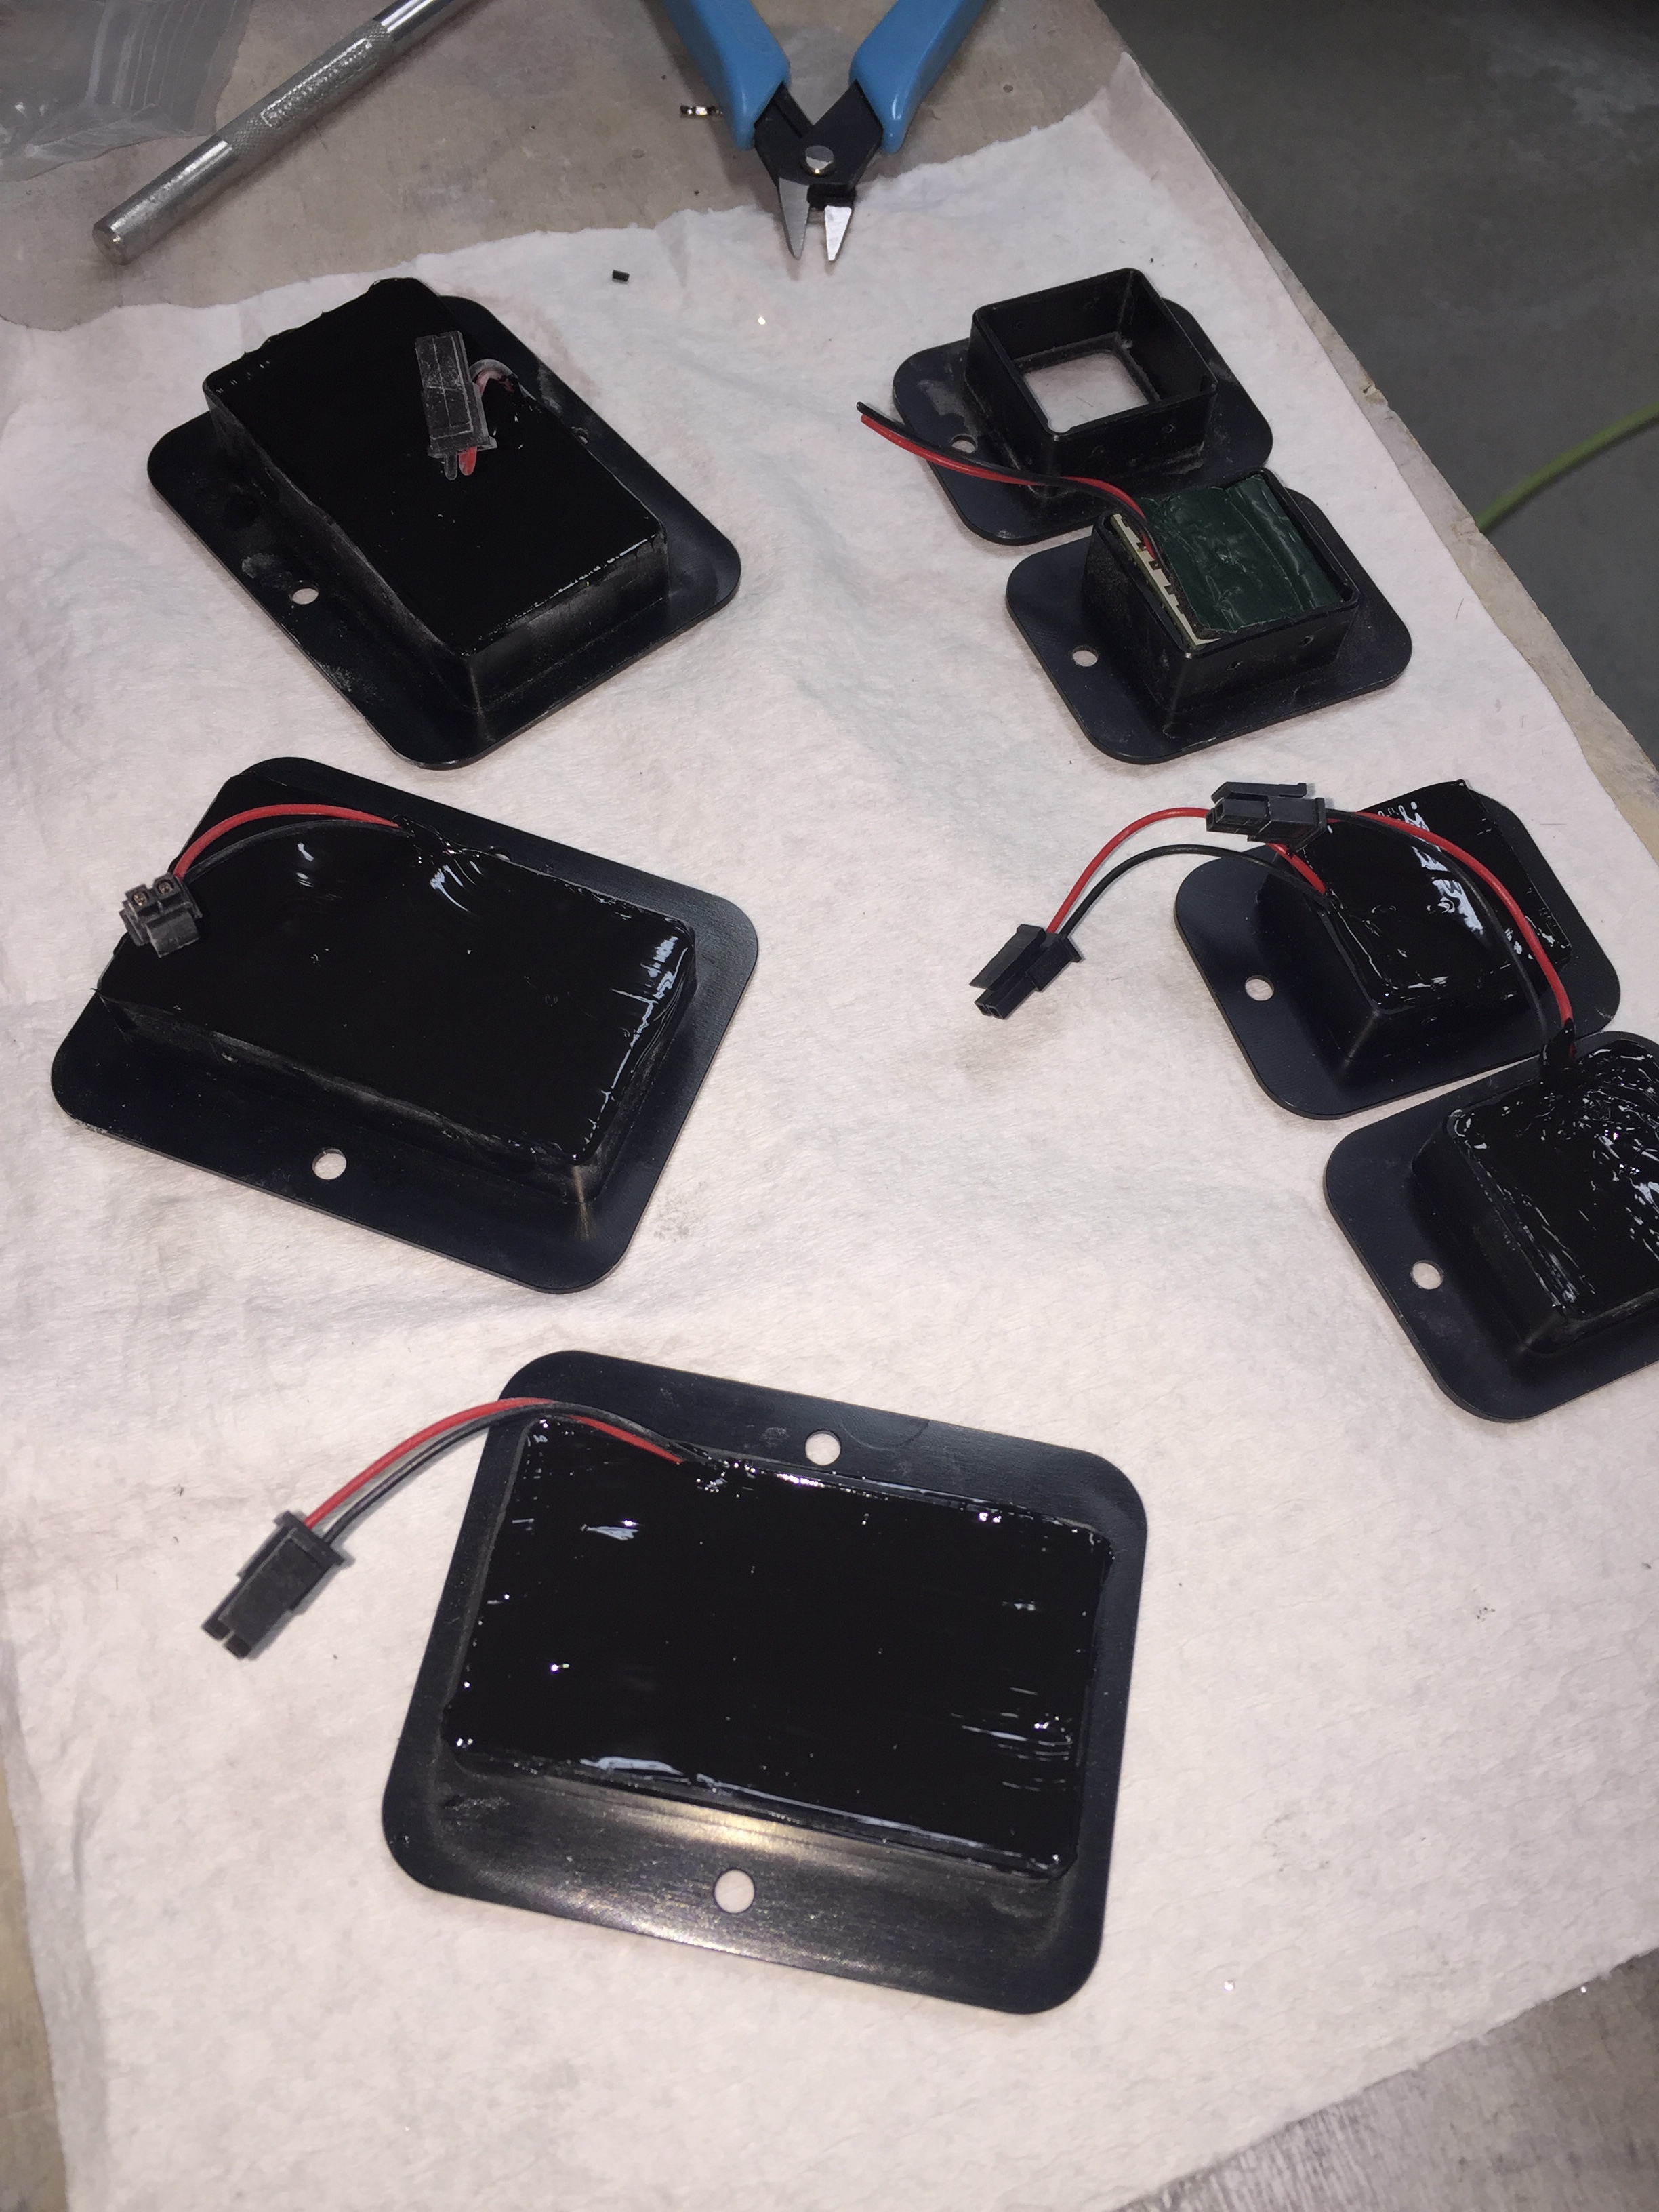
I also performed a quasi service bulletin from Sean at Plane Around.  When I received the lights from him for the overhead and doors, several had bad boards which he promptly replaced.  I got a call from him with an interesting finding.  He used a brass wire over a piece of foam to hold the LED boards inside the aluminum and plastic housing.  He found that in a few instances, the wire was touching the board and shorting out LEDs.  Awesome service!  He called and suggested using a different method such as silicone which is an easy solution.  I removed all of the installed lights and completed the rework after ensuring all LEDs checked good.  I took the opportunity to install the micro molex connectors on the remaining few assemblies as well.

Service bulletin complied with in accordance with published guidance, OPS check good!

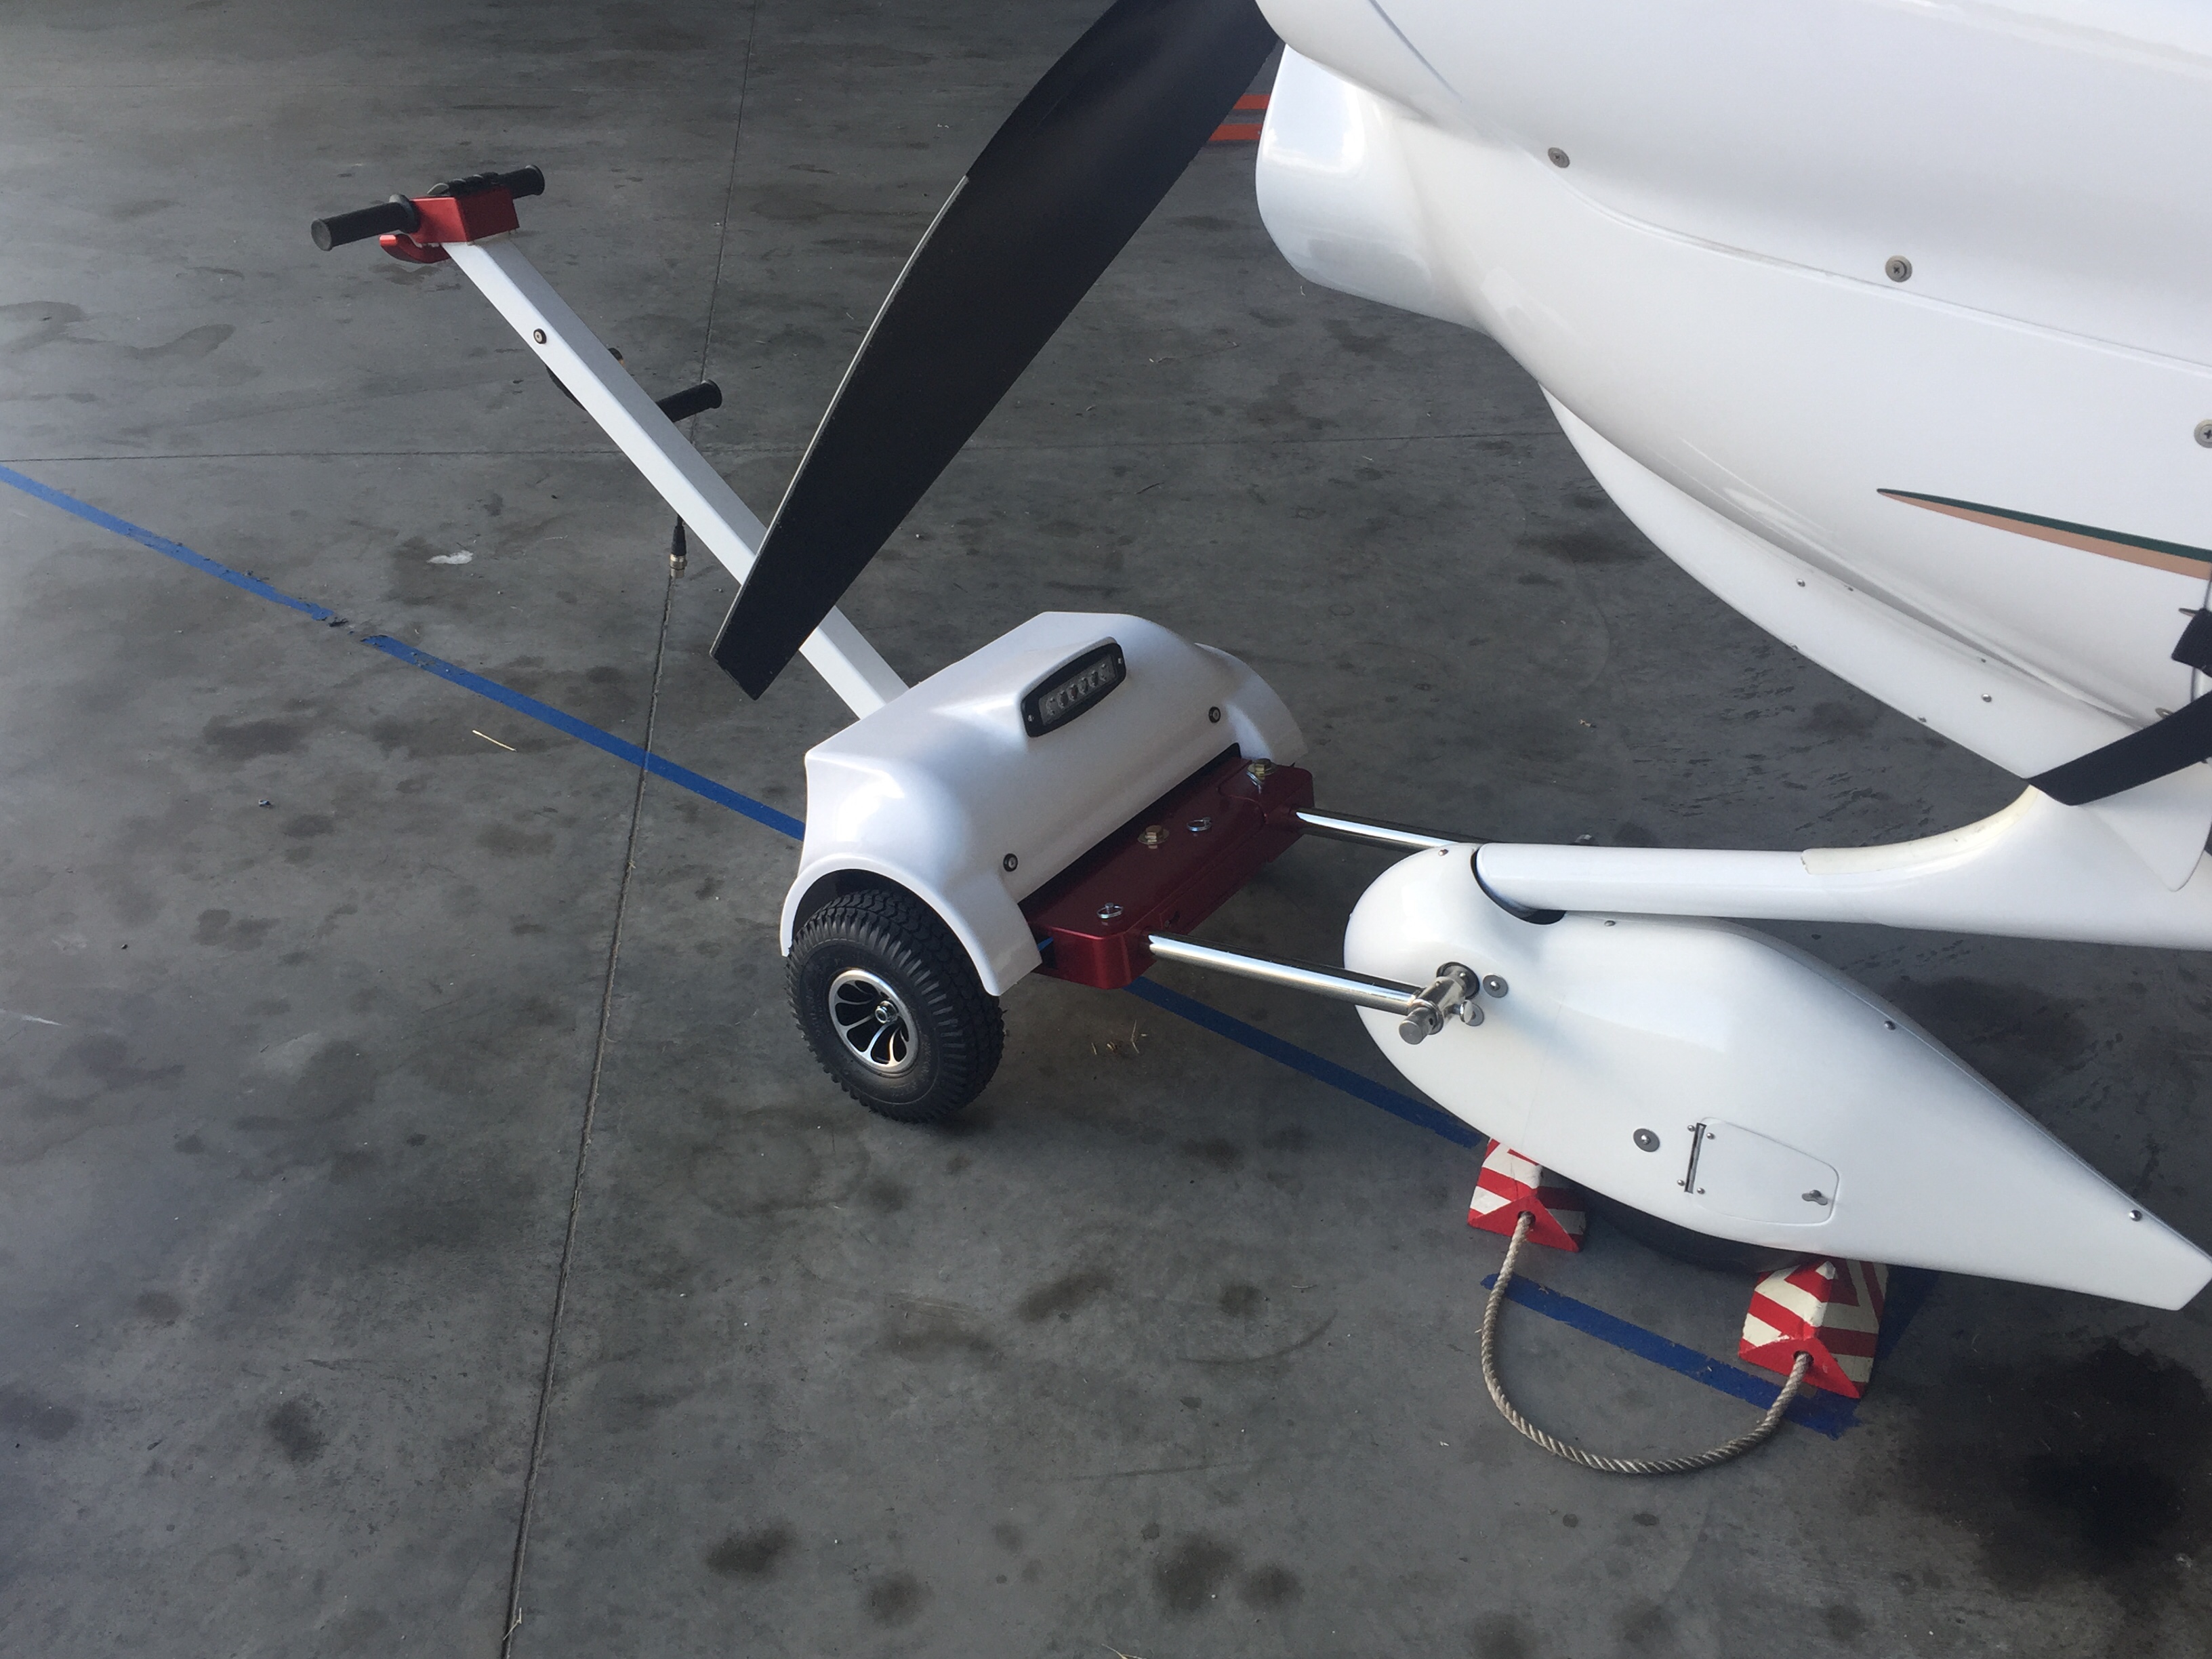
And finally, another cleanup item to mention was the addition to the hangar family.  While she hasn’t been officially named, our new Best Tugs Alpha 2 arrived!  I ordered this at OSH last year to use on the DA-40 we fly now and for long term with the RV.  It cost a pretty chunk of change (plastic, let’s be honest) but man is it nice.  It will save my twice-operated on back for years to come and is really handy to maneuver the airplane around.  It took a bit of practice one afternoon but now it’s just like pushing a shopping cart!  I requested the smooth cover with the intention of having it painted by Jonathan to match the RV but didn’t realize the red anodizing was going to arrive.  Oh well, not the end of the world.

Sit back and relax

After spending three months away from home and the build, I am happy to be back from my TDY and immediately got back to work on the project.  The time wasn’t completely wasted build-wise though, as I spent a lot of time researching, studying, and designing the remaining aspects of the build.  The biggest accomplishment was the finalization of my electrical schematic, specifically the power distribution.  I haven’t quite finished the final touches on the Visio product, however, the design is now on paper (digitally) and vetted through several external sets of eyes.  I’ll detail it more in a later post.

I also spent a lot of time talking with engine shops and builders.  I narrowed down all of my requirements to get quotes and solicited those out to several shops.  After lots of discussion, emails, and phone calls, I am really excited about what Aerosport Engines out of Canada has to offer.  They are one of only a few who can still get a new “kit” engine from Lycoming so all parts are brand new but not assembled.  That’s important to me since we’ll be adding SDS EFI and some other tid bits that would differ from a stock IO-540 without wasting money.  They also offer a build class that allows you to spend a weekend helping assemble your engine and learn a lot through the process.  I plan on turning it into a little vacation with my dad to build up our engine.

That’s plan A for the power plant.  Plan B is much more exciting but I’m keeping that one under wraps for a bit longer.

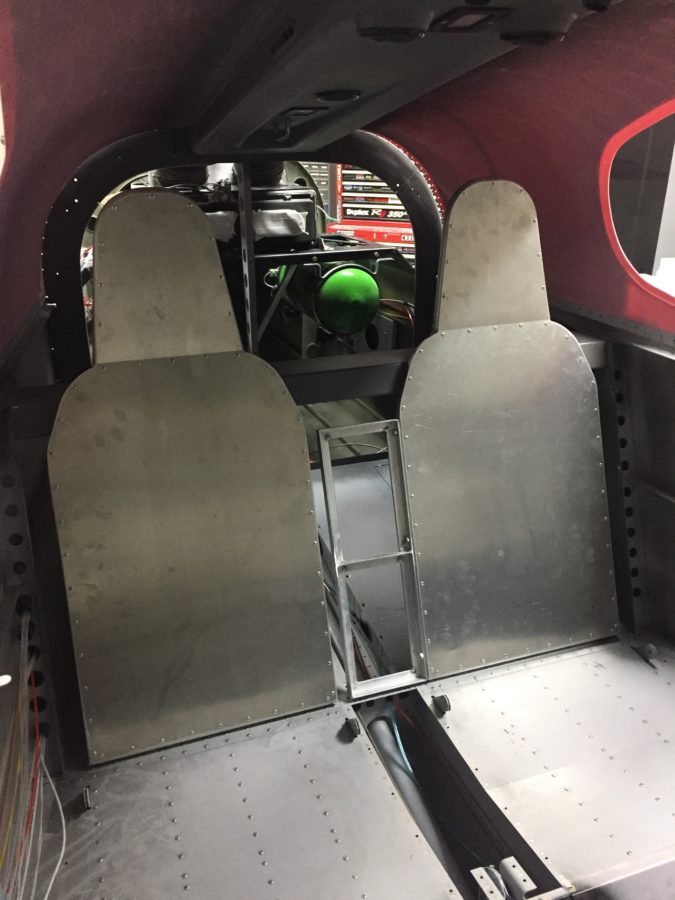
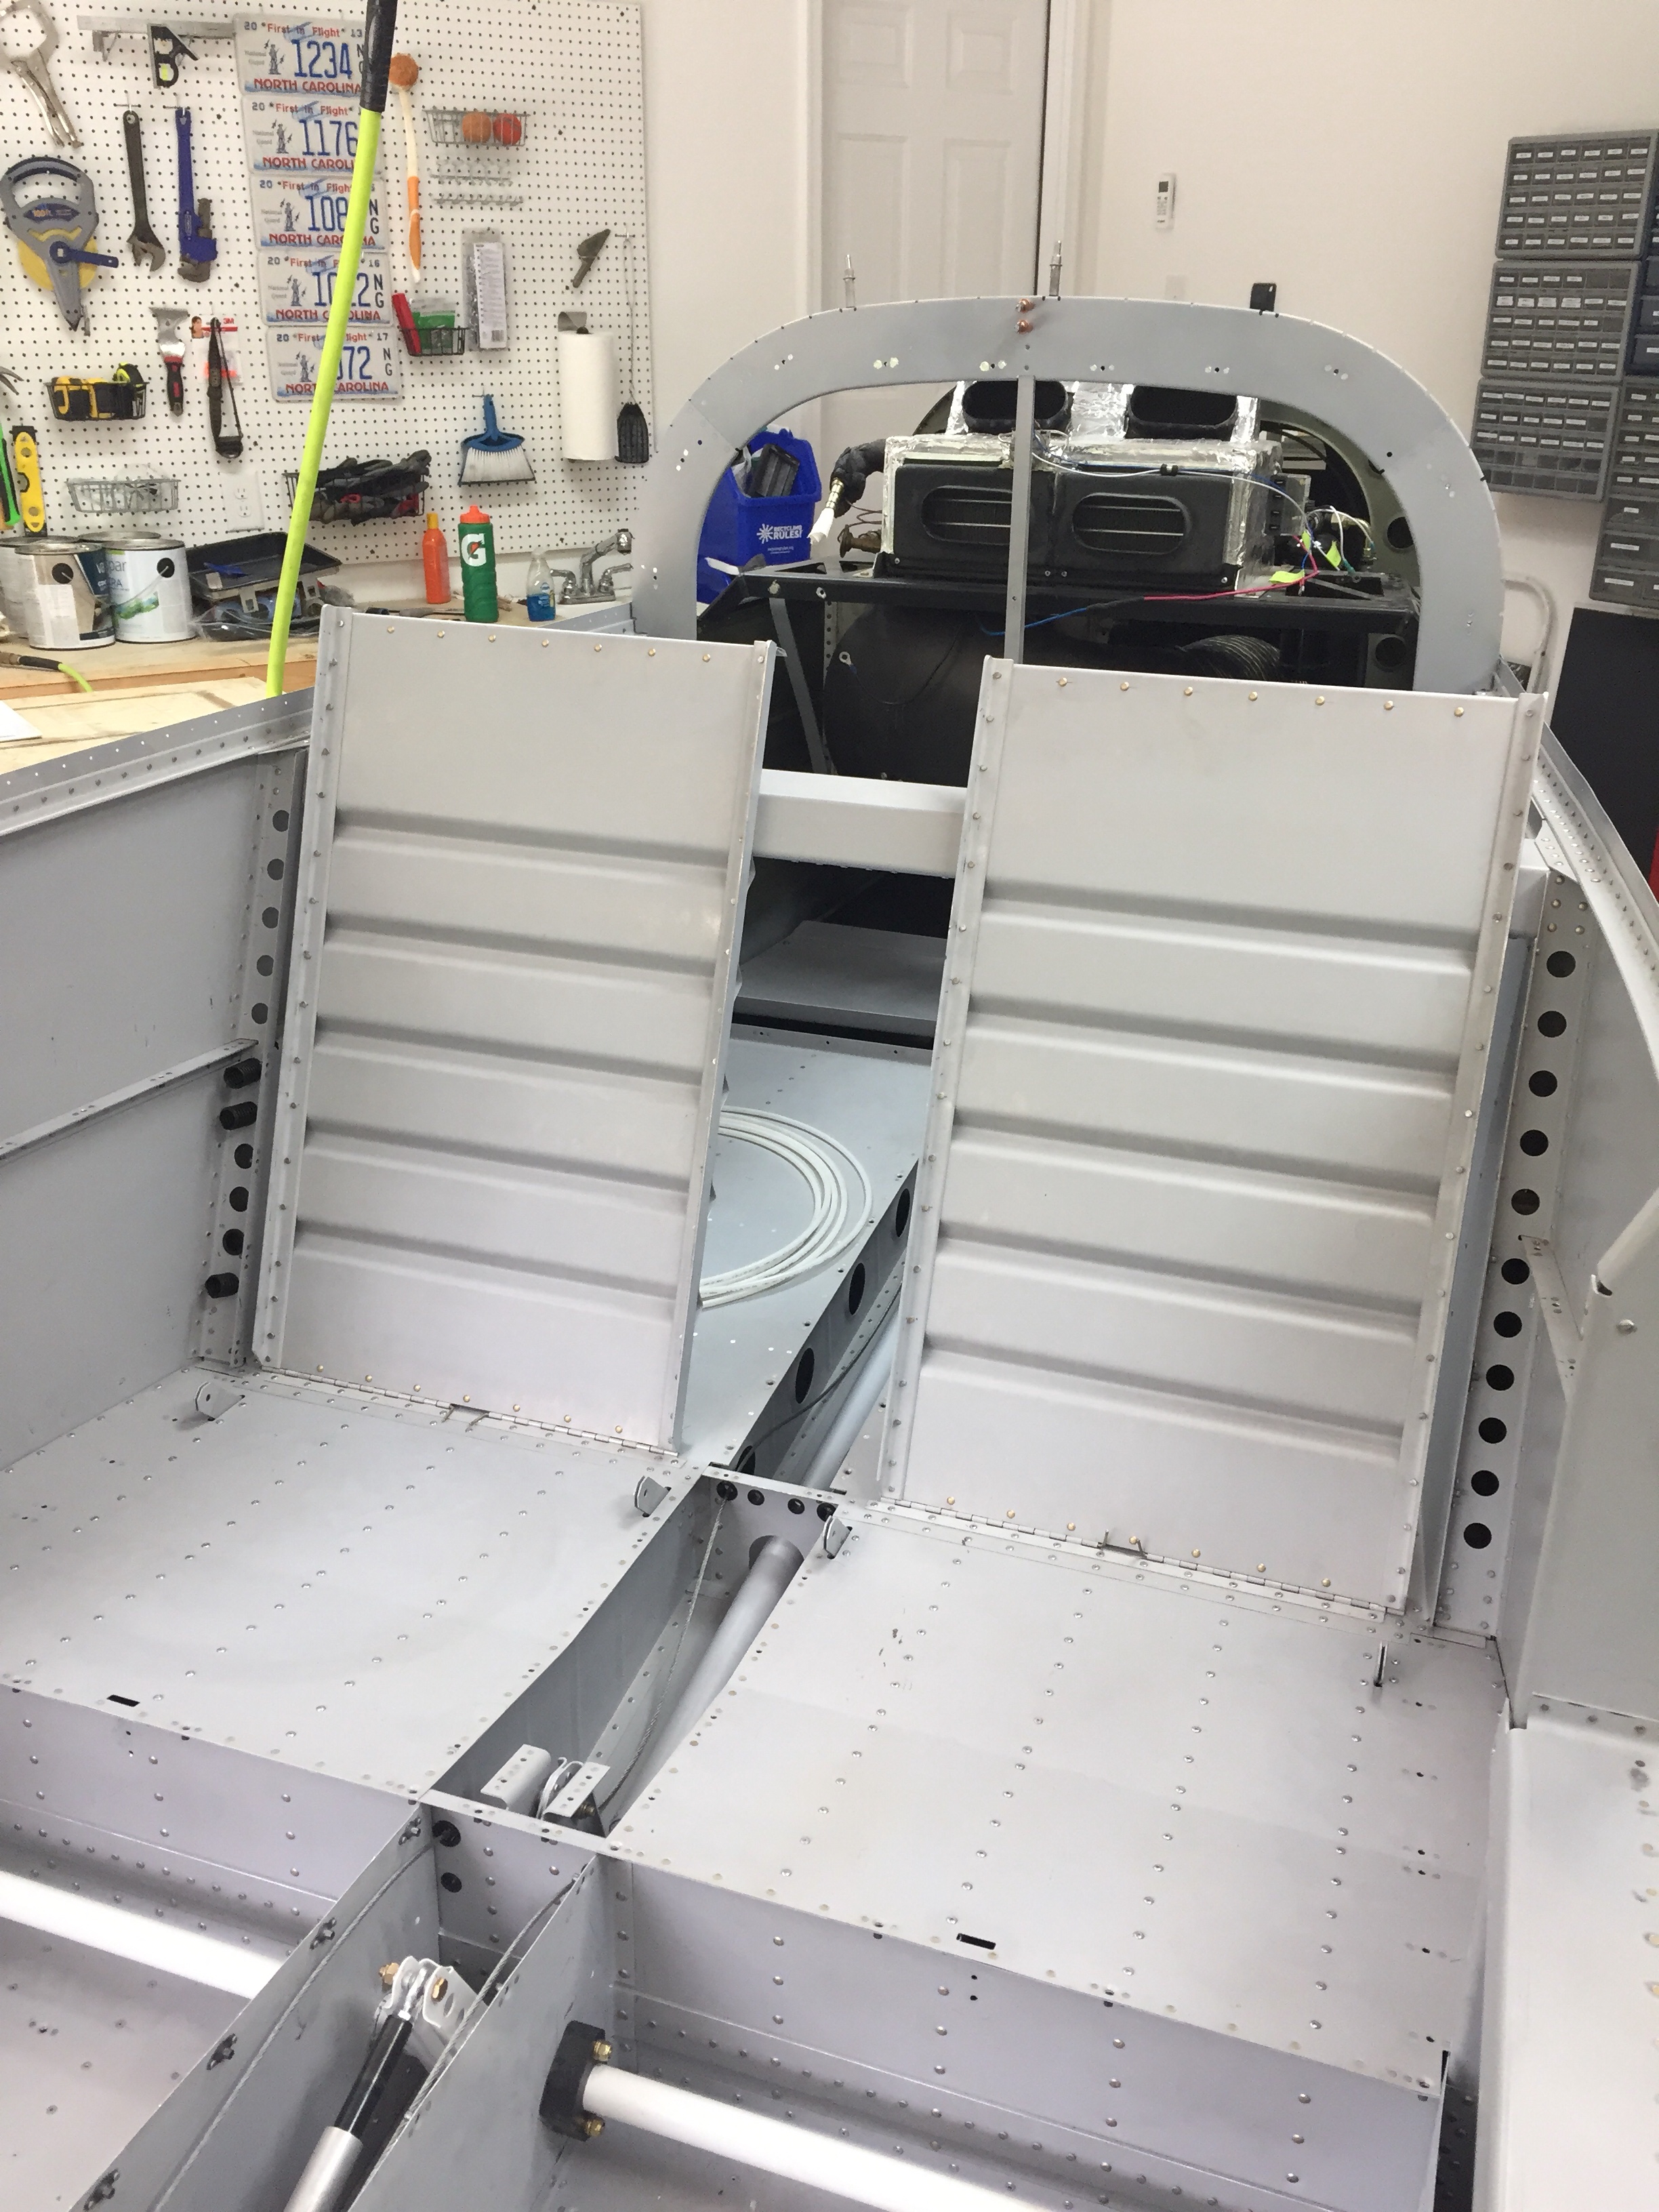
Back in the shop, a big morale booster is getting the rear seat back panels installed.  These were super simple to make with the panel and L angle.  The piano hinges were already cut as part of the floor / bulkhead and the backs fitting were a nice confirmation that I did it correctly way back when.  The seat backs show how roomy the 10 really is, not only in the passenger area but also behind them in the baggage area.  We are very excited about filling it all up with people, puppies, and packs for the adventures that lay ahead.