Research, Research, Research

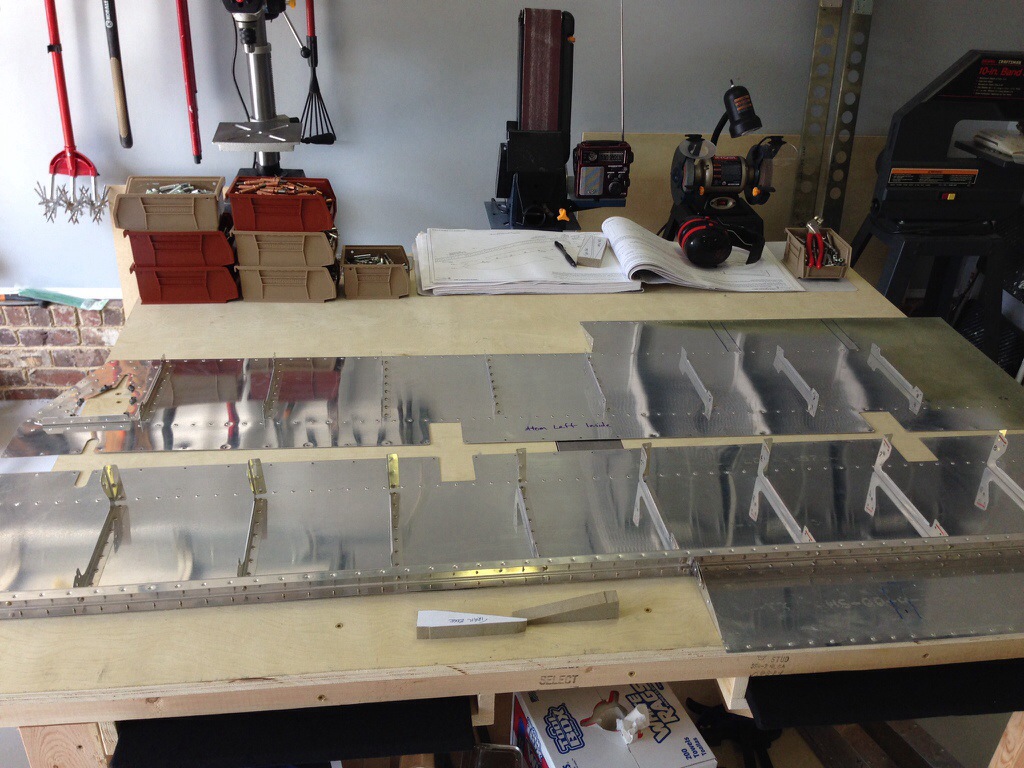
While physical progress has been somewhat slow, I’ve been doing a ton of research every day for well over a year and the past couple of weeks are no exception.  It is the biggest piece of advice I can give anyone wanting to build a plane; Research.  Everything.  Even stuff you think you know.

Lately, I’ve been looking into electrical system components to prepare for the wing kit coming next month.  Everything from lights, pitot system, trim, auto pilot, fuel, and even avionics goes into these early stages of the build.  I also have learned a lot from reading VAF and other build logs so will be capitalizing on their lessons learned.

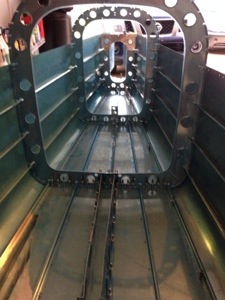
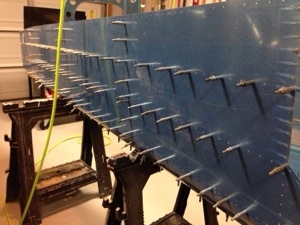
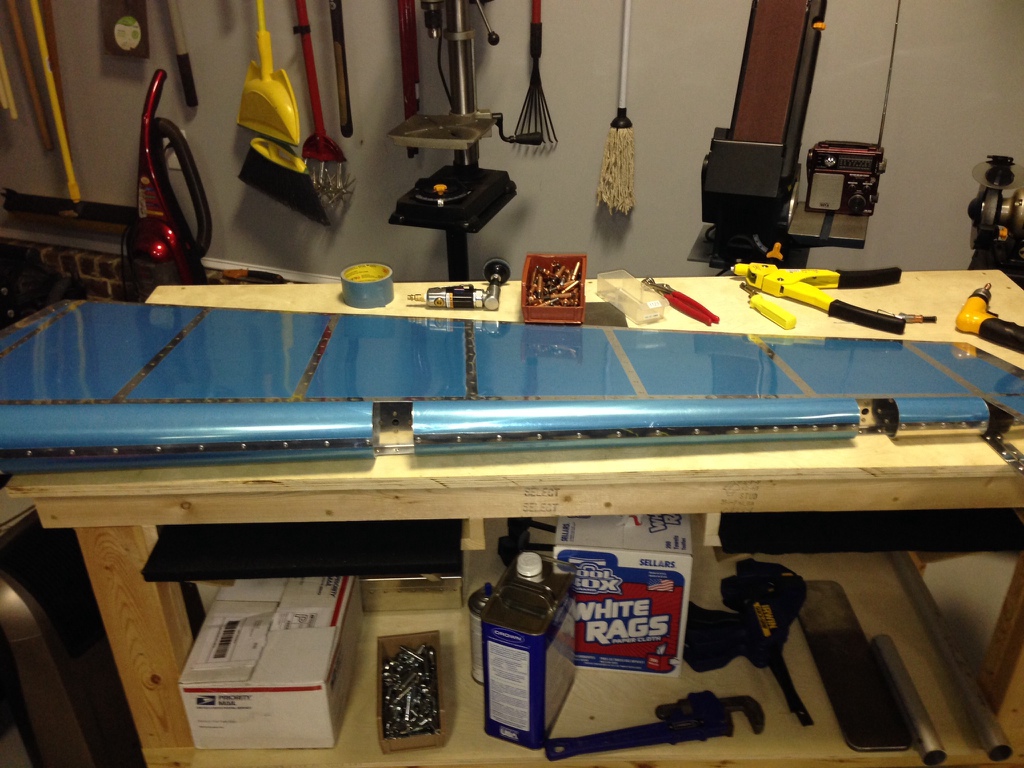
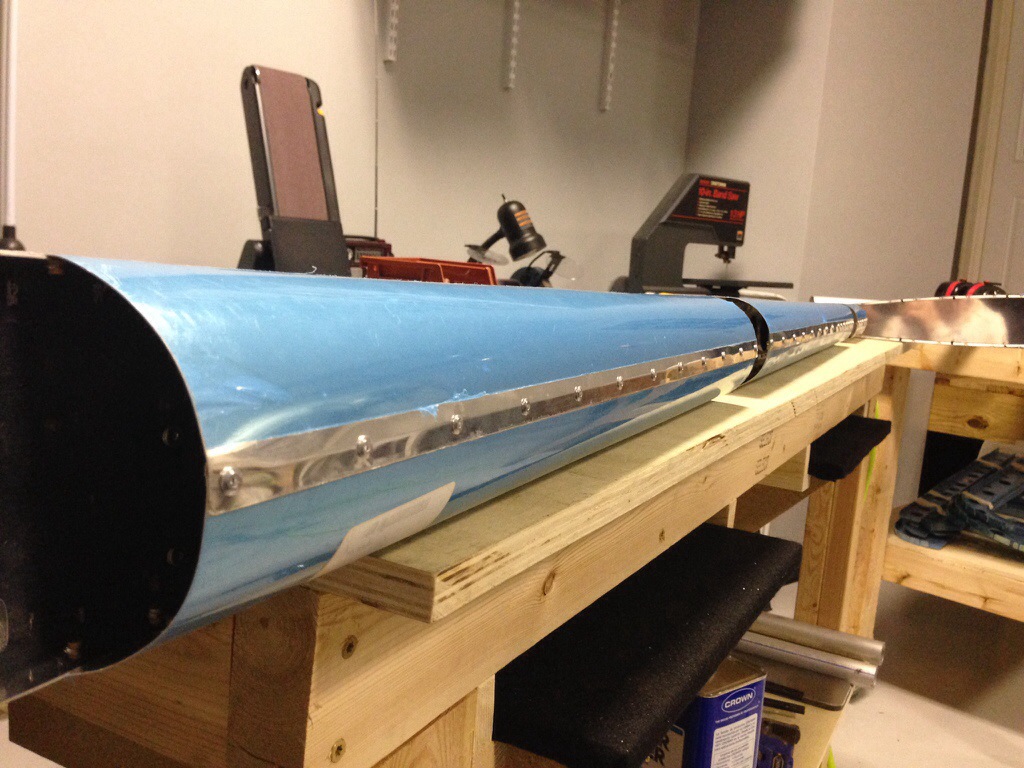
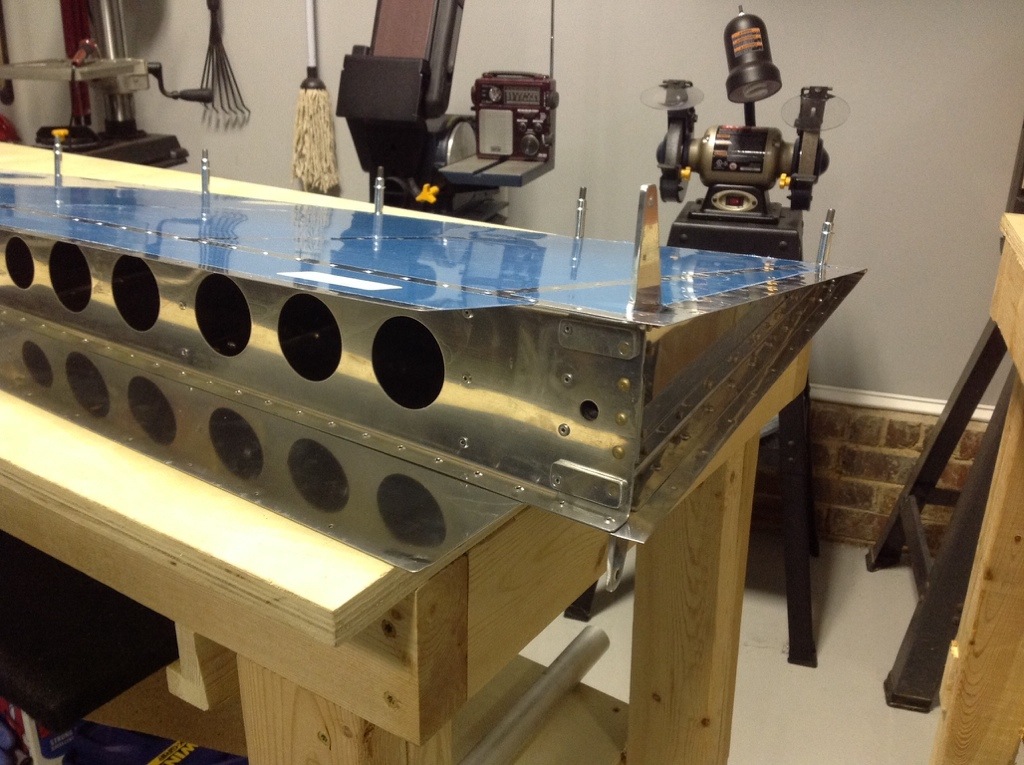
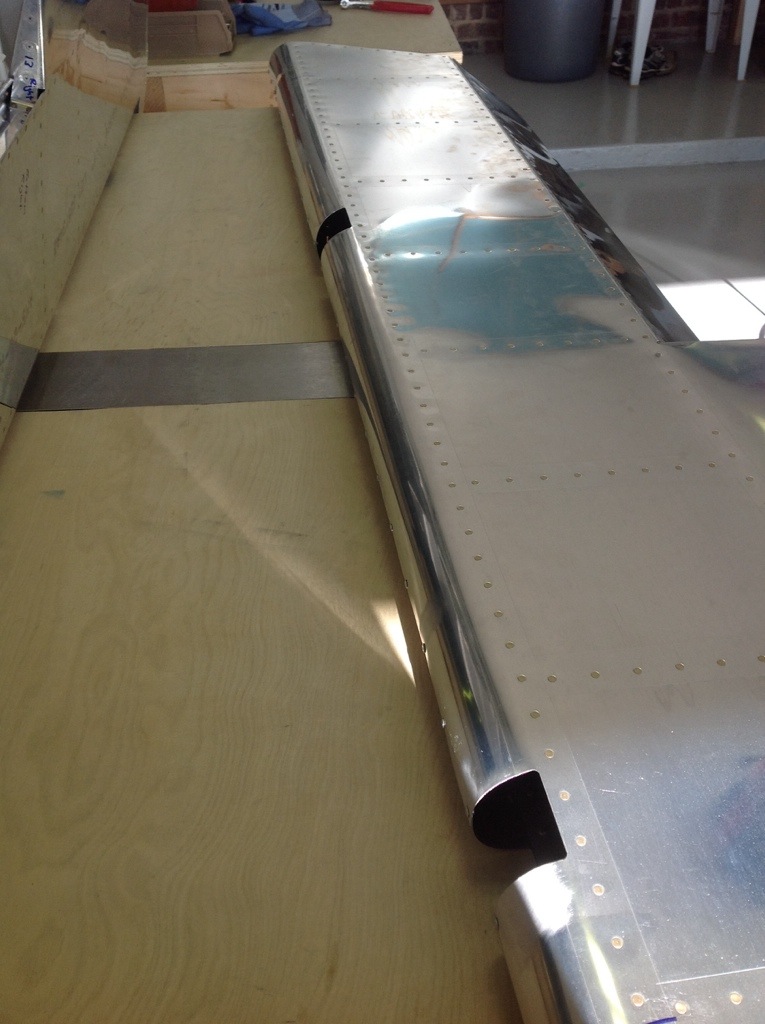
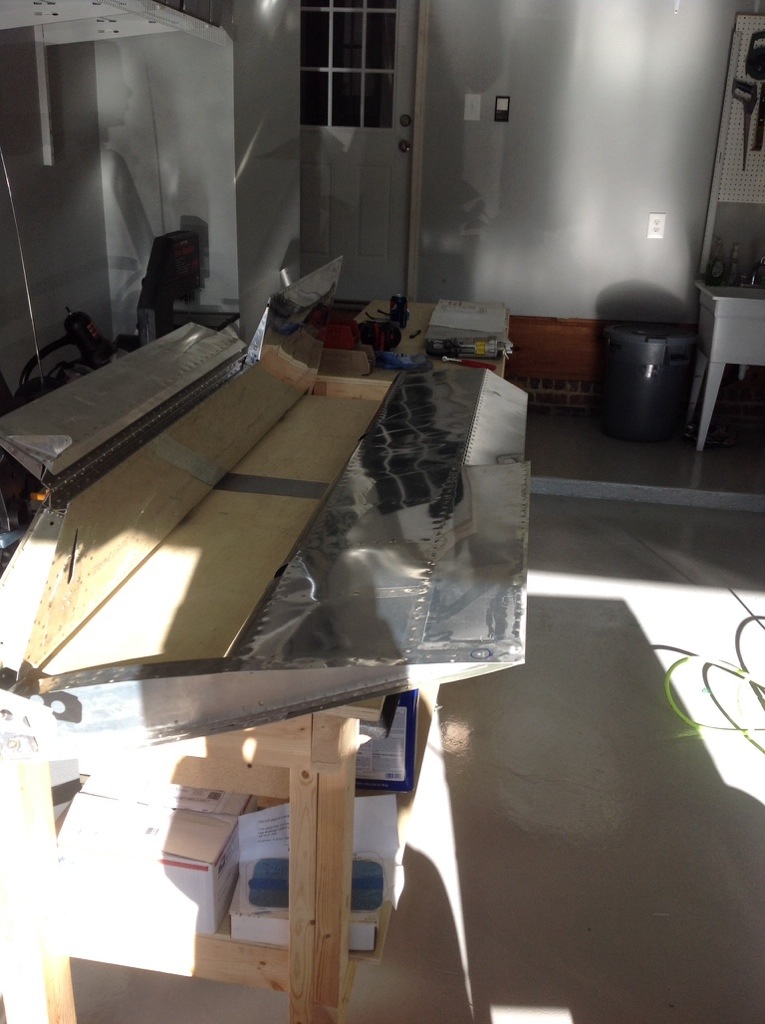
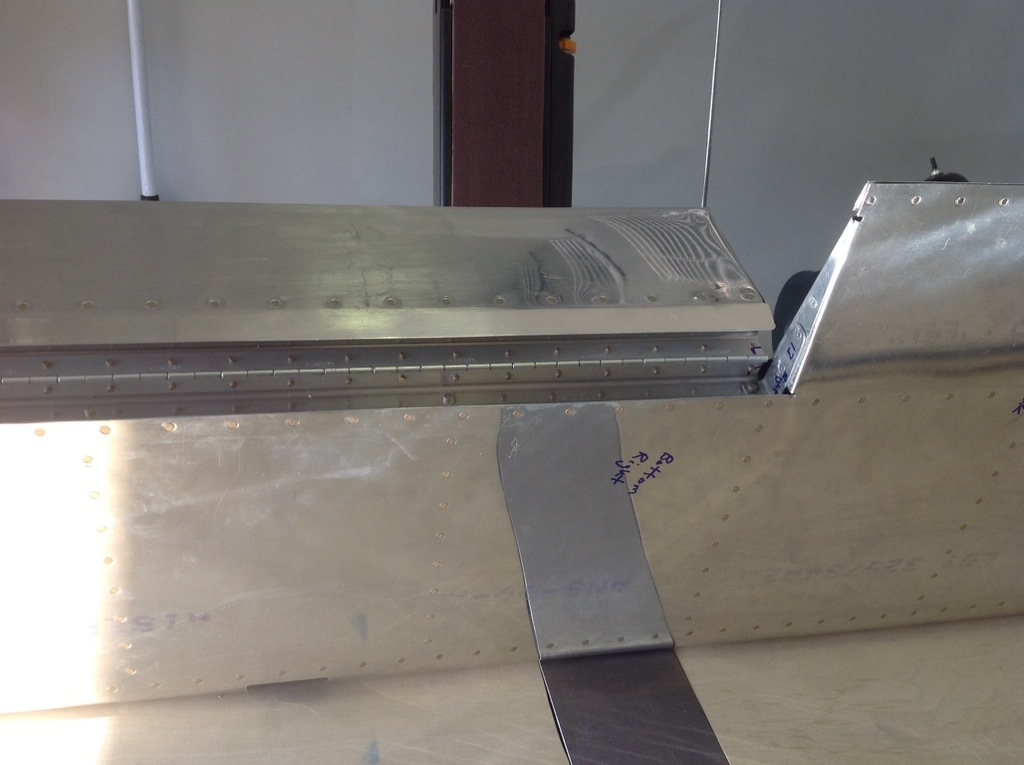
I’m updating a lot of the other pages of this website with links and info on my preliminary plans.  Things are changing quickly so this is a plan on paper that can change, but will give me a good target to fly towards.  It also helps you think about total system architecture instead of just the aluminum pieces in front of you.  For example, the tail cone will hold the battery, starter relay, antenna, wires, and lights.  Planning ahead with conduit or wire runs will help avoid a tight fit crawling in the fuse a ways down the road.

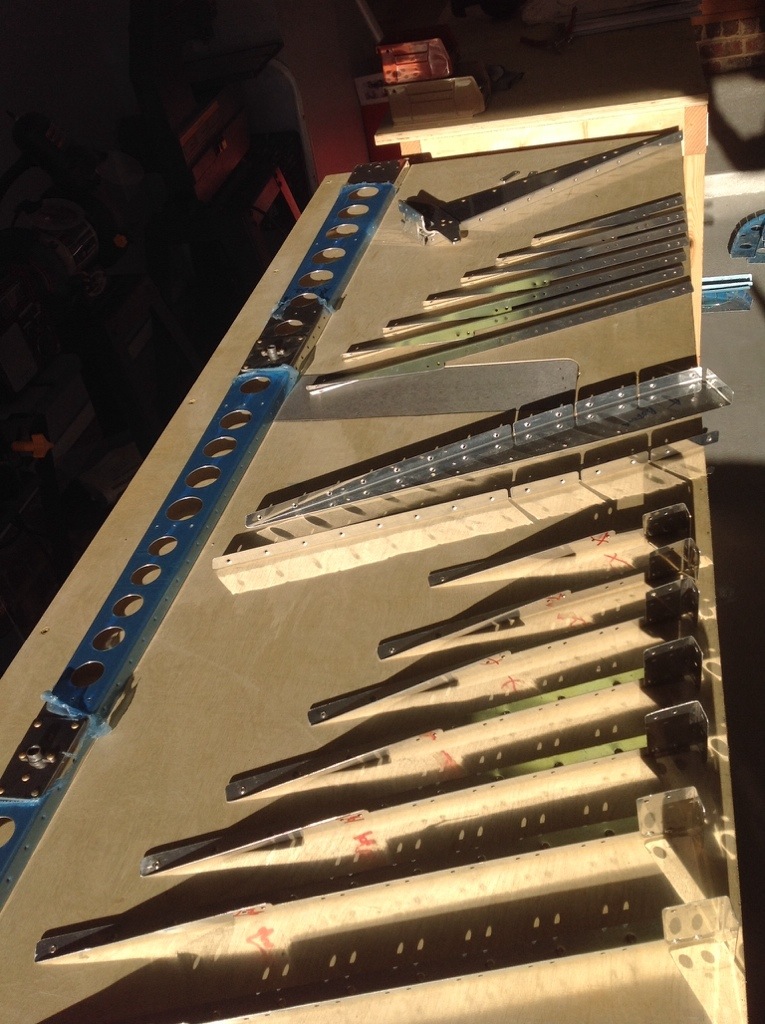
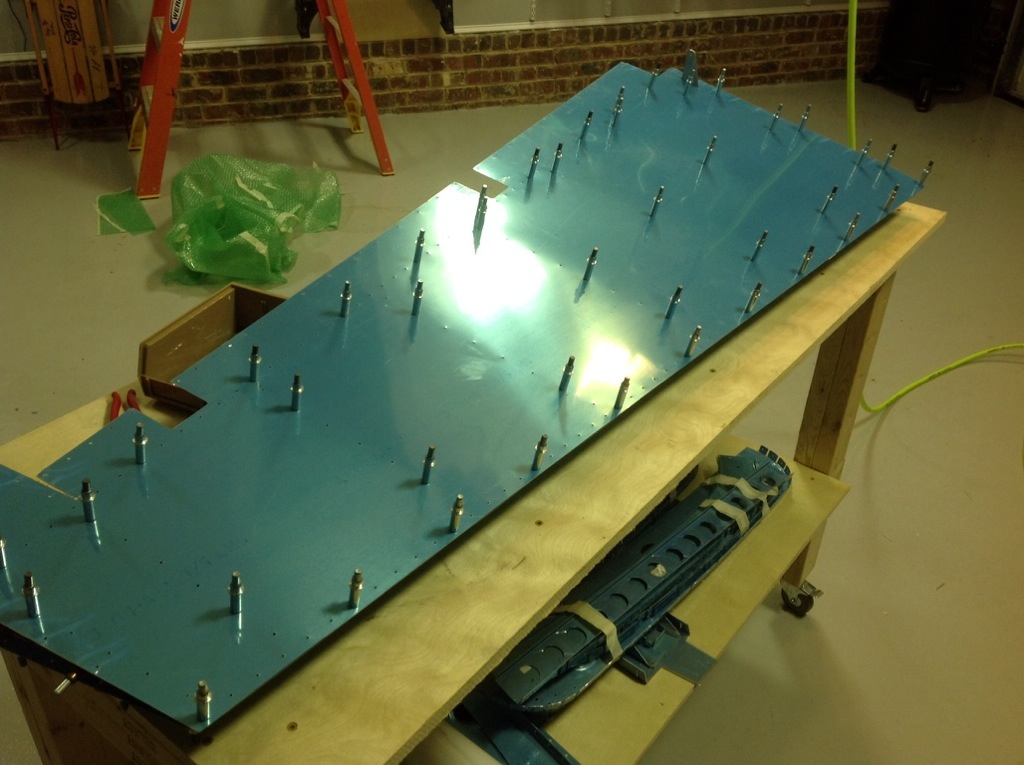
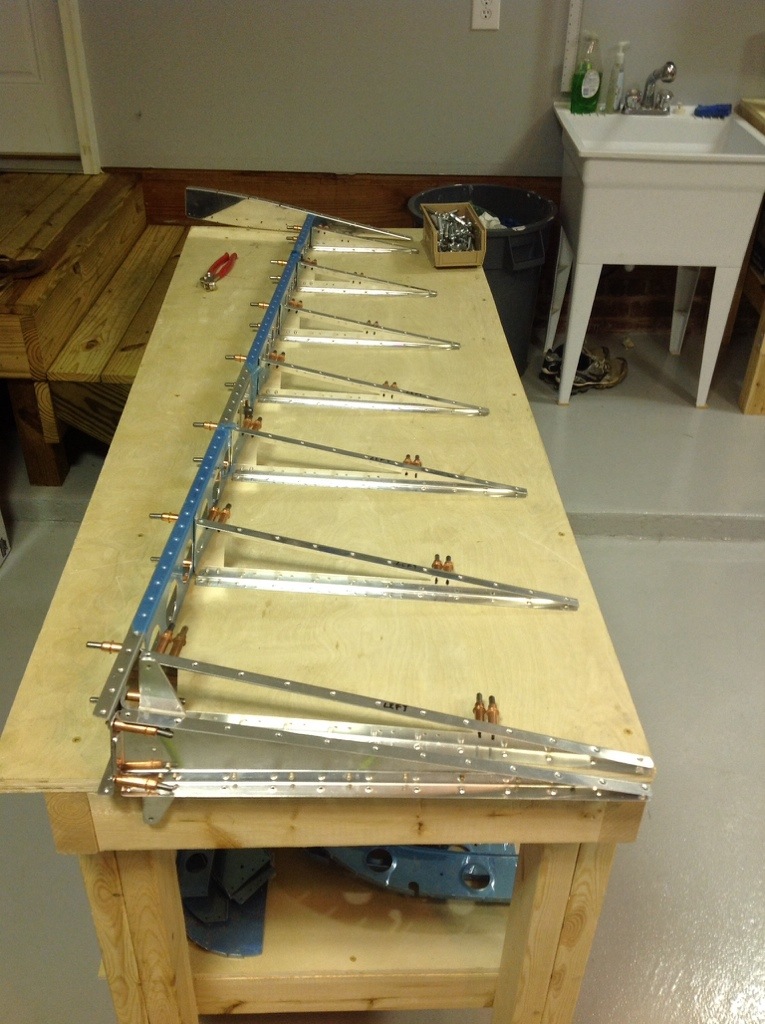
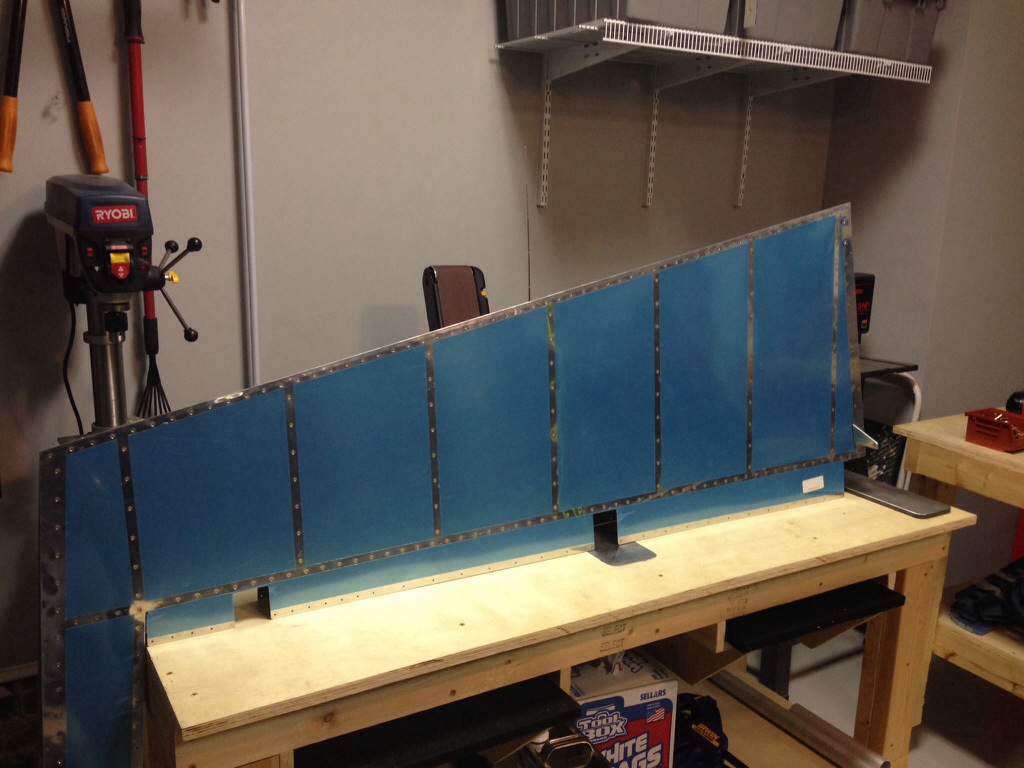
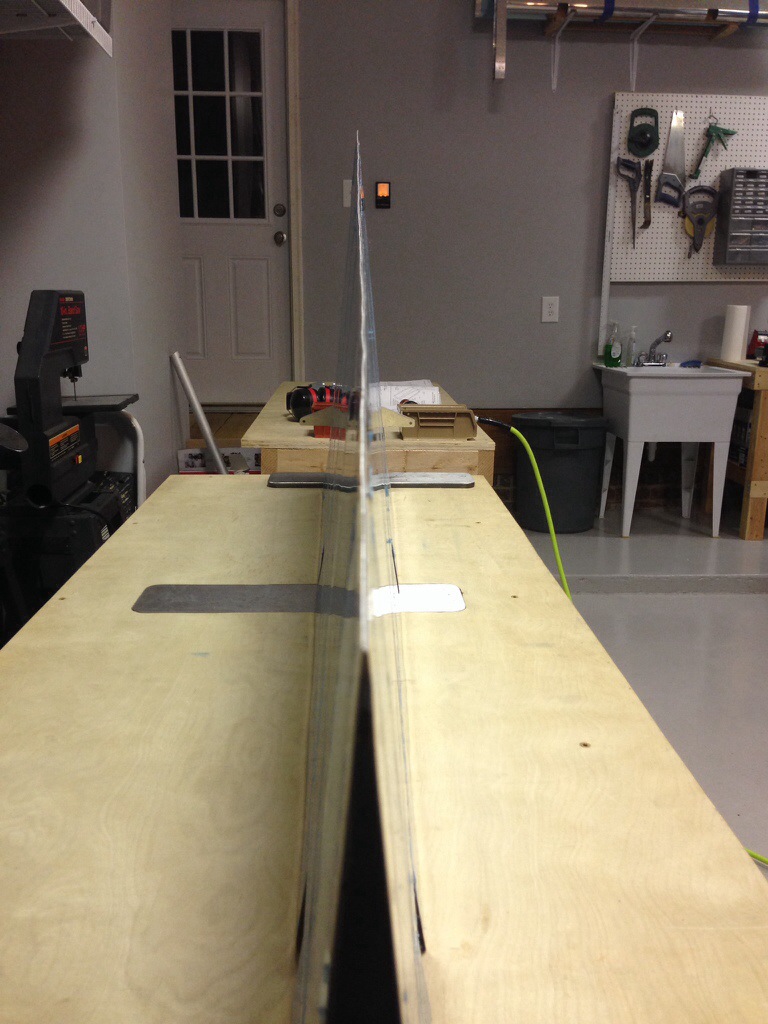
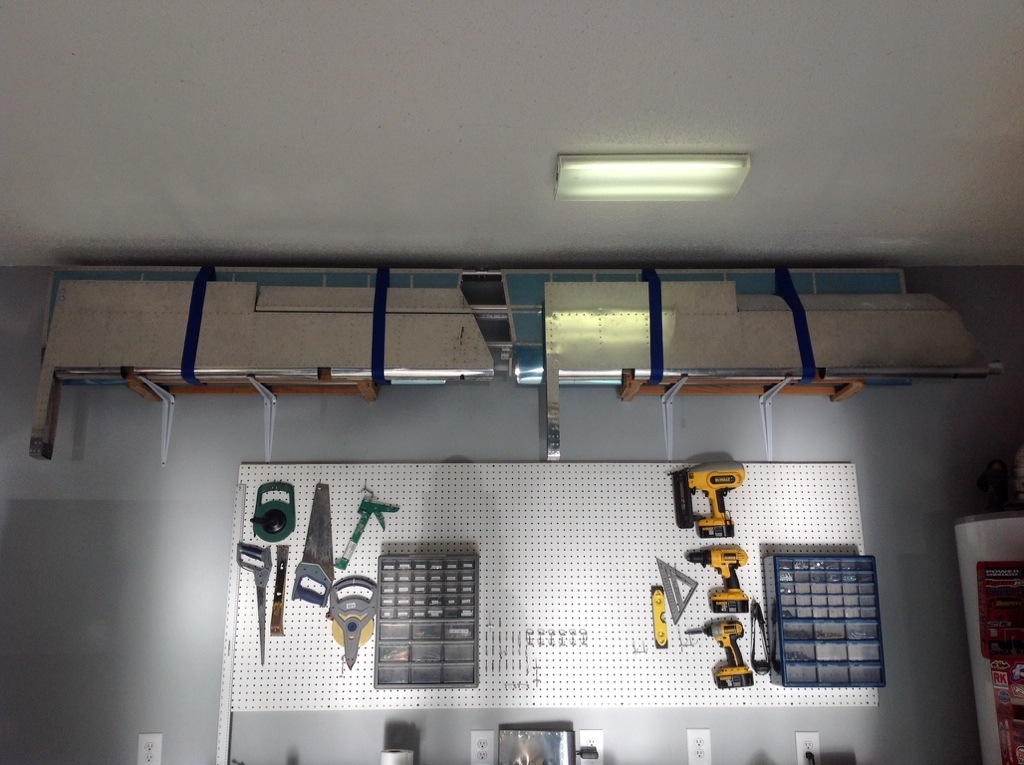
Everyone says to do something each day on the plane to keep it progressing.  I haven’t been good on putting my hands on aluminum every day, but I am learning something every day.

Tail Cone Takes Shape

It’s exciting to move to a new section of the plans!  The tail cone is the first part of the fuselage to be built and looks pretty fun to complete, with some easy tasks and more advanced stuff when mounting the HS and VS.  It will also hold electrical and AP/Trim components down the road.

The first step is to cut the stiffeners to specs and shape the ends.  Not a hard task, but time consuming as each piece needs to be trimmed, ground, and deburred from the band saw.  Once those are complete (9 total), they are labeled and then the ribs are clecoed together.  Lot’s of drilling on this, as the stiffeners are put together temporarily with the ribs and skins for the tail cone.  You then use the skins to match/final drill the stiffeners on a center line marked earlier.

I’ve finished drilling all ribs, stiffeners, and skins but failed to read ahead enough in the plans before disassembling an entire side skin.  Not a huge set back, but that’s a lot of clecos to put back in place.  The tail kit is basically mocked up completely before taking it all apart and preparing it for riveting later on.

20131227-160950.jpg

20131227-161003.jpg

20131227-161010.jpg

Rudder is all closed up

20131204-212210.jpg

I spent tonight rolling the leading edges for the rudder. Didn’t I say to roll the edges before final assembly? Yes, I did. I’ll have to remember that next time! The process really isn’t too bad. I use duct tape and an aluminum pipe cut down to just longer than the section of skin (I have three different lengths that work well). Once I have it rolled, I use an edge roller to bend both skins inward. I find bending both vs just the top as the plans call for, helps the skins sit flatter once together. Putting them together the first time is the hard part, but is manageable for one person but easier with two. Once clecoed, final drill then uncleco to deburr. Then back together and finish off with the pop rivets.

Despite putting good bends and slight pressure on the rivet tool when setting them, I have a few that still show a space between the skins. I’m thinking about ordering some extra rivets to redo those few and see if I can get a better result. But, overall I’m happy with it.

One thing I continue to be proud of is keeping the shop clean. I replace tools after I use them and be sure everything is put up before calling it quits for the night. Not only does it keep the garage looking good, it keeps me organized and let’s me work a lot faster not having to sift through junk to find what I need.

20131204-212218.jpg

Rome wasn’t built in a weekend, but my rudder was

Well, almost. The holiday allowed me to really make headway. Most importantly, I had a blast working in it. I pulled the parts out of bubble wrap and got to work cleaning, organizing and labeling the components of the rudder. Again, all of the ribs were drilled and dimpled, saving me time. The skin, however wasn’t. So I set about match drilling and dimpling. Deburring is my least favorite part, but at least it goes quick. I also used a soldering iron and word burning tip to cut away only the blue film over the rivet holes. This will not only help with working in the pieces, but also storage and preventing scratches like on the elevators.

Back riveting is very easy now, I lowered the pressure on the gun and feel more comfortable. I had a few spots on the spar that I cleaned up and decided to prime the entire thing since it was going to disappear from sight for good. The rudder is fun because it has a variety of rivets and techniques used to make it. The control horn and rib especially have some beefy parts.


Tonight, I focused on the trailing edge. Now I’ve read a lot of horror stories about this. I was somewhat nervous, as I decided to use the 3M double sided tape method in lieu of the pro seal on the TE. I also did not have the angle iron that others have used. Well, the tape was worthless. It is so thin and doesn’t stick well that when you try to peel off the backing, the tape just stretches and comes off the part. I the. Researched it more and saw others who didn’t use any of the above methods and just carefully, slowly, riveted it all together.

What the hell, right? It’s a learning process. Well, worked good enough for me. I placed every other rivet in one side and did a step approach to full setting the rivets, monitoring the straightness of the edge throughout. I did wind up with jus a bit of waviness, it’s not perfect, but compared to others and the Pipers that I fly, it’s above par.

I also put the elevators up with their parents, the HS on the wall for short term storage.

Sorry, these elevators are closed

The project sat idle for some weeks I am sad to say. However, I’m not in a huge hurry and refuse to stress about this fun project so we press on.

I got back to work on the elevators and made some fast progress. With back riveting now in my “can do” bucket of skills, these smoothly went together with a lot of pop rivets on the ribs to form the internal structure. I even got my wife out in the garage to help assemble the skins and squeeze some rivets on the spar. It’s true when they say you spend weeks prepping and only minutes riveting. It was somewhat of a non-event to actually rivet!

Along the way I’ve been cleaning up what I am pretty sure is surface corrosion. It’s only on the edges and mainly where the blue film had been pulled away or bubbled up. This kit is about 7 years old and sat in a basement, so not overly surprised. I’ve been sanding it out with a 3M disc and then spot priming those areas. I also discovered a 1/8″ tear in the skin between the edge and a punched hole. After getting some advice from VAF, I decided to cut and grind it away and will fill in the void with epoxy when installing the tips.


Rolling the leading edges wasn’t terrible, but I’ll be sure to pre roll the skins next time before assembly, as others have suggested and I forgot to do.

Finally, I pulled the already made trim tabs out of the bubble wrap and fabricated the hinges for them. It was pretty straight forward and the end result was very nice. Something to be proud of.

My lessons learned thus far are: leave the blue film on for protecting from surface scratches, pre roll the leading edges, and not let as much time go by without working on it!