Creamy peanut butter

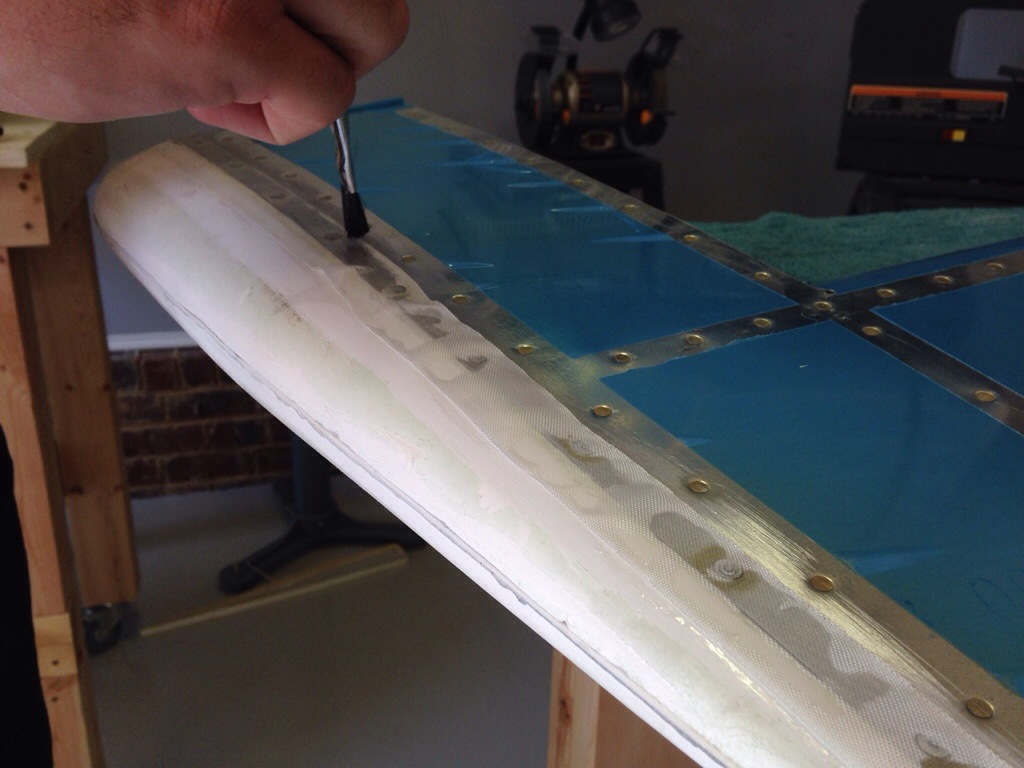
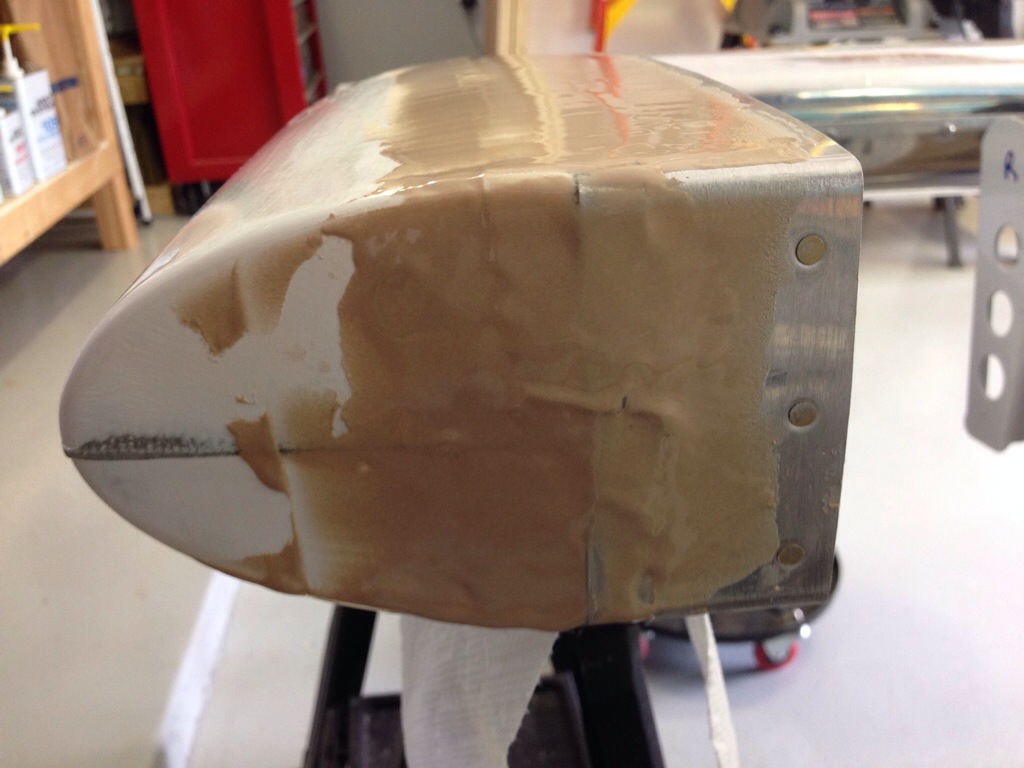
After the epoxy set up on the fiberglass tips, it was time to put on the filler, often referred to as micro, to smooth things out.  I’m using the West epoxy system and the 407 filler.  It’s an extremely fine powder that is a tan color and according to others very easy to work with.  You mix up the epoxy as normal with a 5:1 ratio and then add in the filler to get a consistency of creamy peanut butter.  Then just spread it on and smooth it out as best you can then wait for it to cure.

I’m not a stranger to using Bondo, dry wall mud, and other fillers, but I still have a few lessons learned from my first experience on the plane.  First is when mixing the filler, you want a really think peanut butter mix, not creamy.  My first batch ran and settled a little too much, requring me to position the pieces so it wouldn’t drip.  Keep in mind it takes a few hours for the slow hardener to set up.  If you have a lot to add to build up, make it as dry as you can.  Second, follow Ron Propeil’s advice and set it and forget it.  Just like dryway, the more you mess with it, the worse it gets.  You won’t get a perfectly smooth application so stop trying.  That’s what sand paper is for!  Third, is patience which I do actually have for this.  One coat is seldom enough to smooth out whatever your working on.  Go in stages and don’t try to build Rome in a day.

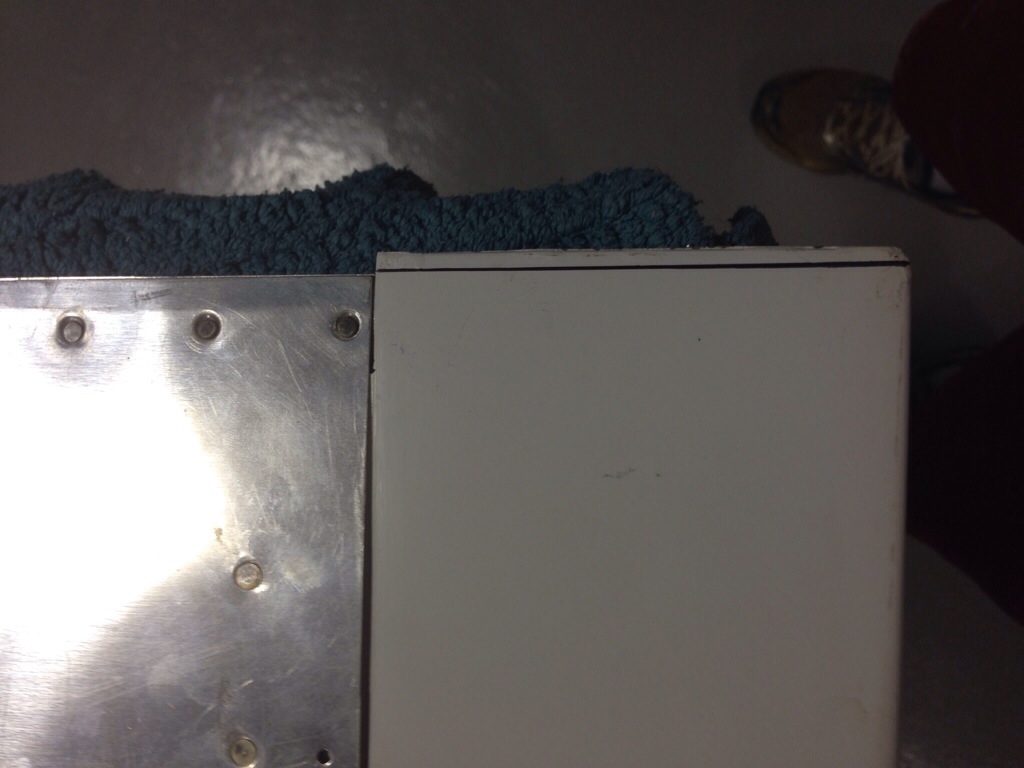
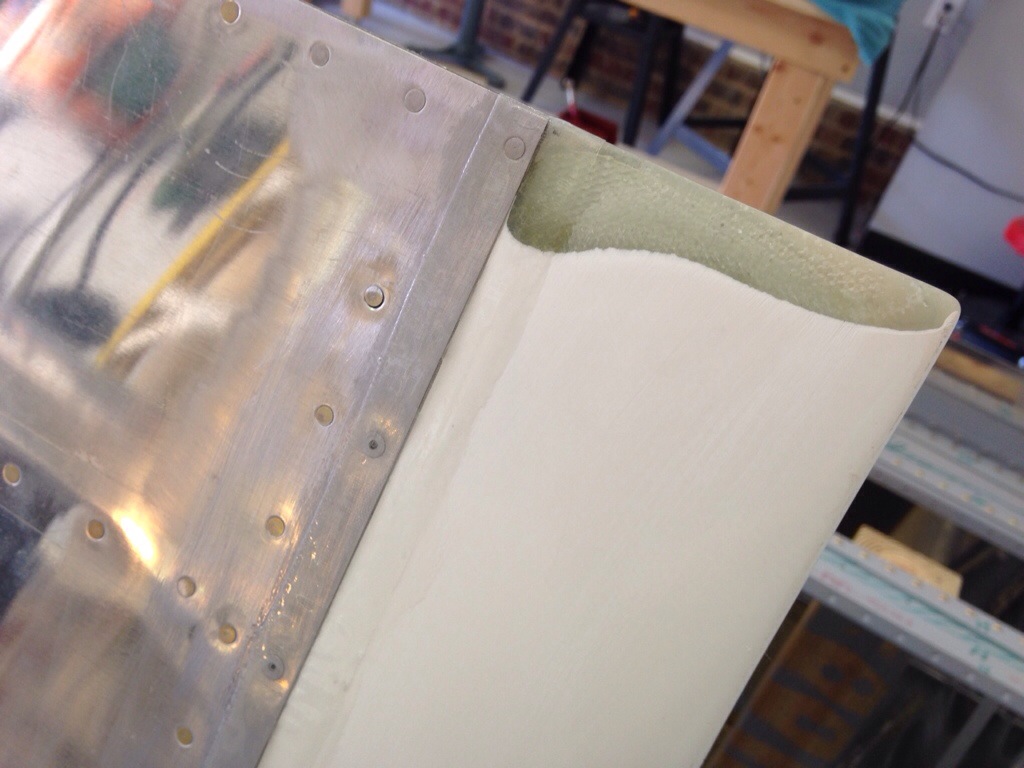
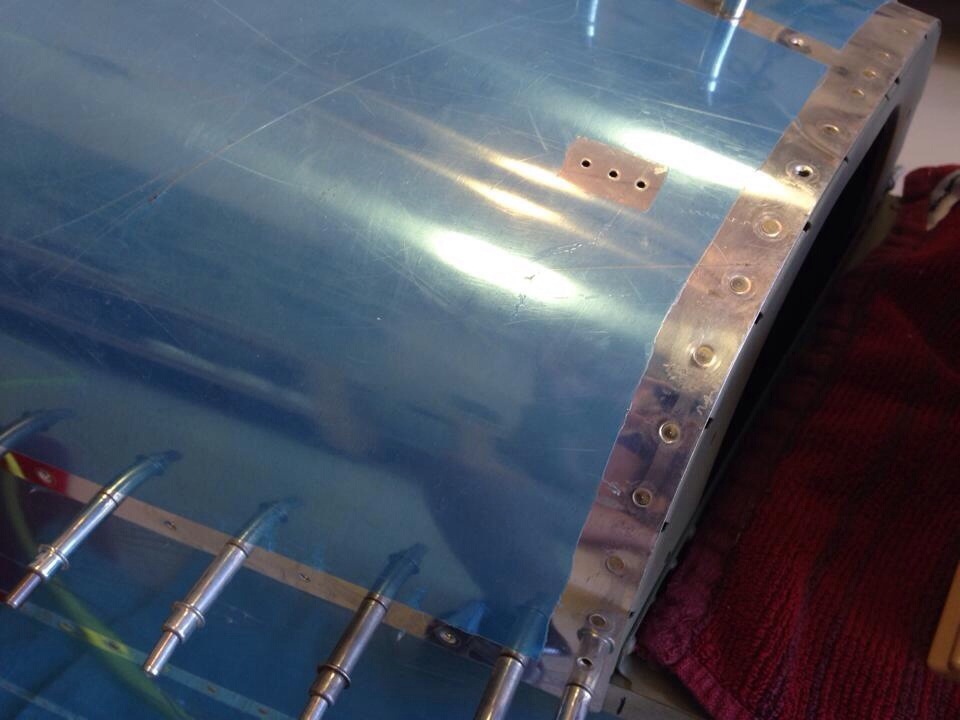
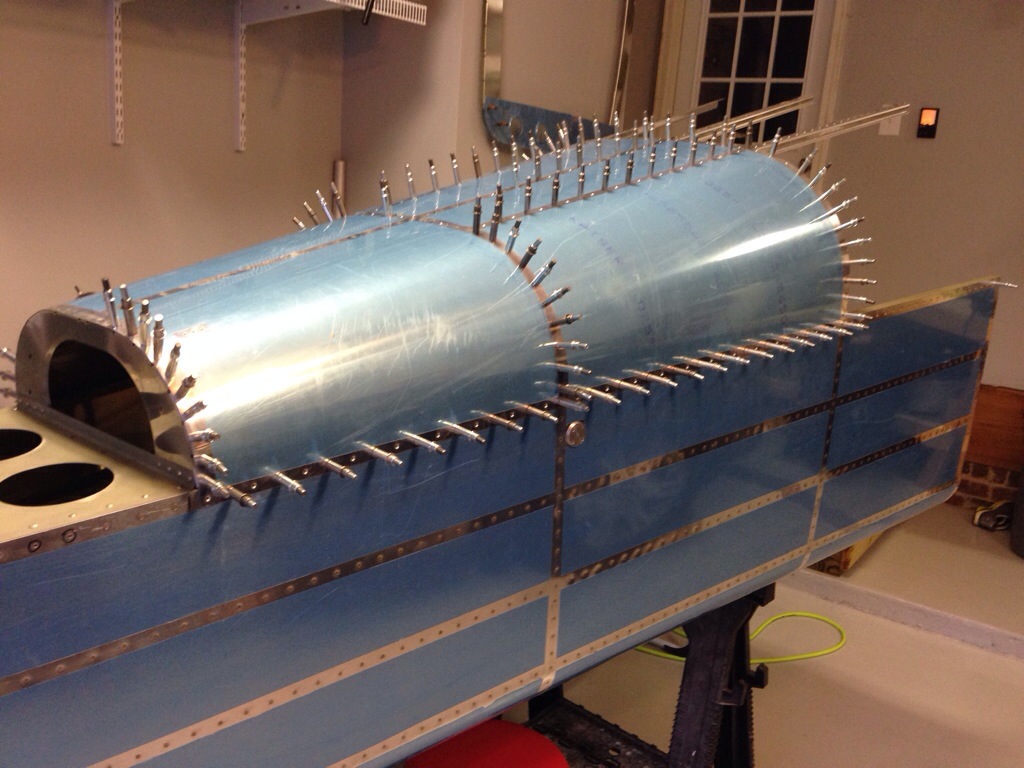
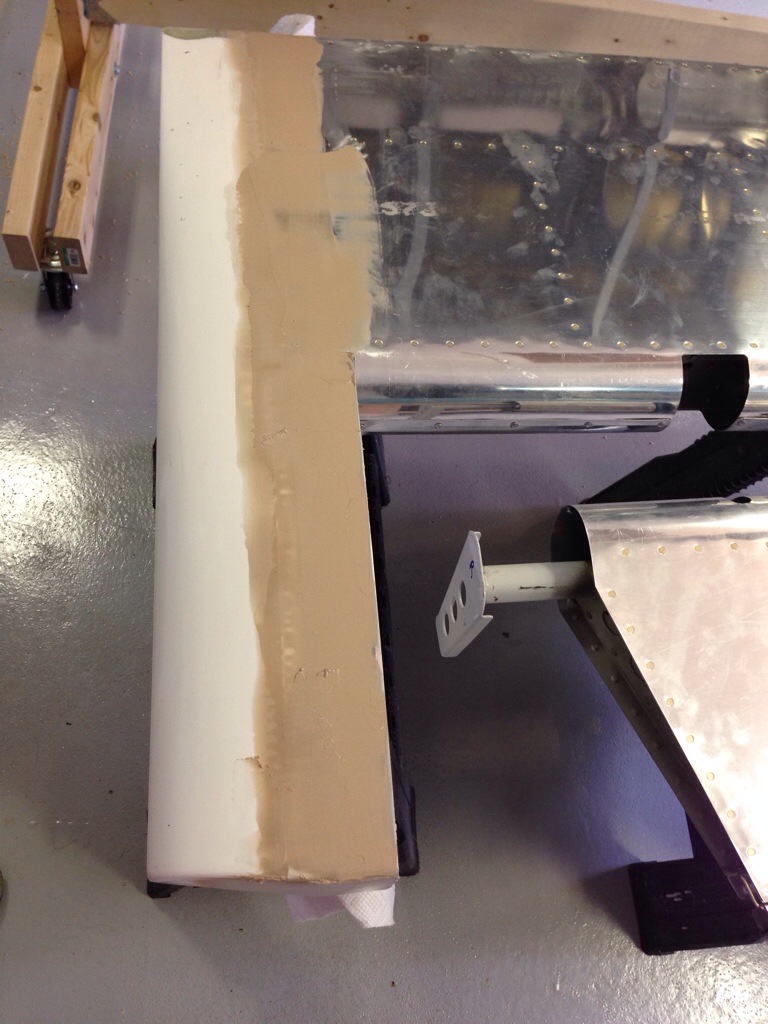
Thus, my first coat was pretty successful.  I scuffed up the newly laid fiber and made sure the aluminum was scuffed with a Scotchbrite pad.  Then clean everything with thinner and apply the filler.  I filled in a lot on the tips’ leading edge where it didn’t match up with the aluminum well.  I was also excited that it actually set up well!  I have a fear of mixing the epoxy wrong and it just being a goopy mess.  The pump system for the West epoxy is a must have.

20140723-163616-59776751.jpg20140723-163615-59775937.jpg

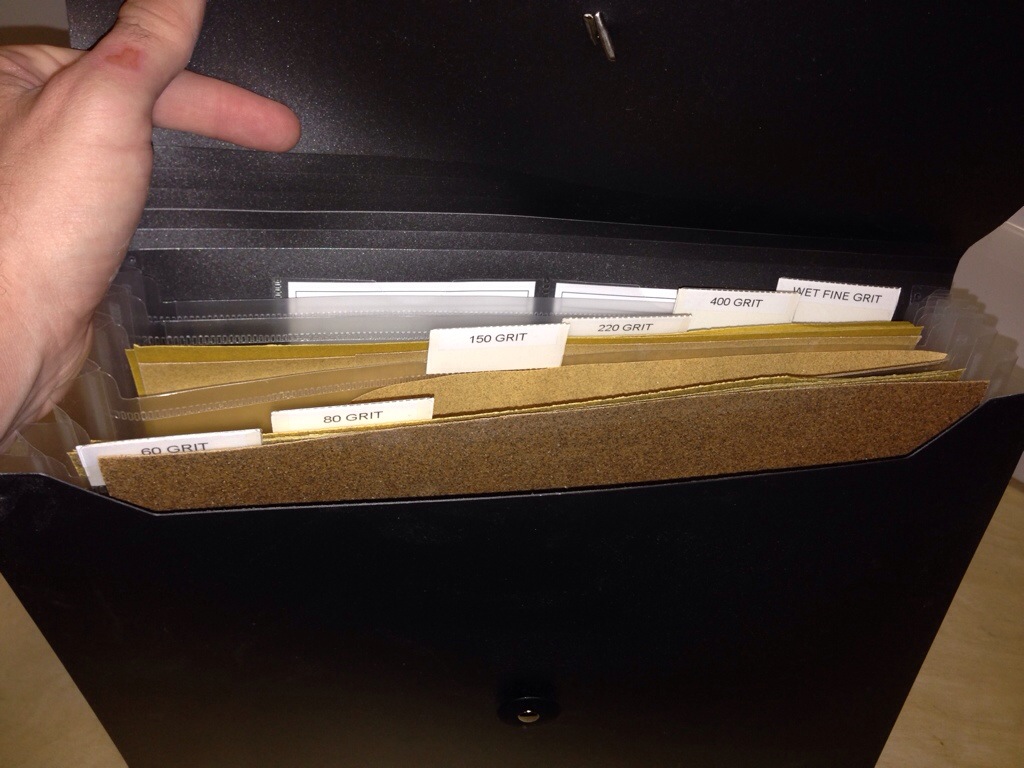
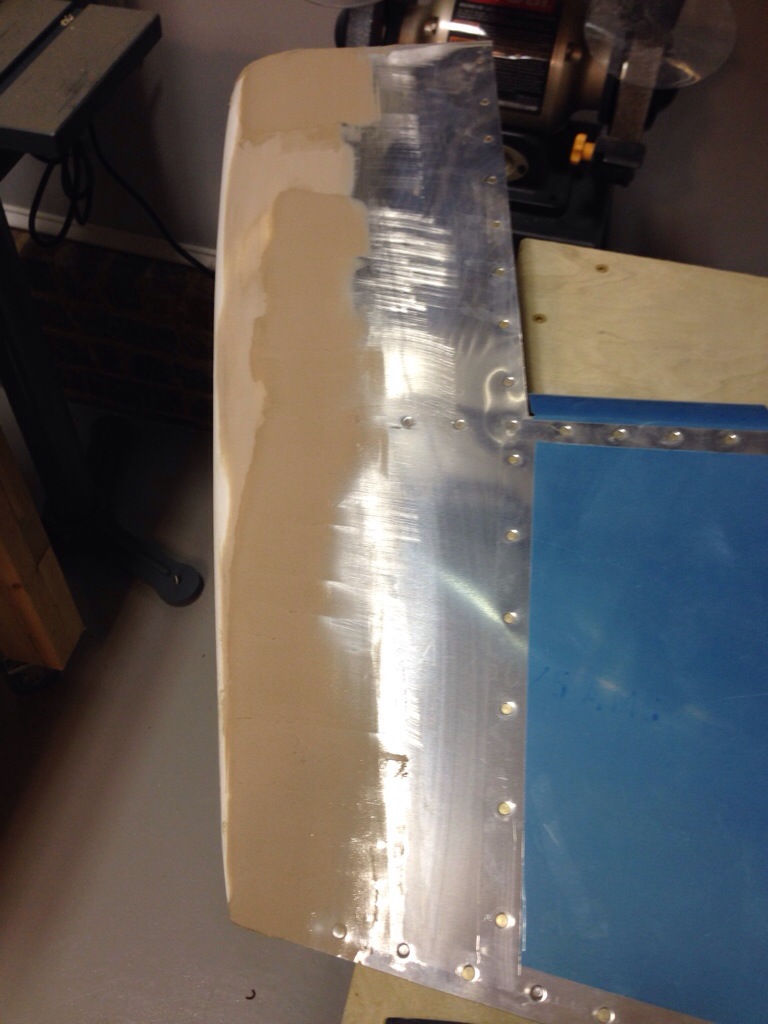
Next, you get to break out the sand paper.  And a lot of it.  A couple lessons on this too. Have a variety of grits; I used 80 to knock off the big ridges and bumps, then 150 to contour, and 220 to smooth it all out.  I found that the 150 really didn’t work too well as the dust would bond to the paper and clog it up.  The 220 worked great and lasted a long time.  I have a couple of different blocks that are working well.  I’ve read never to use your fingers since they will not sand uniformly, but there are always a few spots that the block can’t get.  Make sure not to sand too much off.  It’s better to get it close and put another thin layer of filler on to really smooth it out.

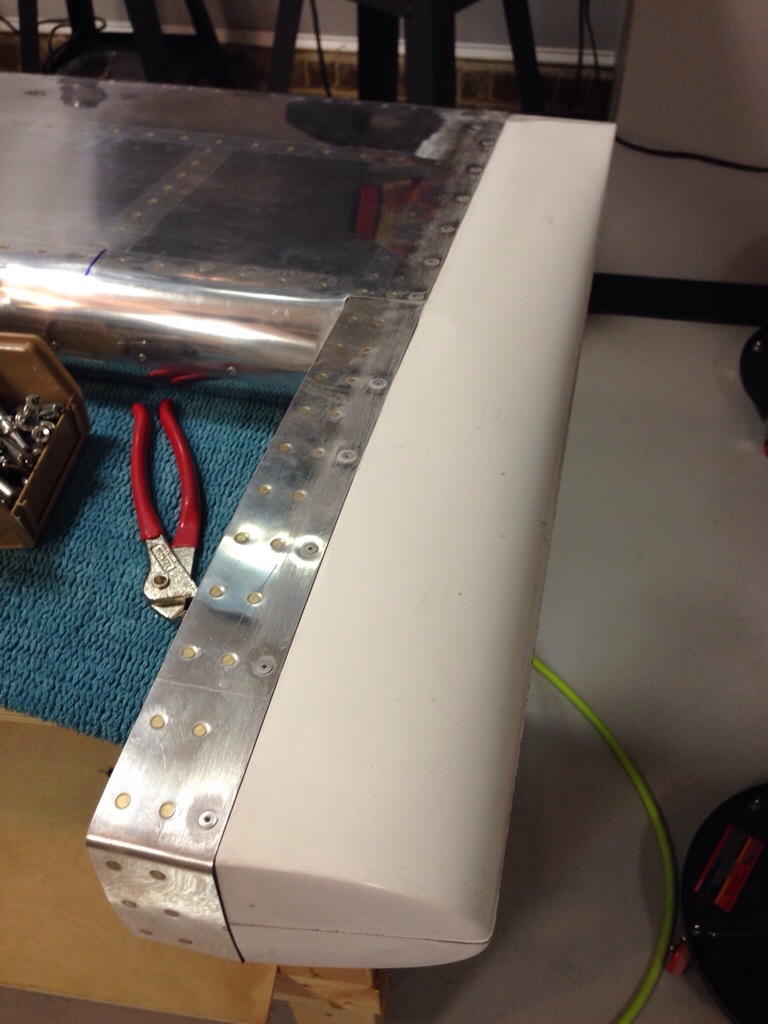
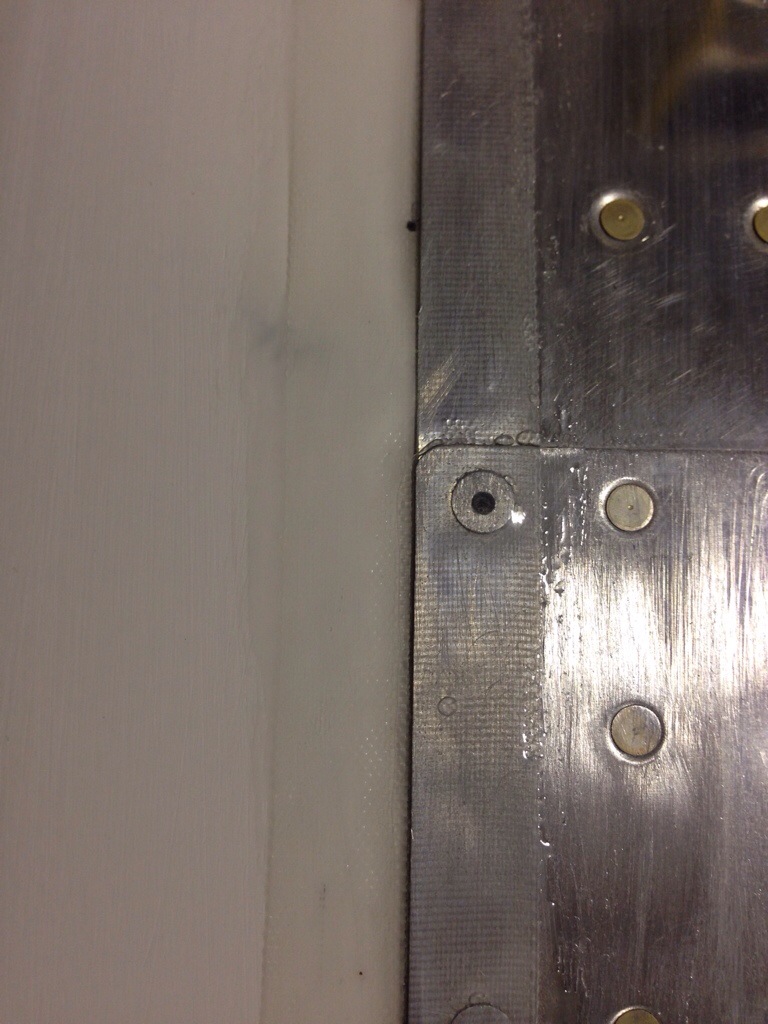
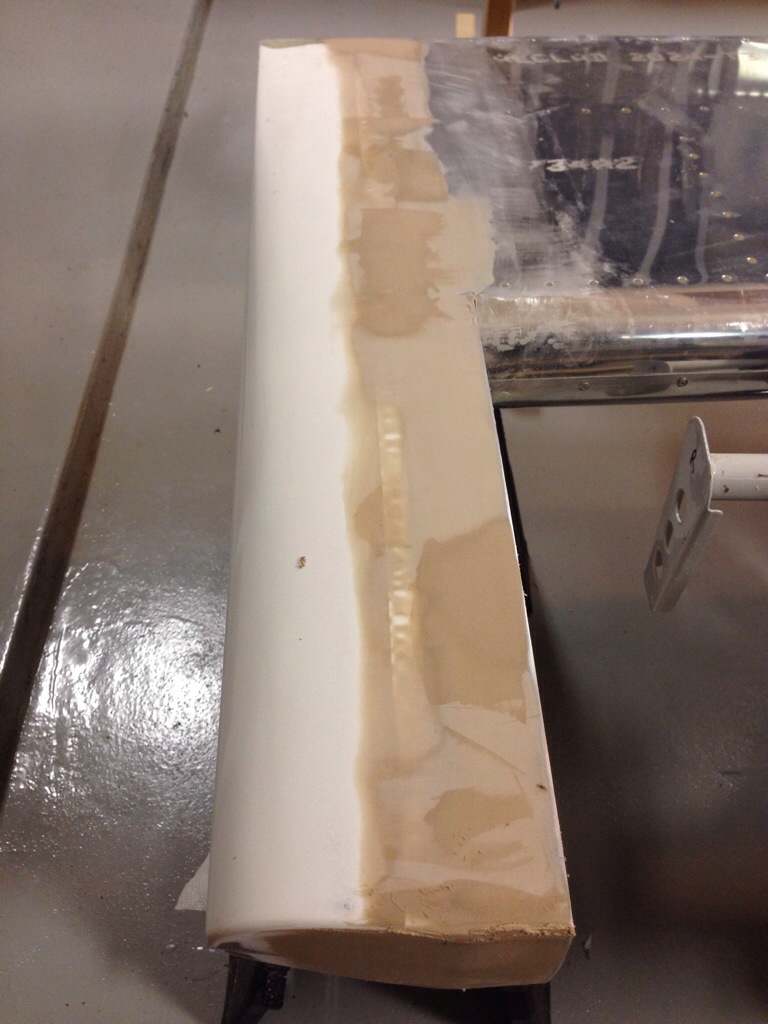
I put the second coat on a bit dryer than the first and that was good for the big spots, but also harder to get a smooth application.  For the finish coat, it’s better to have it a bit creamier so it will apply smoothly with no pinholes.  The second coat was sanded with 80 and then 220.  You can tell if you have low spots by the different color when sanding which is nice.  Never sand out a low spot.  Add to it then smooth it out.  Blow off the dust, clean with thinner, and repeat the application process.  This is the third coat and I’m pretty sure it will be enough.  The corners are still hard so I gooped it on and will sand it smooth.  I’m hoping the other side will go faster since I’ve got some experience under my belt.  I’ll finish it all with a 440 grit before doing some quick primer and reevaluating.

20140723-163618-59778462.jpg20140723-163617-59777588.jpg20140723-163621-59781023.jpg

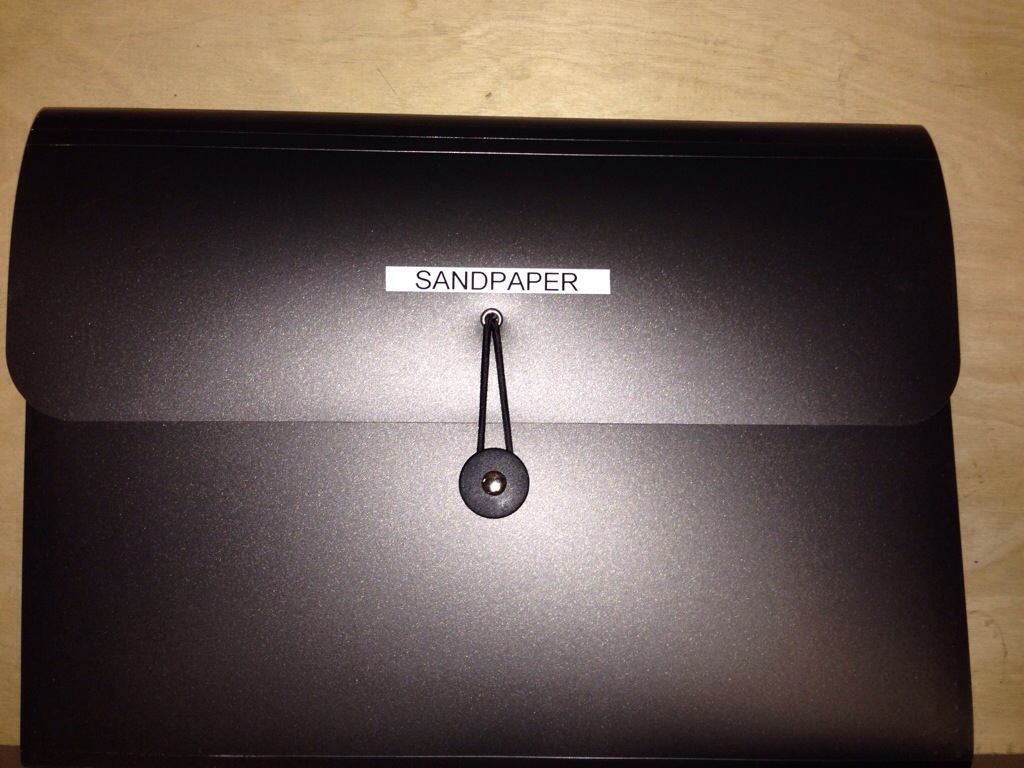
And of course, you have to have things organized.  So to keep all this sand paper (I have more than listed), I got a cheap expanding folio at Wal-Mart Aviation Supply and threw some labels on it.  This works perfect and keeps it all in one spot.

20140723-163619-59779322.jpg20140723-163620-59780179.jpg

Wow, Babe, nice rack!

Is what my wife said to me after I finished building the new wing rack.  The wing kit came with an EAA wing rack that was the carpet cradel type but I had seen others suspend the spars that kept the pieces a little higher off the ground.  I like this idea as I don’t want to be bending over any more than I have to and it will hopefully reduce the need to move the wing assemblies around.

I used other’s as a guide, but really just built on the fly for this.  2×6’s for the main uprights (cut down to 6′) and horizontal supports (14′) with 2×4’s for the wheel braces and the spar supports.  The challenge was the tip, as it doesn’t have any structure that sticks out like the spar to fuse joint.  So I came up with a solution that should work well until needing to install the tips further down the road.  There is plenty of room and structure to come up with a different way to support the tips when the time comes.

20140723-154403-56643035.jpg20140723-154400-56640482.jpg

One thing to note, if you didn’t think the spars flex, you’re wrong!  I was surprised how bouncy and sagging the spar on the right wing is without the top skin riveted to it.  The left already has the top skin on and is rock solid.  I’ll be getting the left up to speed shortly so I’m not too worried about letting it hang here for a little while.

20140723-154402-56642138.jpg

20140723-154401-56641288.jpg

Here’s a tip for you.

Fiberglass is very daunting to some while no big deal to others.  I’m in the middle.  I don’t like sanding for ever, but it’s a nice change from deburring.  The tips of the control surfaces and both wings and stabilizers all are made of fiberglass and get riveted onto the aluminum.  While the plans call for that the to the end of it, some builders will put a layer of glass over the joint to seal the gap, improve aerodynamics, and improve the look.  Since I have plenty of time, I decided to do the same.

First step is to test fit the pieces and notch out around the trailing edge.  I also needed to cut a bit off the flange so it would fit flush under the skin.  Overall, these are formed pretty terribly next to the aluminum but they are old and I’ve heard Van’s molds are better now in newer kits.

20140717-163106-59466163.jpg

After fitting, I drilled and countersunk the fiberglass while dimpling the aluminum to take the pop rivets.  This was pretty straight forward and the only exception I will make is to put nut plates and screws on the bottom rudder fairing so I can access the nav light.

20140717-163105-59465736.jpg

The first step in glass thing joints is scuff the area with 80 grit sand paper so the resin has a bit more bite surface to it.  I then mixed up the West Epoxy system with the slow hardener and painted on a thin coat.  I used a 1″ glass strip cut to size and laid it on the wet epoxy.  Others have done more than one layer, but I plan on sticking with just one.  Make sure that all the fabric gets soaked and minimize the excess then just let it sit.  I did apply a bigger piece on the leading edge of the rudder tip since it was formed shorter than the aluminum structures.  I’ll layer one or two more times to build up the difference then fill this with micro and create a nice smooth surface.

20140717-163106-59466983.jpg

The trailing edge cut required a bit of sanding down to match the profile of the elevator.  I used my belt sander which worked really well as long as I was careful to watch the shape and amount taken off.

20140717-163106-59466572.jpg

This is the final result of the first glass laid on the project.  I’m pretty happy with it.  Next step will be some sanding and then a layer of micro to smooth it all out.  Sand and repeat, I’m sure.

20140717-163107-59467415.jpg

Hang in there…

We took this evening to install the eye bolts and ratchet straps to hang the tail cone from the ceiling. I had a couple of different options on where to put it, and I’m glad this worked out as it keeps it high, safe, and out of the way of the lights. My wife was able to help me lift it up and we secured it with the straps. Pretty simple and now I have even more airplane parts hanging from the ceiling!

I also cleaned up the garage a bit and got organized for the next project of installing and prepping the empennage fiberglass tips. Time to get dusty. 20140708-234434-85474641.jpg

20140708-234433-85473947.jpg

She’s getting pretty damned good at this.

We had a date this morning in the garage to rivet the top skin on the tail cone. Lucky that it was only in the seventies not the nineties so very good working conditions! I emptied our linen closet and all the guest beds of pillows and blankets to build a fort inside the airplane. This was needed to protect the bulkheads that are about three inches tall as well as the rudder cable bracket which sticks about six inches right in the middle of your back! All things considered, it was quite comfortable and worked very well.
20140705-233048-84648659.jpg
I crawled inside and got the headlight, ear muffs, and bucking bar ready while Laura did the majority of the work from outside. I wrapped the bucking bar with duct tape which did a great job of protecting the new primer and preventing scratches. Laura has a great touch with the rivet gun and has very consistent trigger pulls which makes bucking rivets go very quickly. We breezed through the project in about two hours without having to drill out a single rivet. I did have one hole that had to have an oops rivet installed since it was drilled out too big.

20140705-233236-84756054.jpg

20140705-233320-84800884.jpg
I installed the nut plates for the fairing and bolted on the seat belt brackets and temporarily installed the completed battery tray. I plan to go back and mark all the bolts with paint that I’ve torqued with the new torque wrench, as a few bolts are not final set since they will have to come out in later steps.

20140705-233406-84846610.jpg
This is as far as we go with the tail cone now, as I won’t be attaching the stabilizers until much later in the build for storage reasons. The tail cone will get tapped up to help keep bugs out and then hung from the ceiling in the garage to keep it safe and out of the way. Next project will be some fiberglass work on all the stabilizer and control surface tips.

Stop! I changed my mind….

About priming! Over the past few weeks of inactivity I’ve been rethinking the issue of priming and decided there is really no reason not to do it. It was either now or never for the tail cone (some would say too late) so I went ahead and started shaking up rattle cans. It took about fifteen minutes to drill out the few rivets that I had put in the top skin and remove it. Moving the cone outside, I was able to get in pretty much everywhere to put a light coat of primer on all exposed surfaces. I also sprayed the top skin interior, j channels, and a few odds and ends that will be bolted on. 20140705-230819-83299875.jpg

Really showing some skin

No updates in a while, so this will be a big one.  I finished up the left side skin following the usual procedure of removing the film, scuffing and priming as needed, deburring, and dimpling.

20140701-154812-56892695.jpg20140701-154814-56894455.jpg

My wife came out to help on this skin with her first attempts at riveting on the actual project.  I’m happy to say that women are just as good at building as they are at flying the first time!  She was a natural and after some practice, we got a good rhythm going.  She’s much more comfortable behind the gun, which works well as I can control the bucking bar and shop head of the rivets.

20140701-154815-56895346.jpg20140701-154816-56896172.jpg

I moved on to the aft tail deck and got the structure all put together.  This really stiffened up the cone and I’m happy that I only had to drill out one rivet despite some really interesting poses to get the bucking bar inside the frame!

20140701-154817-56897007.jpg

The systems side of me kicked in and I couldn’t resist holding out on putting my static ports in which had been sitting on the “accessory” shelf for a while now.  I drilled out the prepunched hole to accept the ports and marked for flush rivets.  What I didn’t do in my excitement was to create a doubler plate for the interior of the skin.  So, the end result will not be the final result.  I’m unhappy with the look and the lack of contact between the skin and back side of the port.  I plan on picking up a Safe Air static kit at Osh Kosh and will replace these later on.

20140701-154817-56897869.jpg

The top skin interior proved to be a test of my patience with removing blue film.  I think it was too thinly applied and would not come off in pieces any bigger than a sliver.  I’ve heard of others having this issue but was fortunate up to this point in not coming across this incredible frustrating set back.  So a ten minute job turned into an hour and some sore fingernails.

20140701-154818-56898750.jpg

Alas, it did come clean and I scuffed, primed, deburred, and dimpled as normal.  I set about riveting as much as I could solo and quickly found it’s not worth trying much without my beautiful assistant.  So, we are planning a riveting party (get it?) over the July 4th weekend.  I’ll be piling a bunch of blankets inside the frame and see how contorted I can get my body as she sits outside with the gun.

20140701-154819-56899706.jpg

A couple of follow up notes, I fixed the buggered rivet in the right side skin/bulkhead/j channel with a larger rivet after the 1/8″ die came from ACS.  Worked like a charm and makes me feel better to sleep at night.  I also have a torque wrench coming for the AN hardware that is currently installed finger tight on the frame.  Finally, here is a picture of the greatest thing to save my wrist since sliced bread:  an electric deburr tool.  I ordered an extra deburring bit from Avery Tool and cut the hex side down a bit.  This spins slowly, which is perfect for hitting the holes without taking too much material off.

20140701-154813-56893566.jpg