Hold the door, Hodor

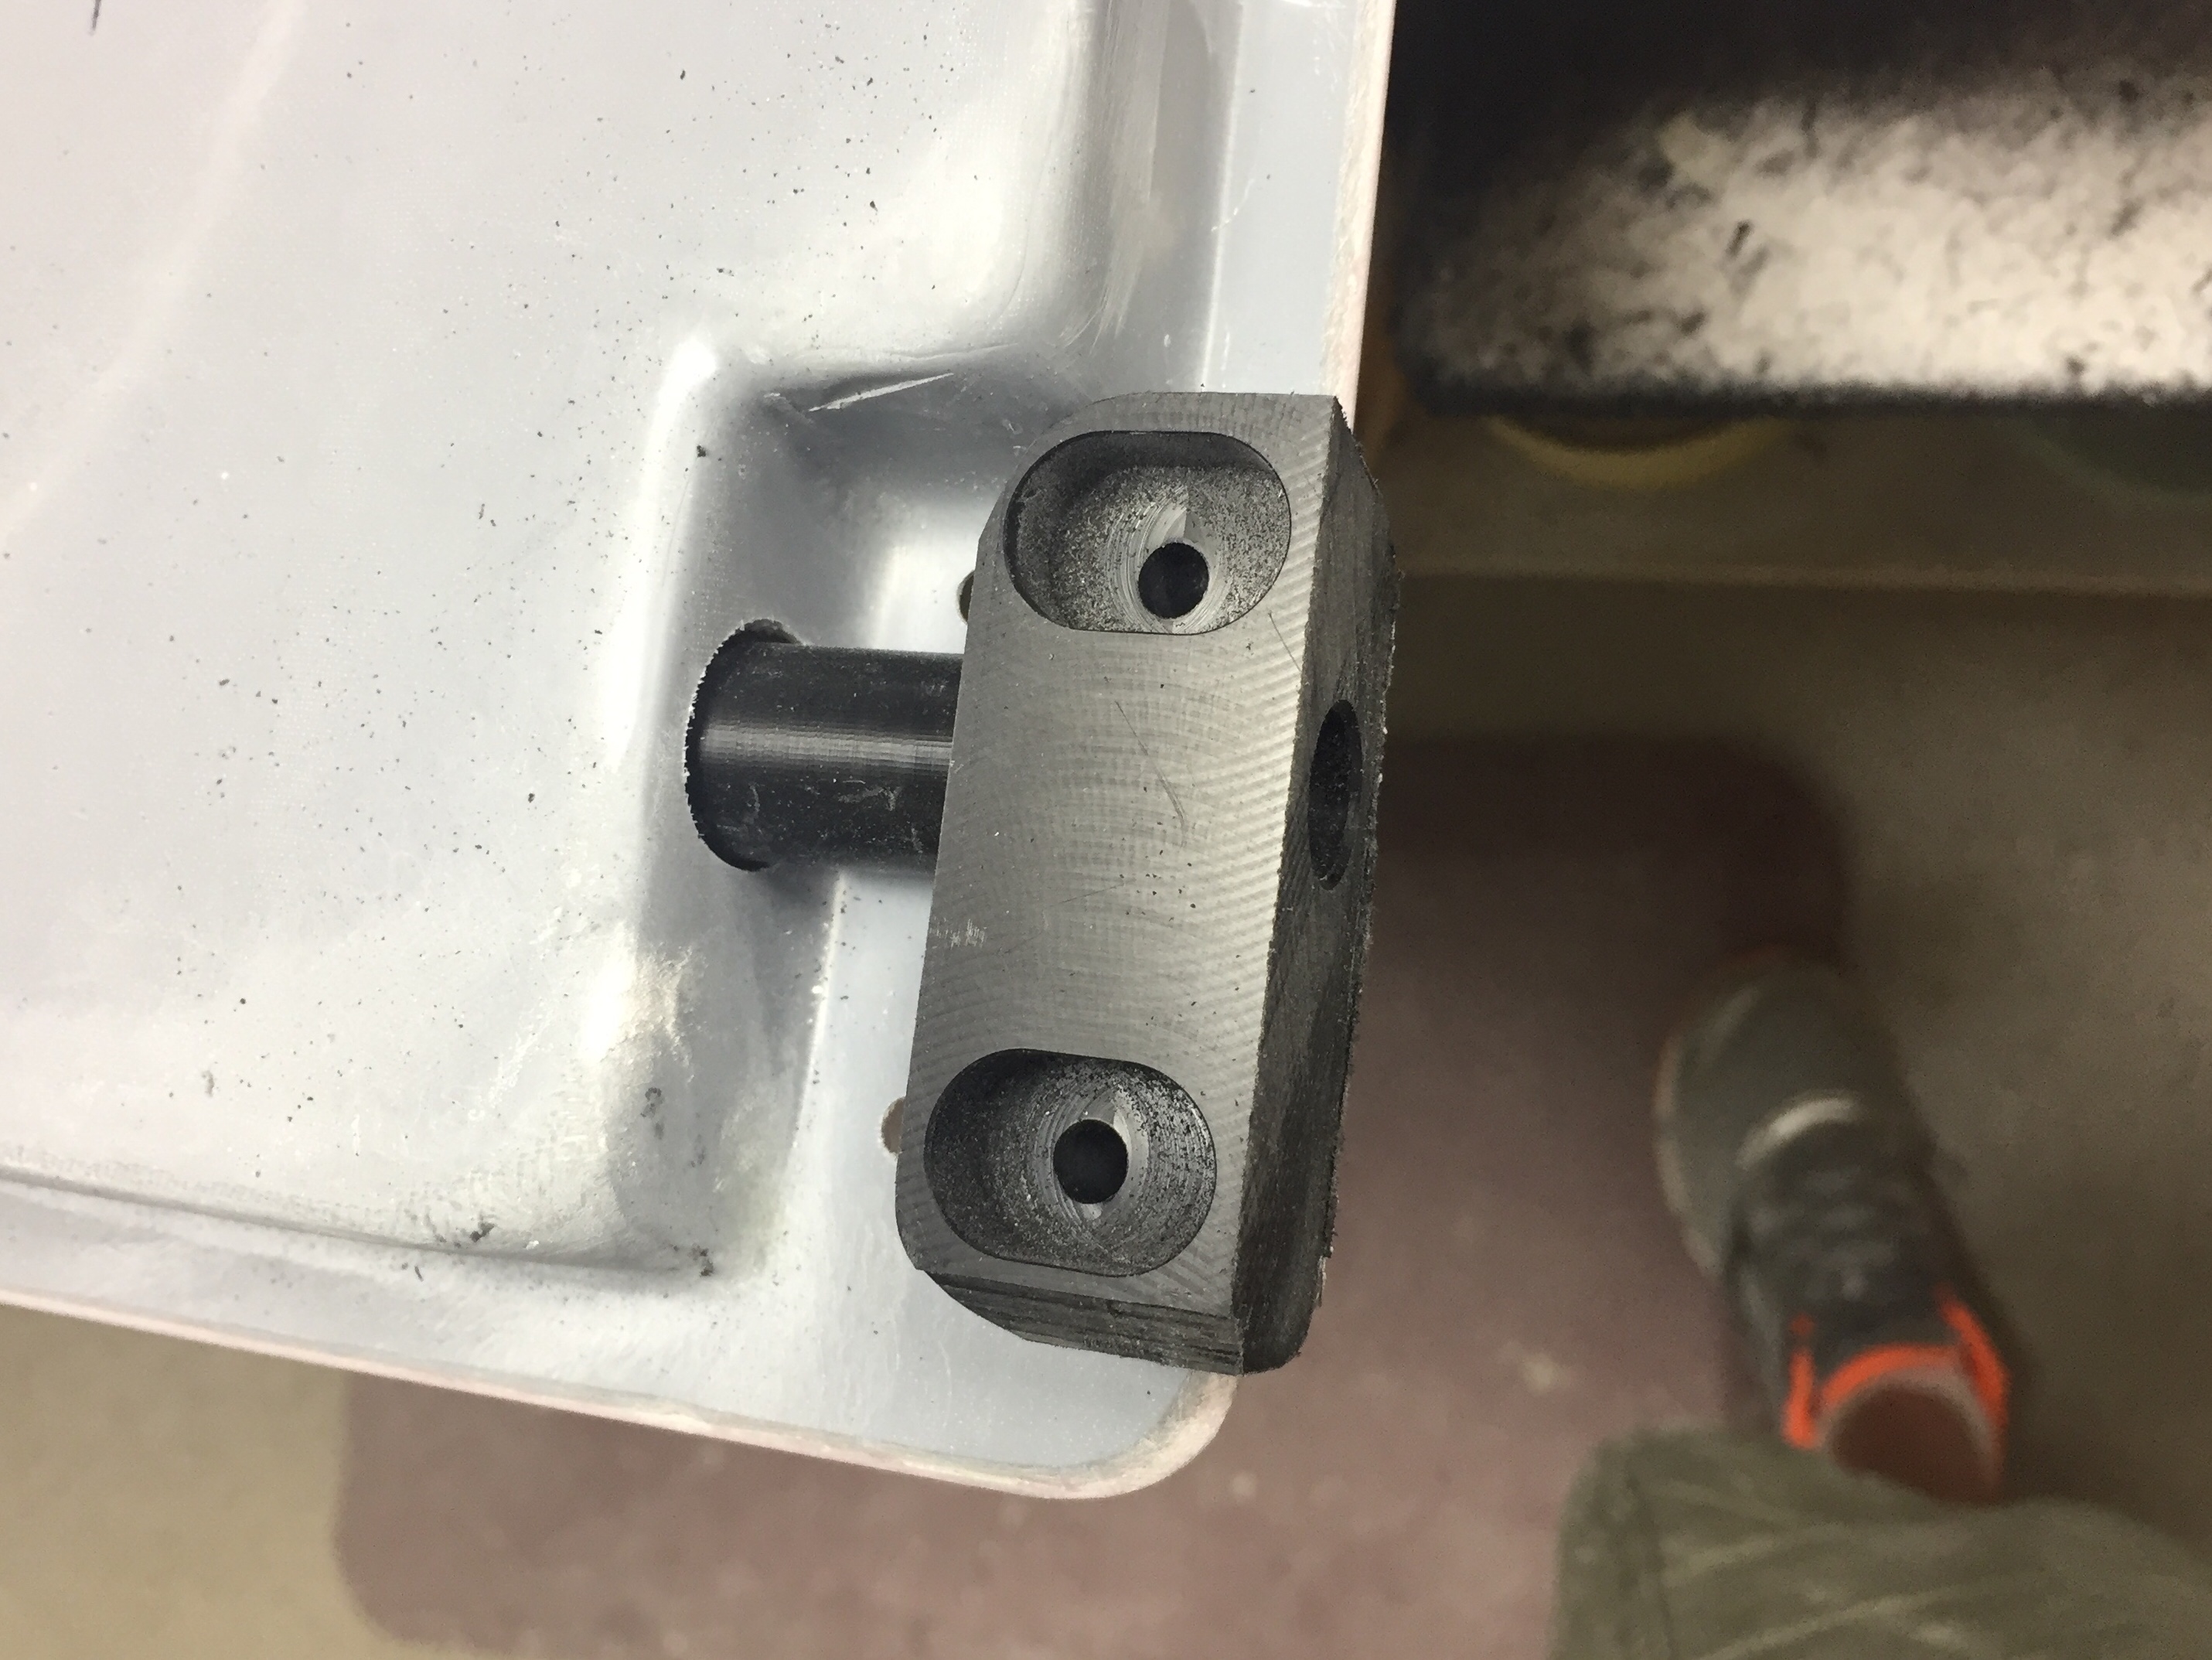
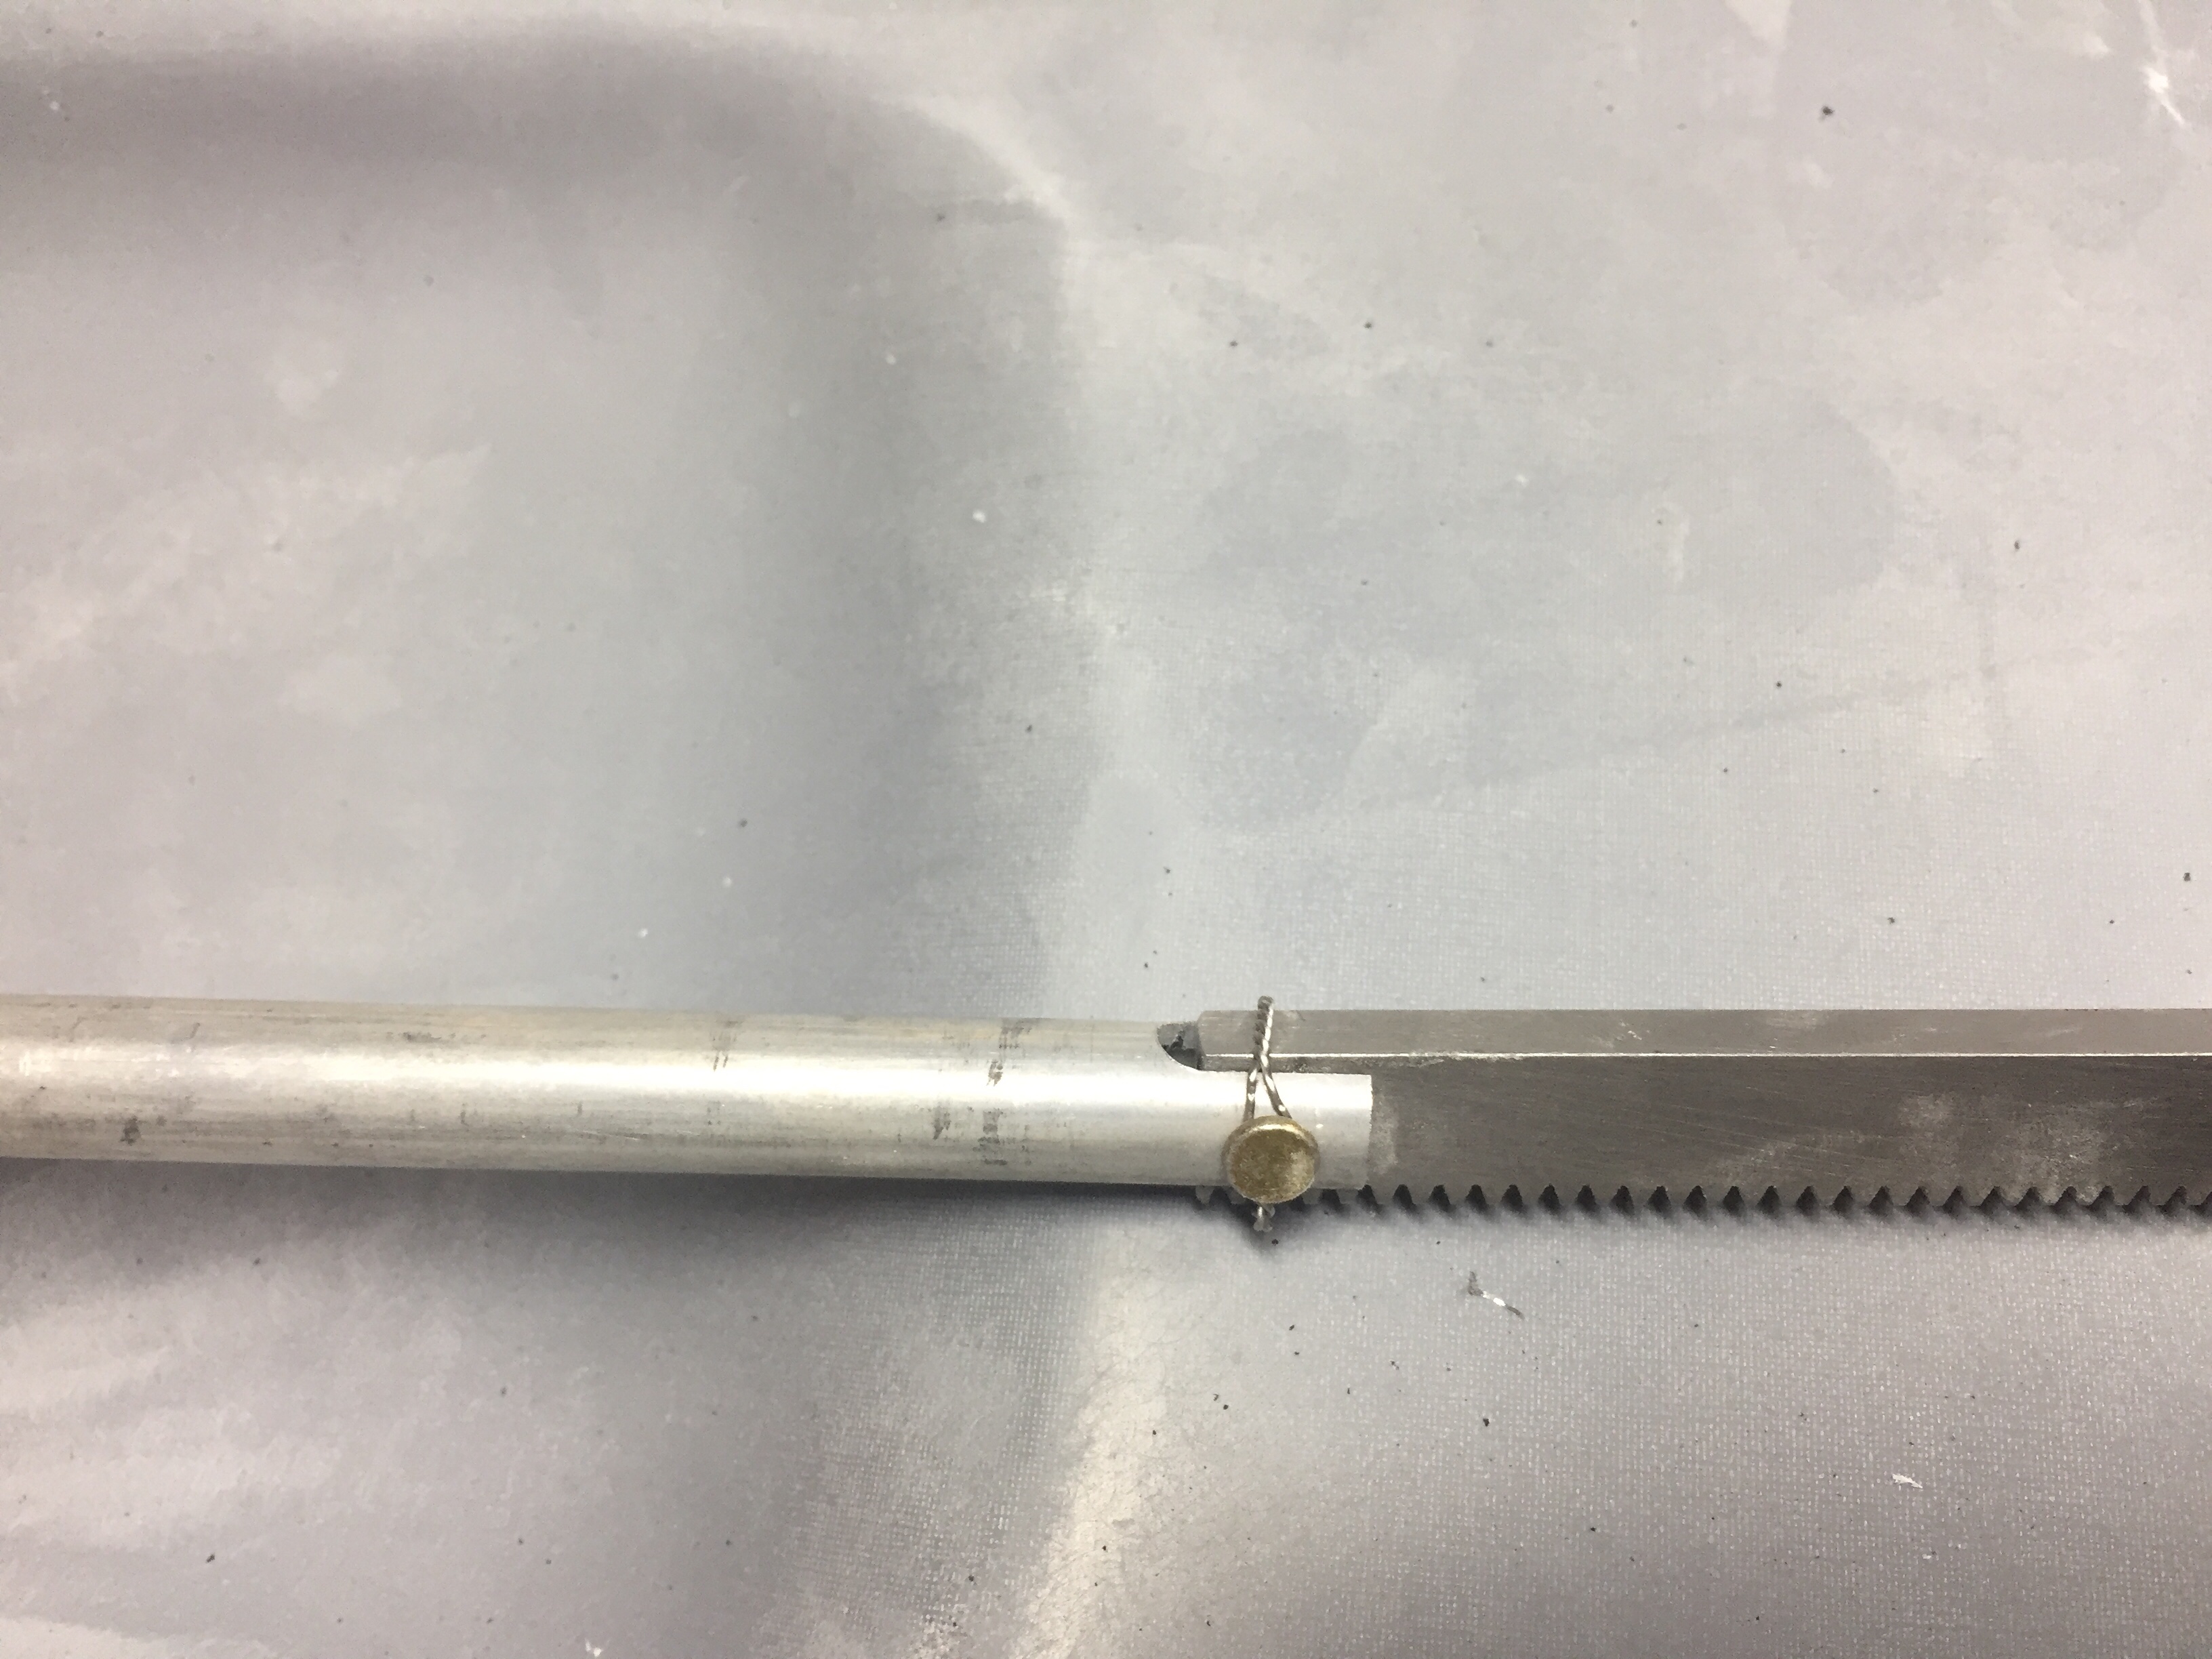
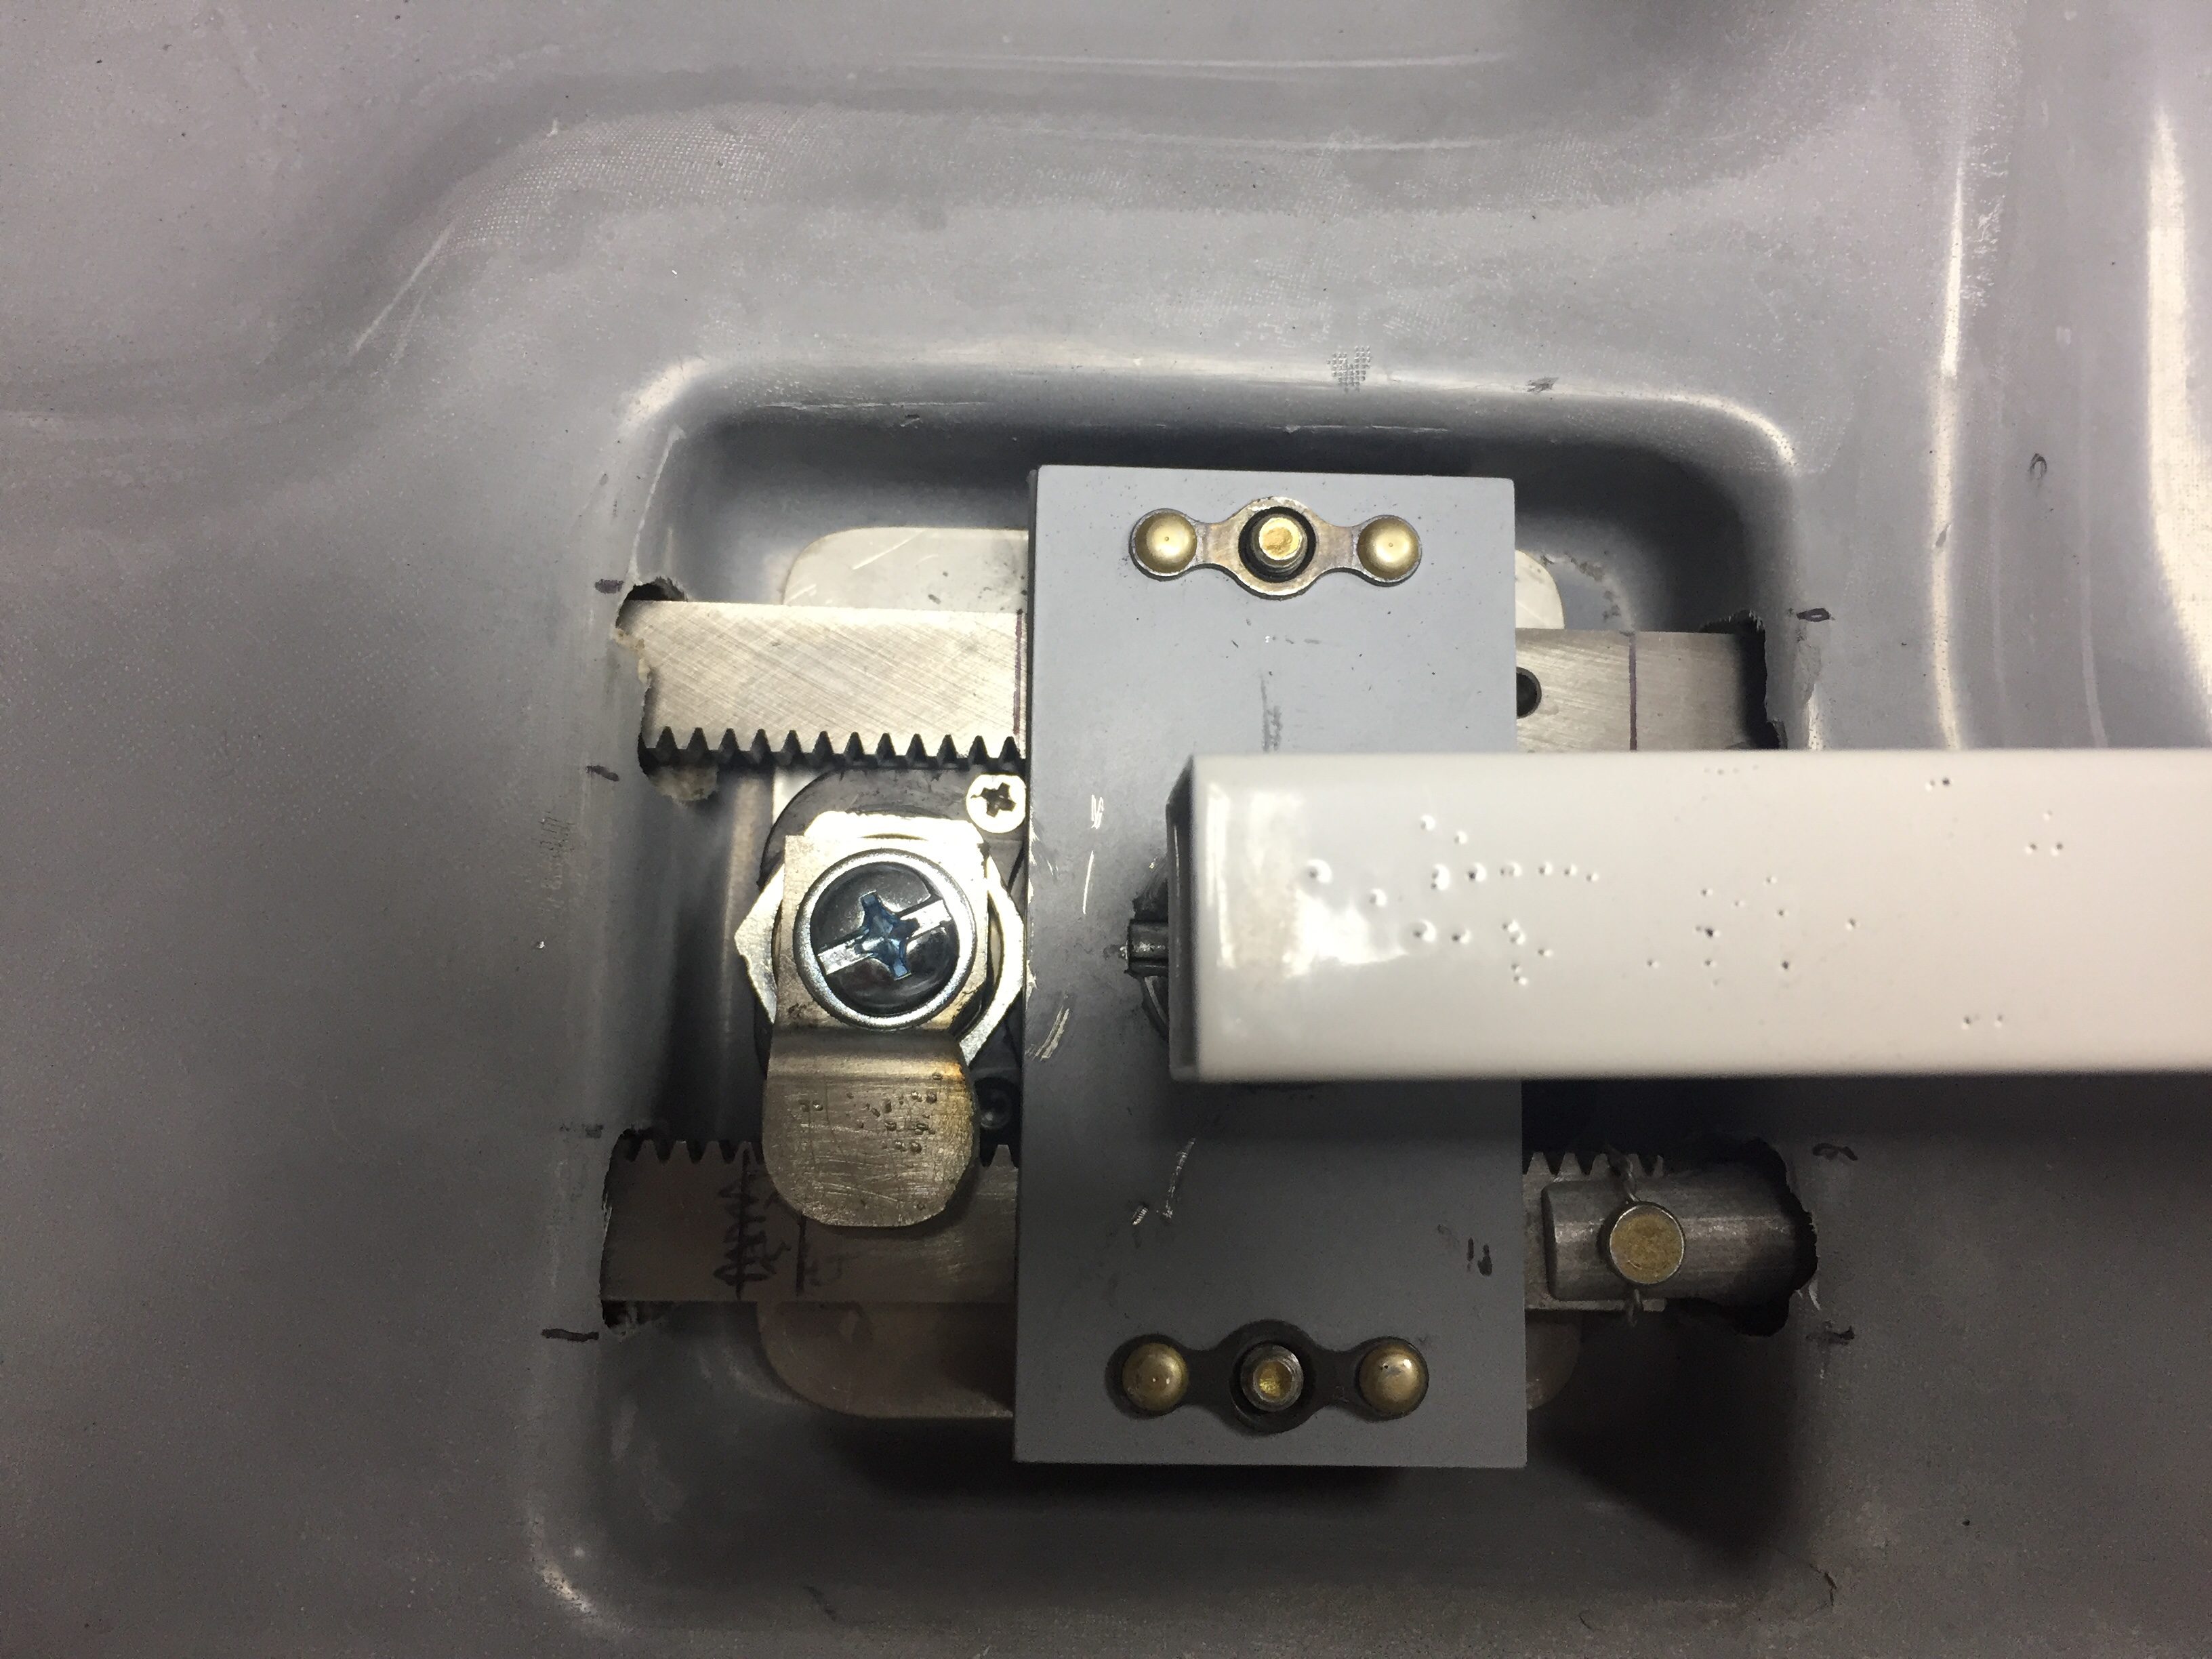
Any big cut or drilling job comes with some anxiety and the door pin hole is no exception.  Now that the door handles and pins are all installed and working like a fine oiled machine, they need a home to rest in.  I removed the magnetic tipped pin inserts and used two ground down bolts threaded into the rods to locate the exact spot to drill into the door frame and fuselage bulkheads.   This worked really well as I was able to position the door flush with the fuselage and locate the drill placement without worrying about future misalignments.
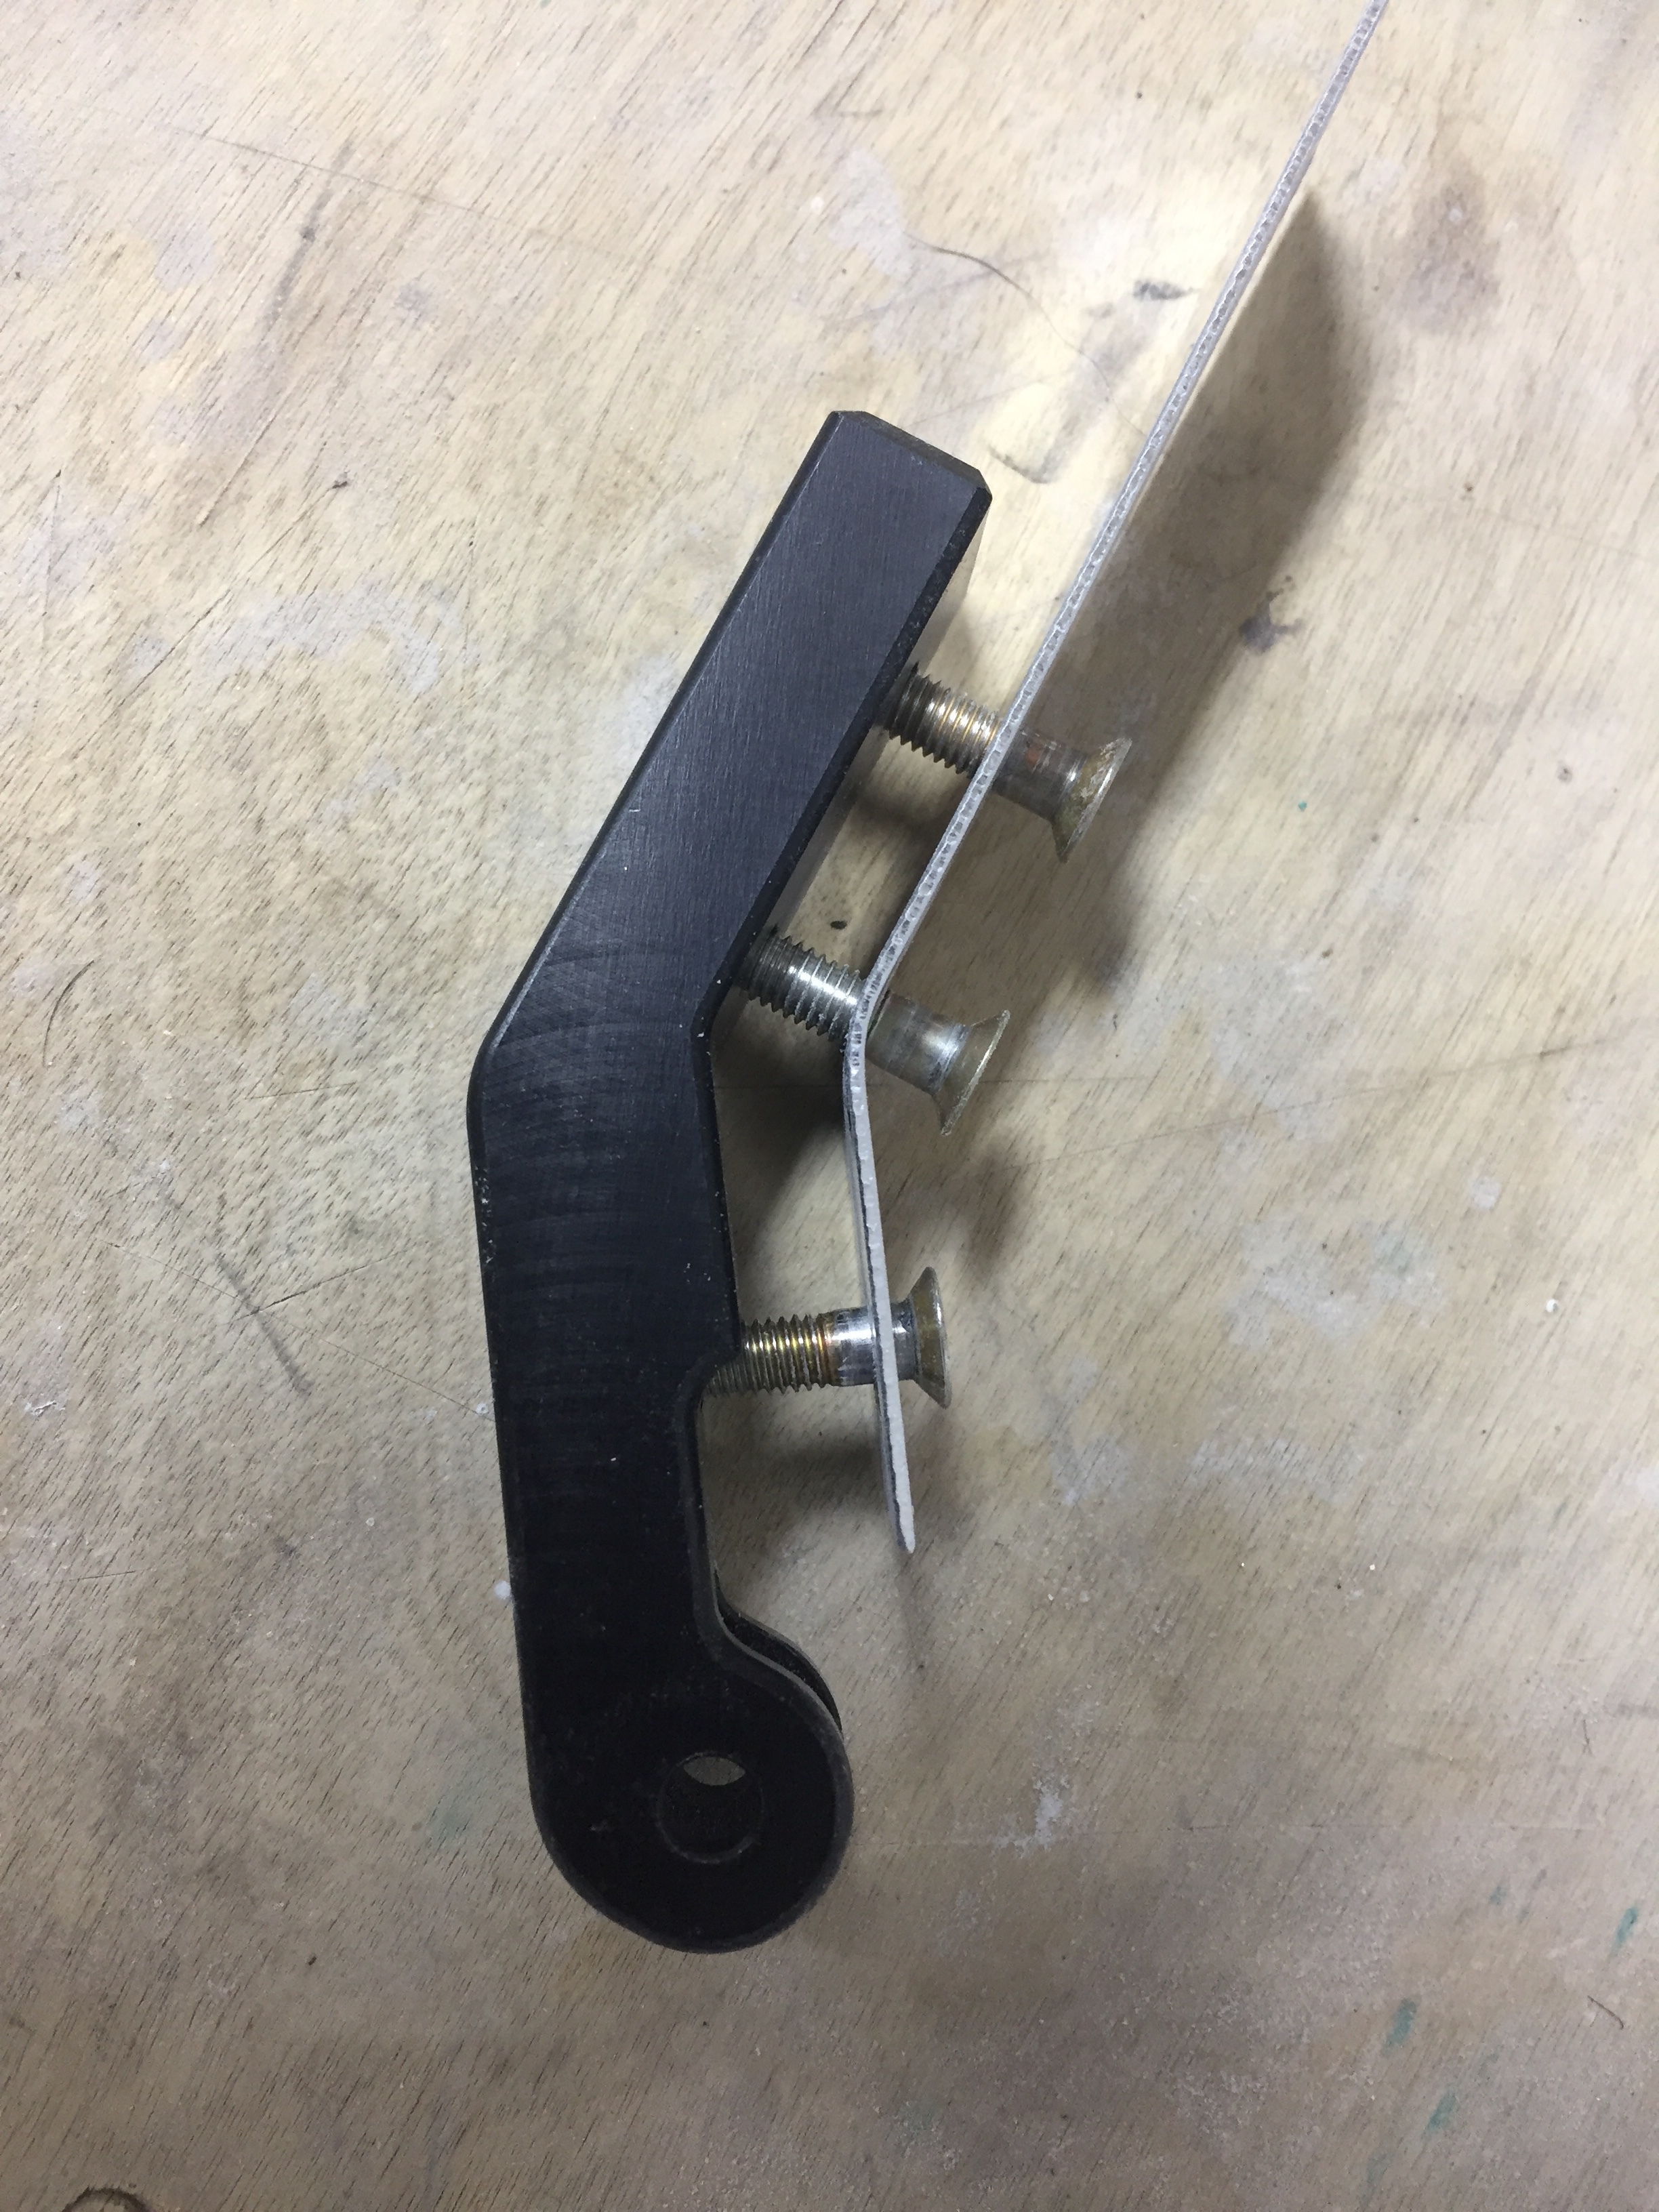
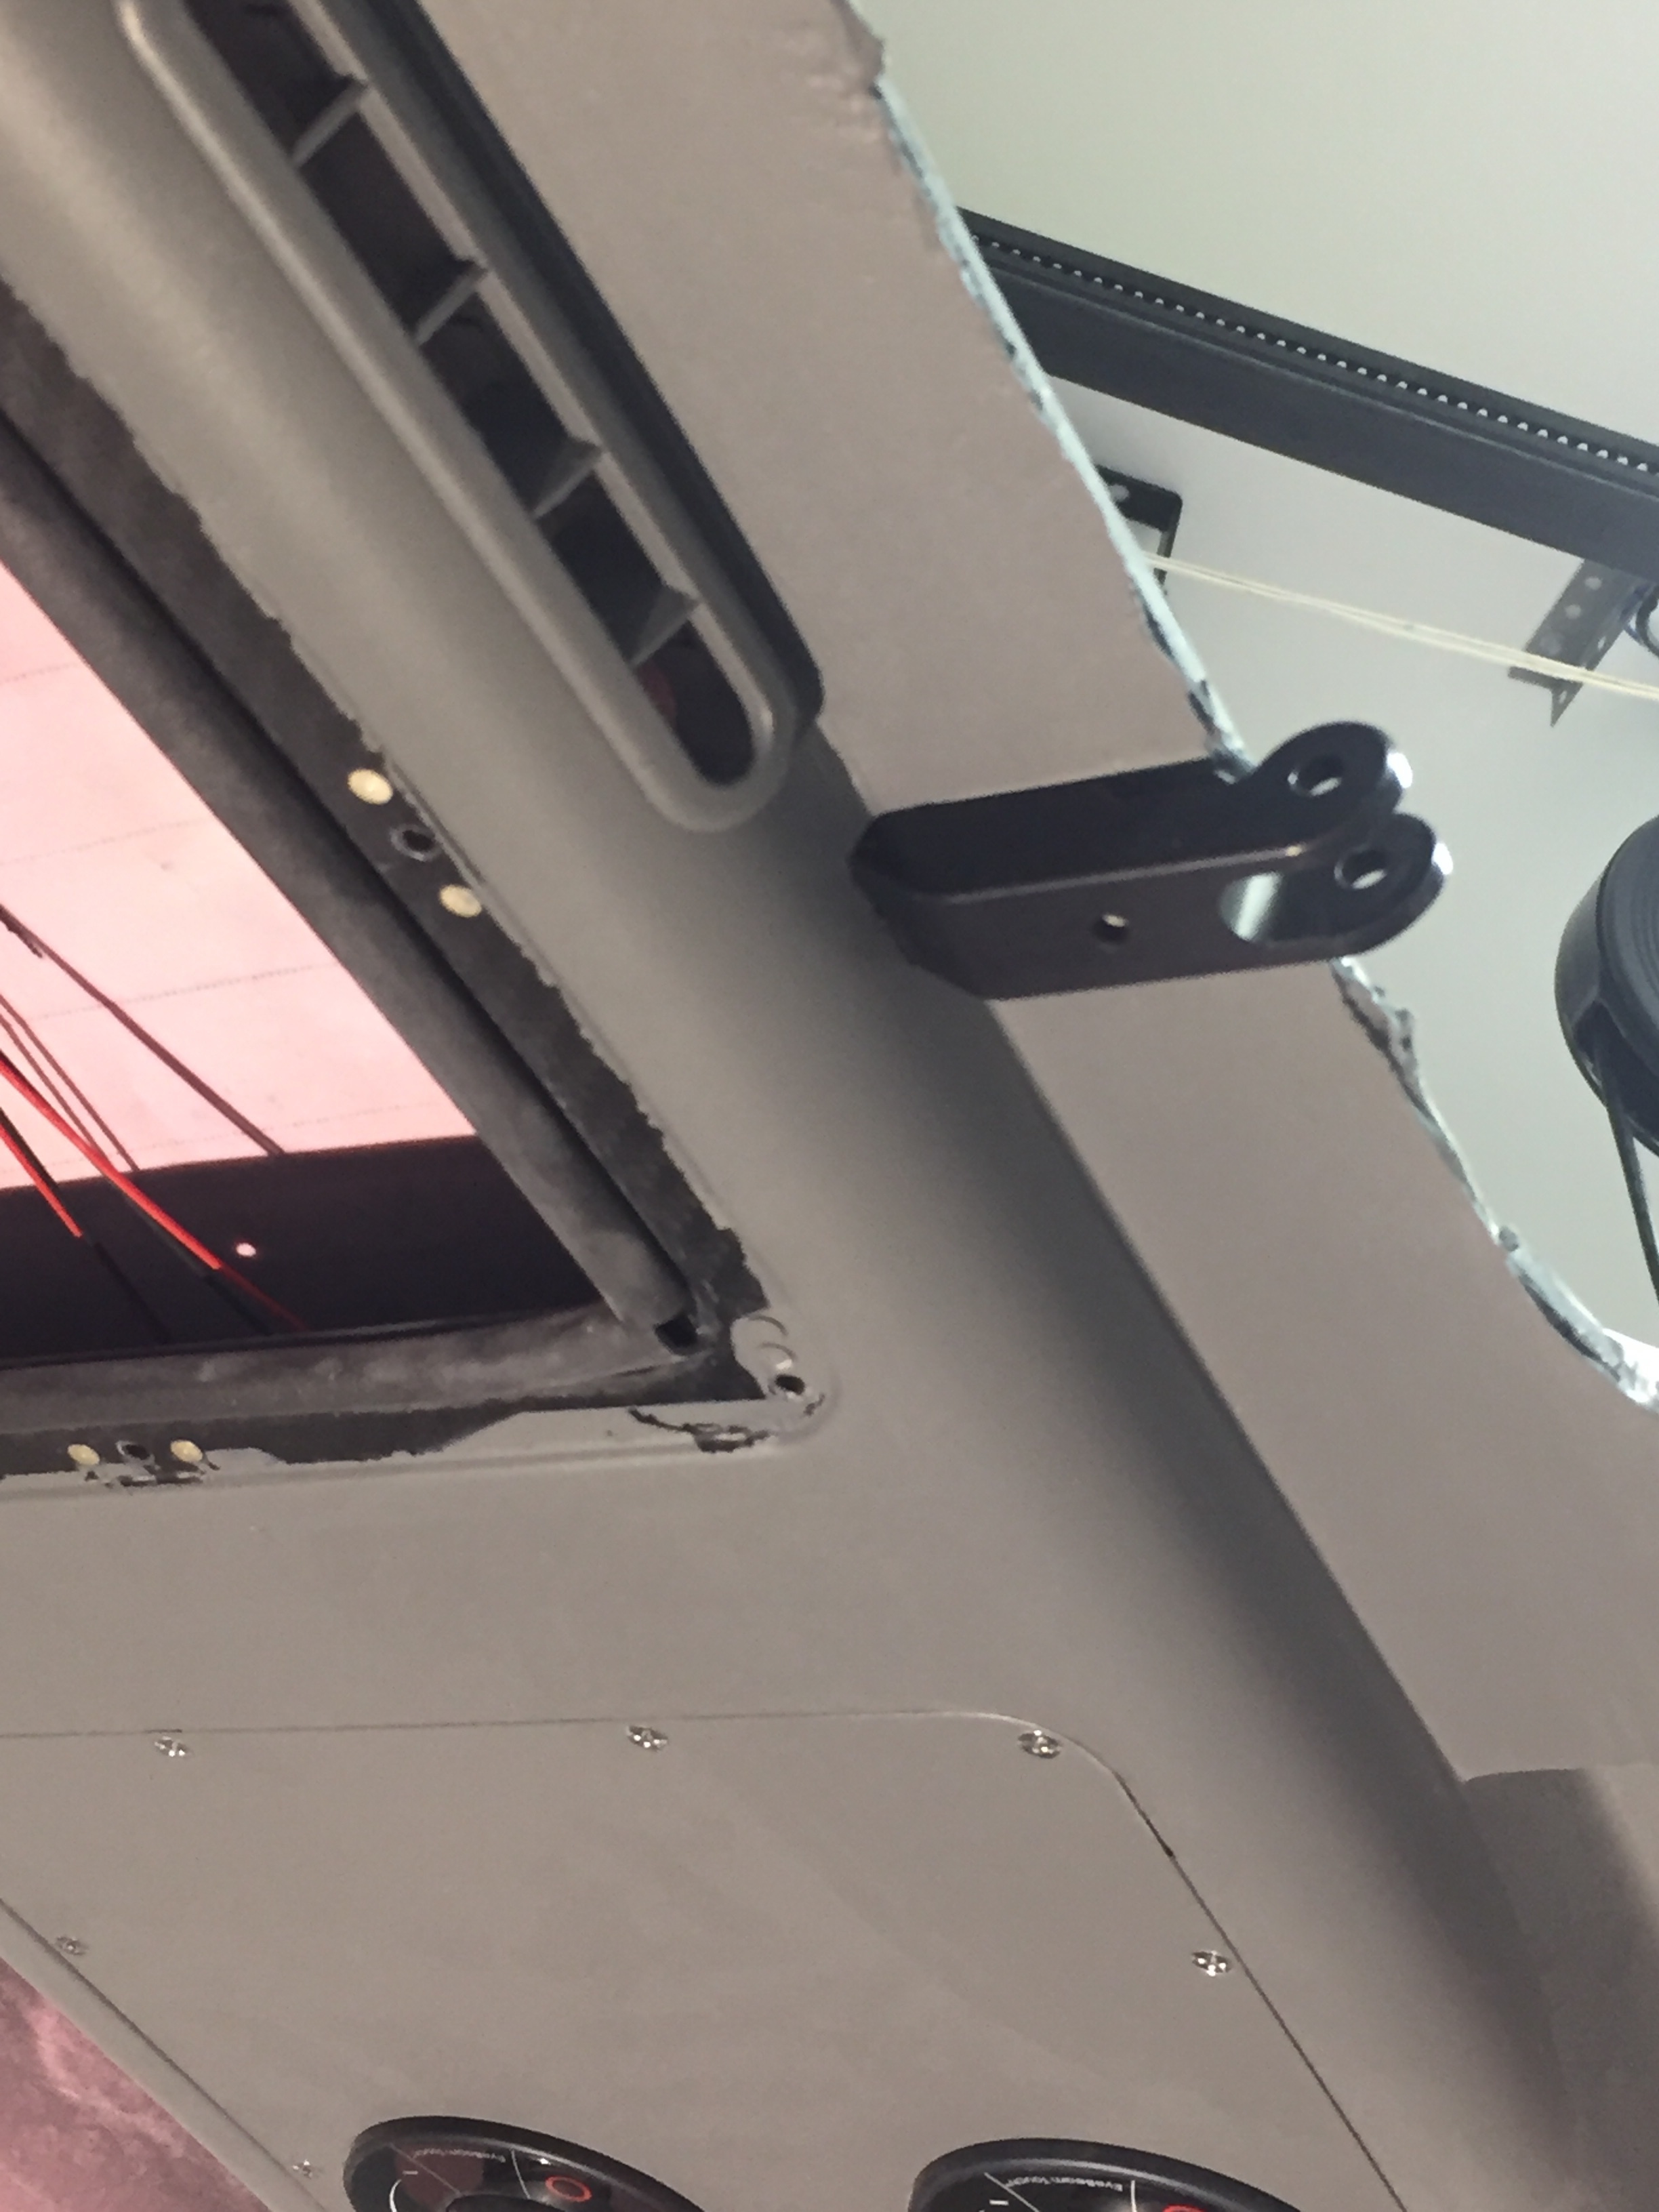
I have some fancy aluminum pin guide/blocks from IFlyRV10 that go along with the magnetic pin inserts.  These help guide the pins in and just make closing the door that much easier and smoother in coordination with the PlaneAround center cam.  I polished the holes with some light sandpaper to get a smooth action and am really stoked to say all four holes are in the perfect position the first time!
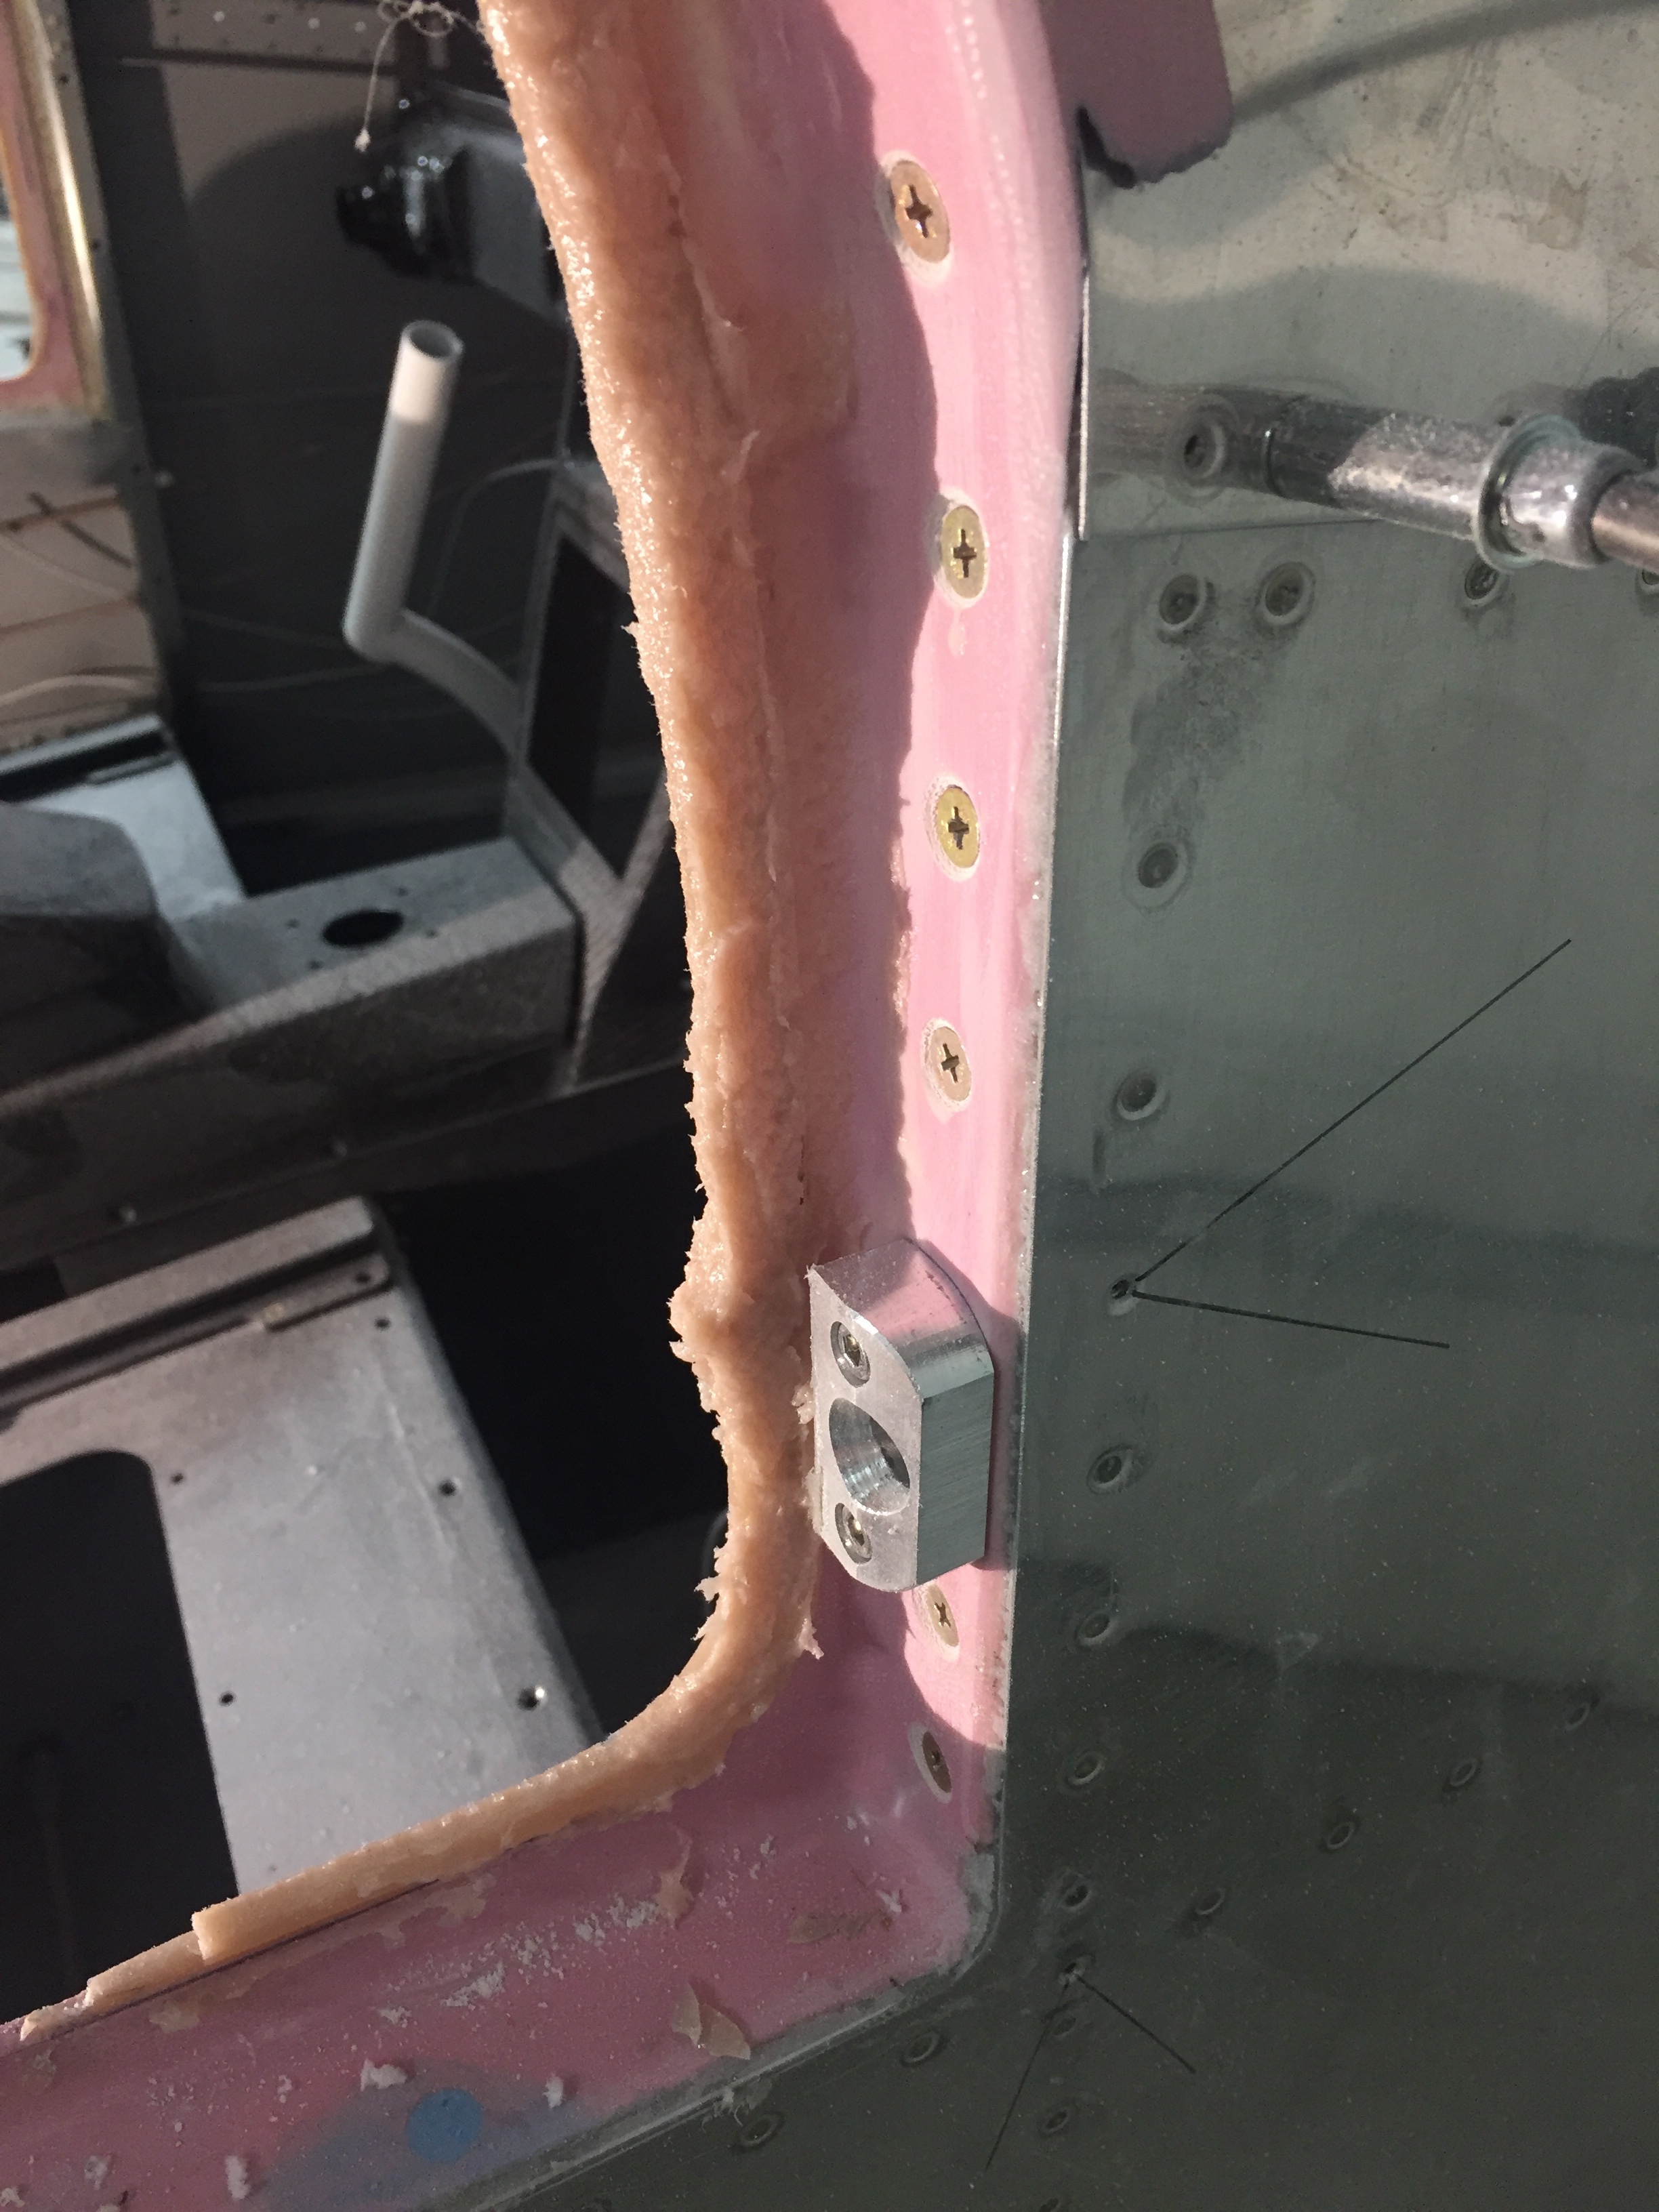
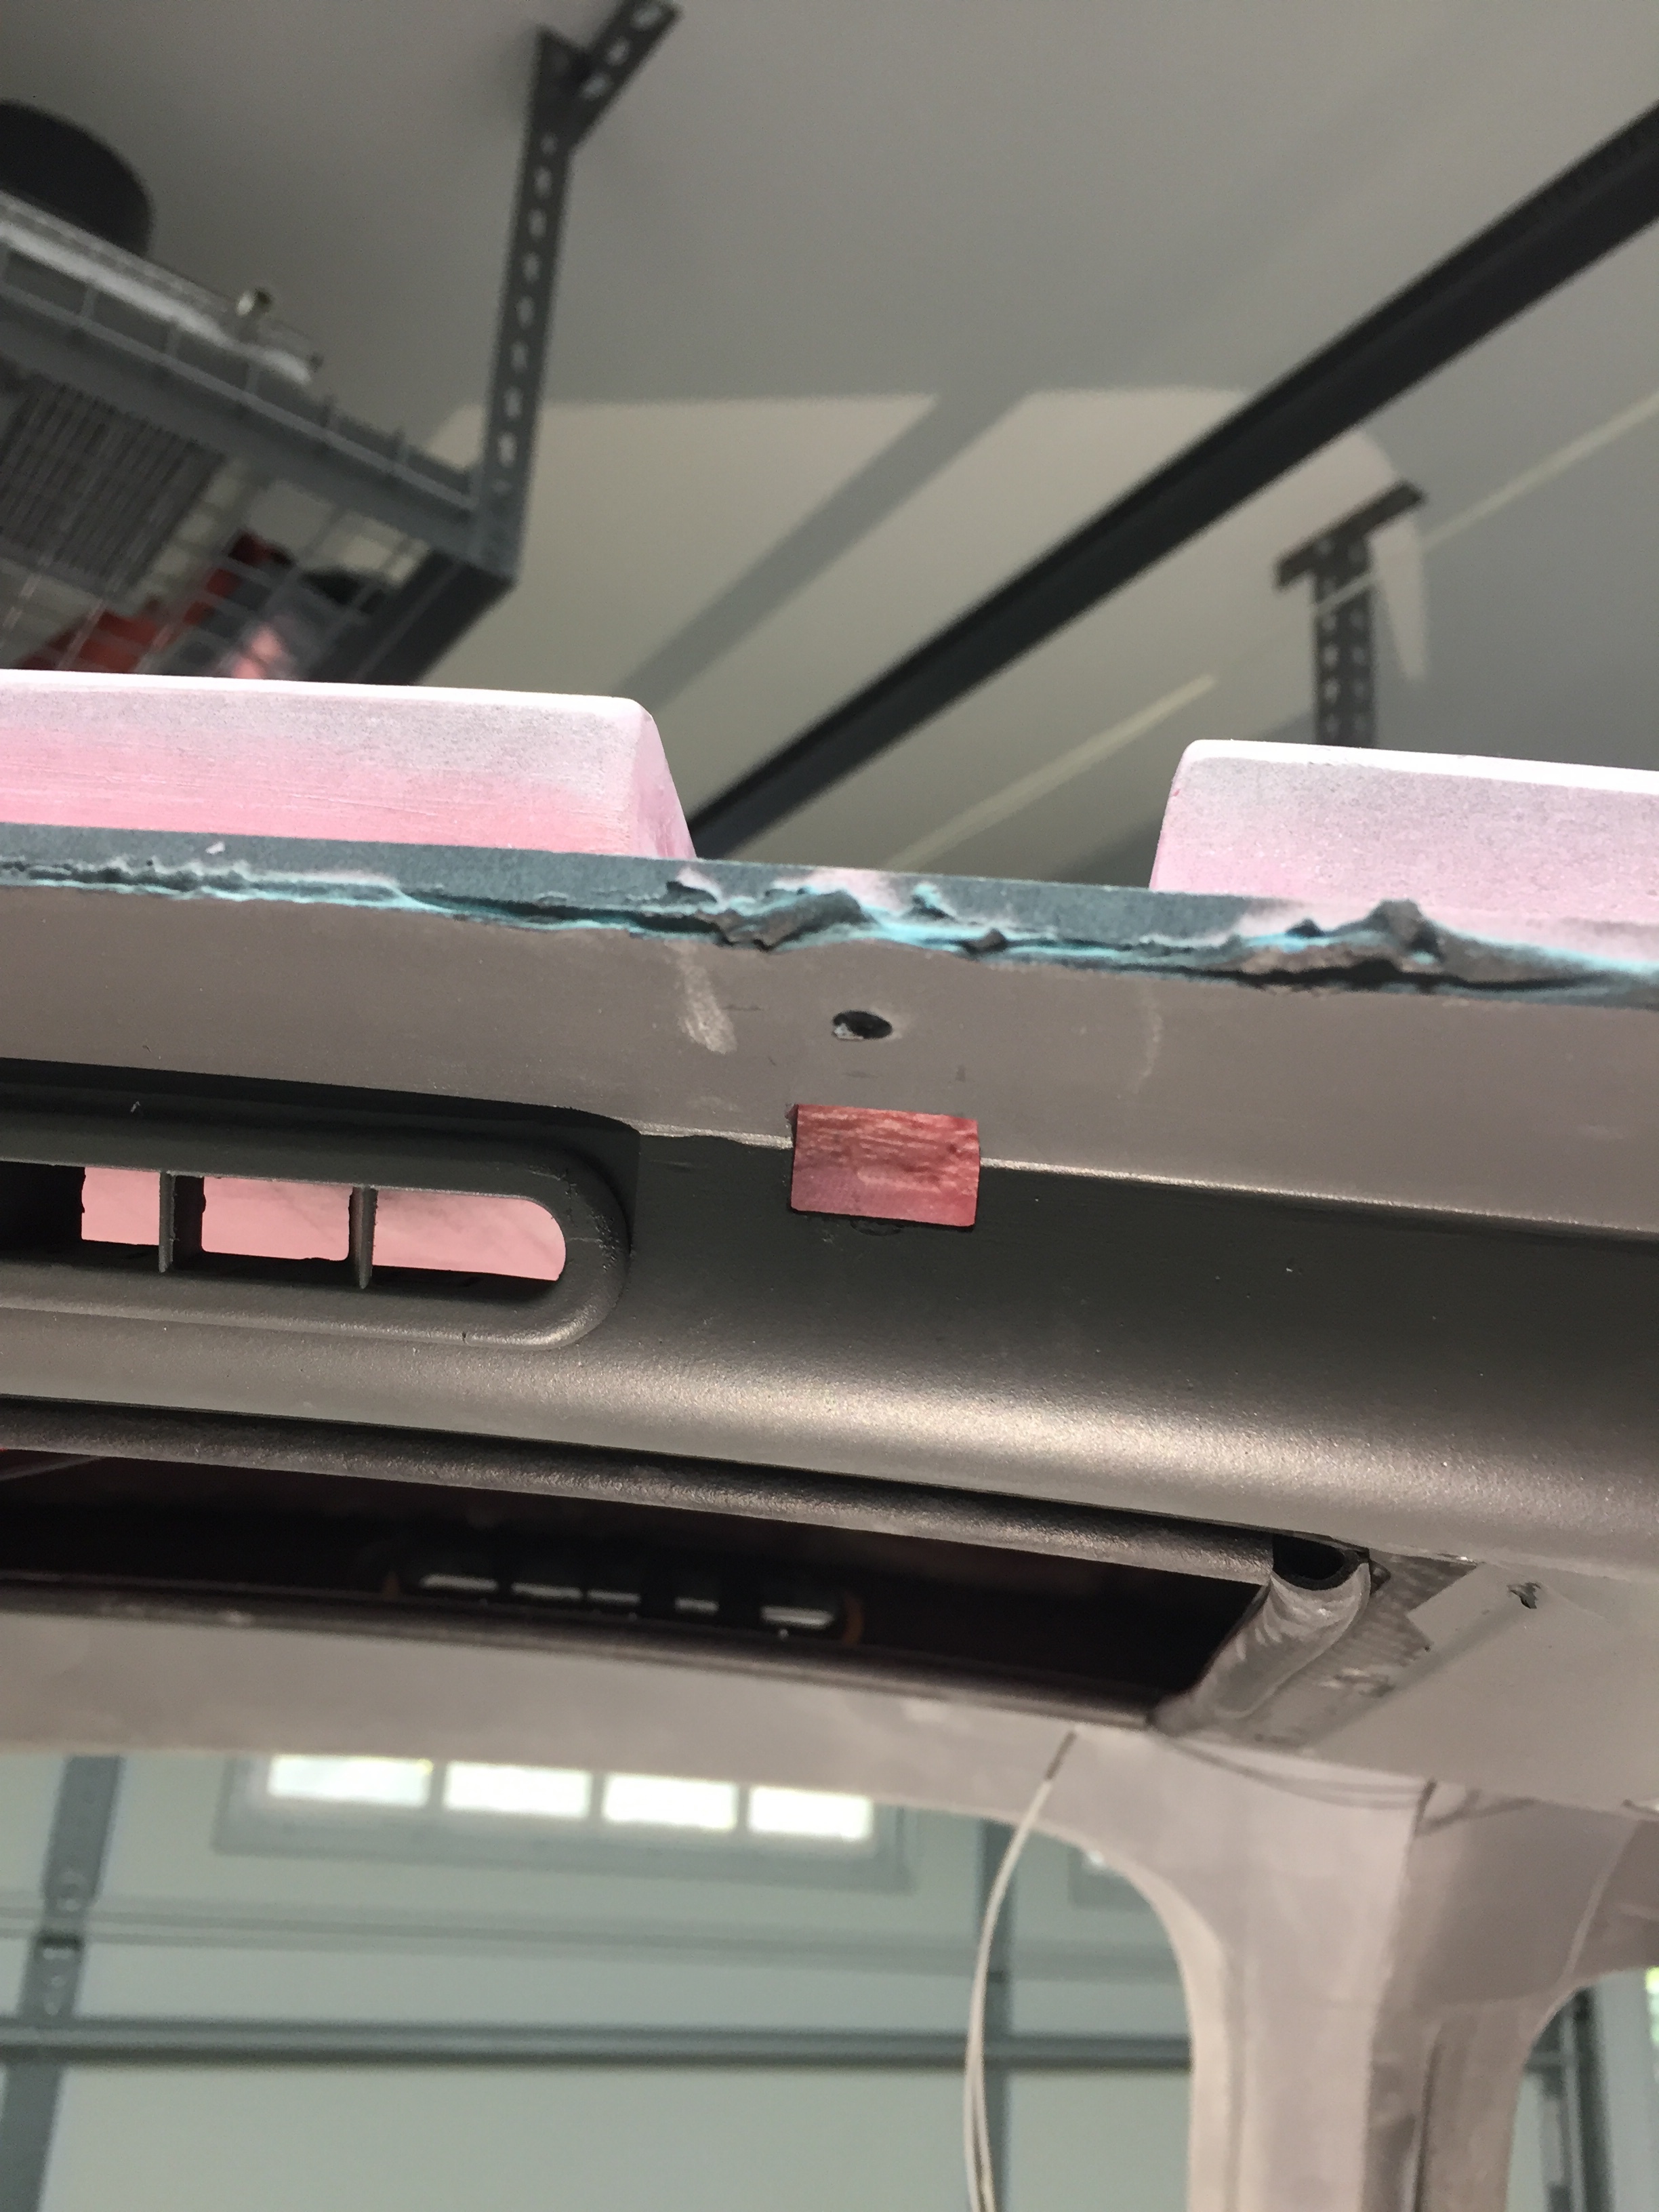
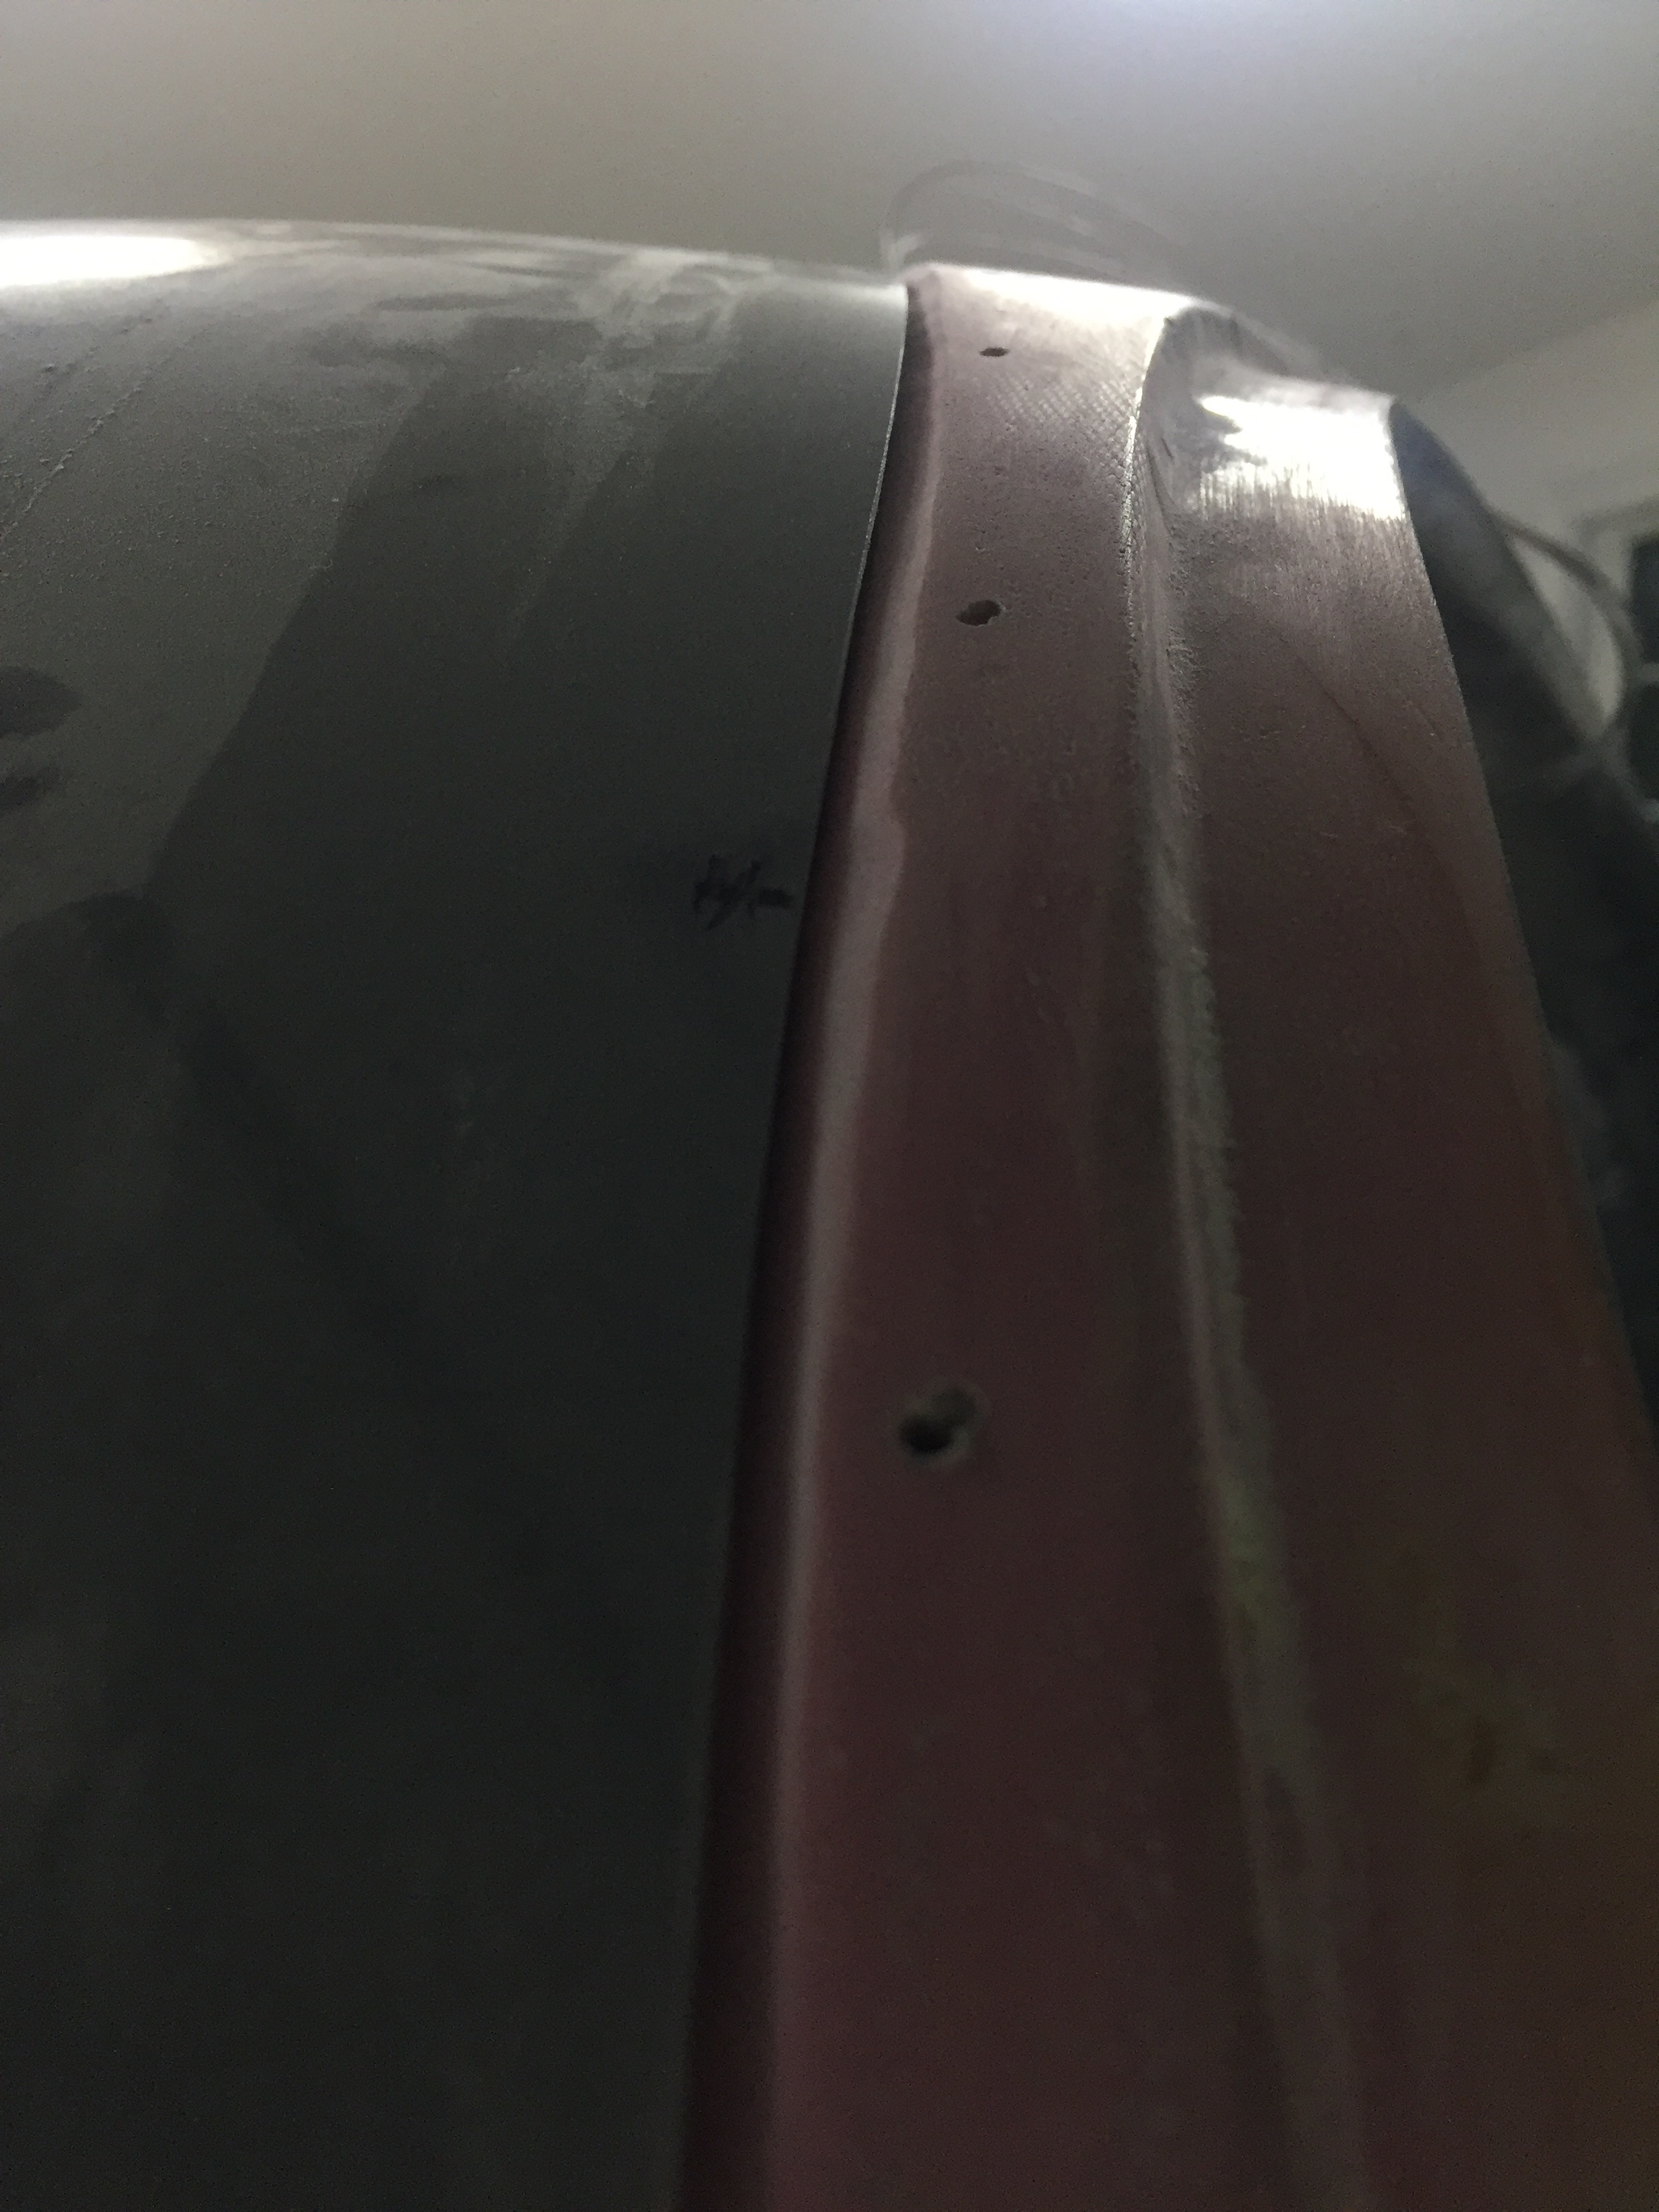
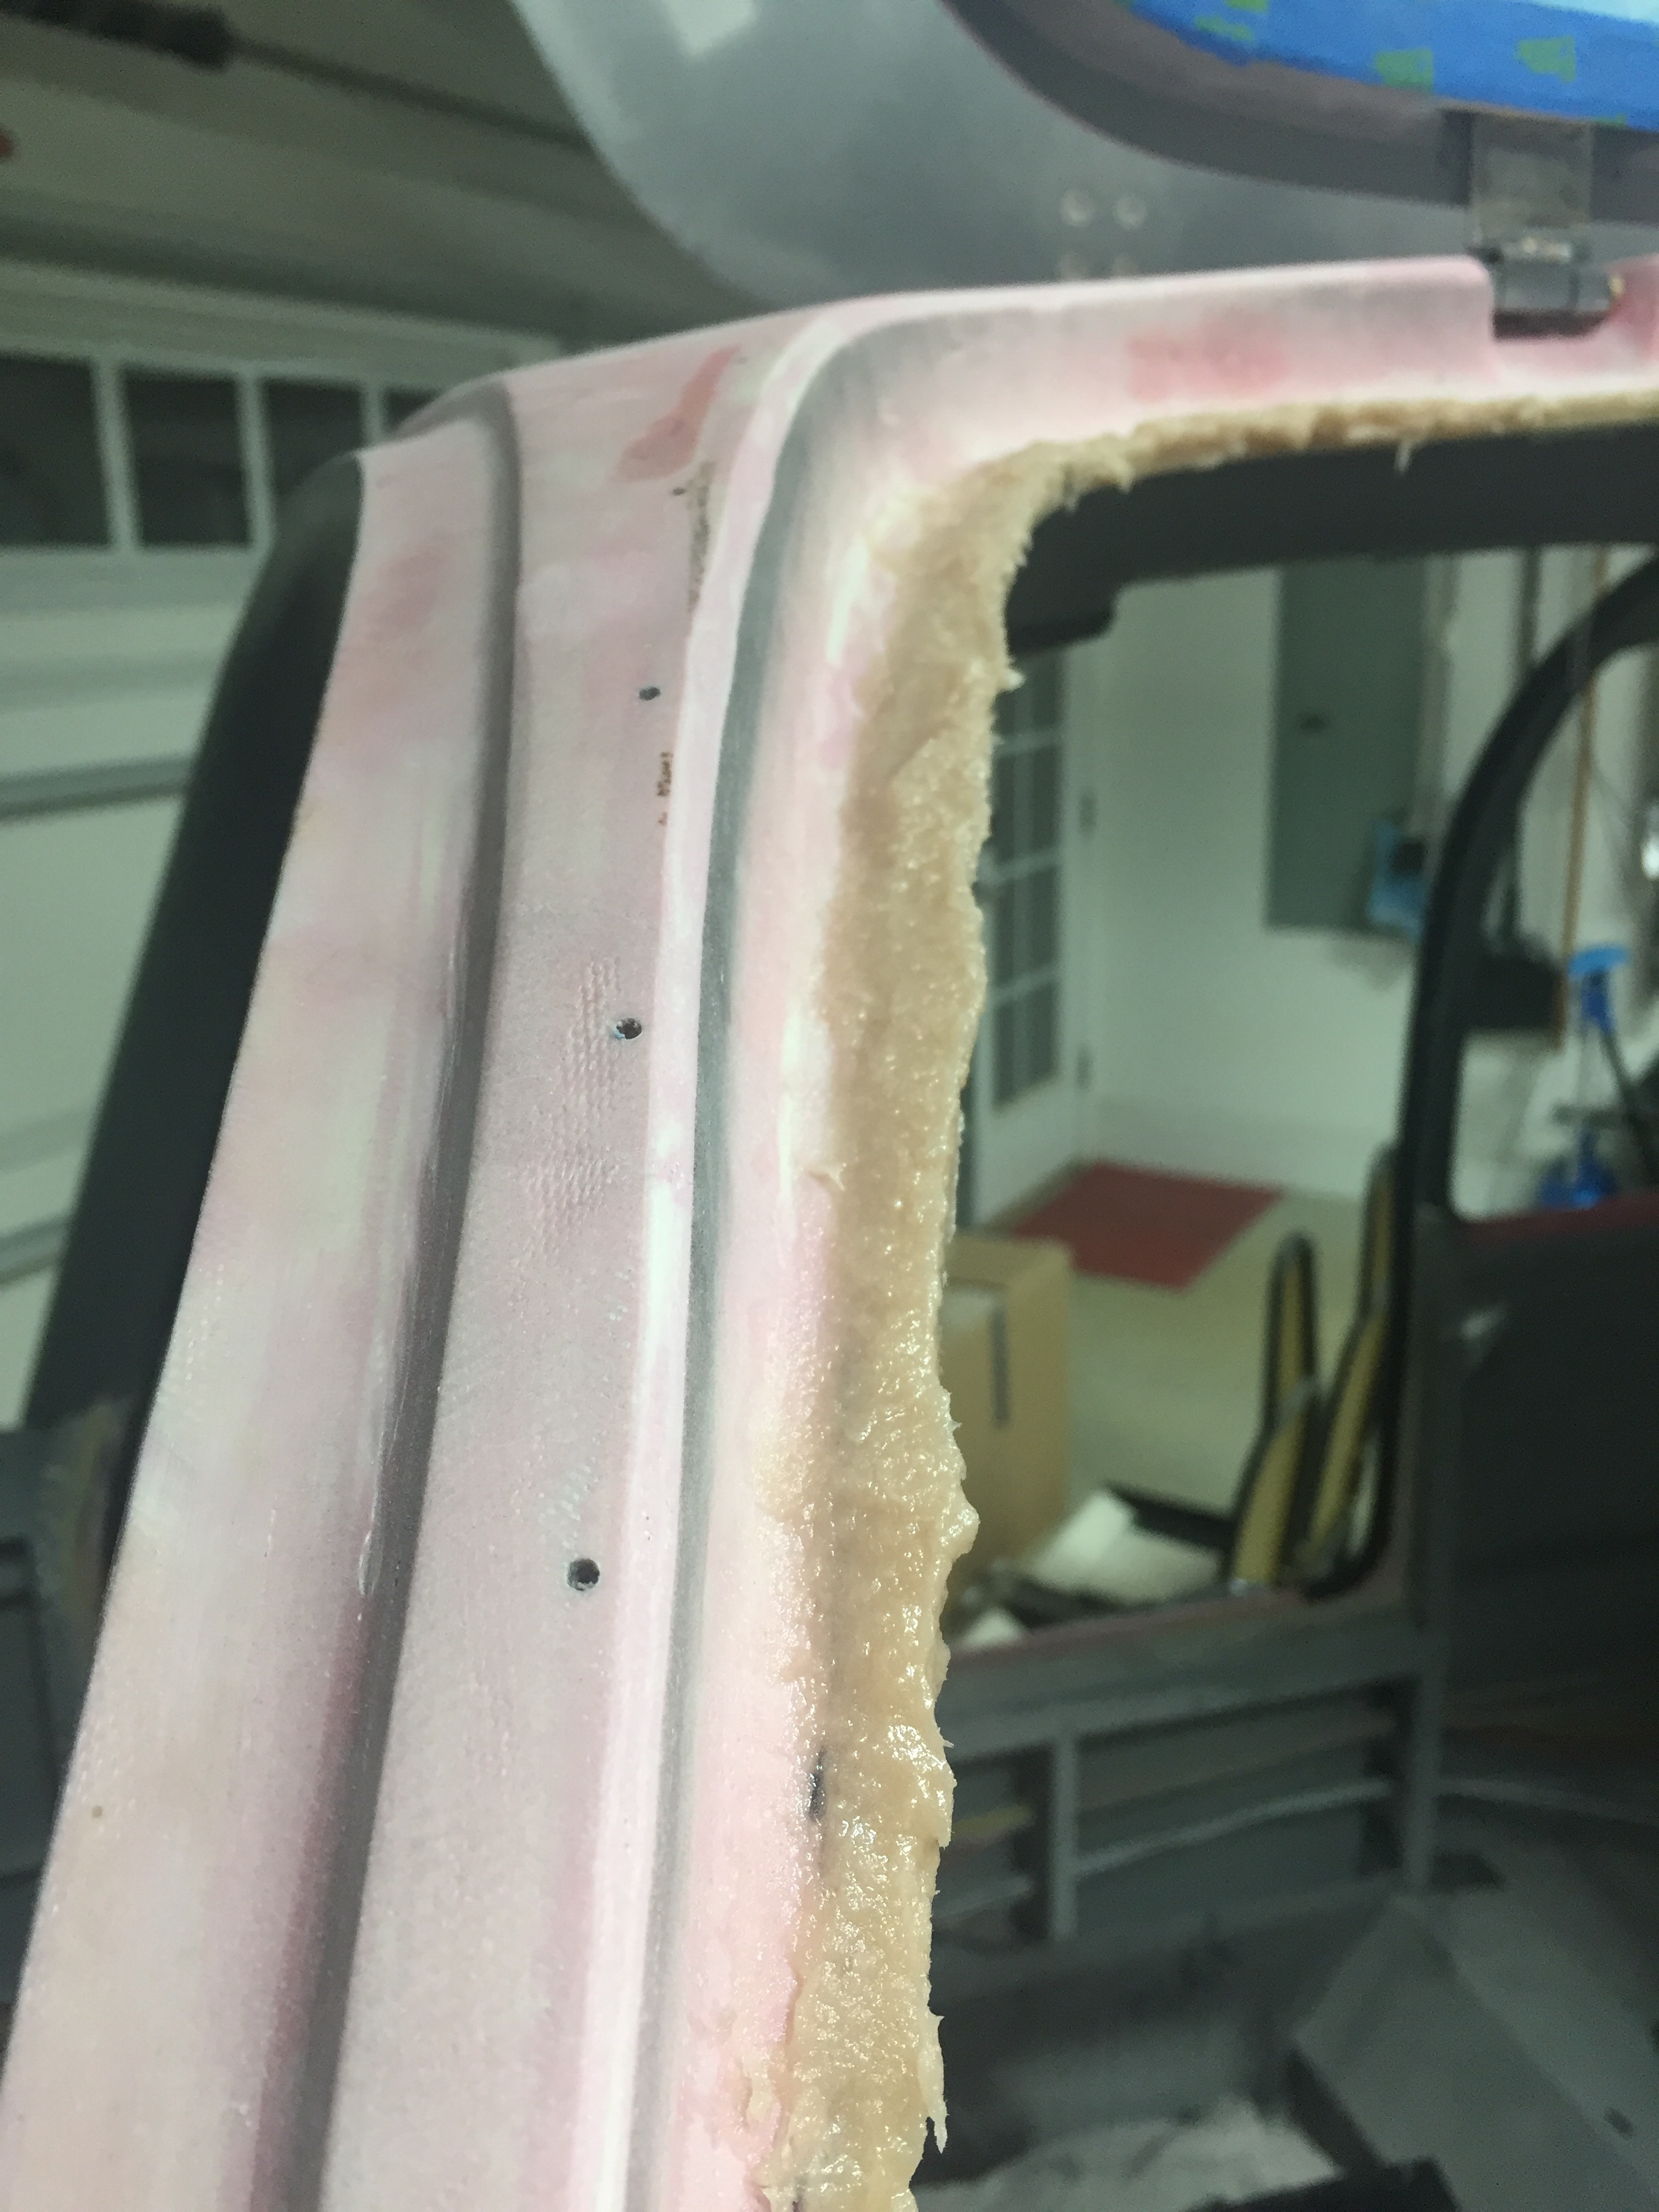
The next project is to prep for the door seal.  As most have done prior, I am going with an aftermarket seal that affixes to the door frame rather than the door itself.  Since the frame isn’t designed for it, a little prep work is required.  I needed to build back material for the seal to mount on that will put the bulb nicely against the door.  I purchased twice as much seal as needed so I could use half of it sacrificially to form the new lip.  I mixed up a big batch of epoxy and flox and used a baggy to fill the seal.  Then I took my time to press on just enough to hold onto the frame.  Once dried, I pulled the seal off which left a nice new structure all around the door opening.
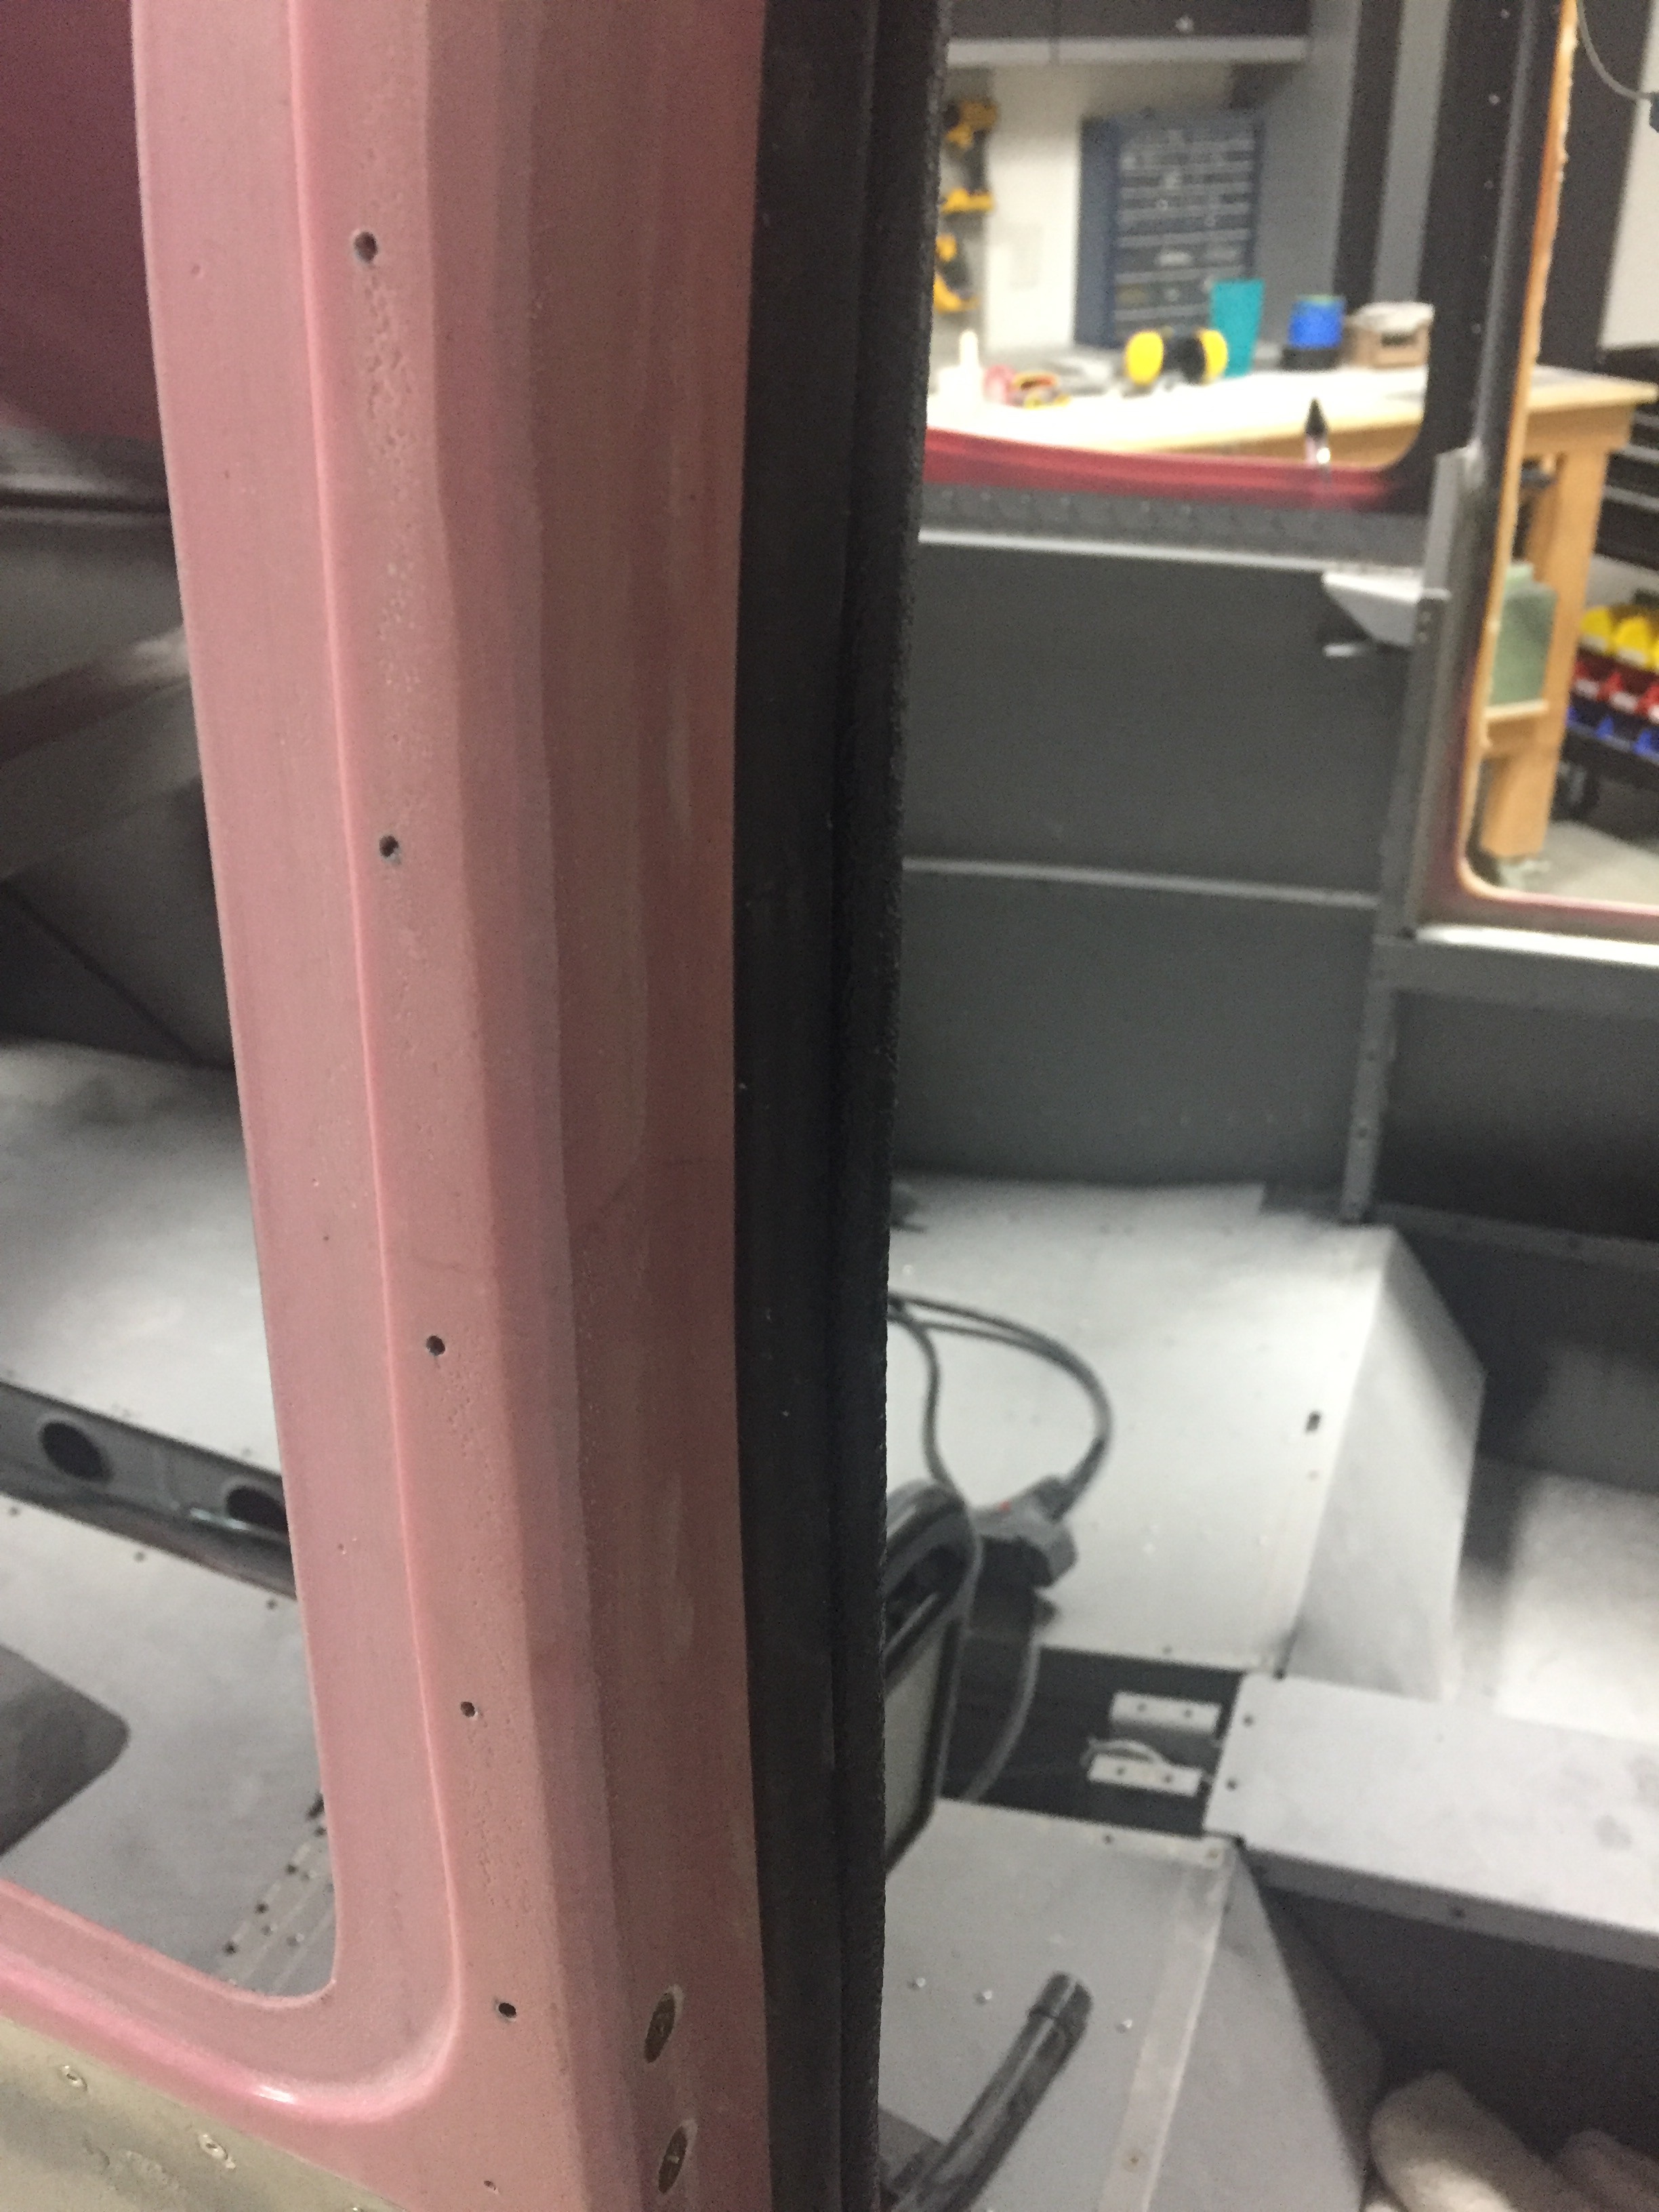
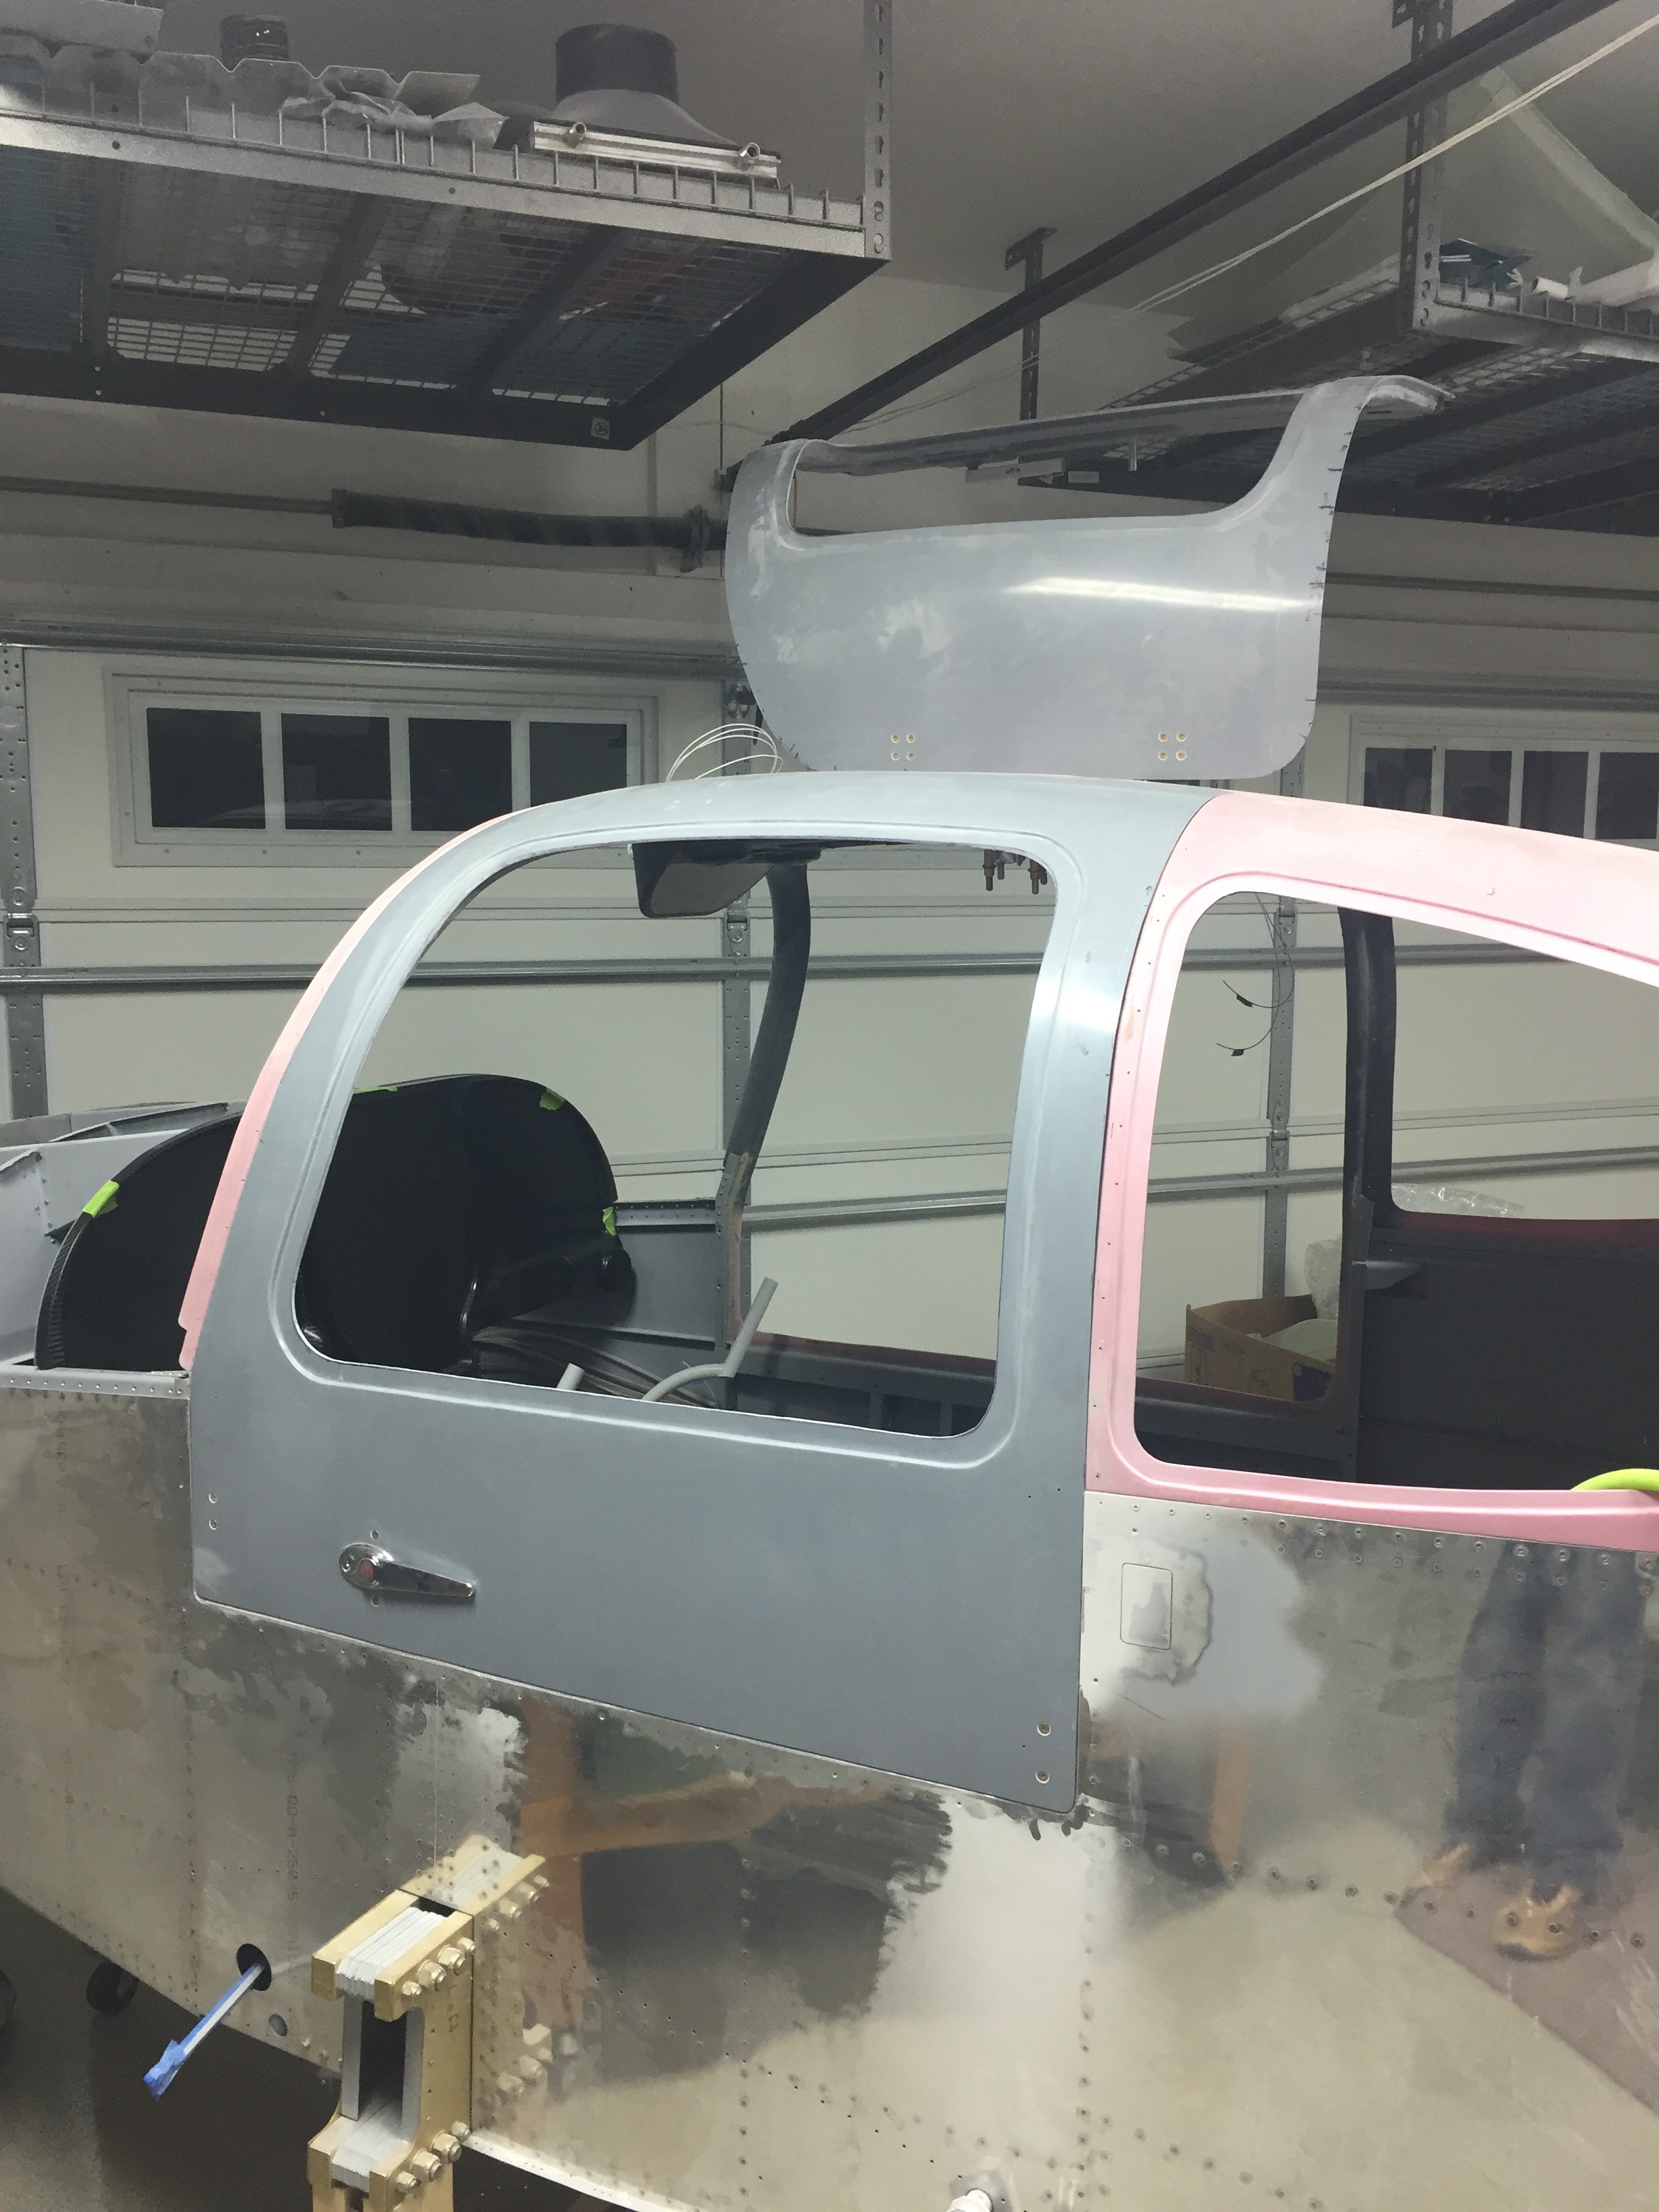
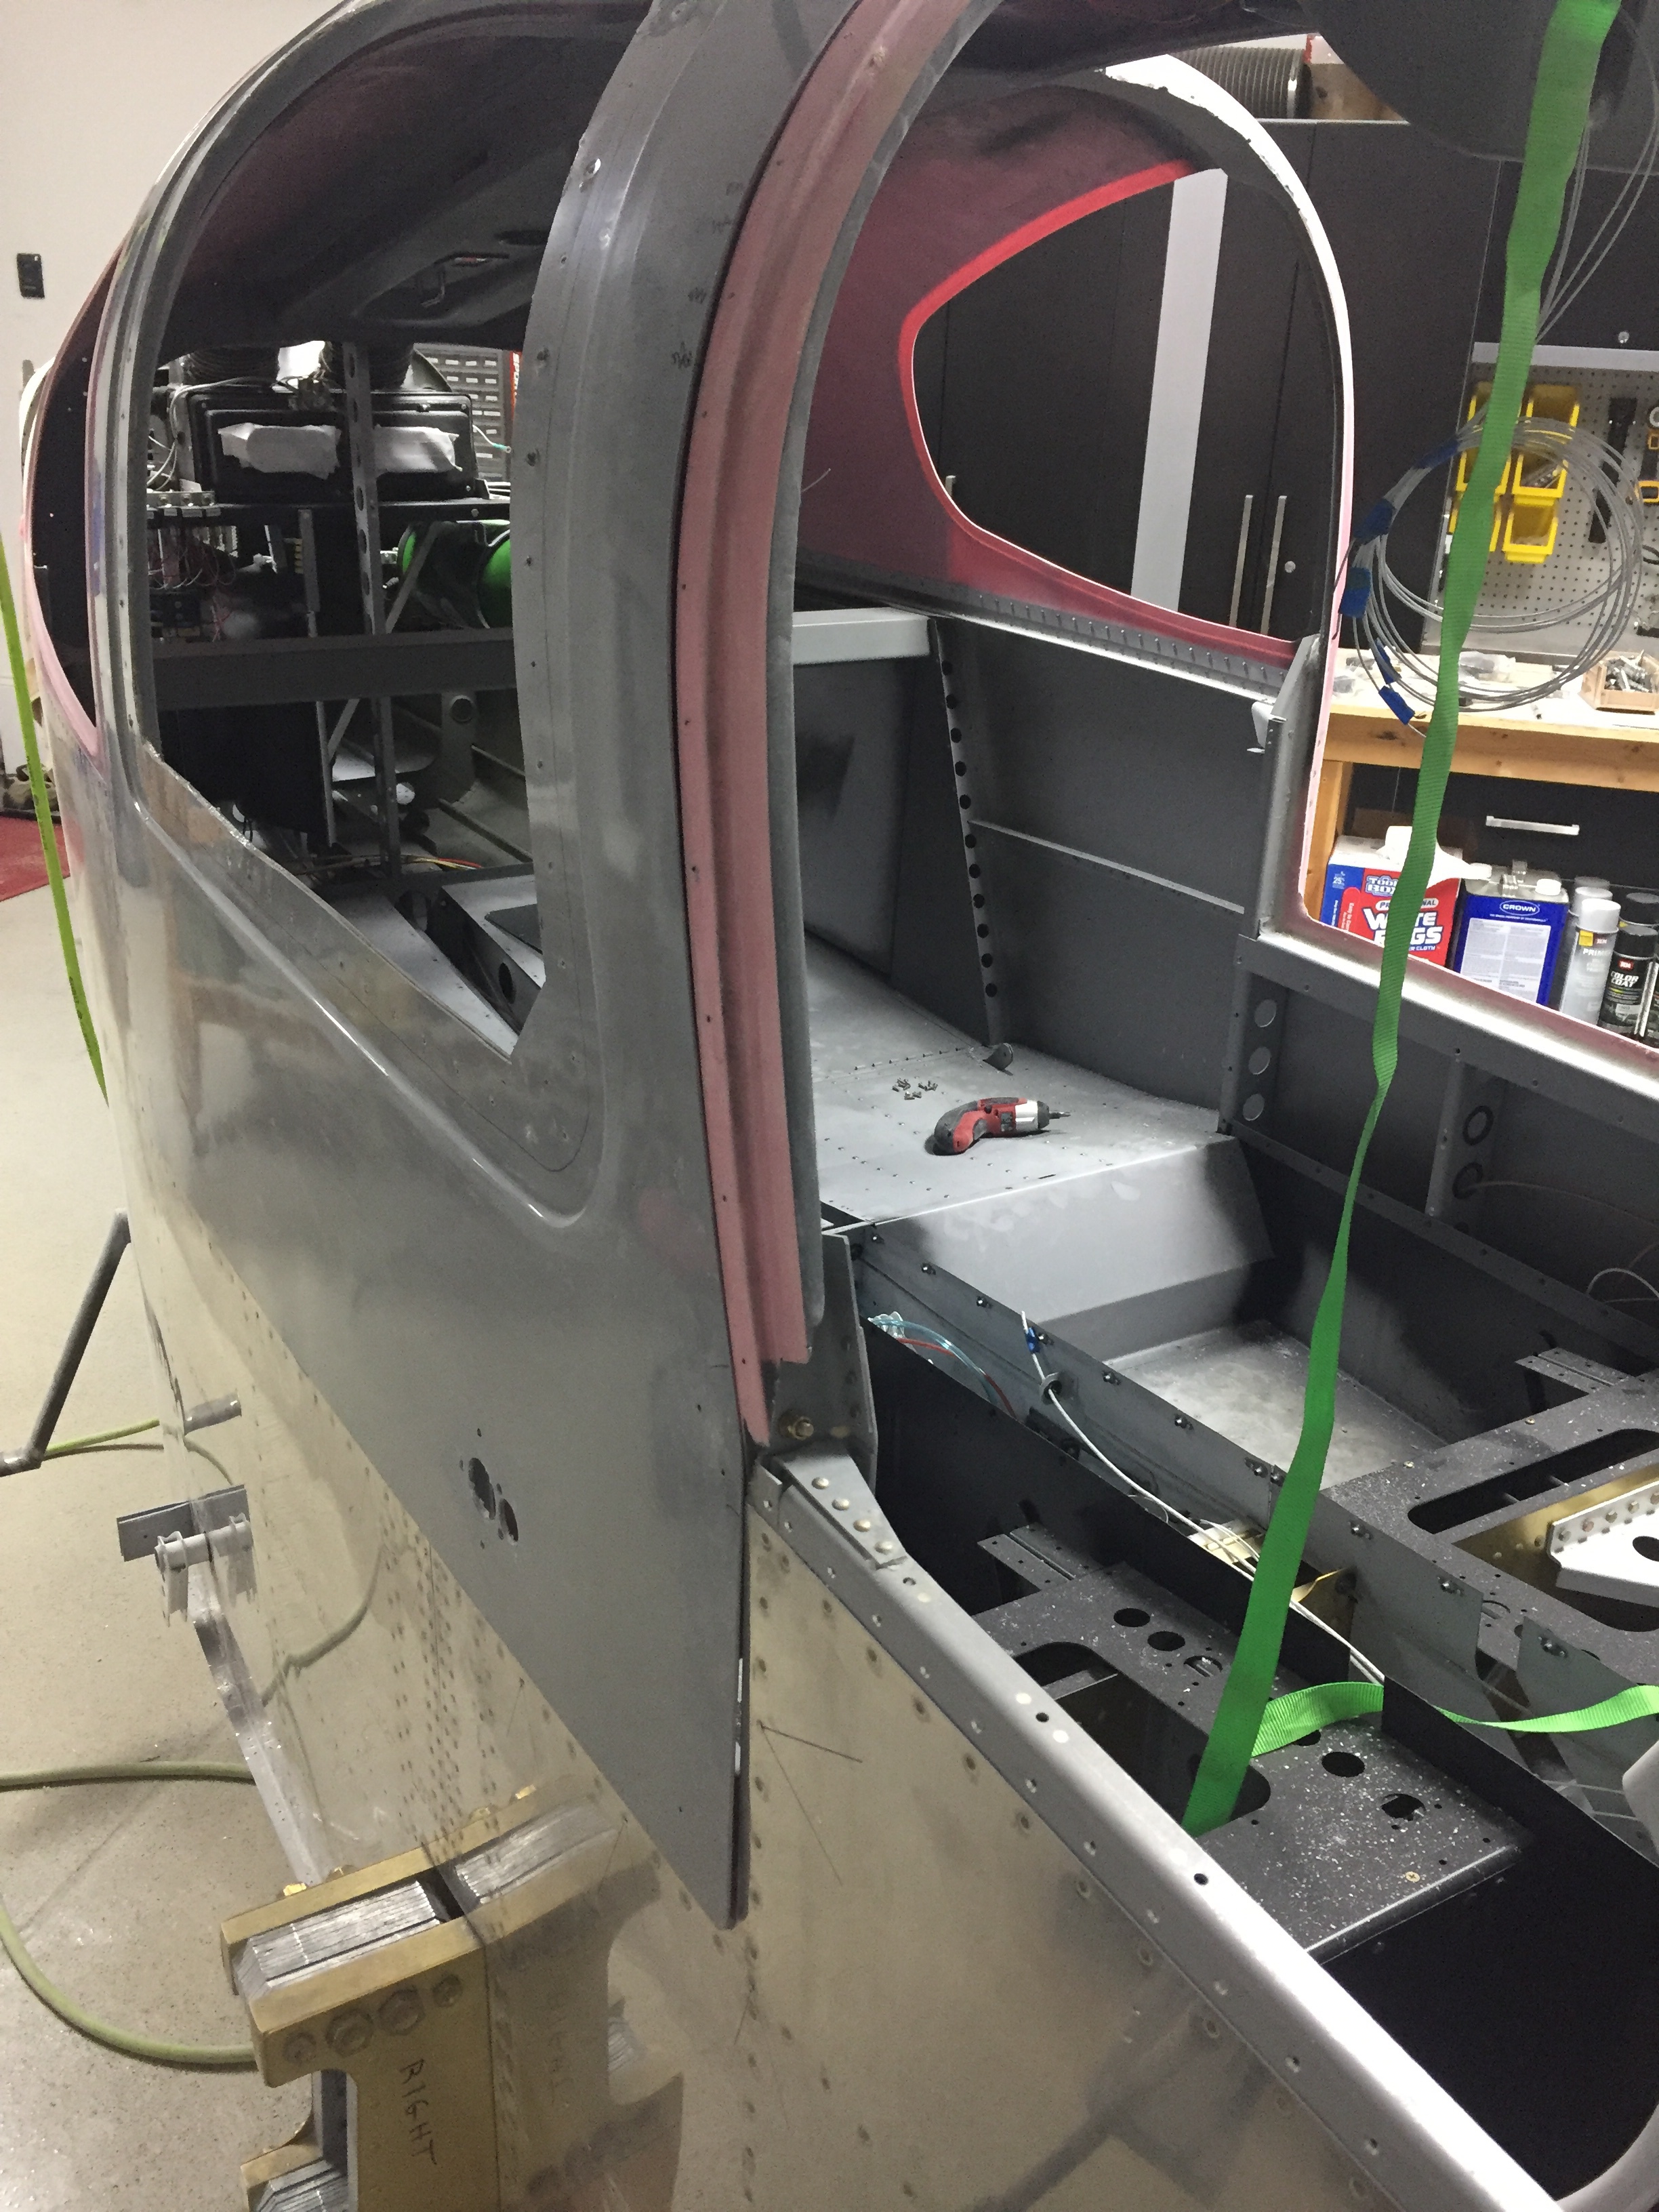
With the door on, I marked the areas that needed to be sanded down or built up a bit with filler to get a nice consistant gap all along the door lip.  Despite all the dust, it was a pretty easy task and soon enough I was ready to put on filler to smooth things out.  I did both the inside and outside.  I’m a little bummed that I’ll have to re-shoot some paint on the inside, but I can mask of the overhead console so that will make it a bit easier to blend.
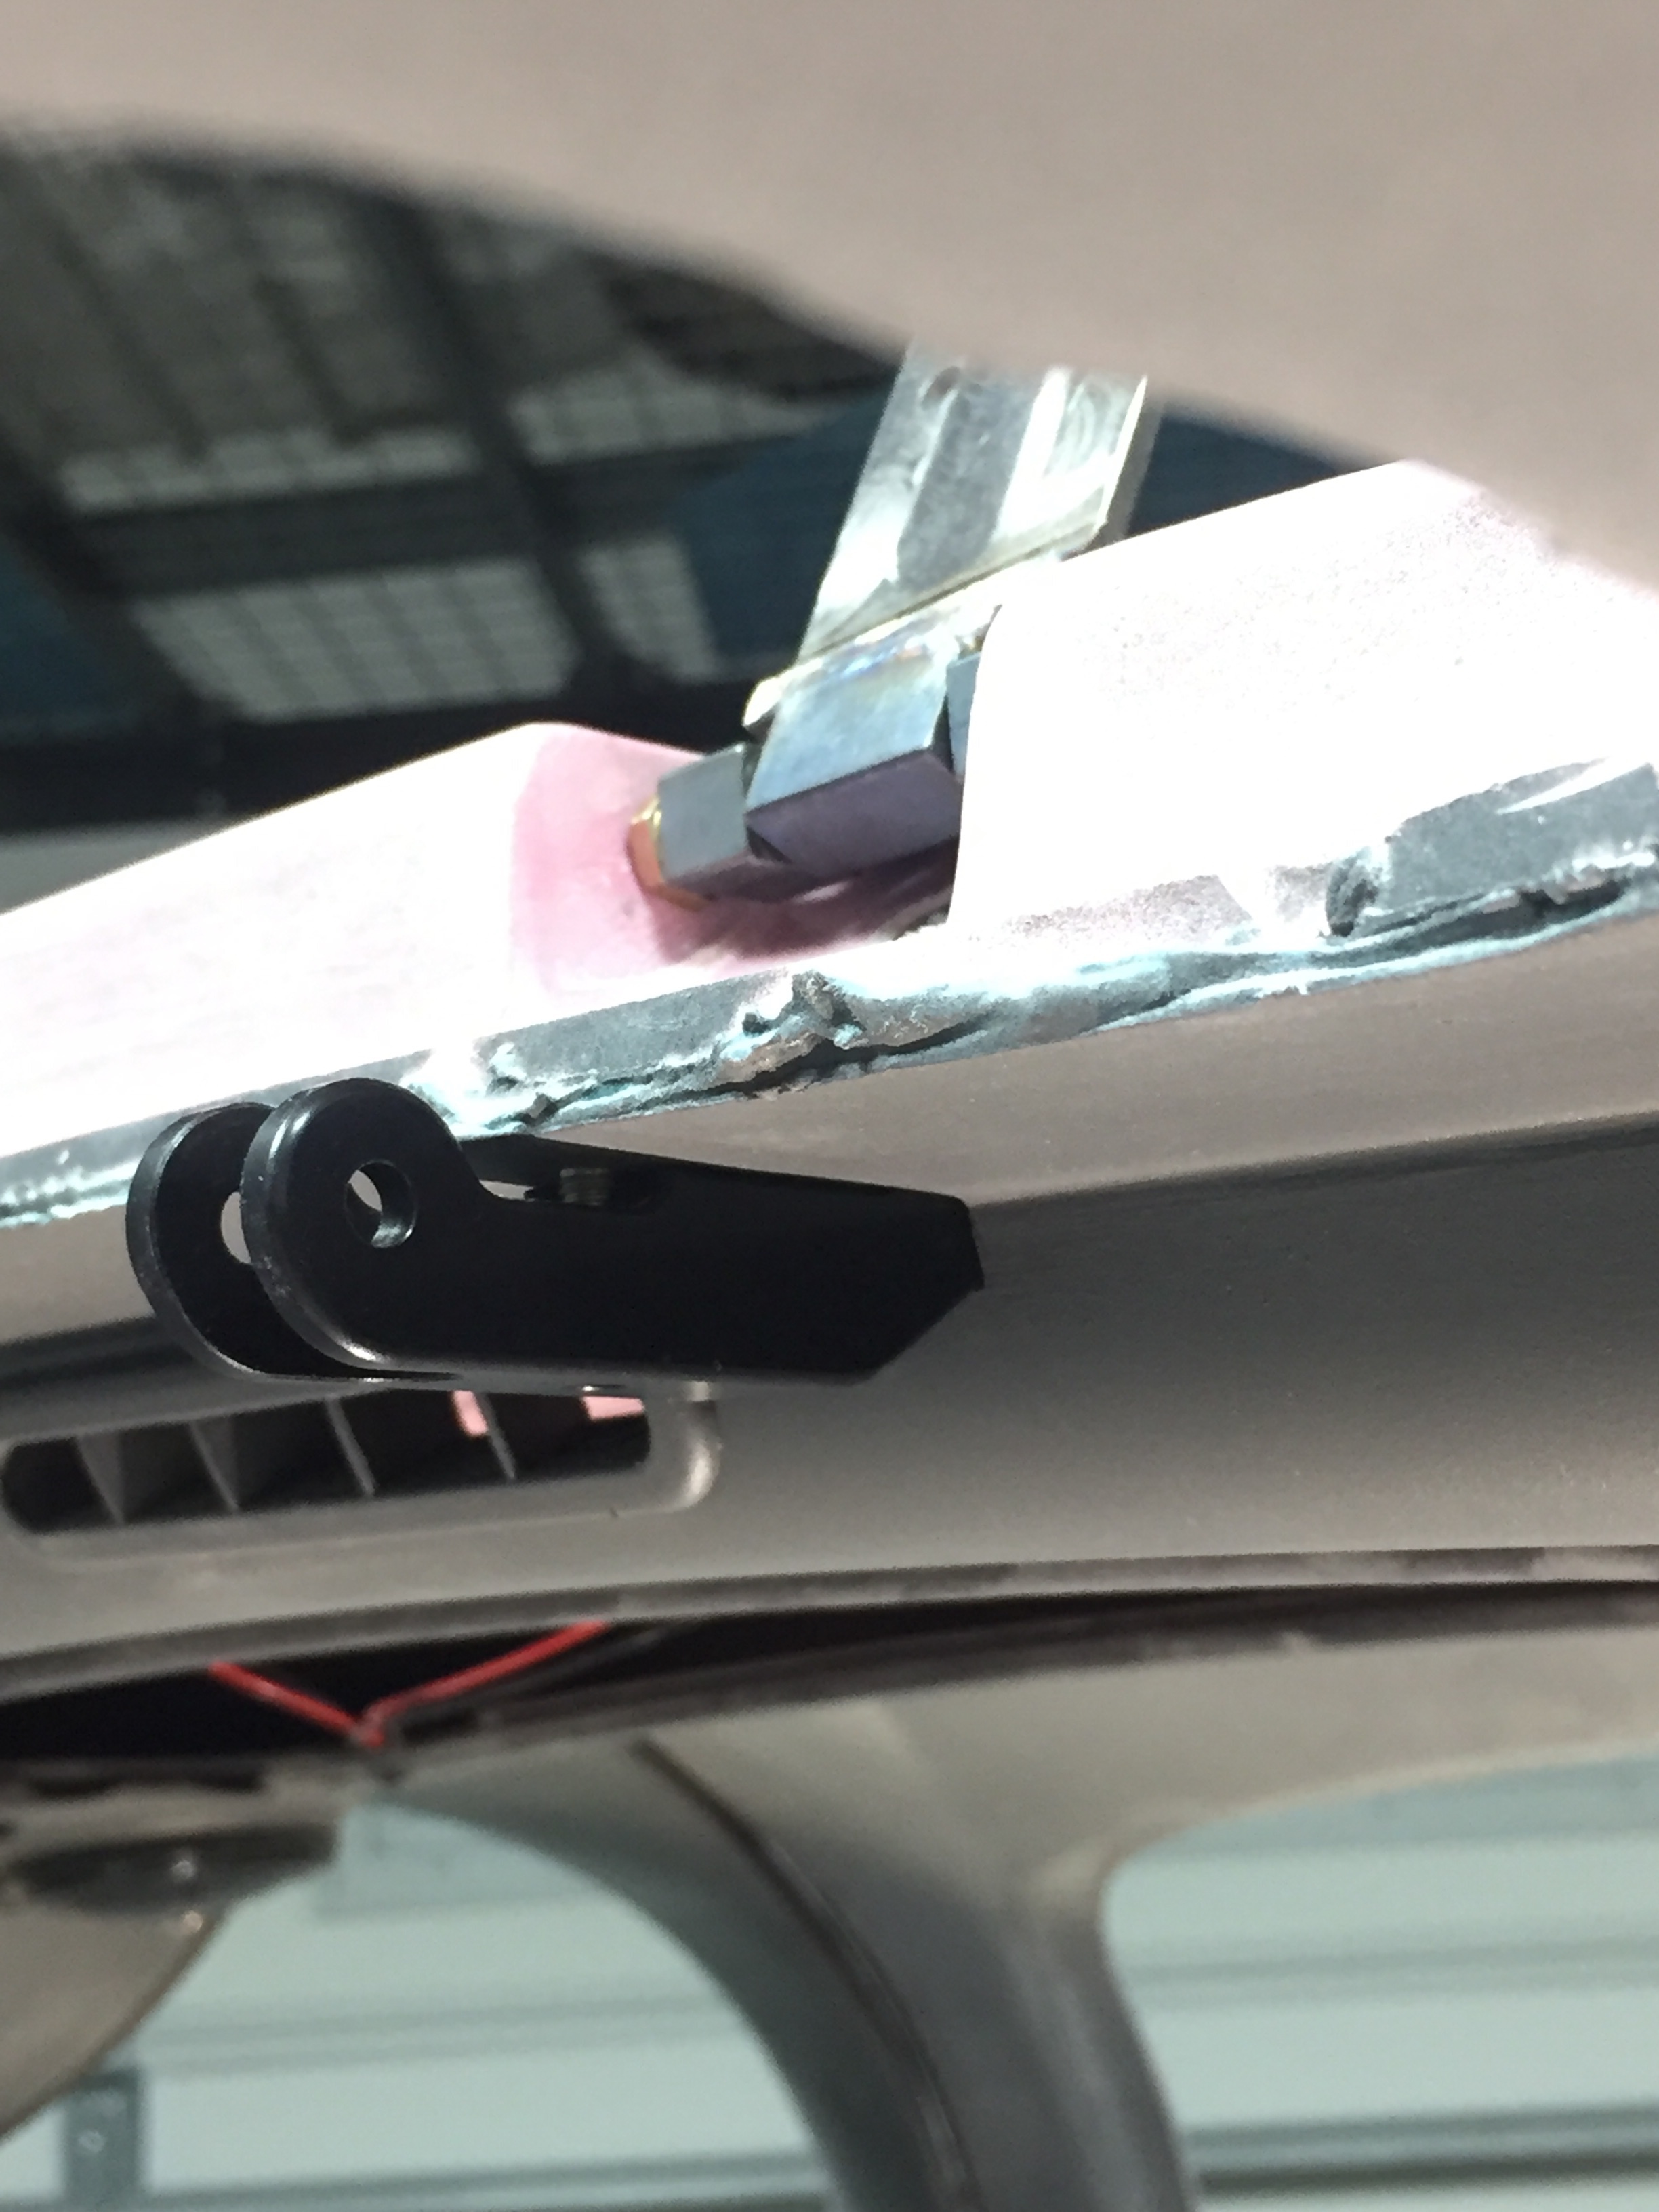
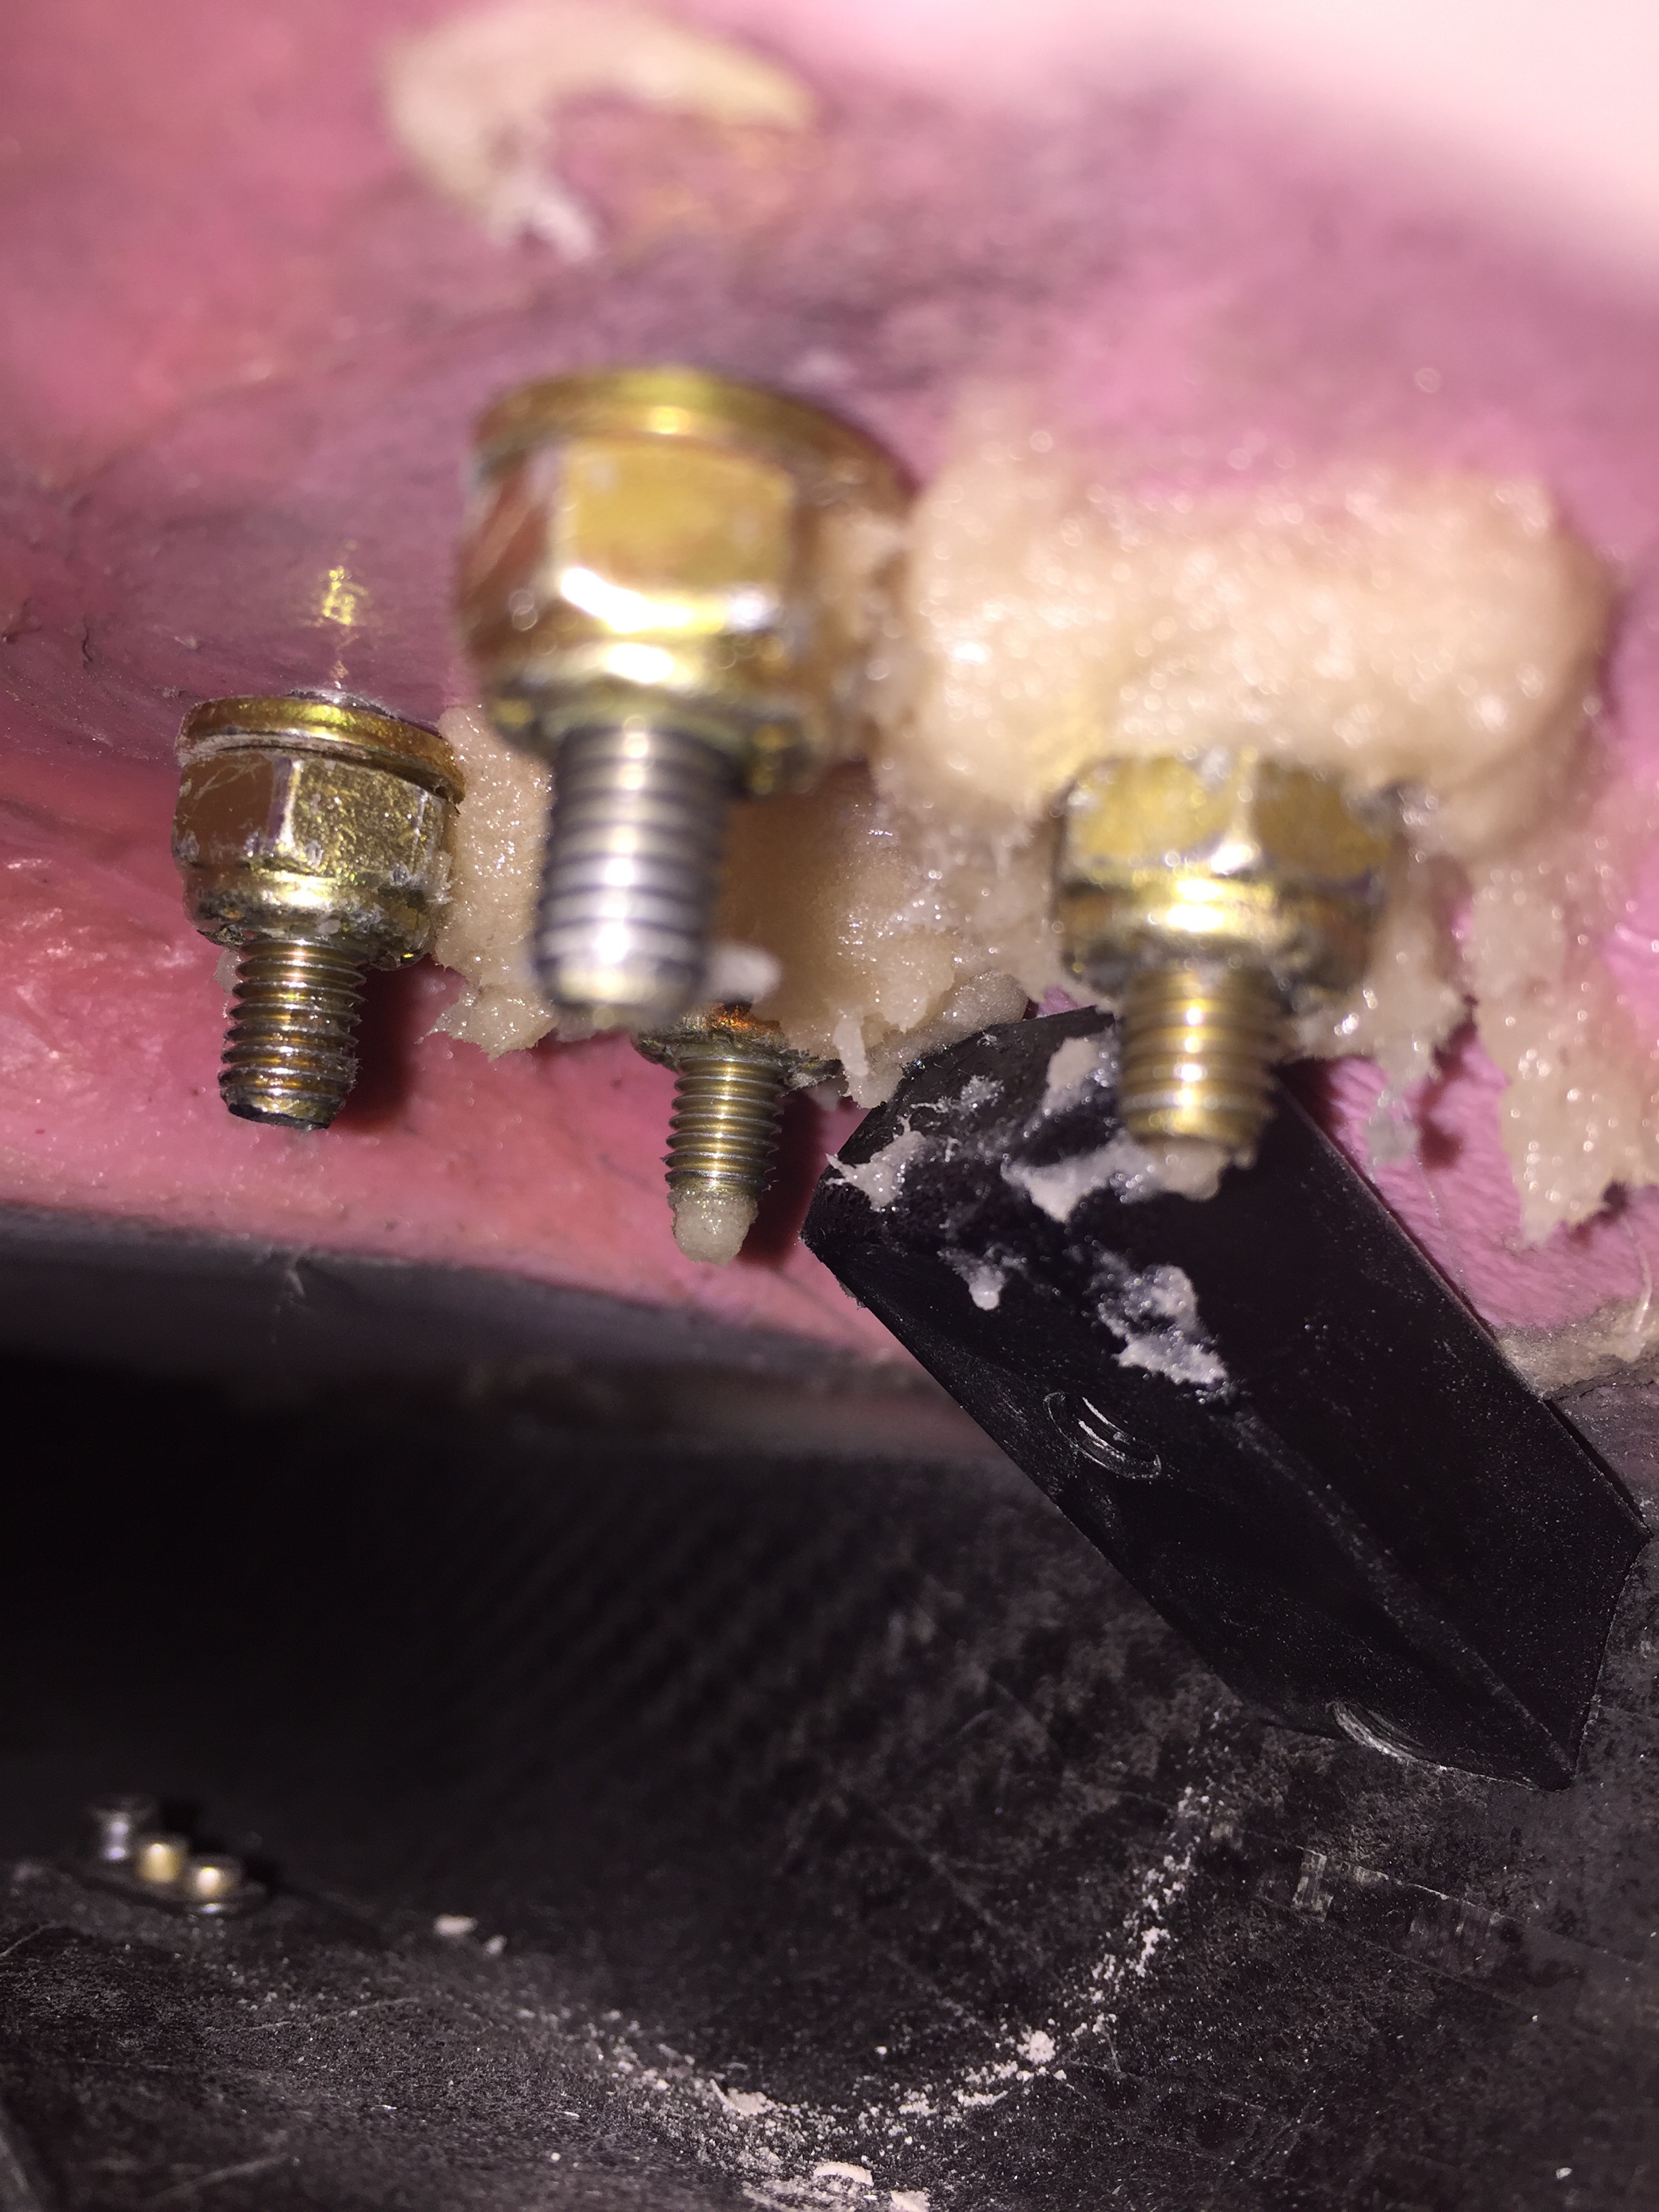
Meanwhile I built a bed up of epoxy and flox on the hinge mounts since a few of the washers and nuts didn’t sit flush with the cabin top due to the contour of the inside surface.  This allows the torque to be spread properly over the newly built up area.  I let the epoxy cure about 75% then put the washer and nut on so it compressed the fill into place.  After it cured I finally torqued them to spec.
A few evenings of sanding and filling later, the left door frame is ready for paint on the inside and the seal to be installed.  The right door is coming along with initial sanding and filling happening now.  Once the windows are in, I’ll fill the final door gap and finish the rest of the door frames.

Rack ‘em and stack ‘em

I needed to get the door pins installed so that I could lock the doors in their proper location to get the final trimming done.  It’s a cart before the horse thing, as it’d be nice to get all the trimming done but you need the pins first.  But to get the pins, you need to trim the doors.  Lot’s of half finished steps to complete the other steps here.

I’m using several aftermarket modifications as well.  The PlaneAround center latch is a no-brainer for its functionality and safety aspects.  It provides a cam in the center of the door to help close the door and ensures both front and rear pins engage the fuselage to keep the door closed.  It also basically makes it impossible to close the door with only one pin engaged.  The danger is potentially life ending, as several accidents have been caused by doors opening and separating from the airfarme.  Nothing to joke about here, you have to do this right and know the severity of the impacts.

I’m also using the low profile handles from Aerosport which are very nicely built and are a bit more high class than the standard Van’s handles.  With that being said, it means following three sets of directions that all leave a bit to the imagination.  Of course, I don’t read directions well so I started off by cutting my door racks according to the stock plans, not in half as I should have.  That looked like an expensive mistake, but VAF came through and I got a new set for the cost of shipping thanks to a very helpful fellow builder.

The door rack and gear system is simple once it’s all put together but is a bit challenging in assembly.  I was able to work through the plans, however, and soon had all of the parts cut, created, and cued for final assembly.  It all comes together very well in the end as long as you take time to ensure a smooth operation of the mechanism.  I’ll be filling in around the nylon blocks on the door’s edges so aren’t too concerned about looks here.

I also added cam locks to be able to lock the doors.  While they aren’t completely bullet proof, they will provide some security and deterence for people to not mess with the airplane or its contents.

Hey don’t forget

Tip for other builders.  Don’t forget to follow the steps that aren’t in the plans that you don’t know about but absolutely have to do in order even though nothing says to do them in order.  For example, the door strut bracket that attaches to the top of the cabin.  Yup, I forgot that.  I realized that in a moment of sheer panic and terror about 3 am one morning.

The strut bracket is a bit rudamentary from Van’s so I had ordered a very nicely CNCed version from Sean at PlaneAround.  Those have been sitting in my parts bin for two years now and despite all my hard work at the overhead console and finishing the interior of the cabin top, I forgot to install them.  It would have been a five minute job had I remembered.  It turned into a five hour job.

I would have to cut a hole in the overhead console and grind away part of the filler on the cabin top without screwing anything up to make this work.  Fortunately, I took my time and went at it very methodically.  I located the exact position it needed and drilled a few holes to start opening up the rectangle for it to slide in.  I got pretty luck and it proved to be a nice finished fit once all the filing and trimming was completed.

I then made up a jig to locate the screw holes since I couldn’t drill or mark from below due to interference of the console.  The jig allowed me to drill pilot holes from the outside and then enlarge to get the proper alighnment.  Worked like a charm and in no time the first bracket was screwed on.

As with everything, the second one goes quicker and easier so in one evening I corrected a big mistake with really nice results.  I doubt anyone could tell that they were installed out of sequence and looking back I wager it was even easier this way vs trying to sand and sculpt the filler around them while filling in the console.

Let me get that door for you

The epoxy dryed overnight and the next morning I was ready to start cursing clecos as I pulled them out of the cured doors.  A few were kinda tough and I ruined some clecos, but eventually all of them were out and I was left with two doors!.  The next step is trimming the outer flanges to fit flush inside the cabin top and fuselage.  It’s a tedious task as you really need to trim them to fit but they need to fit to see where they need to be trimmed.  I took a tip from another builder and created a template to cleco on the door and fuselage instead of leaving tabs on the door flange itself per the plans.  This allows the door to slide into the frame but ensures it’s held in the same place when test fitting it.

Slow and steady wins the race here, with a lot of sanding/grinding/fitting/repeat to get it just right.  I am neither slow nor steady.  So after about 15 times of test fitting and removing, I went to town with the die grinder and poof, too much gone.  Cardinal sin of building a RV10 door.  When all the dust settled, I realized that the doors themselves weren’t too small but I just didn’t take my time to fit them.  My scribe lines from the factory were WAY off and oversized.  I was shocked at how much material I had to remove to get the doors to sit flush.

In the end, I put a chamfer on the cabin top and the door flanges to get a nice fit that was a complete waste of time.  Since I’m using the McMaster Carr seal, I don’t need a beveled edge on the door and frame and will need to build the cabin top / door up in several places anyway to make the two surfaces flush.  Oh well, I knew doors would be a pain so par for the course.  Nothing was too bad that can’t be fixed, so I still looked at it as a success.

Once I calmed down, I got to work on the right side hinges which went on quickly and easily.  Wouldn’t you know it, I was ready to open the door for my lovely wife to get in her side of the airplane.  Except she wasn’t there and there’s no seat and it’s really dusty and I don’t want her touching anything yet since it’s not finished anyway…..