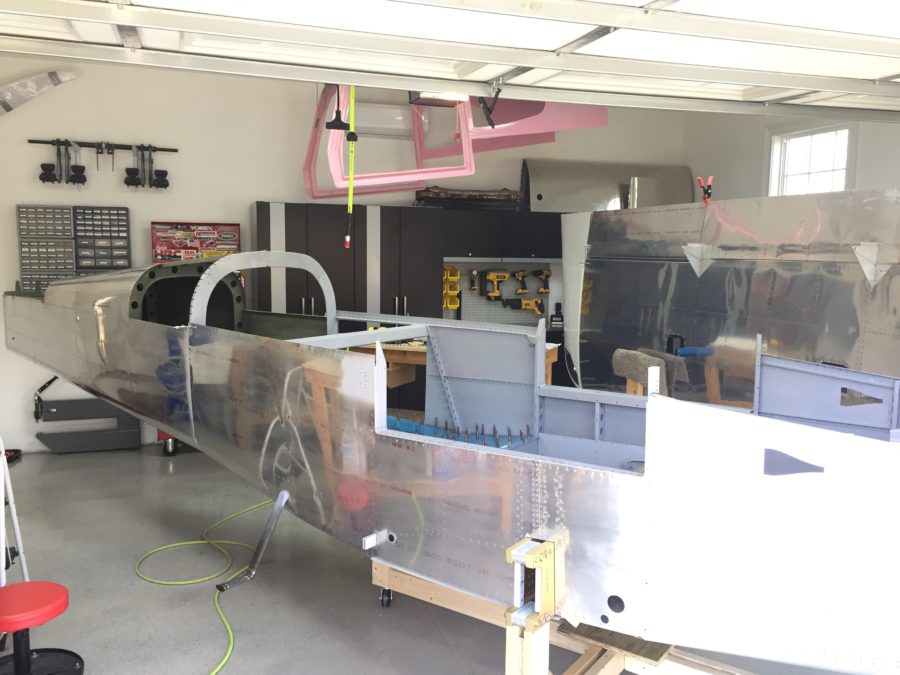
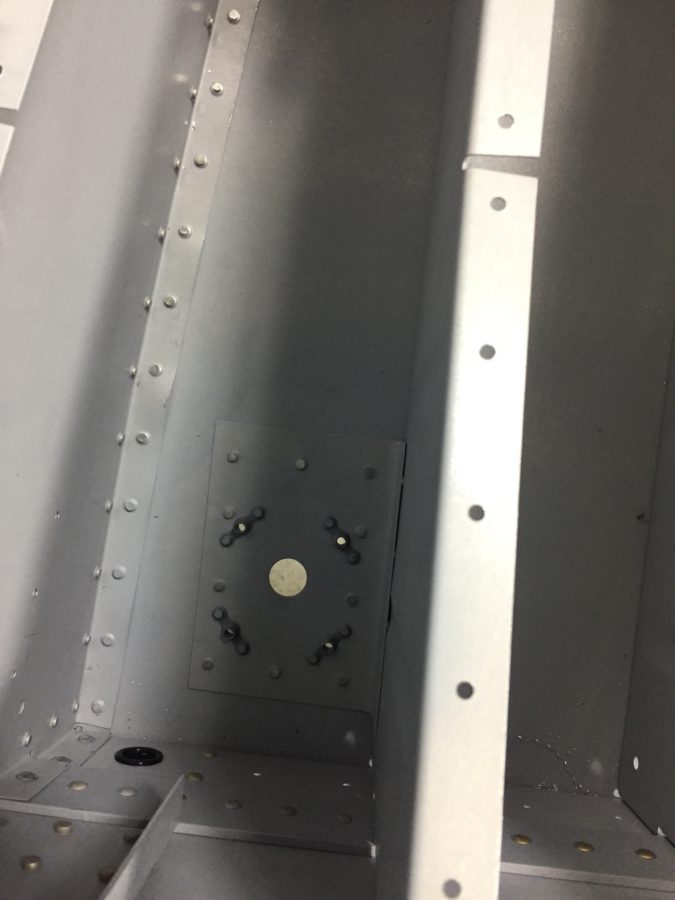
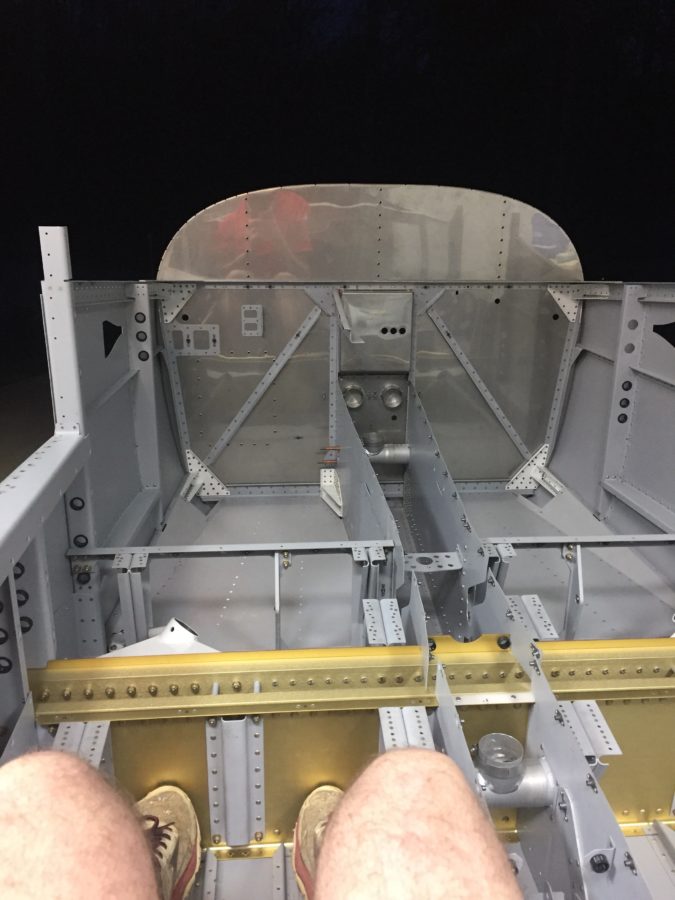
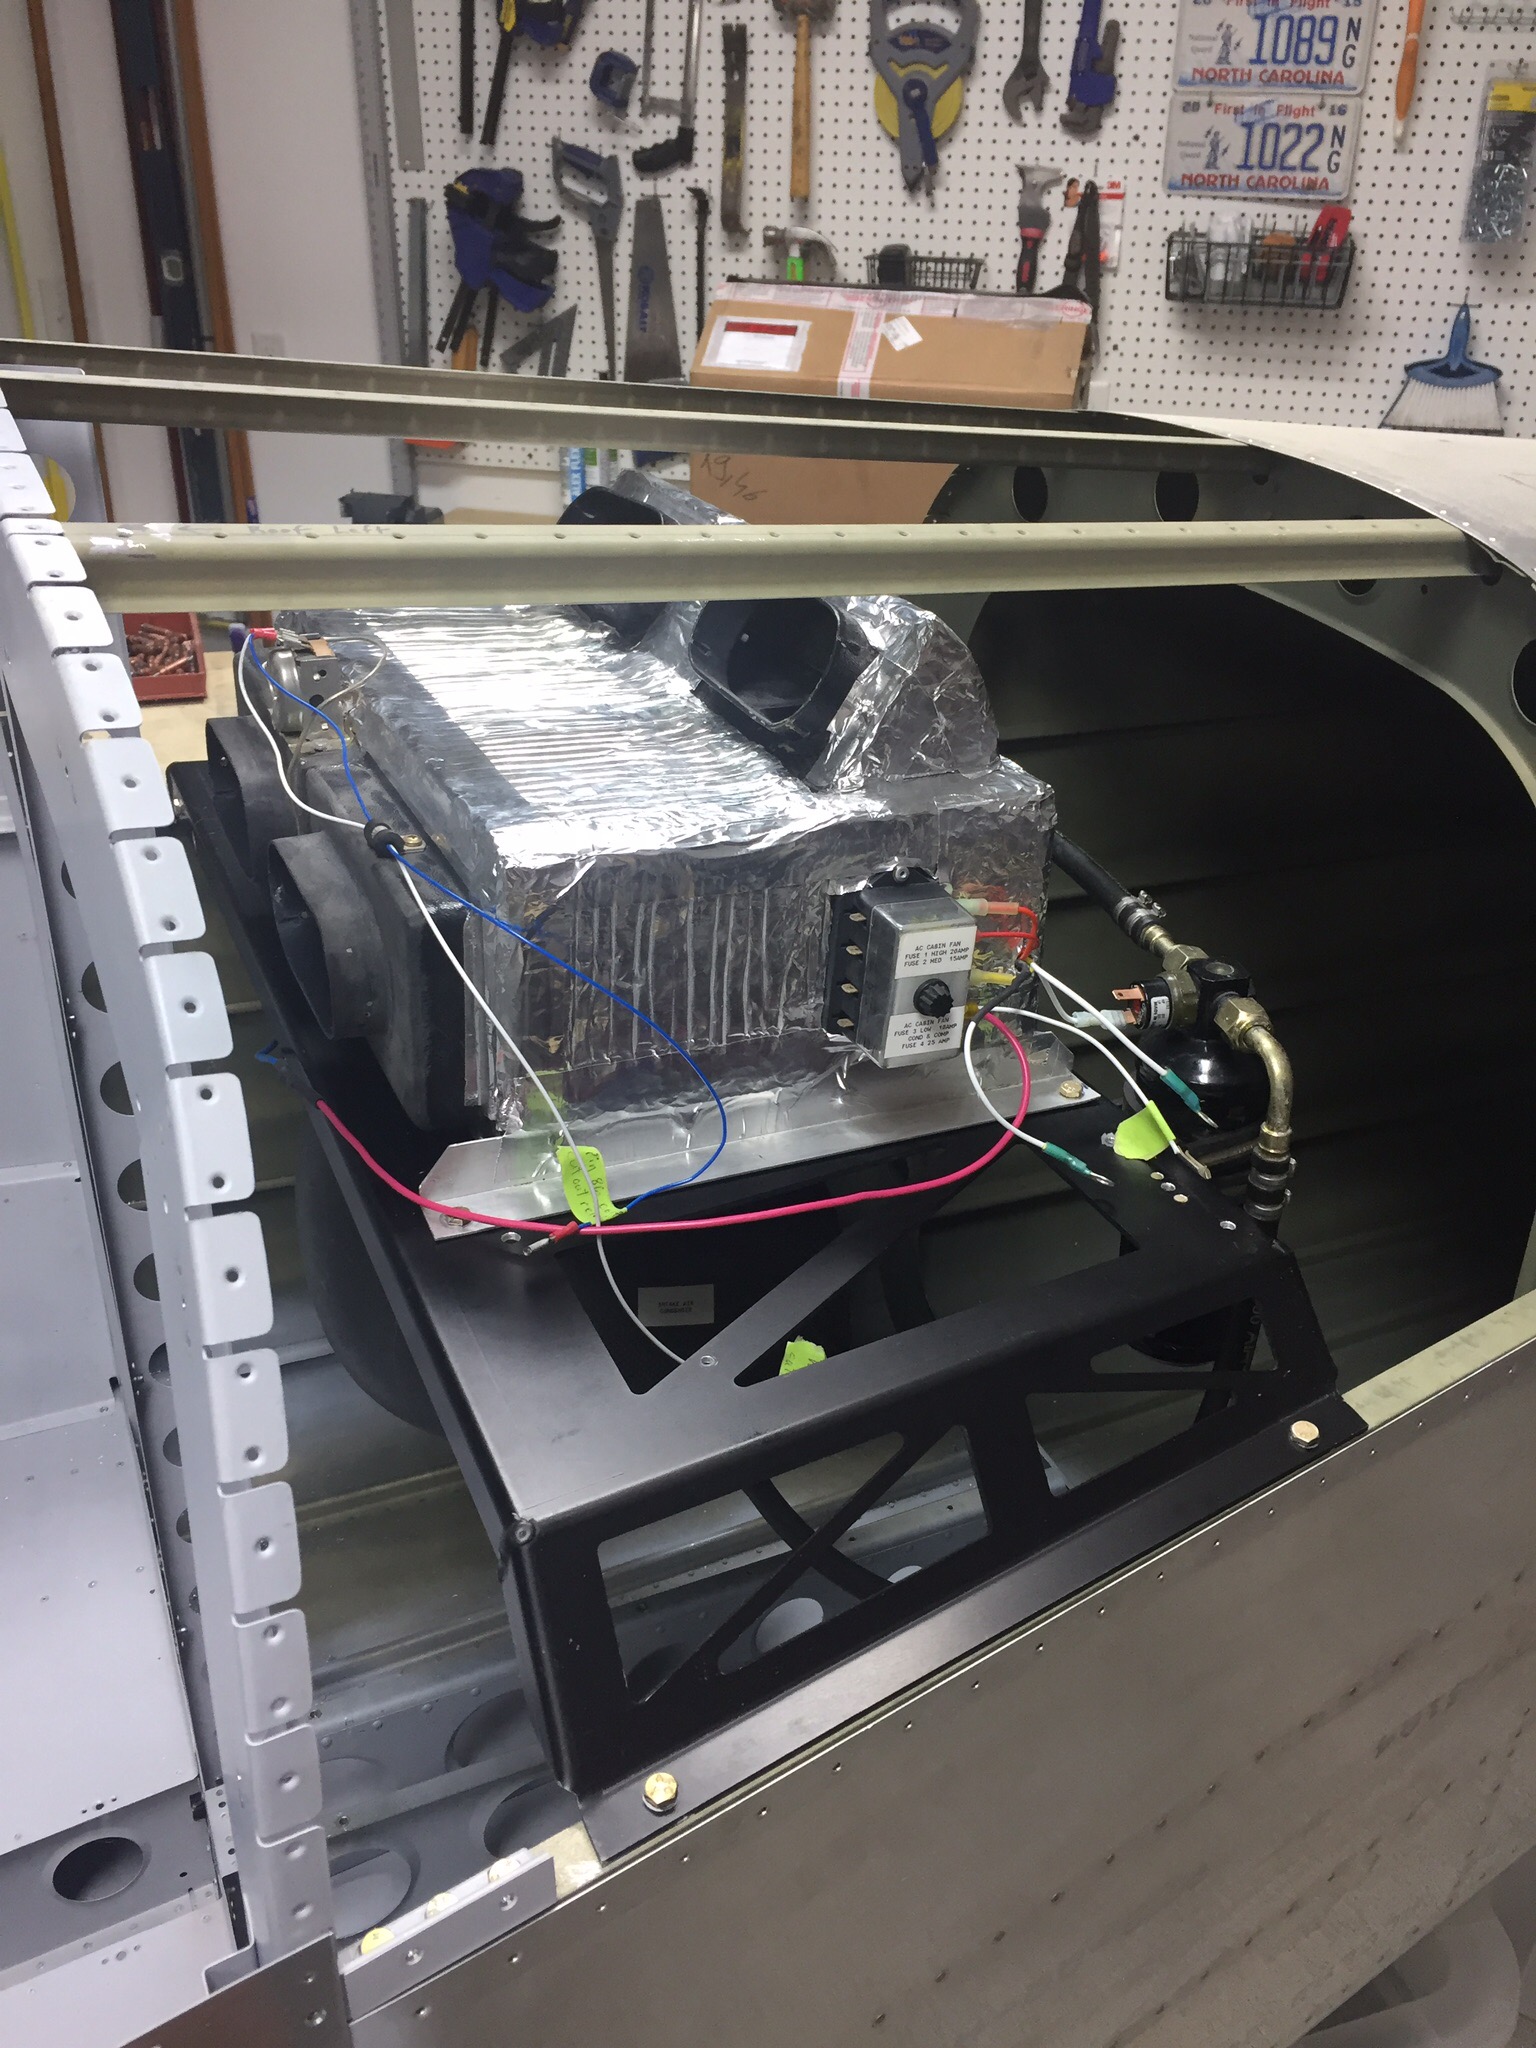
With the tail cone attached, I wanted to get the Flightline A/C system installed before too much else gets put in which would make access difficult. The majority of the system is located behind the baggage bulkhead, so it’s easy to get to right now. The first step is to mount the condenser tray onto the longerons which is simple enough. I spent some time cleaning the air handler up and getting all the old dust off of it. I also cleaned up the insulation a bit and used foil HVAC tape to seal the remaining uninsulated areas. I fixed a couple of nasty looking nutplate rivets on the tray as well before putting it in the airframe.

The next task was to mount the intake and exhaust vents for the condenser. While at Oshkosh, I spoke with John at Flightline (owned by Kelly Aerospace now) about an alternate side mounted intake. There have been some builders concerned about CO infiltrating the cabin with the original belly mounted vents which are in the exhaust stream. I agreed to design a new side mount intake similar to Cirrus retrofit kits. While I am in the process of laying up said vent, I ultimately decided that I was comfortable with the stock setup and ended up going that route.
I created a paper template of the vents after cleaning the old silicone caulking from them and cleaning up the rivet holes (this was a used kit pulled from a flying RV-10). I used the template to mark the holes and cut lines on the bottom of the tail cone. I measured fifteen times and cut once with success!
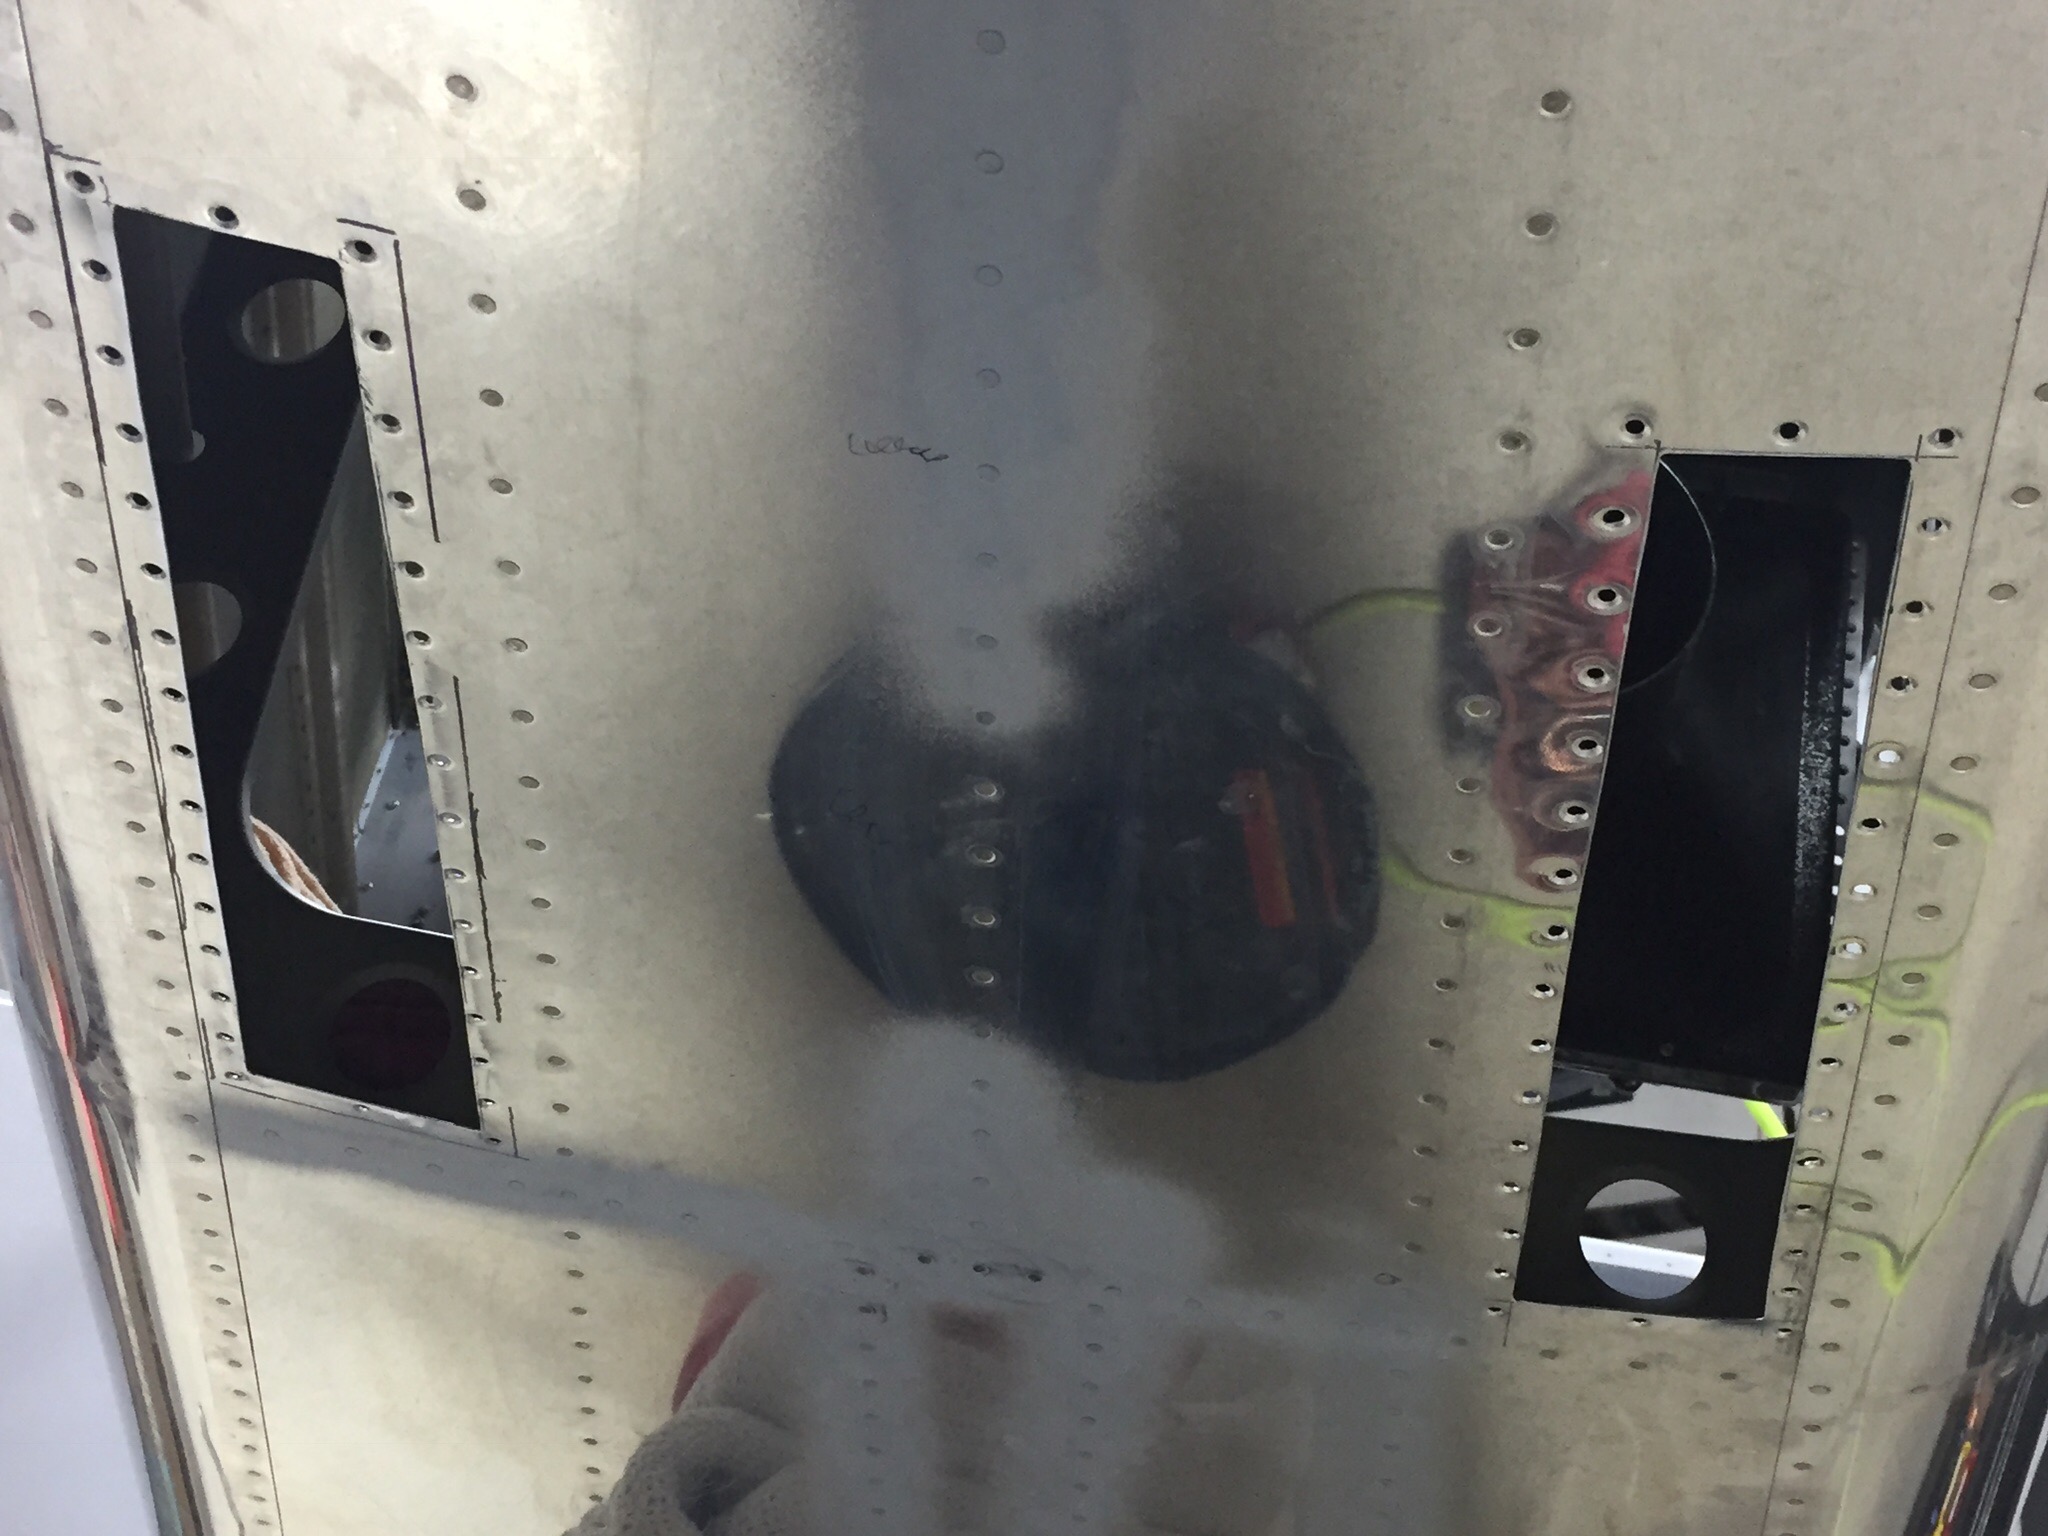
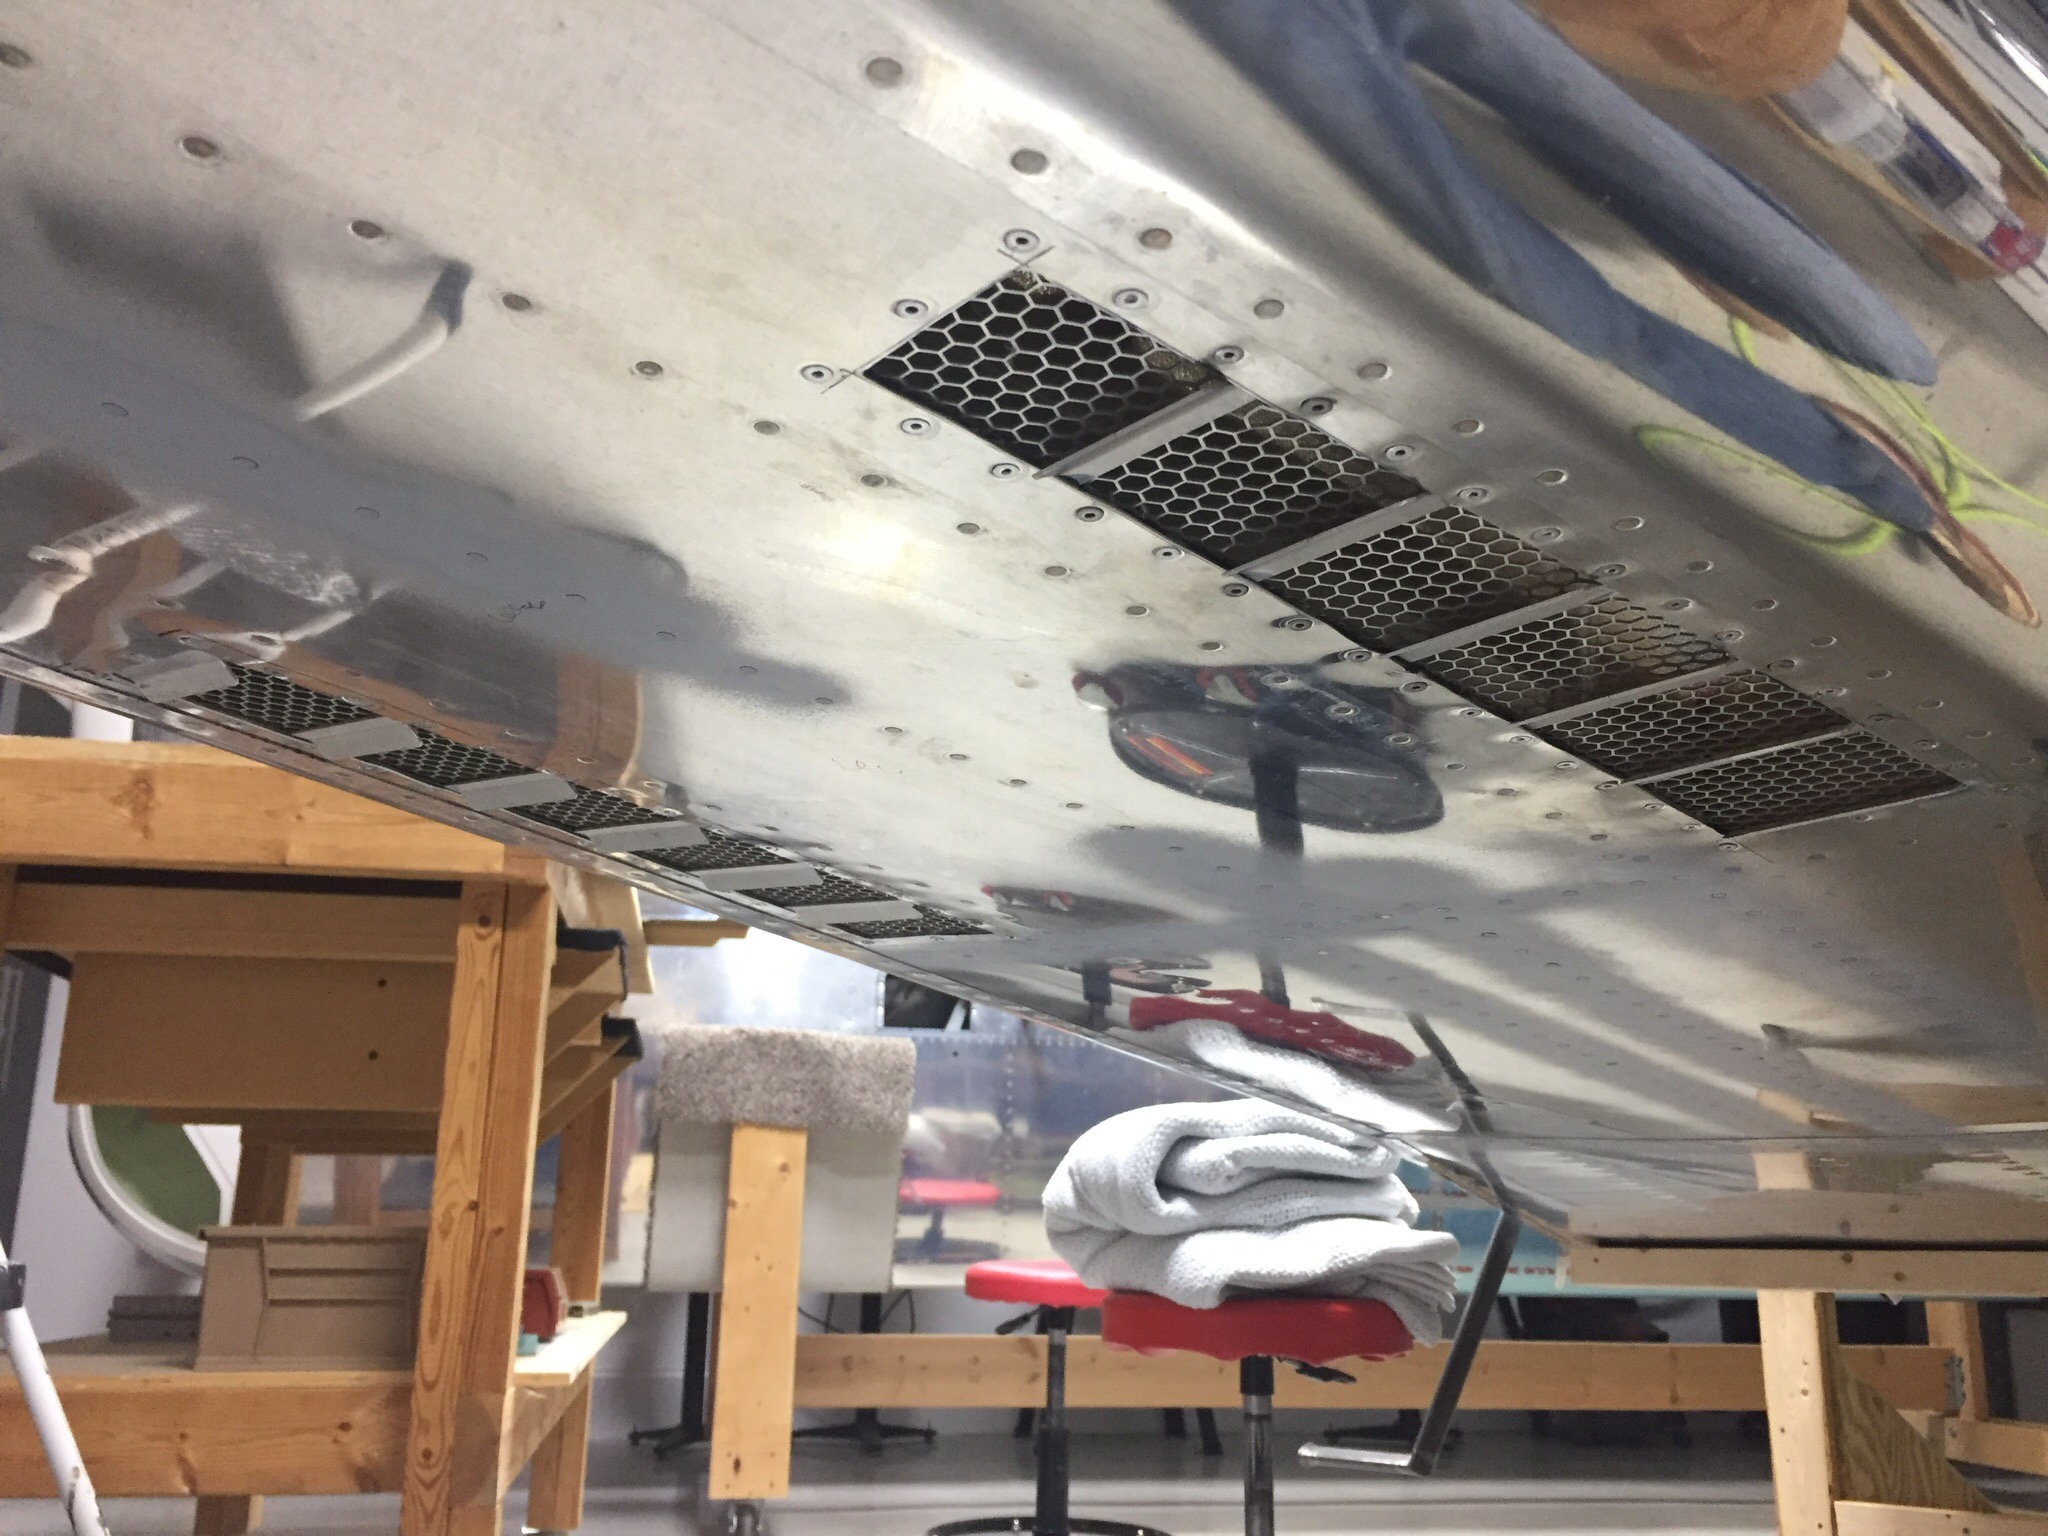
I used black RTV to create a good seal around the vents which will prevent air from leaking into the cabin area. Once riveted in, I was really happy with the results and finished up by connecting the 6″ duct work to the plenum and securing the clamps. I also added a new drain line from the evaporator which runs down into the exhaust vent and secured it using more RTV.

I’m really excited to have this done and happy with how it turned out. I chose this kit vs the Airflow system because of it’s low profile install and electronic controller which is really slick. Users have reported good performance and this will make our adventures even more pleasant by keeping the cabin comfortable in the southern summers.