Wing feathers

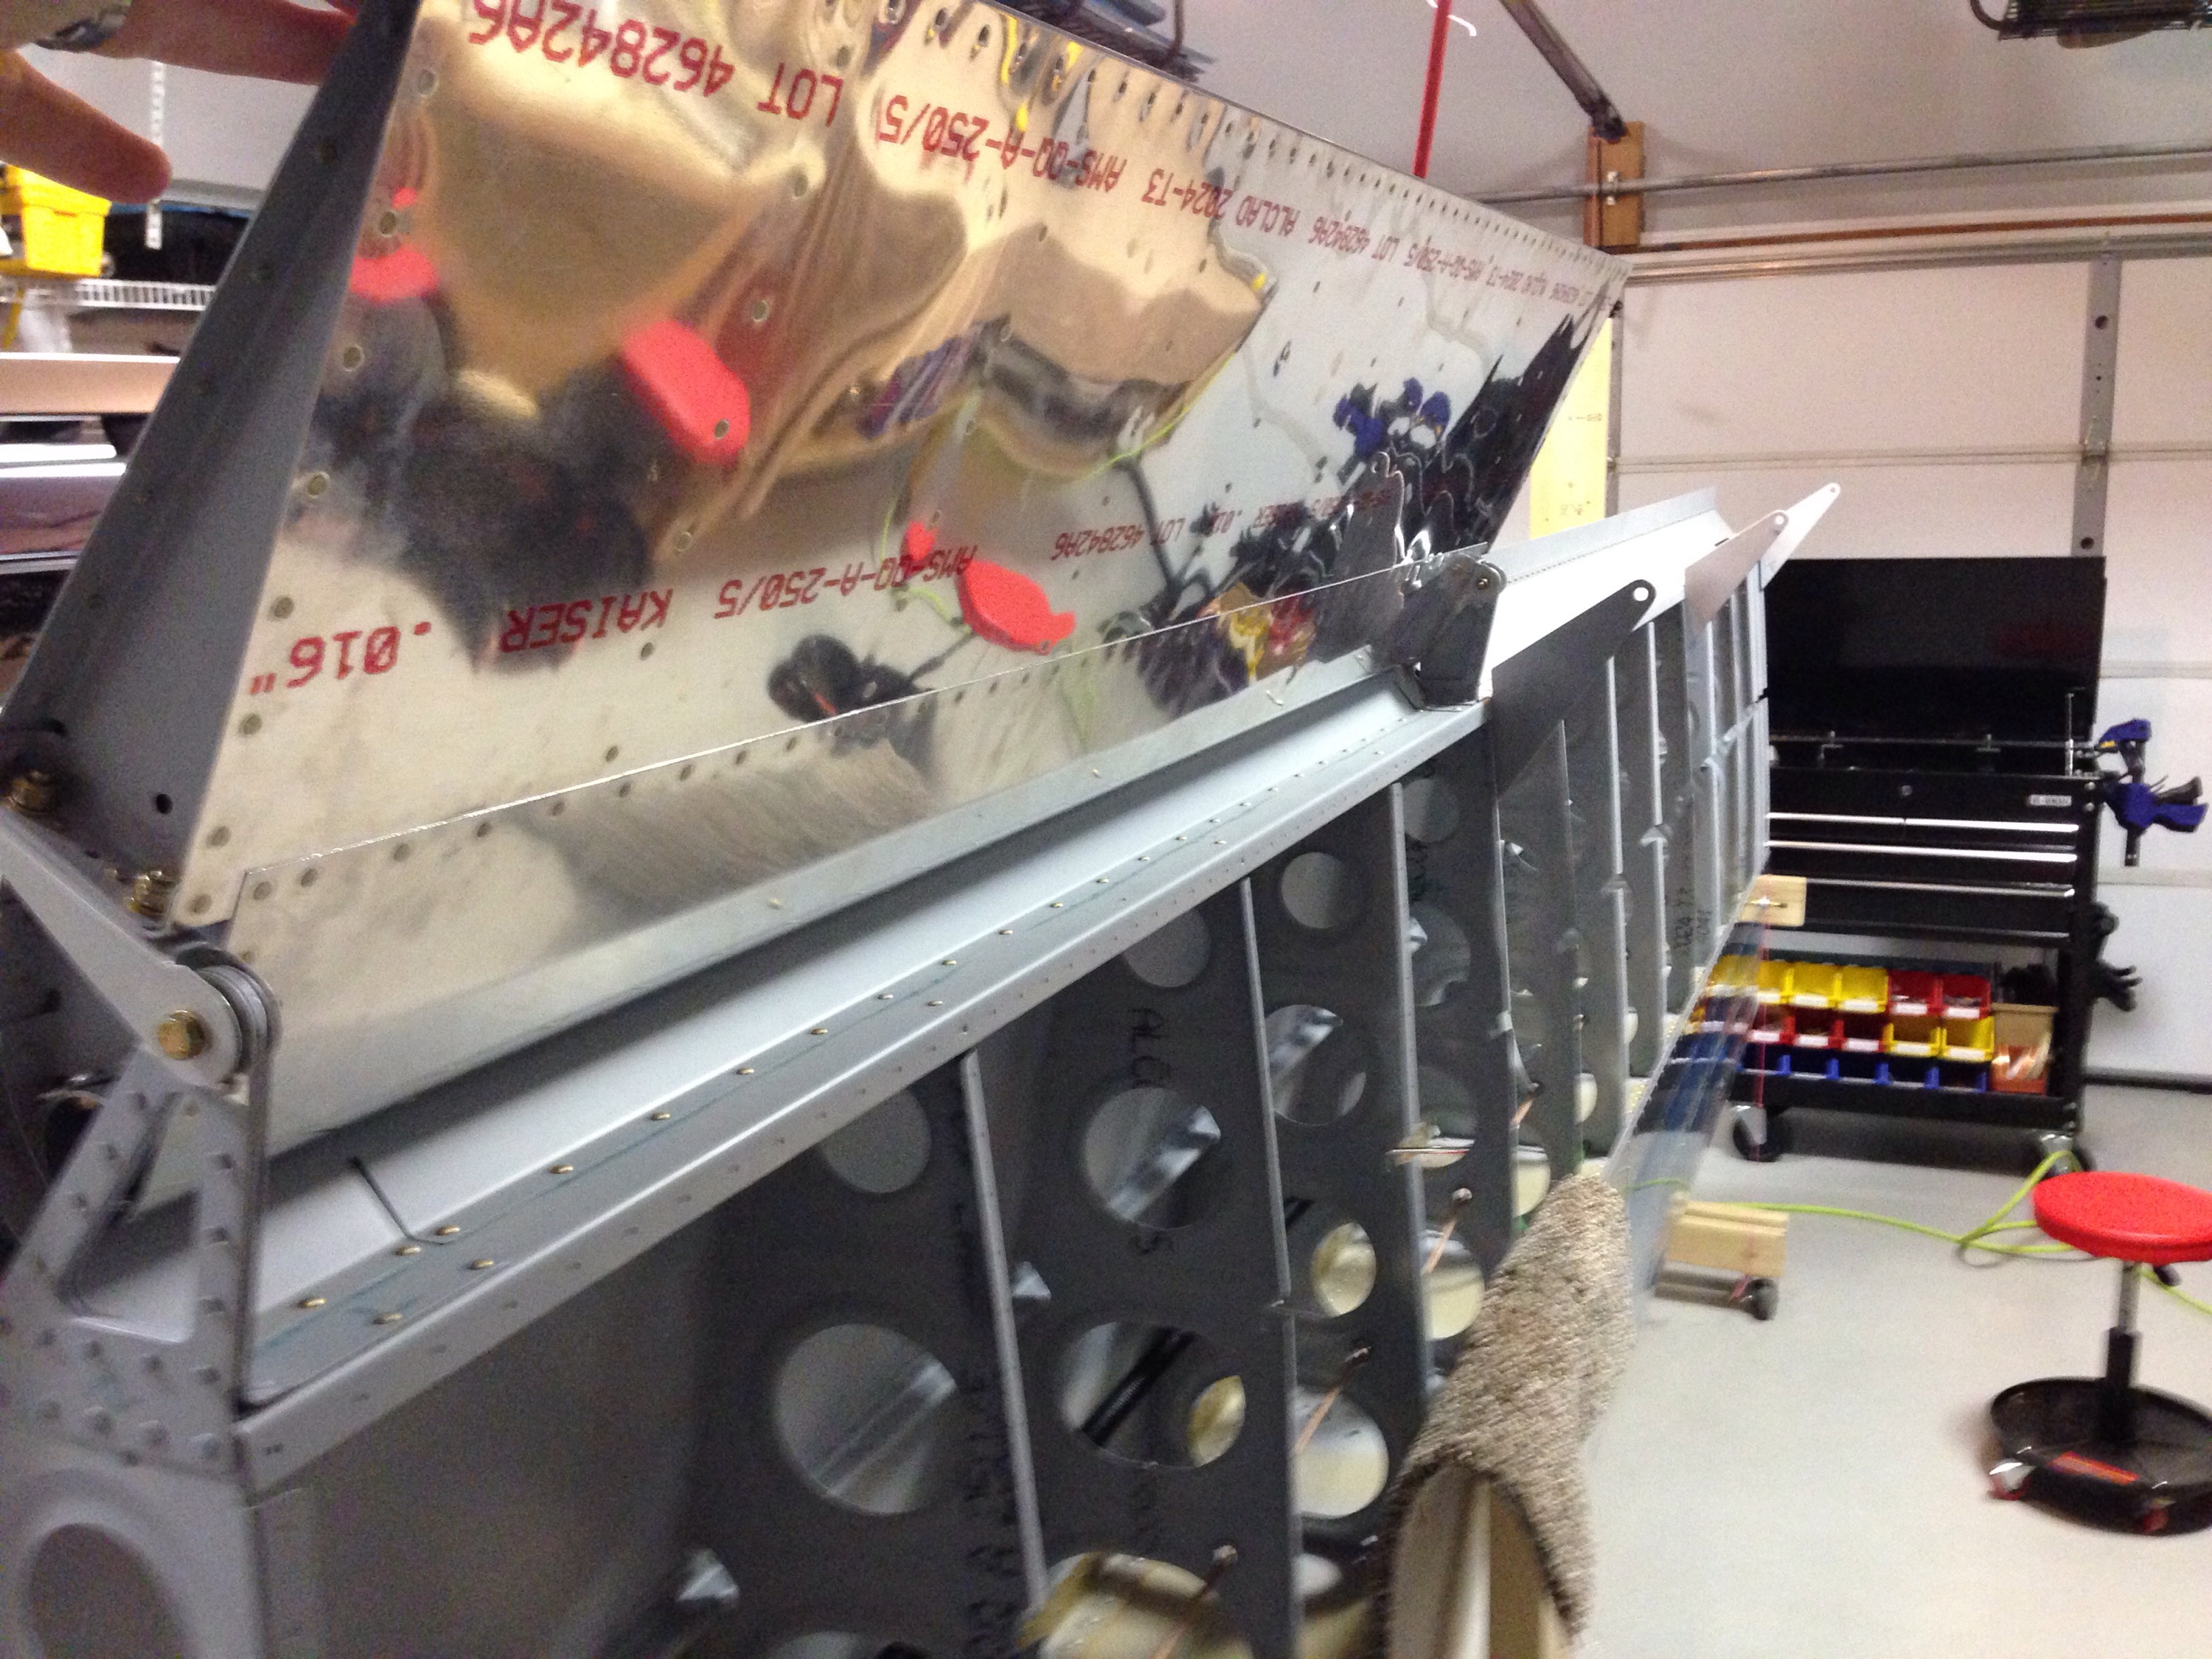
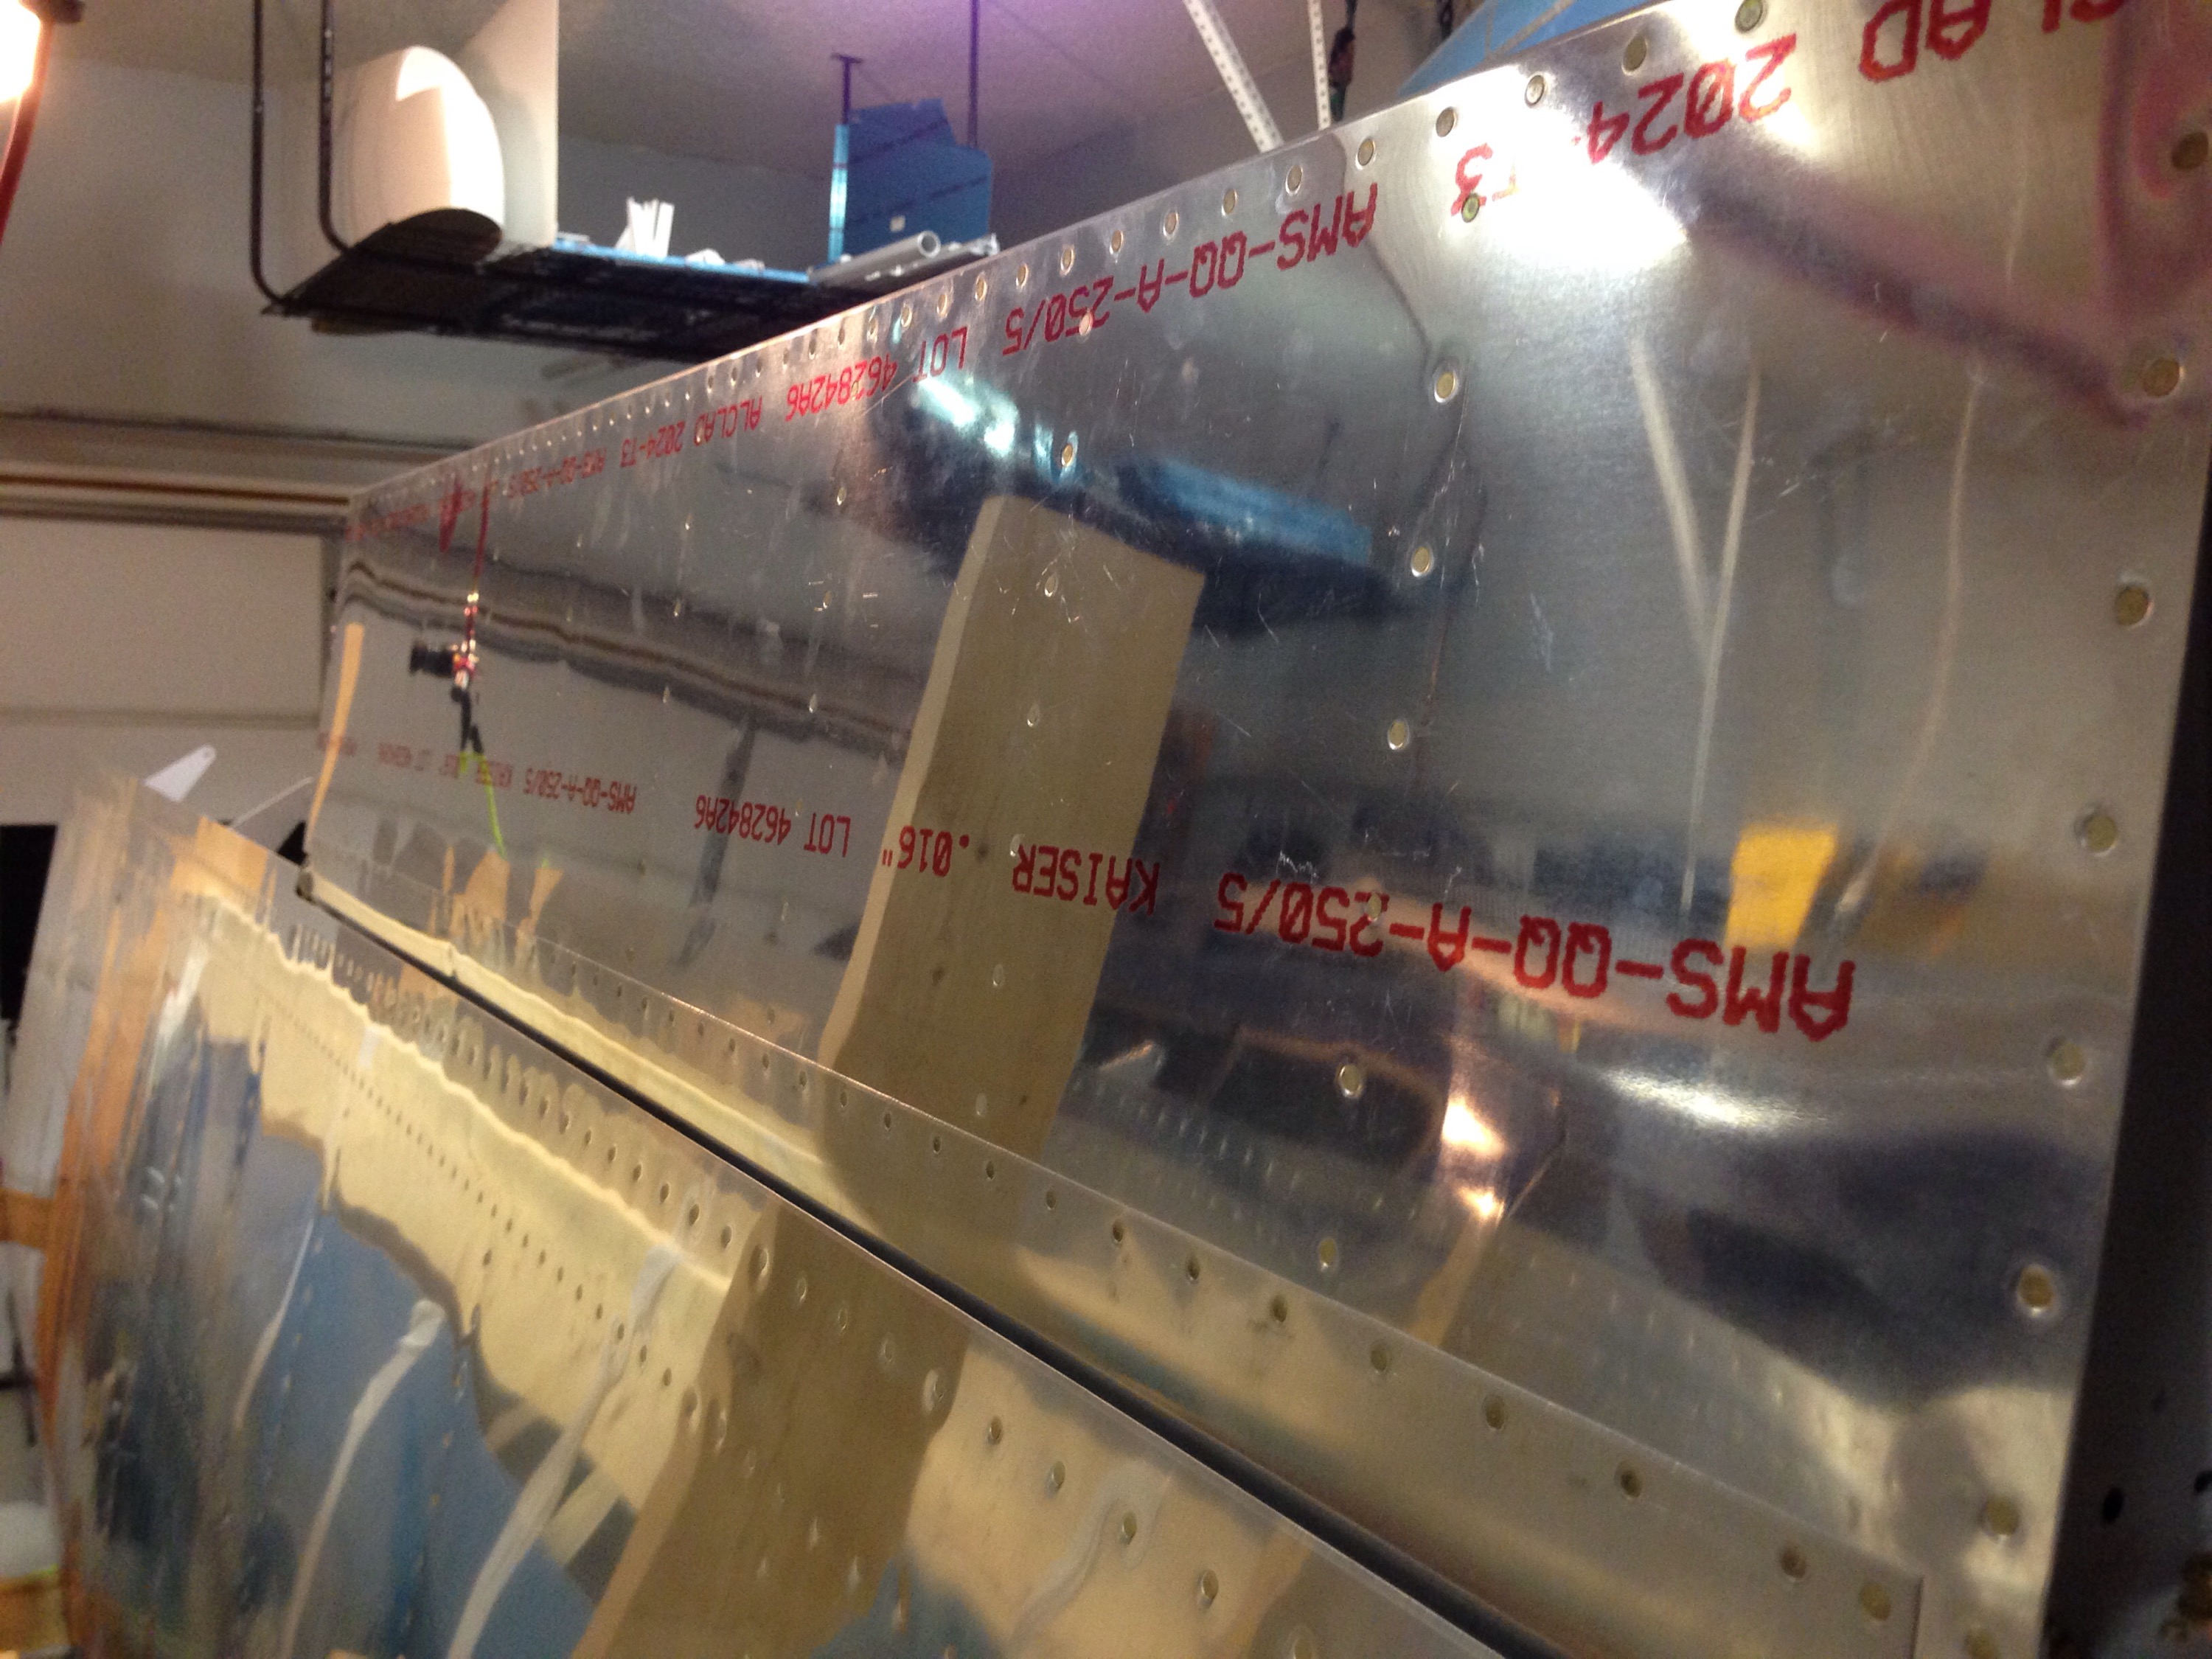
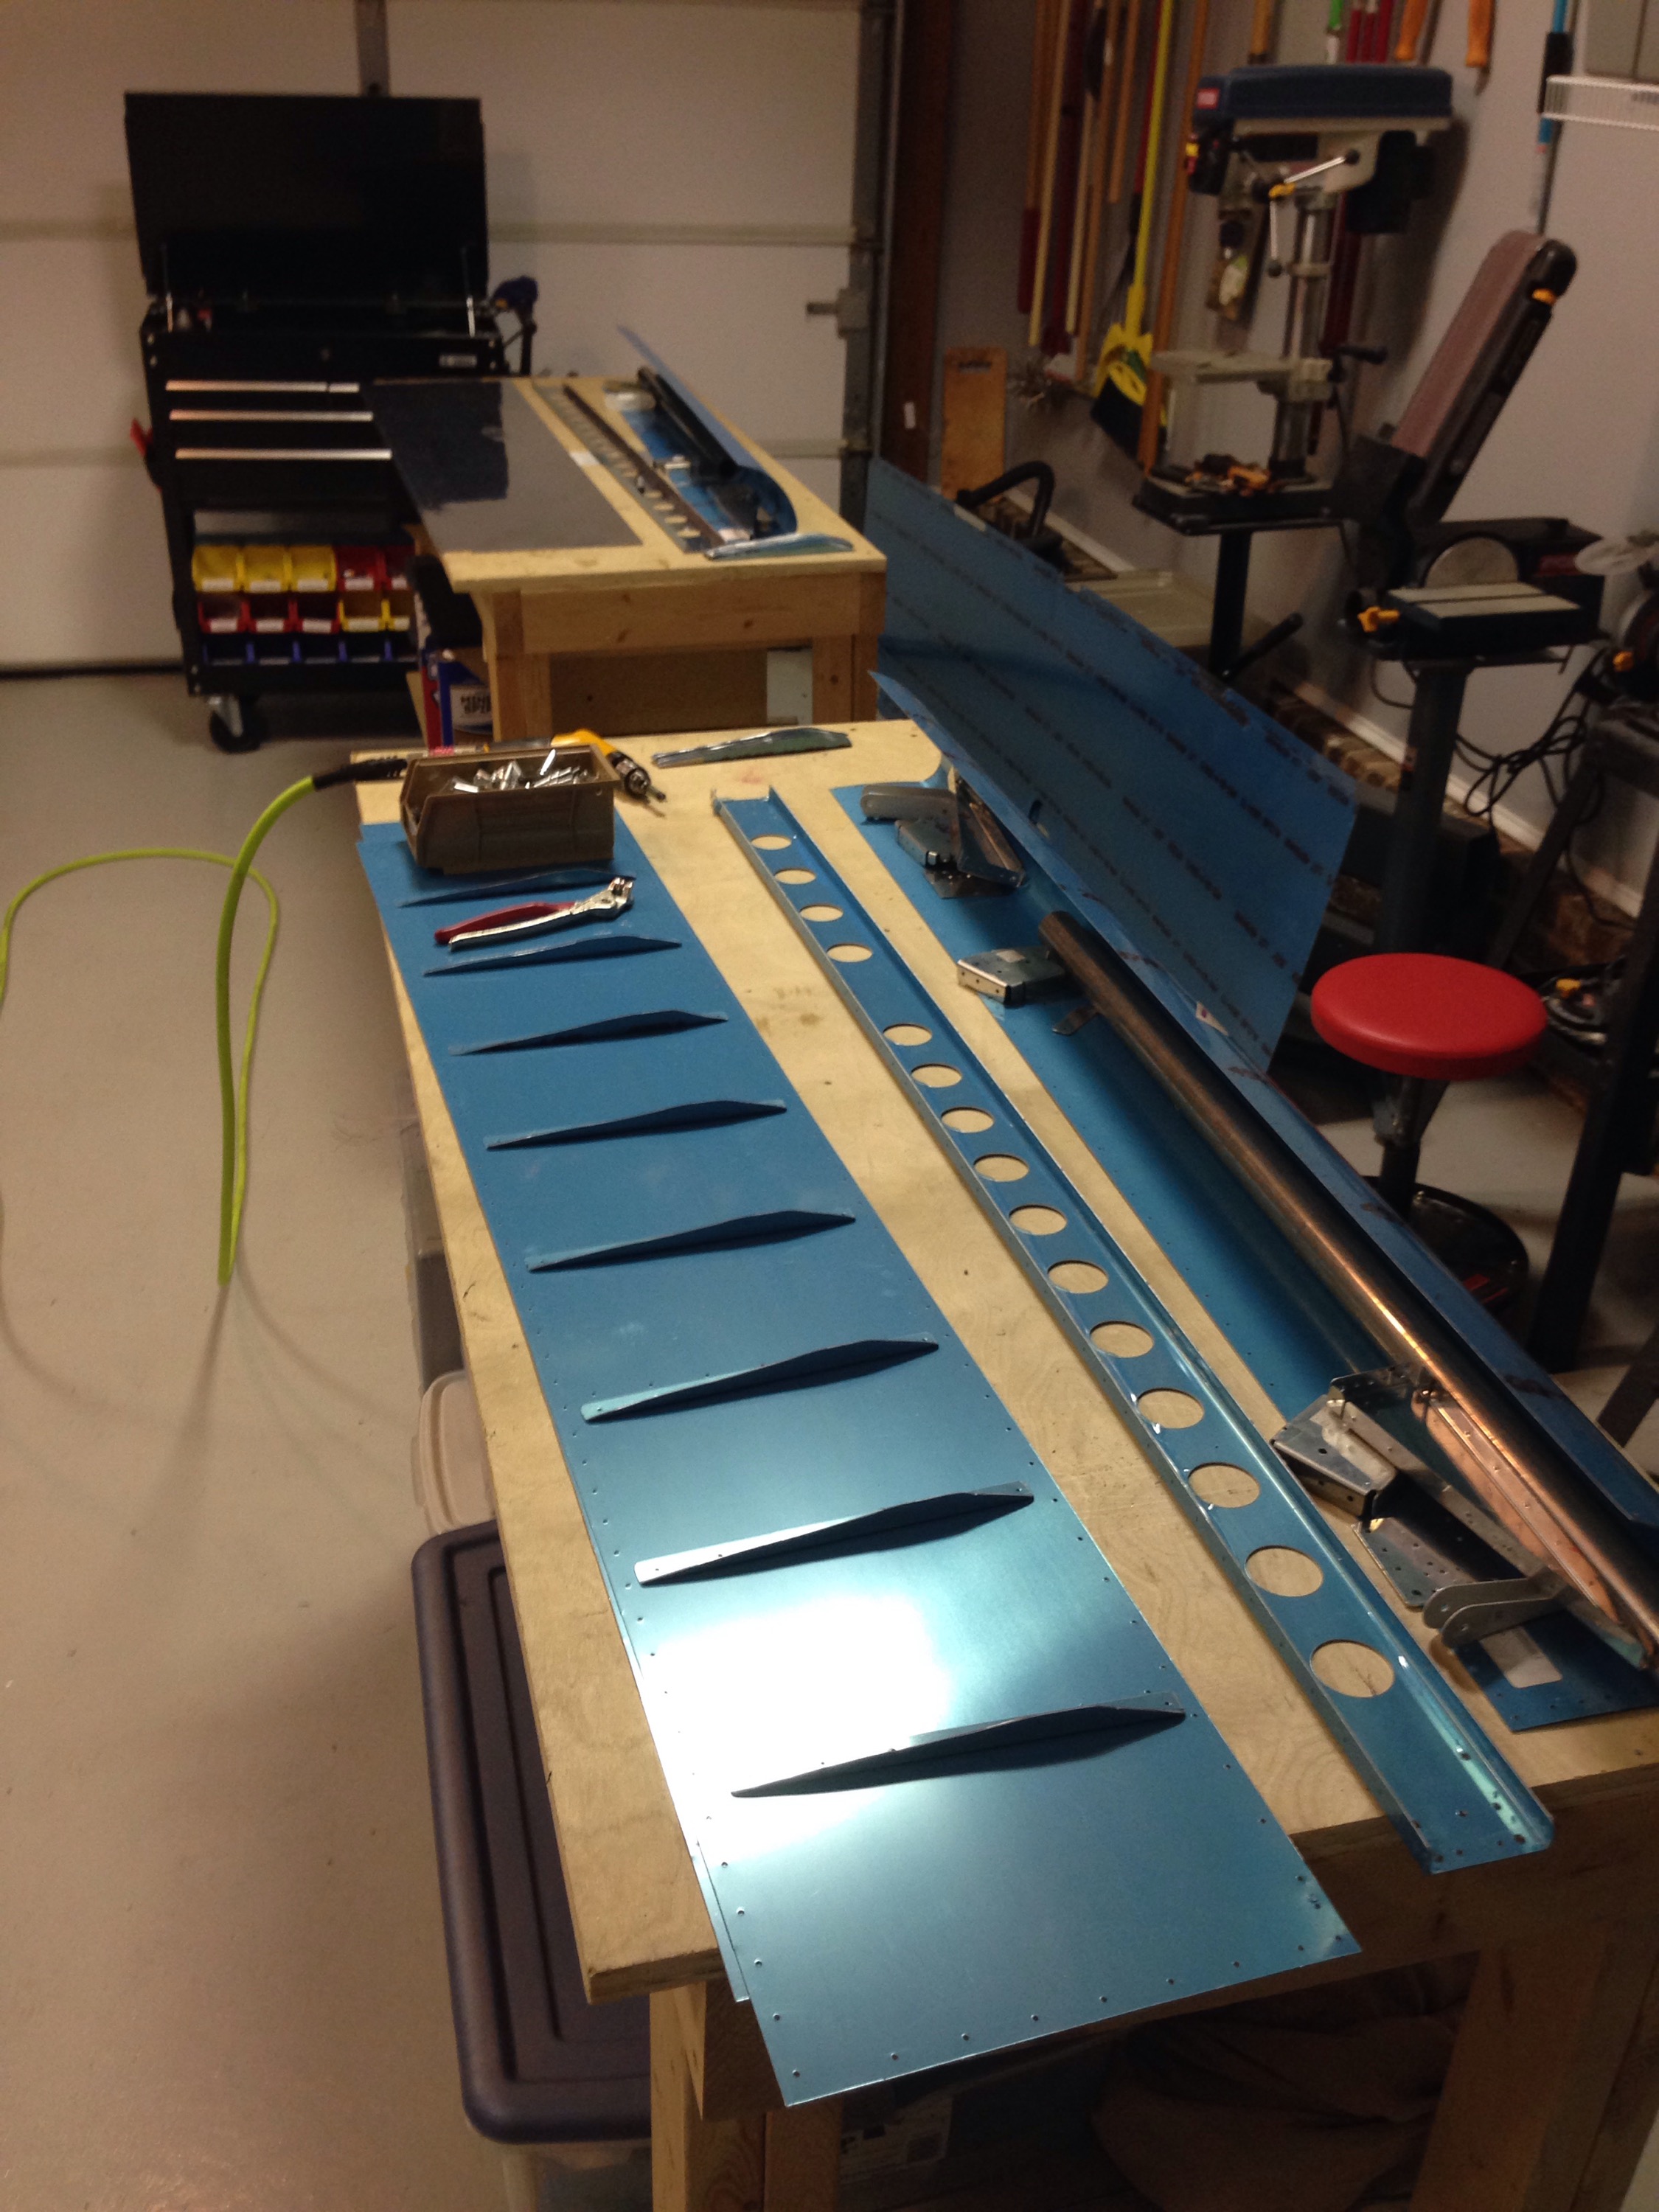
Ailerons are the next project on the wings and I was able to pull all the parts down from the racks while putting away the fuselage.  As with the elevators and rudder, it’s a pretty straight forward process.  I did have a personal problem of keeping the parts labeled correctly.  When I dissassemble, I typically use sharpie marker to label the parts.  Problem is when you clean them prior to priming, the sharpie comes off.  You can tell your self that you’ll remember or set them in order, but something always happens.  I’ll have a plan before attacking the flaps.

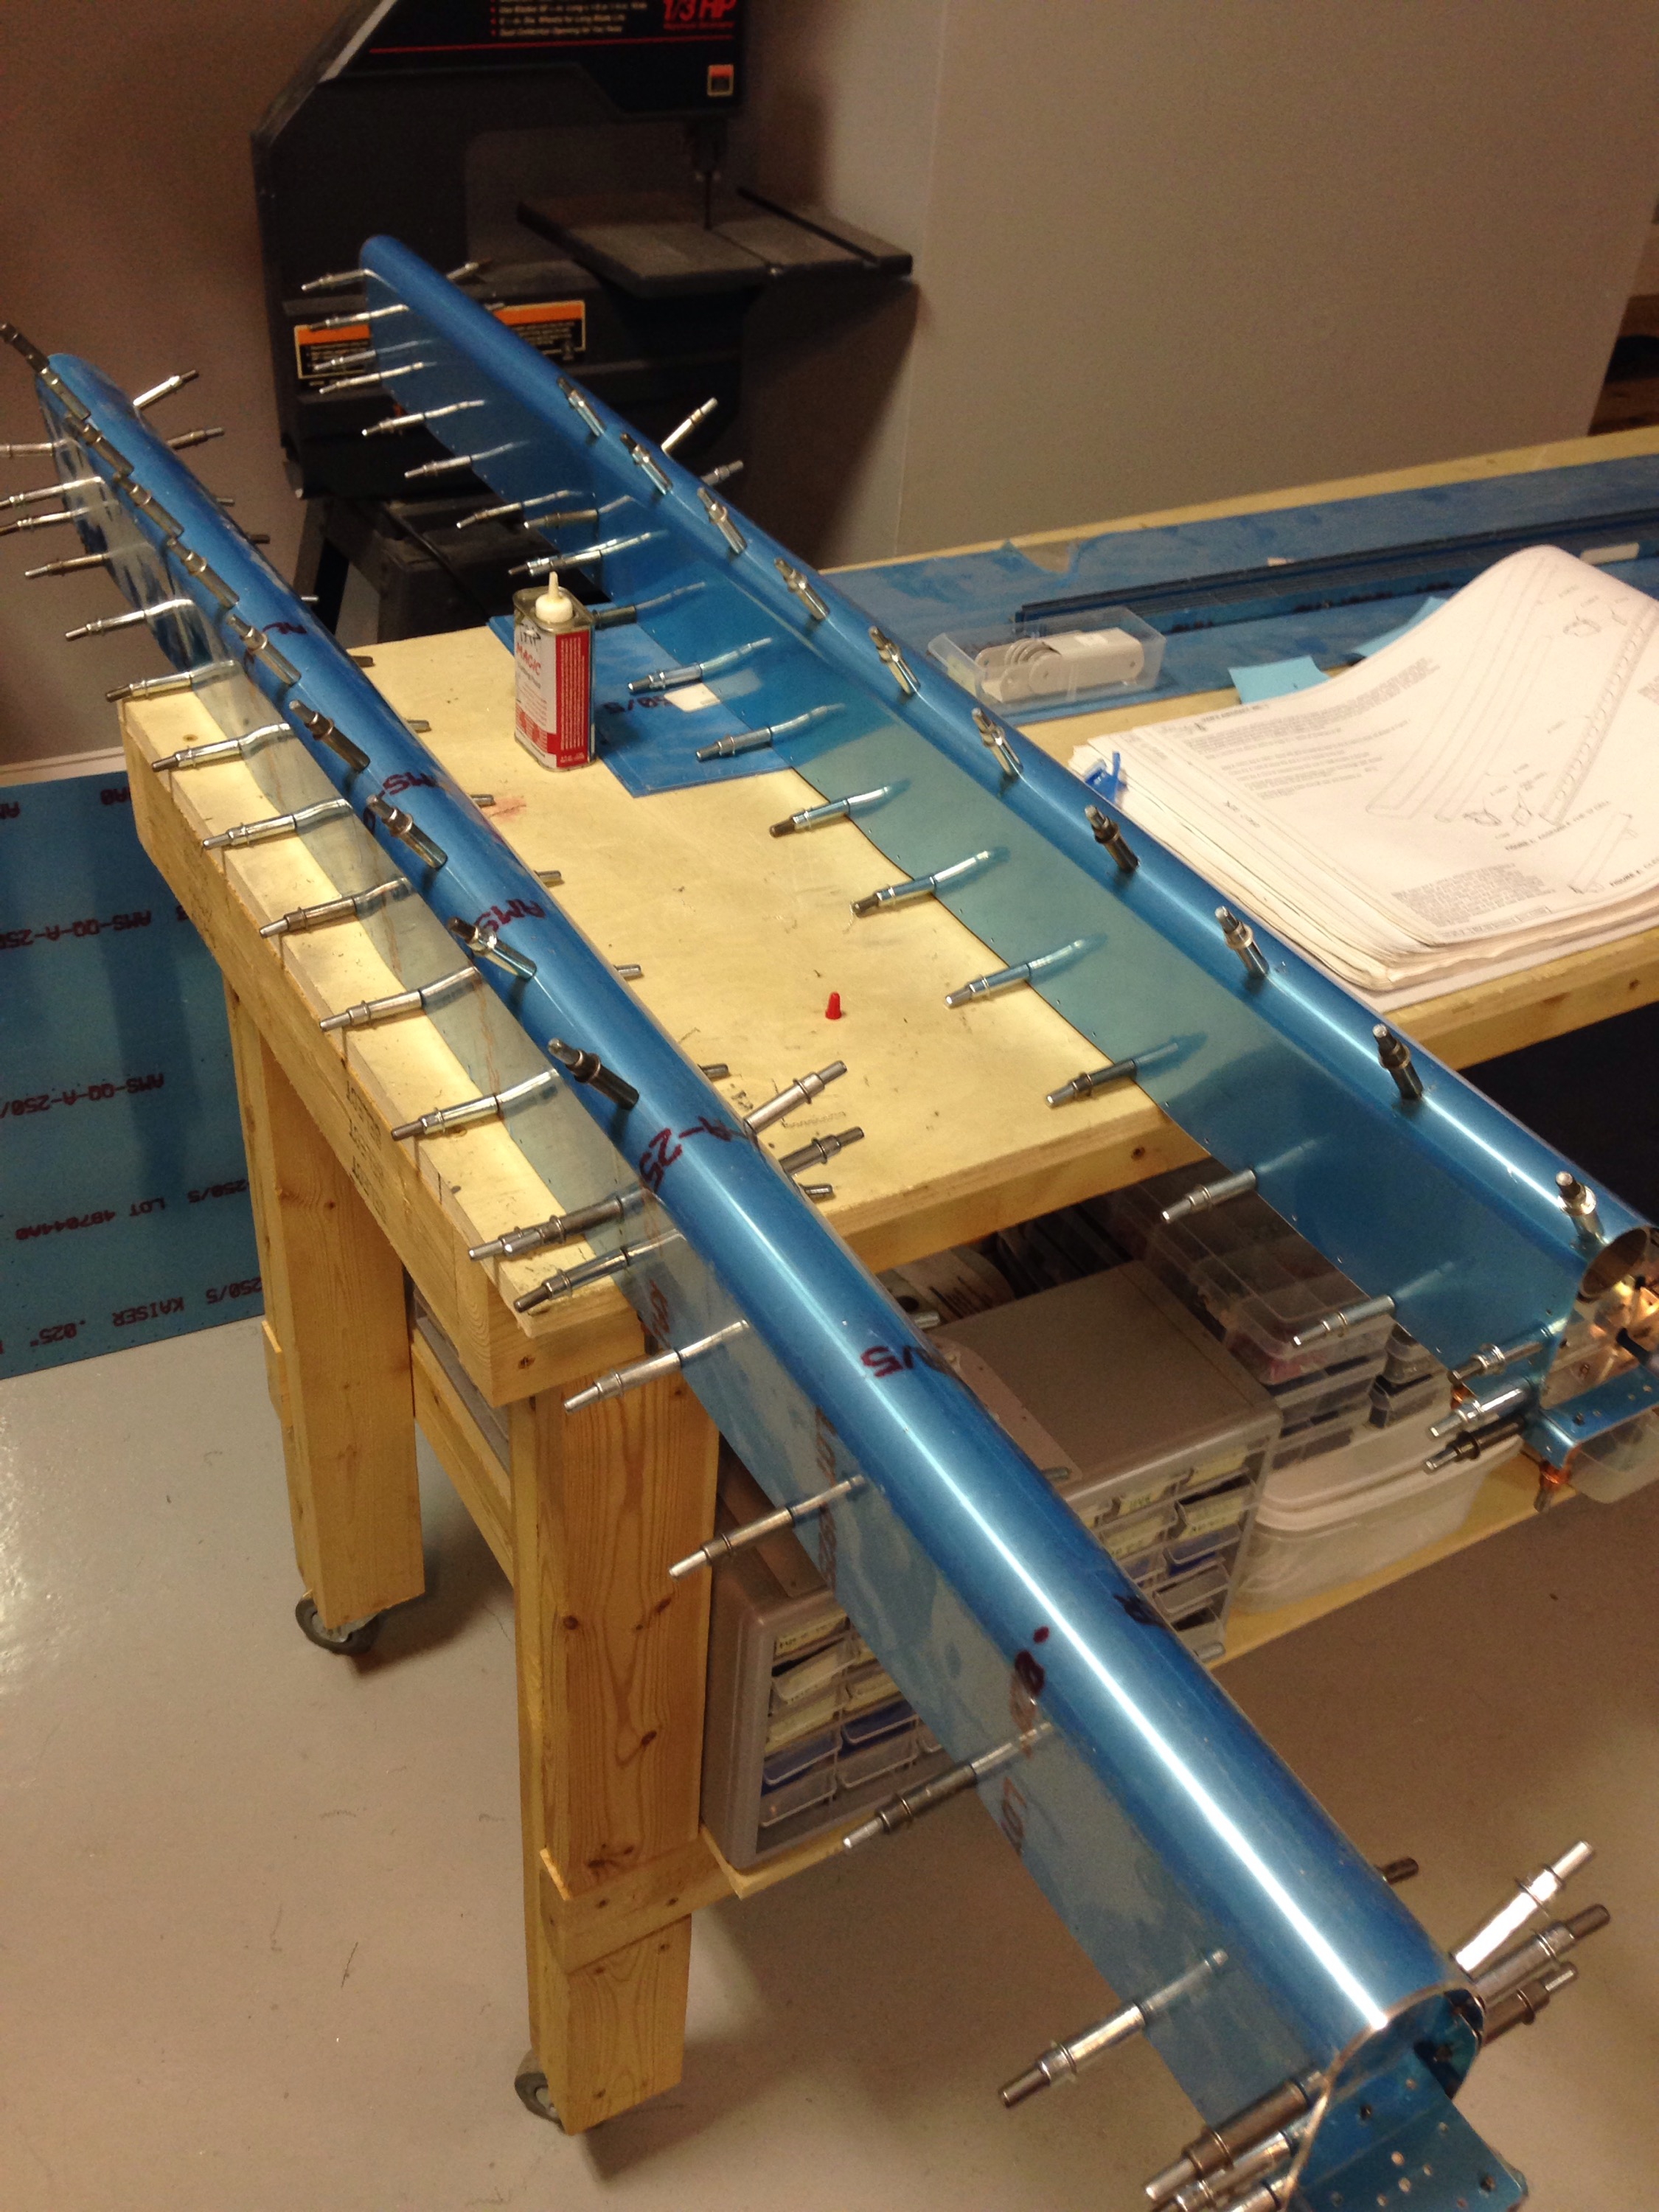
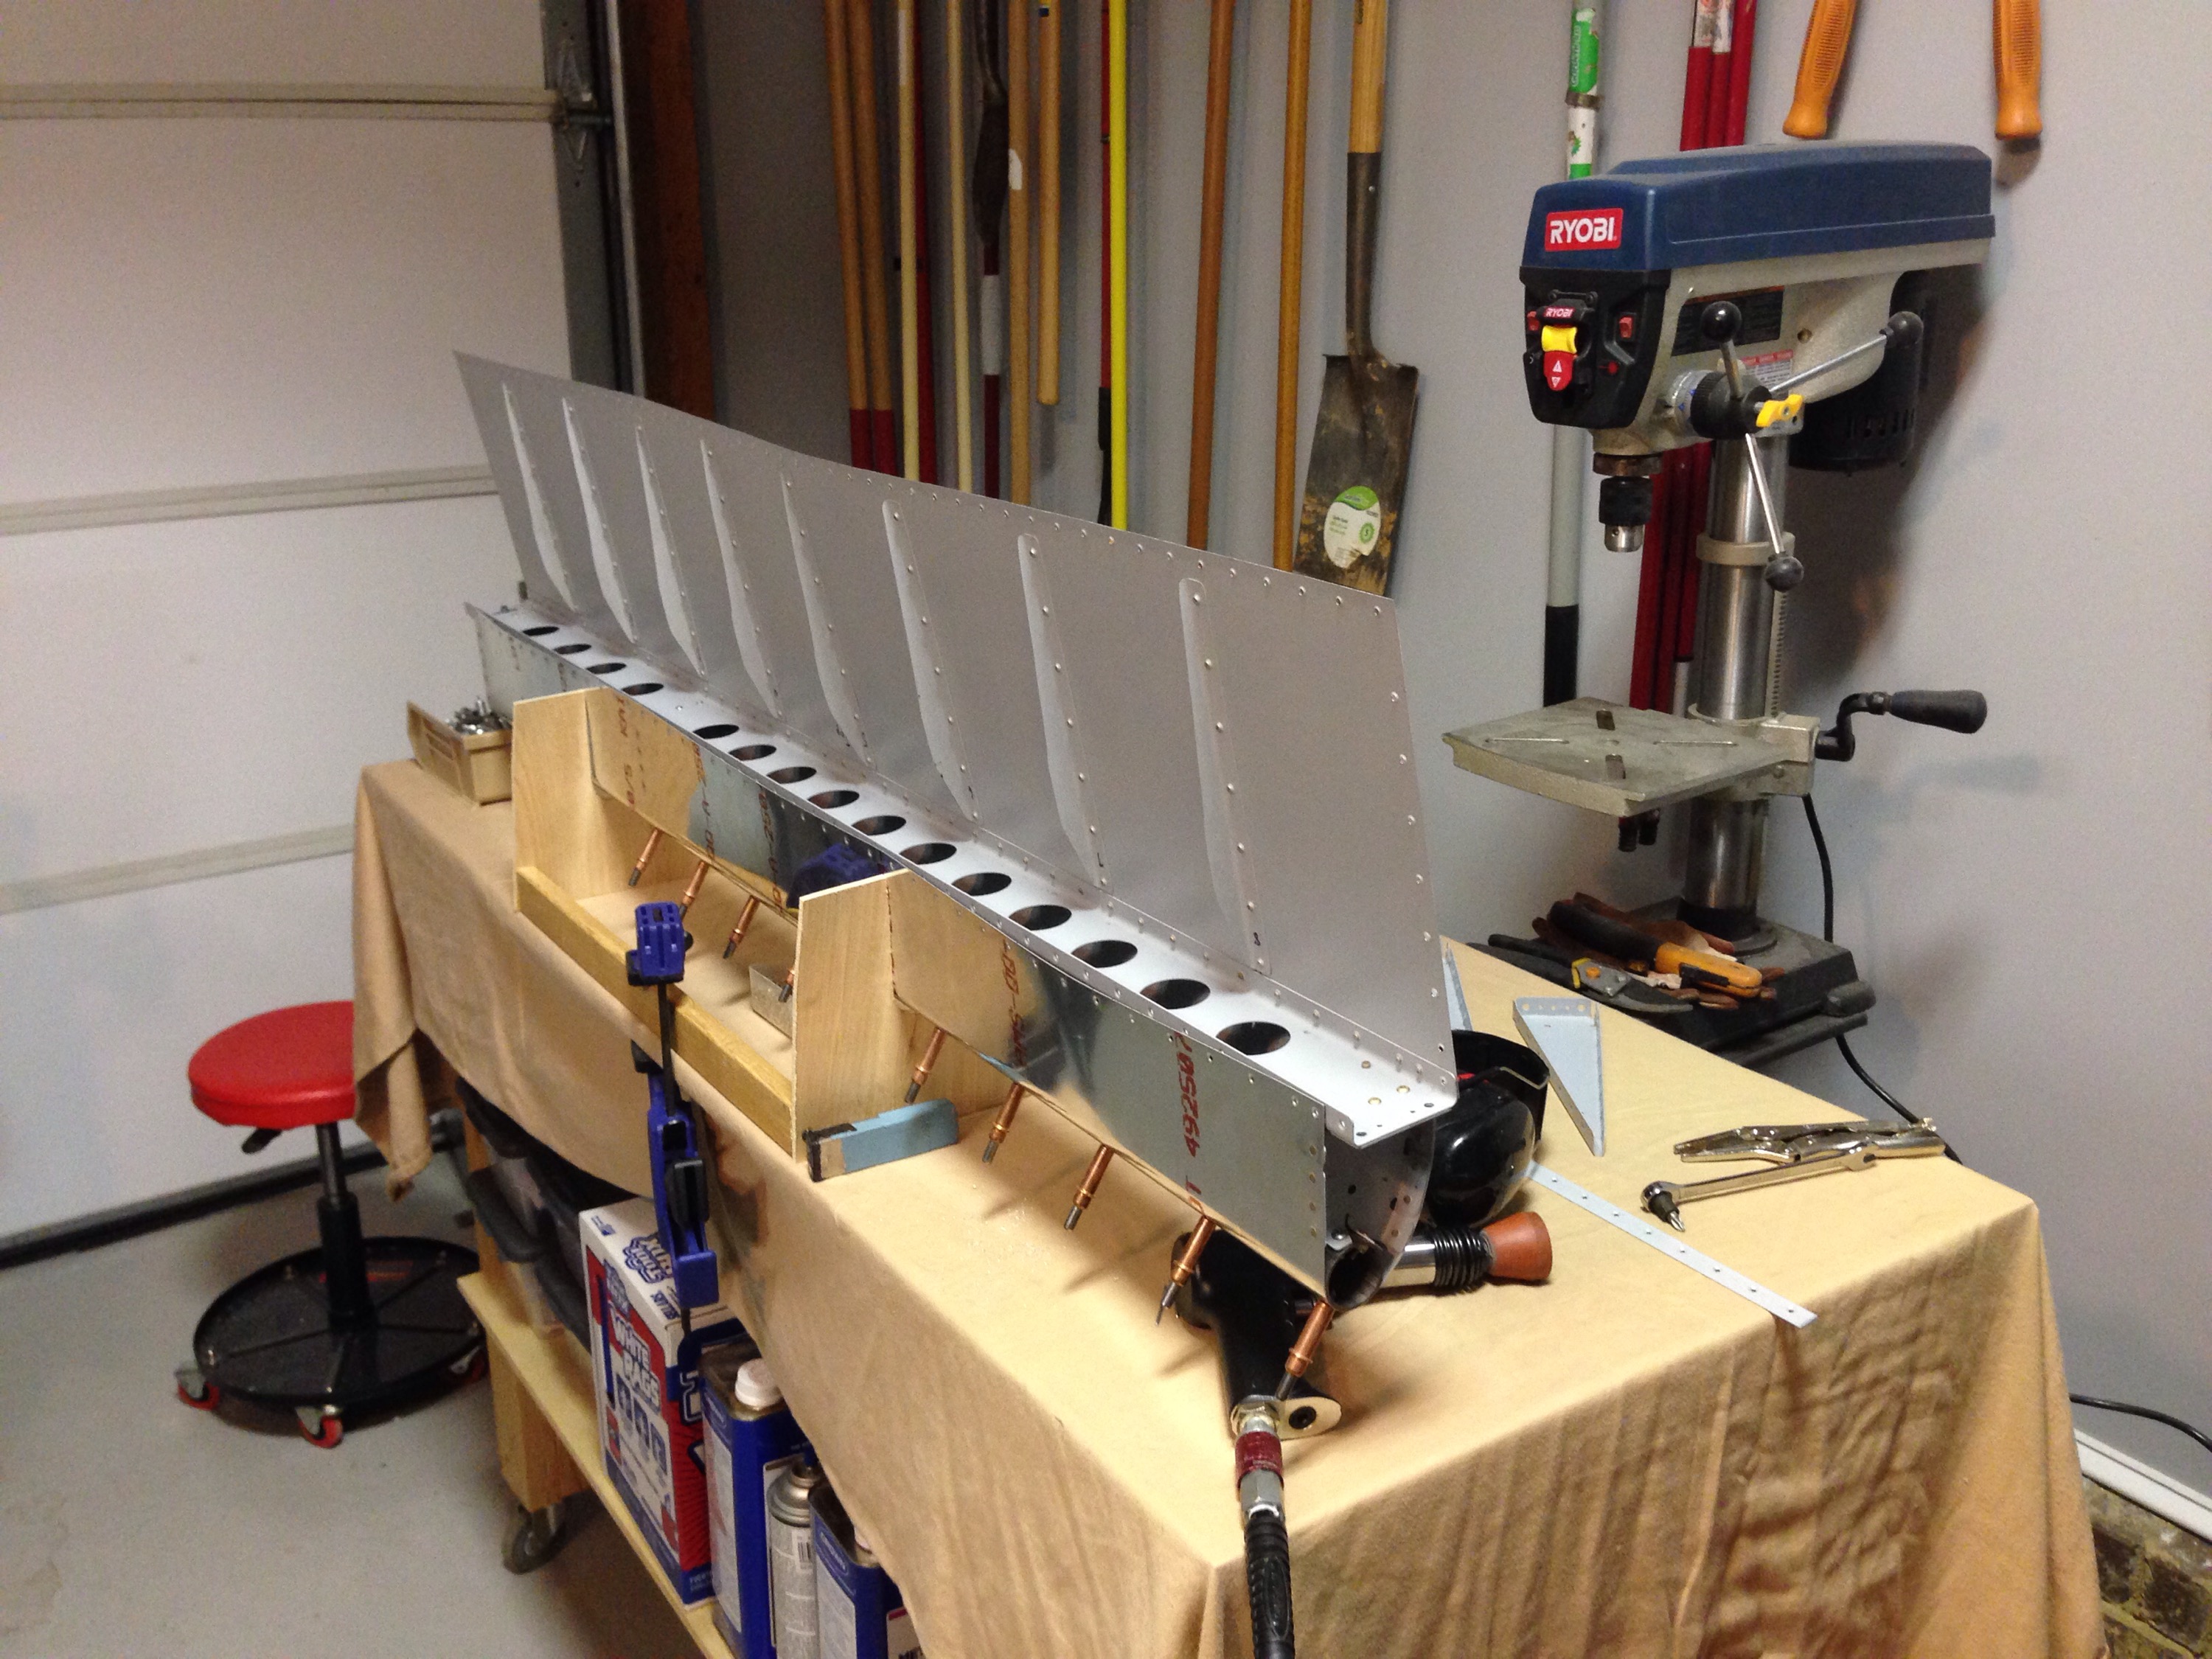
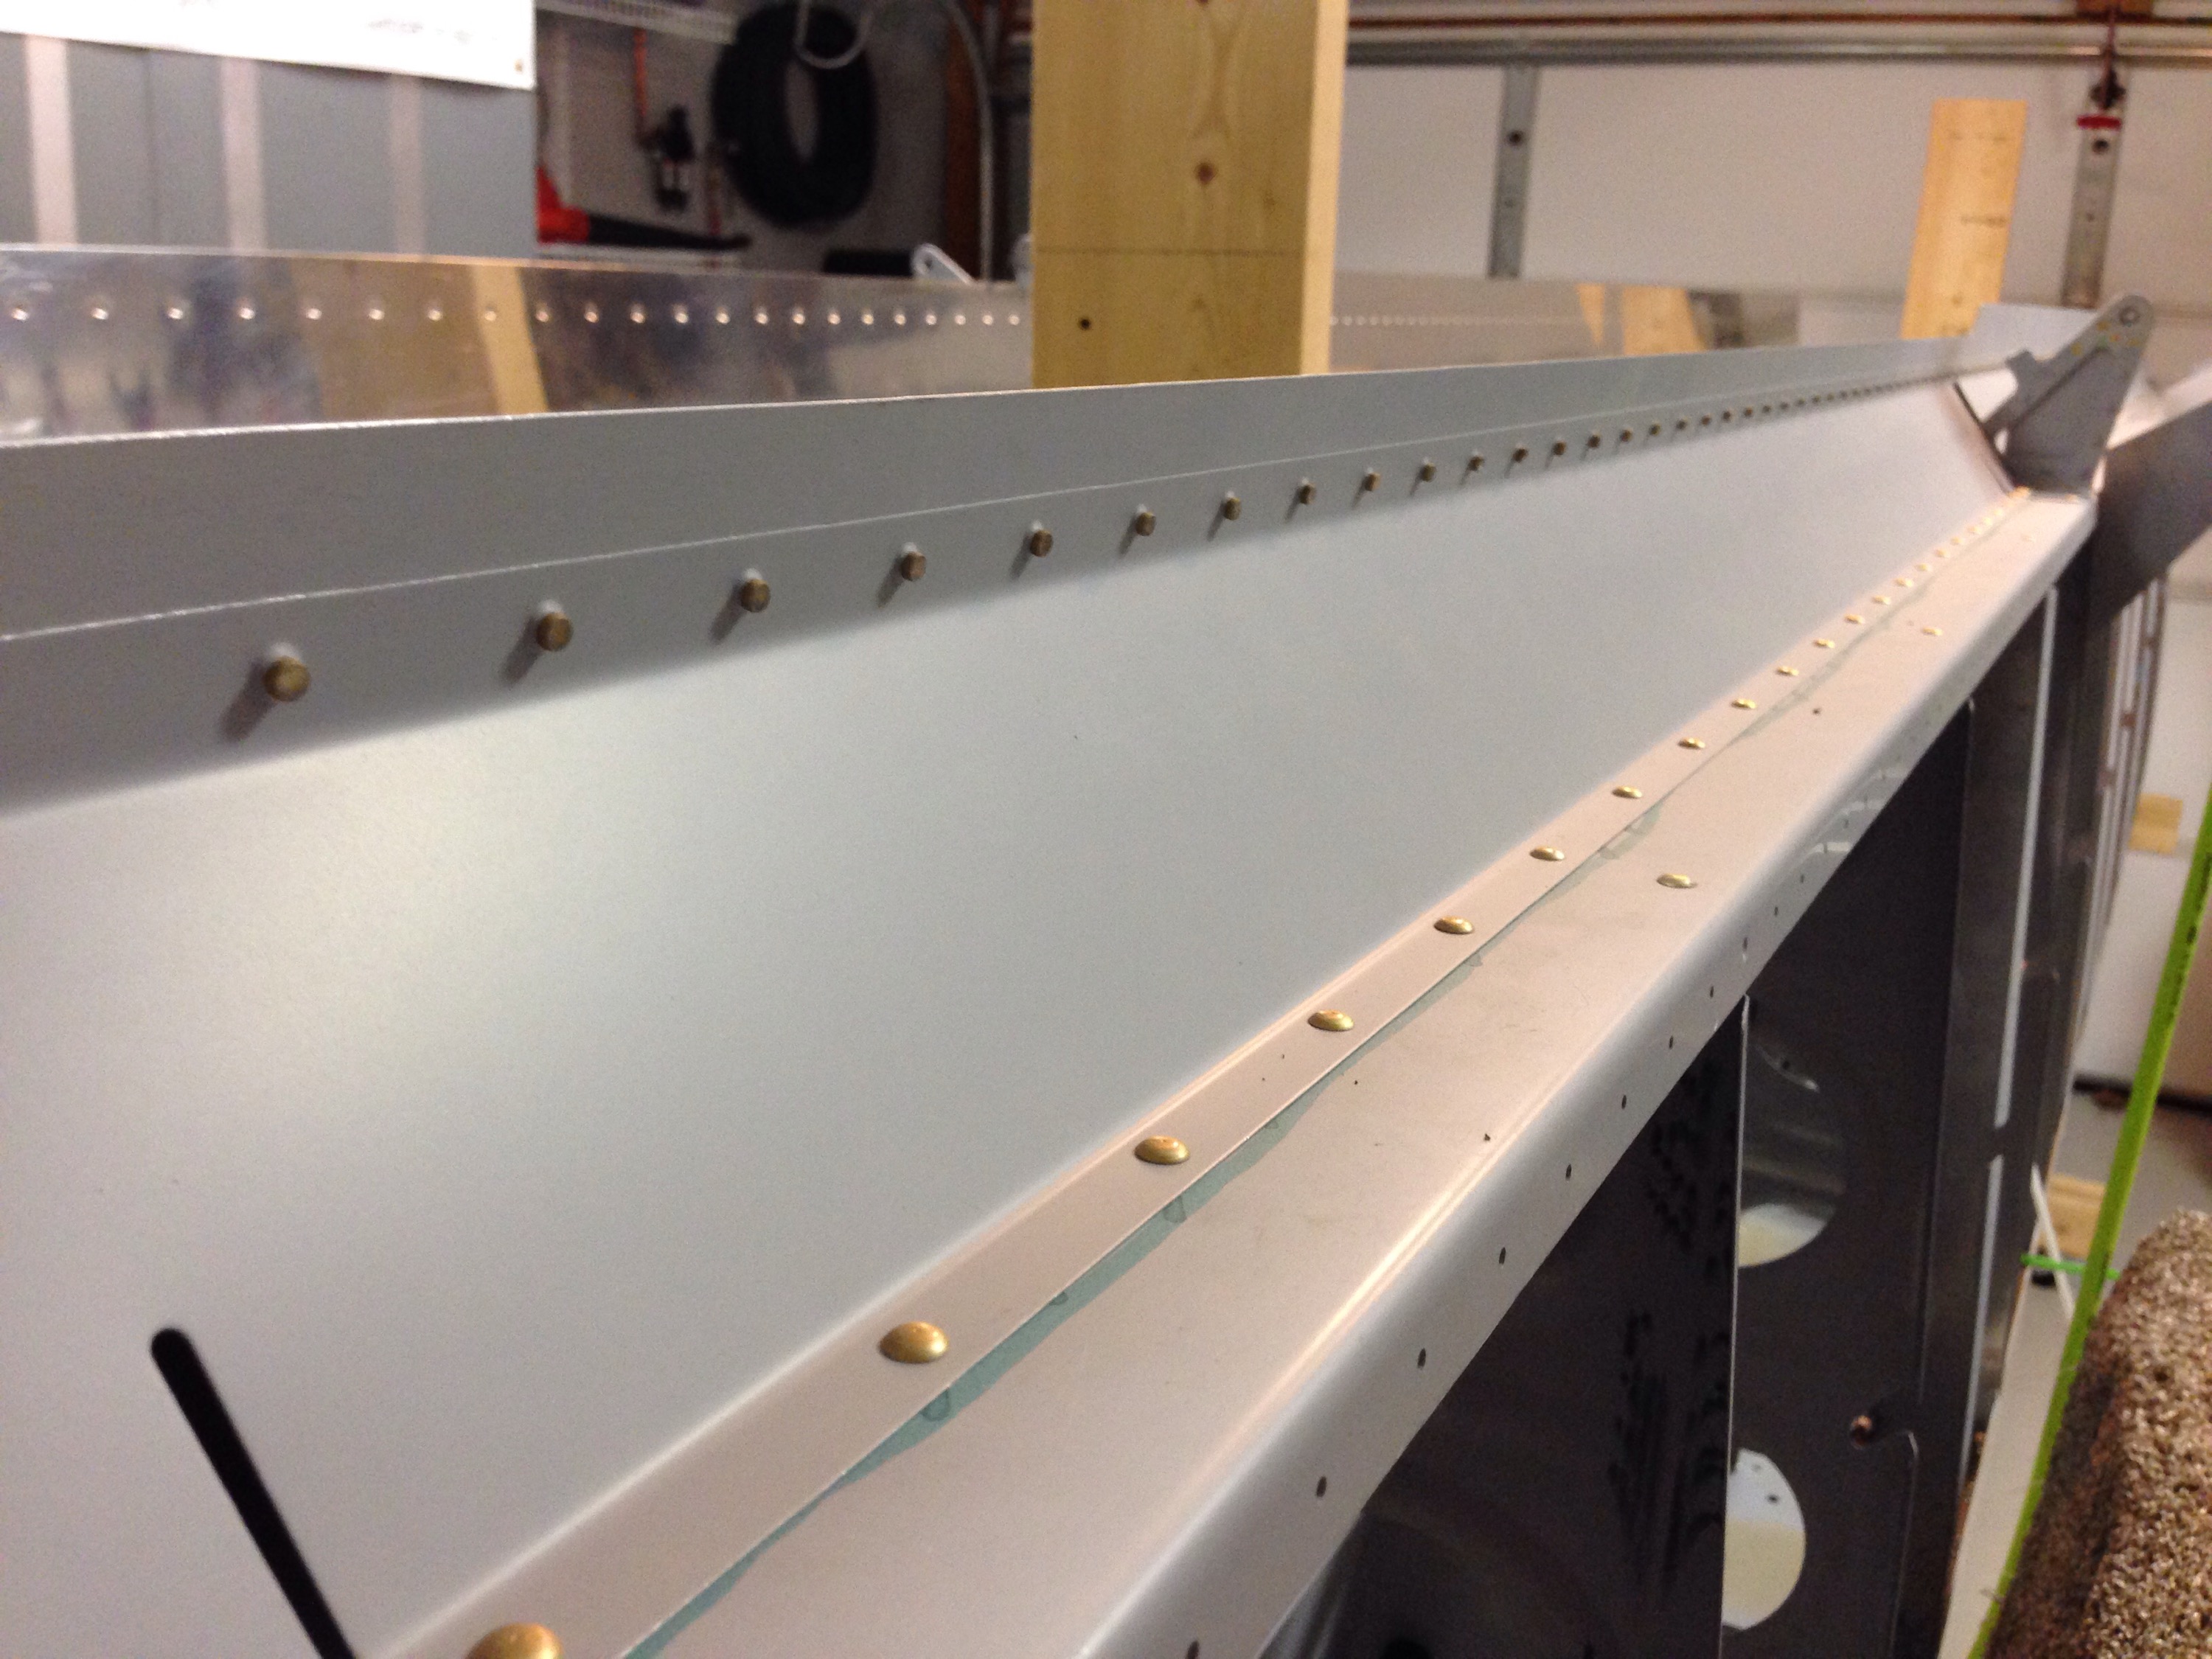
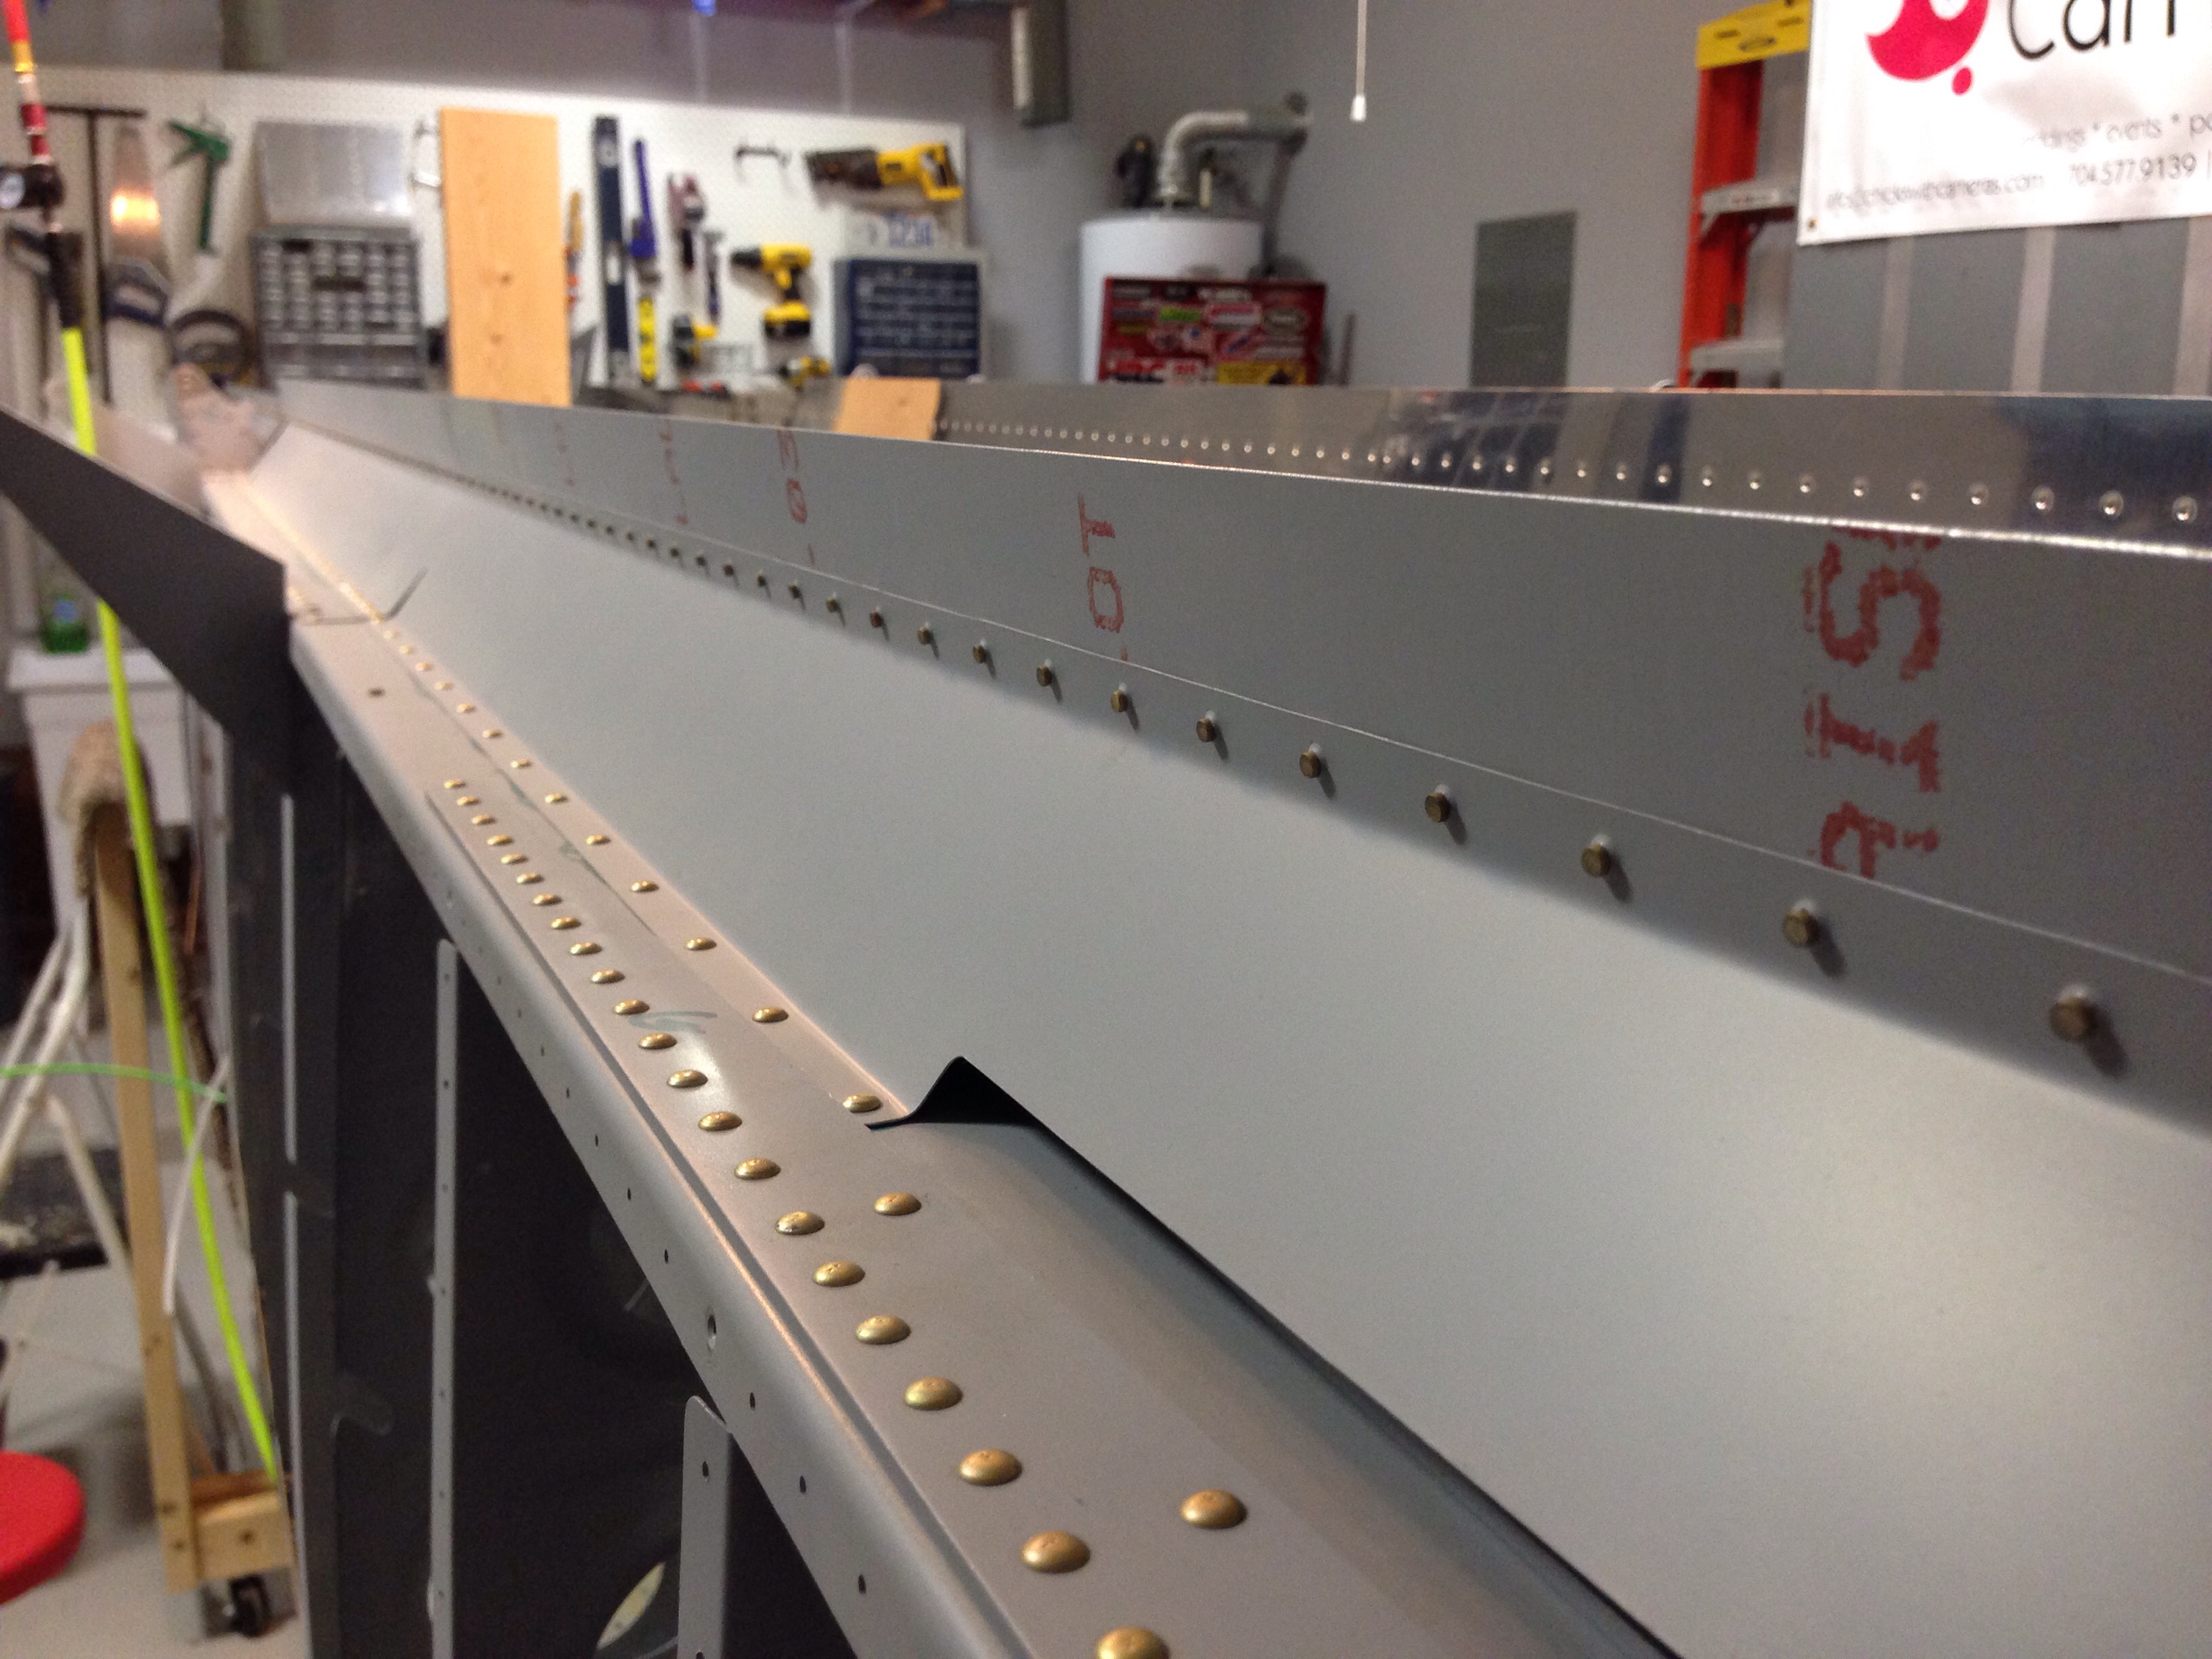
It was a tight fit to buck the bottom skin onto the spar,  so the Mrs. came out to insert rivets while I kept my hand burried in the skins.  As with the elevators, I elected to not proseal the trailing edges.  Withpatience   and a good balanced approach, you can get great results  back riveting the trailing edge right away and without all the mess.

I went ahead and bolted both sides onto the wings once complete.   They fit well and add a lot of surface area to the wings, which makes you feel like progress is being made!  I’ll tackle the controls before riveting on the bottom wing skins.  Flaps are up next.

Let’s unpack

With a big wooden crate in the garage and fewer parts left on the storage racks, it is time to unpack the fuselage and get a bit more organized around the shop.

I was surprised at how well the individual parts were packaged in the crate.  I wound up with a massive pile of duct tape, shrink wrap, and paper!  However, I will say that all the parts arrived without a single damaged item.

There are a lot of hardware bags.  I took the opportunity to rearrange my plastic parts bins and finish labeling everything with my label maker replacing the masking tape and marker from the previous builder of the wing kit. It takes a bit of time, but makes finding parts really quick and easy.  It also helped me inventory all the little things.  After unpacking everything, my only issue was 40 AN3 instead of AN4  bolts.  A quick email to Van’s and they were on the way to me.

I put most of the sheet metal parts up on the racks above our garage door — man are those things earning their keep!   I went ahead and pulled down the last parts for the flaps, as those are the next project to work on.  The cabin top was precariously hoisted up to the ceiling for longterm storage  and some new brackets were put on the wall for the rudder and pedal assembly.   Speaking of, the master cylinders were the last pieces I needed to complete the rudder pedals, so I went ahead and installed them according to plans from Approach Control.    These things are a work of art and now they have a nice home until they get installed in the fuse..

Planes, trains, and trucks

Several months ago, I placed a rather expensive order with Van’s for one (1) RV-10 fuselage kit.  The process itself involved a lot of emails back and forth to a very helpful lady in OR to figure out any additions/deletions that I wanted to make to the kit.  It’s a very popular question, so here’s what I did:

Removed:

All windows and main windscreen (to be replaced by CE Bailey’s)

Rudder pedal components (dictated by Approach Engineering)

Instrument panel (using Aerosport)

I inquired about adding the doors into the fuse kit instead of the finishing kit but you get penalized for messing with a good thing and I figured I’ve got plenty to work on.

Now, this wouldn’t be a good story without drama.  The drama started by asking if I could ship the crate by UPS Freight and my company’s account which earns an incredible discount.  Van’s agreed but marked the BOL collect instead of 3rd Party.  This equaled a temporary bill of over $4000 from UPS.  Long story made short, I correct the first issue in short order and got the charges back down to a reasonable $233 including residential delivery.

Which brings up an interesting point.  Delivery.  Long way from OR to NC.  Lot of different ways to get here.  This is how our shipment did it.  Loaded onto a semi trailer which was then loaded onto a train car which then broke somewhere in Idaho without anyone knowing it meaning it got lost.  I discovered this for UPS on Wednesday while tracking the shipment online.  It said it was in OR on Wednesday and on time scheduled for delivery on Thursday.  Right.

A week later and some great help from a real live person who works for UPS in CLT, the crate showed up to our house and we pushed it in the garage.  Finally home safe and sound and thanks to a comprimise, all at a bargain freight charge of $100.


In other news lately

In between the fuel tank tasks, I’ve been able to tackle a lot of smaller projects and tasks.  In no particular order, here’s what else I’ve been working on.

Aileron trim servo:  This was a pretty easy project, assembling the trim mounting which is actually built on an access panel that will mount to the bottom of the left wing.  Along with the actuator arm and some hidden hardware, the assembly attaches via springs to the aileron pushrod inside of the wing.  The actual servo is also hidden under the bracket.  I’ve ran trim servo wire from the wing root to the servo location and will have a disconnect to make mainenance simple.


Flap gap fairing:  These are long pieces that fill the void between the rear spar and top wing skin and provide better aerodynamics for the flap.  They were pretty easy to install and finally filled the reminaining line of rivet holes in the rear spar.  I was surprised at how much rigidity it also provides to the top wing skin where it overlaps the flaps.


Switches:  I wanted to get an idea of what my Apem switches were going to look like lit up and ensure that I could gget the lighting to behave like I want it to.  Each switch has two independent LEDs  and the switch itself is DPDT.  What others have done worked for me usiing one pole of the switch to control the bottom LED which provides a status indicator for the switch.   The top LED will be controlled with  an on/dimmer dial  and linked to a FDS LC-50 lighting controller which will control all interior and panel lighting.  There is a bit of bleed  on the lighting but I think it will have minimal impact  once installed.


Flying:  It’s really important to me to keep flying throughout my  build.  Rather than the typpical 172, I got a chance to take a ride in a Champ to go eat lunch and check out some other RV’s with a new friend.  It was a great day and I really enjoied my first tail dragger flight!!