Up, up, and away!

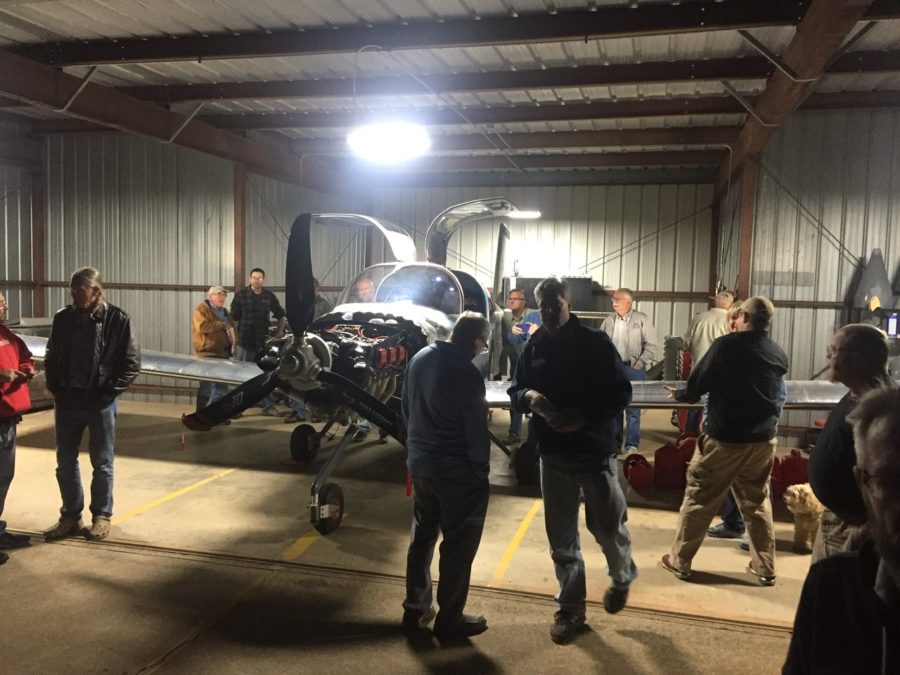
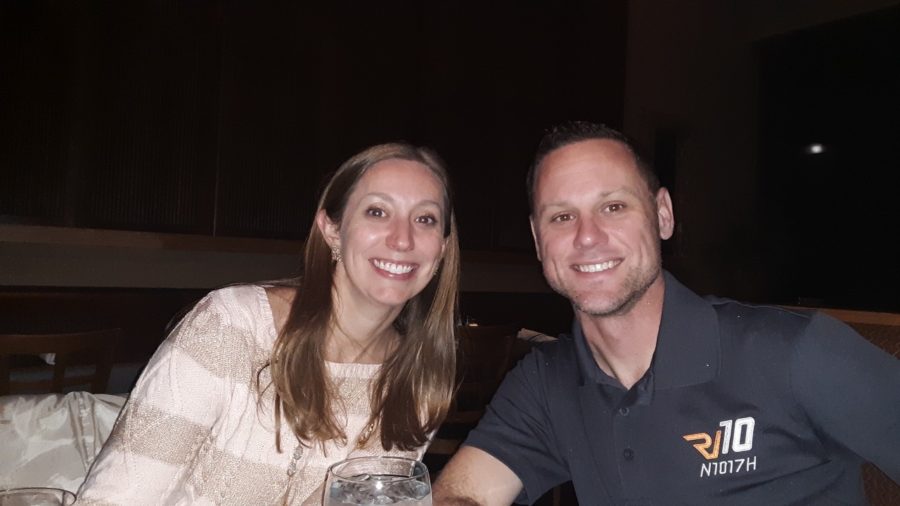
Since I now have an airplane, the next logical step is to fly it right? Kick the tires and light the fires! Dad, Laura, and I celebrated the certificate with a nice dinner full of phone calls and texts from friends, family, and well wishers. This community is simply amazing. So many people congratulating us on our accomplishment like we are old friends. Some we haven’t even met in person!

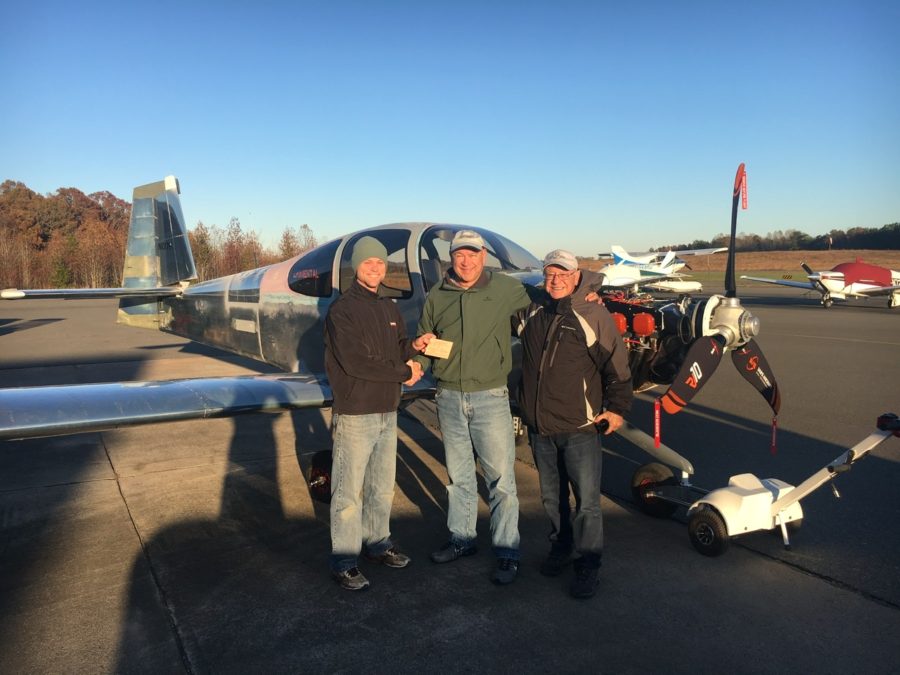
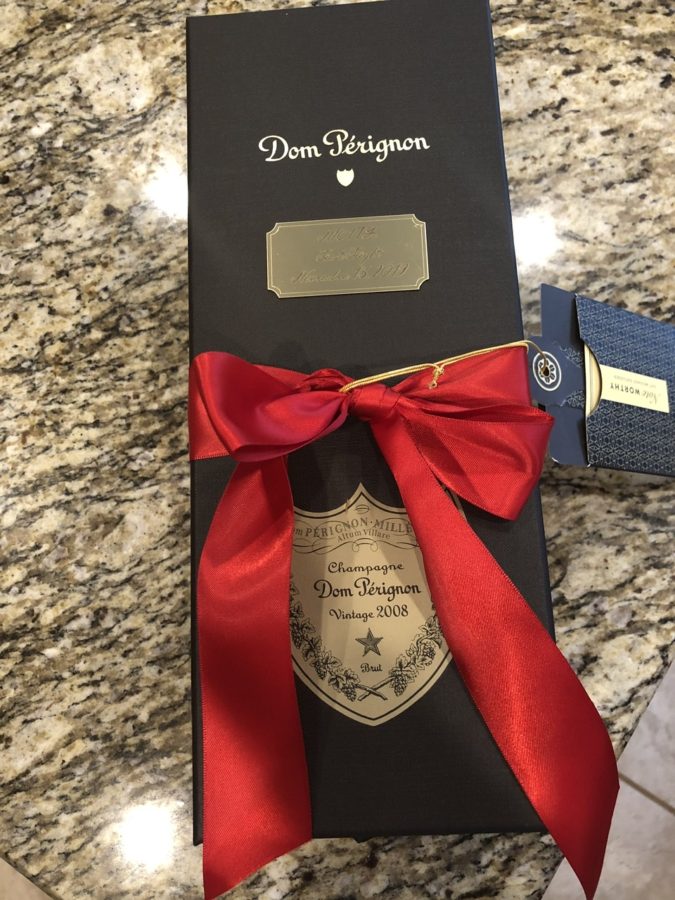
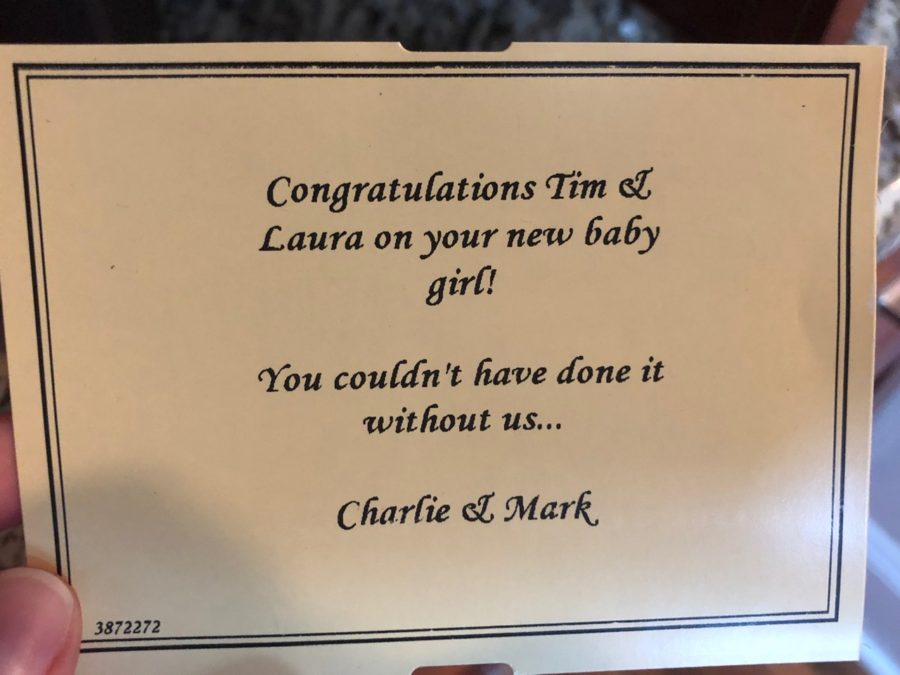
Mark Ciaglia and Charlie Derk have especially been motivators to me. Mainly, I want to build a better plane than both of those losers and no doubt I have. We have a group text running back years at this point full of questions, this is what I did, that’s stupid I’d never do it that way, and remind me never to fly in (fill in the blank)’s plane. Seriously though, these guys have been such a rock to lean on for advice, ideas, encouragement, and comradery. They both have amazing RV-10s in the works and no doubt will be amazing accomplishments. Anyway, not to get too sappy, we received an awesome gift in the mail that required a signature with a note that only Mark and Charlie could come up with. Thanks guys, I hate you too.

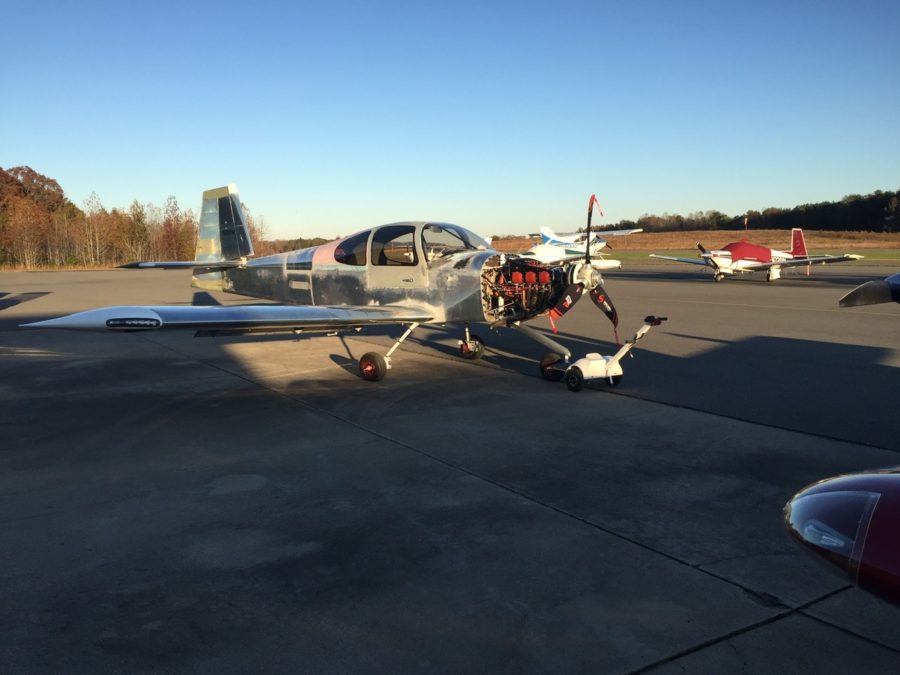
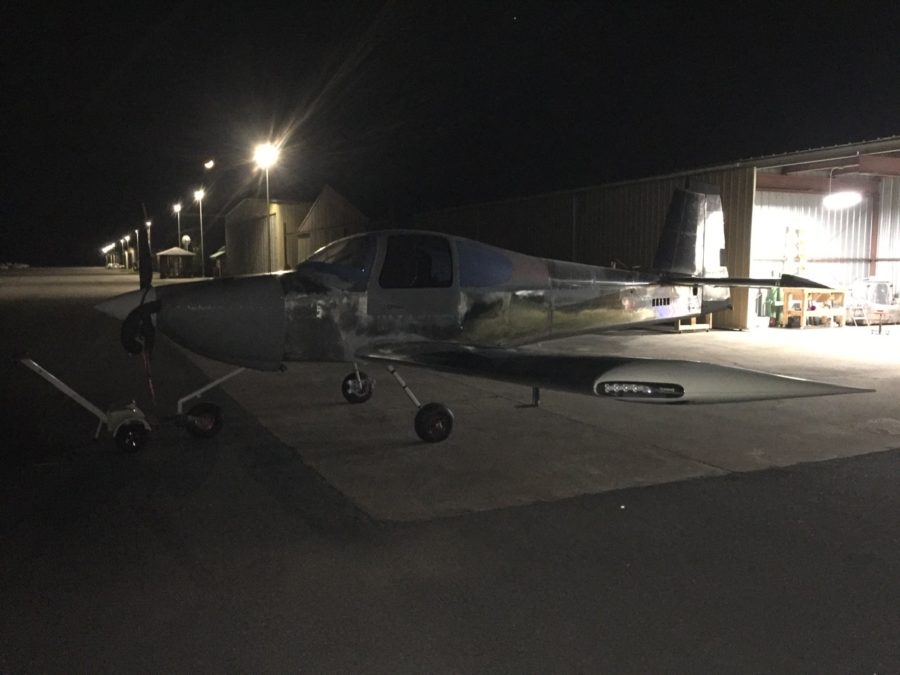
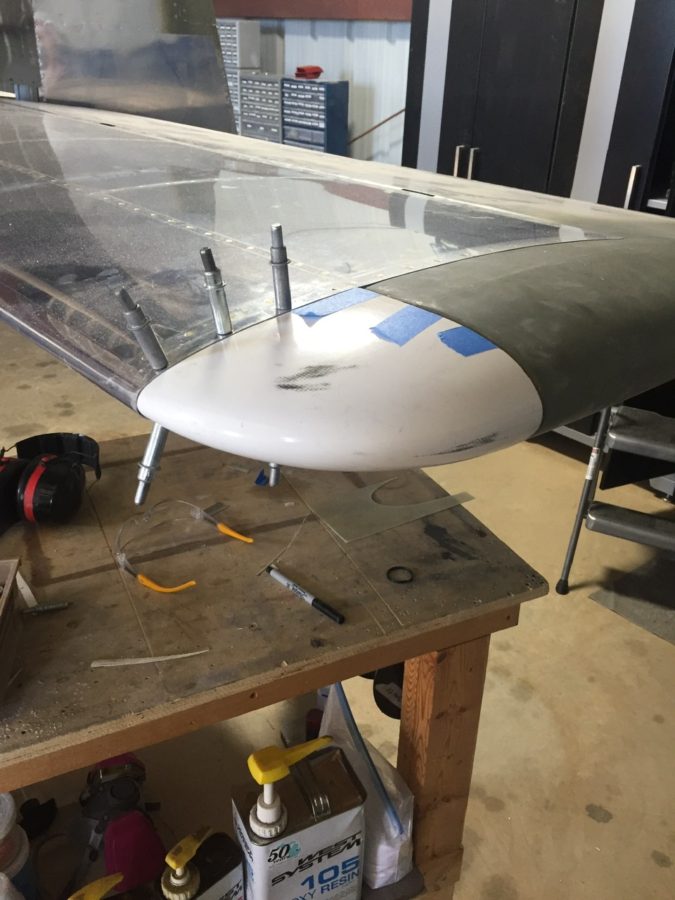
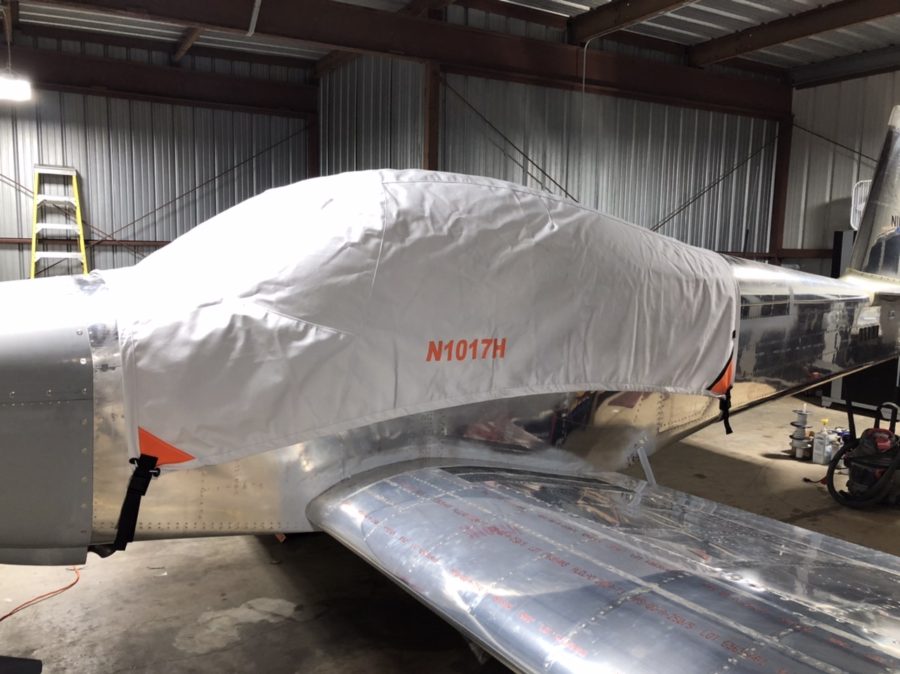
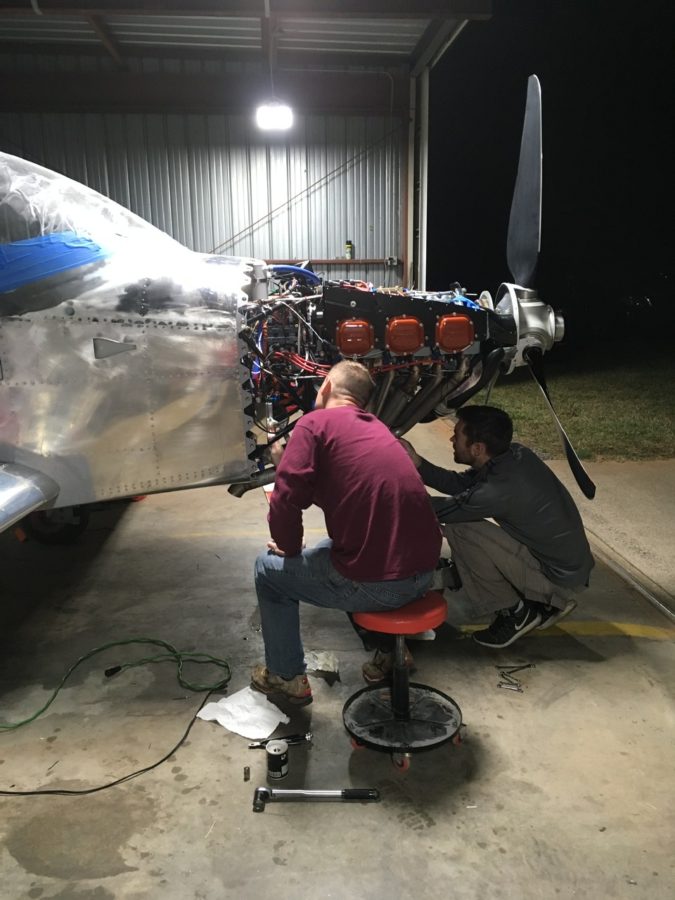
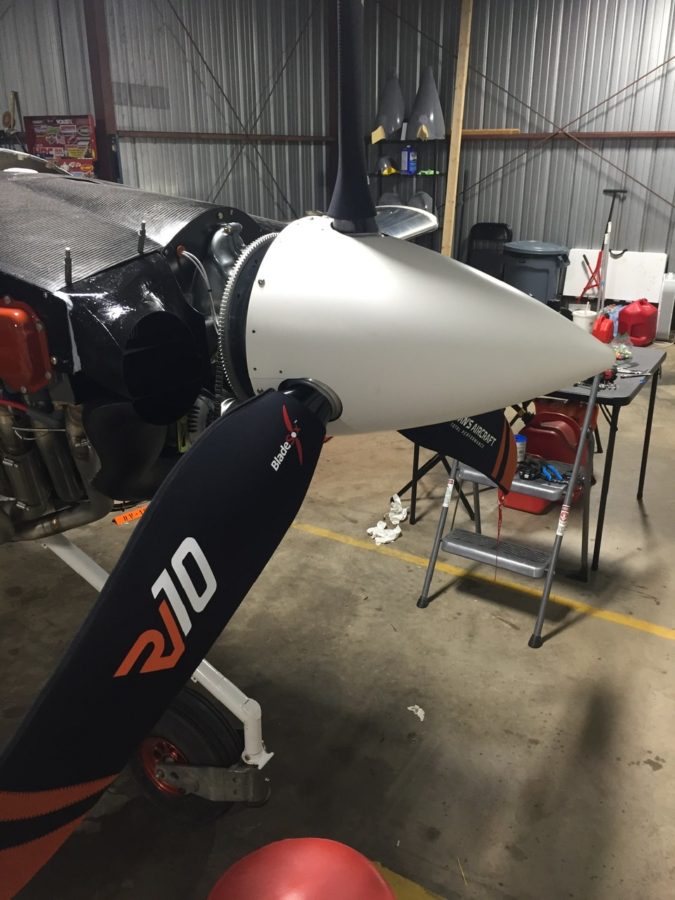
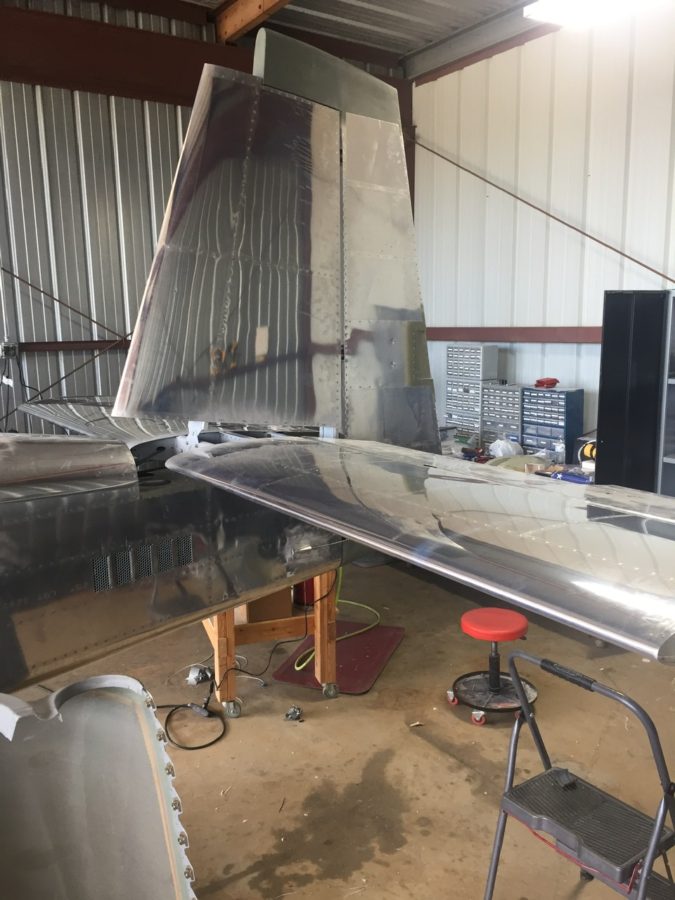
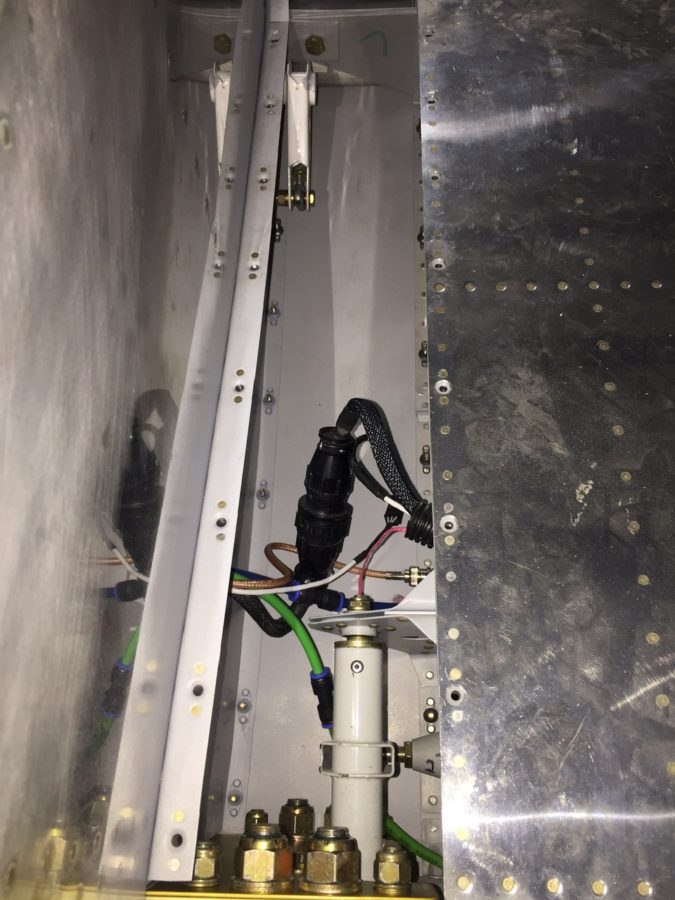
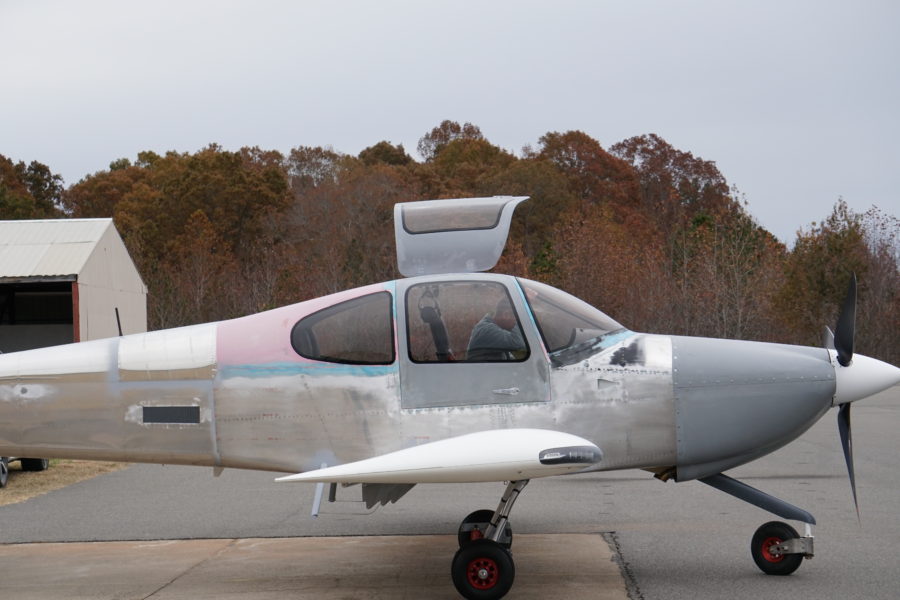
Dad and I put everything back together on the plane the next day with gloomy skies preventing the temptation of first flight. We spent some time going over the plane again just to quadruple check everything. I also gave dad his first ride in the plane when I towed it down to the compass rose to calibrate the ADAHRS and magnetometer. He did great and didn’t even get sick. Something tells me the 20-something-thousand hours as a pilot contributed to his courage and brake-riding expertise! When we ran out of things to check, we called it a day and put her to bed one last time before she flies.

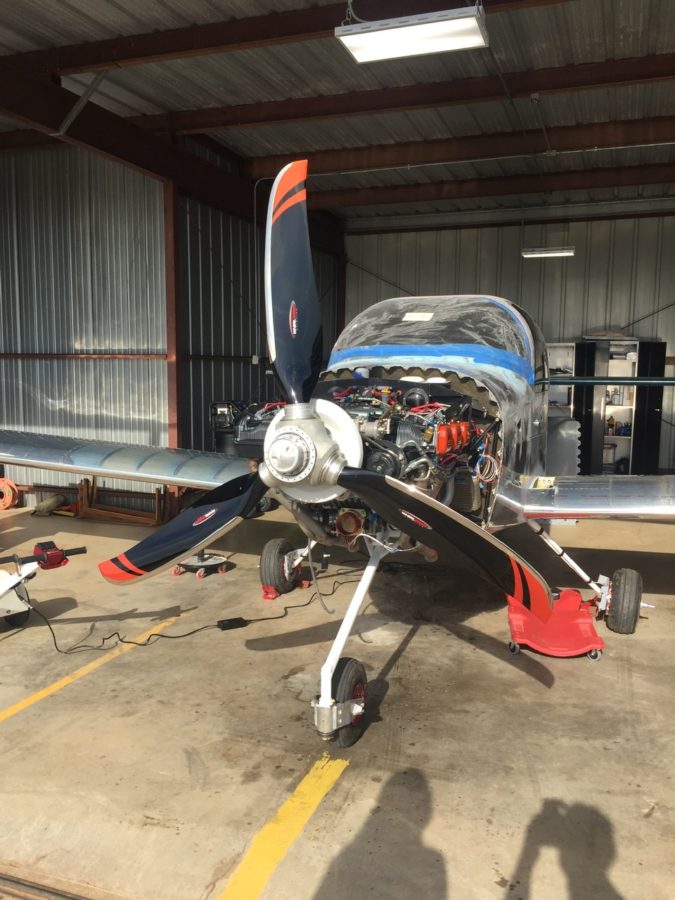
Friday, November 15th dawned with partly cloudy skies and light winds with a small chance for isolated showers. The weather was good, the plane was ready, and I was out of excuses. So my ground crew consisting of Dad, Laura, and Parish all headed towards the hangar ready to fly. Laura set up the camera as Dad and Parish established comms with a handheld radio and took up station next to the runway. I did another pre-flight inspection and had some solo time with the plane before strapping in.

Using the EAA test flight cards, the first flight is all about ensuring the plane flies well and beginning to break in the engine. Keep the power above 80%, keep the temps as low as possible, and stay within gliding distance until confident there’s no big issues. Dad and I worked out a plan for me to take off and orbit the pattern at 3000′ while shaking down the plane and engine. If any issues popped up, I’d land. If I felt good, I’d head towards KEHO then to KHKY and return back to KIPJ after an hour and a half. This provided good access to landing spots and kept me away from trouble like towers and mountains. Vic assigned a 100 NM radius test area so I had plenty of room. Coming back home, I’d do a practice approach at 2000′ testing flaps then land on the second approach.

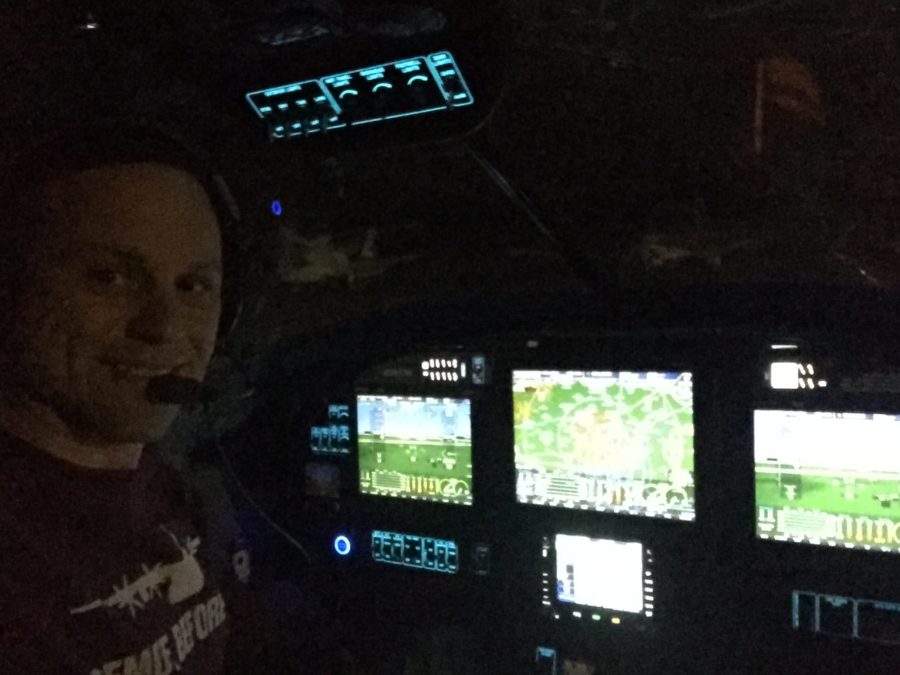
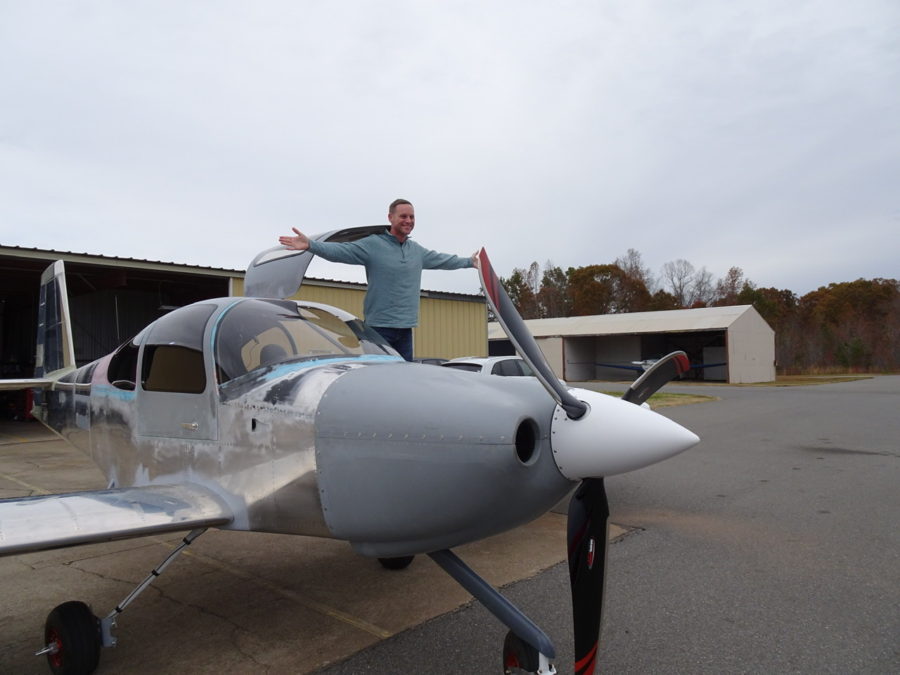
So, I strapped into Tess, patted her on the glare shield and cranked her up. A long taxi to the south end of the field and a salute from Dad helped me get all the nerves out before doing my runup and entering the runway. Check out the videos for takeoff and landing below and excuse the childlike squeals and giggles (and language) from the pilot.

Needless to say I had the RV grin! Overall the flight went well. The plane handled beautifully and I felt that the flight was conducted in a safe manner. It was not squawk free, however! Fellow builders will understand that the excitement of success is quickly overwhelmed by the anxiety to fix issues. So here are my big take aways from the first flight:

  • Smoke in the cockpit!
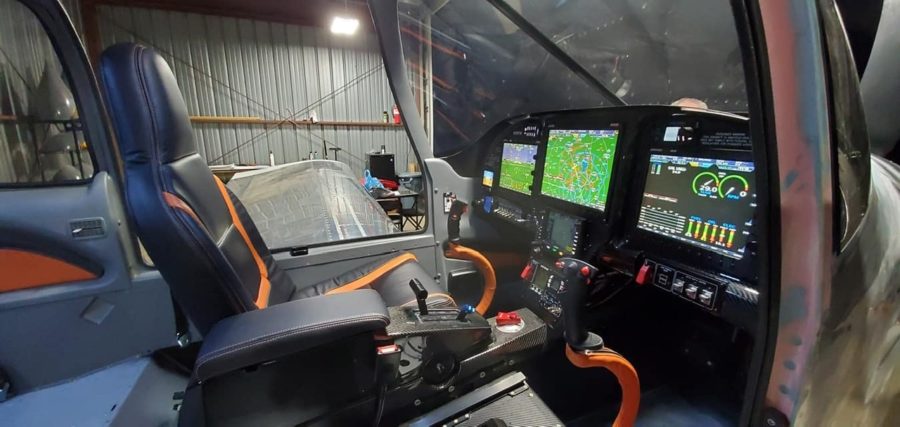
  • Avionics calibration issues (fuel tanks and fuel computer)
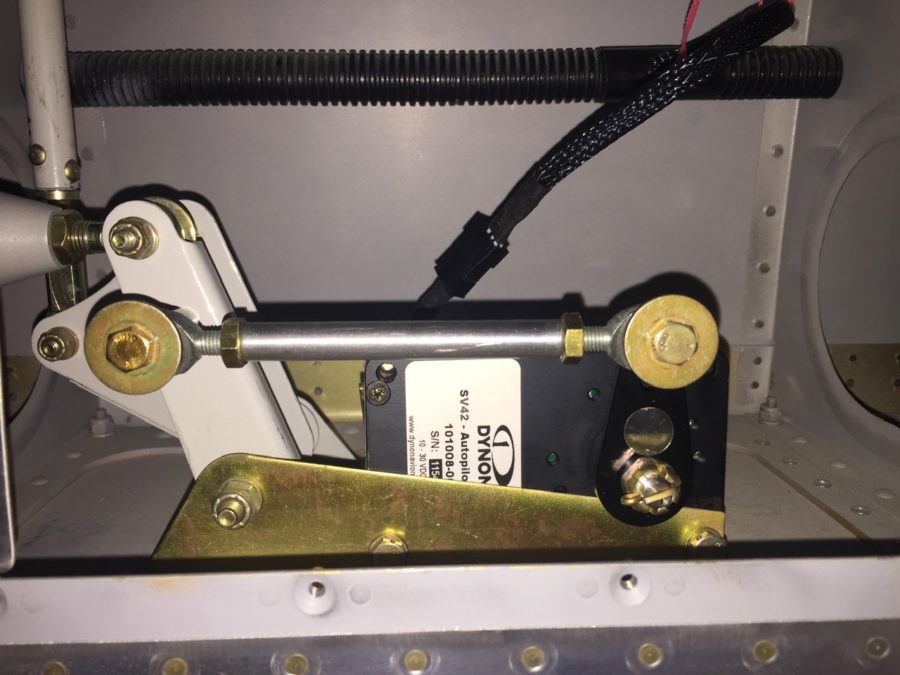
  • Prop governor set to over-speed prop
  • Confusion on which radio is which thus transmitting on wrong frequency
  • Transponder/GPS traffic configuration caused countless TRAFFIC annunciations

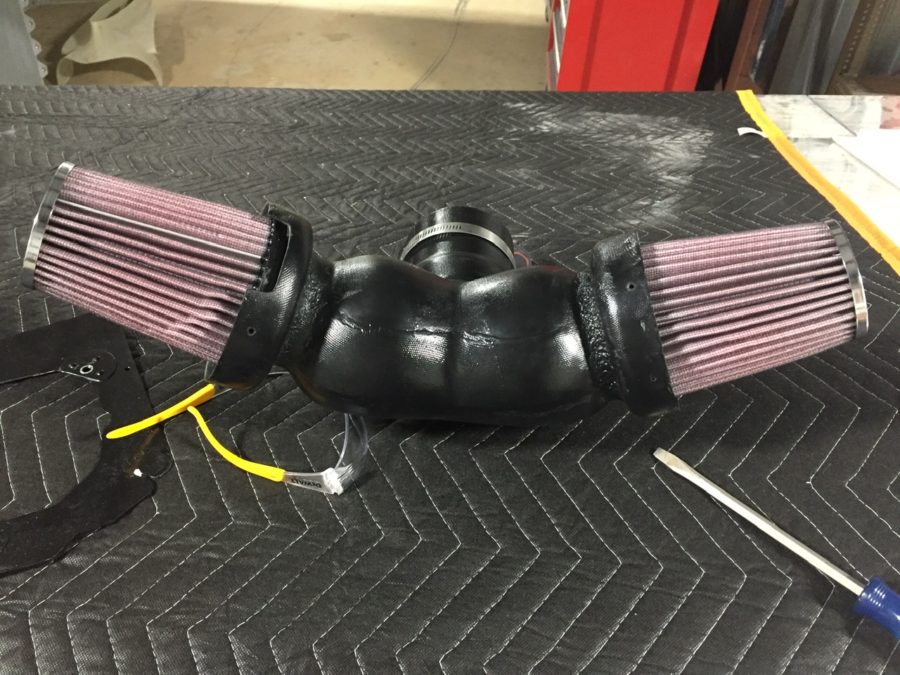
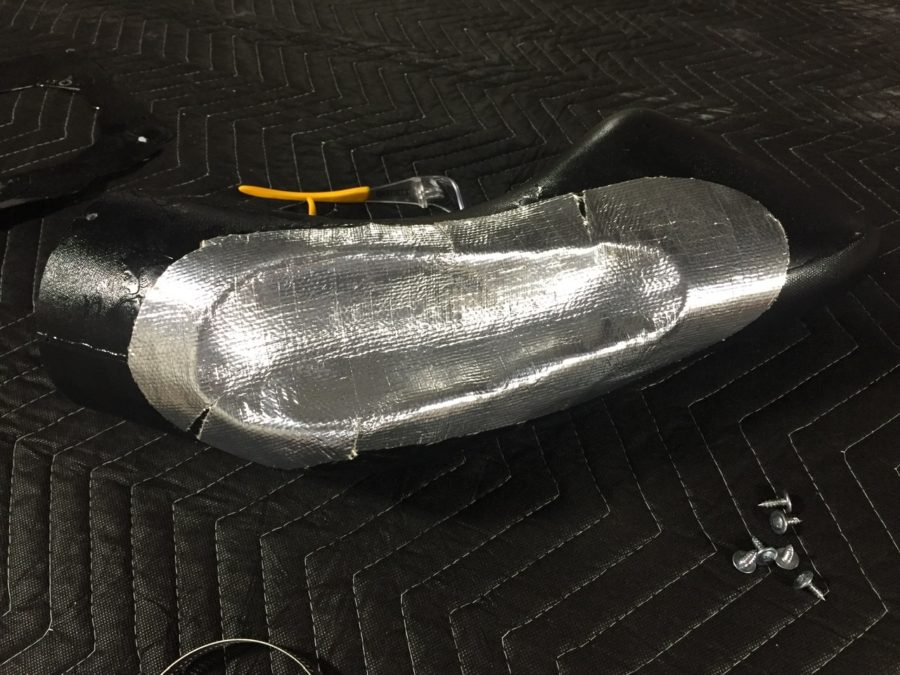
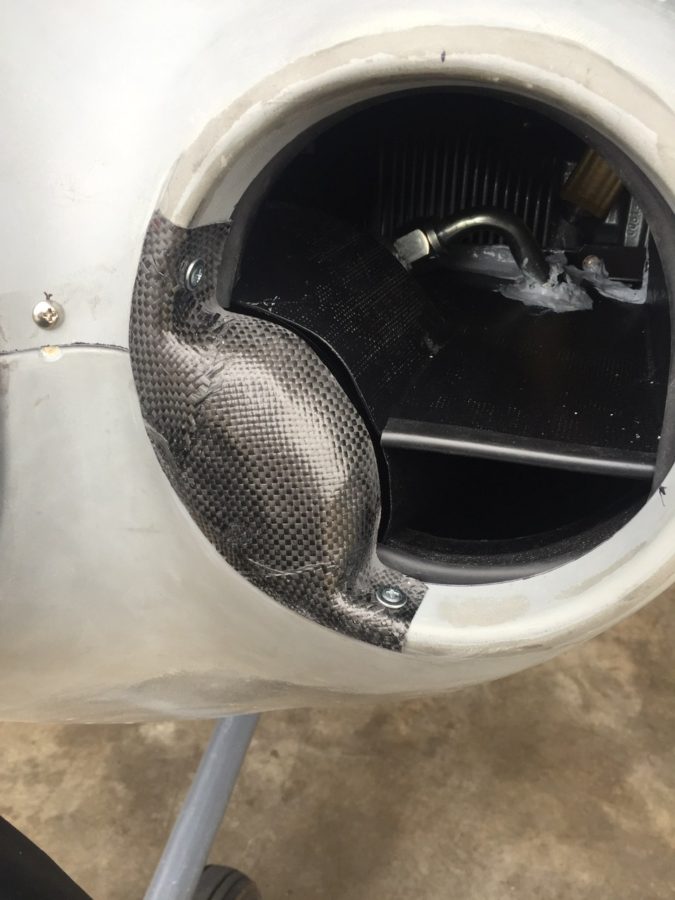
Highlighting the important things, the engine ran smoothly and man was it powerful! The temps all stayed below 400* which means that my hard work on baffles and plenum is paying dividends. It was fast! Much faster than I was expecting! Almost everything worked, or at least worked well enough!

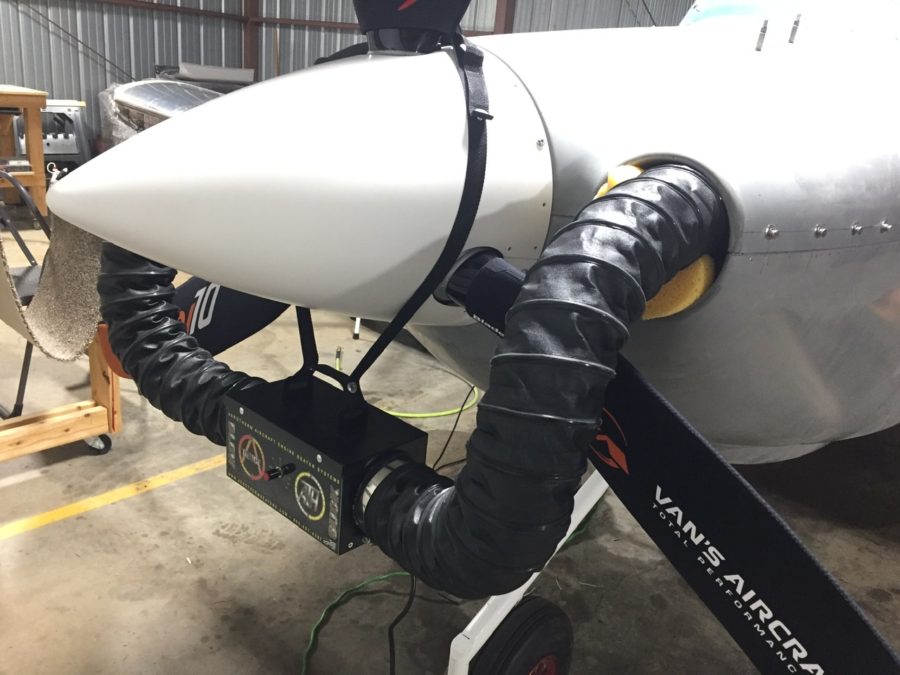
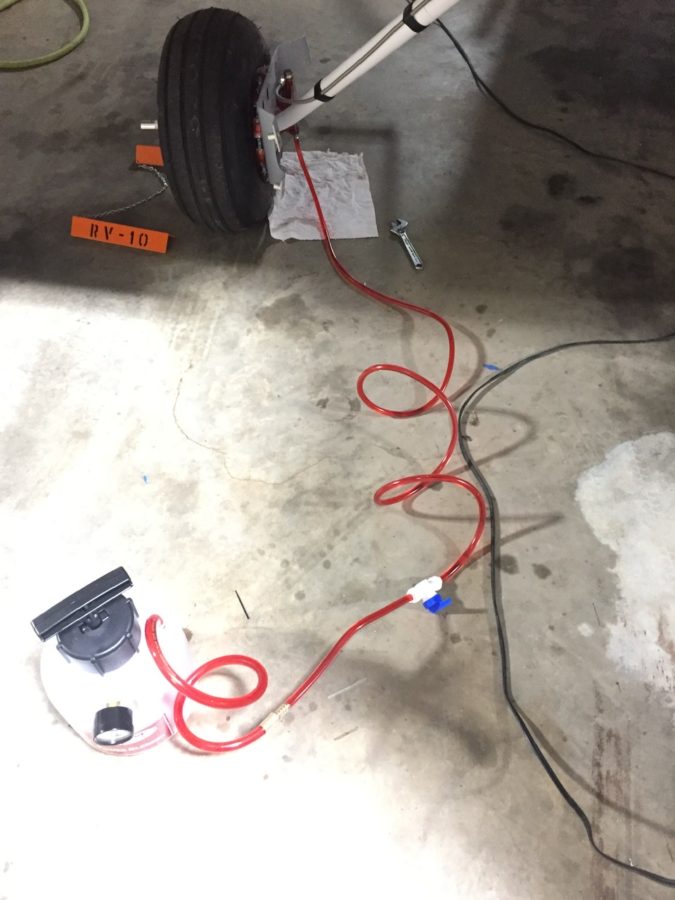
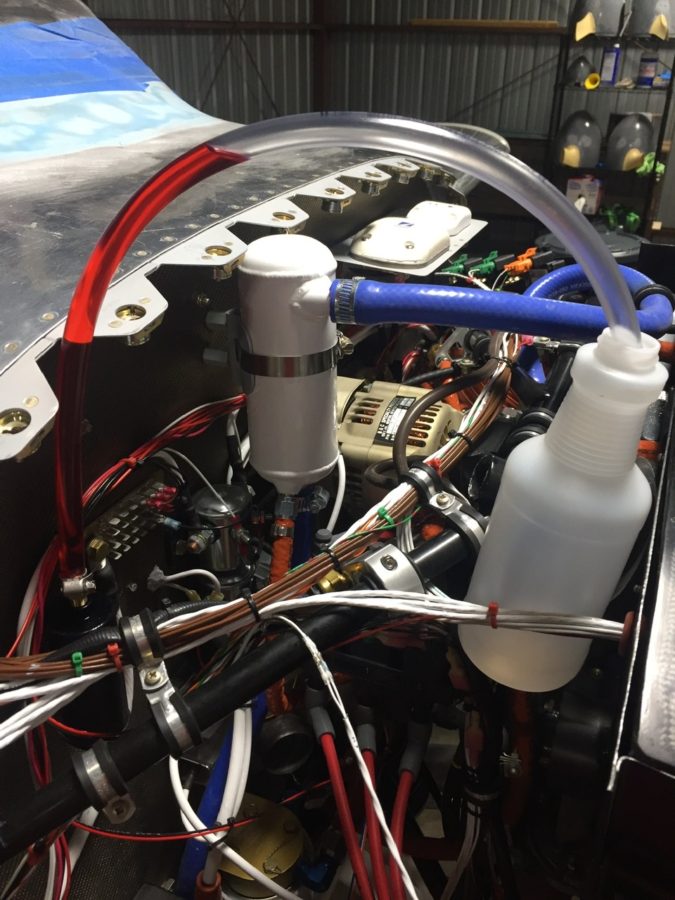
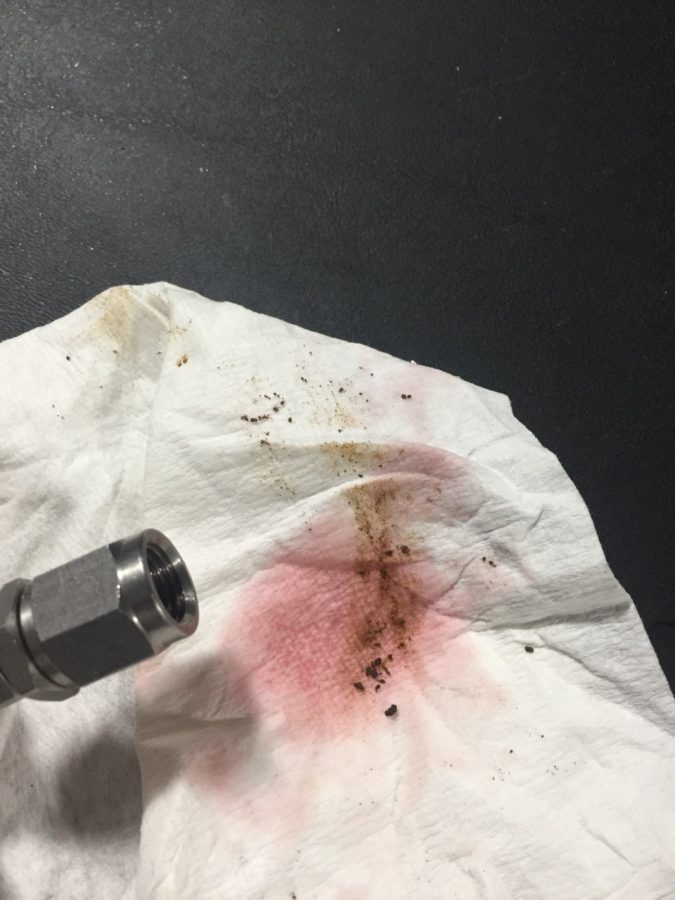
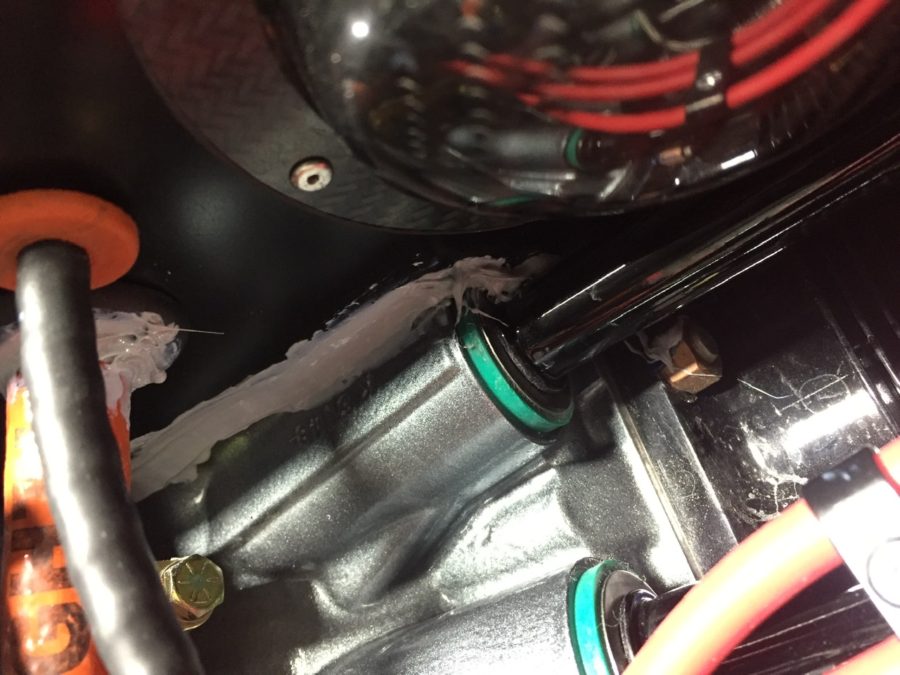
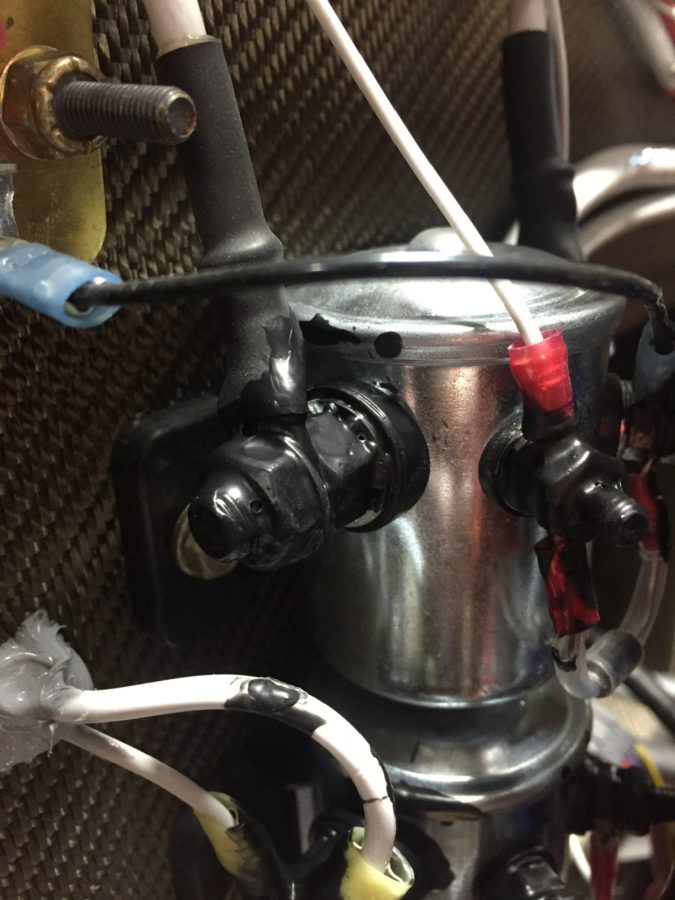
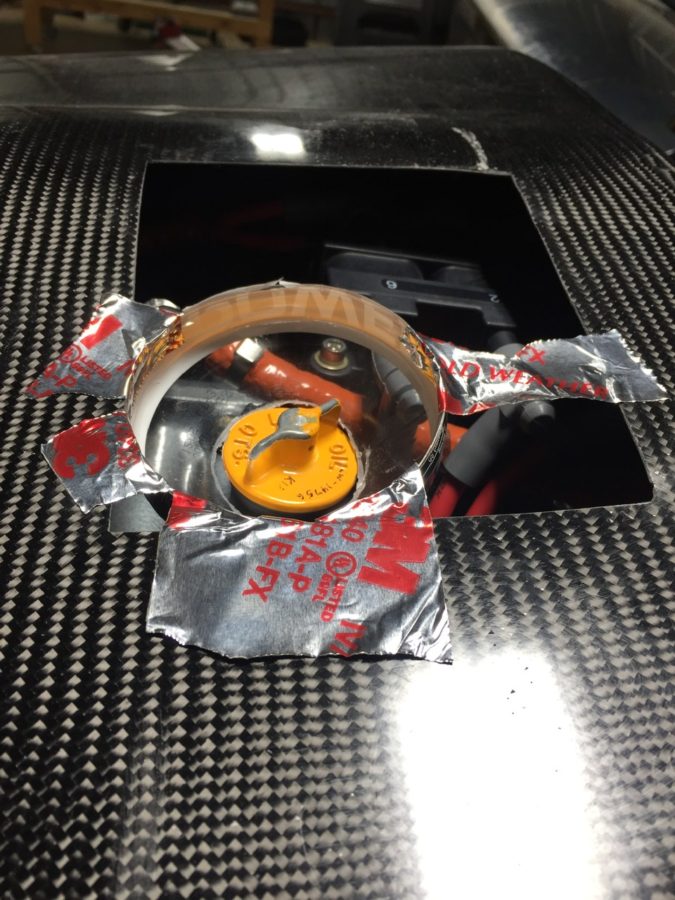
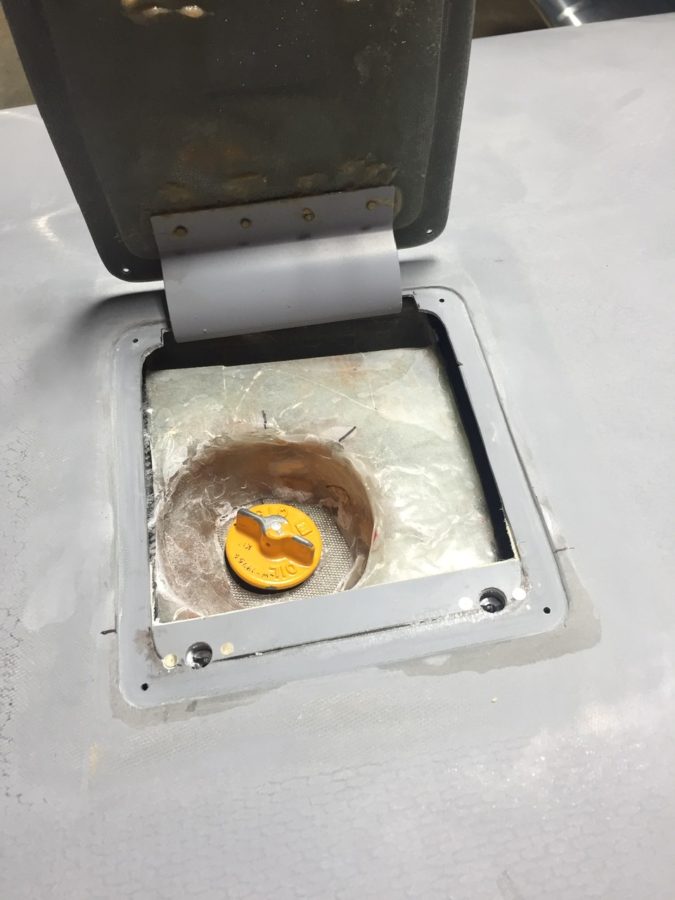
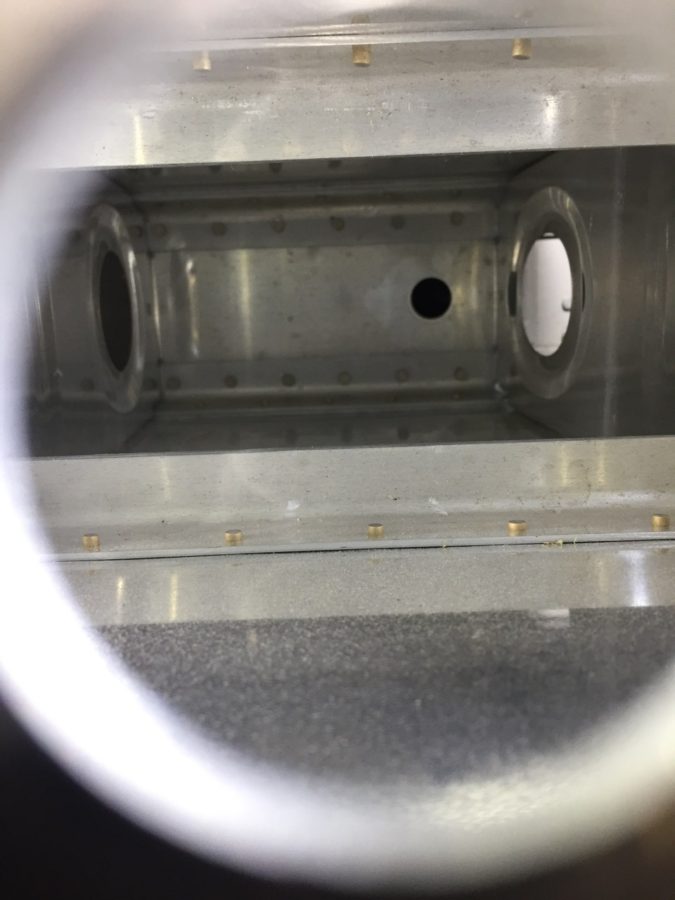
The smoke was a huge Oh Shit moment for about a second or two but quickly mitigated itself. I’m sure others would disagree, but I decided to continue the flight because I was confident in what was causing it. When we purged the preservative oil out of the engine, I had not hooked up the scat tubing to the heat boxes or muffs. I had tried to soak up some oil from the heat muff but it’s hard to get a rag down in there. When I smelled the odor and noticed it didn’t continue, I put even more focus on the engine gauges and felt safe to keep flying.

The configuration issues will be sorted in time, although they are annoying, I’m not too worried about them. My biggest embarrasment was the audio panel and radio communication. With all of the playing and testing of things, I had it in my head that the AFS radio (integrated with the EFIS) was Comm 1 and the Avidyne GPS/VHF was Comm 2. Quite the opposite. Not being comfortable with button pushes and menus quite yet meant that I constantly transmitted on the wrong radio. CTAF was on Comm 1 and Dad was on Comm 2.

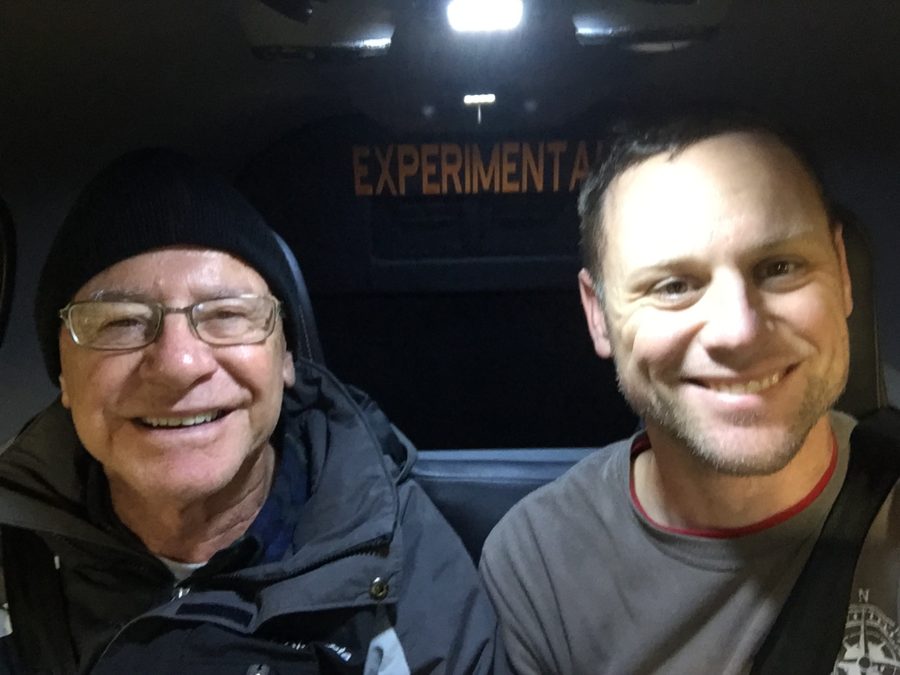
A huge thank you goes to every single person who has lent a hand, gave advise, answered a question, banged a rivet, help lifted something, and gotten dirty to enable me to achieve this dream. My biggest supporter, my wife, Laura, has been by me every day of this and I truly could not do it without her. I’m so glad my Dad could come up and be a part of this day, as it’s one of my proudest and to be able to share it with him, where my aviation passion stemmed from was icing on the cake.

Just to prove the landing was awesome, my Bianca Bro, Todd Kincer, caught the evidence from the ground. I’ll never make a better landing in the plane and that’s okay!

Inspection passed!!!!!

After a several day weather delay, Vic arrived on a clear sunny morning, November 13 2019, in his RV-10. Vic had given me some homework to accomplish before he arrived and I had all of it plus extra paperwork all prepared in the hangar. I used the EAA kit to register the aircraft and was thankful for the guidance with the paperwork, as it doesn’t always make perfect sense. He also requested certain panels removed and let me know what could stay assembled pending anything noticed during the inspection.

First, we sat down and did the paperwork. There’s quite a bit but he’s got a great program and process to accomplish it all in an orderly fashion. Everything was in order and I had my first logbook entry for him to review. I also had my build log website ready for him to look at, but learned he had been following along already (even though it wasn’t updated completely).

After the paperwork was done, we started a thorough walk through of the plane. He certain has his hot spots to look for and went straight to them. I think since he was able to follow along with my build and see my progress, it helped speed up the inspection. My work looked really nice to him as we went through the wings and even got a compliment on my riveting! While he does a great inspection, he also relies on the builder to do fundamental testing. We didn’t do a control surface check with the digital level nor an engine start which I thought would be required, but he did check it all over with a fine toothed comb.

My proudest moment was when he told my dad later in the morning that “No kidding, it is the cleanest install that I have ever seen.” Now, I’m sure he tells all the builders that, just like the doctors tell dads that their kid is the best! But I still appreciated such a flattering comment from the King Vic!

Of course, he can’t sign off everything without finding a few things! I had some wires still needing a few more zip ties just to prevent chafing. He also suggested a few tips for the rudder trim which I’ll upgrade in the future. The biggest issue was my data plate. I had heard horror stories of failing the inspection only because the builder’s name was incorrect. I made sure to follow the directions to a tee in the EAA guide. Unfortunately, I took for granted that Last Name (comma) First Name equals First Name Last Name. On the forms, it tells you to put Huneycutt, Tim S. So that’s what I did thinking they know Tim is my first name. On my data plate, it said Tim S Huneycutt. Wrong. Registration says Huneycutt, Tim S so that’s what the data plate has to say.

Fortunately, Vic saved the day after he ruined it (kidding, Vic) by whipping out a blank data plate and letting me hand engrave it with the correct verbiage. I immediately ordered a new one with professional engraving that I’ll put on after paint.

So yeah, time for the obligatory handshake photo! I pulled Tess out of the hangar and put her nose to nose with a veteran RV-10 for a photo opp. Squinting into the sun, Vic handed over my airworthiness certificate and our 6 year long build project just became a real airplane!

Studying for the test

I decided to ask Vic Syracuse to do my inspection, as he is renowned for his RV-10 knowledge and experience not only by building several of them as well as maintaining them with his business, but also by inspecting hundreds previously as a DAR. This inspection is performed on behalf of the FAA and results in an airworthiness certificate allowing first and subsequent flights. Basically, it’s the final exam of the building process. One that you should study hard to be ready.

One of the ways I’ve been studying is getting other people to look and help lately. Dan Olson who flies a Glassair and is an A&P has been a huge help in hanging the engine, brake bleeding, and final support before inspection. I’ve also had countless others stop by poke their heads in and ask questions which helps me look at things with fresh perspective. I also decided to host a little gathering of my EAA chapter one evening for a show and tell as well as find something wrong!

We had a great turn out and lots of discussion about the plane and other projects. A handful of little things were discovered, but it turned mostly into a social event, which is half of the fun! Pizza filled everyone up and the night was over after a lot of enjoyment and good conversation.

My dad came up from Florida for a few days to help with final prep and to be my ground crew during first flight. While his intentions were always good, Dad loved smacking his head into the horizontal stabilizer. Three times. Once was so hard I swear he dented the damn thing. In the end, Tess scored three times and dad zero. He was banished to the corner of the hangar with a bloody forehead and a headache. I still love ya Pop. We tested out the back seats just for the fun of it.

The last task was to rivet my data plate on and apply the registration. It’s almost an airplane!

Okay, so if you really pay attention, the pictures and story isn’t exactly in chronological order. So sue me.

Never ending squawk list

The airworthiness inspection is rapidly approaching and it’s crunch time now. This post is about as fast and deep as all the stuff I had to do.

The awesome guys on based helped me bend my control sticks to provide plenty of clearance to the instrument panel. I still hit the flap switch in the full nose down, right roll position, but if I ever have to use that stick input, I have way more concerns about dying.

I never installed the tips on the stabilizers, so I wiped the decade old dust off of those and riveted them on then laid up some glass to enclose them. Some tweaking with the heat gun was enough to get them adequate clearance and I’ll let Jonathan do the rest of beautifying them during paint.

I crawled in the tail cone. Again. After I said, “Oh, I’m done back there, I won’t need to get back there.” Hell, at this point I can’t even remember why I had to go back there. I’ll flash forward and tell you that still wasn’t the last time. Either way, here’s how I feel about doing that little shit job.

The rest of the interior went in and lights hooked up. These side panels are pretty tricky to slide in without destroying the paint. I’m happy with how they turned out. The stainless screws also look really nice.

I pulled the plane out for a good GPS and comm check. I’ll have another post about the details, but while everything worked, I have some serious interference with the ZipTip lights and my radios. For now, though, no night flying means I’m safe and legal to fly.

The back seats and carpet are all in now. I had to put a lot of velcro down but man, this Aerosport stuff is amazing. The seats are comfortable, the carpet looks great, and I’m really excited about taking folks flying in this plane!

My cover from Bruce’s came in and is freaking sweet. Fits very nicely, has orange, and the tail number embroidered on it makes it so no one can steal it and use it on their plane without me chasing them down.

I put the cowling on for a final fit check and hooked up the new AeroTherm engine heater. I’ve used these on the Diamond we fly and really like it. I didn’t like the idea of cylinder heaters and want to keep the engine heated during the winter to avoid cold starts. I know this isn’t as portable, but I’m happy with it thus far. I did have to get a very thick extension cord so it would keep tripping its internal breaker with my crappy 15 amp service in the hangar.

Finally, I weighed the fat little piggy with all of the pants and random stuff not yet on for good in their approximate place. Folks, with full interior, oxygen, air conditioning, three screens up front, and all the extras my credit rating could buy, I’m pretty happy with her girlish figure. This let me sit down and compute weight and CG figures as well. Everything turned out nicely with an empty CG of 106.4 inches.

Tess tip-toes to life

Ahhh, the day is upon us, my dear friends. First engine start! Builders dream of this moment then quickly wake up in a panic sweat from the nightmares of “oh shit, what did I forget” or “how can I instantly destroy my $XX,000 engine before it even flies?”. Needless to say, I was nervously excited.

The afternoon started off with removing the lower plugs and purging the cylinders of the remaining preservative oil. Most had drained out but I was really surprised at how much was still in there. By spinning the engine/prop with the starter and no spark plugs (top coil disconnected as well), it purges the cylinders as well as creates oil pressure in the engine for first start.

It took five or six cycles lasting around 5-10 seconds each to finally build oil pressure. I suspect it might have been less had something not been awry, but I’ll get to that in a moment. Either way, I left a nice stain of oil splattering on the ramp and celebrated when we saw a positive number on the oil pressure gauge.

By the time we reinstalled the plugs, put the EGT probes back in place (yep, I drilled them where they block the plugs which will have to get corrected eventually), and did yet another final check of the engine, it was dark and cold. I pulled the plane out and Laura pointed the car headlights while Dan and Todd observed from either side. I won’t spoil the ending, so click play below and enjoy the show!

She’s alive!!!! Bam, pow, fireworks, roars to life! Ah, the sound of a new born baby gurgling and screaming, not sure if that’s normal or the onset of disaster. It’s normal, folks. But not everything was perfect. The common practice of hand tightening an oil filter on a car or anything else for that matter does not apply to aviation. The filter wasn’t torqued and I had a pretty good stream of oil escaping, possibly affecting us getting the initial pressure indication as well. We pushed her back into the hangar and got to work cleaning up.

The second start was better. While it didn’t sound perfect, the engine started and ran well. Dan had helped me set up the timing light so we could set the magnet position on the flywheel with the SDS ECUs. This step is no longer required by SDS but I feel that getting it custom set with your exact setup will result in a better tuned engine, especially when running LOP and advanced ignition. We set the position pretty easily and it already sounded better. I also remembered to turn the alternator on after a few minutes which really helped charge the battery!

The SDS system does not use a mixture lever thus you have to shut the engine off in a different manner. Ross suggested simply turning off the electric fuel pump which would kill the engine (no mechanical pump). The first time I did this, the engine continued to run for a good 30 seconds. I’m still not sure why, but subsequent runs and testing results in a timely shut down just as pulling the mixture lever would do. By the end of the third idle run, we were all freezing, tired, and ready to call it a night. The engine is alive, healthy, and leak free!

Brake bleeding bust

First engine start is very close now with only a few punch list items left to complete. The biggest and most important item is bleeding the brakes. Other builders seem to have mixed results with this process, some knock it out in 10 minutes and others just drag their feet while landing having completely given up on ever having effective braking abilities thanks to the ridiculousness of the task. It appeared as if I was going to join the latter group.

Kitplanes had a great article about bleeding from the calipers up. This makes sense as it forces all of the air out of the system as the fluid enters. One caveat for my system, however, are the Beringer master cylinders which prefer to be horizontal while bleeding to ensure the air actually escapes. That meant diving head first into the foot wells and disconnecting them from the rudder pedals. I had forgotten how many little washers and spacers were used in their assembly. Ugh.

Amazon Aircraft Supply Co, Inc, LLC, R with a little circle around it, delivered a brake bleeding tank that many people recommended vs. the small hand pump bottle that doesn’t quite deliver enough pressure to complete the job. I ran down to another popular aviation hardware distribution company, Lowes, and picked up some clear tubing and a few fittings and valves. The idea is to view the fluid, bubble free, entering the caliper and then exit into the brake reservoir on the firewall. The valve allows you to control the flow of brake fluid while tightening the bleeder screw in the caliper. Pretty easy to set up and I’d highly recommend it.

I also got a fitting to screw into the brake reservoir that accepted more of the clear tubing. When bleeding, you want to see the air come out of the reservoir followed by bubble free fluid. Once you see that, the system is bled and should have good pressure. Of course, it wasn’t that easy to get what you see below.

The right side of the system bled easily and took almost two and a half minutes. This led to a sense of cockiness and confidence that only I can exhibit while moving to the next and saying wow, this is going great! The left side brought me back to the humble earth by making a fool out of me. No matter what, we could not get the left side bled. Fluid would go in to a point but never show evidence of reaching the reservior. Likewise, we could not get adequate pressure using the master cylinder nor see any difference in the level of fluid in the reservoir. The master cylinders would also not force fluid out of the caliper as they should either. Something was wrong.

My buddy Dan, who was helping and hated the process as much as I started to, suggested breaking the seal on fittings moving up the line to see where the suspected blockage is. Fortunately, we were lucky and found it at the fitting on the bottom of the fuselage near the gear leg. Fluid moved easily up to that point but would go no further. So I disconnected the line from the tunnel to that fitting and took a closer look.

It seems that while building I neglected to cover those fittings and a little bastard insect built a fine home in that line. After taking my air hose with 100 psi set on the regulator to the hose, I wound up with this mess finally popping out of the brake line.

Well, that would explain why fluid would not move one way or another. After reassembling the line, it took almost two and a half minutes to bleed the left brake. This after about two hours of screwing around with it and a LOT of cussing. I also managed to piss of my hangar neighbor by telling him this wasn’t a good time for someone to come in and check out the project. Sorry dude, hope you get over me asking you for a rain check. Either way, air was replaced with fluid, the pedals were put back together with much grunting and back pain, and I could finally put the brakes on this build.

Firewall forward finishing

There is a lot of little projects yet to be completed on the firewall forward section, so I set about tackling them. First off was safety wiring the prop bolts. I thought torquing them were hard. Well safety wiring them is even worse. Because of the limited space, you actually have to loosen them a bit, thread the wire through the hole, then re-torque them. Ugh. Anyway, it’s not pretty but it’s done. I’m convinced this flange design negates the need to safety wire since they’d all have to unscrew in perfect unison for the damn thing to fall off anyway.

Here is a picture of the custom wrenches I had made up using Joe Key’s templates.

Since I was at the front end, I went ahead and finished up the spinner installation. The back plate takes some time to bolt on as well with 1300 bolts used to hold it to the prop hub. The spinner has three plates behind the blades to fill the gaps and it took a bit of dry fitting to figure out where each one goes. WW had labeled them by number and I was wrongly lining them up with blade numbers not just the reference number on the spinner and back plate. The front of the prop hub fits into a bulkhead in the spinner and it took a few iterations of Teflon tape and sanding to get a nice snug fit with no wobble of the spinner.

The air filters were the last step for the intakes and I had been waiting on a different filter with a tilted base, allowing clearance of the tube to the filter assembly itself. This was required because of the blister I had to glass in for the air conditioning compressor. Fortunately a 10* tilt made just enough clearance and it all fit together nicely. I oiled the filters and got them put on for good or at least until the first annual.

The right intake tube is close to the exhaust, so I used some heat shielding that has an adhesive back to protect the tube. I went back and covered this with 3M foil tape and then applied RTV around the edges to secure it. I’ll monitor this during ground runs to ensure enough protection from the exhaust header.

Since I had RTV all over me anyway, I took the opportunity to finish seal up a few spots around the engine and firewall. I have spent a TON of time trying to find any little spot air could leak out of the baffles that it shouldn’t be leaking. Since the hangar is dark with the lights off, I again used a flashlight on top of the engine to highlight any little spots. It worked great and I’m hoping it pays off with adequate cooling once flying. It’s impossible to be super clean and fancy with this stuff, but I kept most of the mess on me instead of on the engine.

So many of my electrical connections are oddly shaped so getting a boot to fit hasn’t been easy or even possible. I used a 3M product to paint electrical tape onto the hot studs just to keep a surprise shock chance low. Not quite as good as boots, but better than nothing.

Lots of zipties up front still being added as I just see spots here or there that could use some extra security. I may add wire wrap that is rated for high heat to clean it up, but not sure if I care or want to spend the time on that quite yet.

Multi-tasking is key at this point so I setup the vacuum pump on the aircon system while RTV was setting up. All of the lines and connections are secured so I could finally vacuum the system to perform a leak test and evacuate moisture from the system. The ports are just behind the baggage bulkhead and pretty easy to get to. I set up the pump and let it run for about an hour and a half to get moisture out then closed the pump off and let the gauges sit all night long. The next day I returned to see a perfect vacuum still holding, so that is a huge win!

The last two projects up front were some additional glass work on the plenum and a ramp for the aircon compressor. The plenum was designed to be sealed to the cowl around the oil dipstick, but I didn’t like the idea of air potentially leaking out of the plenum through the oil door or into the engine area. I cut up a sports drink bottle as a mold and roughed up a little funnel to fit over the dipstick. The dipstick will have some foam tape sealing the bottom of the funnel. It didn’t come out as pretty as I wanted, but it’s functional and I can always clean that up a little down the road.

The air ramp was a little easier than I expected. On the left side intake, the aircon compressor causes the cooling ramp and induction intake to need a cutout and I wanted to create a little blister to help direct all the air possible into the cooling and intake ducts. I shaped a foam block and used packing tape to secure it to the cowl. I used some carbon fiber to lay up a rough fairing then cleaned up the edges after it set up. This is attached via two screws and should provide a nice air flow deflection that is simple to use. I plan to create a final piece of bulb seal to fully seal the cowl to the engine portion helping minimize air pressure loss while providing flexibility for engine movement.

Stabilizing success

I skipped a major step during the tailcone build sequence by never installing the horizontal and vertical stabilizers onto the tail cone. I didn’t see a point of doing that in the garage just to take it all apart again for storage for years. Now that I’m in the hangar and have the room, no excuses are left. I didn’t build either stabilizer, as the original tail kit owner built them. After looking over them and cleaning them up, I “touched up” a few of the rivets I felt were under squeezed. They aren’t primed on the inside either but even after 10 years of sitting around, they are looking good and corrosion free.

The process went as planned and I spent the better part of one full day getting it all drilled and bolted on. I had purchased the CNC brackets from somewhere to mount the horizontal stab so I didn’t have to make them. I have no clue where I got them from, however, as I bought them on a whim years ago. Either way, they’re nice and you should buy them.

The only hiccup came when working on the elevator trim cable. The original builder had installed the plastic snap bushings the trim cables run through while building the stab. Unfortunately, he put the wrong size bushing in one of the holes that was buried in the spar. The cable wouldn’t pass through. Fortunately the hole was the correct size but man was it a pain in the ass and fingers getting that old one out of there.

Laura helped me bolt the rudder on next to set the rudder cables up and do some trimming for the rudder trim wires and tail light wires. All easy stuff and its really exciting to see the tail feathers finally get attached.

I was able to finally hook up the elevator torque tube after drilling the horns. I was careful to get them lined up accurately and am pretty happy with the end result with the right elevator being lower on the trailing edge by about 1/16″.

I then set out to start the rigging process by centering the stick and adjusting pushrods to get the control surfaces all lined up. It takes quite a bit of stick movement to get the control range established by the plans and I found some interference with a bolt on the aileron rods under the seat pans. I was able to switch the bolt orientation and it cleared right up.

The autopilot roll servo went into the right wing pretty easily as well. I had the mount installed during wing construction, so it was a matter of bolting it in and attaching it to the aileron bell crank. The wiring hooked up quickly since I had already ran the wires and installed a connector.

I cleaned up a bit of the wing root area as well, hooking up the CPC connectors, pitot/AOA tubing, and ensured it all cleared the control rods inside. I had planned to mount a bracket holding the CPC and pitot/AOA tubing somehow, but the whole bundle is so stiff, I’m not too concerned with securing it further. It’s also well clear of the torque tube despite the appearance in the picture.

Finally, we had some good light from the sun on the propeller and I couldn’t help but drool over it for a few minutes. The orange over black with the polished leading edges are just too damn cool looking. The scimitar shape is sexy too!

Legal Disclaimer

I’ve realized a good amount of pictures were not appearing correctly on some posts, especially those over the past year. I’m not web specialist so I think I finally have them all fixed. If you see some that are still rotated 90*, please let me know.

I also realized how horrific my spelling is. I typically vomit all these blogs to myself in an email and realized that the spell check function isn’t working before I post them through WordPress. So I have this false sense of confidence that everything is perfect.

Please excuse my grammatical short comings and focus on the awesome sideways pictures!