I can see your ribs

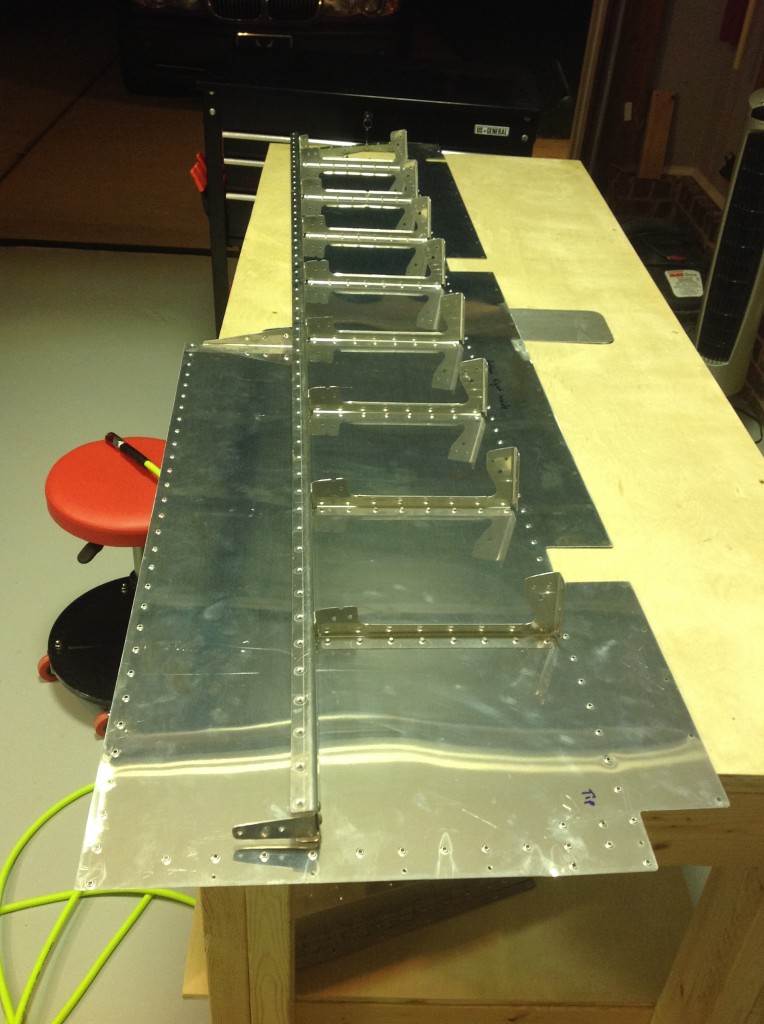
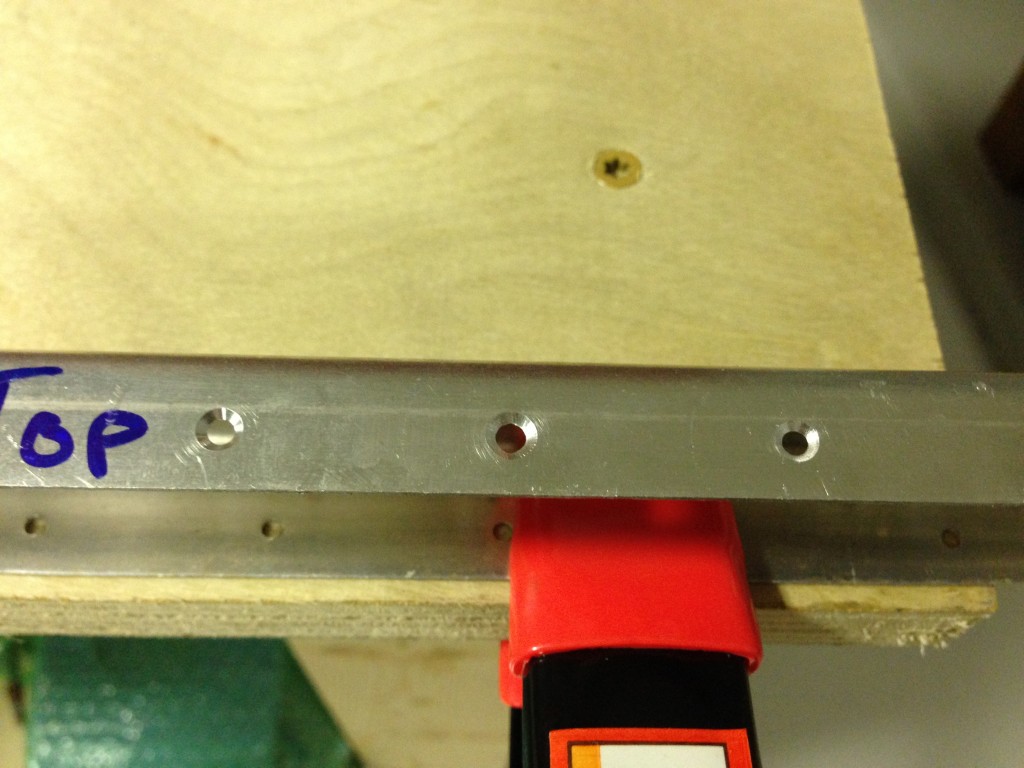
It’s fun when you start to make structural progress!  Tonight, I began attaching the small misc. brackets to the main spars for the elevators and also started on the ribs.  I first modified one of my workbenches to hold my back-riveting plate flush with the table (check out the Workbench page for details) to make back riveting a bit easier.  I’m very happy with the results and got the idea from the previous kit owner who had a large workbench with the same modification.

Half the ribs are attached to the skins then they are brought together once the skins are on the spars.  I cleaned the pieces well with lacquer thinner and did a final inspection on all pieces for corrosion, as I had just a few small spots on the spars and skins.  I spot primed one trim access plate but all else were fine.

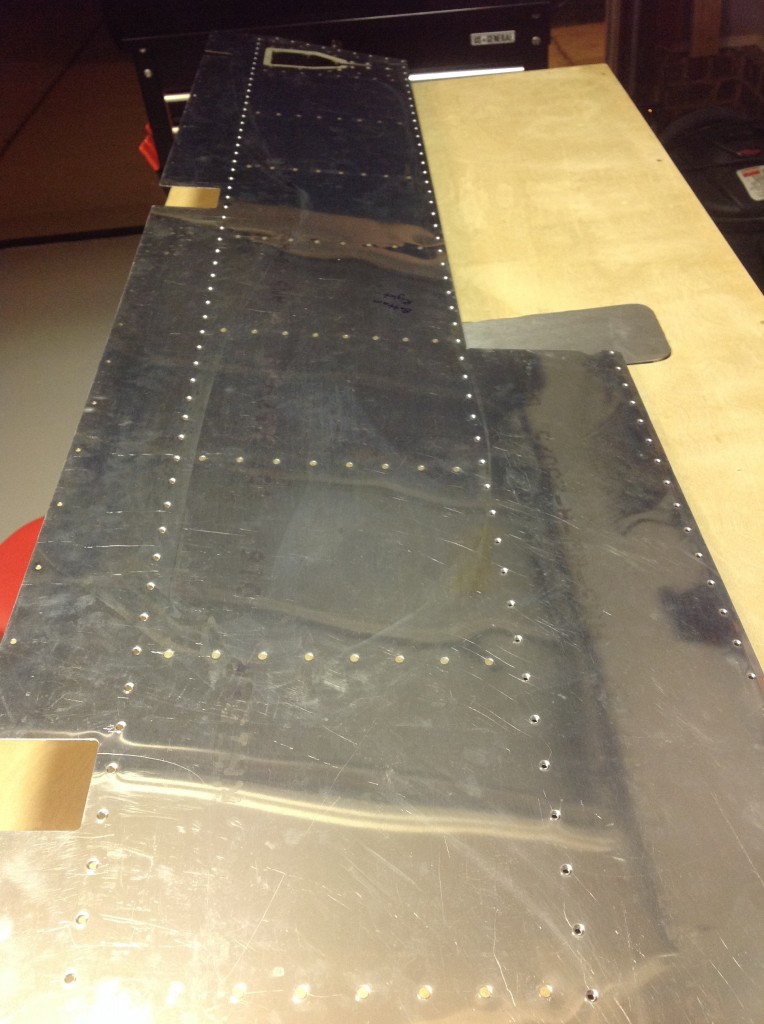
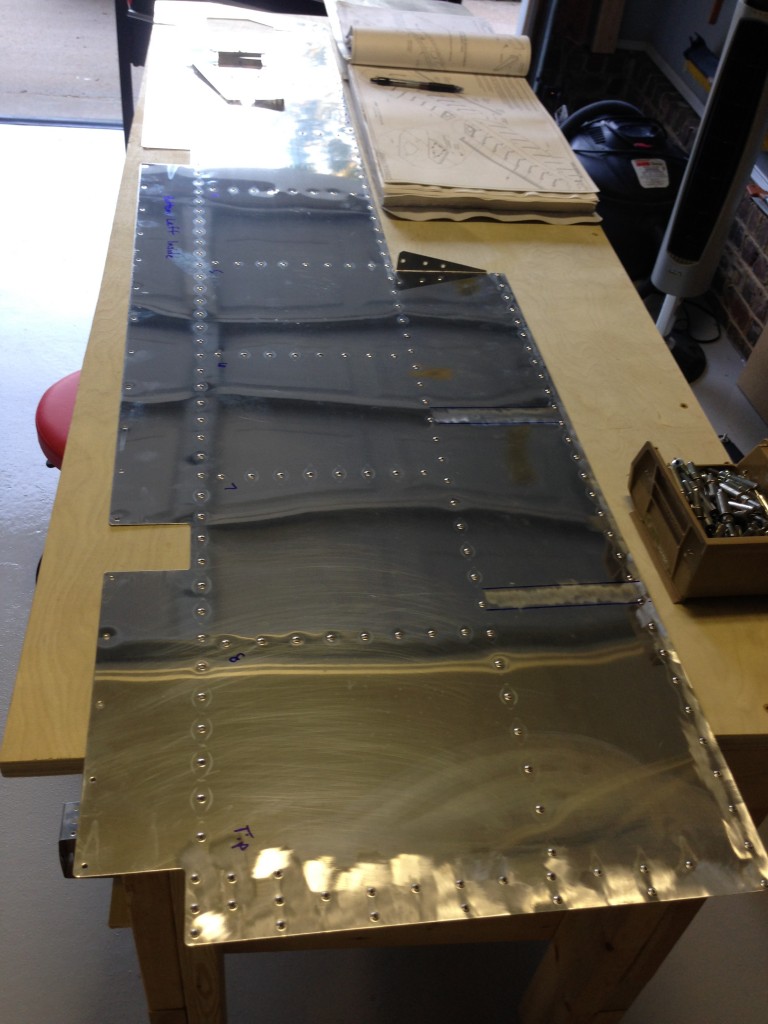
Pulled out another supply for the first time, the back riveting head for my rivet gun along with rivet tape.  I really like the back riveting, it’s even better than squeezing!  I’m really dialing in my air pressure and have found that 55-60 works perfect for a nice firm hit and consistent result to match the rivet size guides.  I also quickly discovered that one piece of rivet tape can be used multiple times, so no reason to go through an entire roll on one skin.

Once the ribs are on the bottom skin, the rear spar is attached to the ribs and later the skins.  It was a bit tricky still trying to figure out the die head combination needed to get at all the rivets, but everything went smoothly and I only drilled out one flush rivet the whole evening!

Spent some time working on the website as well to update the garage, tools, and links page.  The website is almost more work than the airplane!

I love your dimples….

Good thing too, because this project has a lot of them!  I finished deburring and dimpling the right elevator skin.  Deburring takes forever it seems and is made more difficult with the shiny skin.  I can see why folks leave the film on as long as possible (for scratch resistance as well).  I also buffed out a couple of spots of surface corrosion I had on the skins and a few scratches on the spars.  I’m using the Dupli-color self etching primer to spot prime those spots.  Without going off on a tangent, I’ve researched and read on priming til I’m cross eyed and I am choosing not to prime unless specified by the plans or a condition such as imperfections in the metal.

I ensured all the ribs are labeled and disassembled everything to prepare for riveting next.  The spar needed to be countersunk on certain holes to allow a flat surface for the trim hinge to mount, so I got to use a tool for the first time!  The countersink bit is really neat, but I expericenced some chatter on it so I may need to play with the speed, as it didn’t clean metal chips away quickly at 90 PSI.

 Finally, I picked up some inexpensive L brackets for shelving from Lowe’s and mounted them above my workbench to store the HS on.  It has been sitting on the floor and my lovely wife has been very vigilant to ensure nothing hits them as she parks about a foot and a half away every night!  Now they are safe and secure and most importantly out of the way until needed down the road.

I also organized the pegboard a bit more than pictured, hung up the parts bins and just straightened up the work space.  I’m finding it even more critical to keep the garage clean and tools in their places so I can work efficiently!