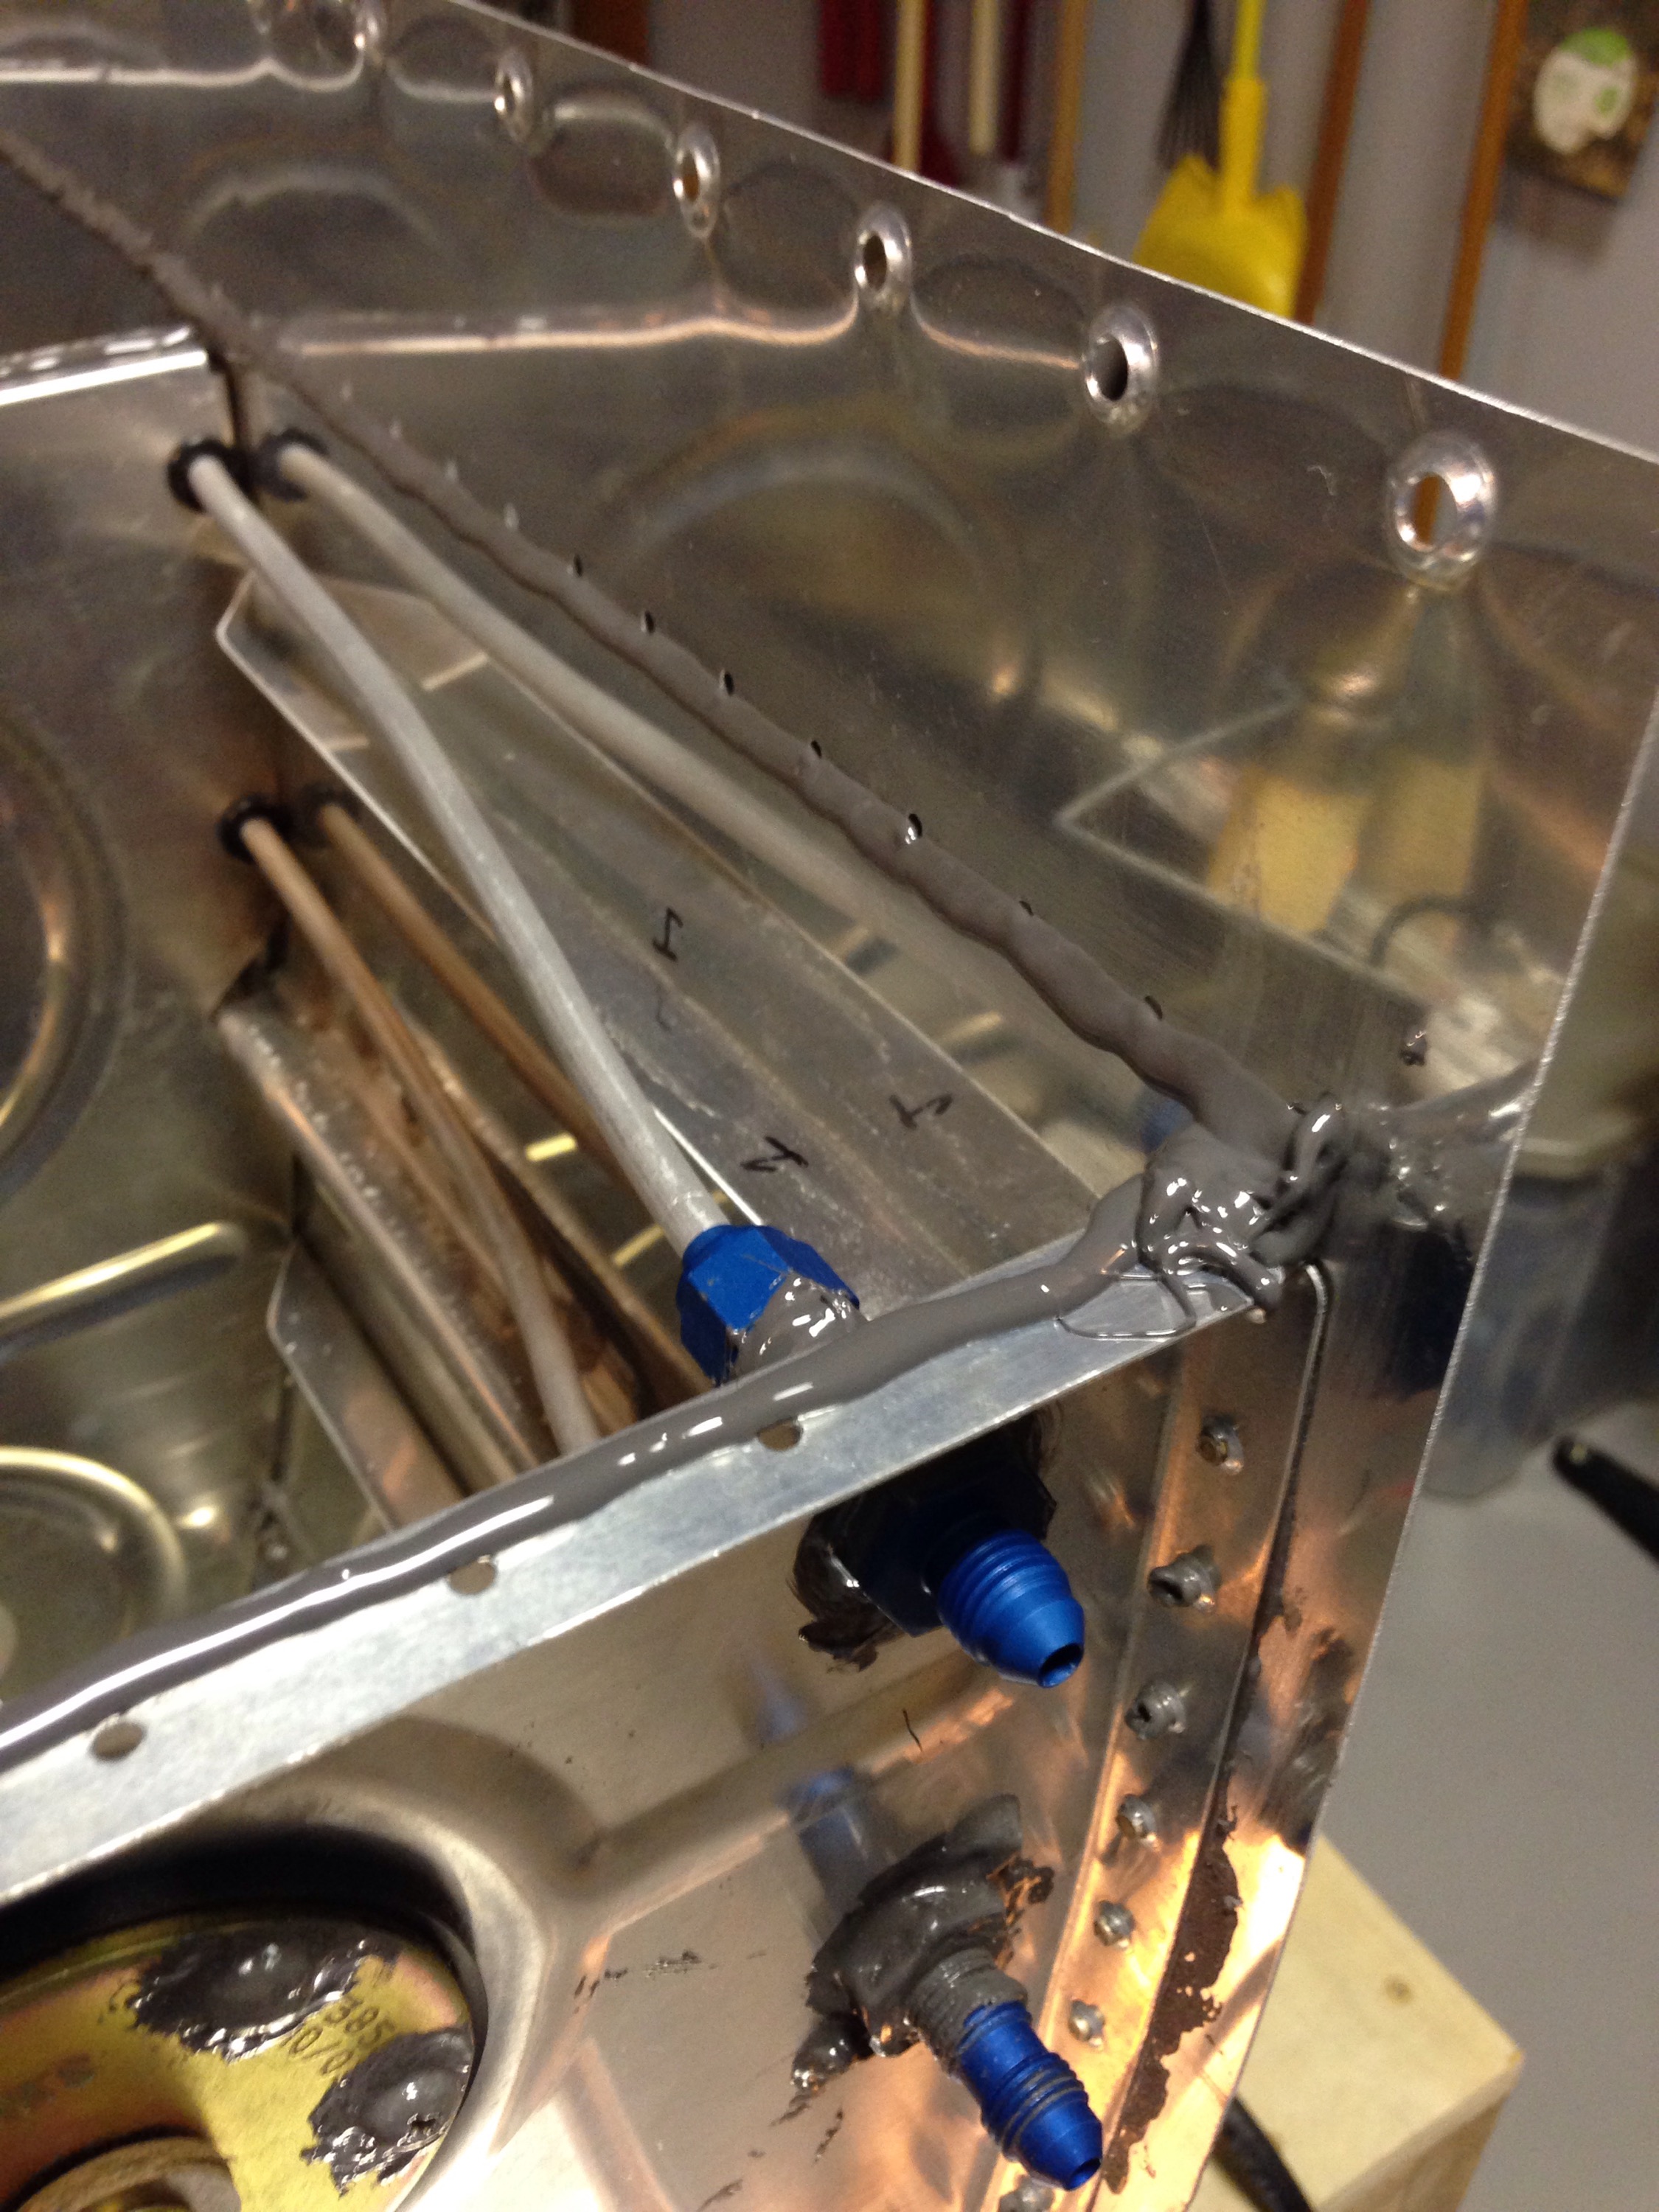
The final step for the tanks is to seal the rear baffle in place. This is always a bit tricky as you have to put a bead of proseal and then place the baffle in using it as a squeege and hoping that it seals internally. If not, it’s a tough fix as you now can’t get inside the tank.
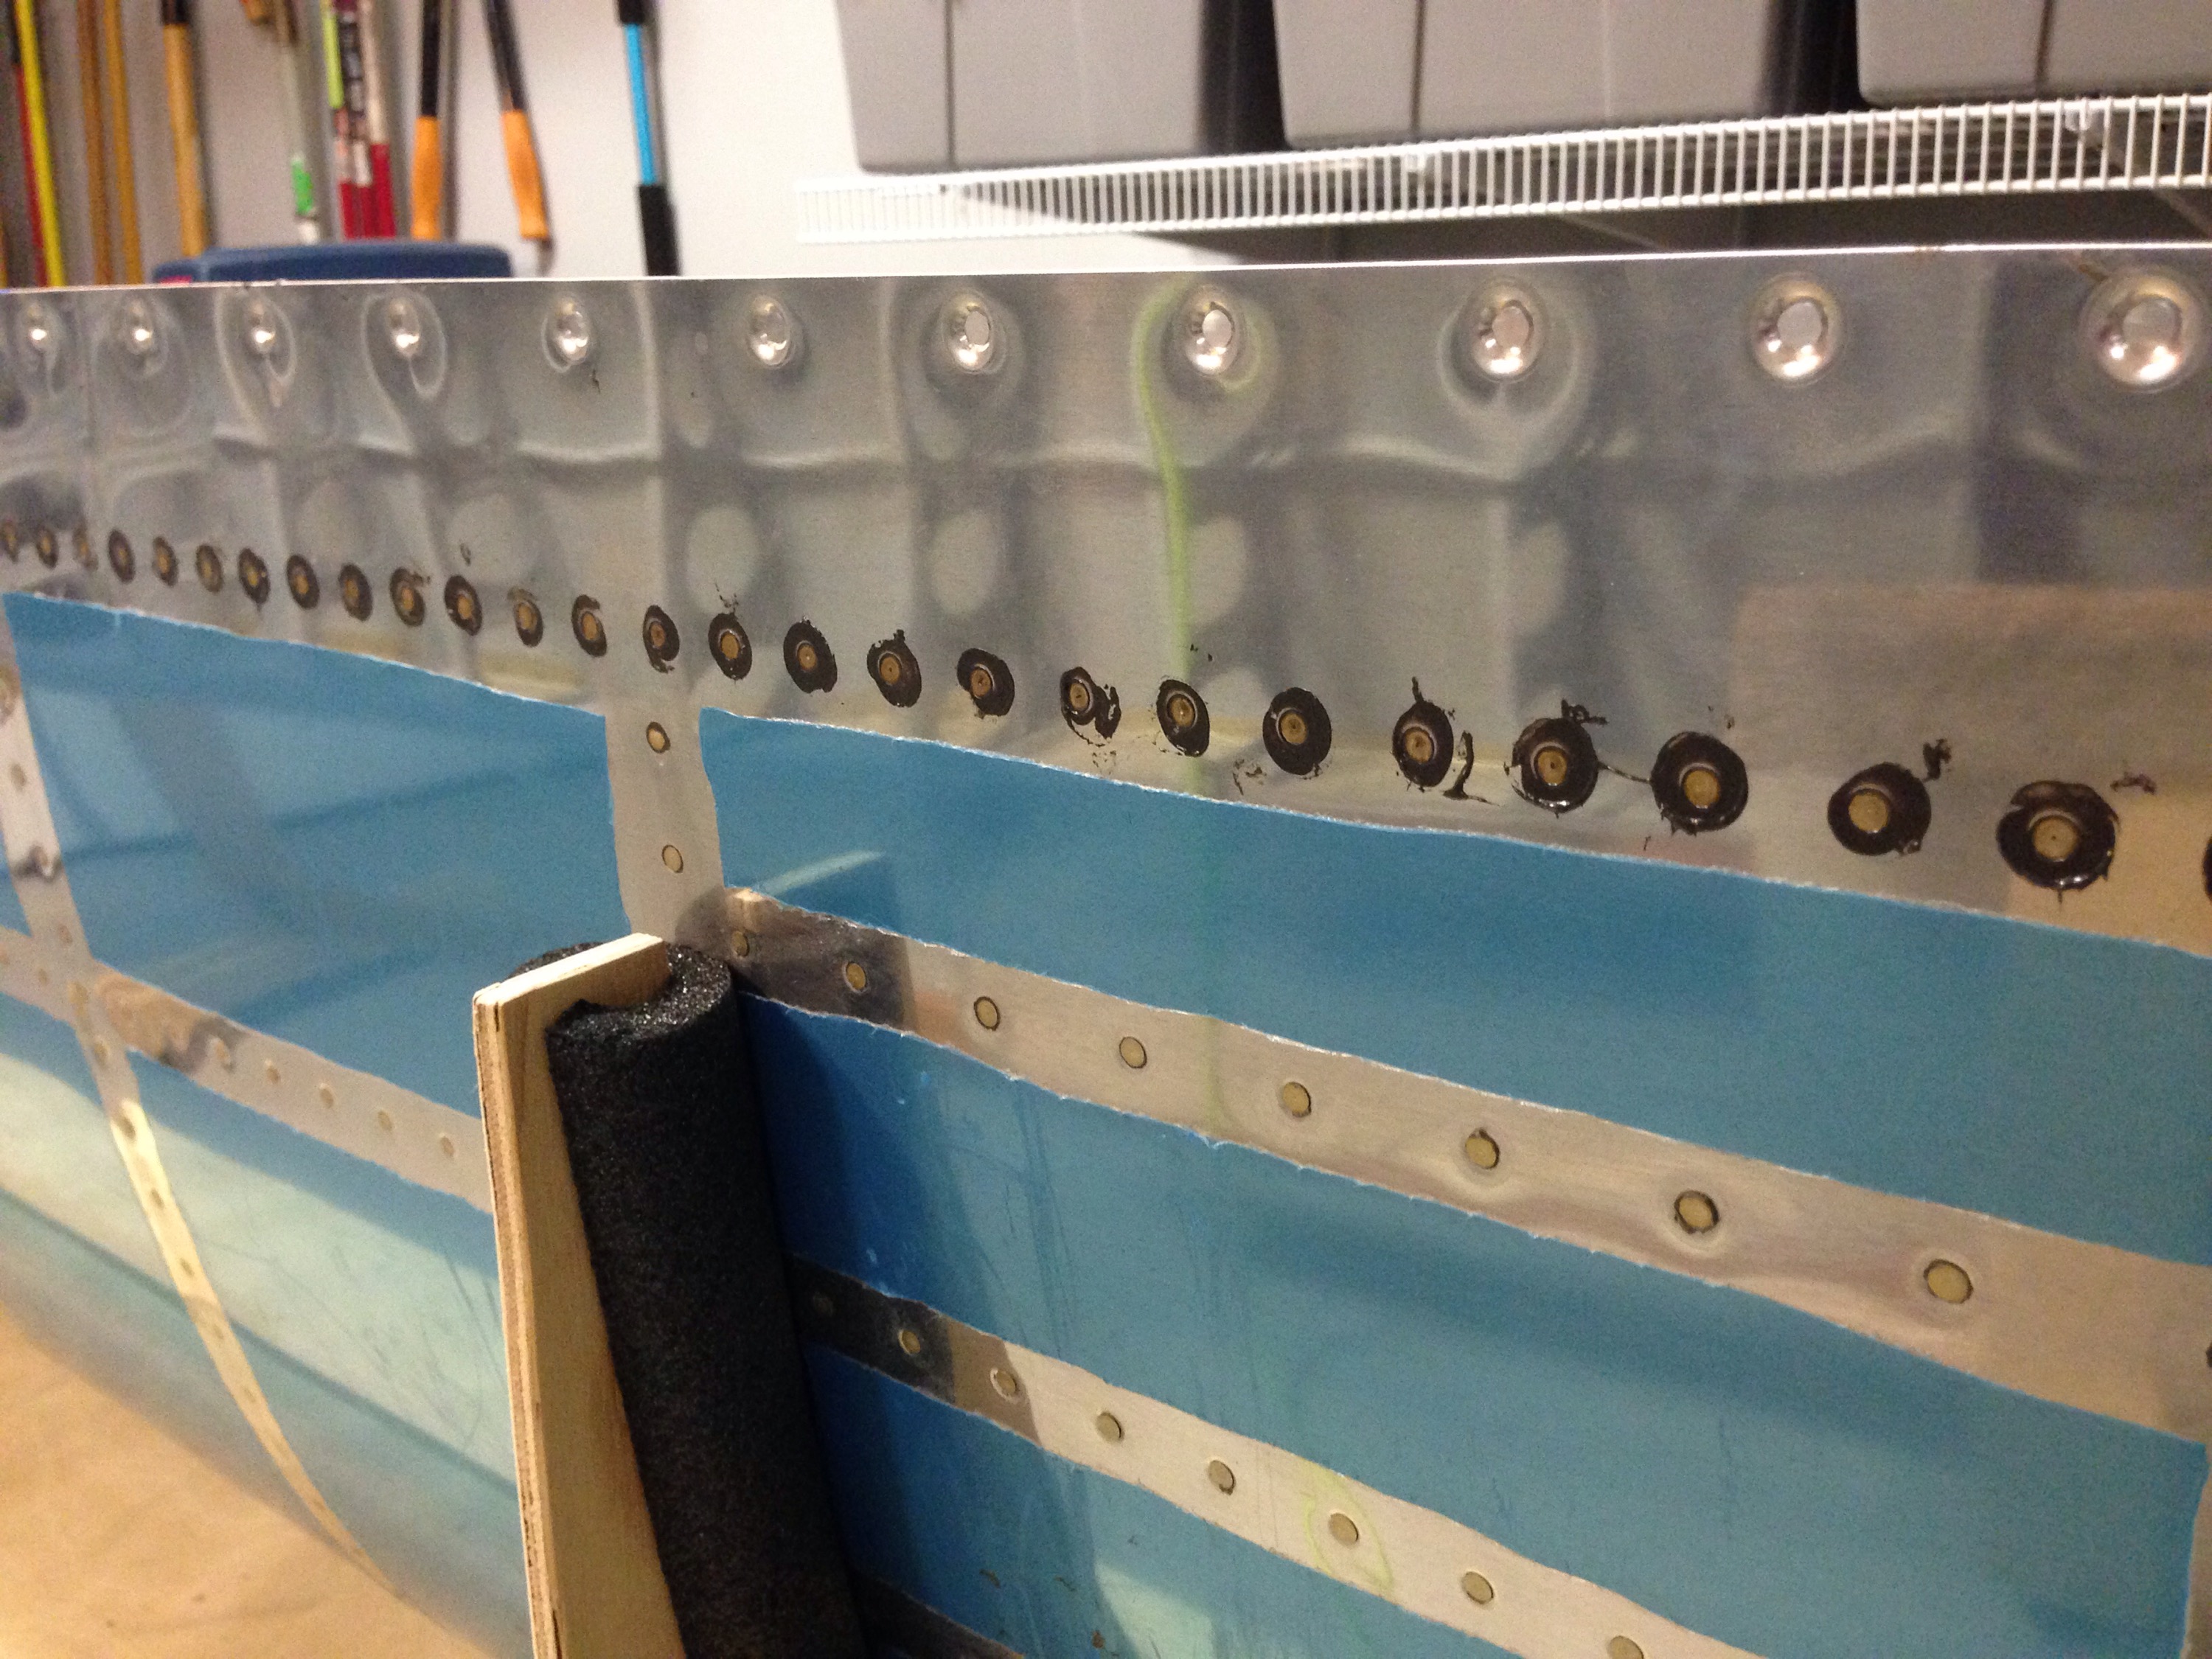
Using the applicator gun helps here get a nice even bead of proseal in place. Putting a cleco in every hole, I let it set up overnight as usual and came back the next day to finish riveting. With the perfect world scenario, the rivet line would be outside of the wetted fuel area. However, if there might be a leak, I decided to continue my habit of wet riveting. This would make it easier to seal from the outside.
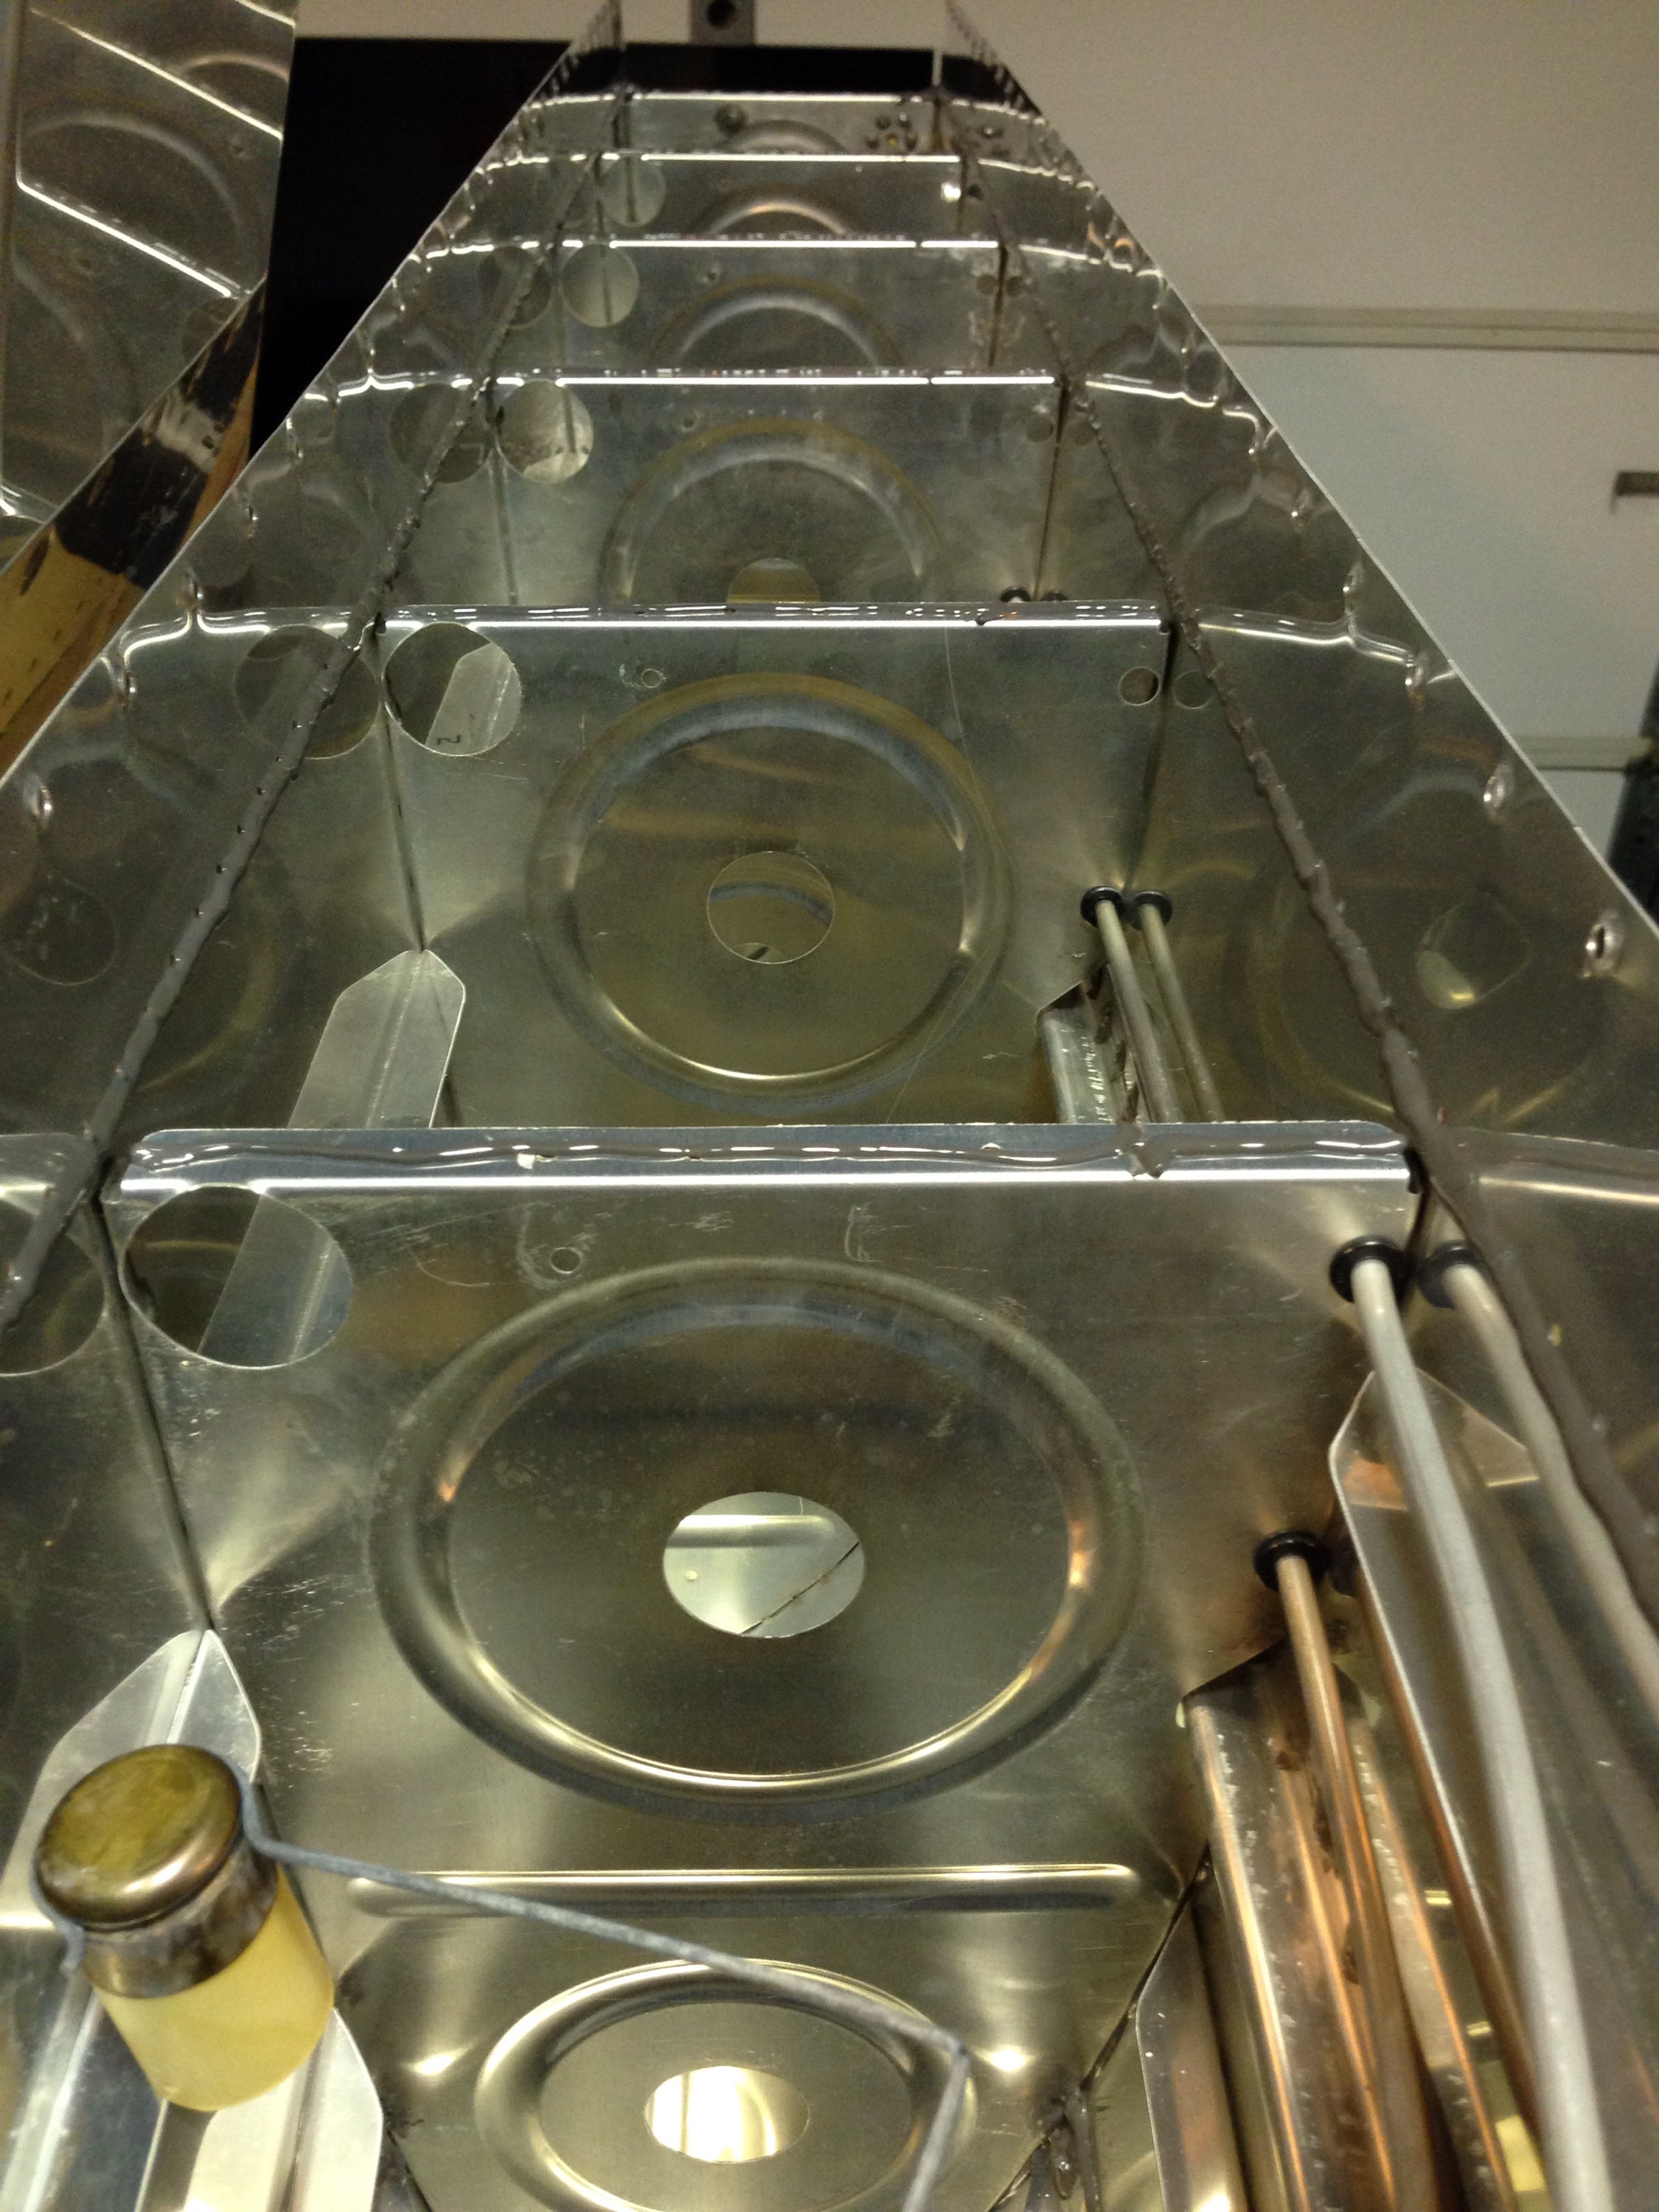
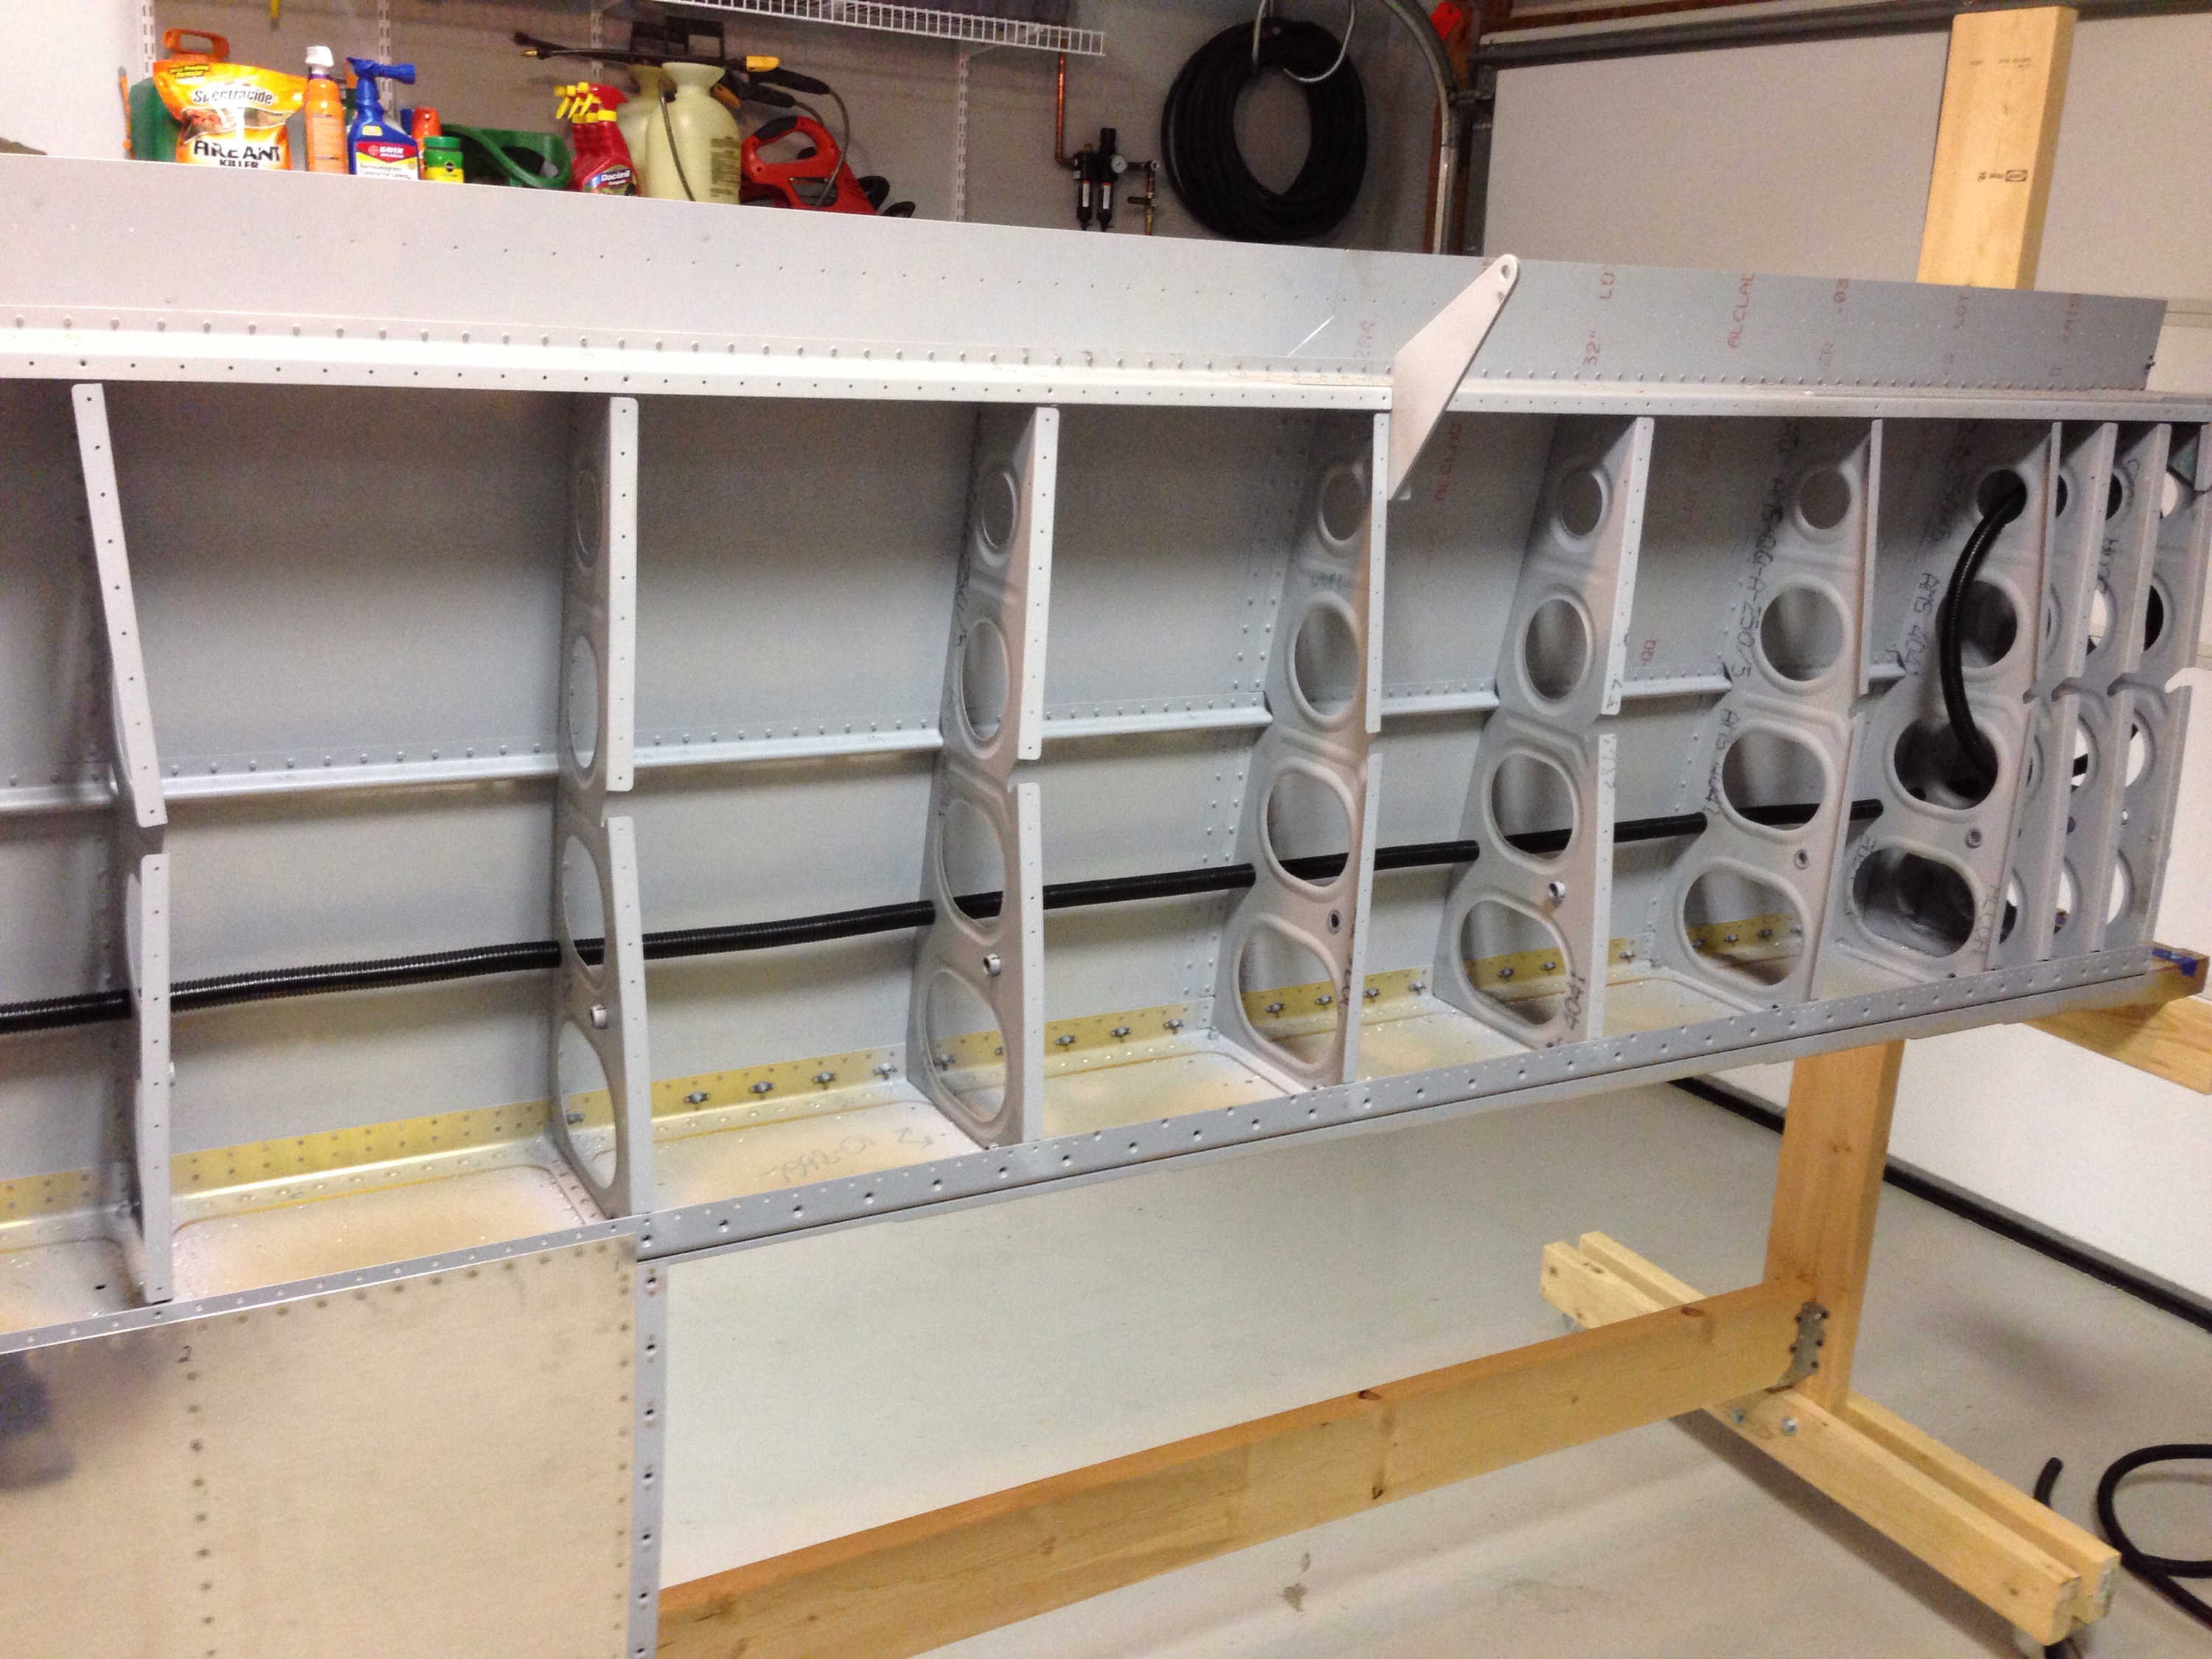
While the tanks set up, I turned to preparing the wing for close up. I want to follow other’s advice on finishing everything inside the wing before riveting the bottom skin on. Wiring is a big part of that so I ran the first bit of conduit. This is a real pain in the ass. Yes, I said pain in the ass. It’s my blog, so I can say it. And it’s true. The corrugated conduit from Van’s is a royal pain to pull through. You basically have to pop each ridge through the hole. Starting from the middle of the wing, I pulled inboard and outboard to minimize the number of ribs the conduit has to be pulled through.
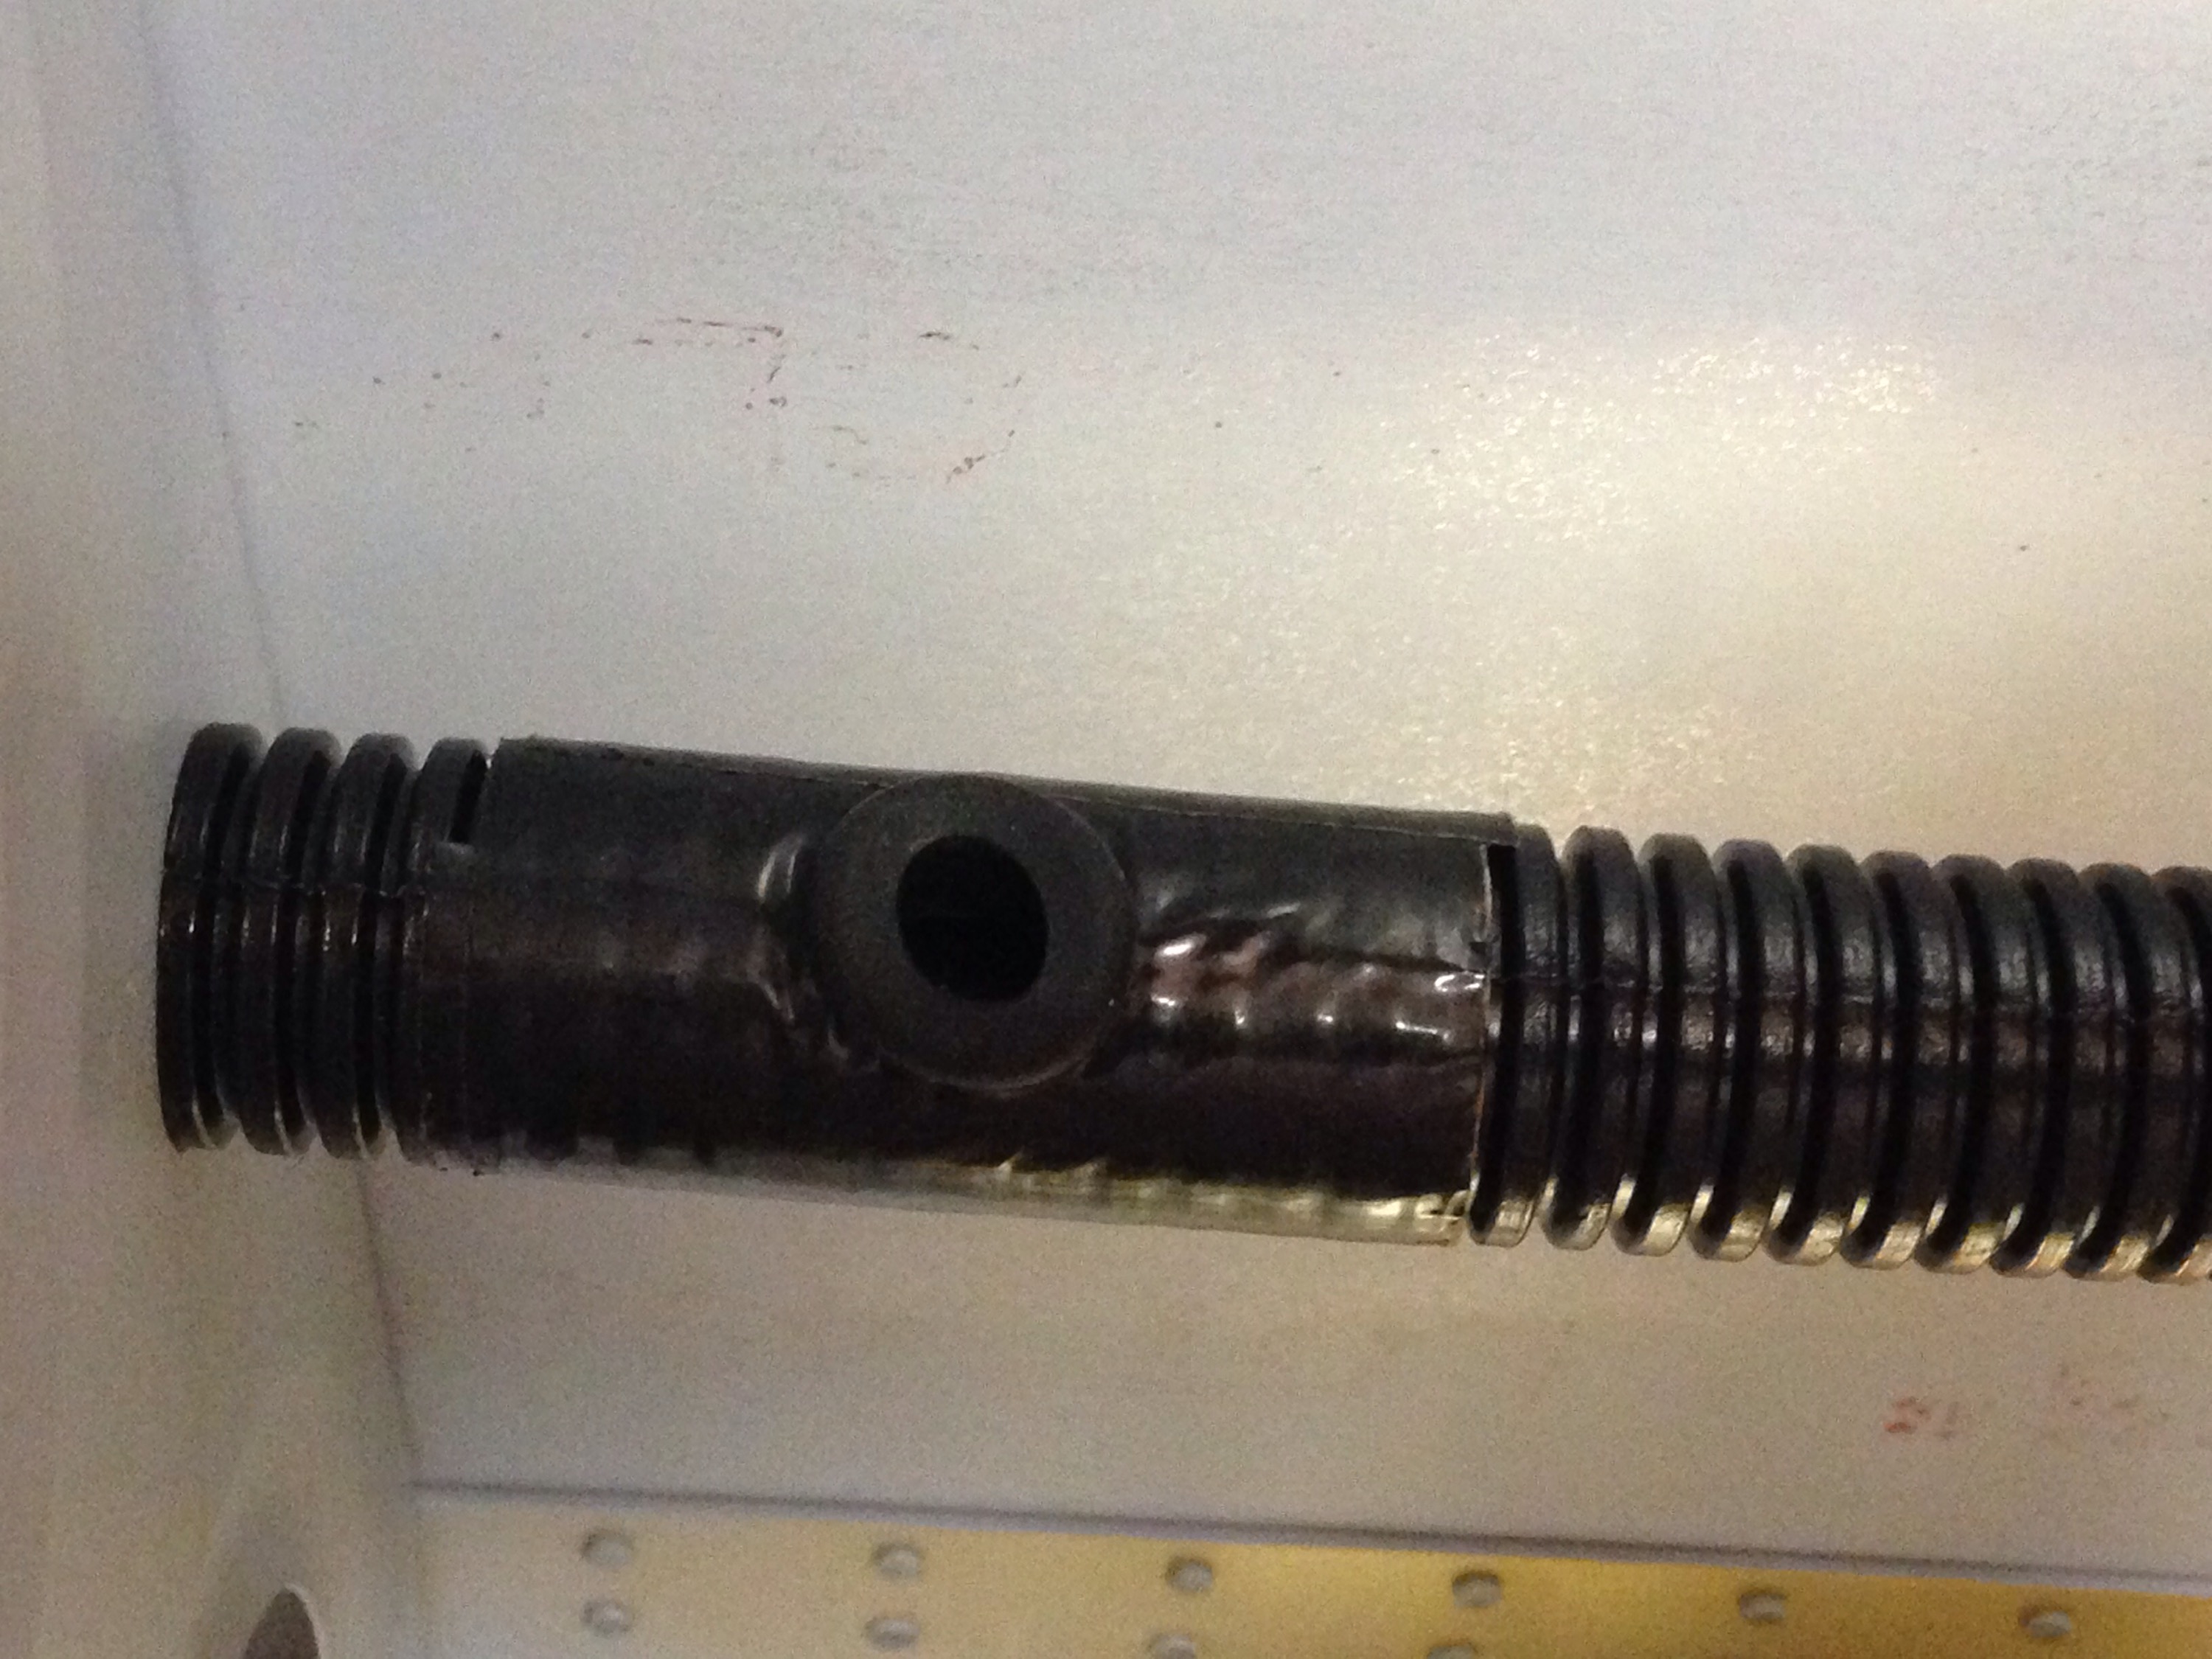
After a lot of sweating and some worn out hands, conduit is in place. At the locations where wiring will exit the conduit, I cut a hole after wrapping the conduit in duct tape. This made it a bit more sturdy and allowed the gromet to stay in place better. The rubber gromet will prevent any chafing. I tacked this in with a little silicone to help keep in place for the long term.
I will be terminating all connections at the wing root for a couple of reasons. First to allow me to do as much wiring and plumbing as possible early on in the build process. Second, it will allow me to keep the wings off of the fuse down the road as well. I went ahead and pulled string through the conduit from the wingtip and seperately each exit to the wing root. I then ran wiring for the heated pitot probe along with tubing for the pitot and angle of attack hook ups. The wiring for the aileron trim servo and coax for the two Archer antennas in the wingtips were all secured for later connections.
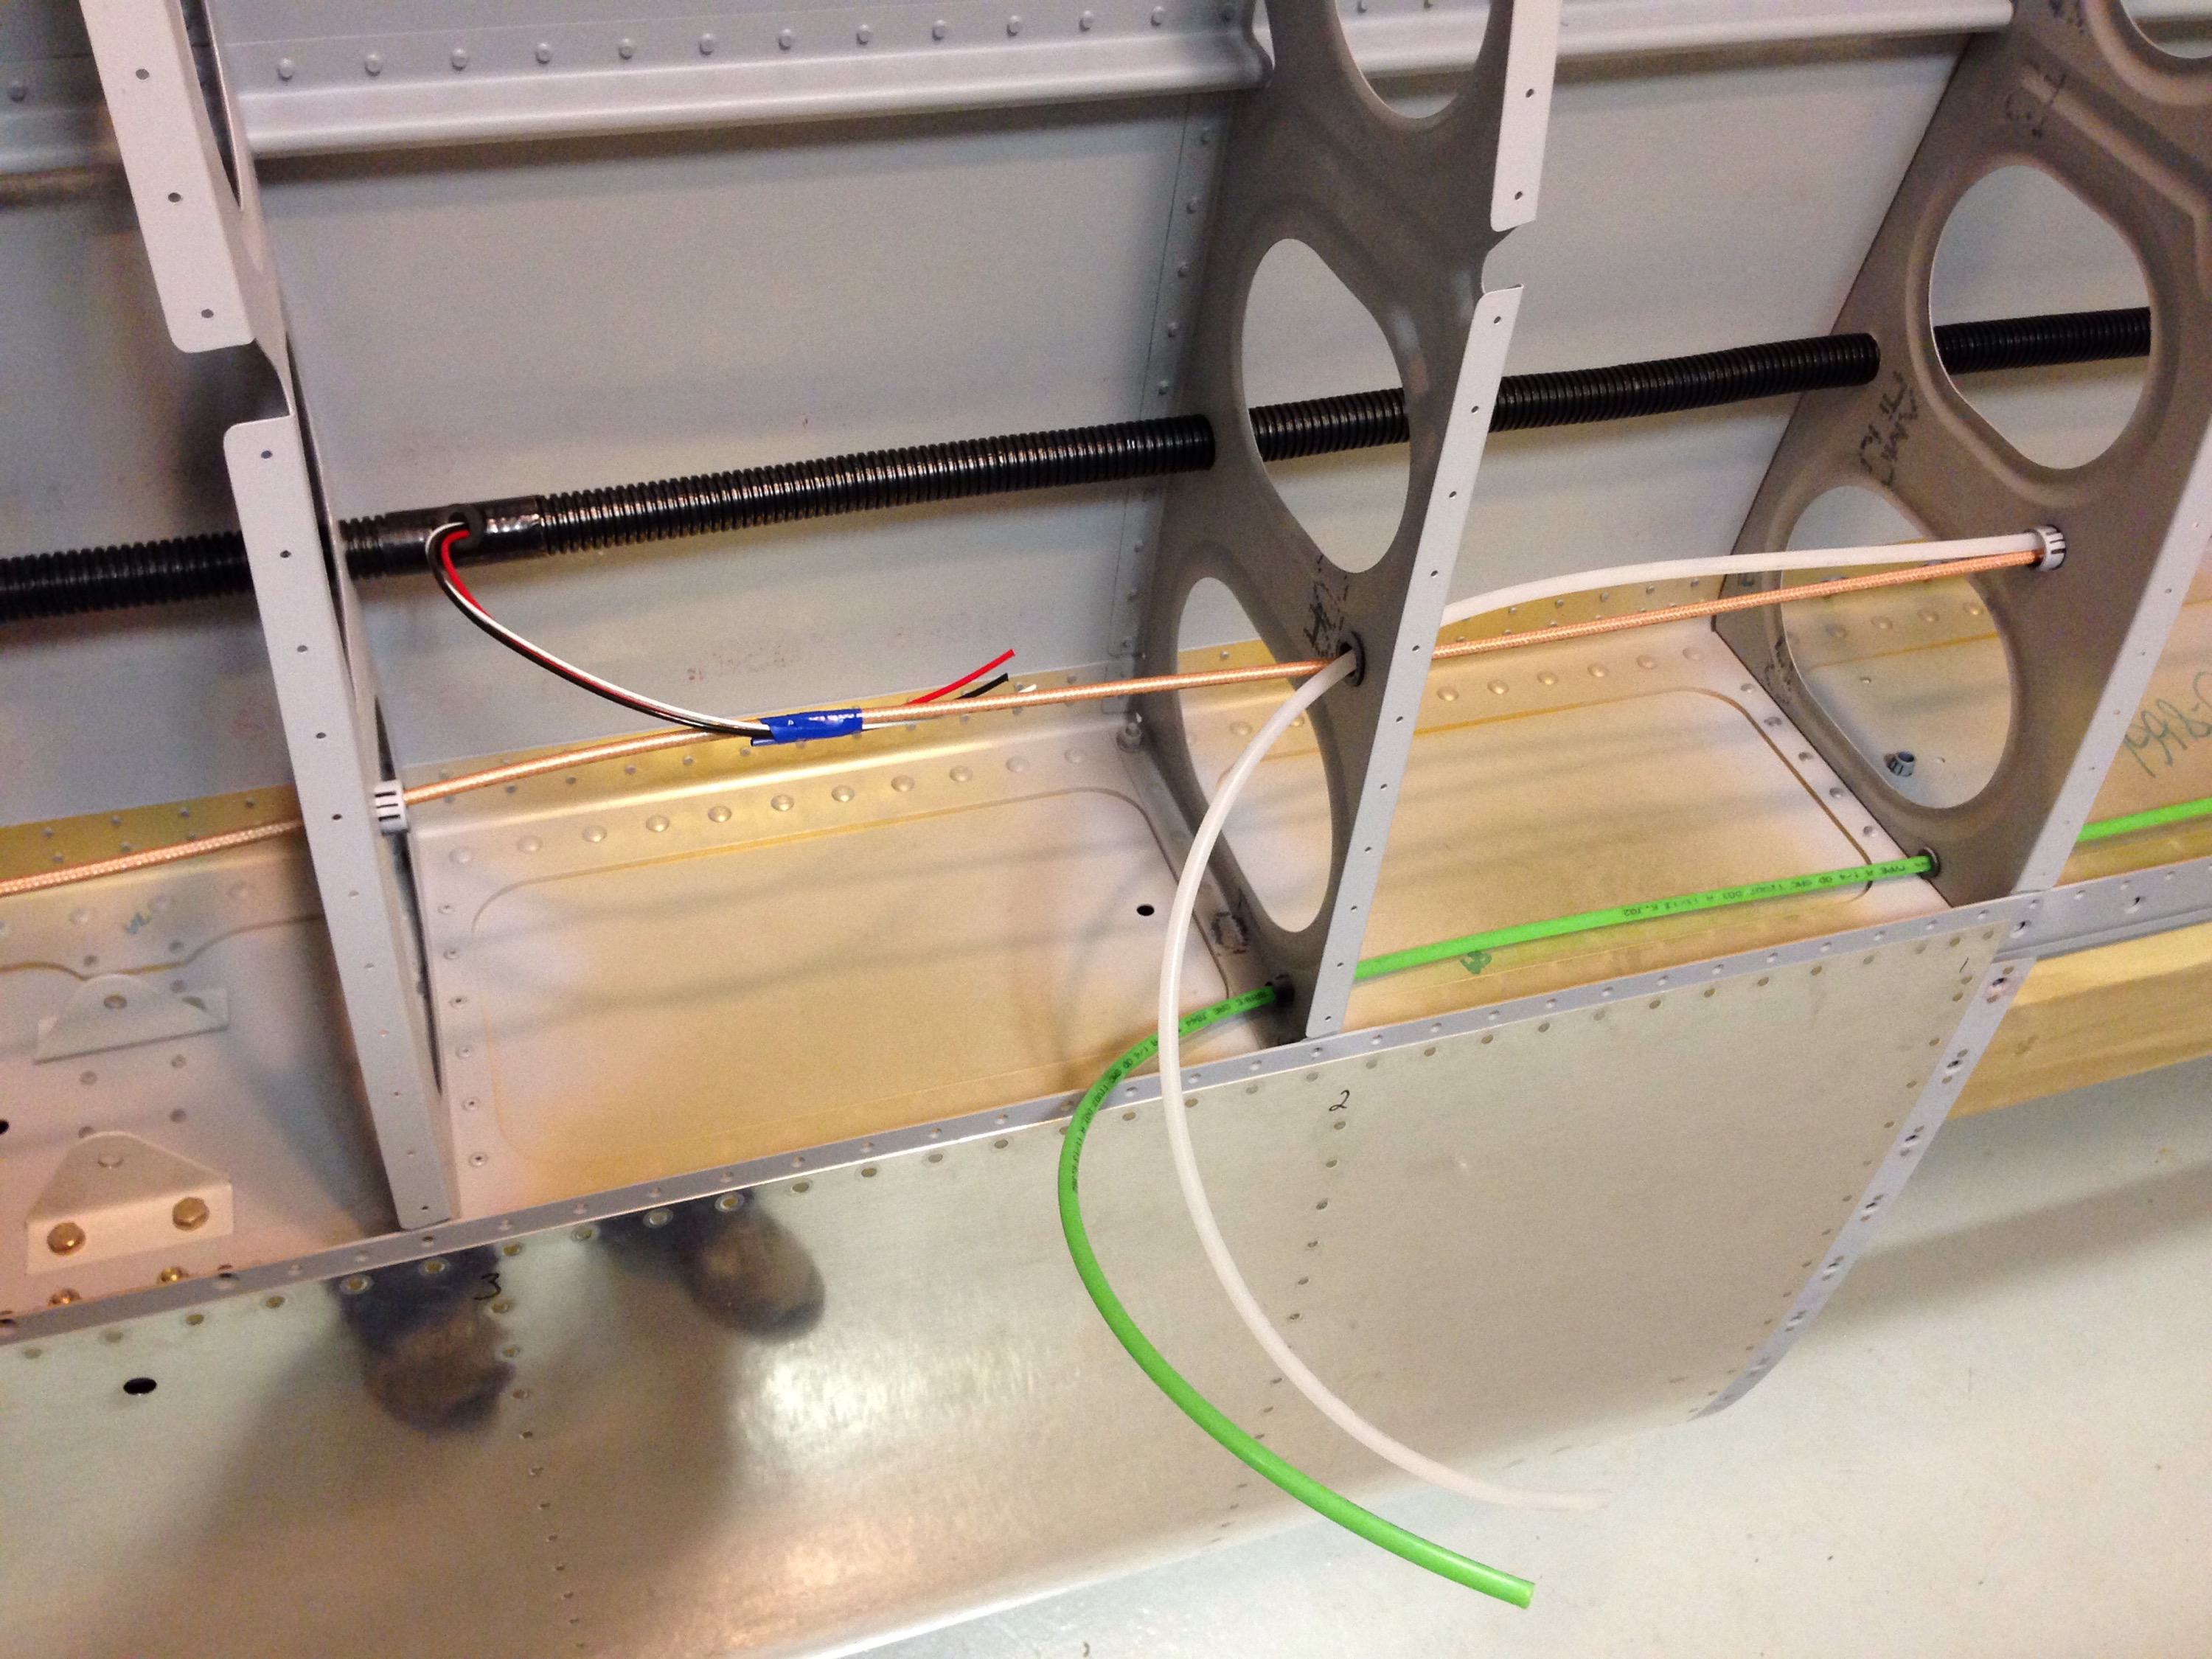

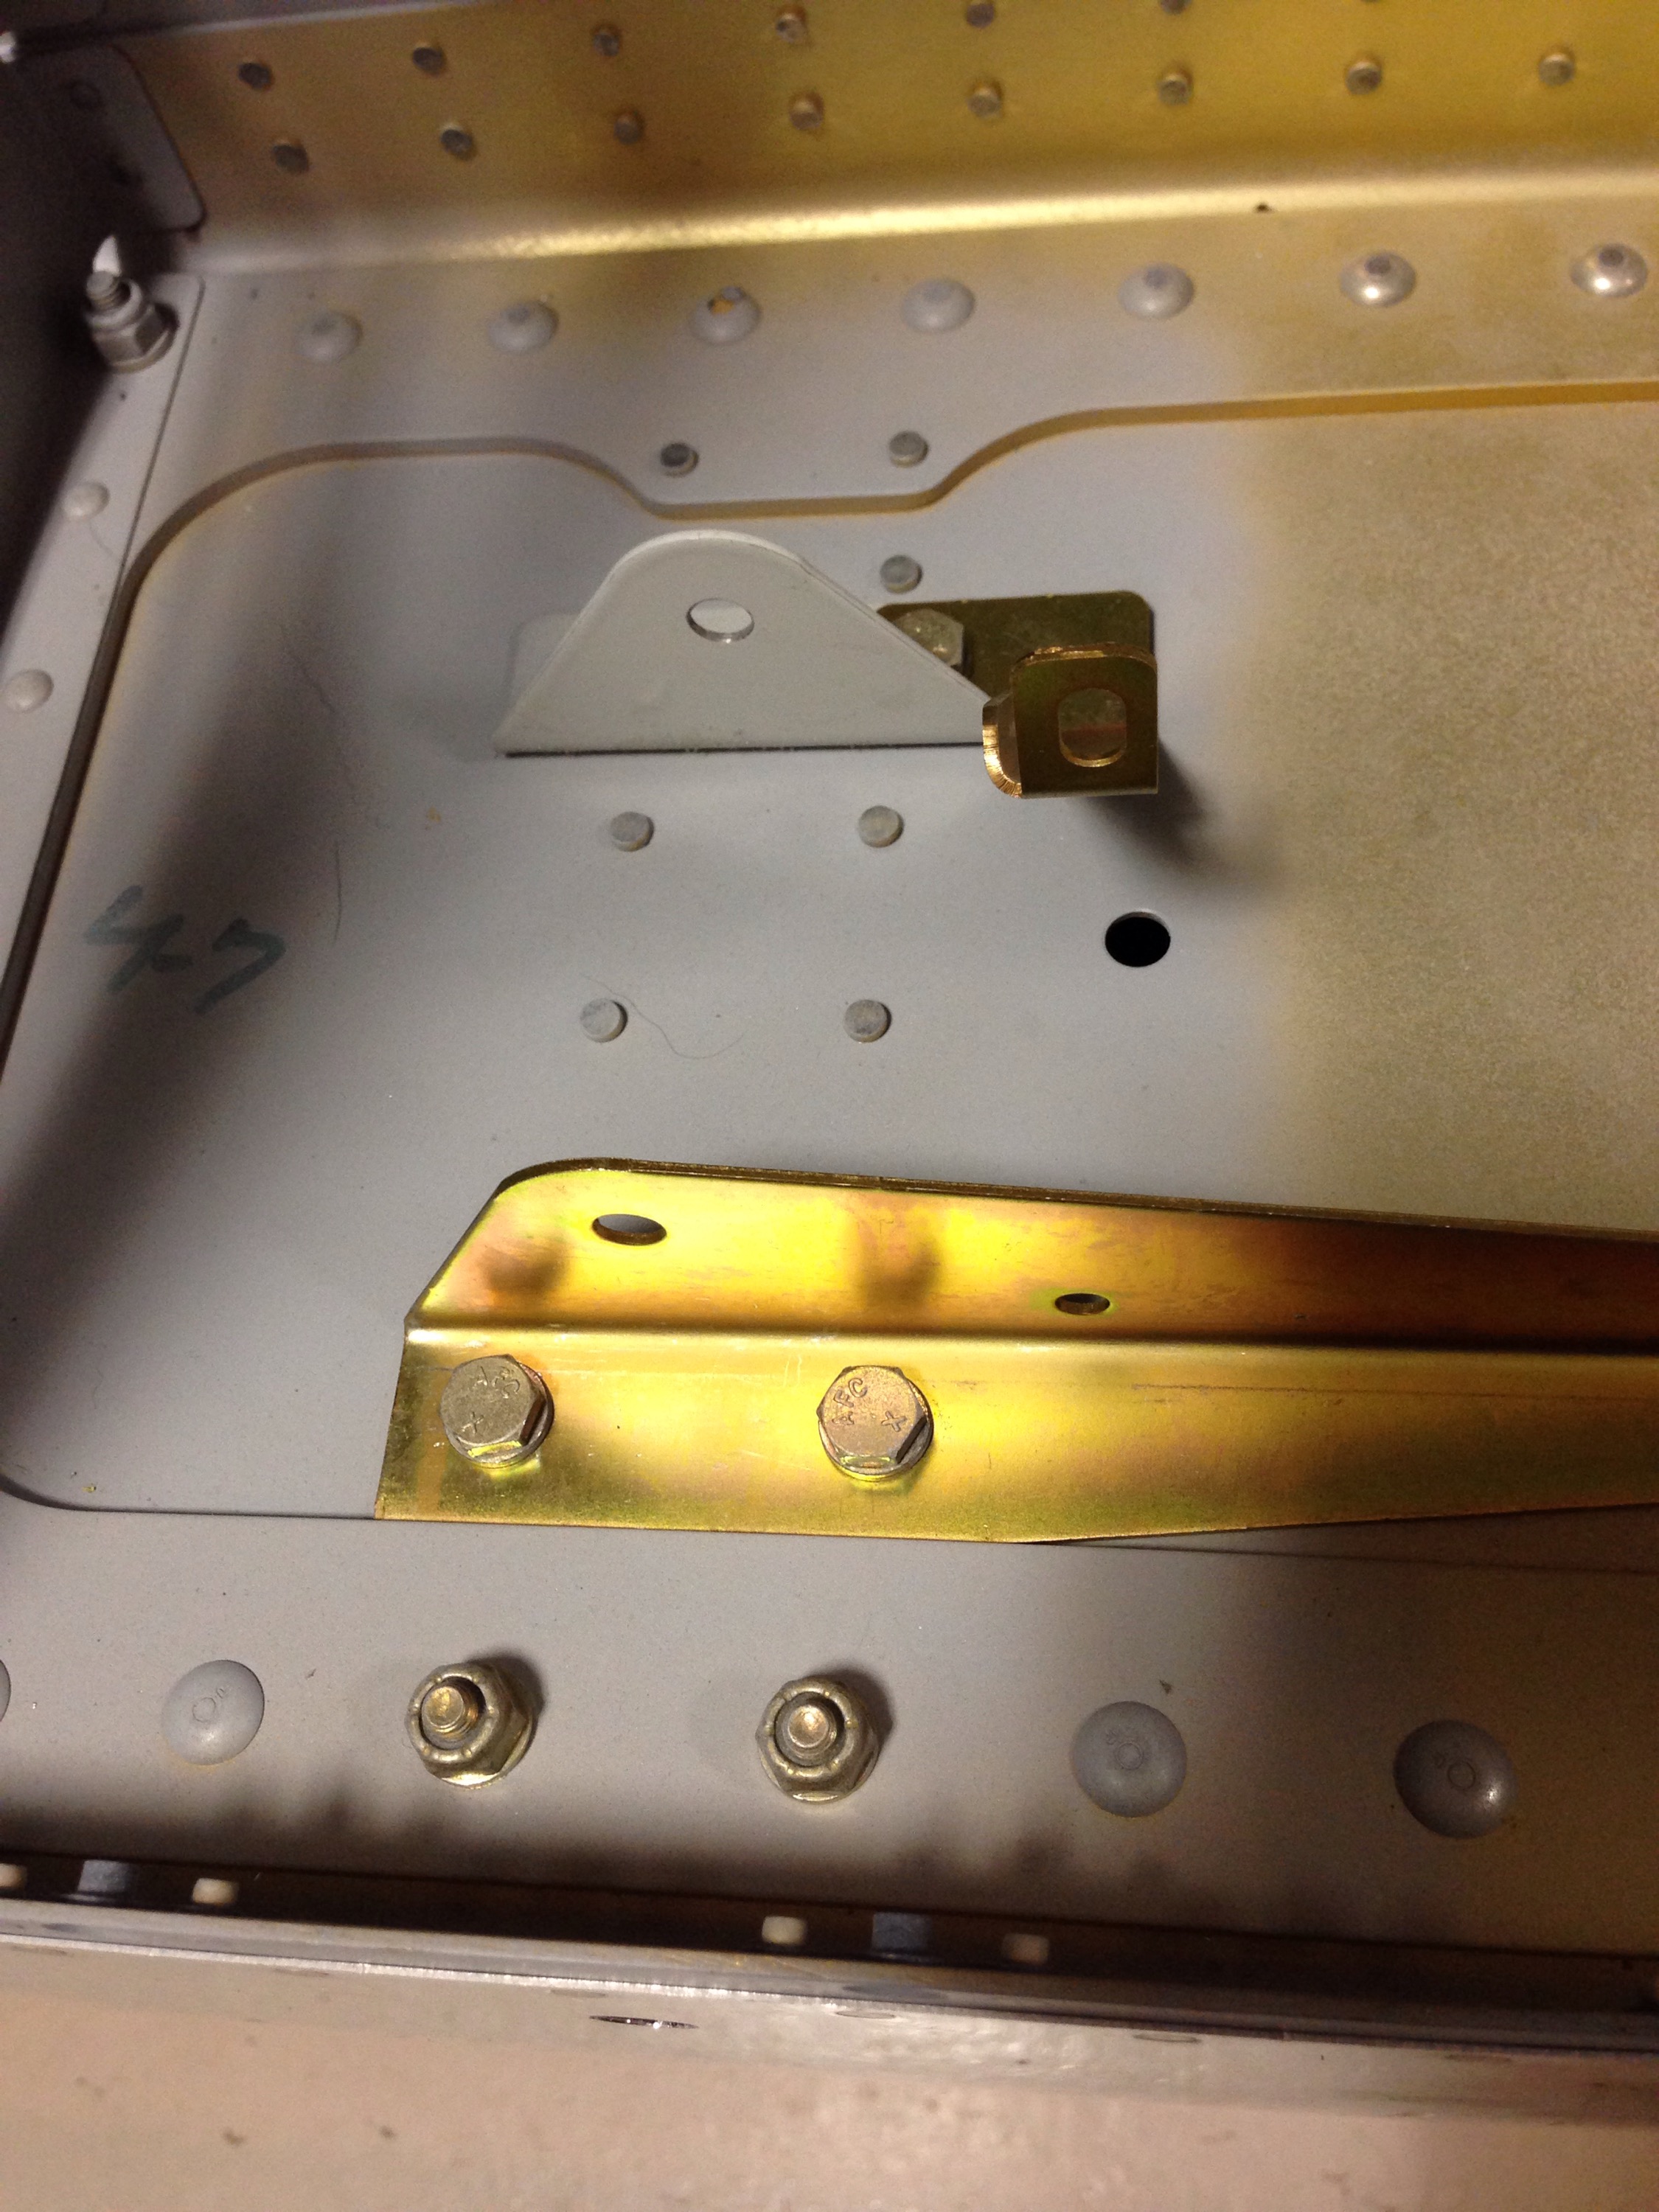
Finally, I installed the newly arrived servo mount for the autopilot roll servo. The same bracket fits Dynon and TruTrak servos, which covers the spectrum for Dynon or AFS avionics. I’ll be purchasing the servo down the road.