Mind the gap

So it may be noticed there was 440 days between posts with little progress made on the build in the past year.  Well, we decided to make a life decision and build a custom home after we realized we were at a point in our lives we could actually make it happen.  I won’t dive into the details on house building, as that’s a whole other blog topic, but it was an adventure to say the least.

IMG_0013(1)IMG_0010(1)IMG_0011(1)
Long story short, we now have a beautiful home custom built on 10 acres of heaven with lots of trees, hills, and a great creek.  Oh, and did I mention it’s a mile from the IPJ runway and on the base leg for the 23 approach?  Yes, I did say heaven!  My wife and I both grin watching the airplanes a few hundred feet above us.

The project has been on hold and in storage throughout the house project, but I am happy to report it is in the new garage.  Unfortunately, I had to go TDY for the military 5 days after we moved in!  So the “shop” has a bit of work to be done when I get home.  Epoxy floors, nice cabinets, AC/heat pump, and parts storage is all on the list.  Then it will be back to building in earnest.

IMG_0014(1)


That moment in the middle of the night you wake up and realize…

…that something off plans you did has already gone very wrong.  To be honest, that ton of bricks actually hit me while reading VAF as part of my nightly routine.  Another 10 builder posted about his fuel return line fitting interfering with the spar and warning others about this issue.  I looked at his pictures and thought to myself, wow, one are just like that.  Damnit.

As part of the EFII electronic fuel injection system, a return line needs to be plumbed into each (or one) tank to allow excess fuel to return.  I plan on having a duplex valve, so need a return into each tank.  The problem is the location I, and others, chose was going to be right in front of the spar, thus not allowing any line and or bolt to be installed.   This was going to necessitate removing both tanks and somehow fixing the problem without building new tanks.

img_0421

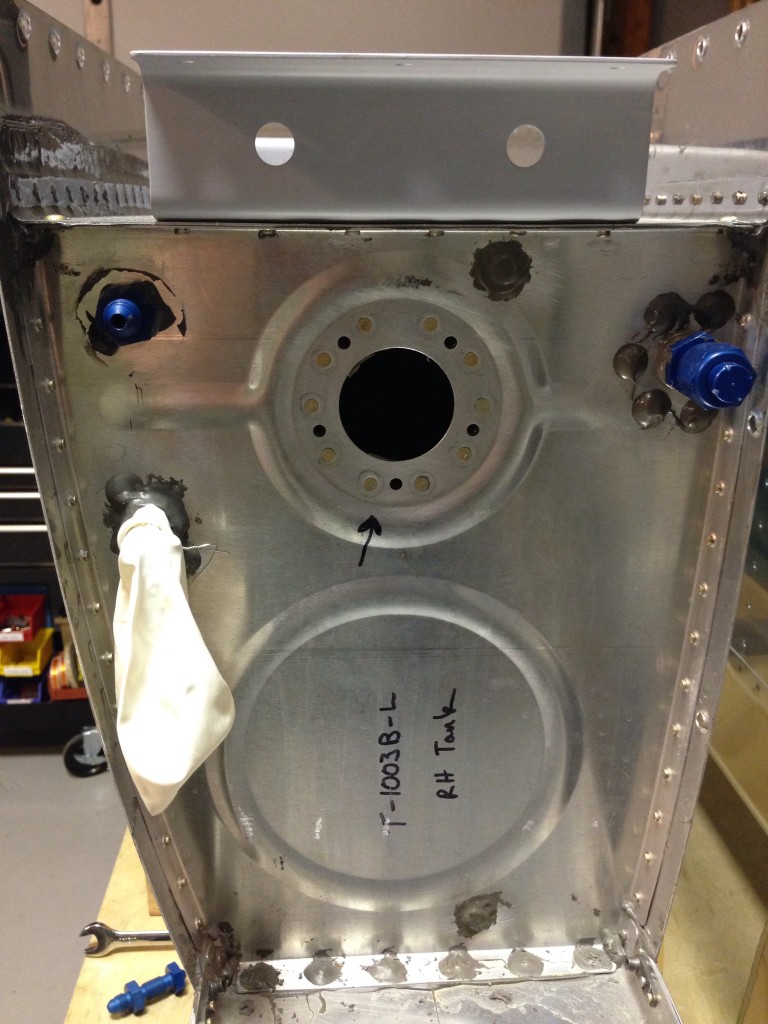
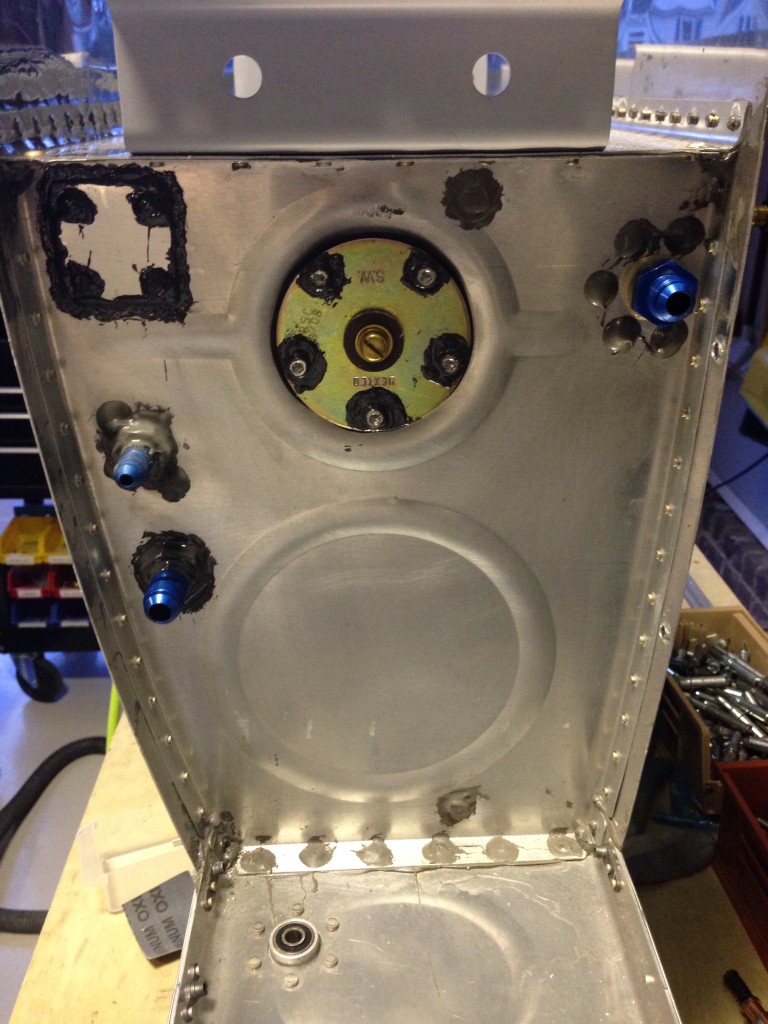
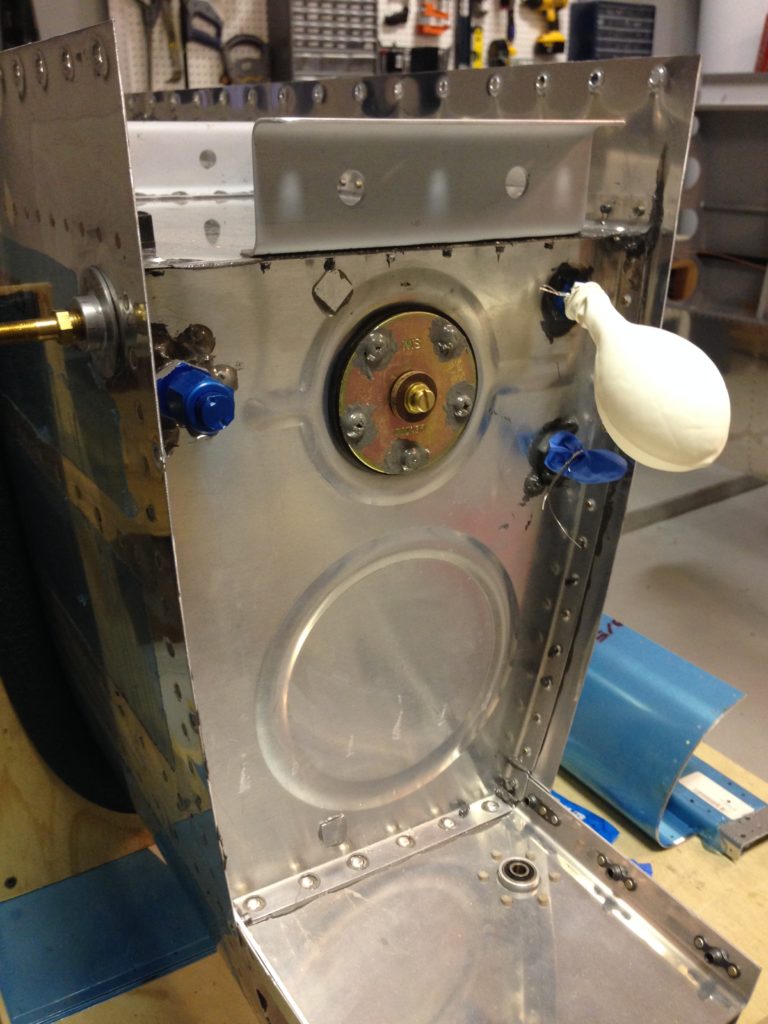
You can see the return line on the left in the very corner.  Bad place to be.  Some have cut an access hole in the back rib and used a kit from Van’s.  But I hated to introduce so much weight and mess if I didn’t have to.  I decided after a lot of thought that I could get a wrench inside and remove the fitting without too much trouble.

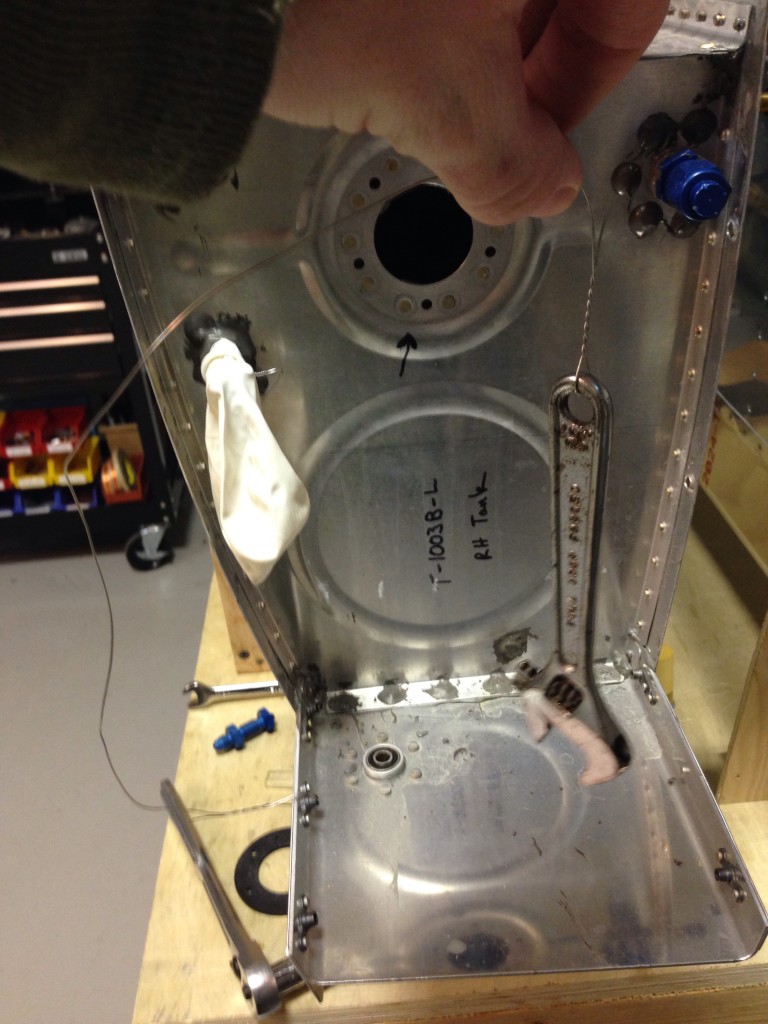
I put safety wire on the wrench so it would not be lost inside the tank and got to it.  With a little patience, I was able to break the tourque and pro seal to get the fitting out.

img_0422

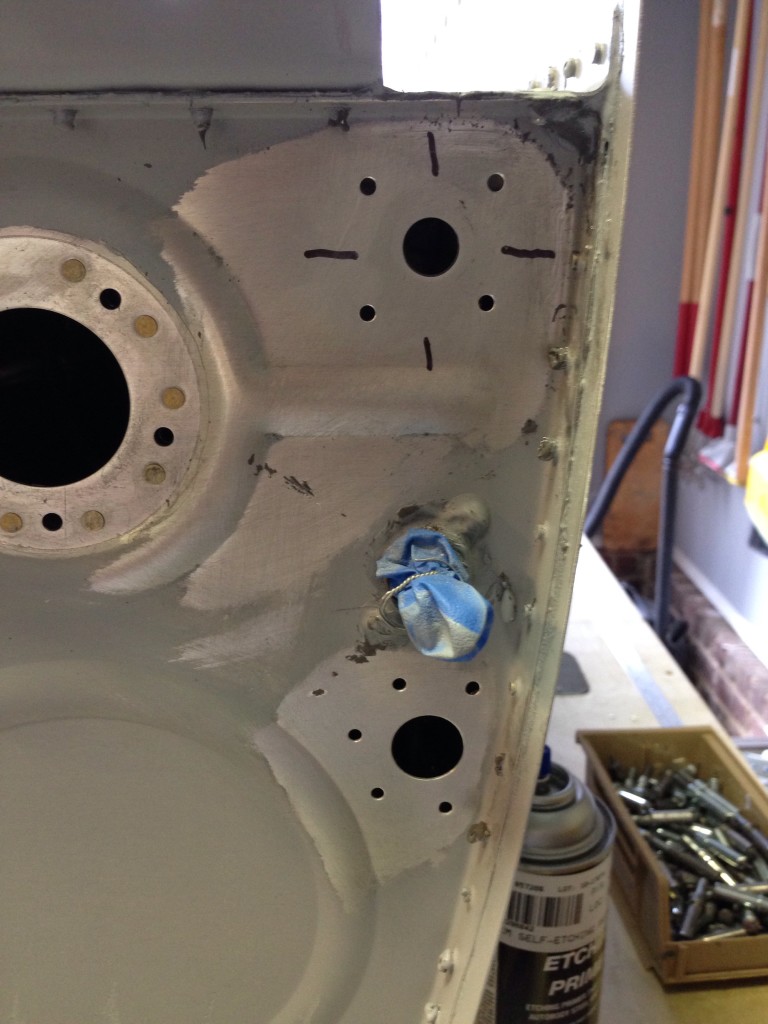
After that, it was just a matter of making a patch for the old hole and properly placing the new hole.  Sounds simple, right? Well, let’s take the opportunity to make it better.  FEedback from EFII was to have a larger fitting for the return line so I ordered the parts and had a brilliant idea of using a left over fuel bong plate.  I thought that would be a nice fitting that I could just screw the fitting into.  Wrong again.  Different threads.  I discovered that after already drilling the holes.  So another patch was in order.

img_0436

img_0439

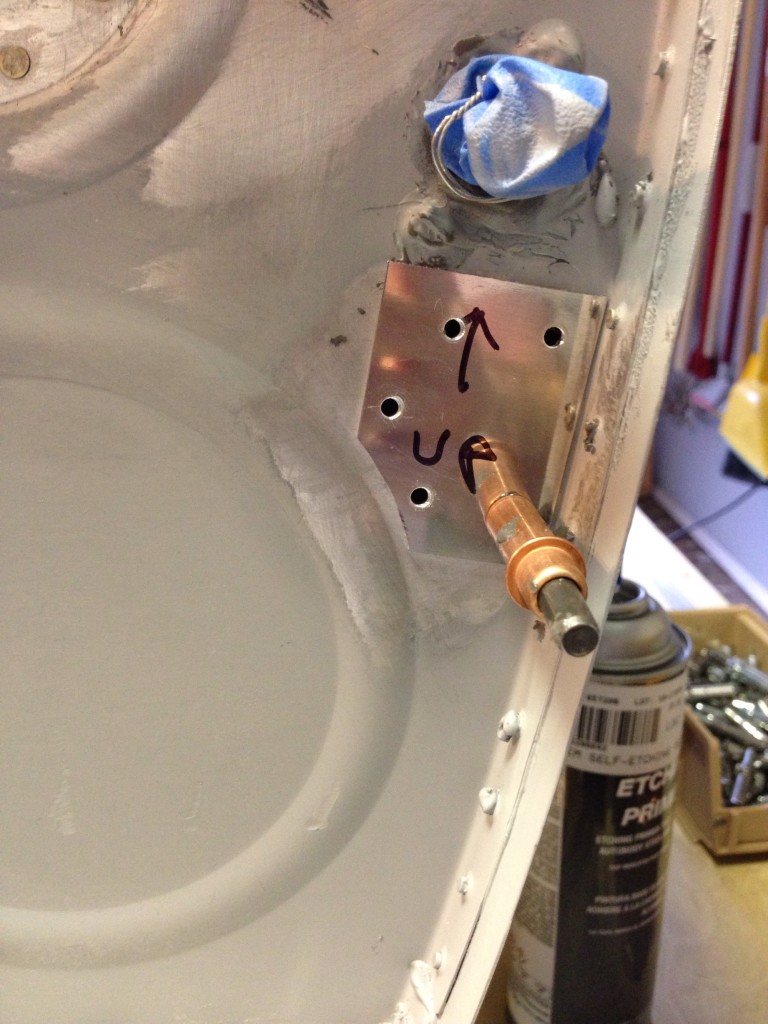
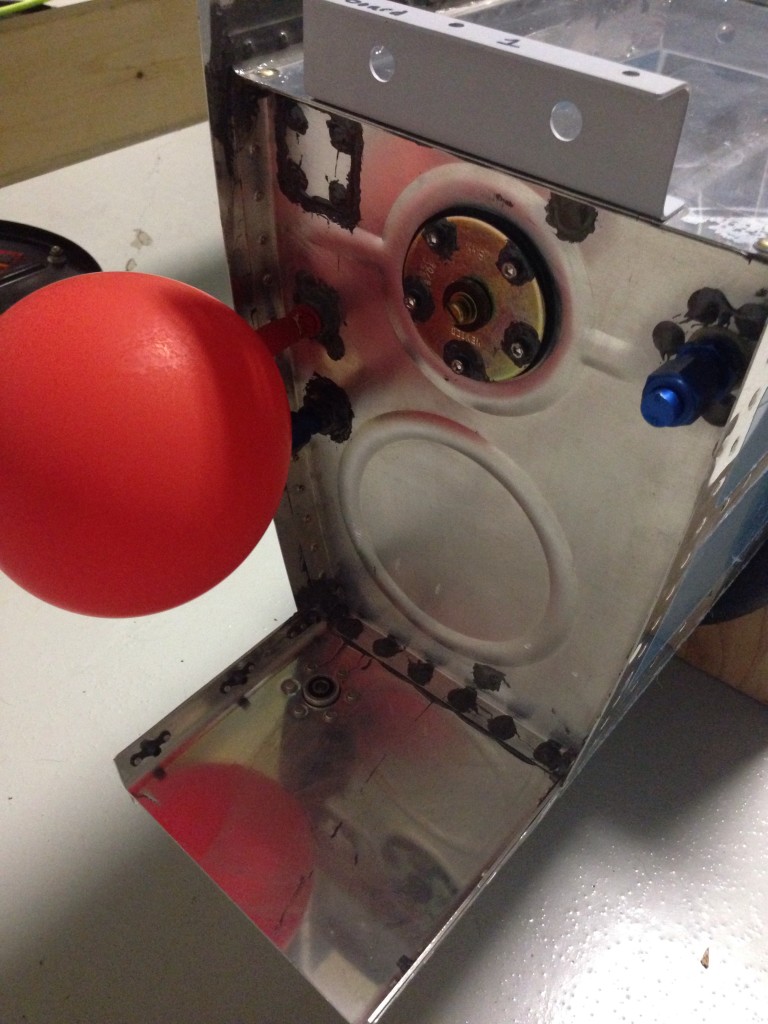
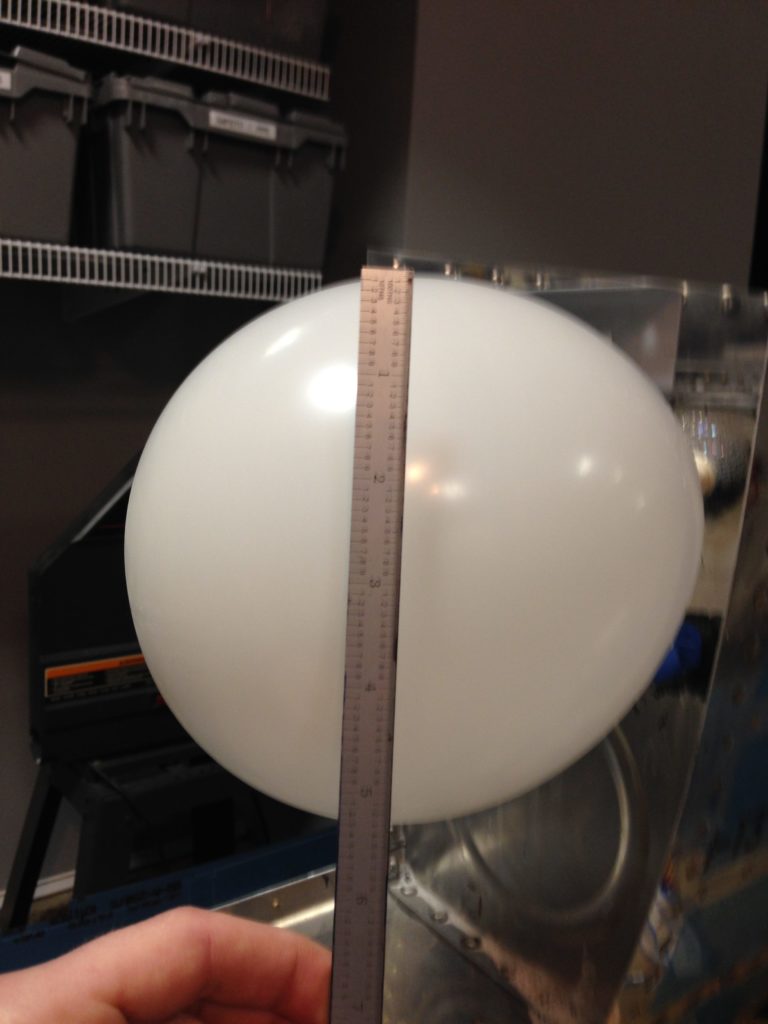
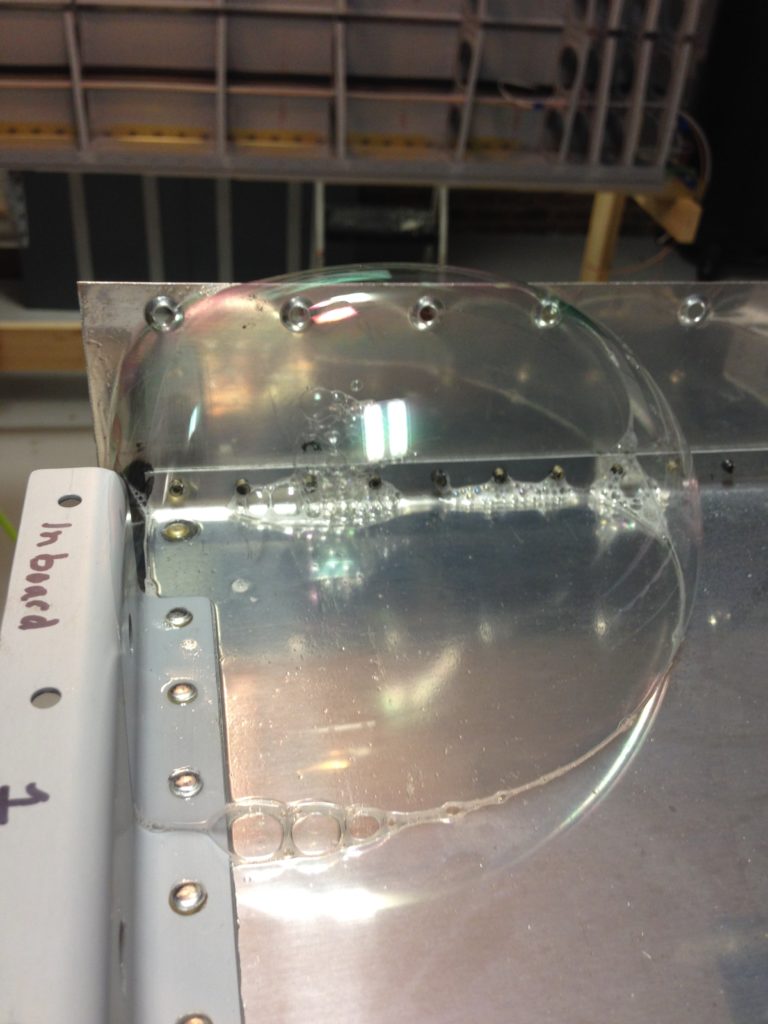
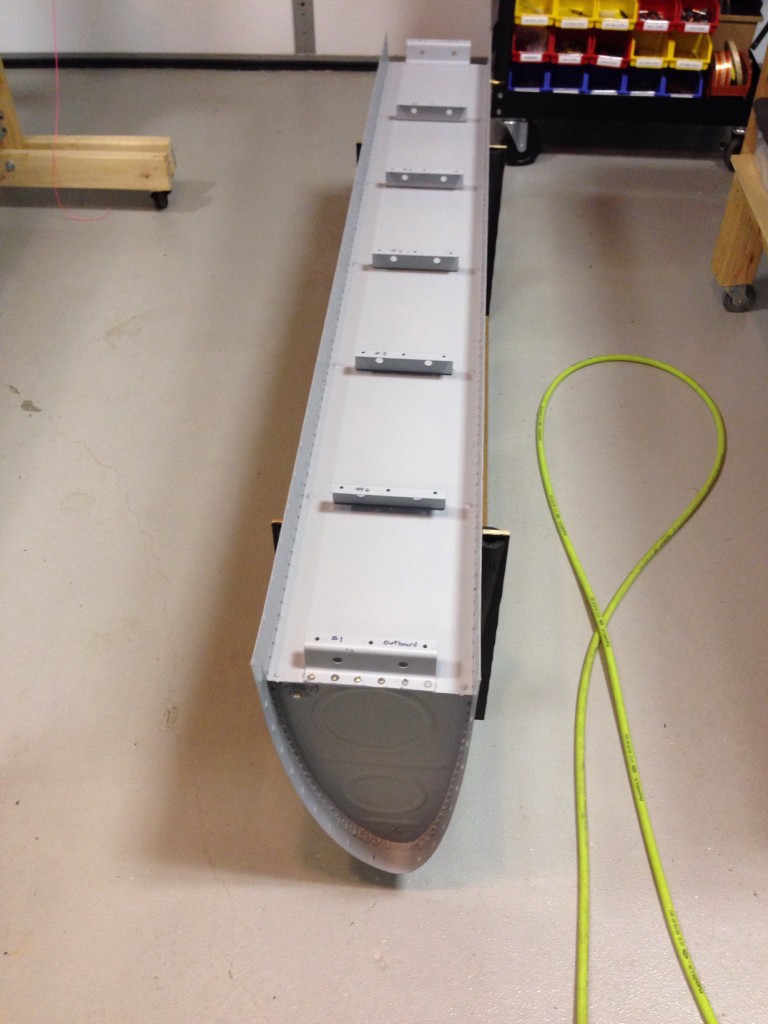
In the end, it was a one evening job and I didn’t have to cut a hole in the tank since I was able to go through the fuel sender hole.  Another two day balloon test with no leaks anywhere on the tank reassured me on the construction.  Finished priming them and back on the wings they go, hopefully this time for good.

img_0447

img_0460

A tale of two tanks

Many folks have shared great stories about their troubles sealing tanks using pro seal.  There are tips and tricks and dos and don’ts.  Finally, there are balloons.  Yes, balloons.  The test kit Van’s sells to test the tanks have balloons.  Lightly pressurize the tank with all openings sealed, and hope the balloon is the same size tomorrow morning as it was the night before.  After my water test of the tanks sans the spar plate, I was pretty confident that I’d only have one or two little issues.


IMG_0365Well, this is off to a great start.

IMG_0359
We obviously have some leakage.  I pressurized the tank slightly again and used a water and dish soap solution to see if I could find bubbles.  Turns out this is the best way to find leaks immediately and long term.  I discovered it only takes a very tiny hole for air to get through the pro seal.  And if air can make it through, then fuel definitely can.  Now, one thing to keep in mind is that the leak could also be around the temporary fittings to close the tank up tight.  Thus was the case for my first tank, as it wound up to be the balloon leaking not the actual tank.

So one tank was perfect on the first attempt.  The second was not.

IMG_0360
Okay, no worries, just apply more pro seal on the outside and it will seal it up.  In my minimalist mentality, I decided to only apply pro seal where the immediate area showed a leak.  Wrong idea.  I went through three apply and cure sessions (three days) before I finally smeared the whole seam with a nice layer of pro seal and got rid of the bubbles.

After another two day balloon test with no issues, I primed the last bit and happily bolted the tanks onto the wings.  I guess it could have been worse, but I’m very happy this is behind me in the project now.

img_0367

img_0368

Quit flapping around

The last of the moveable surfaces to be built were the flaps.  After the ailerons, the flaps are very similar and work went rather quickly.  I learned from the past mistake of not labeling the items and was very careful on placement of components.

IMG_0414IMG_0434
Again, I didn’t use pro seal to do the trailing edges, as careful back riveting proved to yield nice results.  Here is a good example of the loose edges vs the finished riveted edge.

IMG_0429IMG_0432
After finishing those up, I went ahead and mounted them to the wing with appropriate hardware and moved onto the next project.  One thing to note, I am still not above messing up and having to drill out rivets.  I mistakenly riveted two pieces together backwards and wound up having to drill out all of these rivets and redoing.  It’s an important skill to not forget.

IMG_0449