I met my dad for our first ever trip to Oshkosh. Now, this was purely a business trip to speak with builders, pilots, vendors, etc. At least that’s what I wrote down on the taxes…
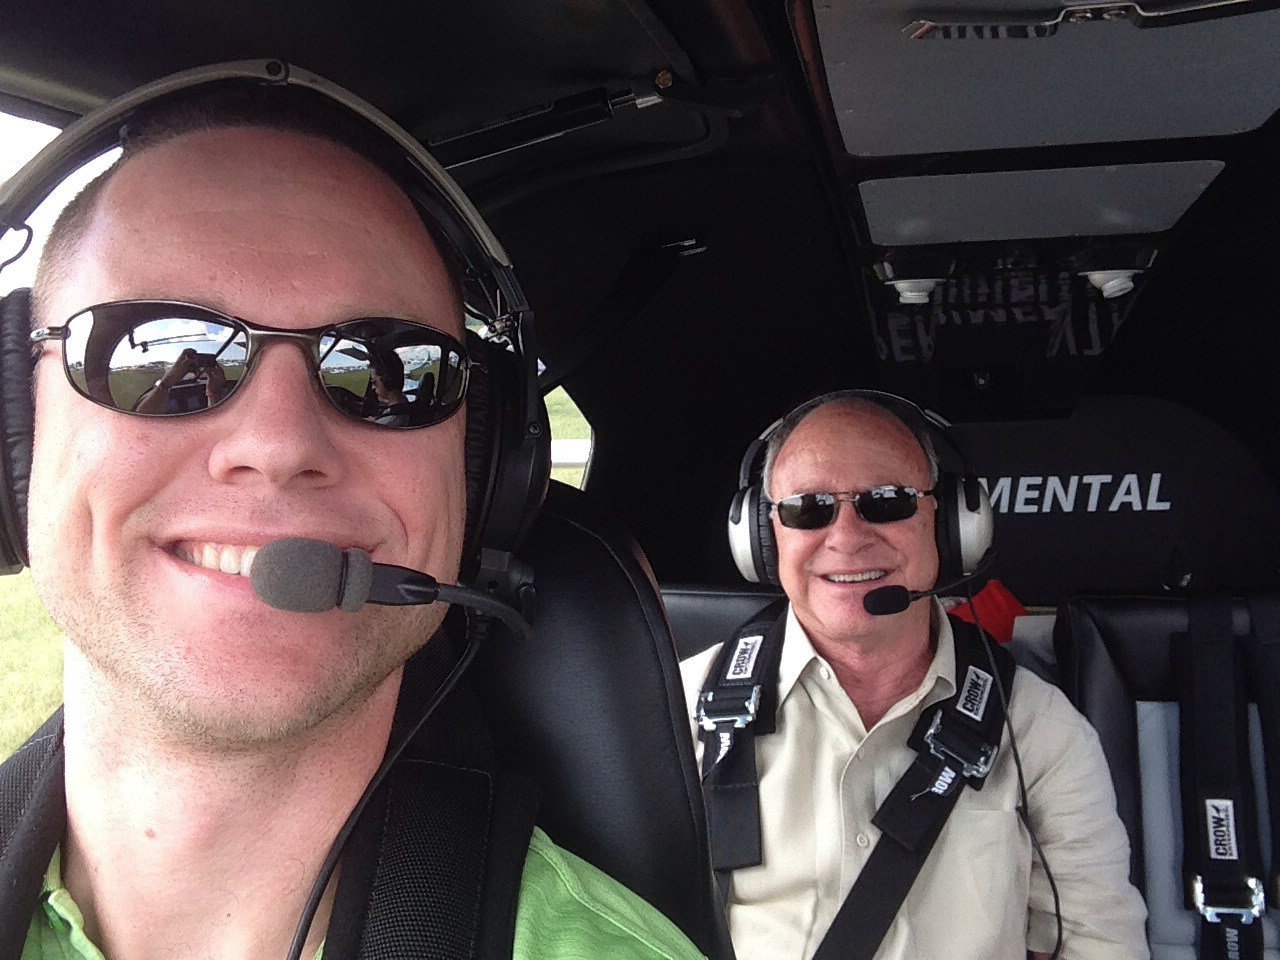
My pops and I had an absolute blast spending five days at the homebuilt/general aviation mecca. Without going into too many details and stories, the first day set the bar really high. Wednesday morning, my dad and I wanted to meet some fellow -10 pilots and check out the HB camping area before folks started packing up and flying home. I talked with a lot of folks who’s blogs I’ve followed for years now and got a lot of great advice and information. I saw some great ideas, some not so great ideas, and validated my own build work as compared to flying -10’s. We met up with Brian (their blog is on the links page) who was going up to get some air to air shots. He was nice enough to offer us a ride and within three hours of being at Oshkosh, my dad and I were sitting in a stunning example of a -10 with three other’s all going up to do some formation flying and photo ops.

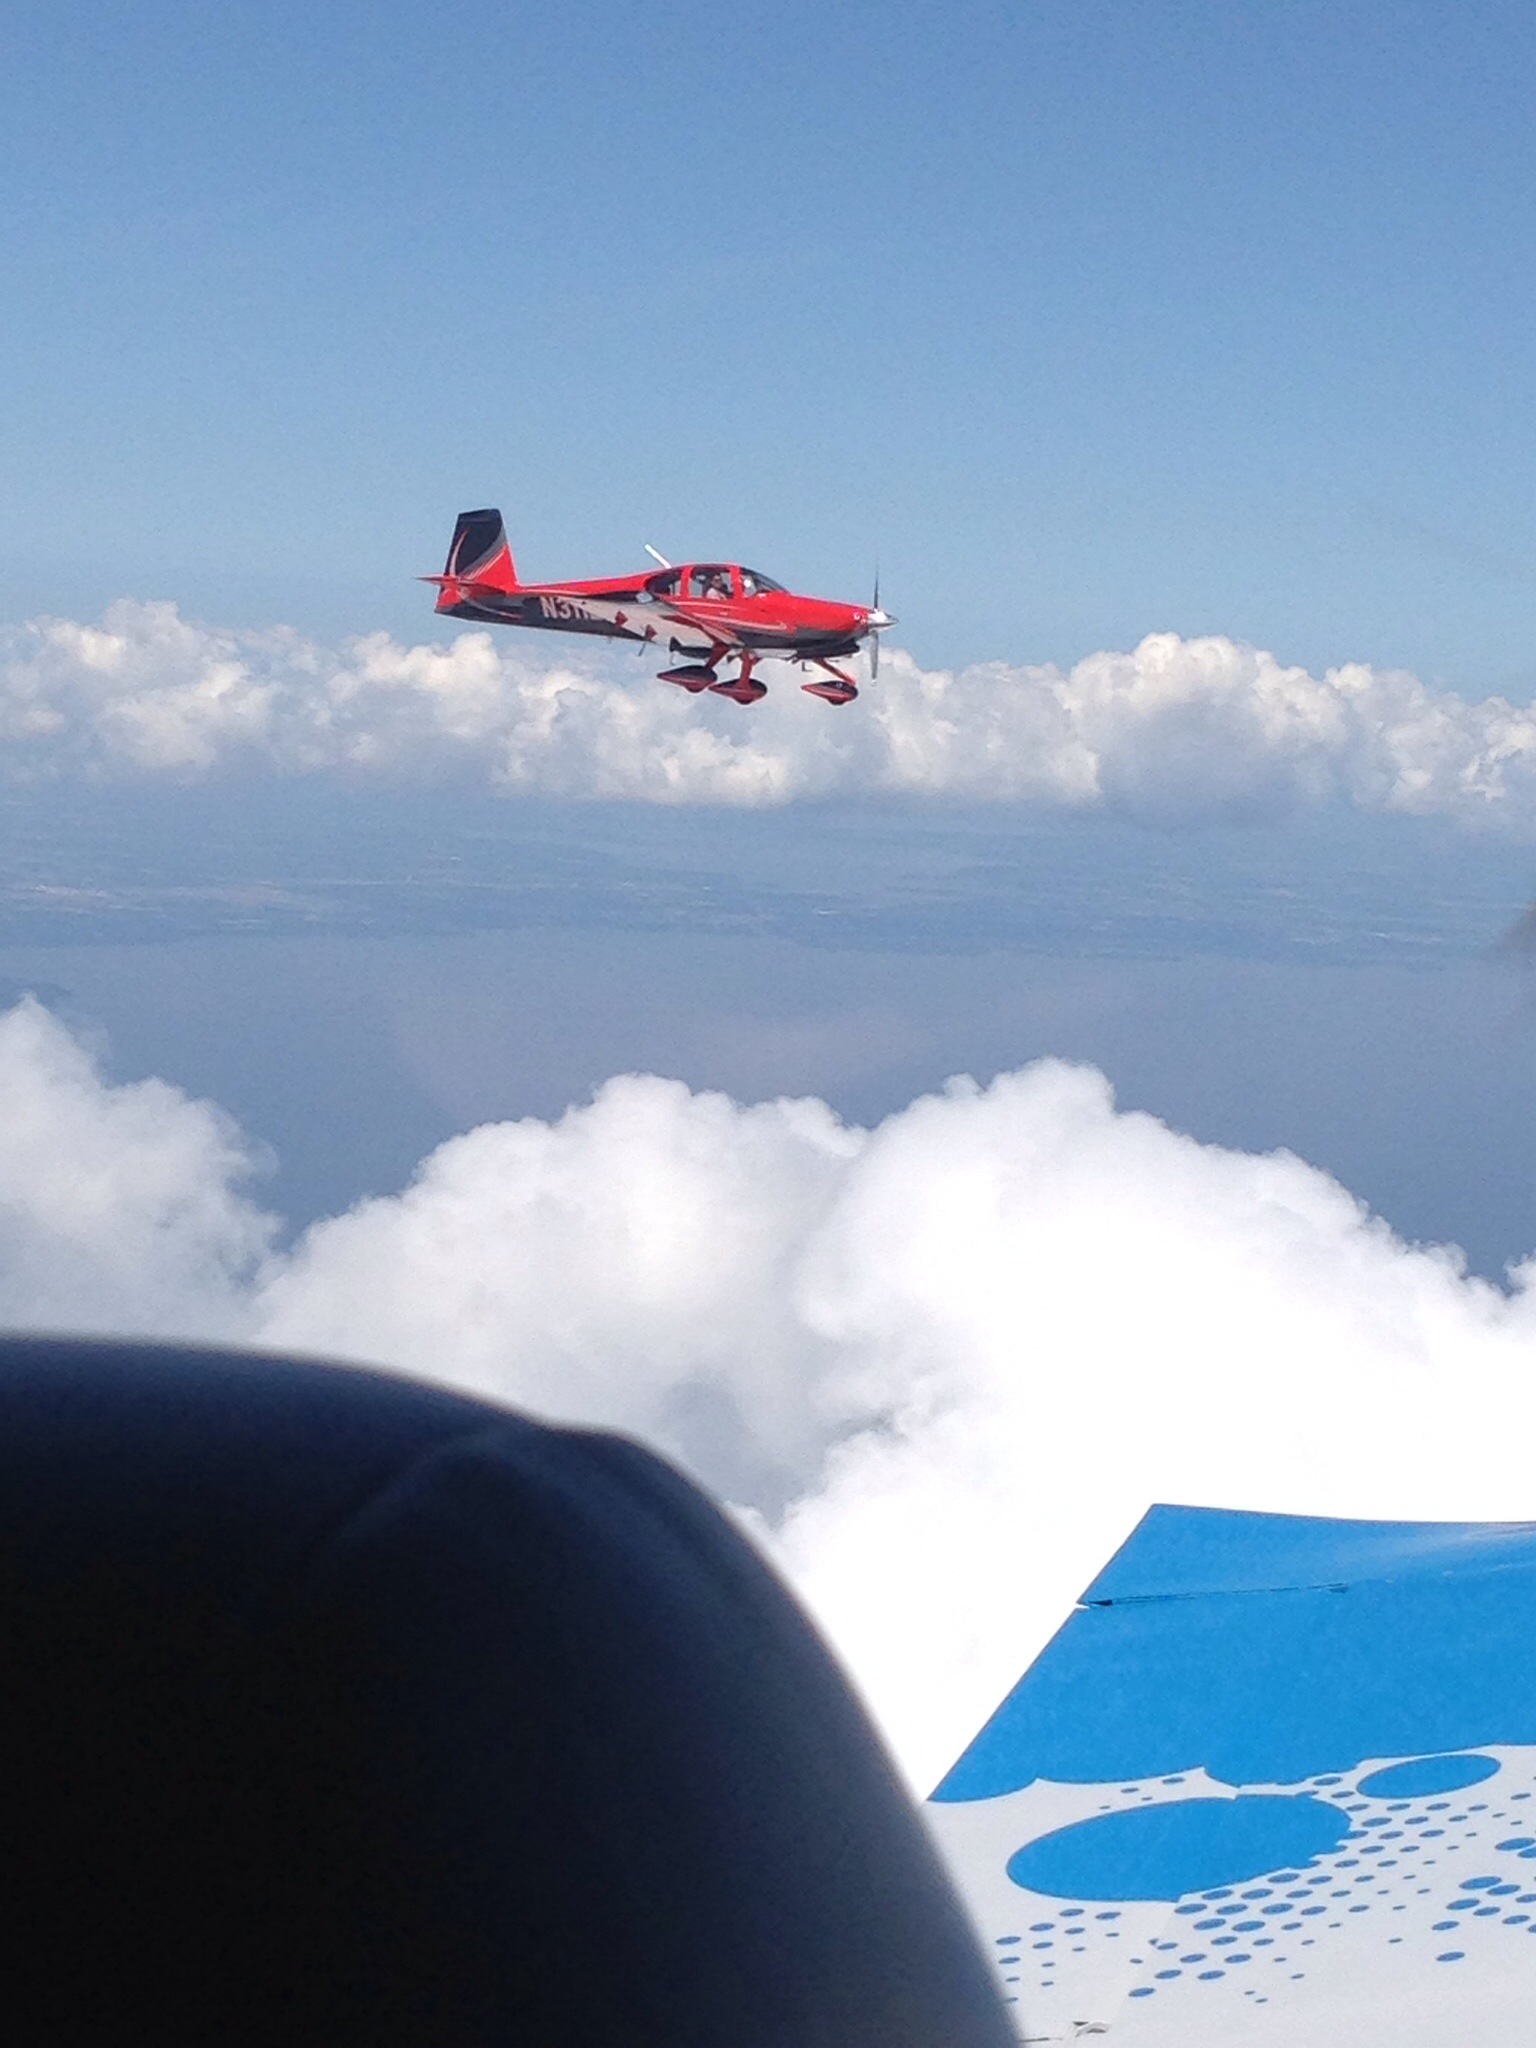
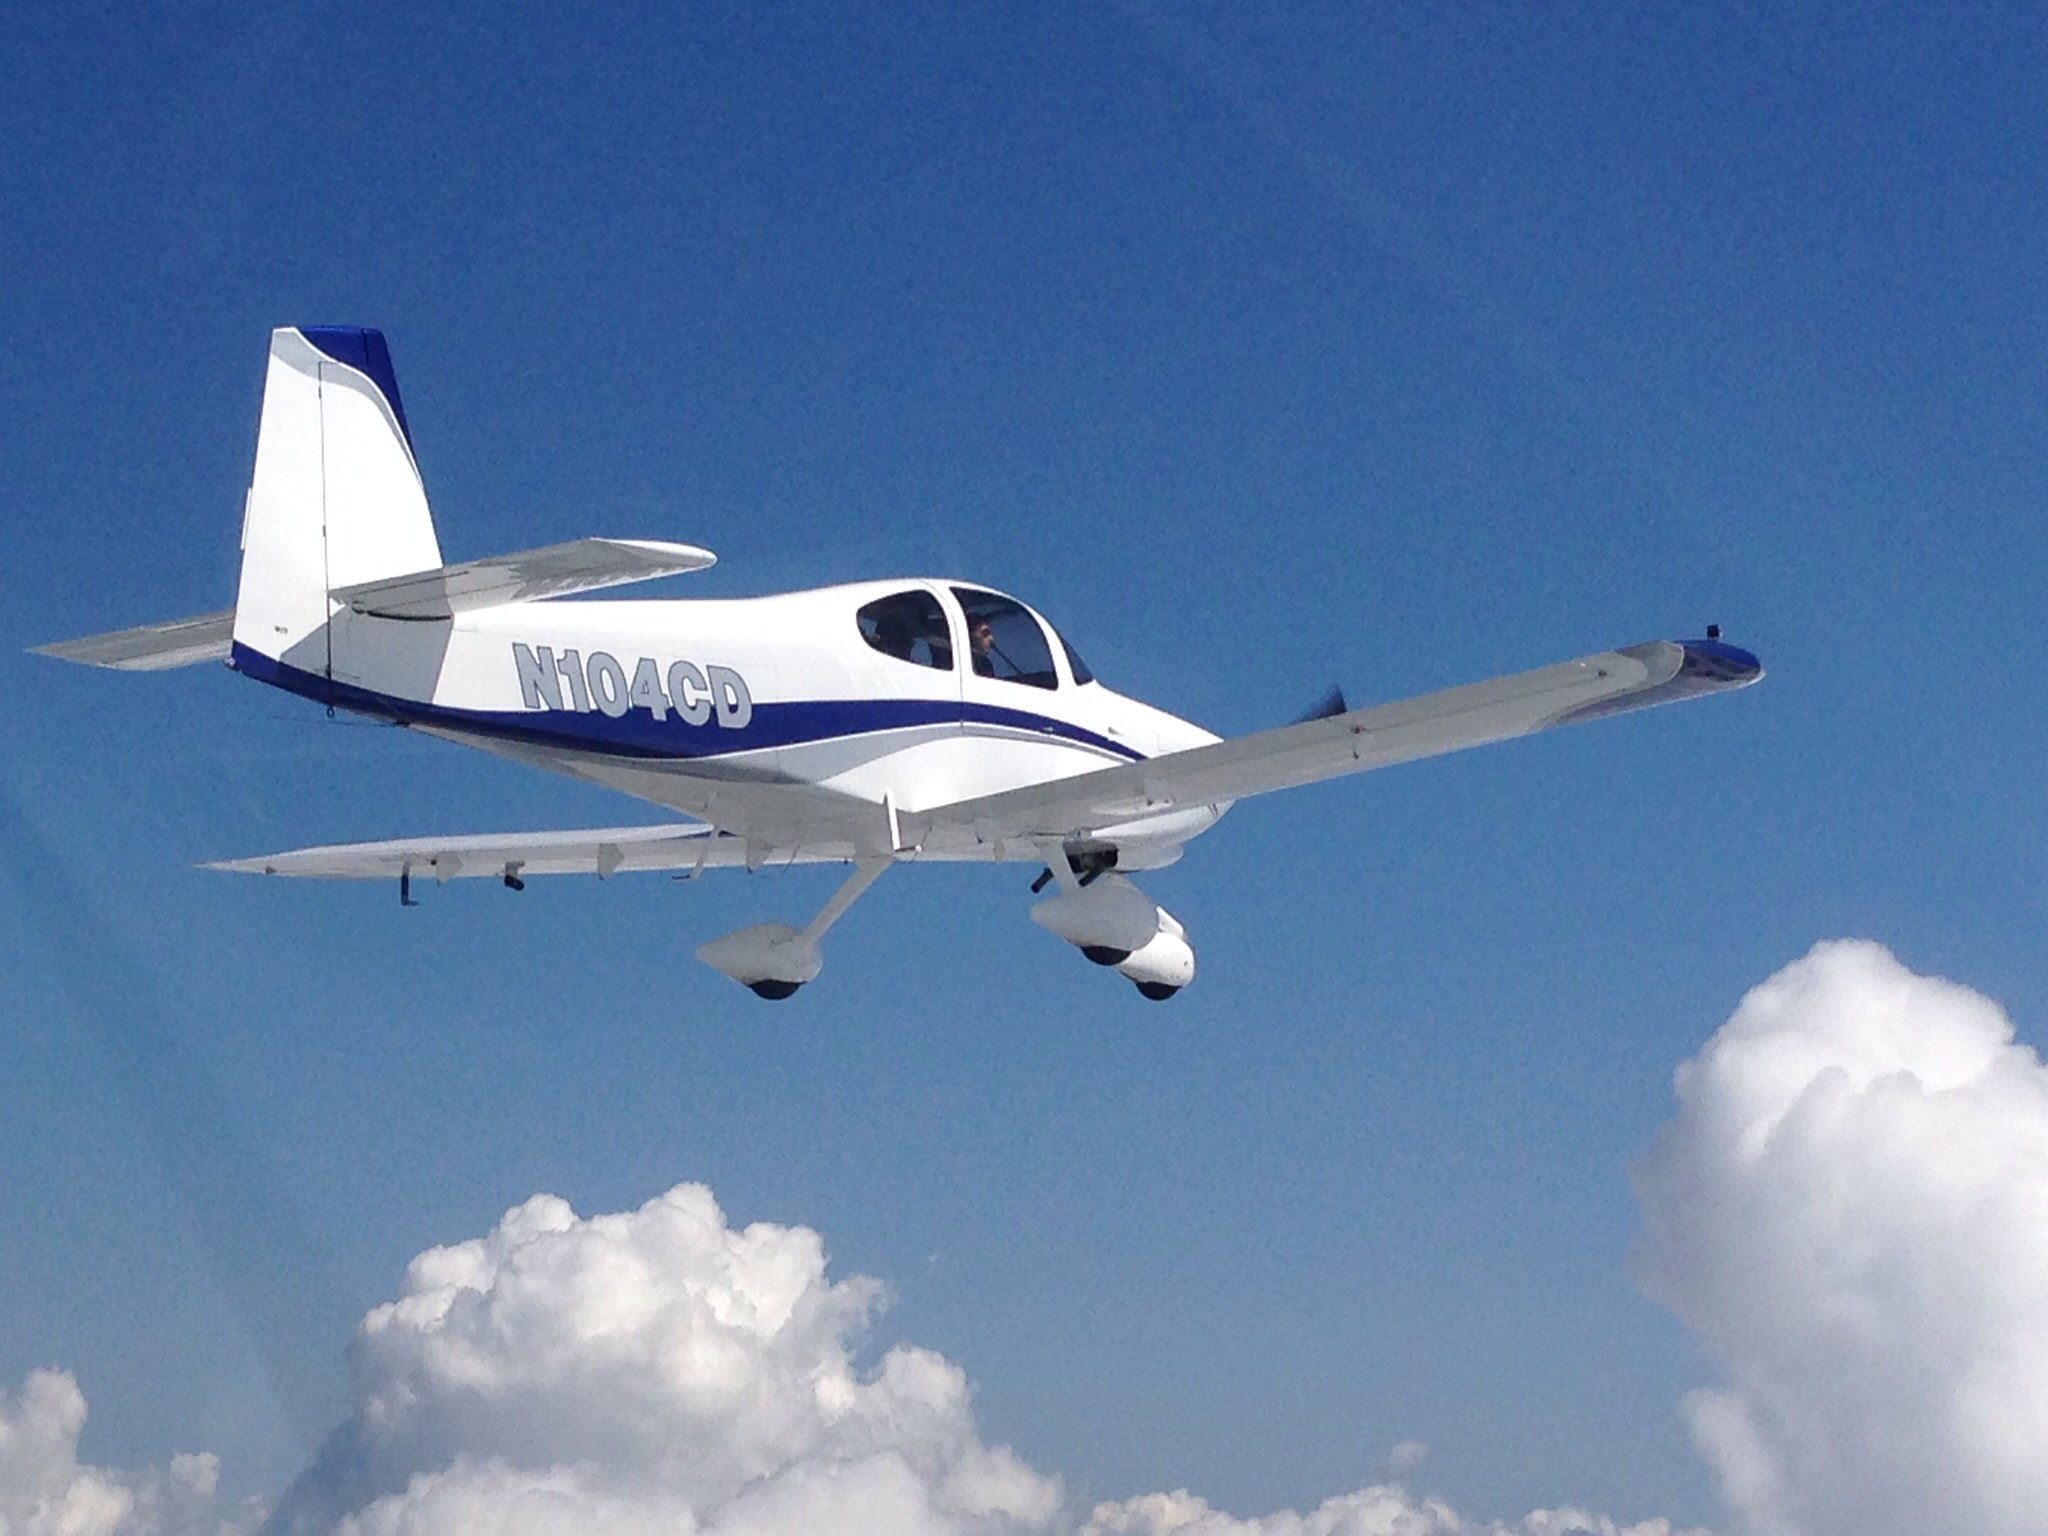
The weather was perfect with some big puffy clouds about 2500 and deep blue skies above. Brian was a great pilot and gracious enough to hand over the controls to me for the second half of the flight. I even go to thread the needle and get us inline for the VFR arrival all the way to final! Flying in a -10 was cool enough, saying we got to go in and out of Oshkosh was priceless!!
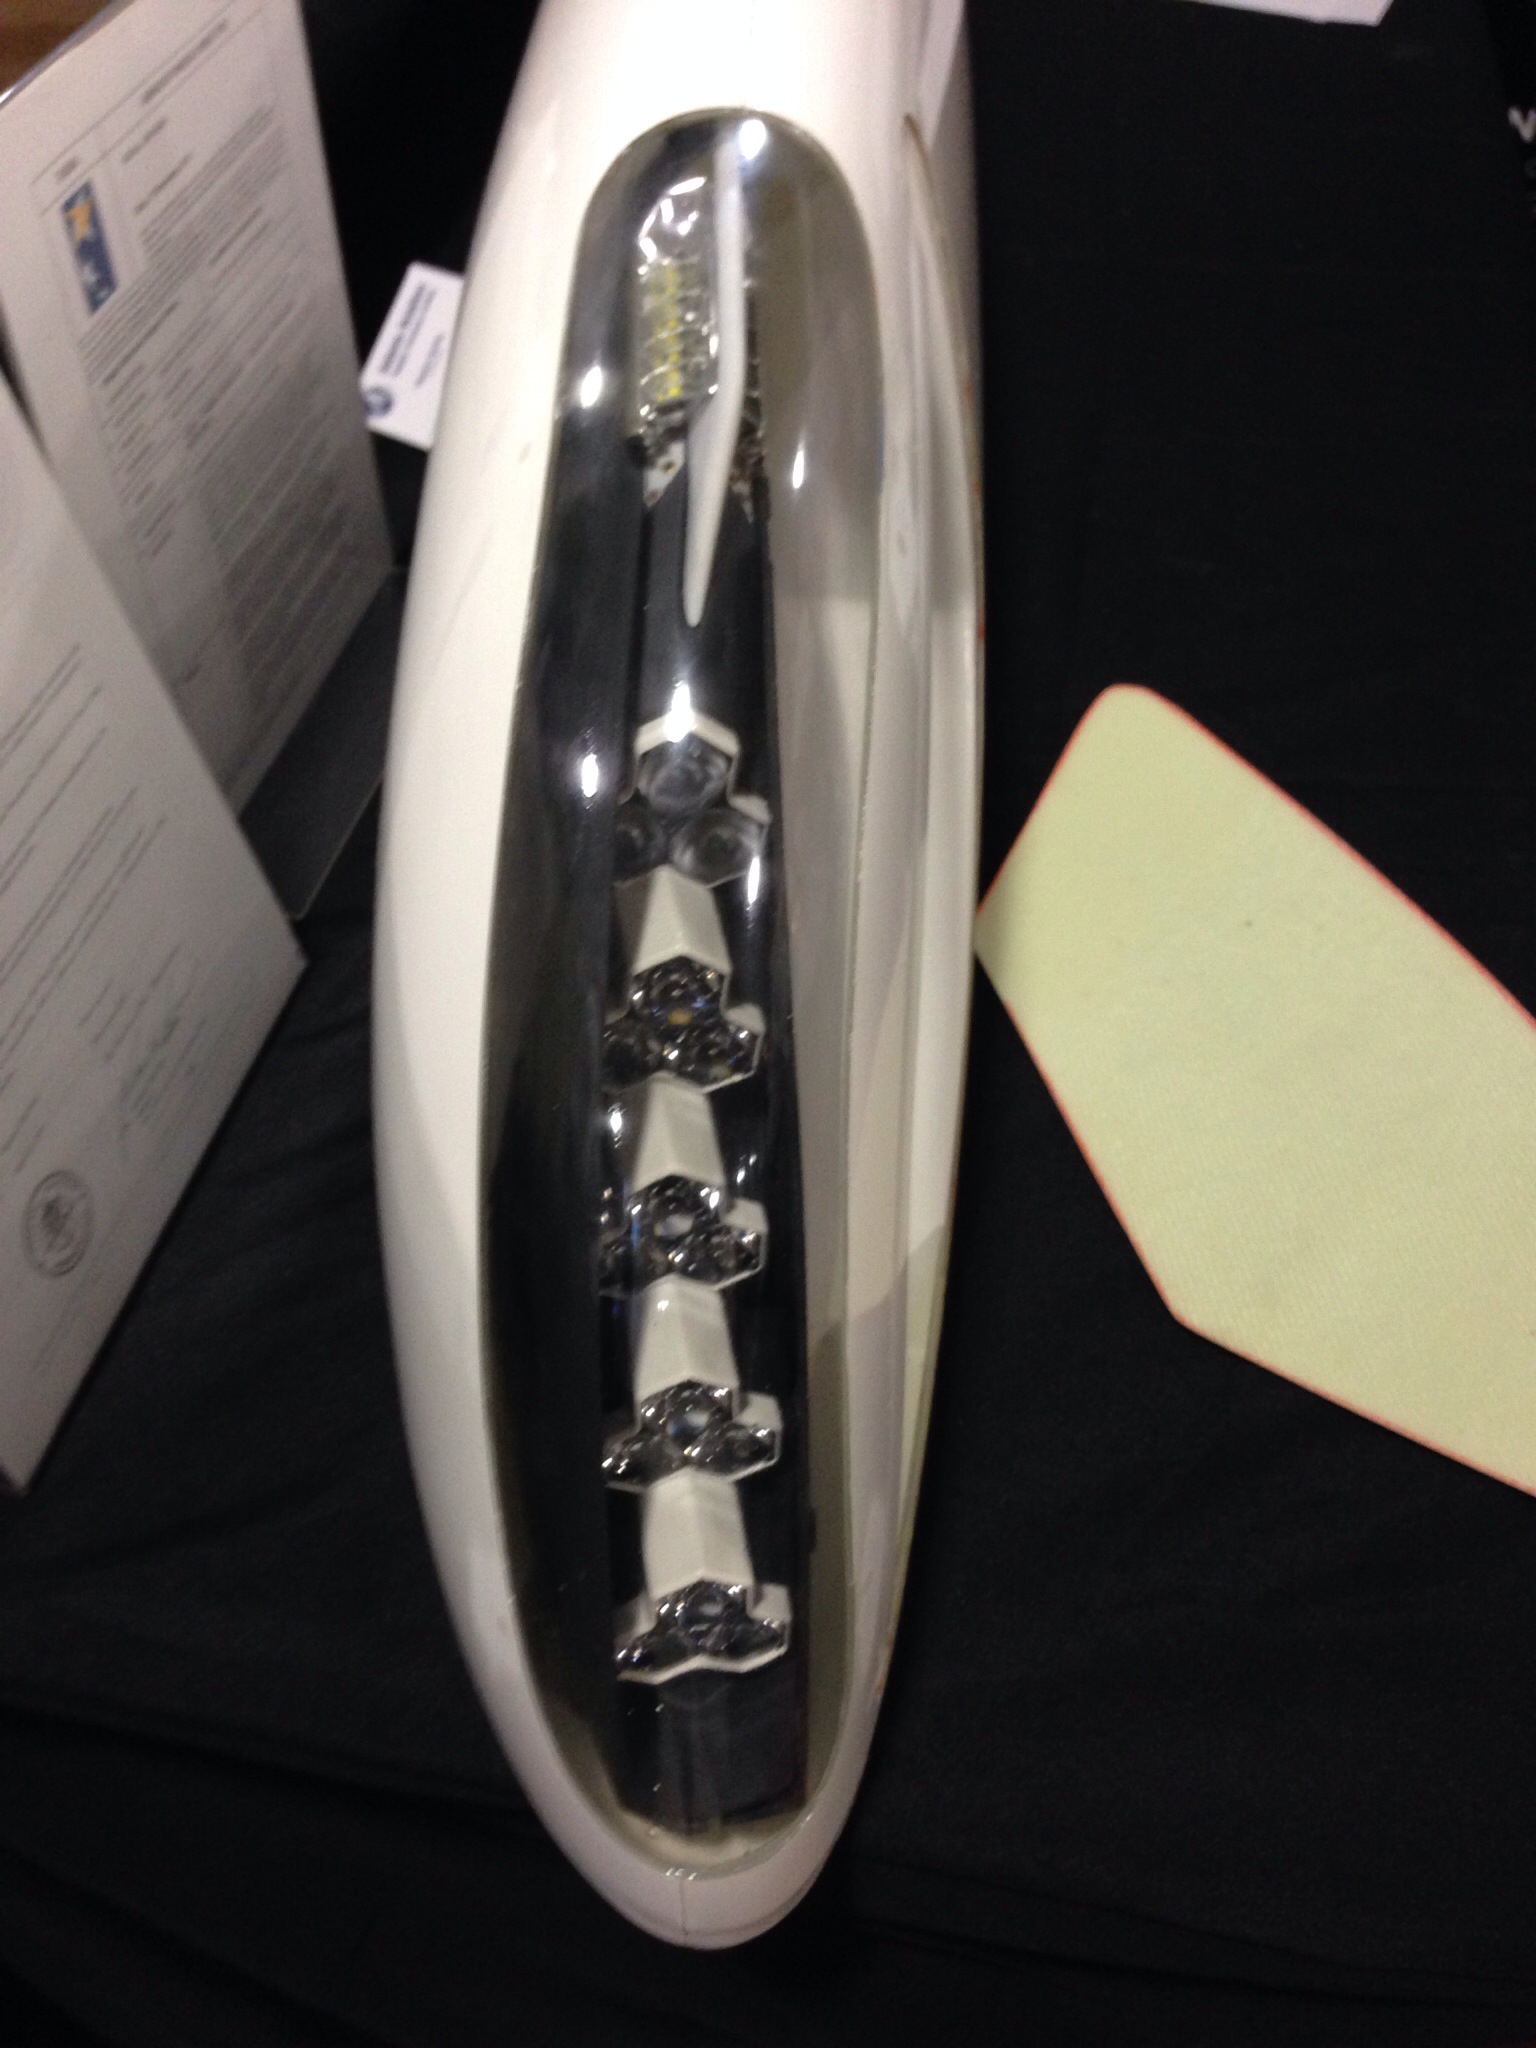
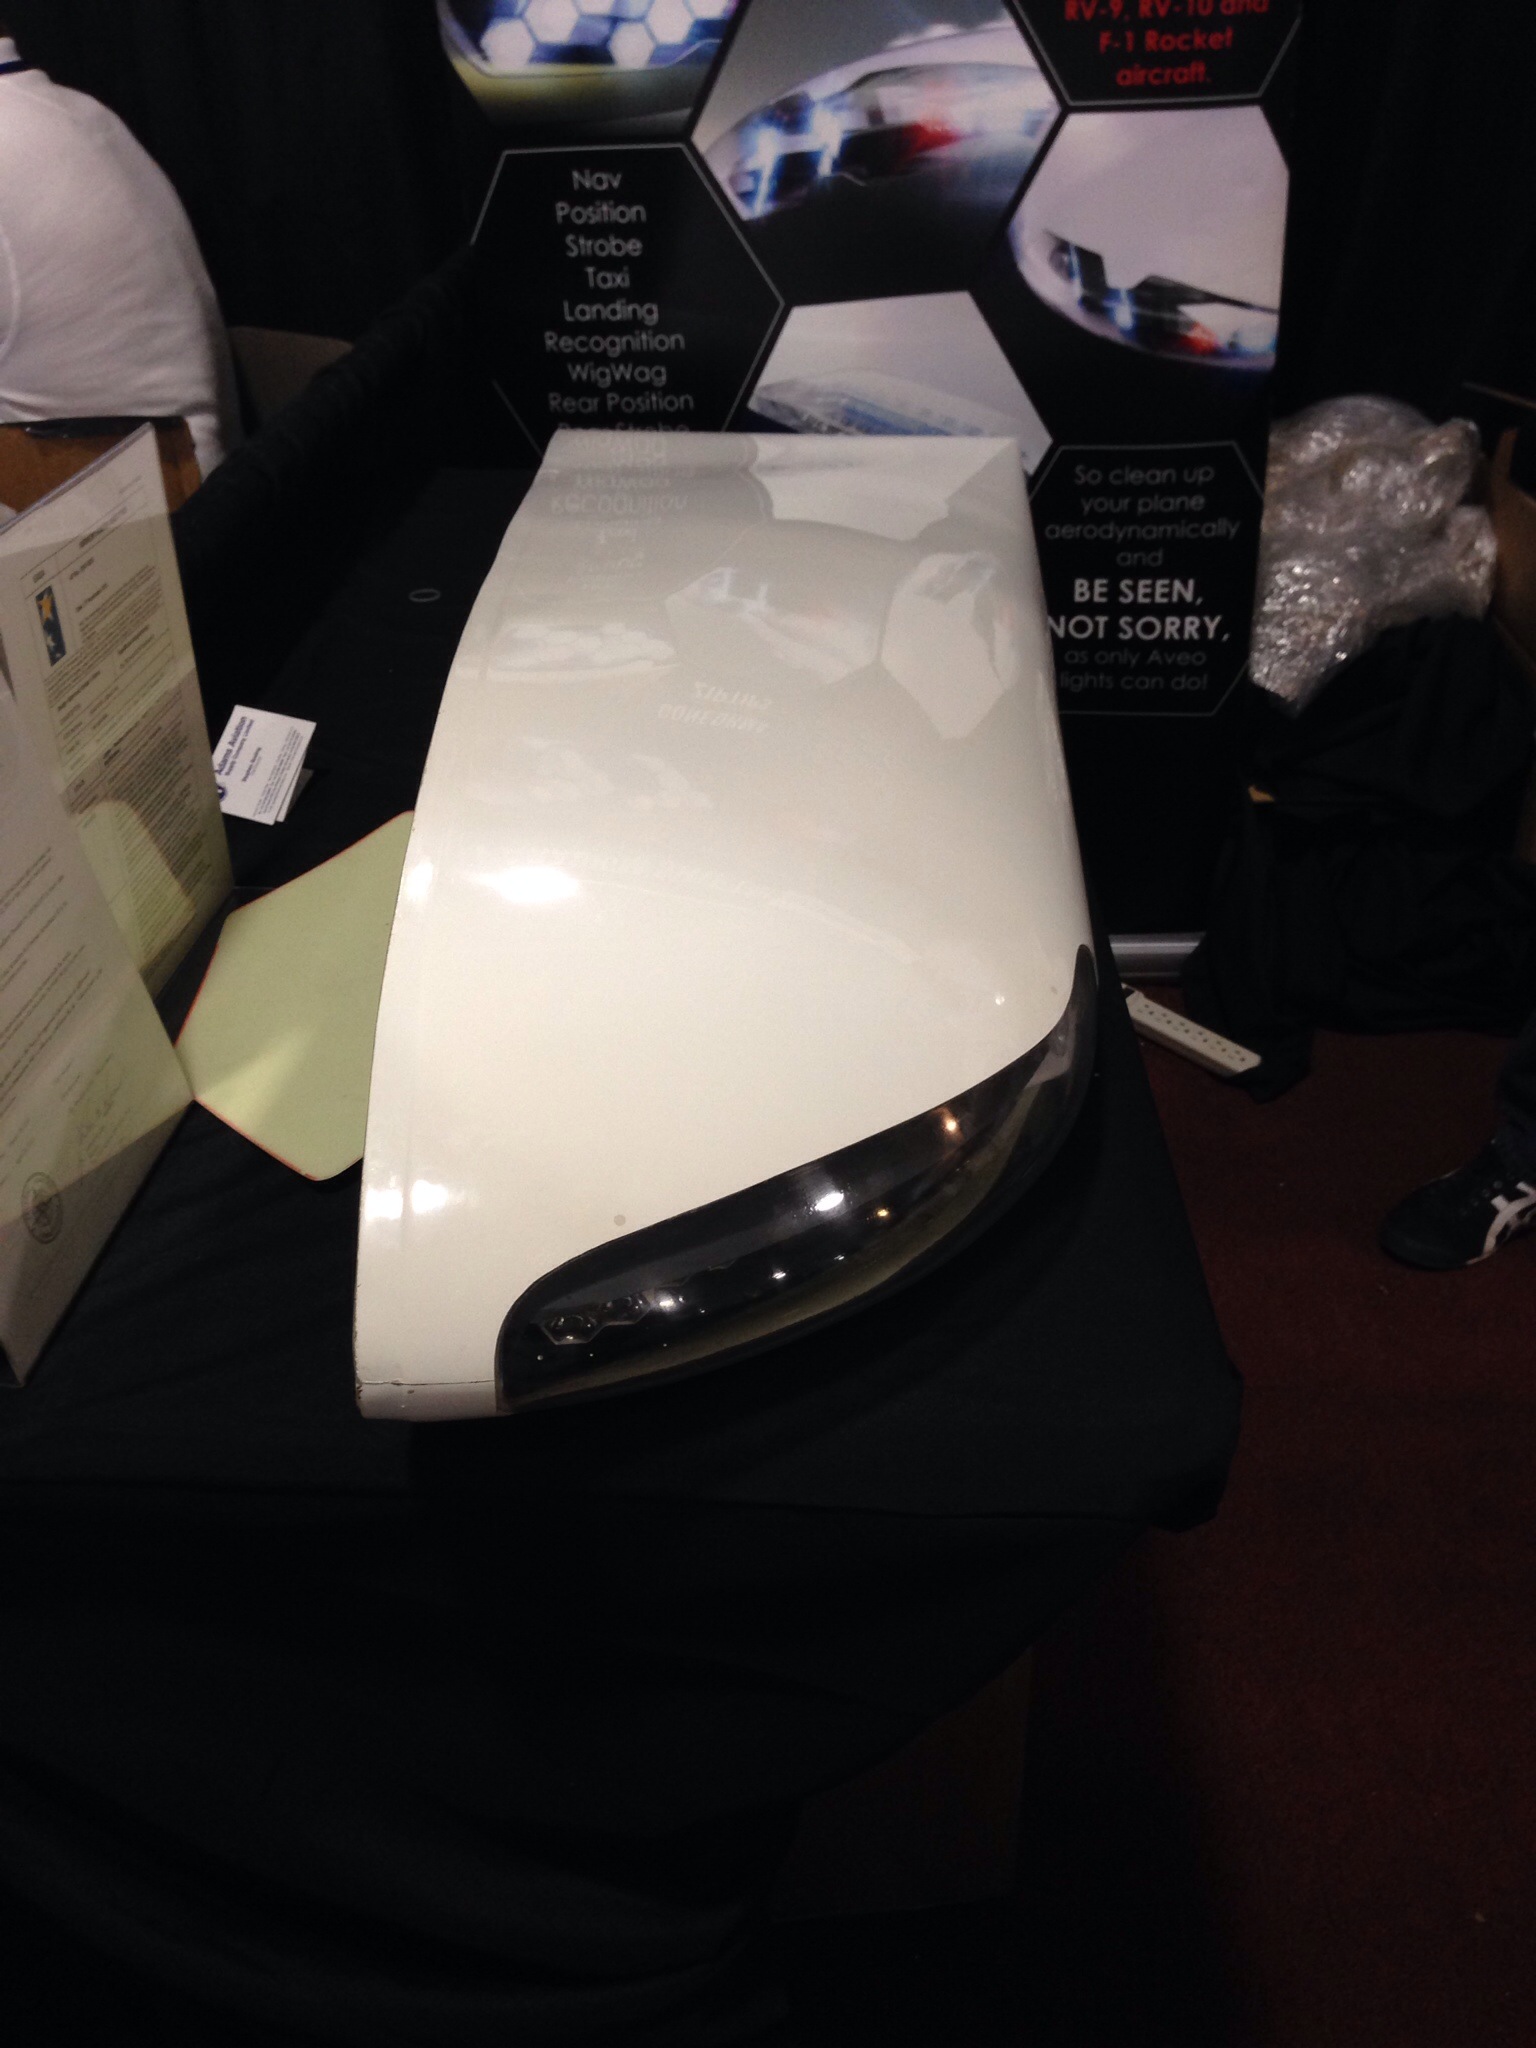
I took a ton of pictures, too many to put on here but plenty to stash away as building references. I also spoke with a few key vendors that I had on my list and made a few purchases. The biggest was talking to Aveo Engineering who I’ve been working with for a year now. I’ll say upfront (and gave them candid feedback about this) that their customer service sucks. However, their products make up for it in quality, function, and cool factor. I bought our tail strobe (PosiStrobe XP) and finally officially got on the list for their ZipTip wing tip nav lights. I was somewhat dissapointed that they didn’t have the power on these, but I’ve seen another RV with them and they are awesome. I promised (threatened) them that I would follow up in October, which is when they are expecting to start shipping.
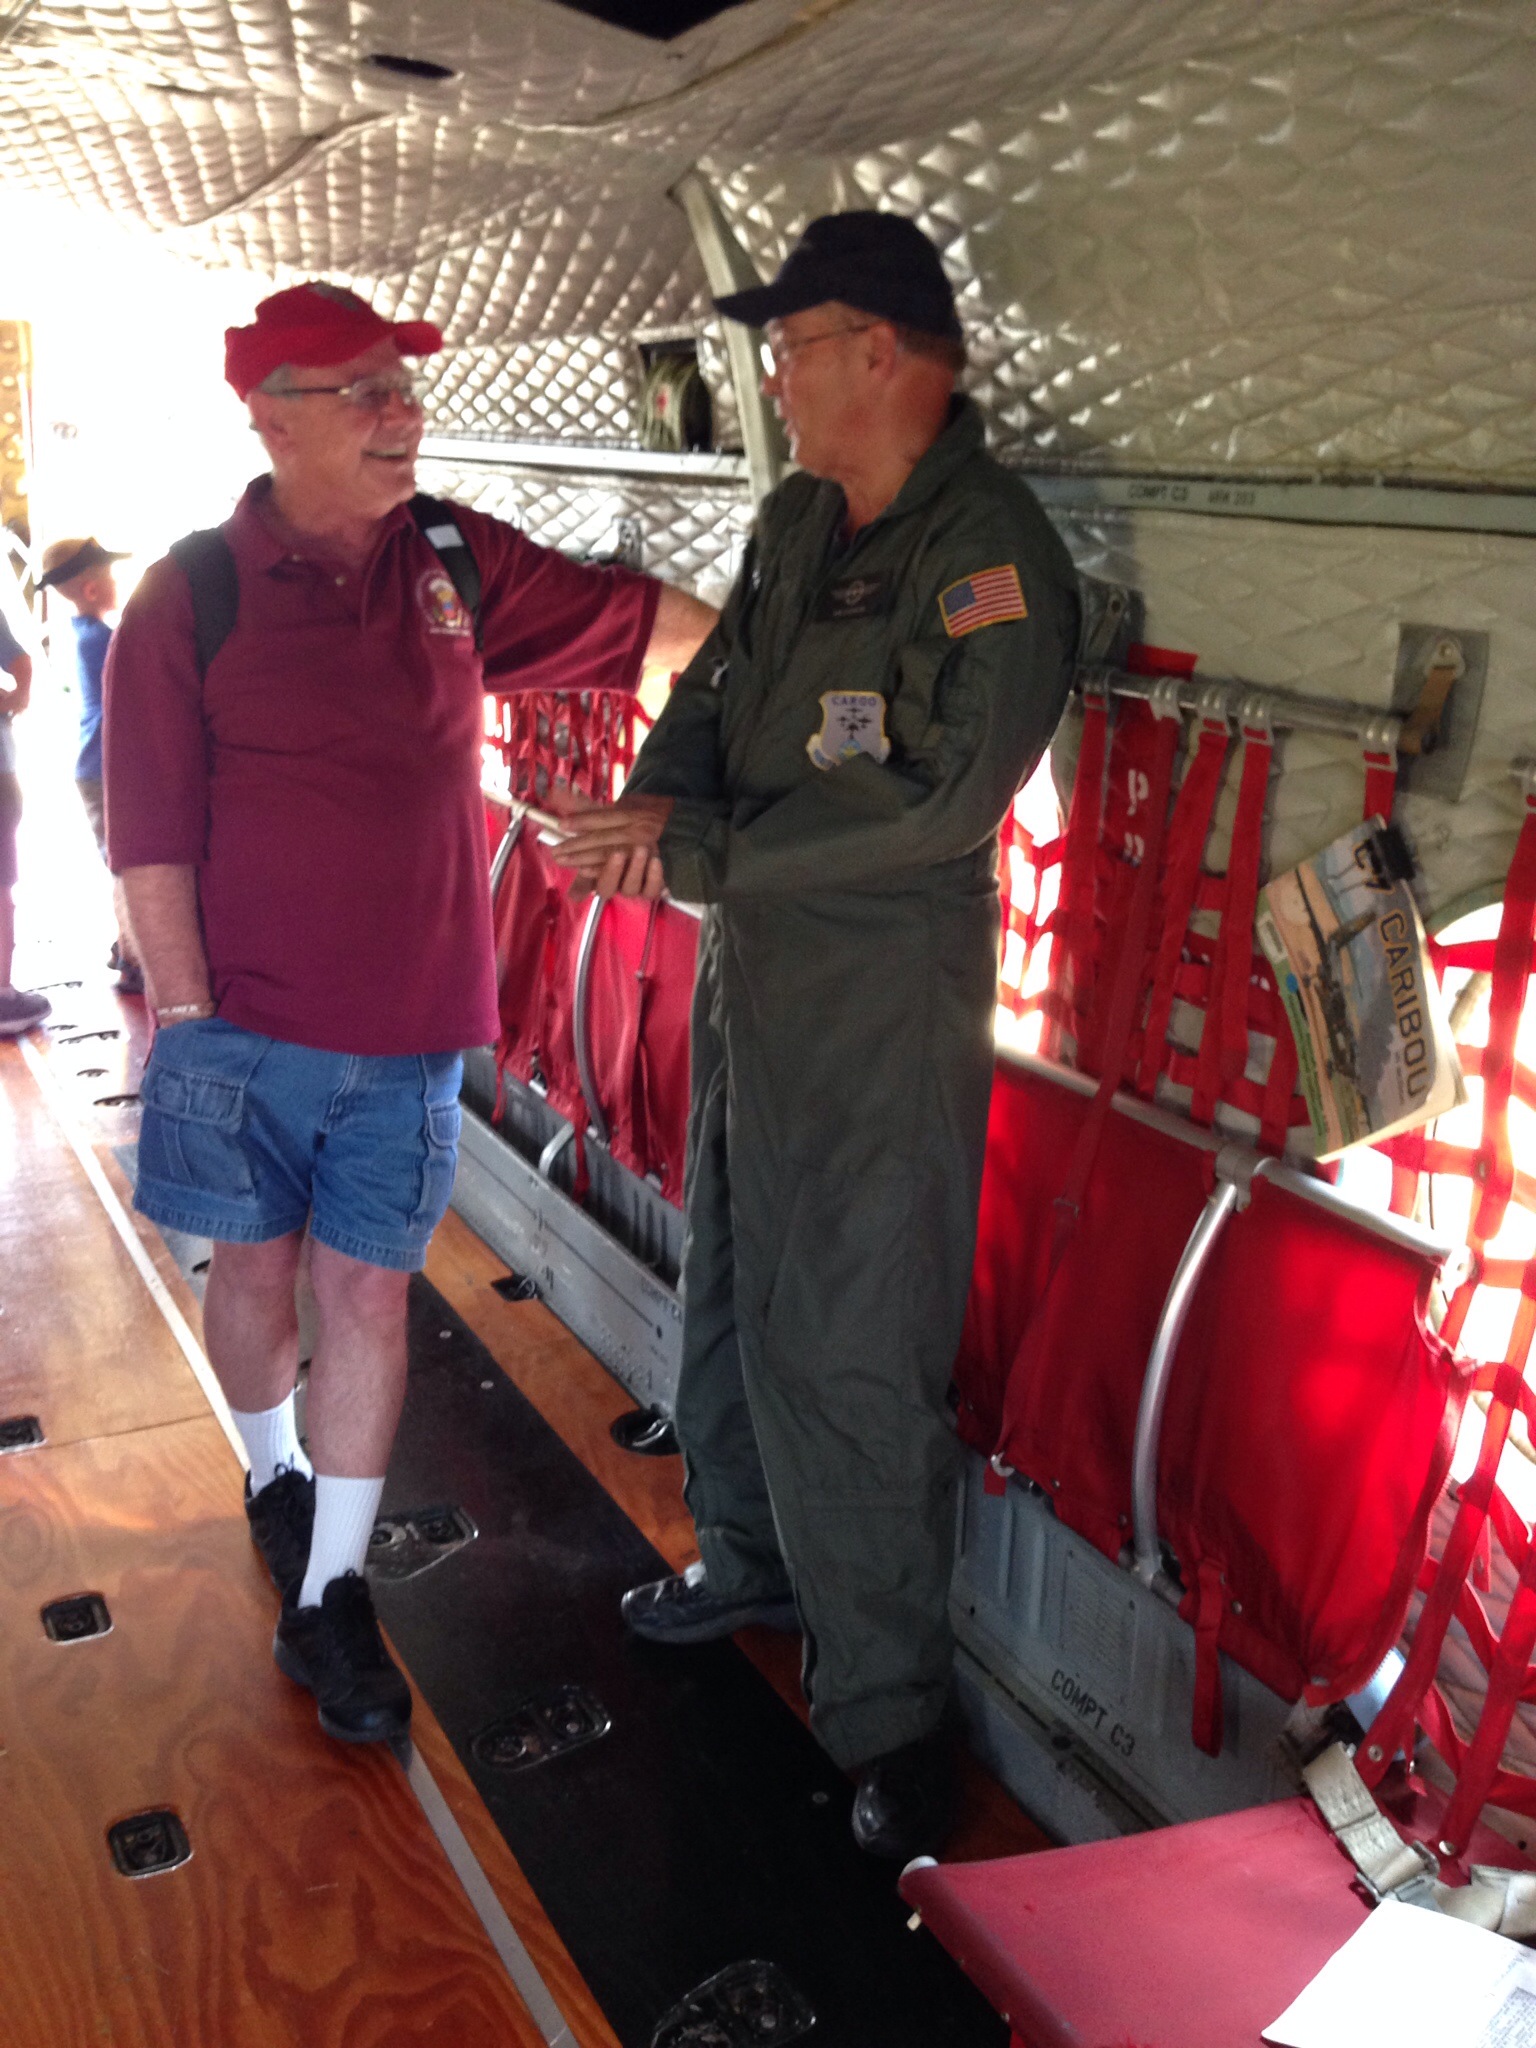
The last story is my favorite, though. My dad was a trooper and hiked up and down the acres of flightline with me all day. We were lucky enough to camp out under a DC-3 wing that one of his Boeing instructors flew up for the week which provided shade, shelter, and a home base for our chairs right on the showline. We made the trek to the C-7 Caribou that had done a flying display and went inside. Dad started swapping stories with the crew chief from when he used to fly the 7’s in Alabama for the Reserves. I’ve heard most of the stories, but to see him light up while talking airplanes with a fellow Air Force service member really made the trip for me.
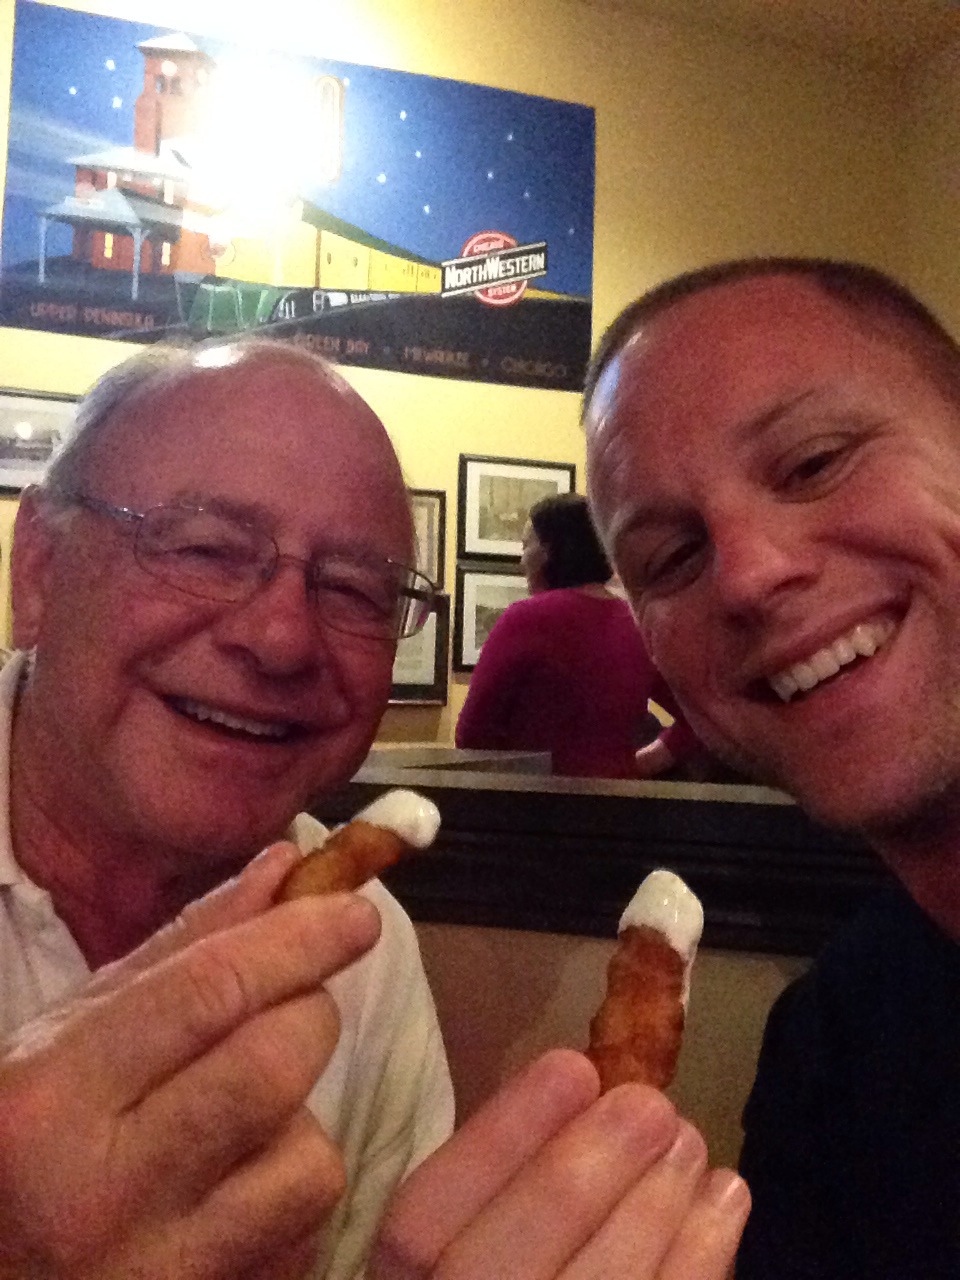
We had a great time watching the Thunderbirds and also tried a Wisconsin staple, the cheese curds! We were exhausted but already talking about our next trip. Although, I’m sure the next trip will be way more expensive since it will likely involve purchasing bigger chunks of our plane!