Clearing out the clecos

With all of my assistants busy this evening, I tackled the last two lines of rivets on the right skin solo. It went smoothly albeit a bit longer. I took my time with some of the curved spots since it’s a stretch to reach everything. I’m amazed at just how light the structure is once the clecos are removed. It’s also getting stronger and stiffer by the rivet. I also love to watch the skins close up nicely when riveting vs the temp fasteners. It’s old technology but still extremely efficient and effective.

Next up will be prepping the left skin.

20140425-205226.jpg

20140425-205232.jpg

Emergency, call the Guard!

I called in the National Guard (I am the National Guard) on this mistake. I somehow missed drilling four holes in the stiffeners and didn’t realize it until getting everything put together. So my wife, dad, and I got creative on getting the whole structured positioned in the dimpler so that I could hit those four holes. I tried my pop-rivet dimpler but the double layer of aluminum proved too much and the finish nails just pulled through without getting a good dimple. With the right planning, twisting, and enough hands, this was a pretty quick fix.

20140425-204502.jpg

Dad and I started working on the rivets and proved again how efficient it is to have help. My wife didn’t like to hear that news, but she may be helping more now that I know what can be done! I manned the gun and bucking bar while dad popped in the rivets and helped remove clecos. We were able to get the top two stiffeners completely riveted in no time.

20140425-204611.jpg

We ran into one issue with a frame which has three layers of aluminum to rivet. The last hole was drilled out too big which I think resulted from the metal bouncing on the drill bit during initial assembly. We tried a few different ways with no success, so I’ll be drilling it out and using a larger rivet. I had to order a 1/8″ dimple die for the pop rivet gun and also got bucking blocks that will accept dimple dies. They won’t be used often, but will work perfect when I do need them.

20140425-204228.jpg

Put your skin on

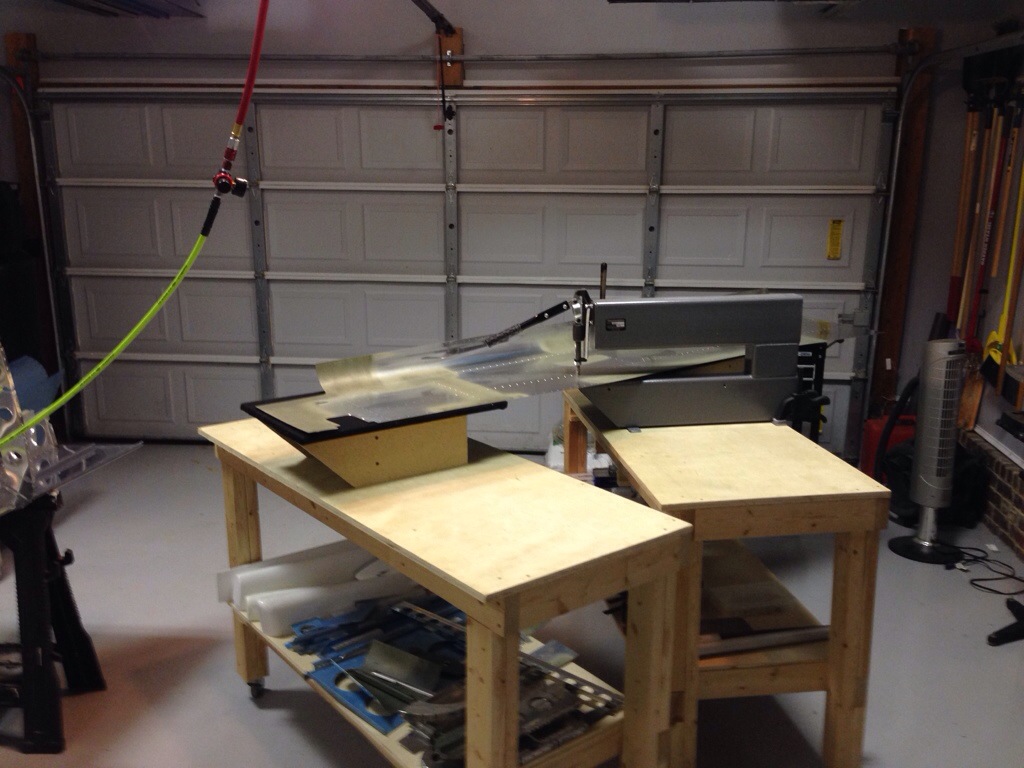
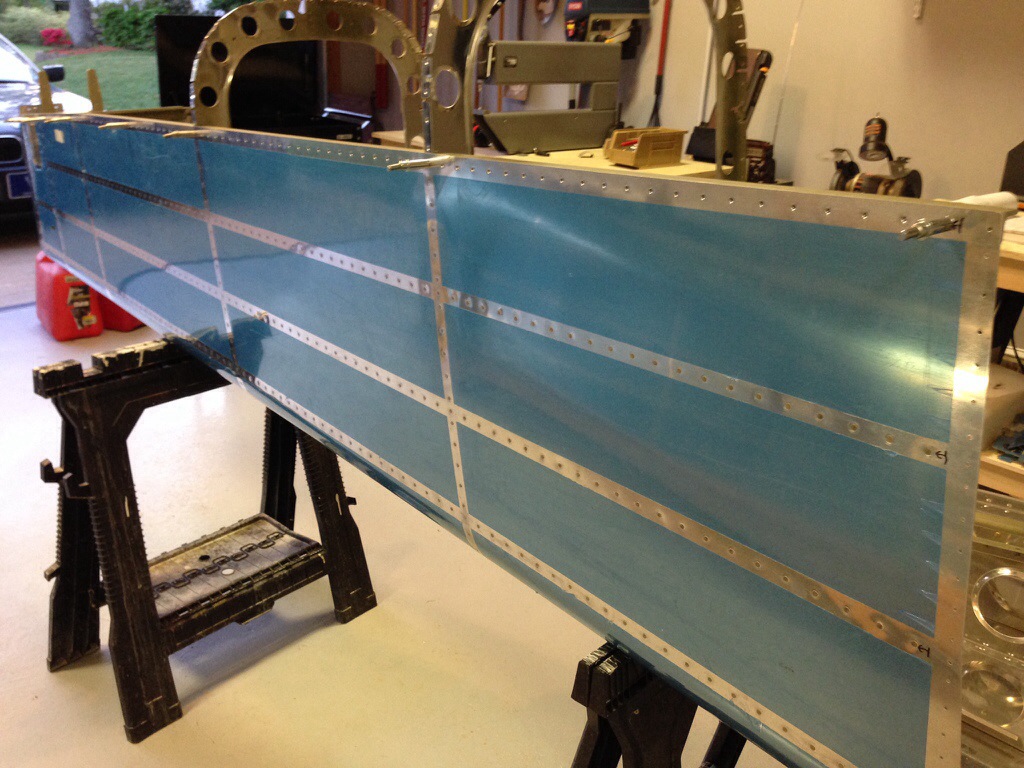
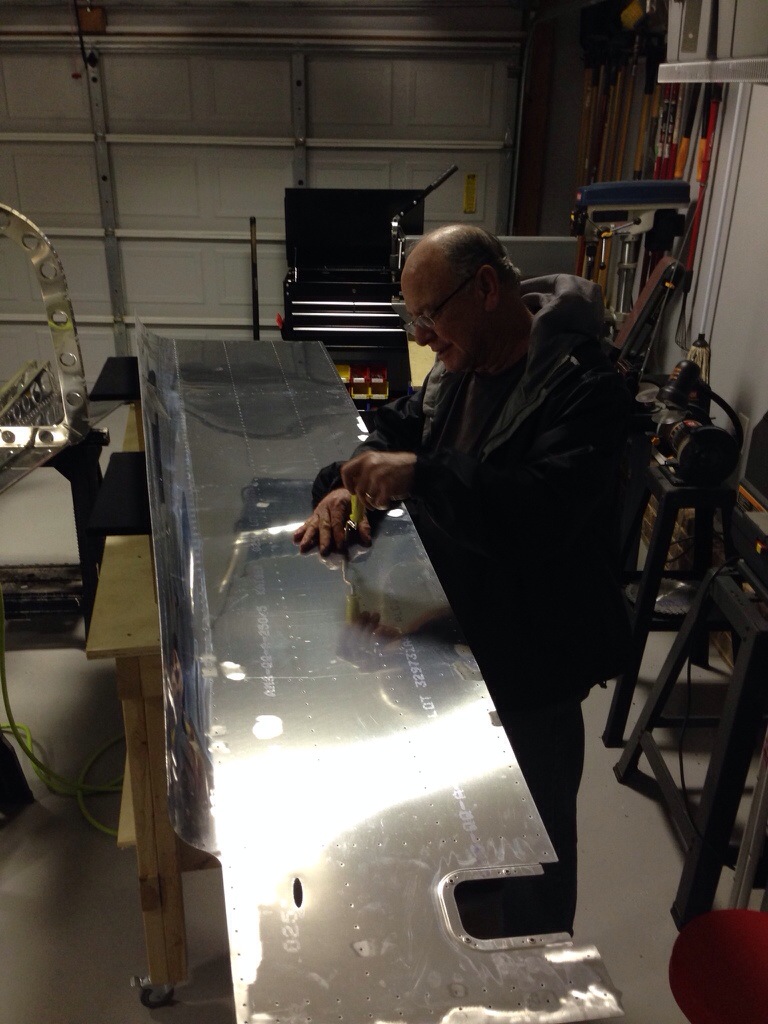
The right side skin was all prepped minus dimpling, so I put the mobile work
benches to good use. I really can’t stress how amazing these things are being able to roll them around and configure them however I need to get the piece in the dimpler. The challenge with the side skins are the rolls at the bottom which necessitated putting them at an odd angle to clear the handle on the dimpler. Other than having to move tables around a couple of times, the job was easy and quick.

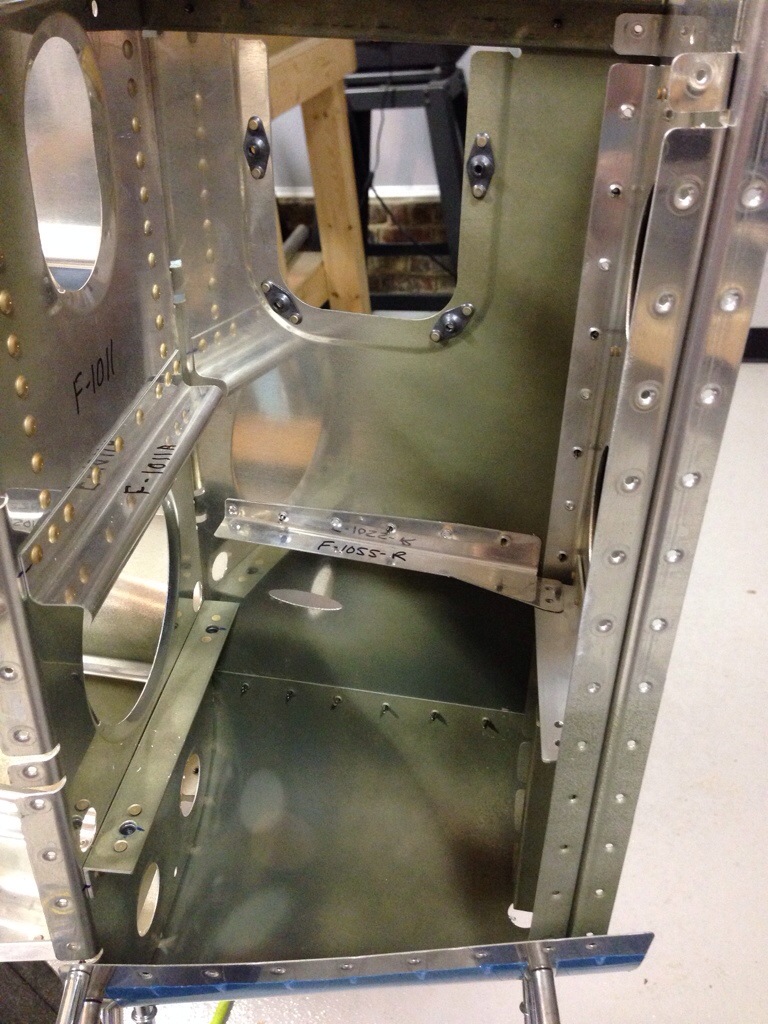
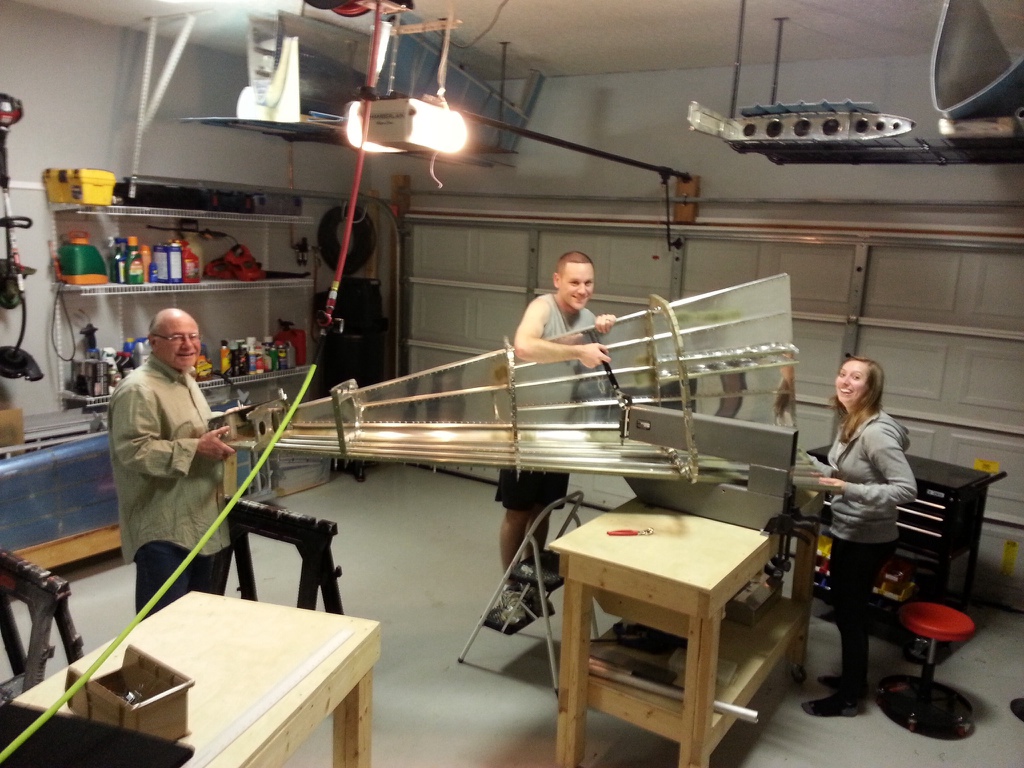
Next was putting it on the frame for the last time. Except it wasn’t the last
time. It was the next to last time. Because I somehow got the stiffeners in
the wrong order and the holes weren’t lining up. Fortunately only a handful
of clecos were in, so it was a quick fix. Good thing the kits are designed to
be fool proof, right?

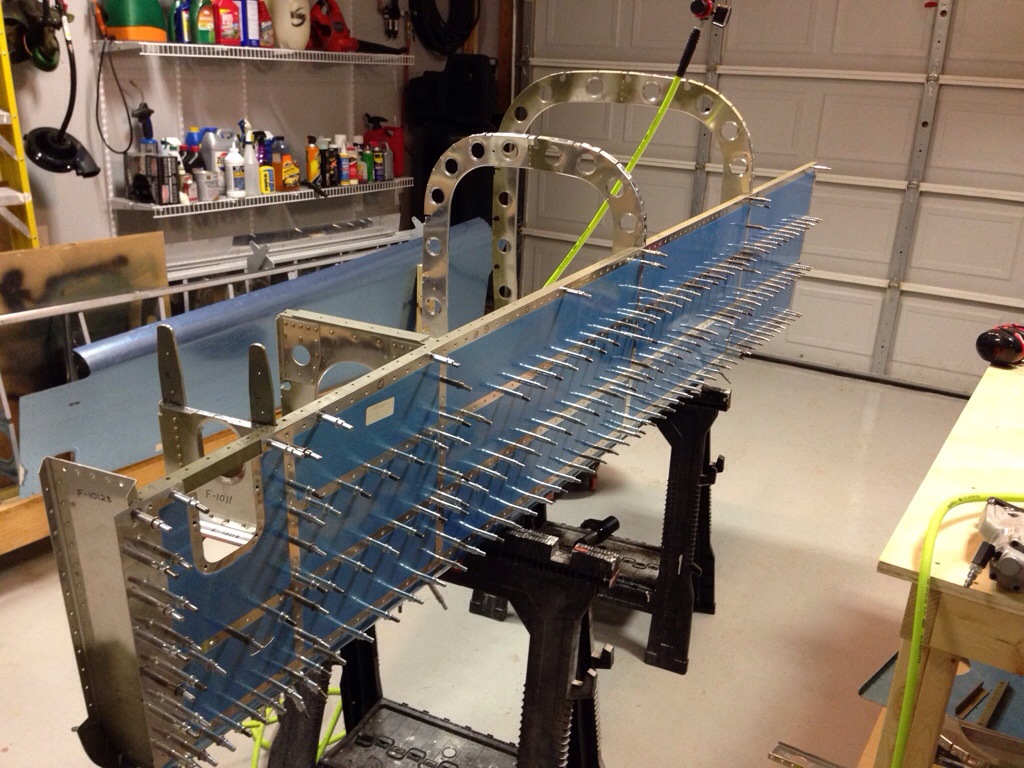
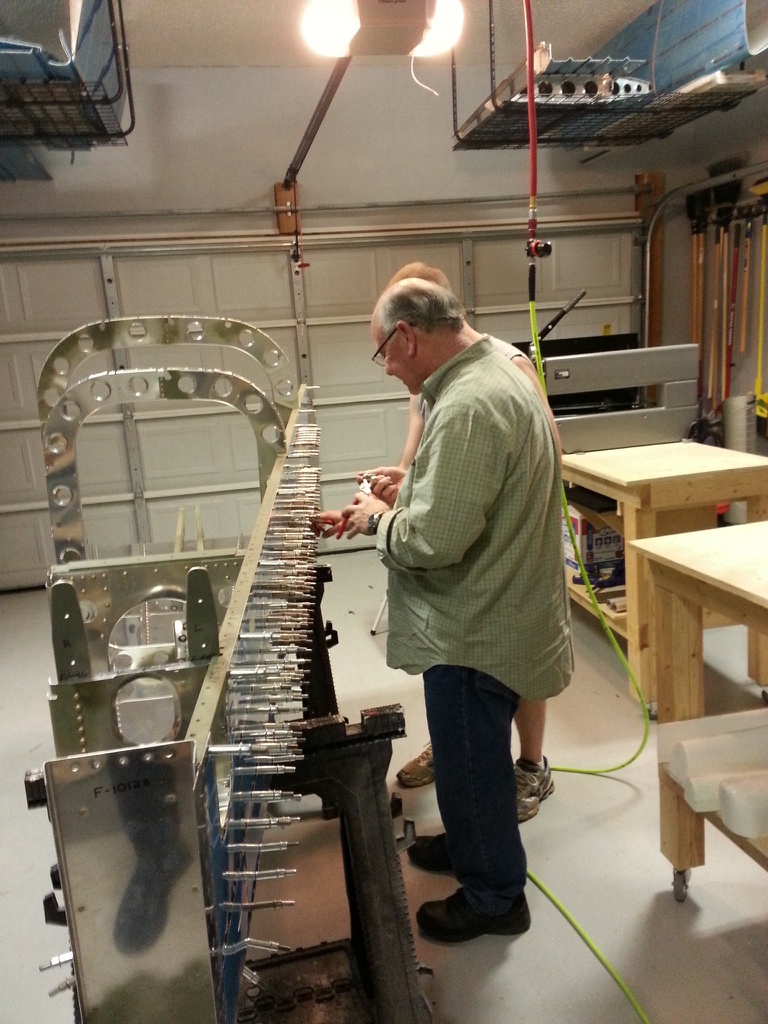
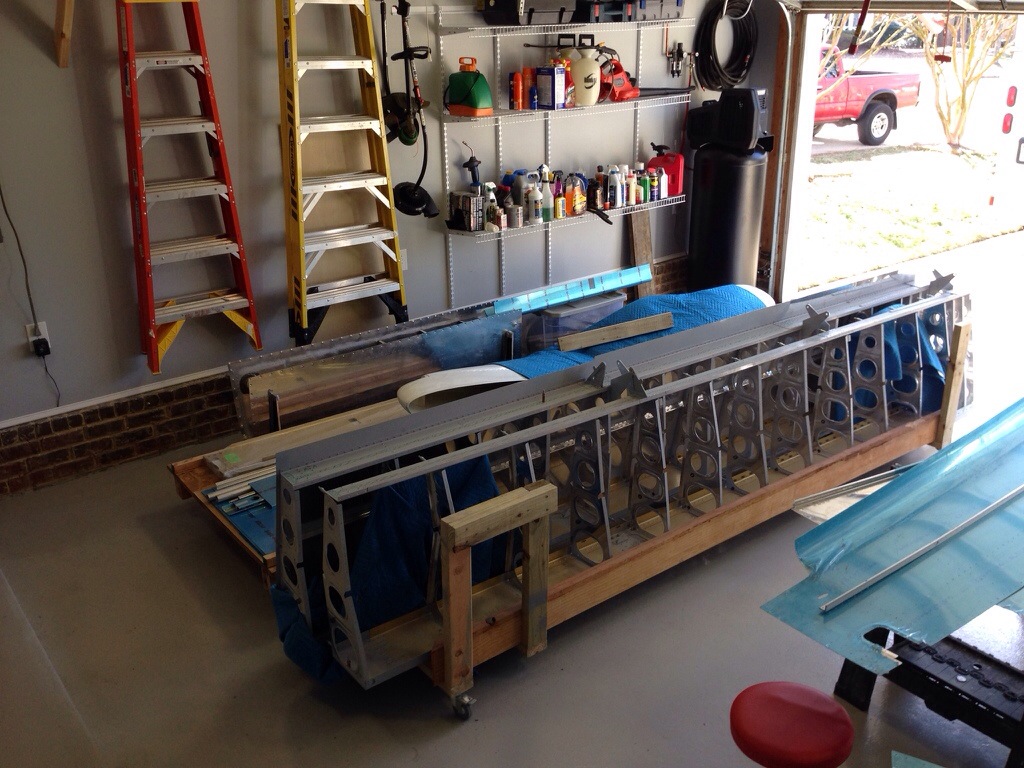
I decided to start with the rear VS structure frame since there were a lot of
pieces sitting around. That was a three attempt assembly as well. The rear
bottom skin needs to go on first, which I knew, but tried to slip it in
between the side skin and frames. That didn’t work. So I took the frames all
back off and put that “sub-assembly” together then put it back on the main
structure.

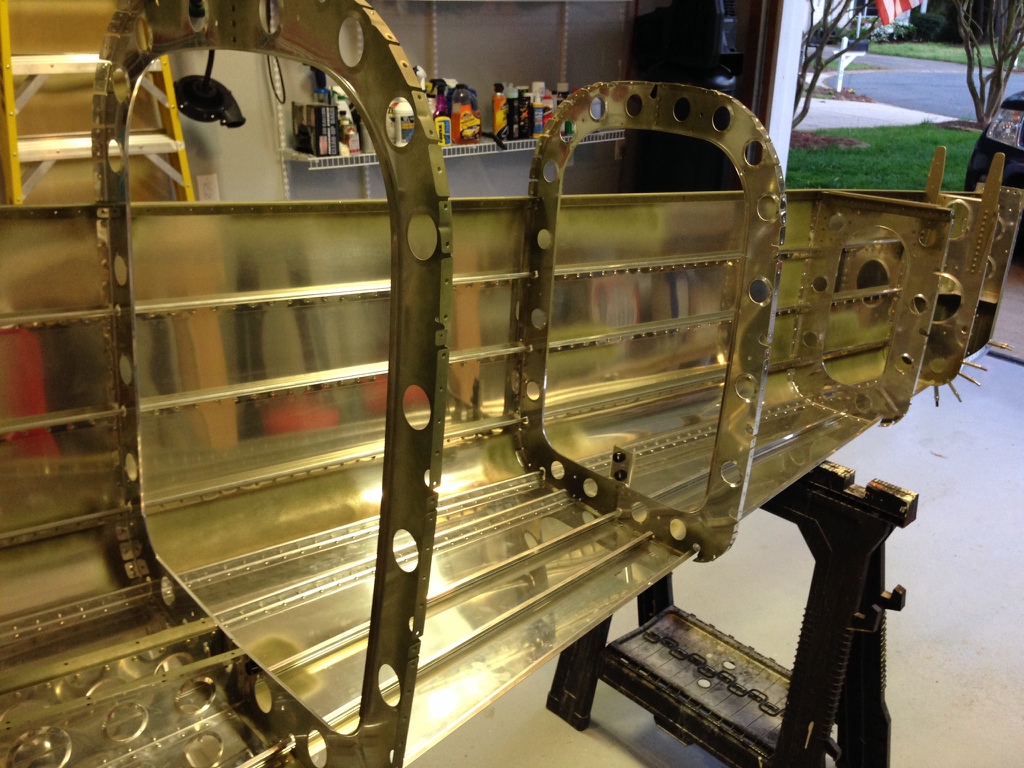
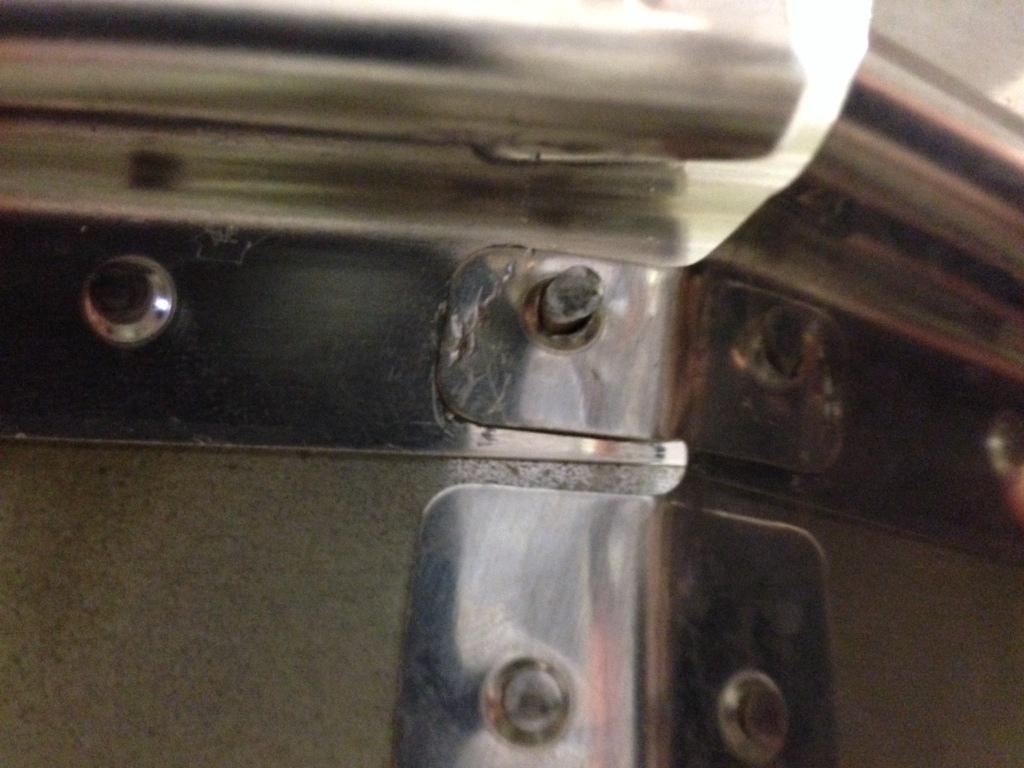
I also fixed an earlier error on the rudder stops, drilling them out with a
#40 drill to accept the rivet instead of the #30 that I originally did. I had
enough energy to squeeze the easily accessible rivets at the rear end before calling it a night.

20140425-154924.jpg

20140425-154940.jpg

20140425-154934.jpg

Hired some decent help

Well, I enlisted some help. My dad came in for a couple weeks to visit and I
was quick to put him to work. I managed to get all the rivets in on the
bottom skin without having to drill out more than a handful. It’s a lot
different riveting now that you can’t easily check the shop head of the rivets
easily. I have gotten much better at “feeling” them go in and knowing when
enough is enough.

Dad helped me deburr the right side skin after I trimmed off the triangle
according to plans. While he was finishing up, I hit a few more surface
corrosion spots (typical of this kit as old as it is I guess) and spot primed
them. I then got ambitious and put an extra bur cutter into my power drill
and started experimenting. Long story short, I went to Lowes the next day and bought a small, handheld cordless screwdriver and ordered a hex adapter from Avery Tools. It’s so much faster and easier than having to spin the manual driver and with the lighter tool, I’m expecting less fatigue and sore wrists the next day.

20140425-152412.jpg

Red Bull and Louisiana gives you wings…

It was a very, very, very, long trip from Charlotte to the west side of Louisiana, however, there was a pot of aluminum at the end of the rainbow! The seller was very gracious in meeting me around 9:30 PM when I finally arrived at his hanger and we got to work loading up the wing kit into the trailer. He had an amazing set up with a brand new hanger built, solar panels, rain water basin system, and battery powered CFL’s providing plenty of light. It was a great example of working “off the grid!” He also was very organized and had the kit ready to go. We were able to simply roll both racks into the trailer and strategically place the spare parts where they fit the best. I had plenty of blankets and hold down bars to secure everything.

After loading up and parting ways, I hit the road back towards home and found a rest stop to sleep in for a couple of hours. The funny part of the story is I set my alarm for 7 AM which would give me about 3 hours of sleep in the back of the wife’s pathfinder comfy in my sleeping bag. I actually woke up around 11:30 to an empty parking lot! Fully rested, I hit the road again and booked it home. The whole trip took about 26 hours driving. It was certainly worth the great deal I got on the kit, but not something I’ll do again.

I made it home and unloaded everything into the garage. I’ll be putting up some more ceiling storage racks for the small pieces and have the wing rack mobile on the floor.

20140425-140041.jpg

20140425-140058.jpg

20140425-140109.jpg