Firewall forward finishing

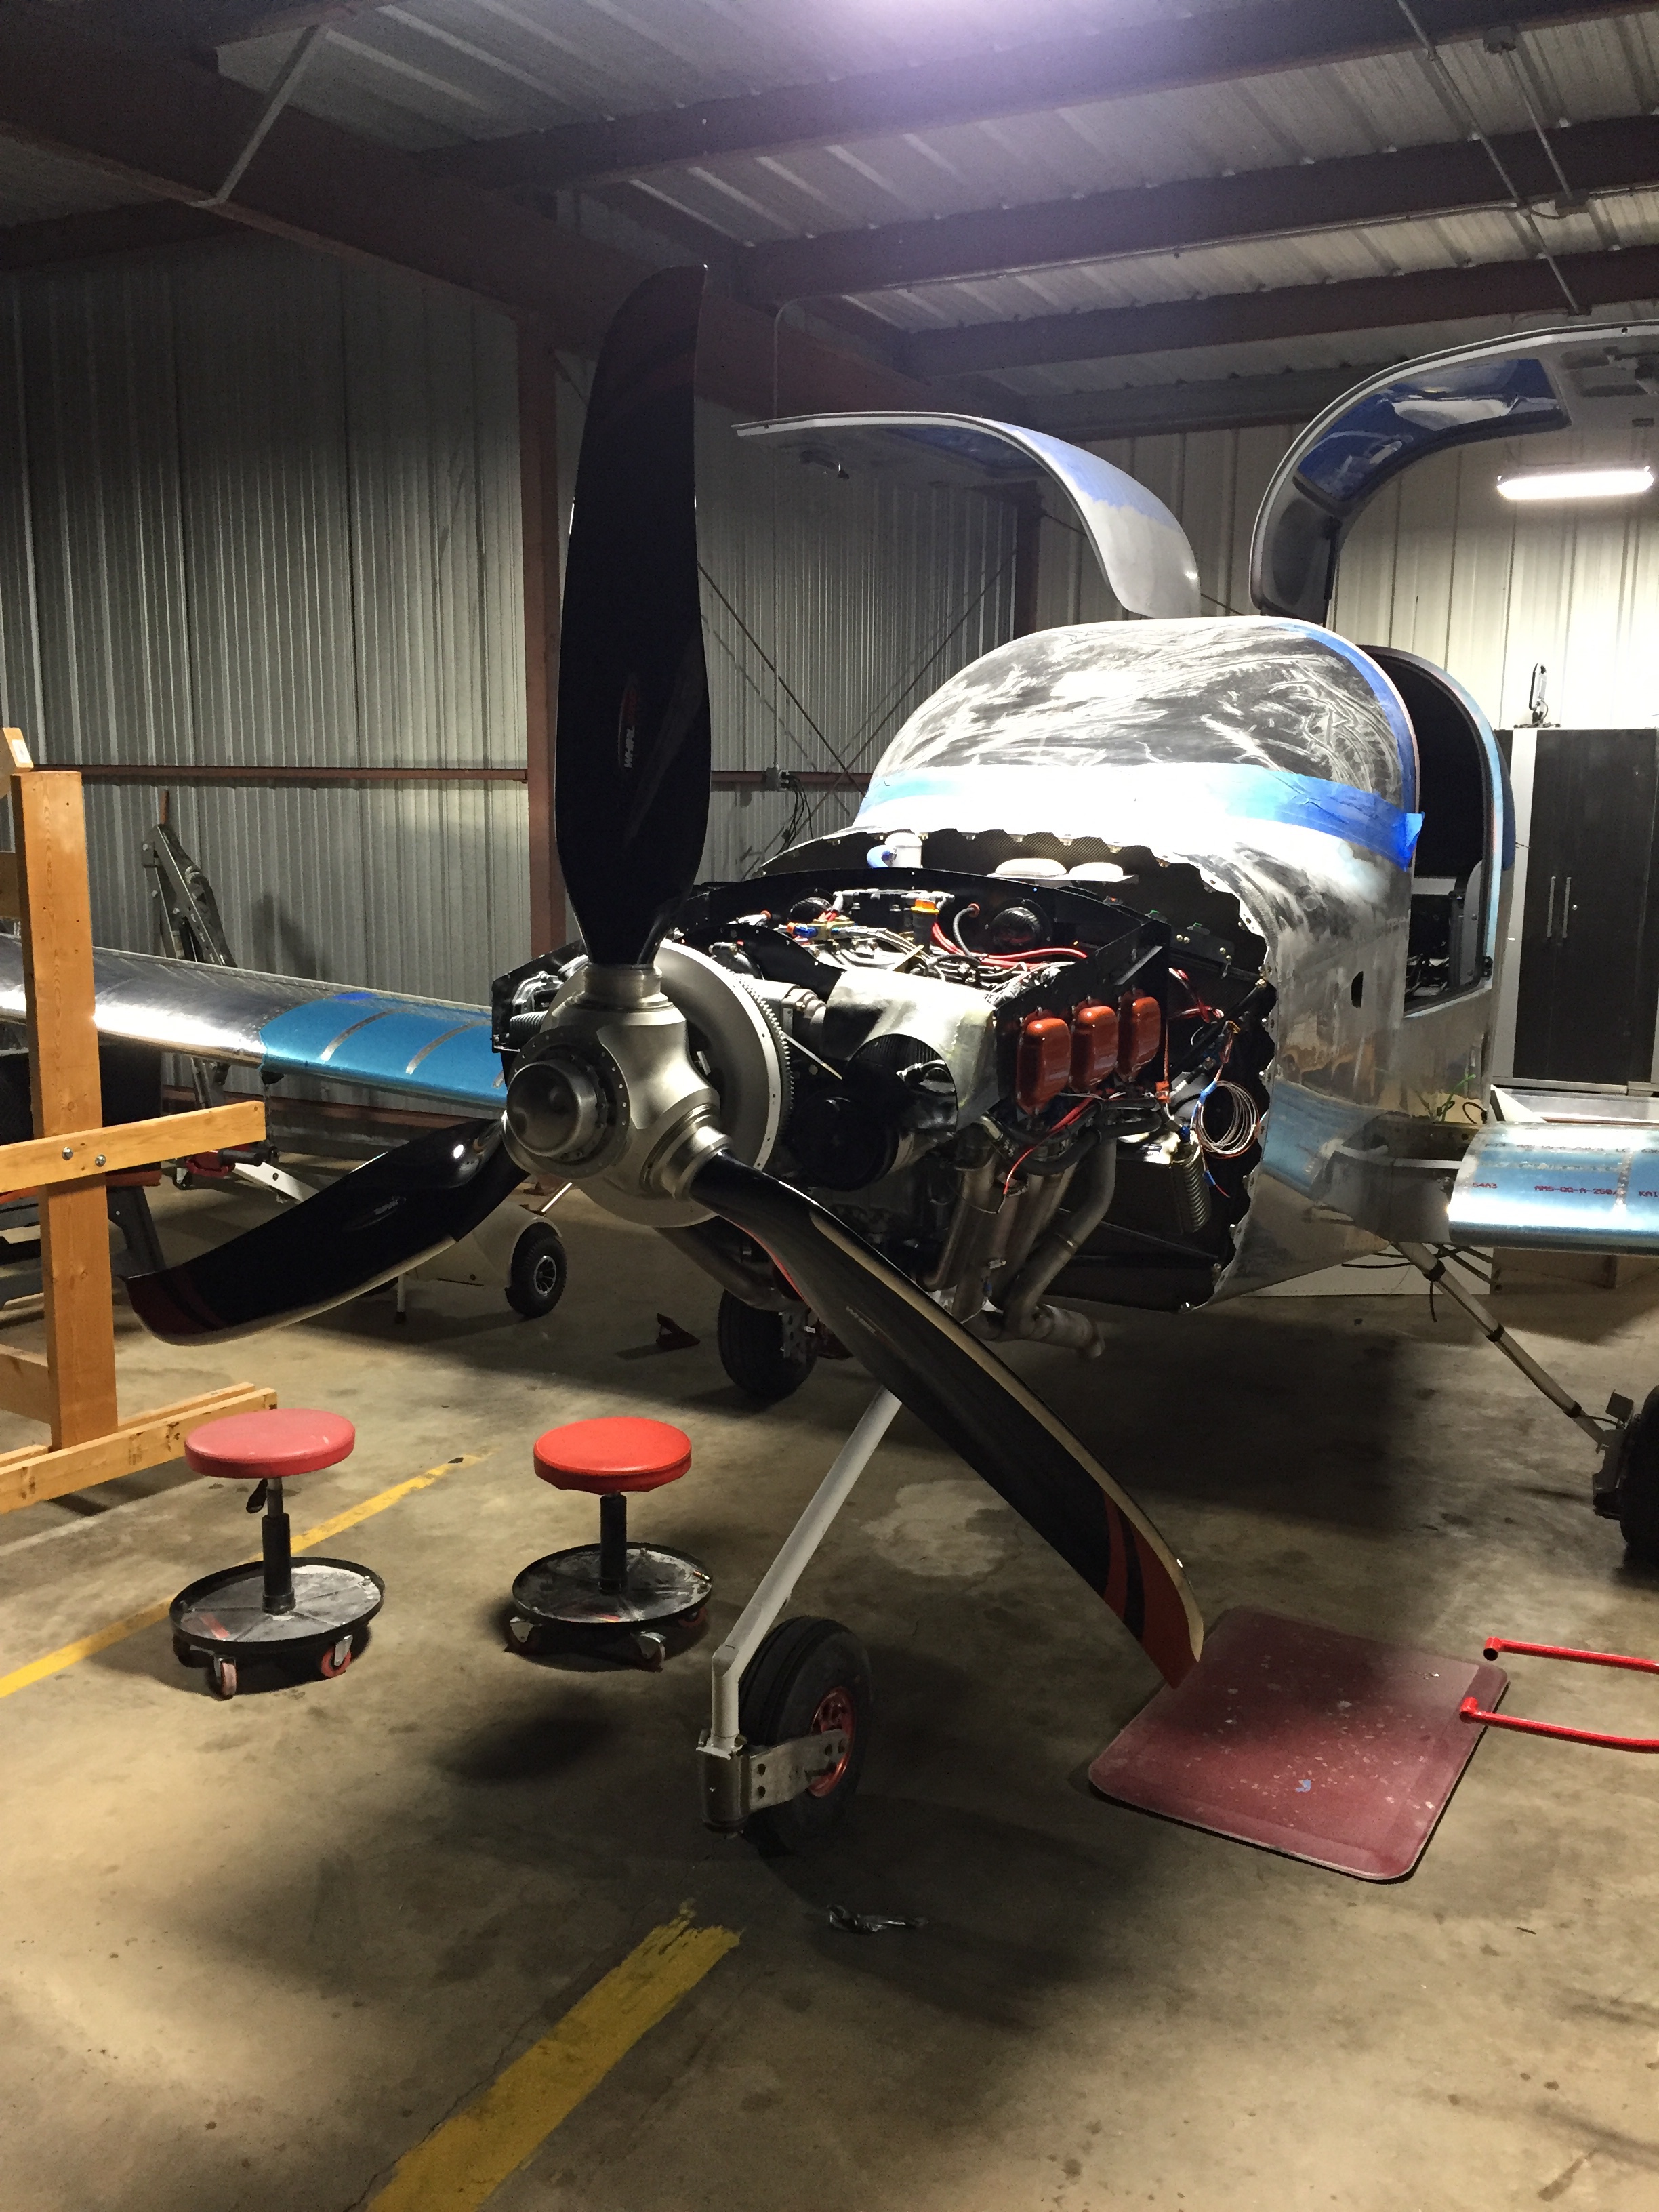
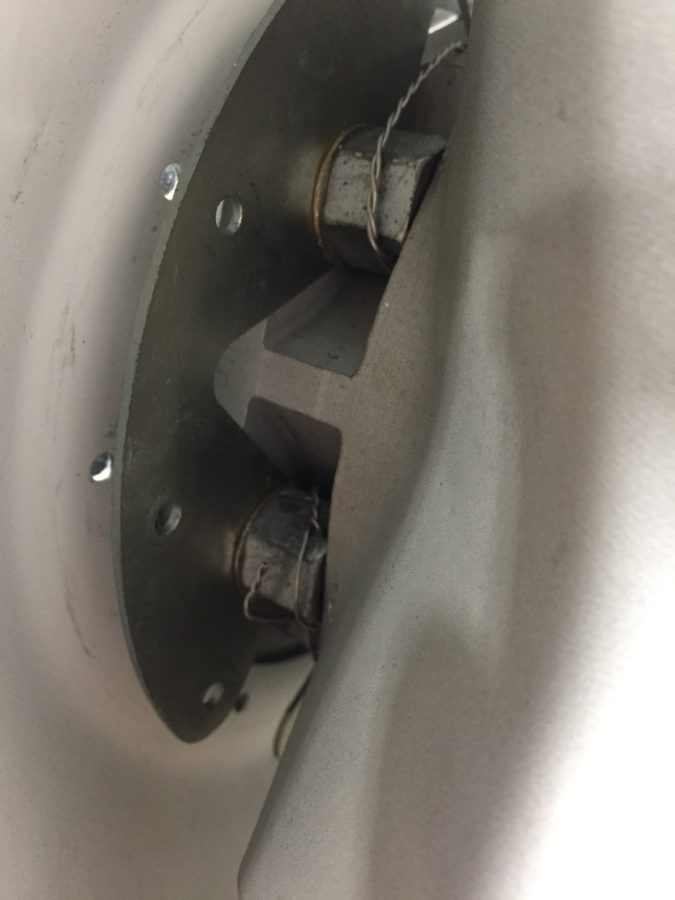
There is a lot of little projects yet to be completed on the firewall forward section, so I set about tackling them. First off was safety wiring the prop bolts. I thought torquing them were hard. Well safety wiring them is even worse. Because of the limited space, you actually have to loosen them a bit, thread the wire through the hole, then re-torque them. Ugh. Anyway, it’s not pretty but it’s done. I’m convinced this flange design negates the need to safety wire since they’d all have to unscrew in perfect unison for the damn thing to fall off anyway.
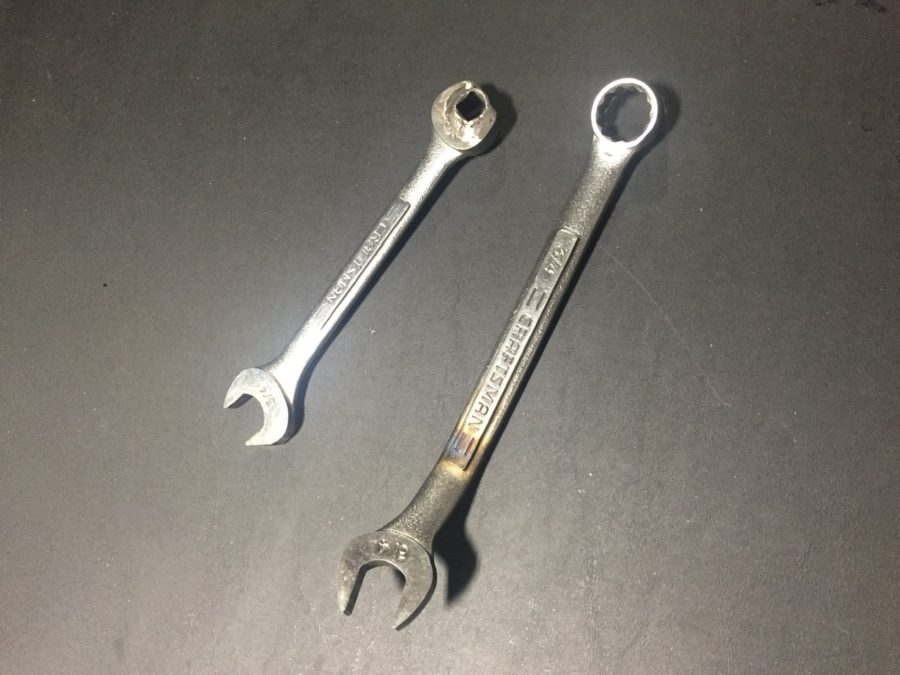
Here is a picture of the custom wrenches I had made up using Joe Key’s templates.
Since I was at the front end, I went ahead and finished up the spinner installation. The back plate takes some time to bolt on as well with 1300 bolts used to hold it to the prop hub. The spinner has three plates behind the blades to fill the gaps and it took a bit of dry fitting to figure out where each one goes. WW had labeled them by number and I was wrongly lining them up with blade numbers not just the reference number on the spinner and back plate. The front of the prop hub fits into a bulkhead in the spinner and it took a few iterations of Teflon tape and sanding to get a nice snug fit with no wobble of the spinner.
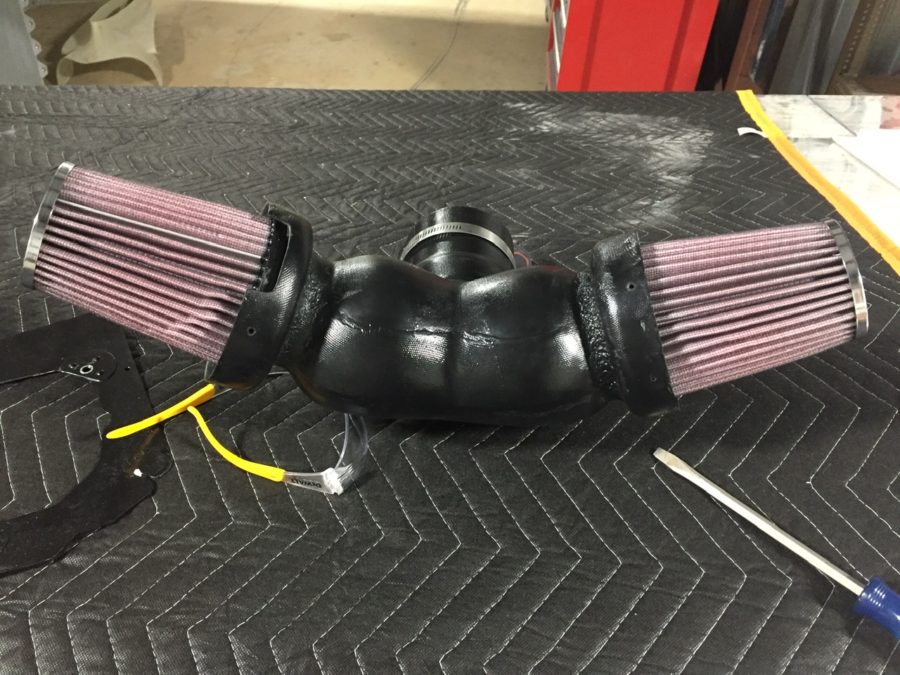
The air filters were the last step for the intakes and I had been waiting on a different filter with a tilted base, allowing clearance of the tube to the filter assembly itself. This was required because of the blister I had to glass in for the air conditioning compressor. Fortunately a 10* tilt made just enough clearance and it all fit together nicely. I oiled the filters and got them put on for good or at least until the first annual.
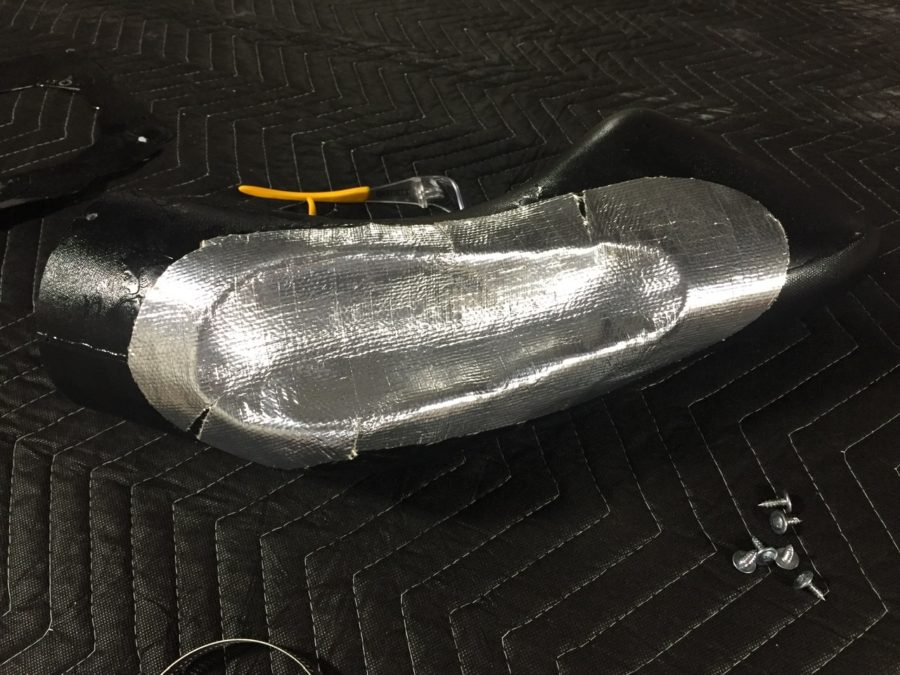
The right intake tube is close to the exhaust, so I used some heat shielding that has an adhesive back to protect the tube. I went back and covered this with 3M foil tape and then applied RTV around the edges to secure it. I’ll monitor this during ground runs to ensure enough protection from the exhaust header.
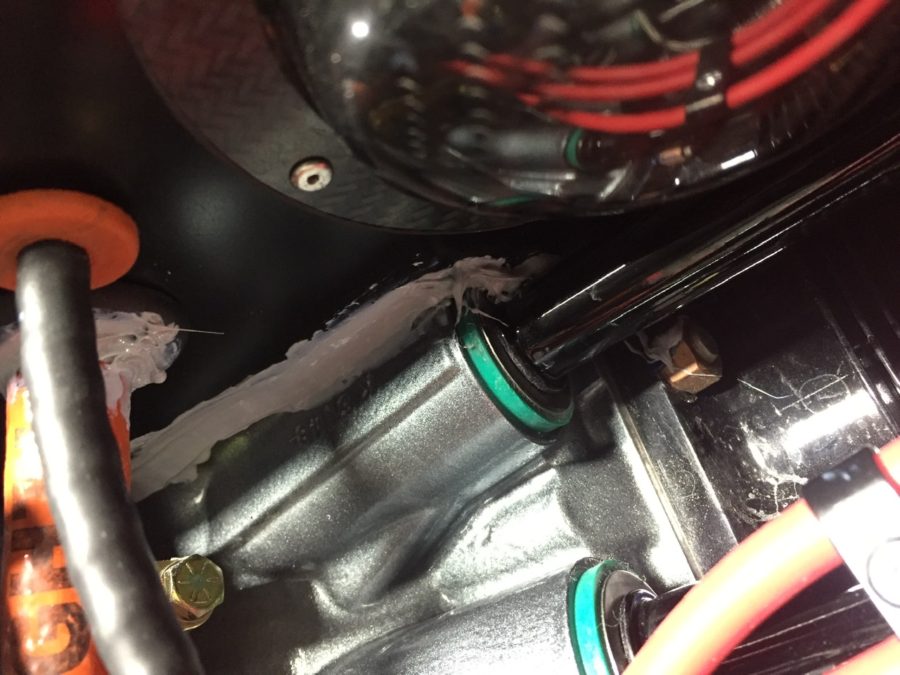
Since I had RTV all over me anyway, I took the opportunity to finish seal up a few spots around the engine and firewall. I have spent a TON of time trying to find any little spot air could leak out of the baffles that it shouldn’t be leaking. Since the hangar is dark with the lights off, I again used a flashlight on top of the engine to highlight any little spots. It worked great and I’m hoping it pays off with adequate cooling once flying. It’s impossible to be super clean and fancy with this stuff, but I kept most of the mess on me instead of on the engine.

So many of my electrical connections are oddly shaped so getting a boot to fit hasn’t been easy or even possible. I used a 3M product to paint electrical tape onto the hot studs just to keep a surprise shock chance low. Not quite as good as boots, but better than nothing.
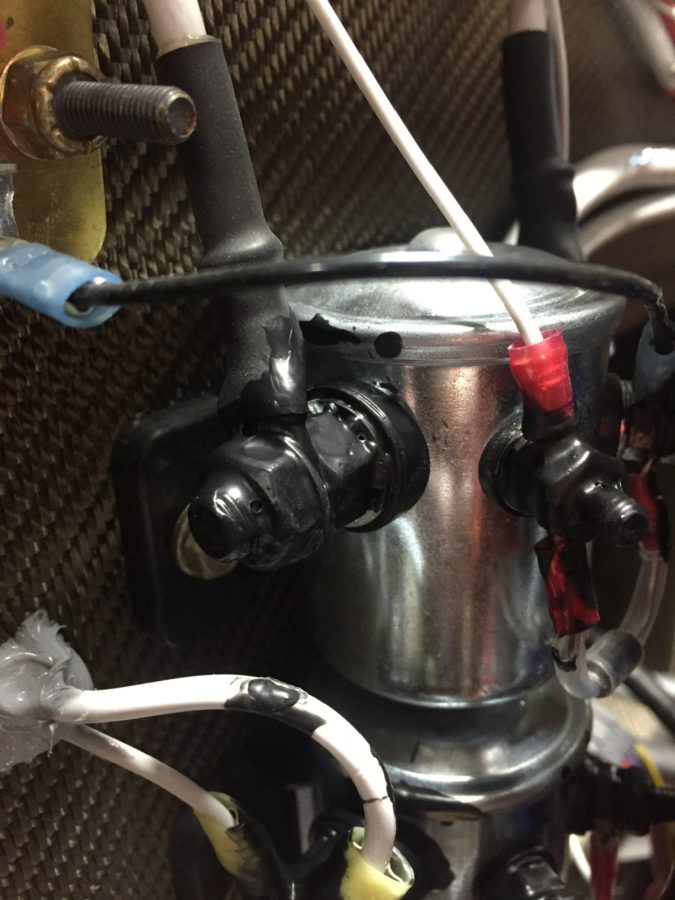
Lots of zipties up front still being added as I just see spots here or there that could use some extra security. I may add wire wrap that is rated for high heat to clean it up, but not sure if I care or want to spend the time on that quite yet.

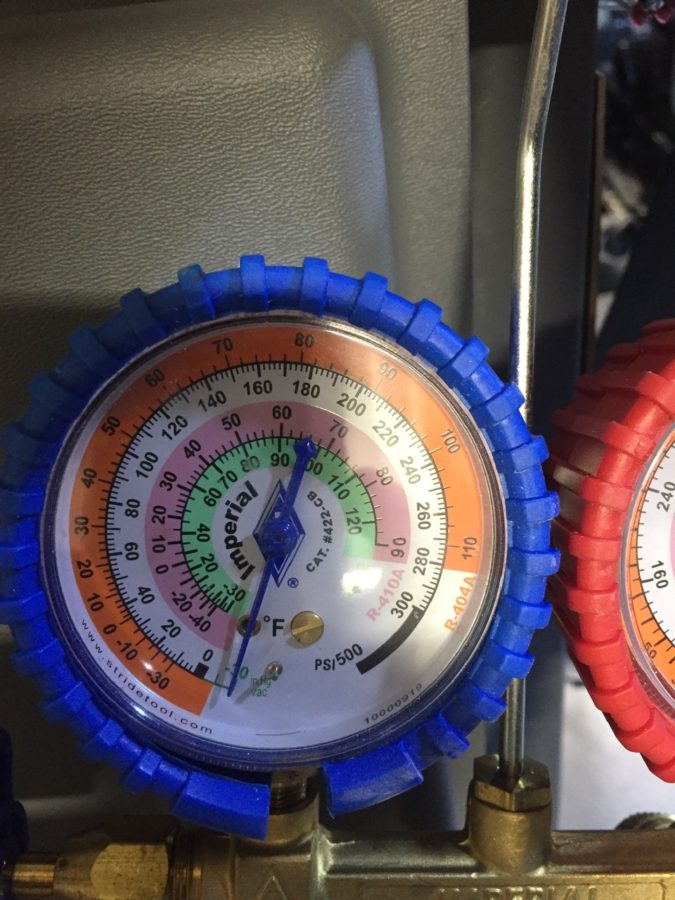
Multi-tasking is key at this point so I setup the vacuum pump on the aircon system while RTV was setting up. All of the lines and connections are secured so I could finally vacuum the system to perform a leak test and evacuate moisture from the system. The ports are just behind the baggage bulkhead and pretty easy to get to. I set up the pump and let it run for about an hour and a half to get moisture out then closed the pump off and let the gauges sit all night long. The next day I returned to see a perfect vacuum still holding, so that is a huge win!
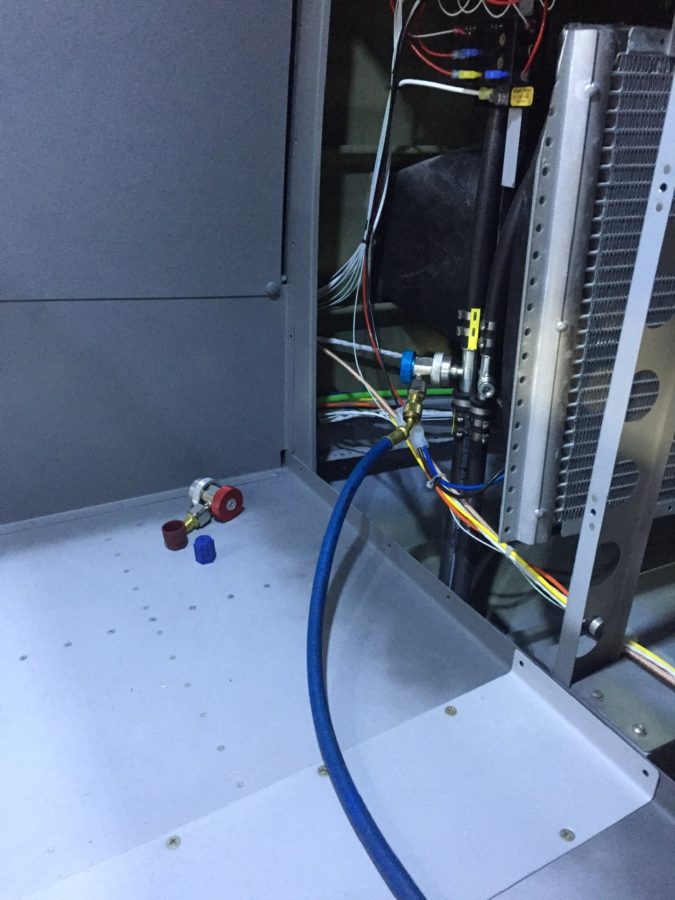
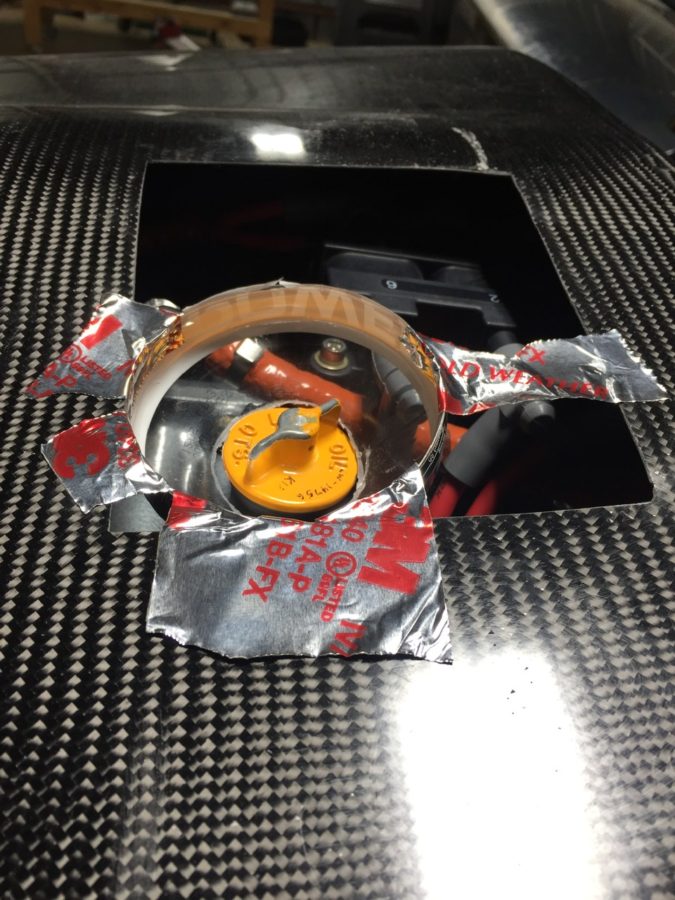
The last two projects up front were some additional glass work on the plenum and a ramp for the aircon compressor. The plenum was designed to be sealed to the cowl around the oil dipstick, but I didn’t like the idea of air potentially leaking out of the plenum through the oil door or into the engine area. I cut up a sports drink bottle as a mold and roughed up a little funnel to fit over the dipstick. The dipstick will have some foam tape sealing the bottom of the funnel. It didn’t come out as pretty as I wanted, but it’s functional and I can always clean that up a little down the road.
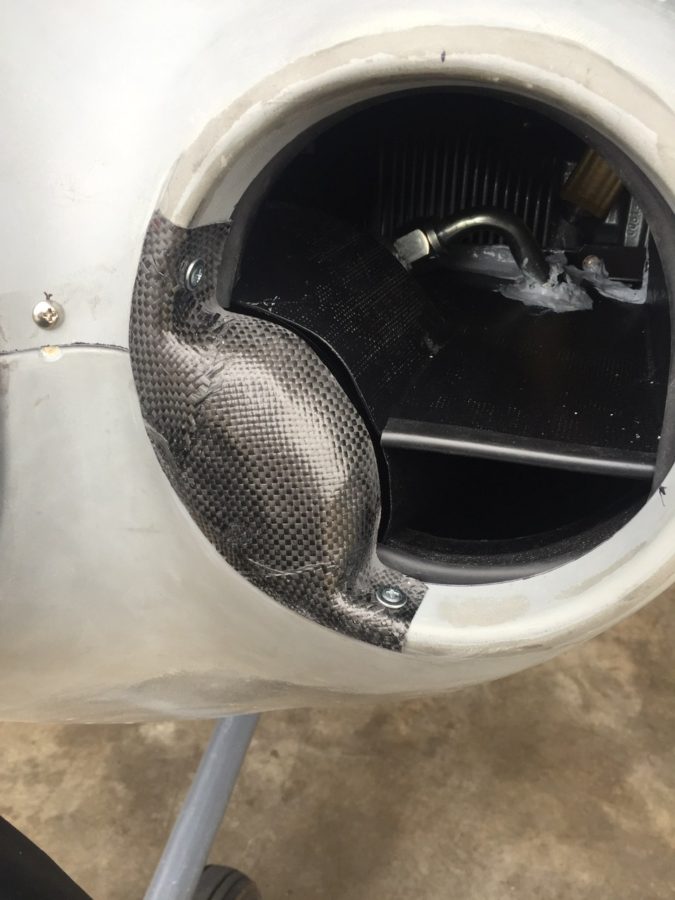
The air ramp was a little easier than I expected. On the left side intake, the aircon compressor causes the cooling ramp and induction intake to need a cutout and I wanted to create a little blister to help direct all the air possible into the cooling and intake ducts. I shaped a foam block and used packing tape to secure it to the cowl. I used some carbon fiber to lay up a rough fairing then cleaned up the edges after it set up. This is attached via two screws and should provide a nice air flow deflection that is simple to use. I plan to create a final piece of bulb seal to fully seal the cowl to the engine portion helping minimize air pressure loss while providing flexibility for engine movement.
Stabilizing success

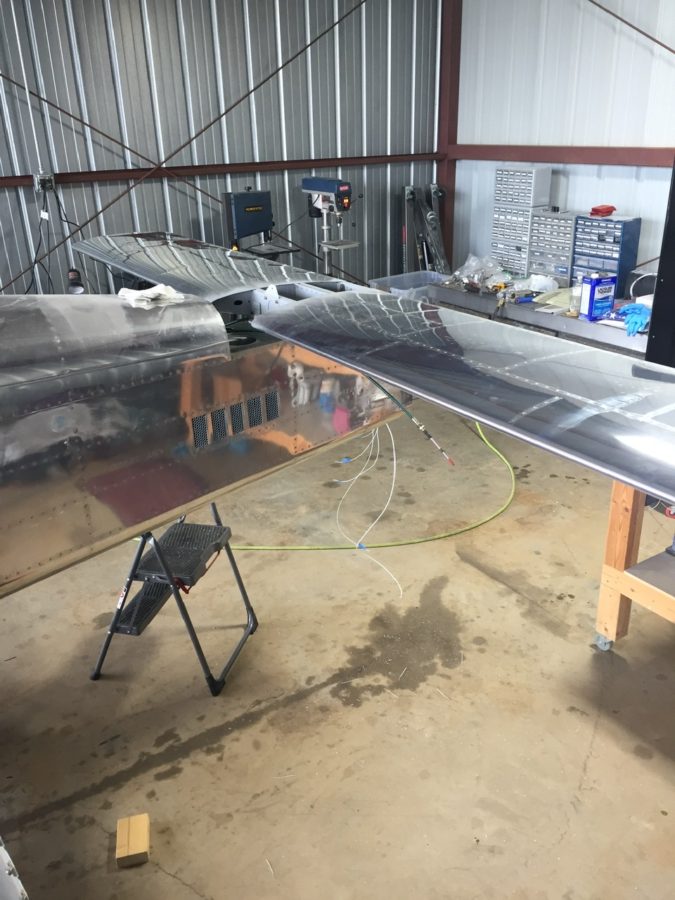
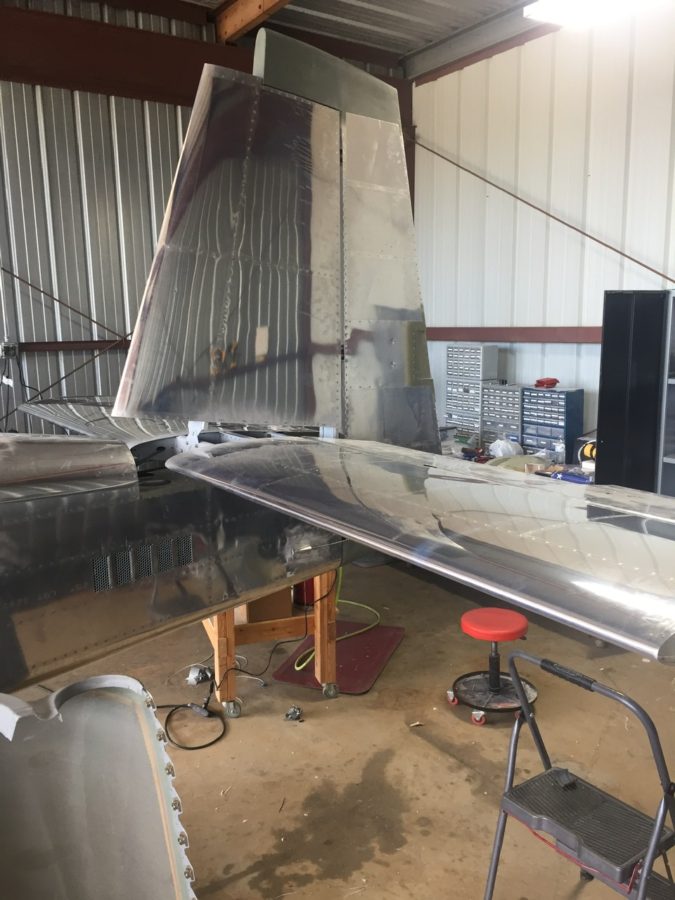
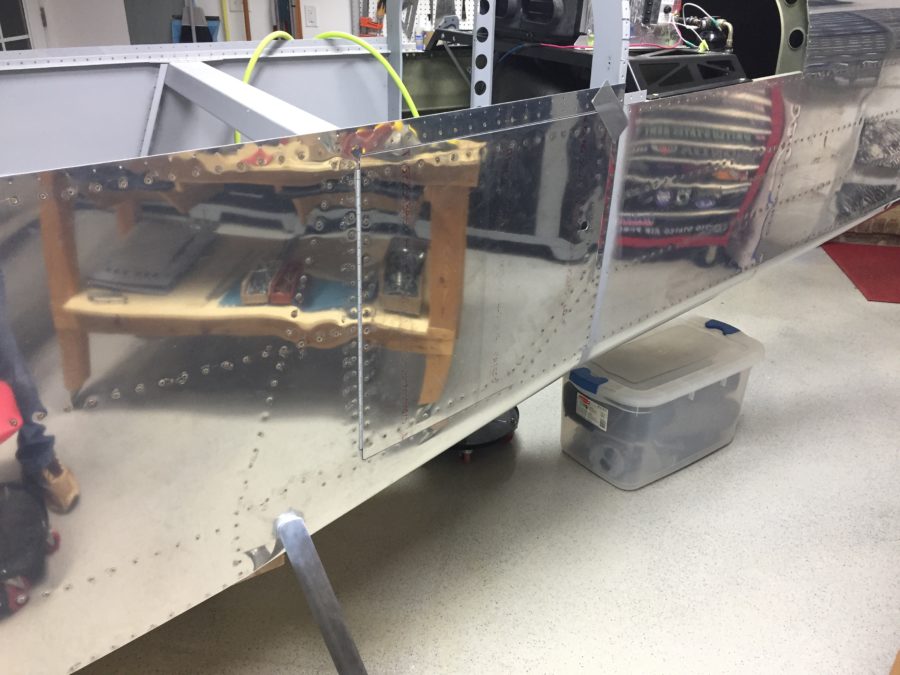
I skipped a major step during the tailcone build sequence by never installing the horizontal and vertical stabilizers onto the tail cone. I didn’t see a point of doing that in the garage just to take it all apart again for storage for years. Now that I’m in the hangar and have the room, no excuses are left. I didn’t build either stabilizer, as the original tail kit owner built them. After looking over them and cleaning them up, I “touched up” a few of the rivets I felt were under squeezed. They aren’t primed on the inside either but even after 10 years of sitting around, they are looking good and corrosion free.

The process went as planned and I spent the better part of one full day getting it all drilled and bolted on. I had purchased the CNC brackets from somewhere to mount the horizontal stab so I didn’t have to make them. I have no clue where I got them from, however, as I bought them on a whim years ago. Either way, they’re nice and you should buy them.

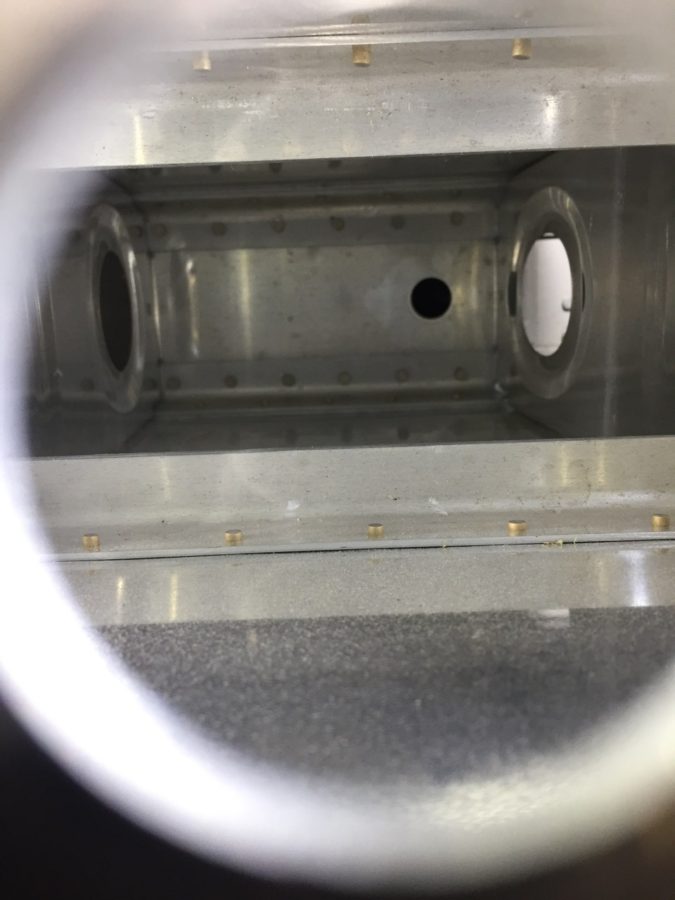
The only hiccup came when working on the elevator trim cable. The original builder had installed the plastic snap bushings the trim cables run through while building the stab. Unfortunately, he put the wrong size bushing in one of the holes that was buried in the spar. The cable wouldn’t pass through. Fortunately the hole was the correct size but man was it a pain in the ass and fingers getting that old one out of there.

Laura helped me bolt the rudder on next to set the rudder cables up and do some trimming for the rudder trim wires and tail light wires. All easy stuff and its really exciting to see the tail feathers finally get attached.

I was able to finally hook up the elevator torque tube after drilling the horns. I was careful to get them lined up accurately and am pretty happy with the end result with the right elevator being lower on the trailing edge by about 1/16″.

I then set out to start the rigging process by centering the stick and adjusting pushrods to get the control surfaces all lined up. It takes quite a bit of stick movement to get the control range established by the plans and I found some interference with a bolt on the aileron rods under the seat pans. I was able to switch the bolt orientation and it cleared right up.

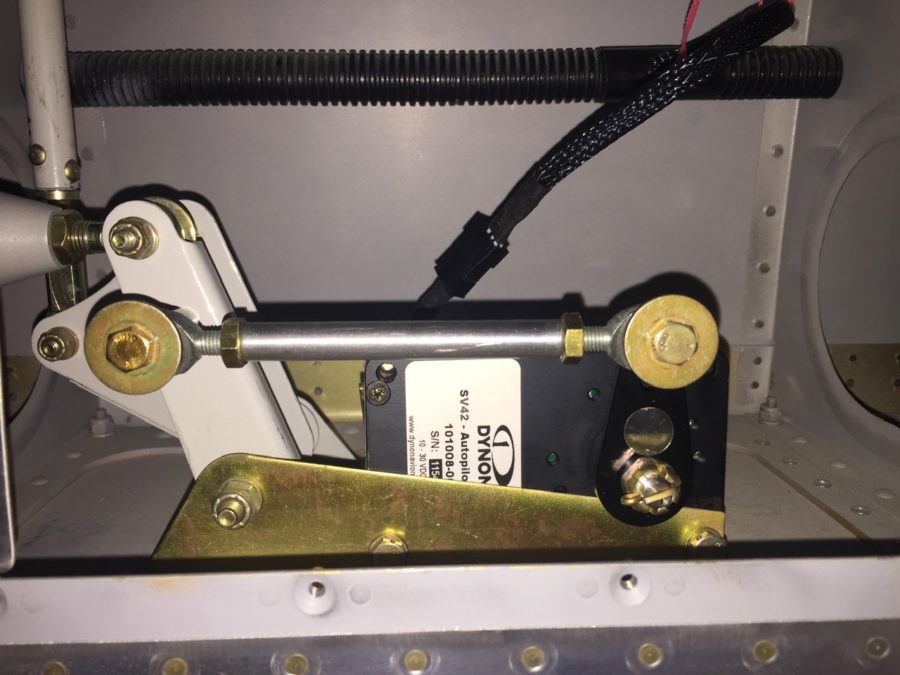
The autopilot roll servo went into the right wing pretty easily as well. I had the mount installed during wing construction, so it was a matter of bolting it in and attaching it to the aileron bell crank. The wiring hooked up quickly since I had already ran the wires and installed a connector.

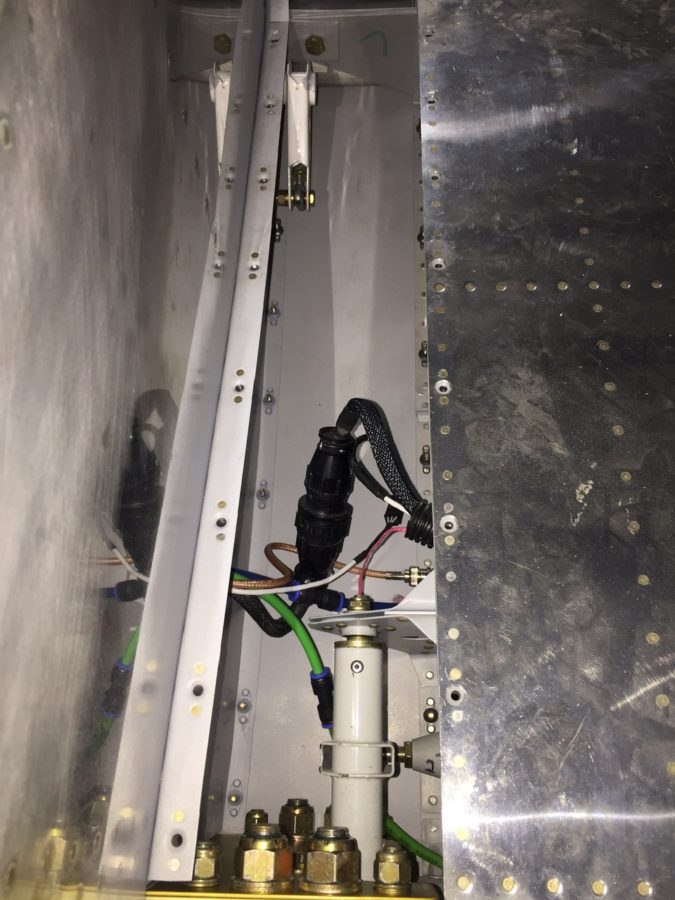
I cleaned up a bit of the wing root area as well, hooking up the CPC connectors, pitot/AOA tubing, and ensured it all cleared the control rods inside. I had planned to mount a bracket holding the CPC and pitot/AOA tubing somehow, but the whole bundle is so stiff, I’m not too concerned with securing it further. It’s also well clear of the torque tube despite the appearance in the picture.

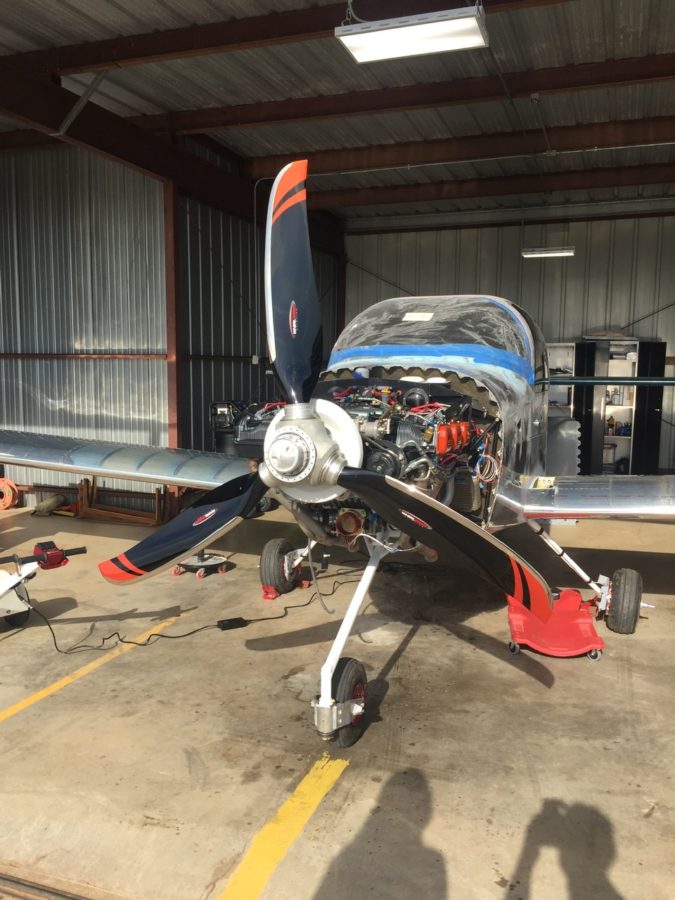
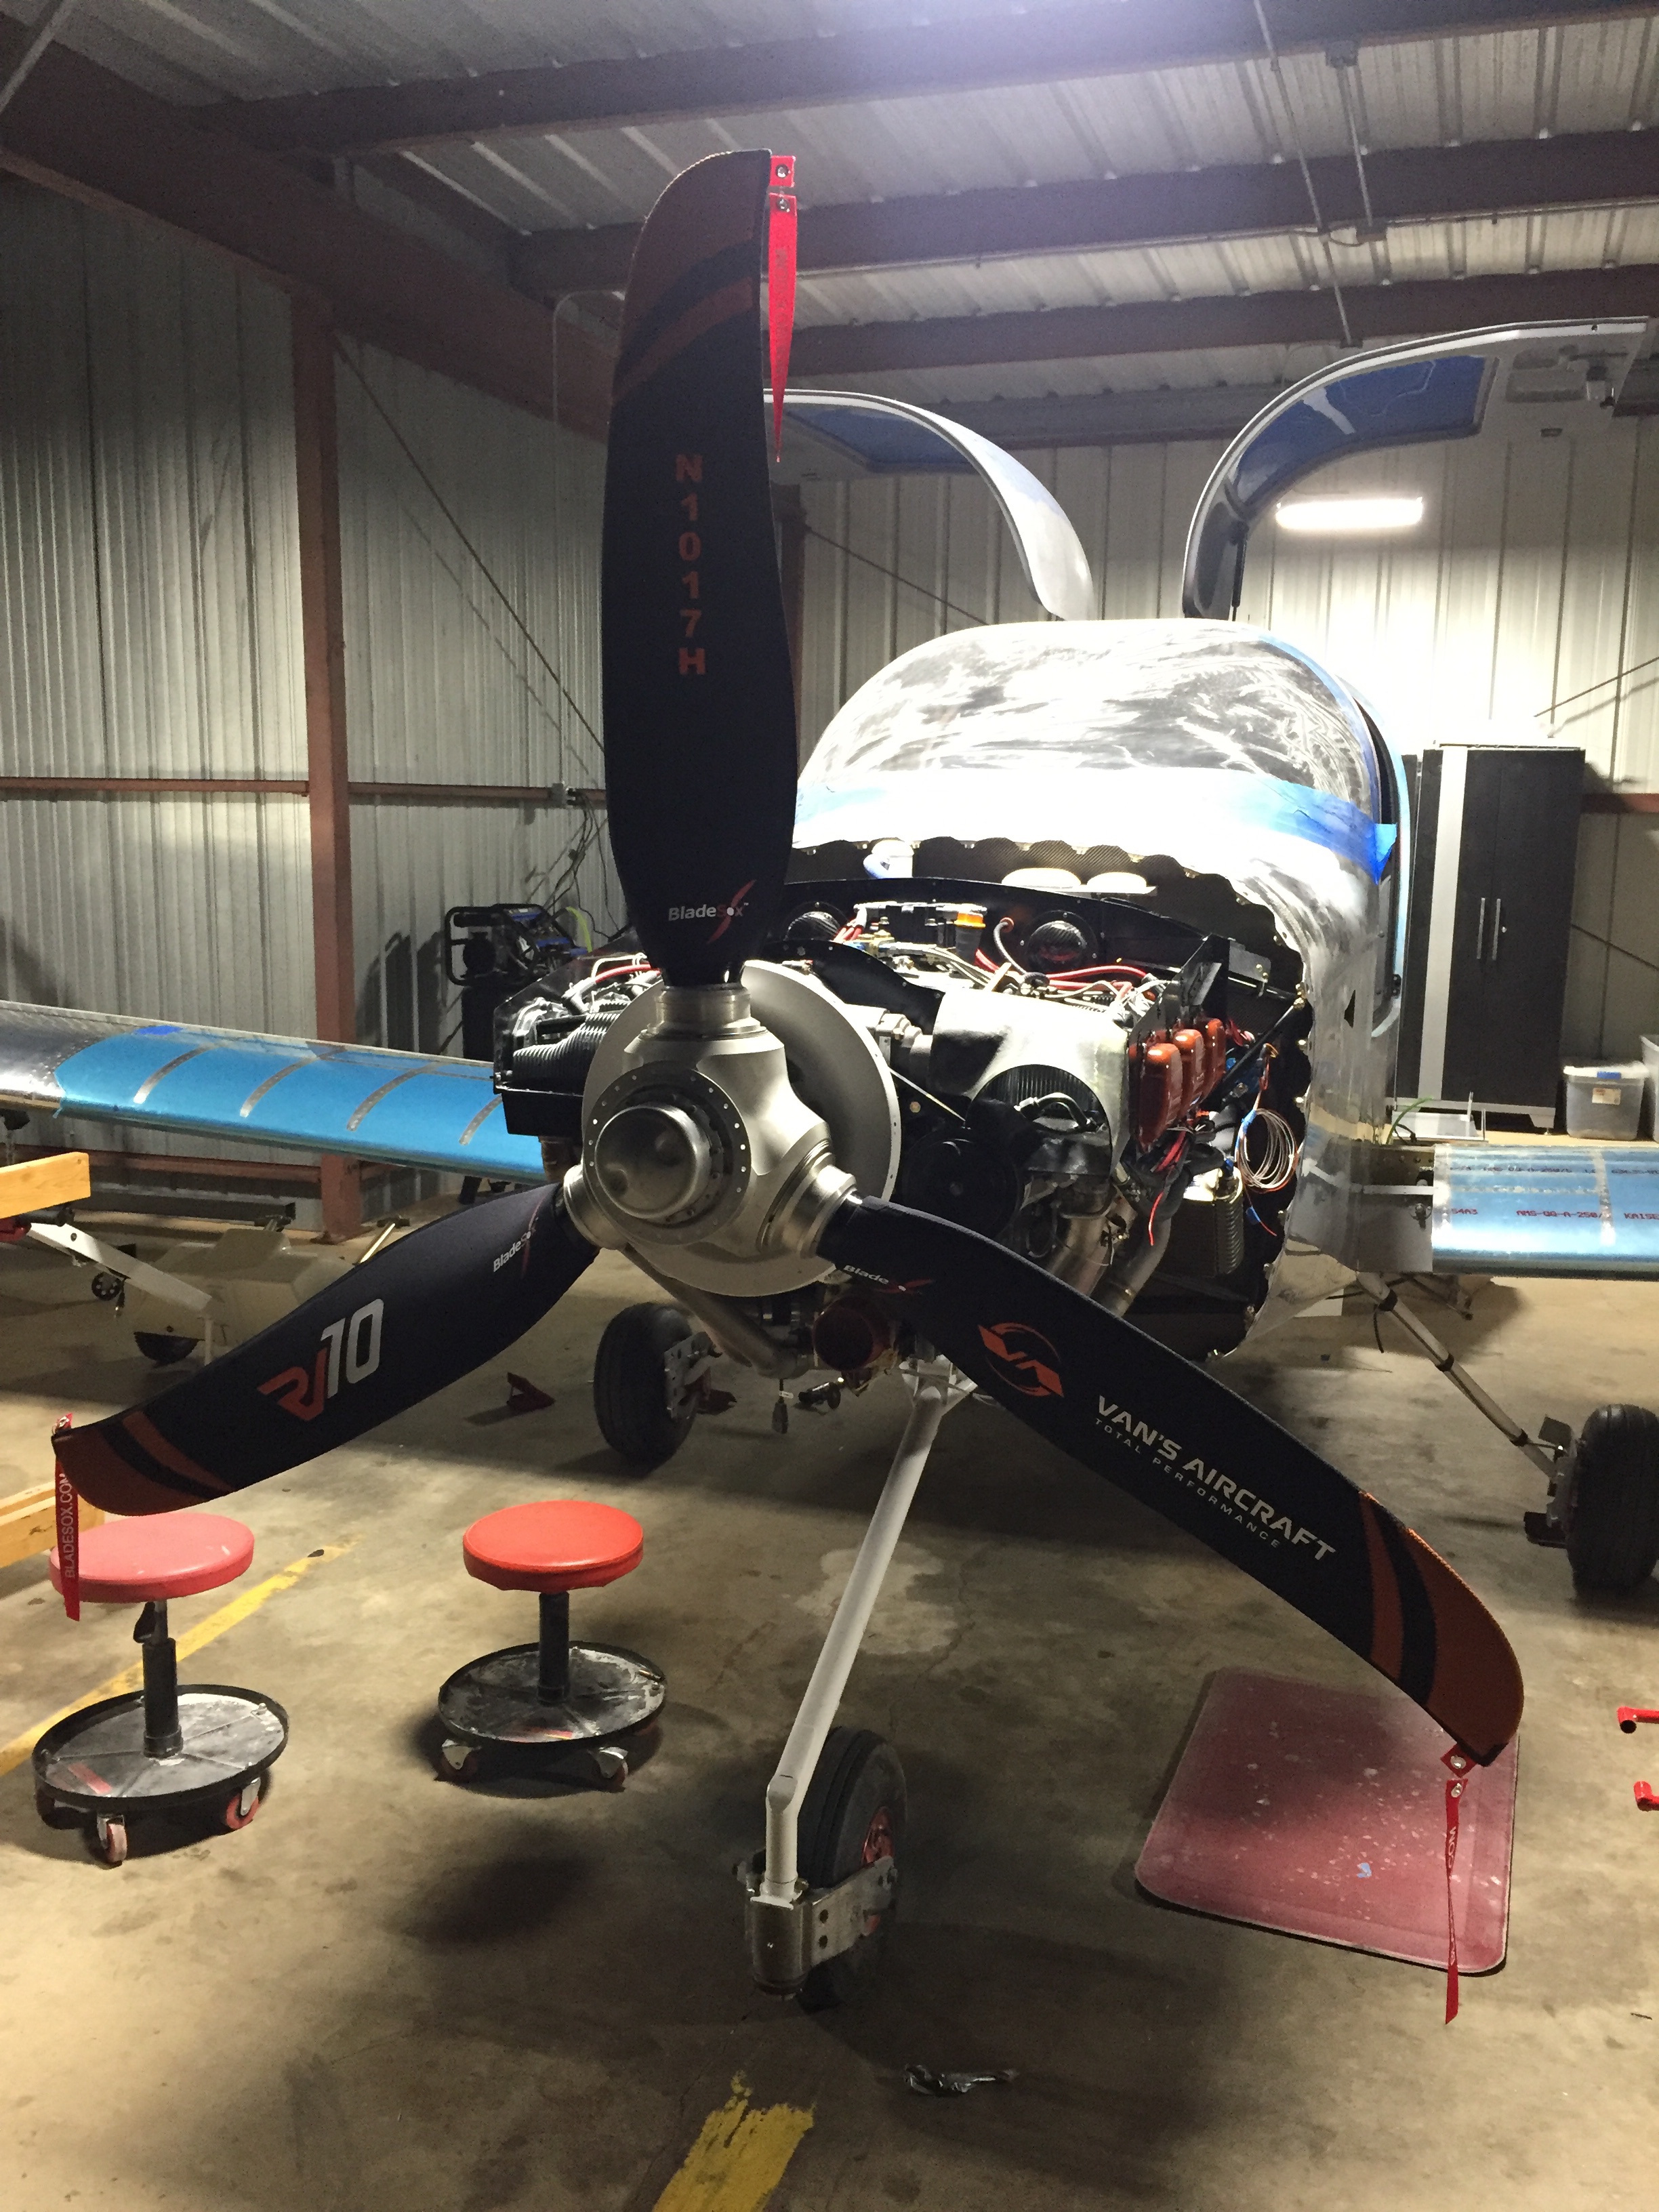
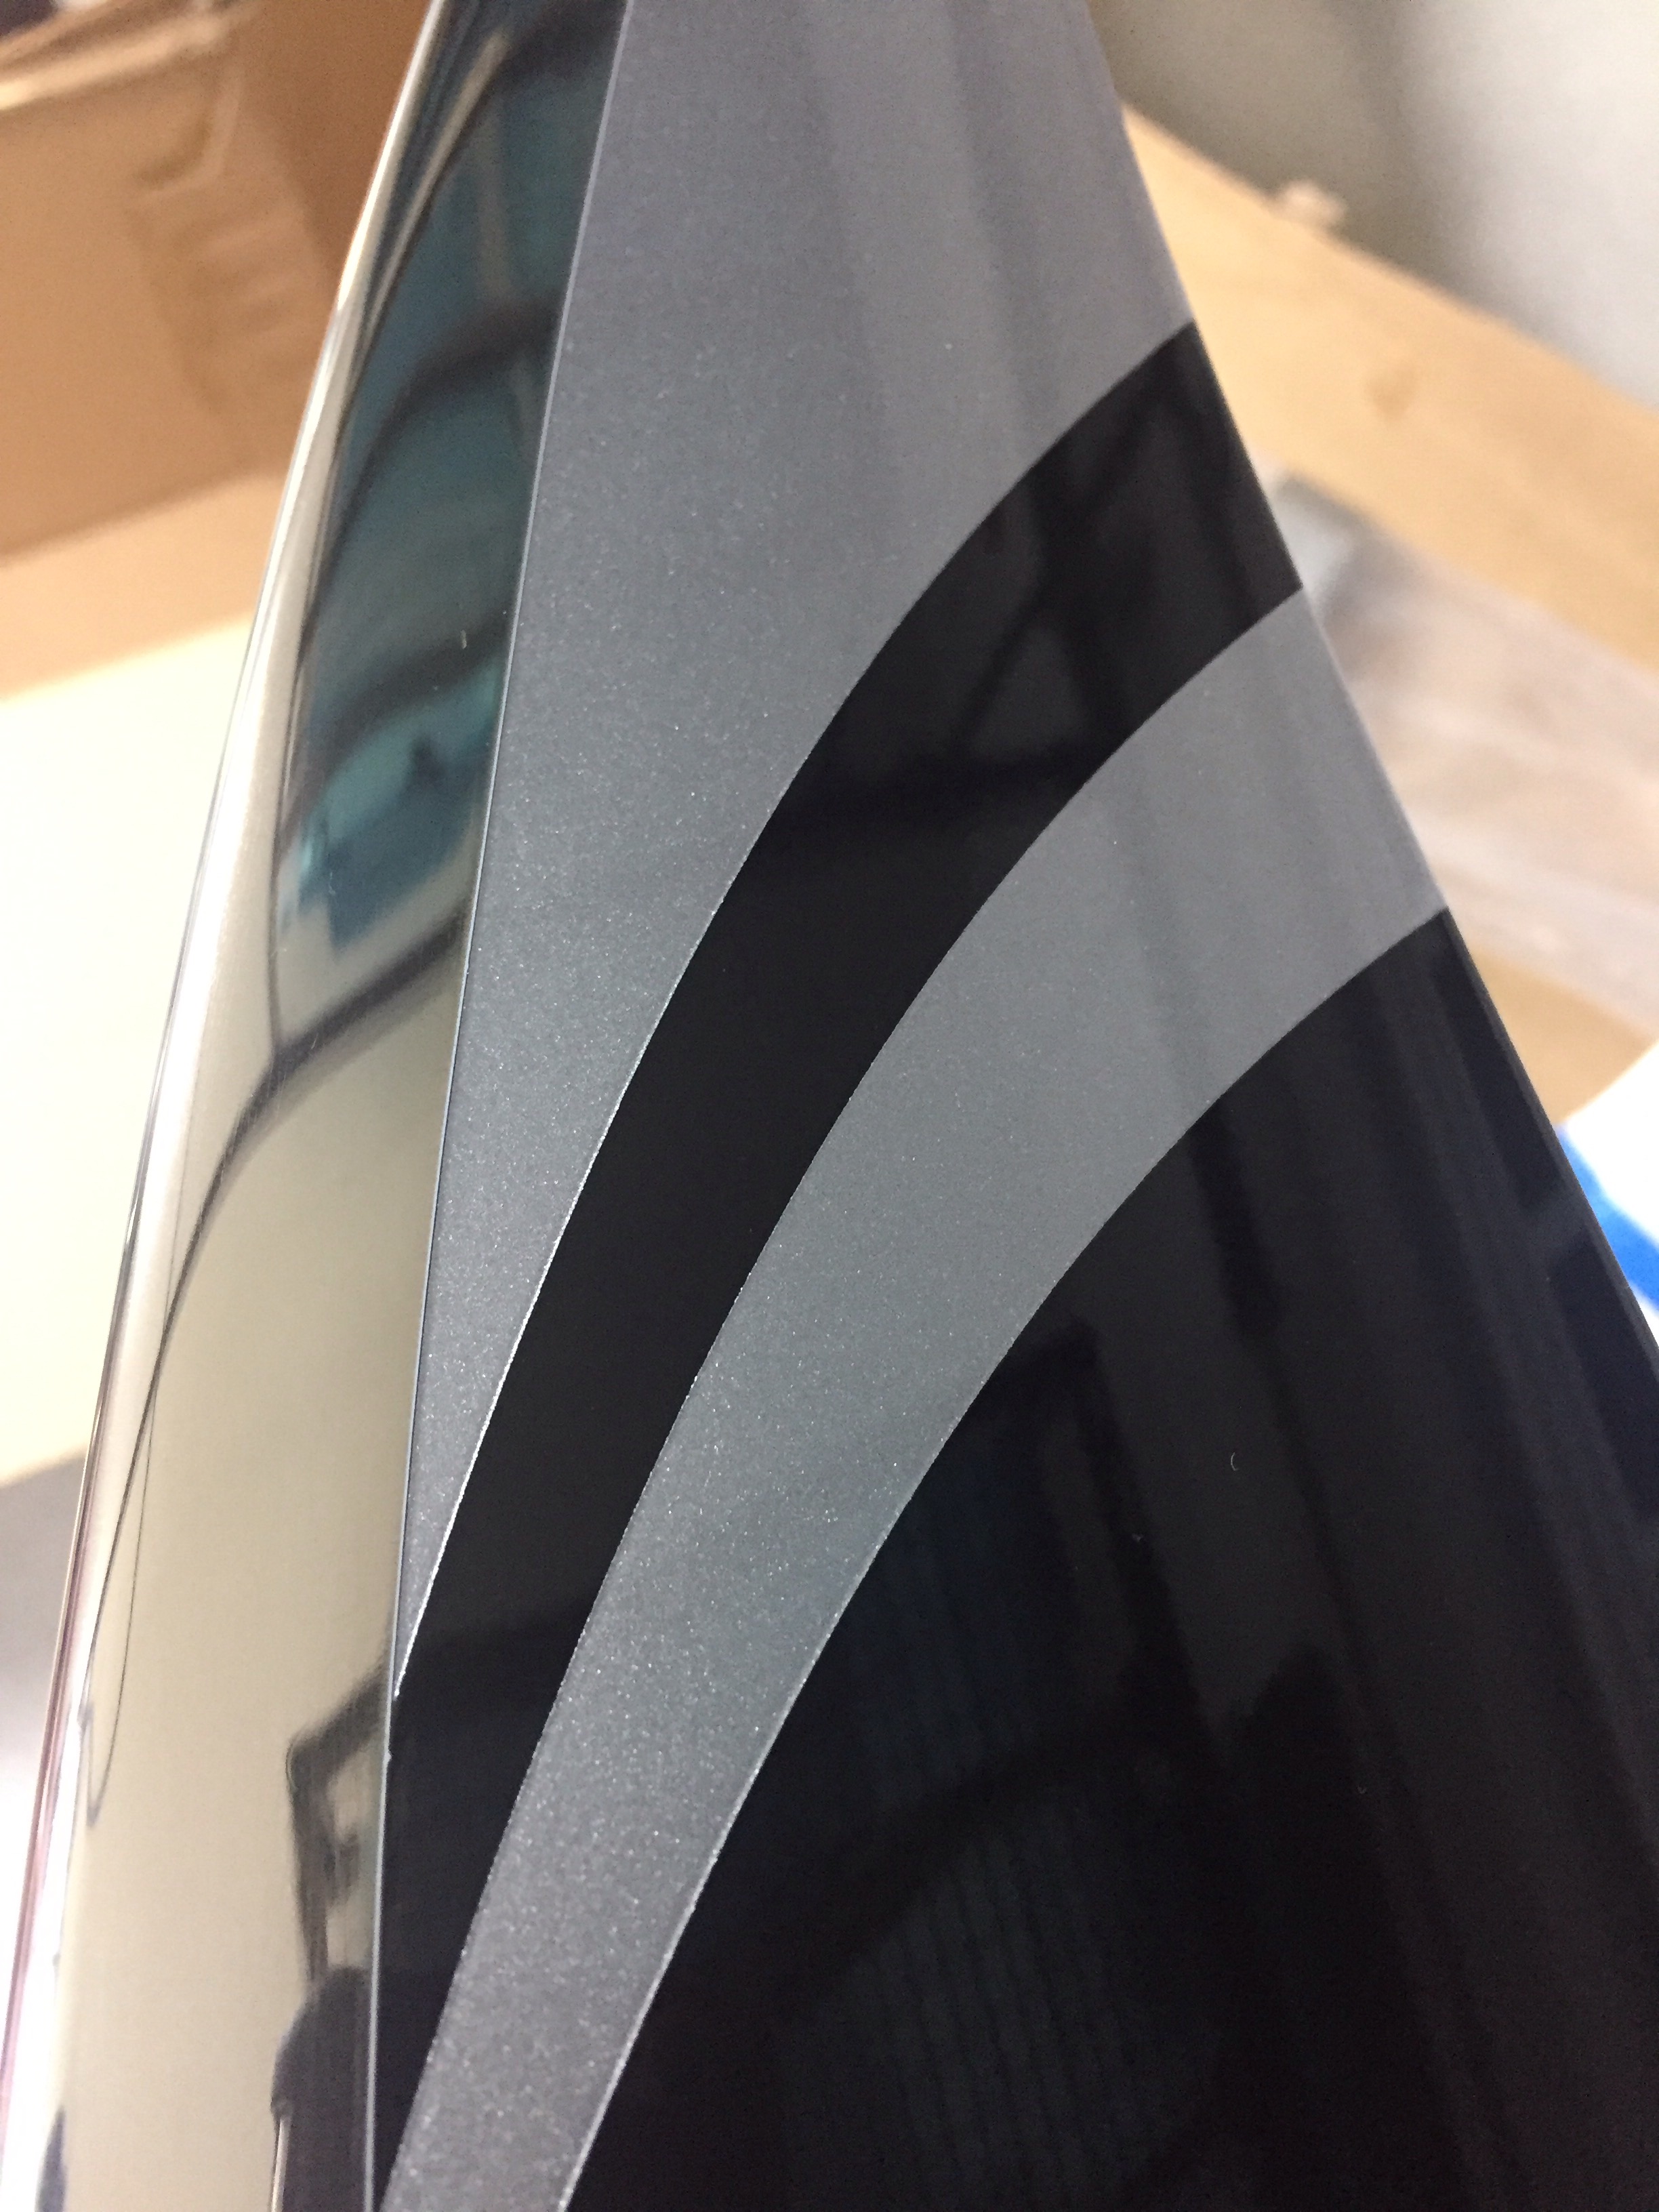
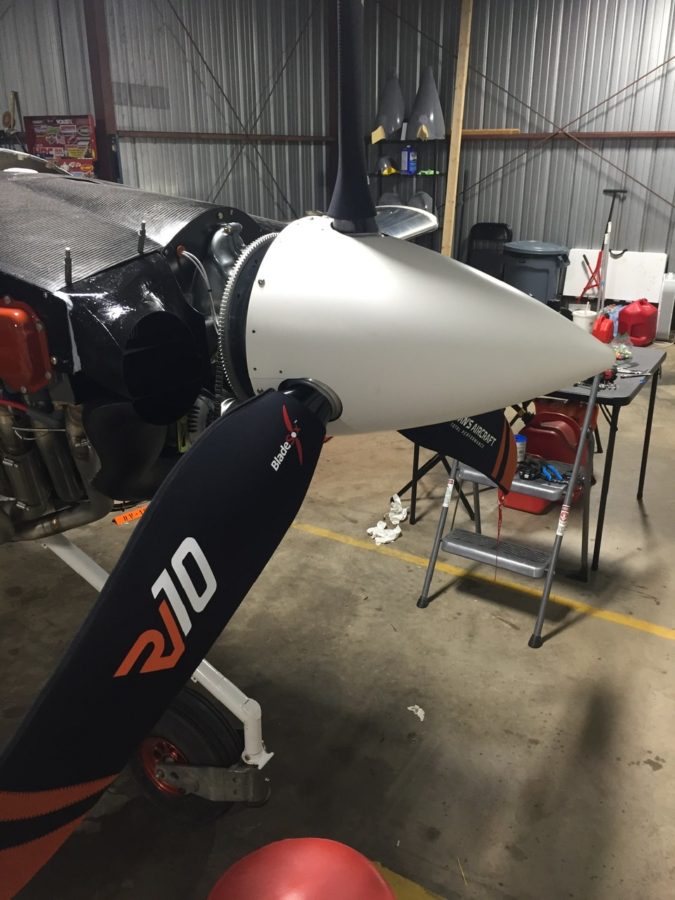
Finally, we had some good light from the sun on the propeller and I couldn’t help but drool over it for a few minutes. The orange over black with the polished leading edges are just too damn cool looking. The scimitar shape is sexy too!

I give you wings, Red Bull gives you diabetes

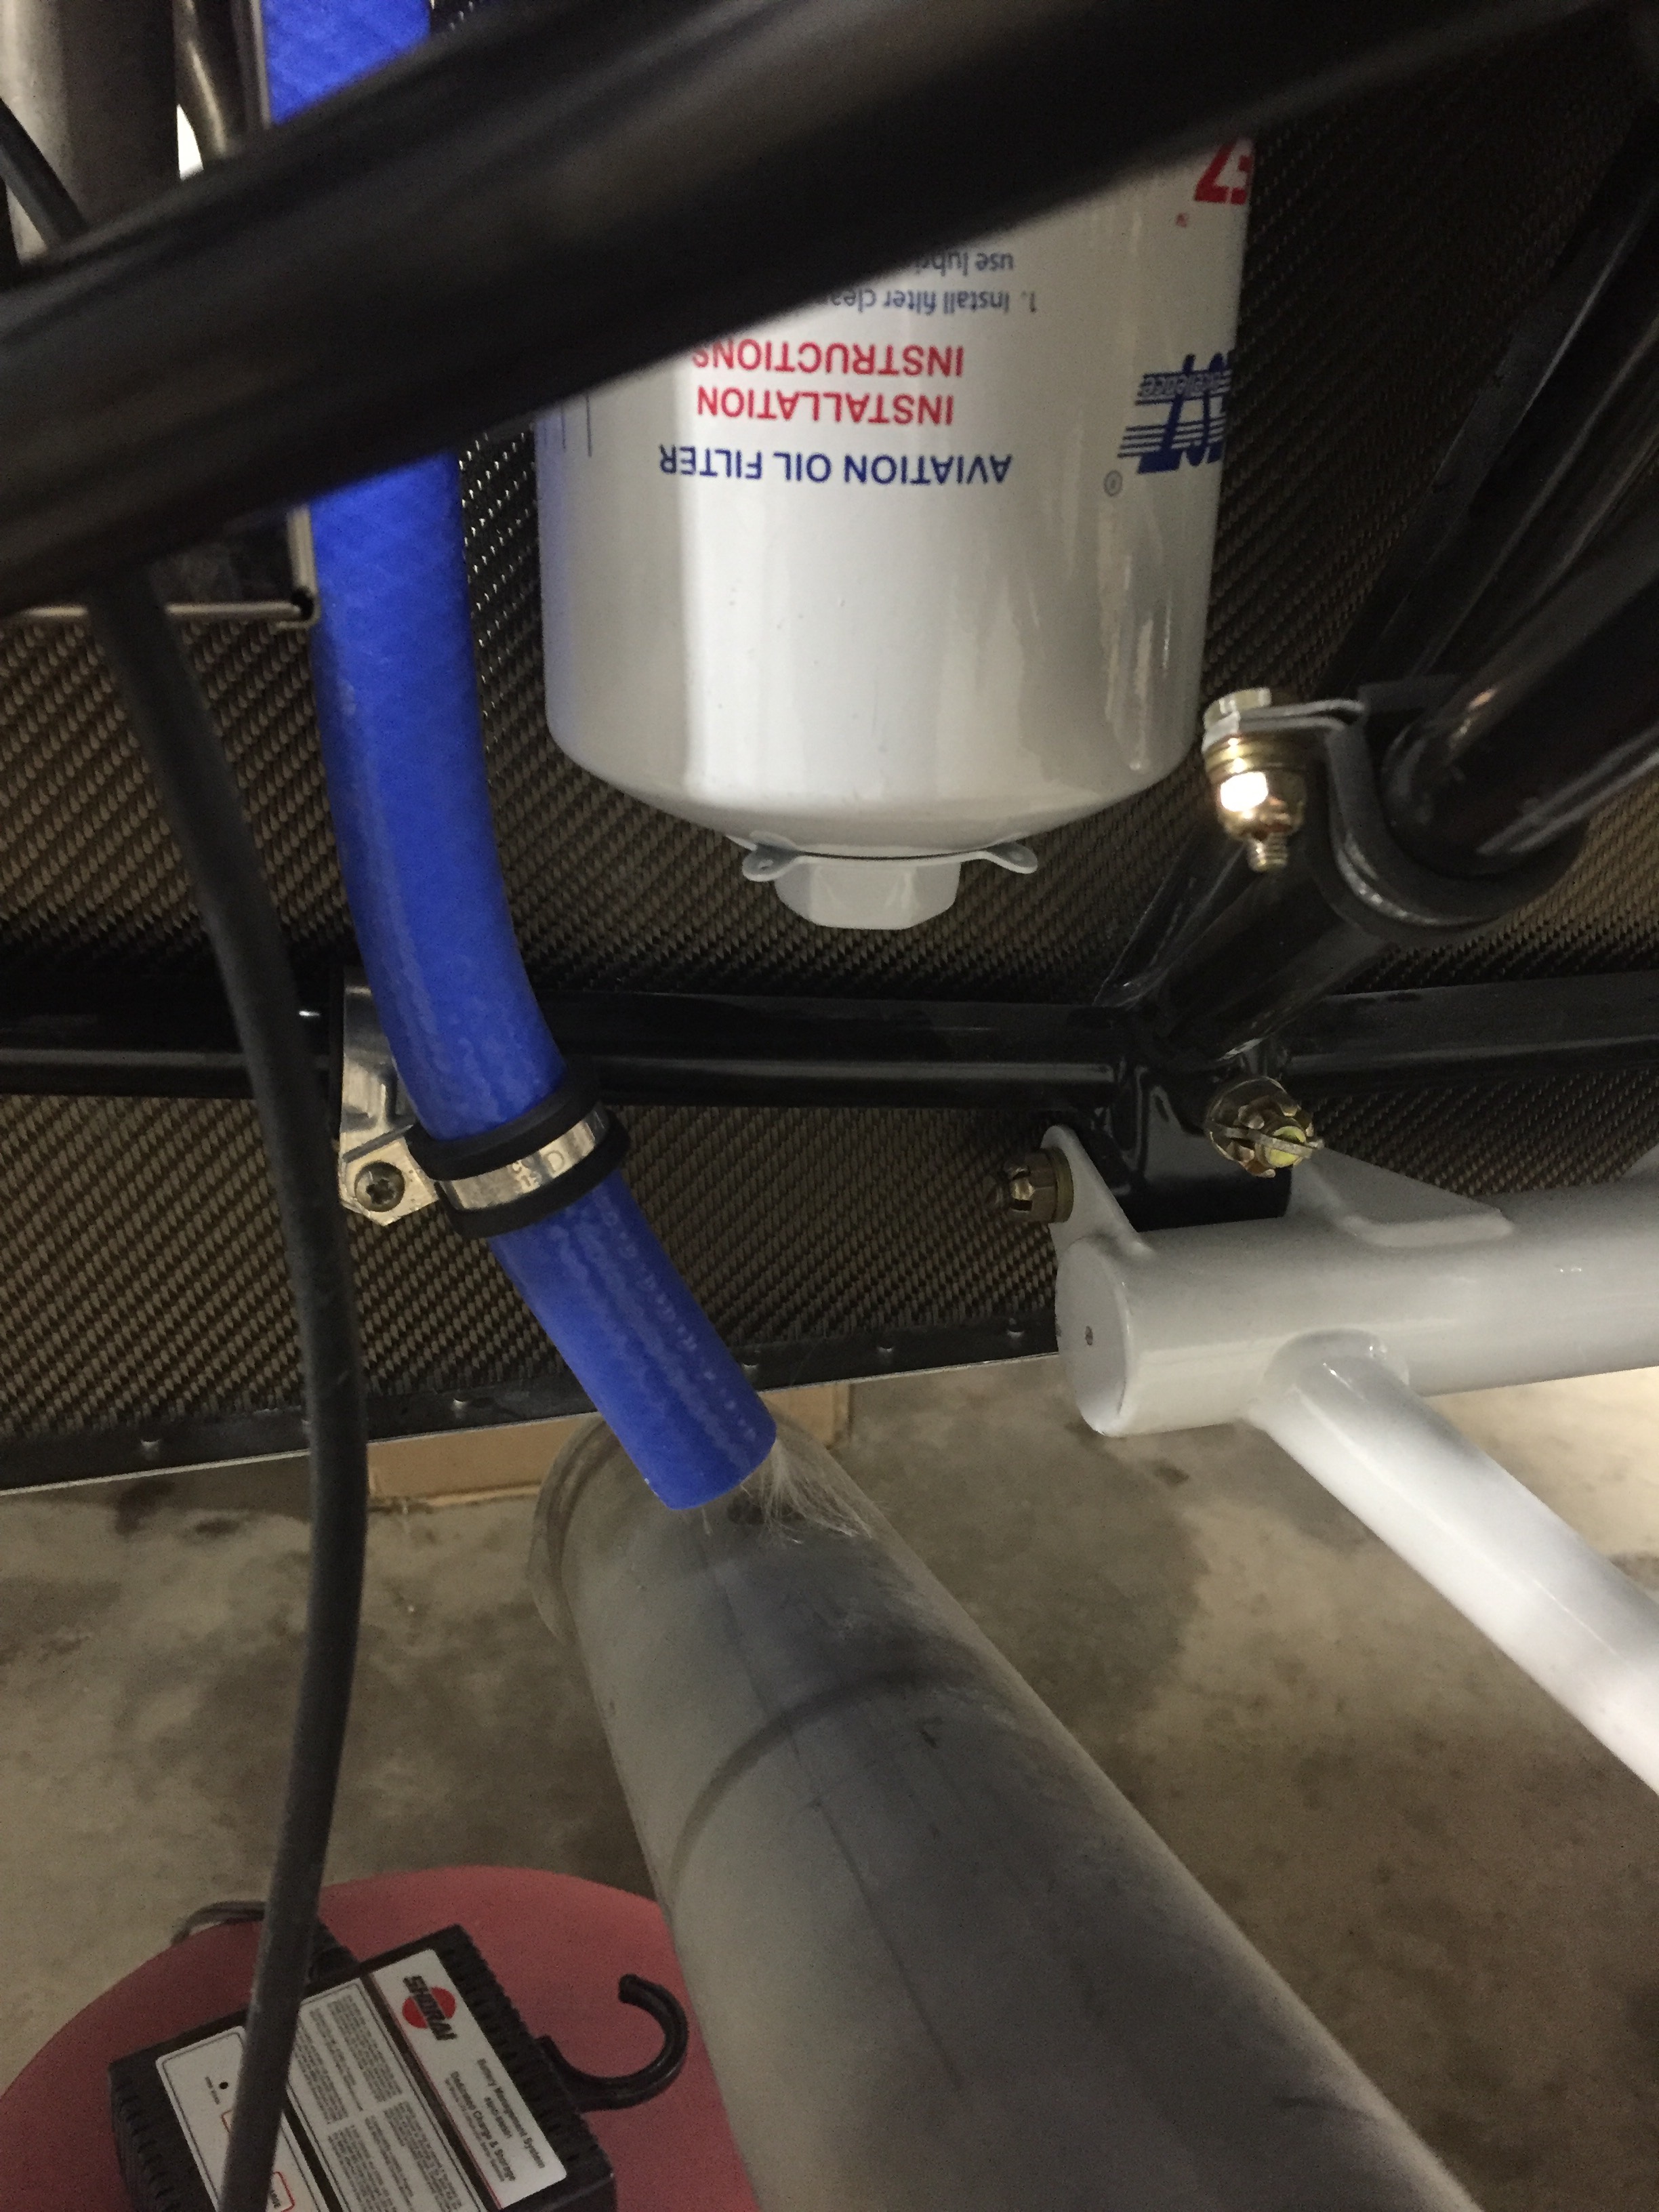
Before the wings go on, I finished up a few odd jobs since the parts came in from various suppliers.  I ordered enough hose to route from the air oil separator to the cowl exit and secured it in place.

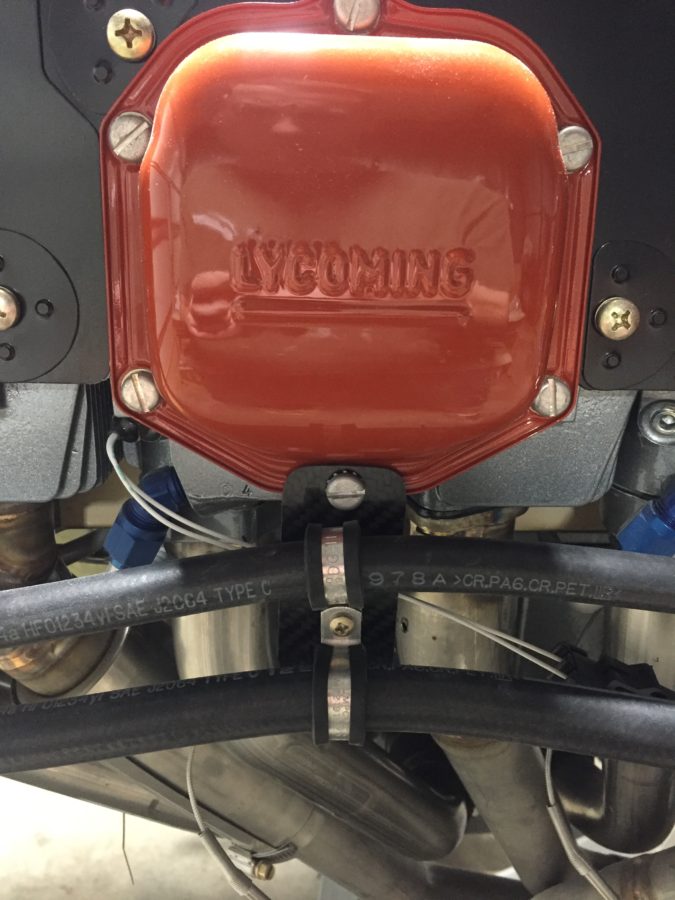
I also finished securing the air con hoses from the firewall to the compressor.  I made a bracket to hold hose clamps on the bottom of the valve cover and it keeps the hoses from flopping around the side of the engine.

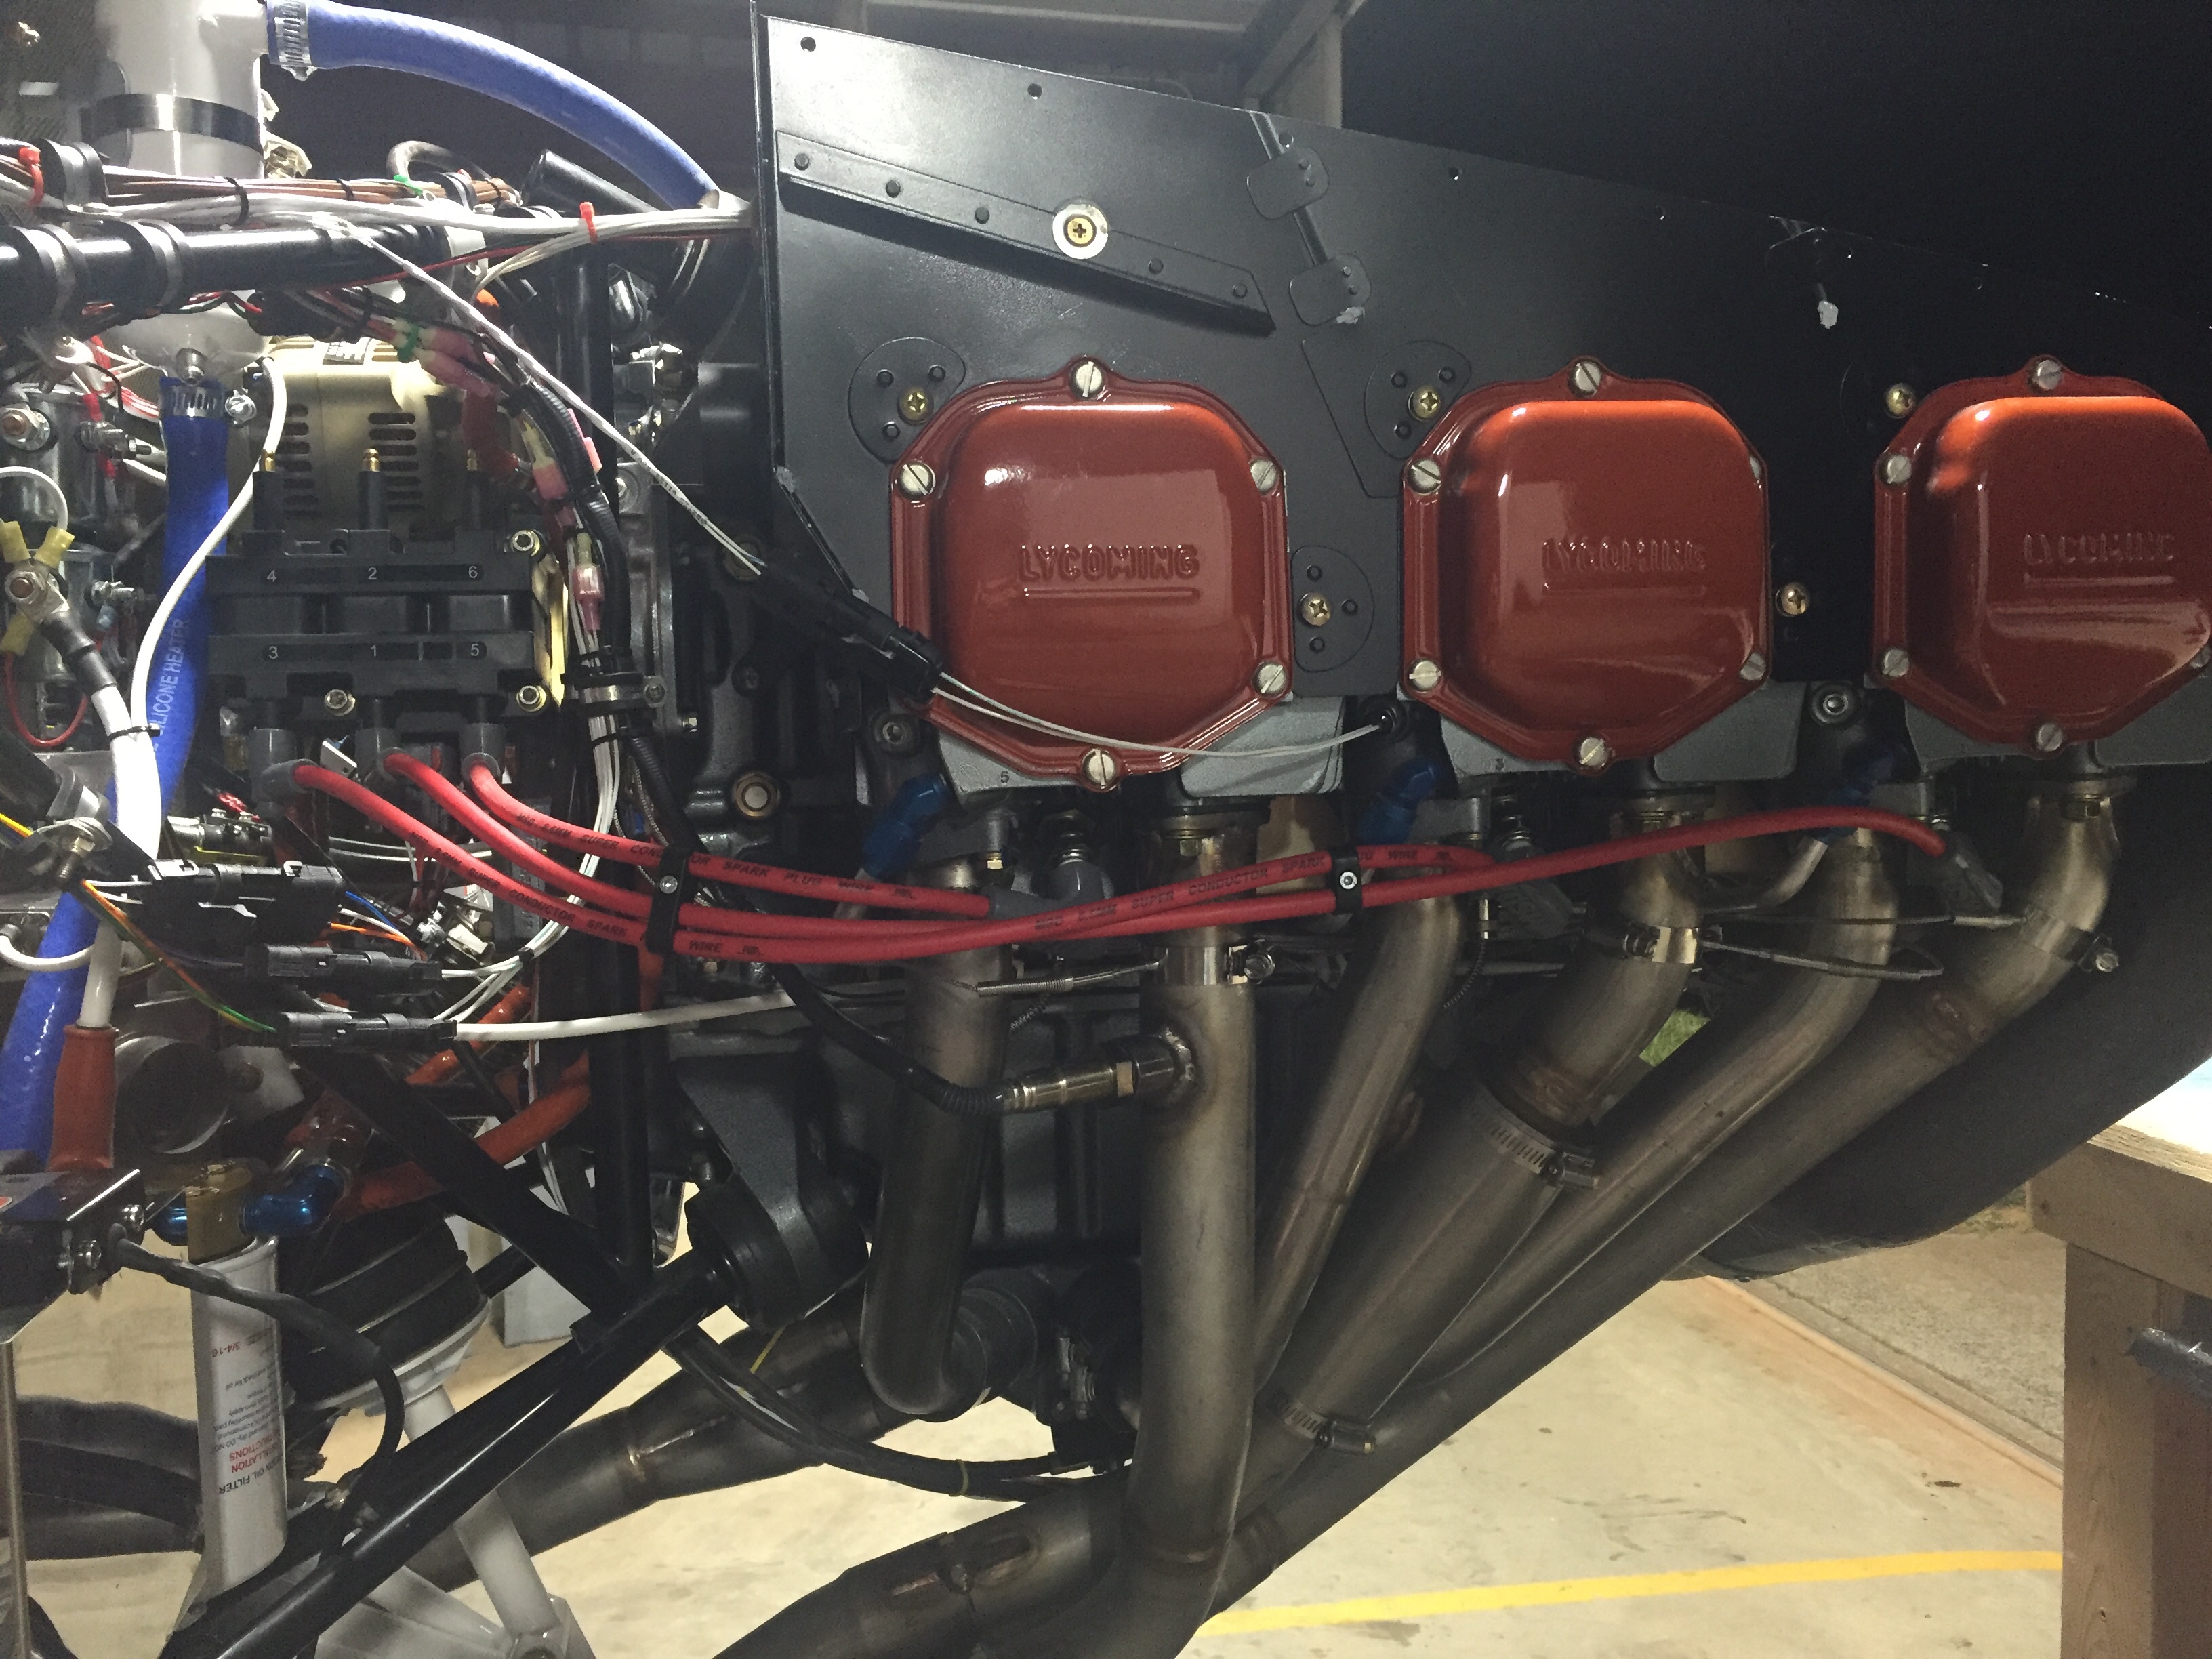
I also did something on the right side of the engine.  I don’t know what I did, but I took this picture which meant I did something over there.  I know I secured a few wires, added a ground from the engine to the mount (which I may have mentioned before, I don’t know), or maybe I just felt it looked pretty.  Either way, here’s the right side of the engine and the mass of wires; enjoy.

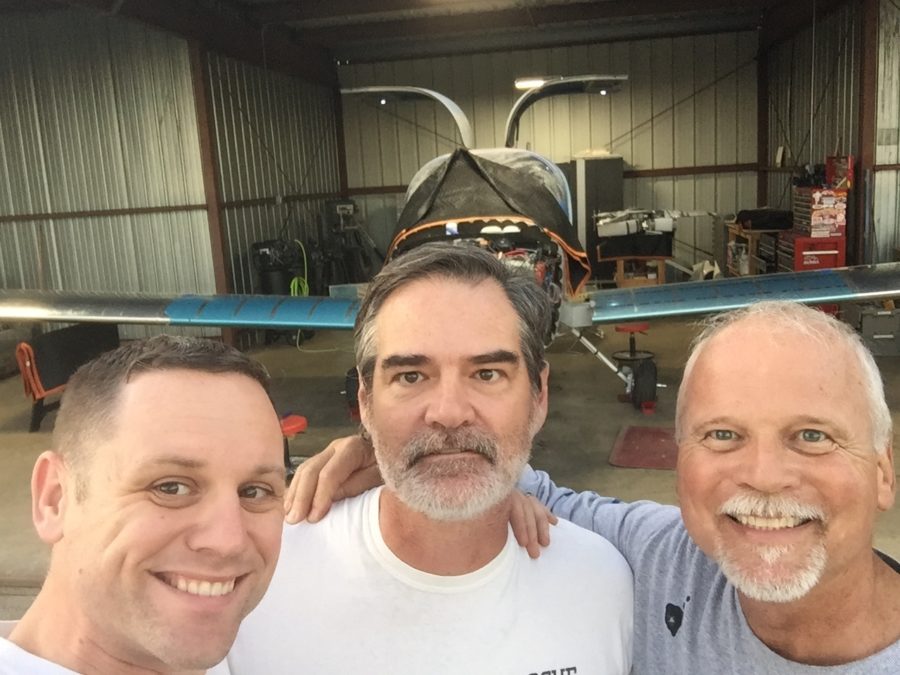
Tapping into my network of gulible aviators, I ropped two guys into helping me install the wings for the initial fit.  I must admit, I typically don’t read ahead more than a few steps in the plans so I was pretty dissapointed to find out the wings go on then have to come back off before getting bolted on for good.  It figures, though, you wind up doing everything twice on this airplane so why would the wings be any different?  We got a few sawhorses and a plan together and according to the time lapse video shown below, we installed the wings in about 27 seconds!

Really, they went on a lot easier and smoother than I expected.  I ordered new nuts for the wing attach bolts but will reuse the original bolts used during construction of the fuselage.  I did get the suggested hardware store bolts to align the wings initially and they worked very well.  I also felt better seeing the good fit between spar components, as I had a scary moment a few years ago when I realized my spacers weren’t the proper combination even though the dimensions worked out in the end.  Either way, everything fit snug and as it should, so all is good.  Great job Steve, smile for the camera.  Or not.

It’s pretty bad ass to see wings on the plane after 6 years of telling everyone you’re building a plane but it actually looks like an enclosed canoe.  So I decided to have a bit of fun and hook up the ZipTip lights.  Combined with the gull door lights, it looks like a space ship!

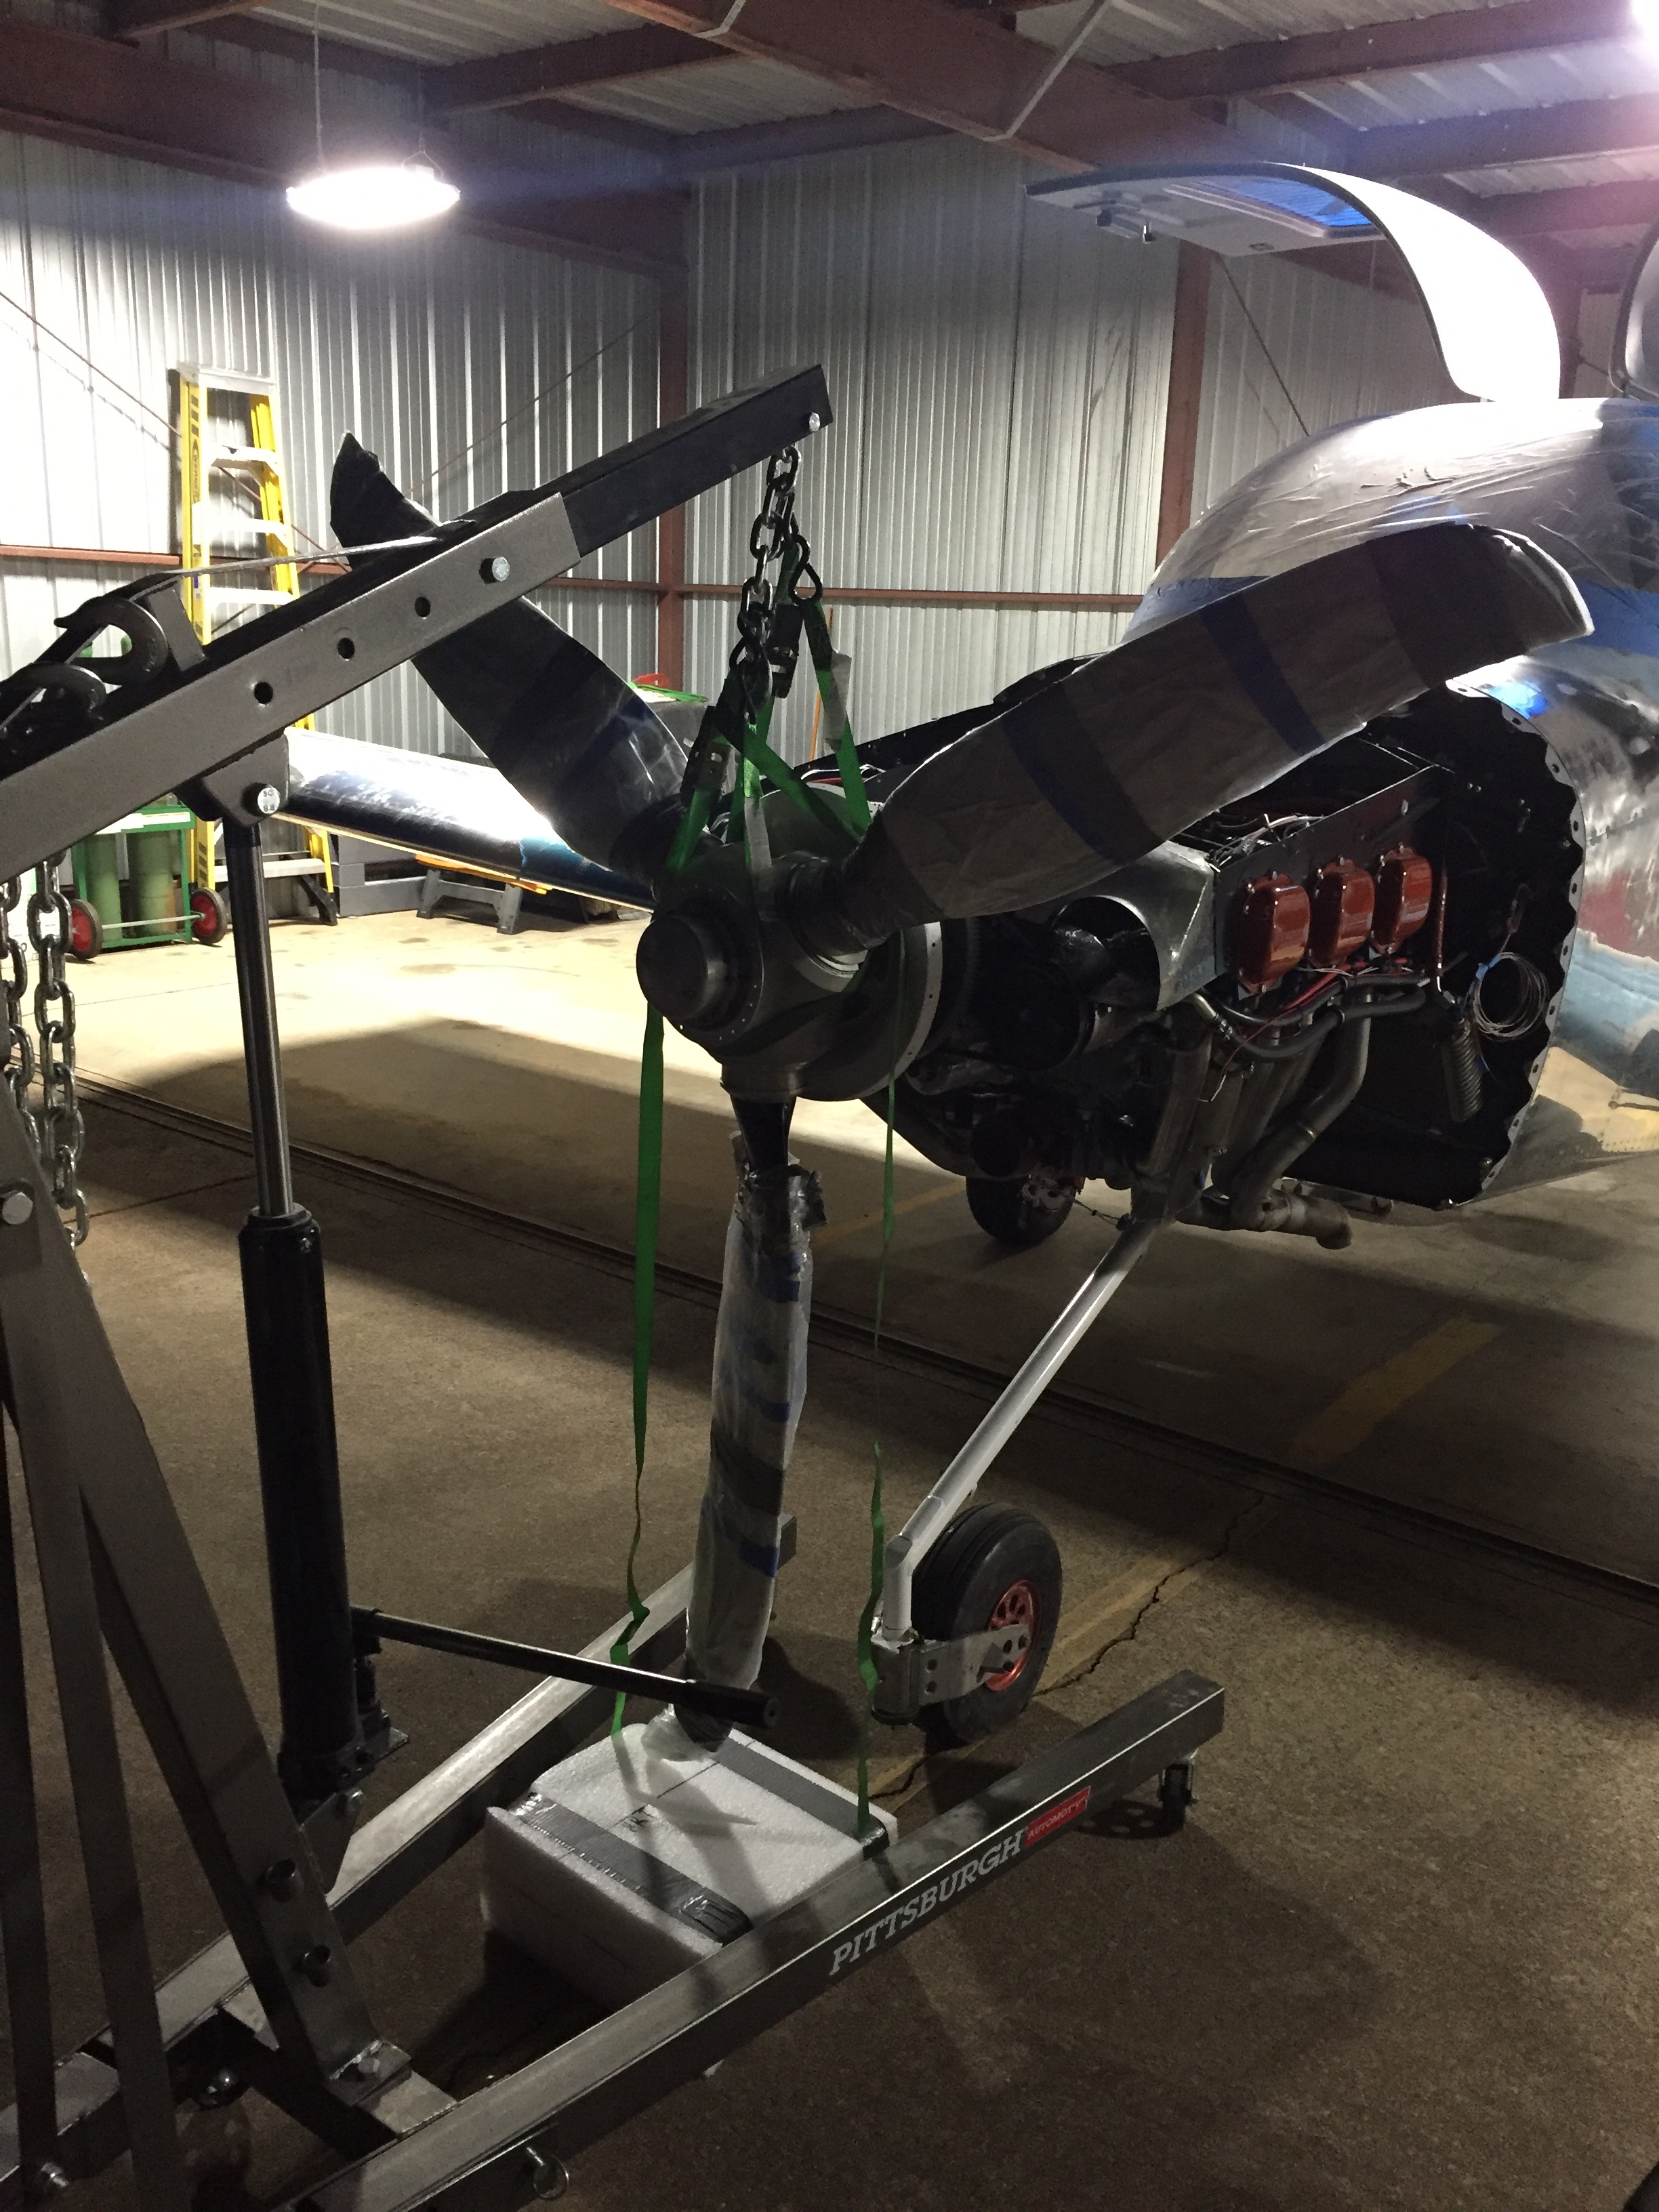
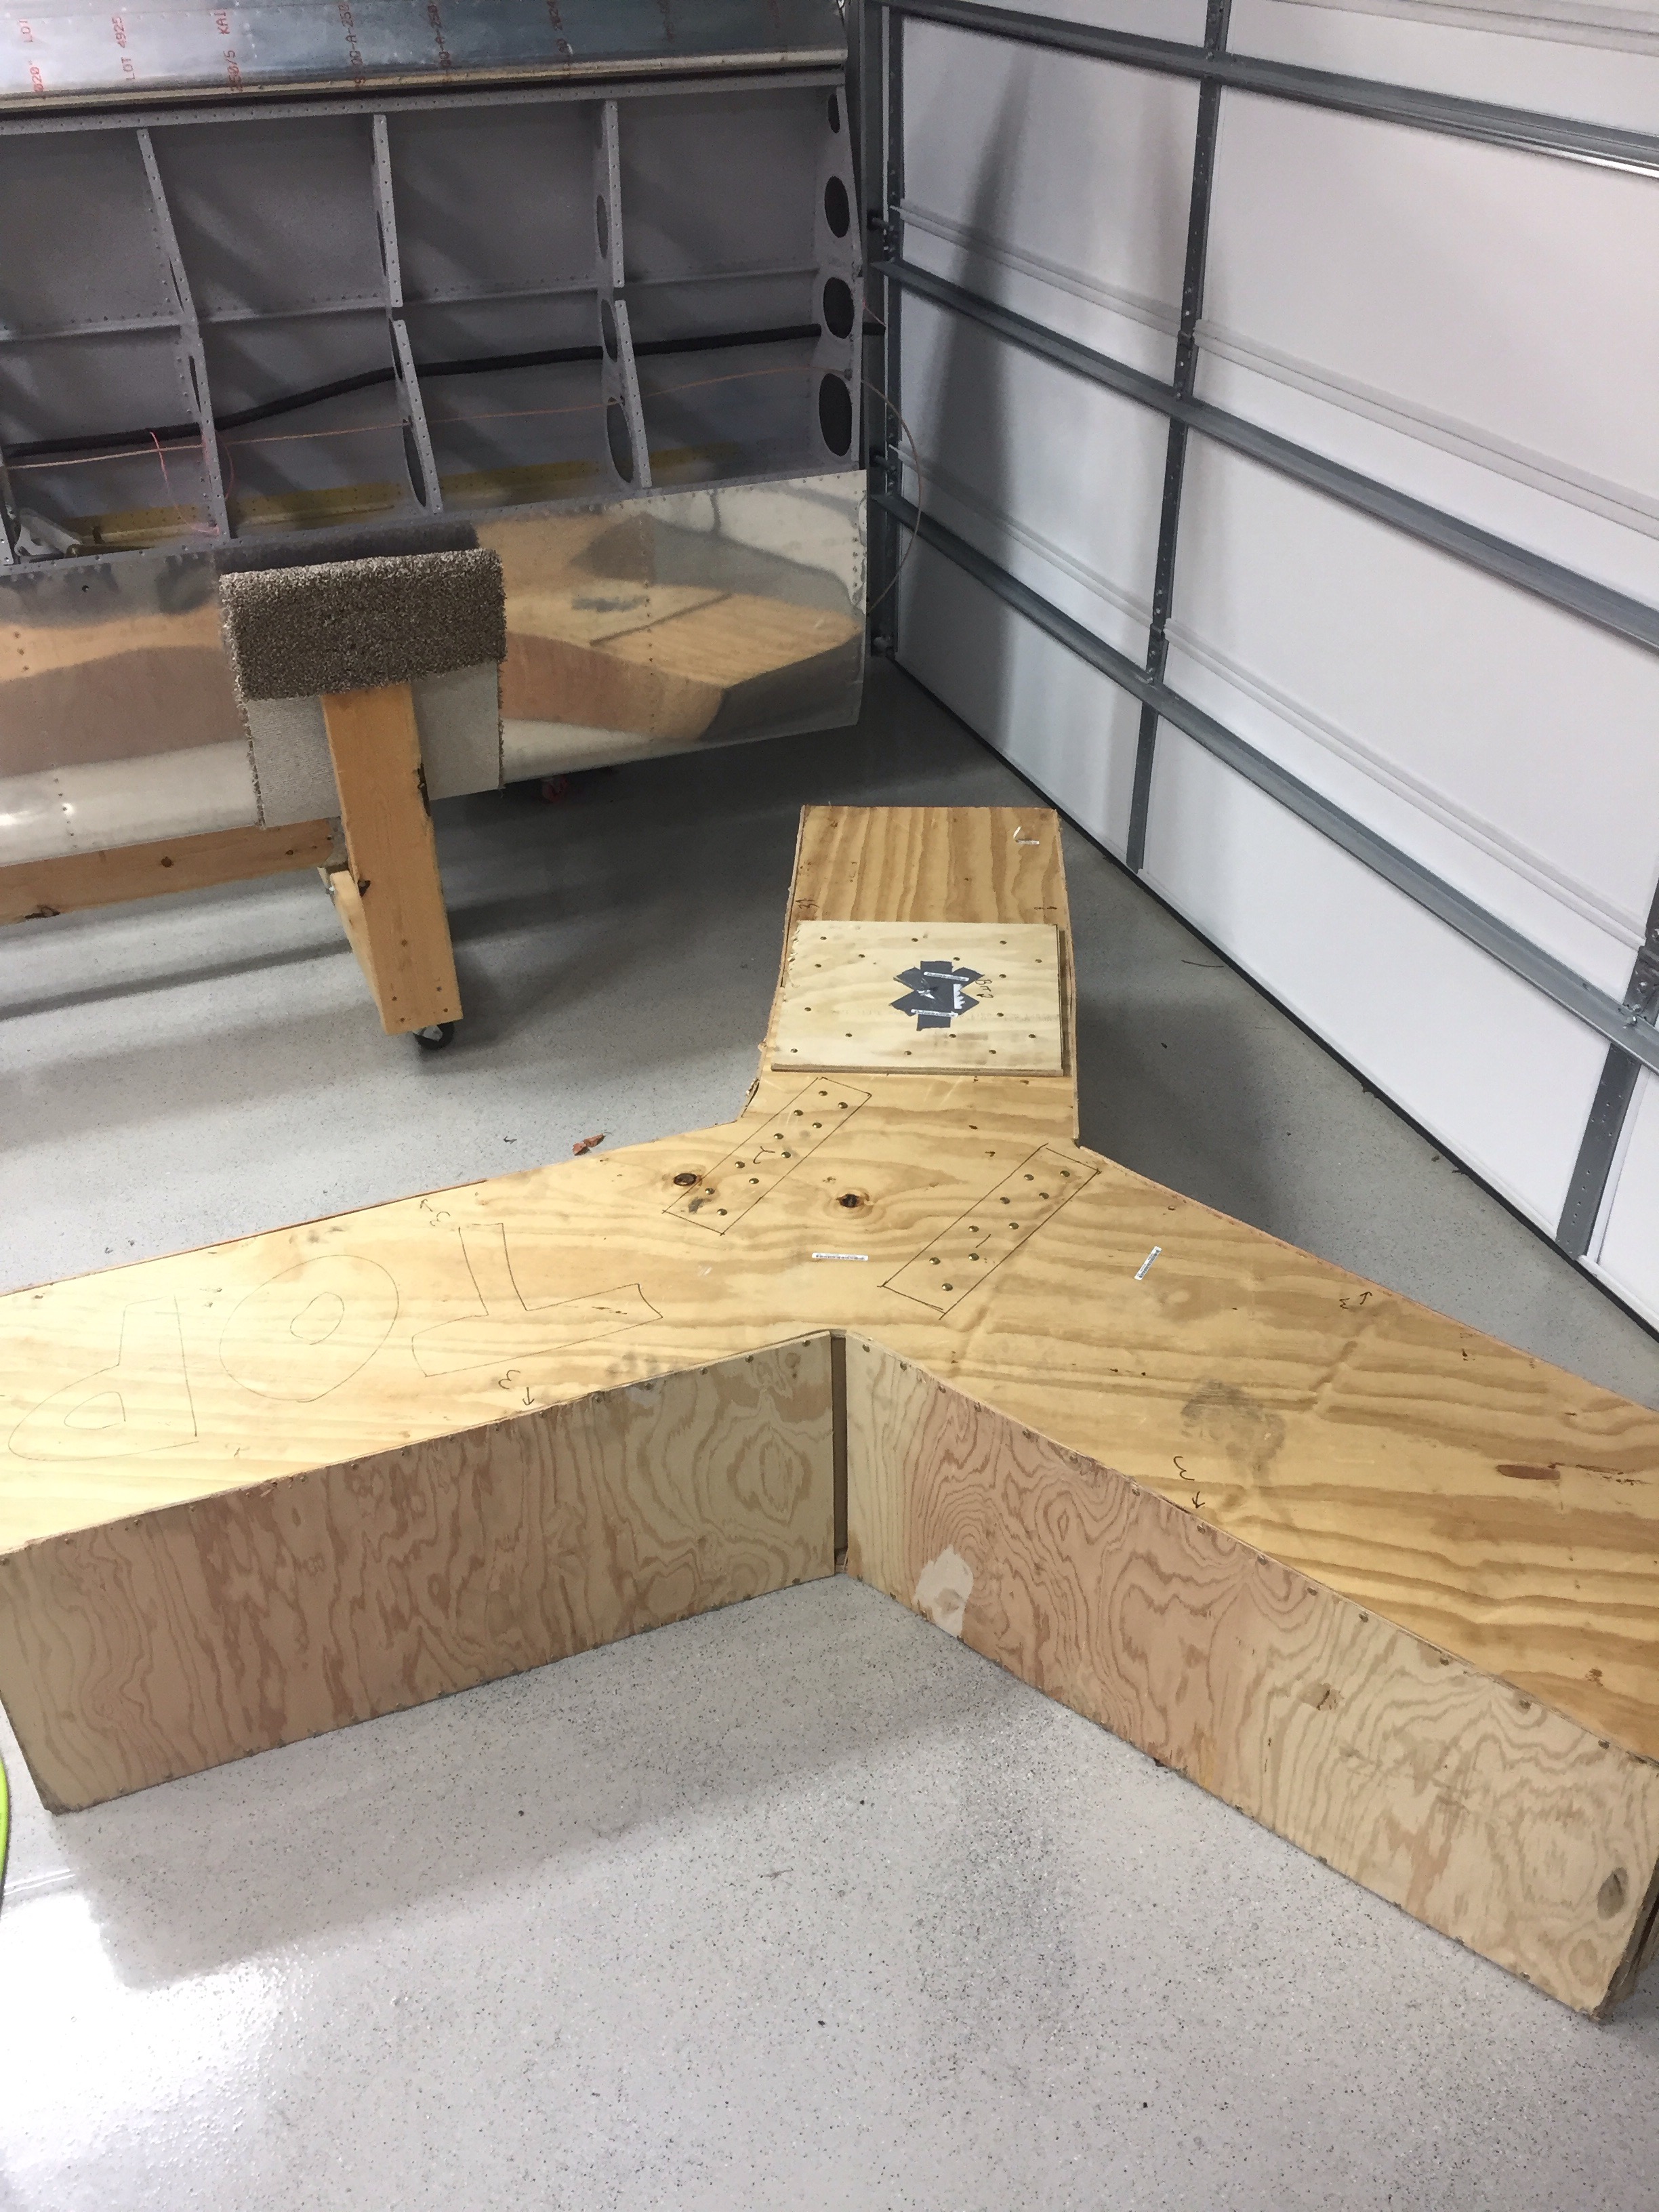
The evening was getting late, but the big triangle box was too tempting for me so I pressed on with hanging the prop.  Following the manual, I inspected and oiled the critical o-ring on the hub and ensured no damage as it slid on the prop flange.  Again the engine hoist came in handy as I secured the prop to the hoist and used it to lift in place without asking for a third back surgery.

The bolts for the propeller are rediculously stupid and hard to get to.  Once I got each one threaded, a challenge in itself, they can each be turned about one revolution at a time before all the others have to be tightened in sequence.  There just isn’t much room and you want the prop to go on evenly.  An hour later, I had the bolts hand tight and the prop was on.

I realized quickly by my goose bumps and those on the propeller blades that it was chilly, so I went and got some socks for her.  David makes these as a business (search BladeSox on Facebook) and they are just the bee’s knees.  I don’t care if they make me a super dork.  I had him do the tail number, Van’s new logo, and the best – our RV10 logo created by Sam at Plane Schemers.

It’s really starting to look like a plane now!

In other news…

Several months ago I made the difficult, but wise, decision to sell my propeller.  As beautiful as it looks hanging on the shop wall, I only purchased it because it was the exact prop I wanted and I got it at a good price.  The reality was it is due for an overhaul years before it ever turns on an engine and I could reallocate the funds better right now.  Comforting my decision was the fact I can purchase another prop, same design down to the paint, at any time.  It wasn’t something I had invested time or personalization in.  I’m happy that it will be on a finished project much sooner than I could have achieved and I didn’t lose any money on the whole thing.

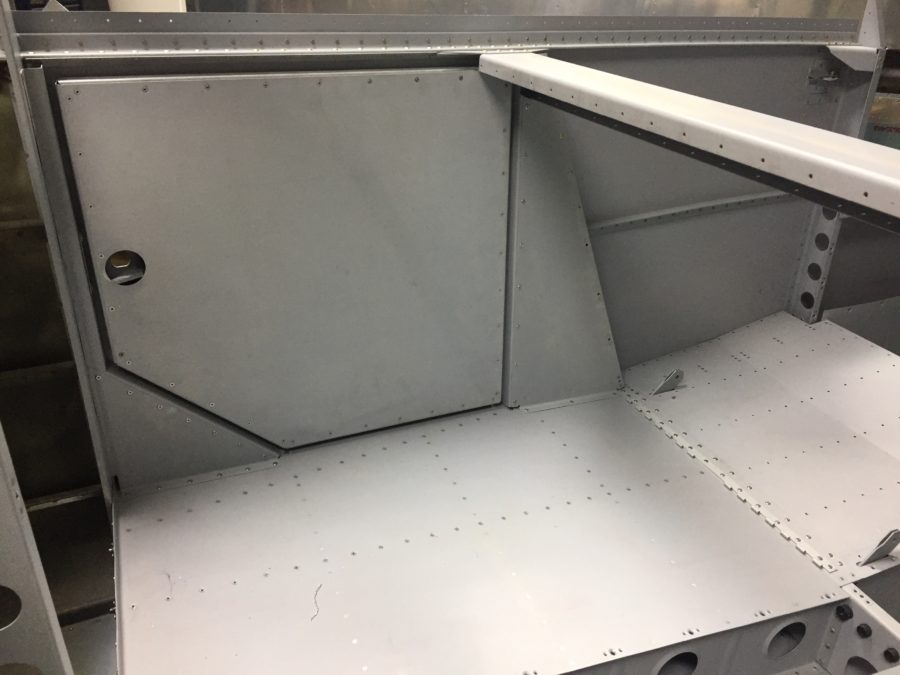
On the project, I tackled the baggage door with relative ease, finishing it up in just a few evenings’ work.  It was an easy project and one that really gives a sense of accomplishment.  Several things to note, however, are to pay close attention to the hinge pin position and deciding if you want the door removable.  I purposefully positioned the hinge inboard to keep the protrusion subtle but in doing so, made it where the pin is not removable (or easily installed).  I realized this too late and had already drilled the holes.  Ed Krantz made his pins removable like the rear seat backs, but I decided that I just don’t have the need to remove the door and can live with the results.  I was luckily able to keep the hinge halves together and riveted to the door while slipping the whole assembly into the fuselage.  It turned out well and the door skin only needed a minor amount of finessing to lie flush with the fuse surround and produces a nice even gap all around.

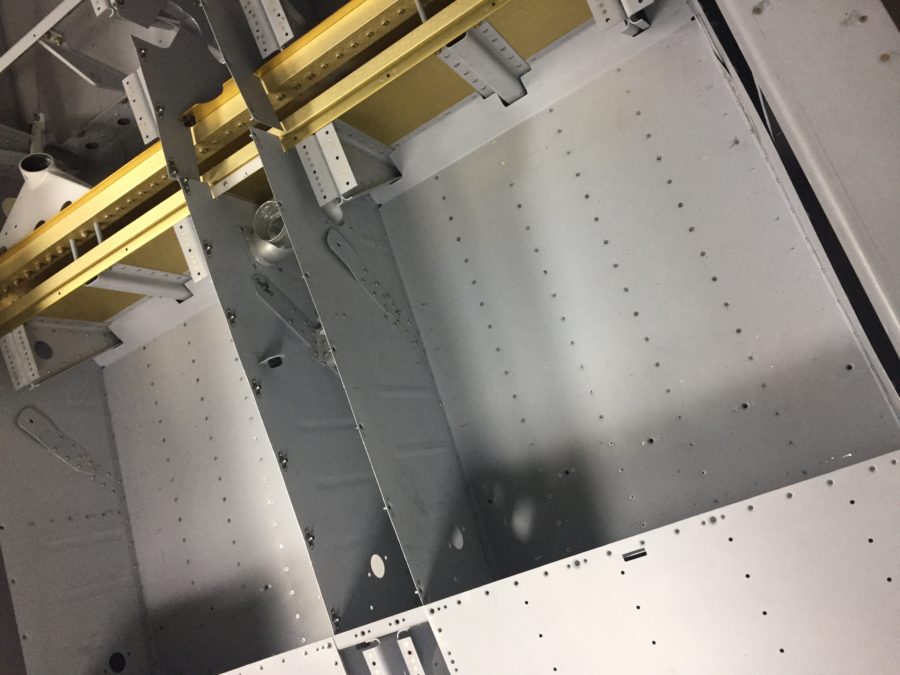
Next up are the rear floor panels that fit very tightly.  When the plans say to put the manufactured head of the rivet on a certain side, they say it for a reason.  I had to wrestle the panels over two shop heads that would have been easier had I paid attention.  Van’s pays the builder to always think a few steps ahead and friendly reminds you if you don’t!  One change on the rear floor panels I made was to replace the AN470 rivets around the perimeter with LP4-3 rivets.  Bucking the AN470s was going to be a real pain and no doubt lead to issues with drilling a few out.  The front panels are all blind rivets, so I don’t think I’m breaking too many rules with this substitution.

We’ll just prop it up a bit

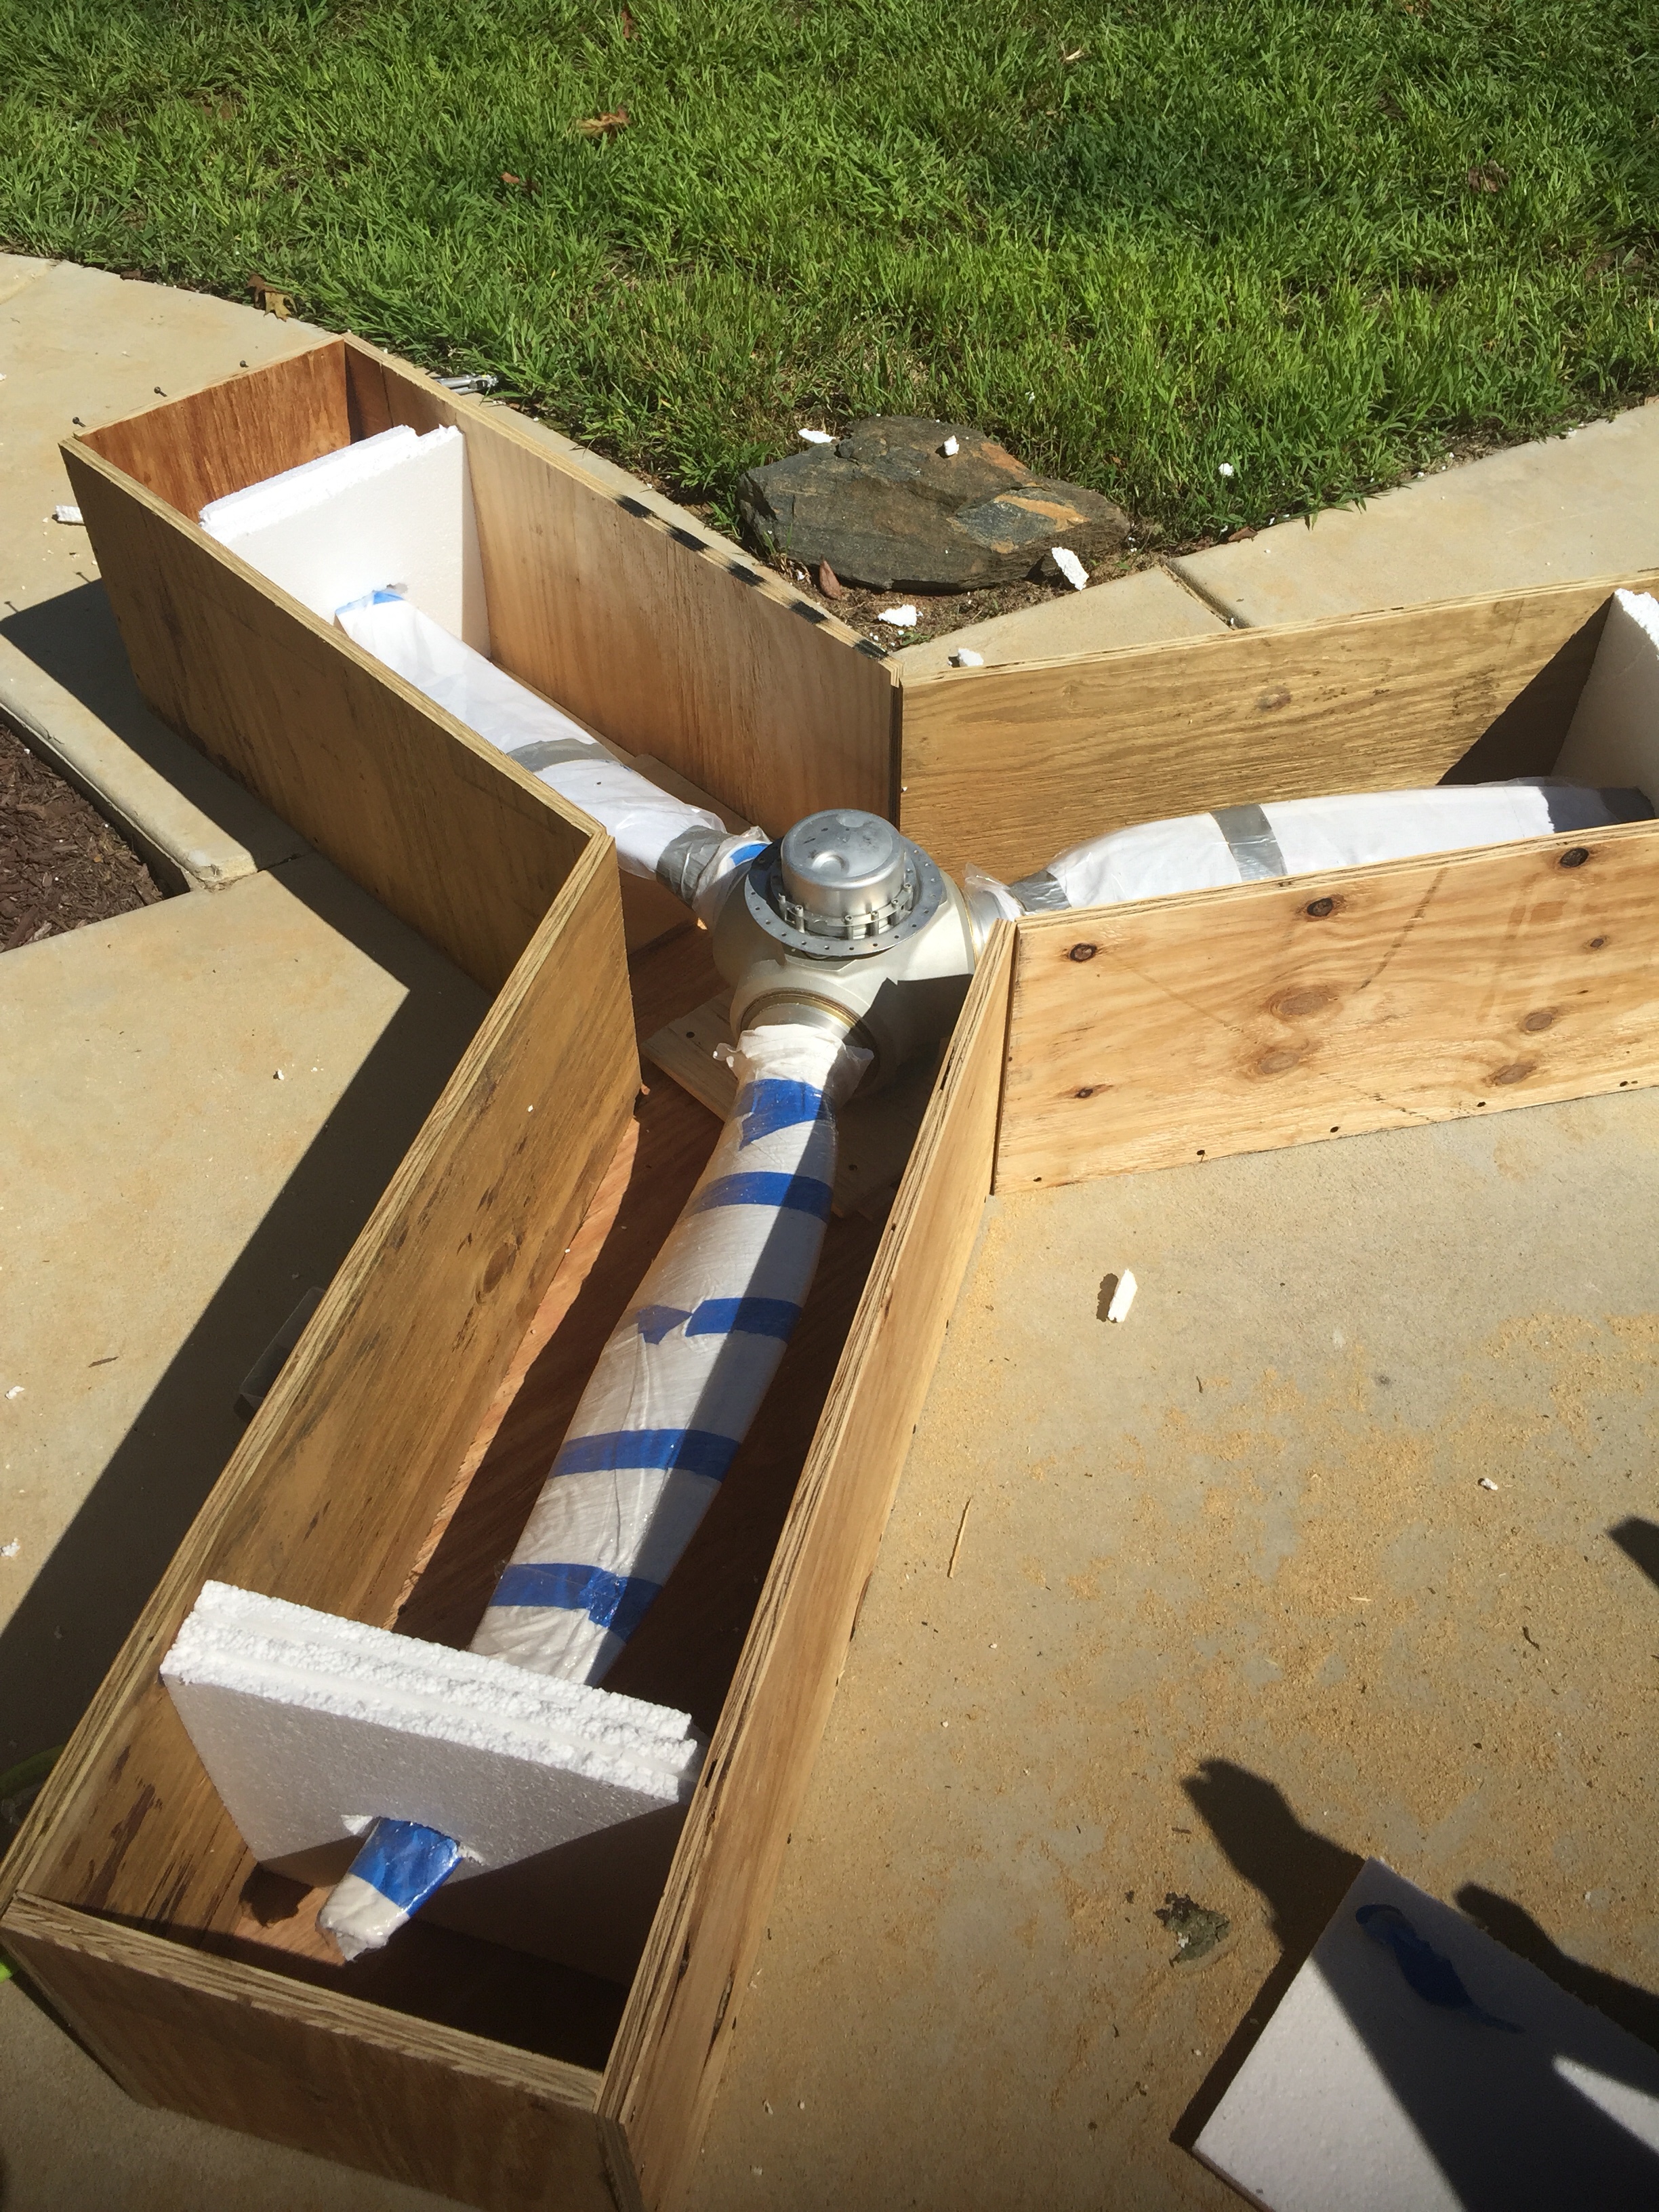
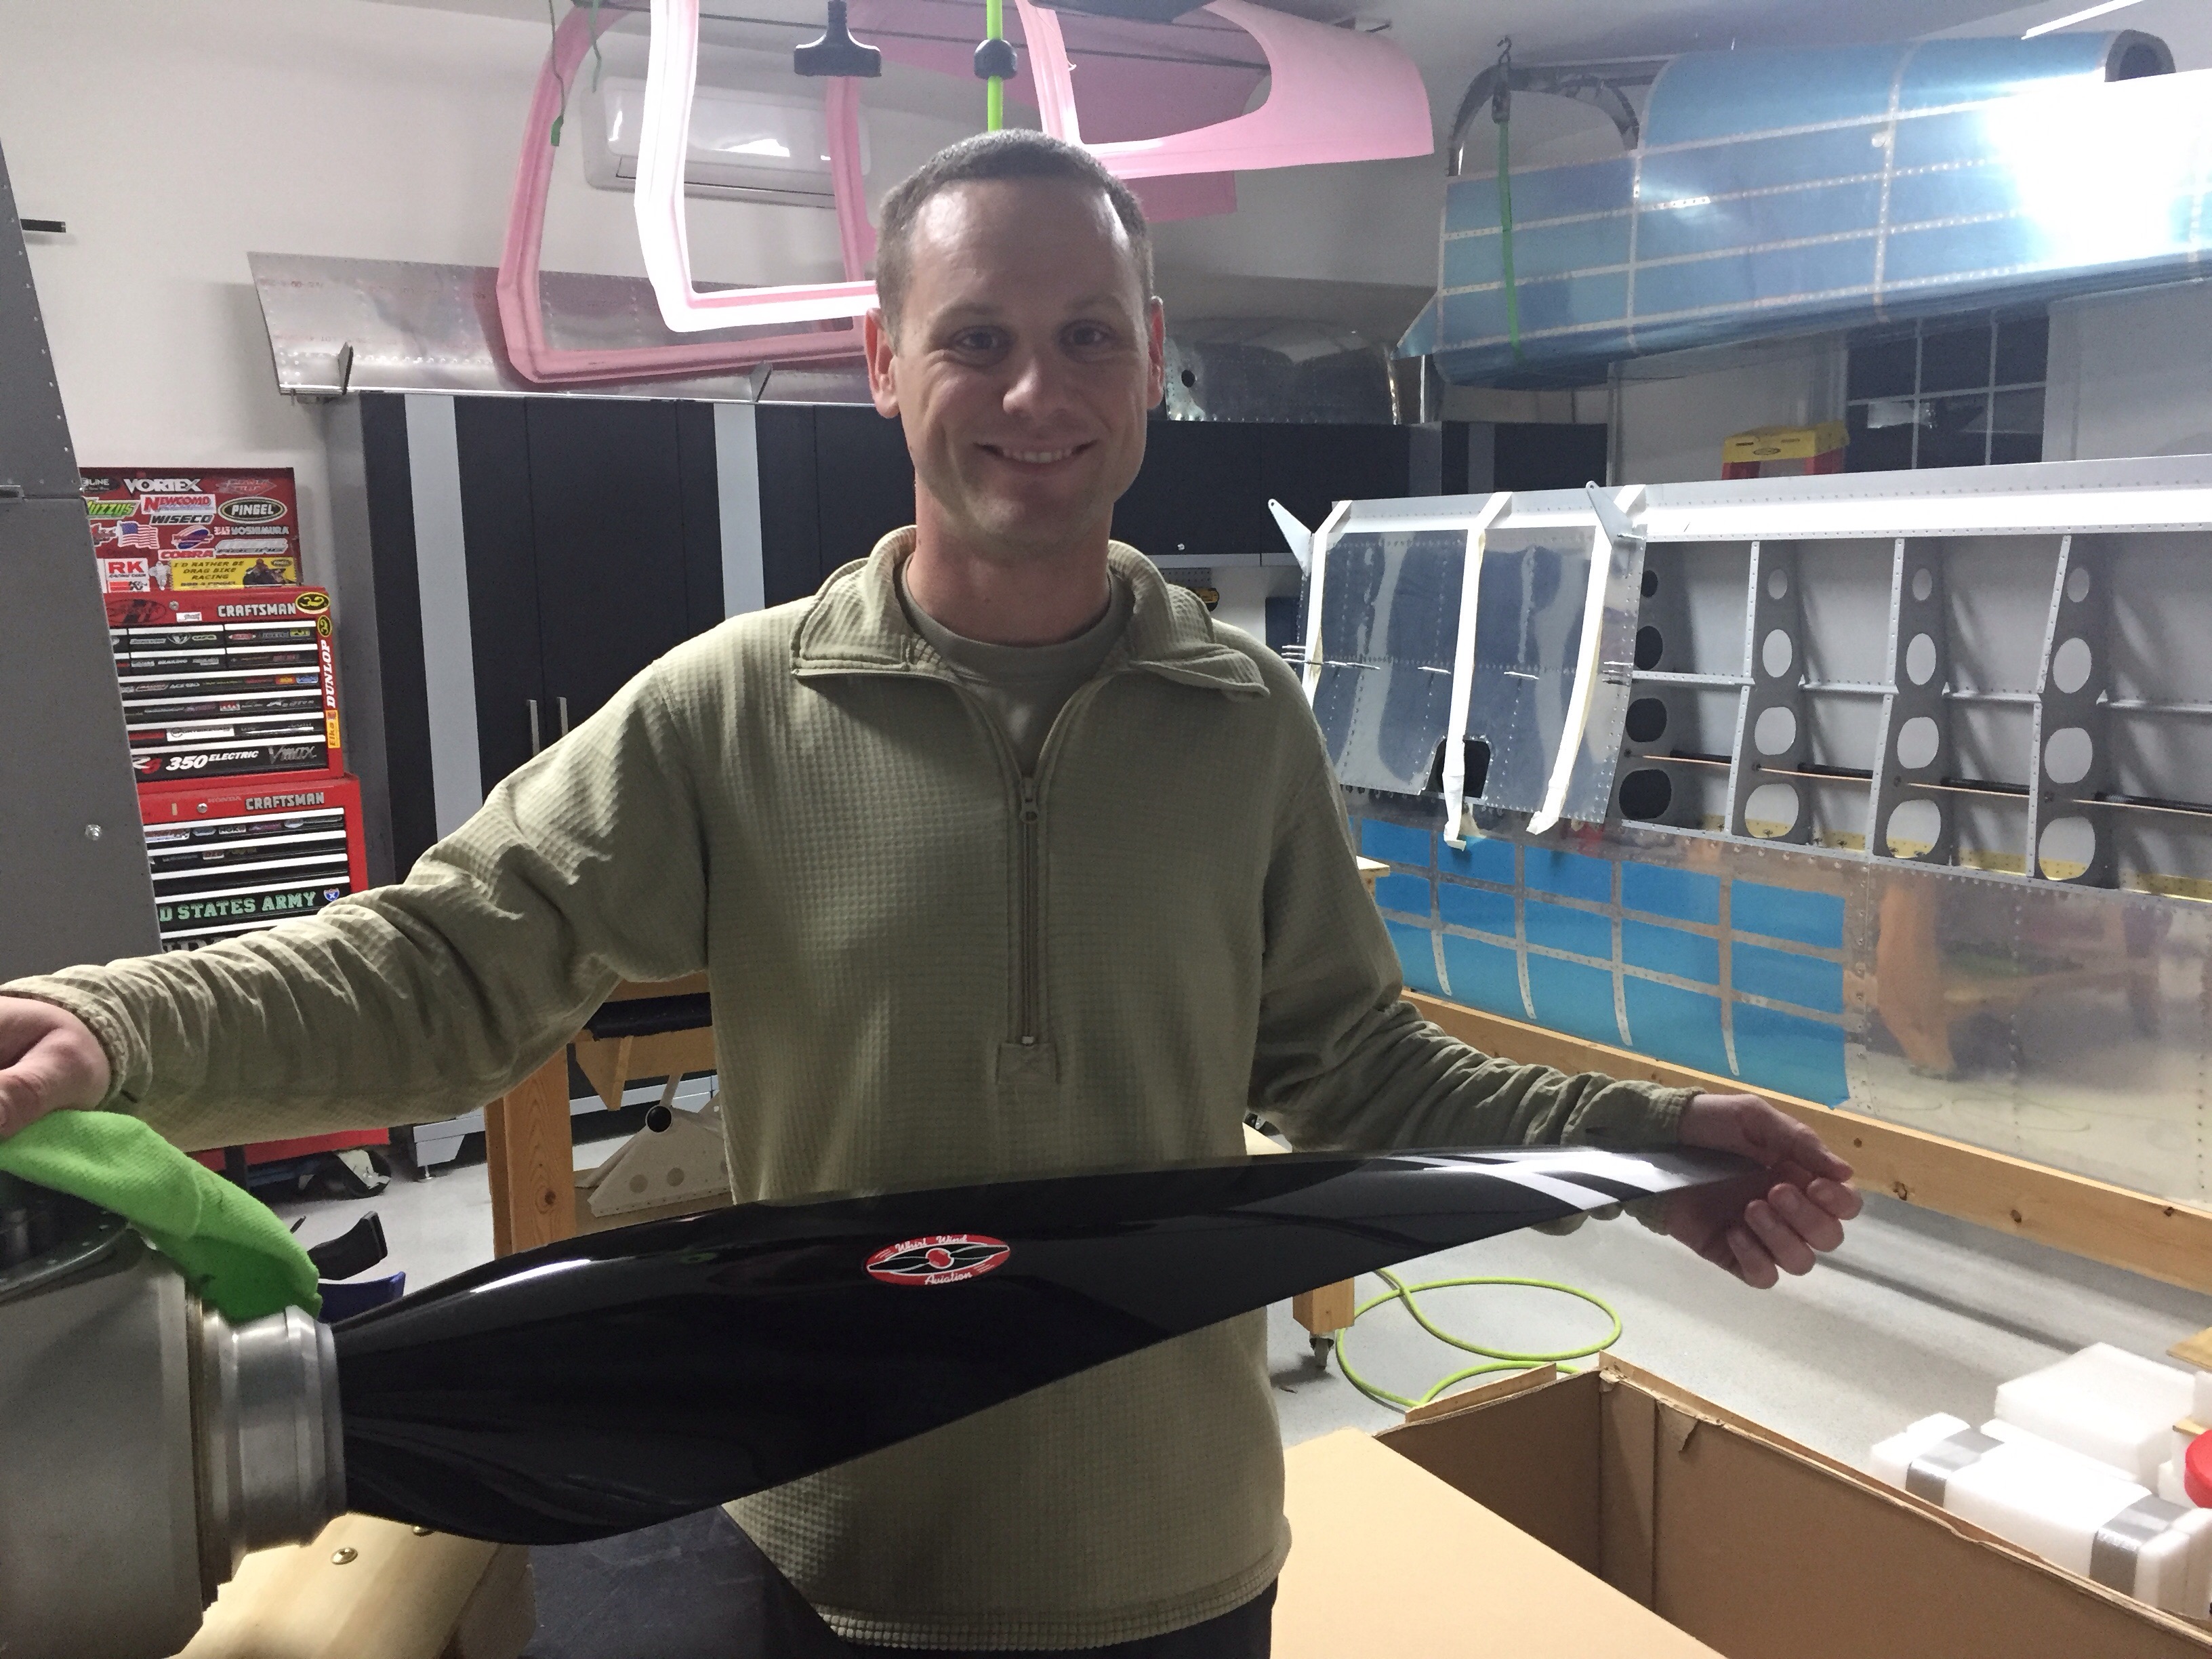
I’m always on the lookout for a good deal on anything that I can use for the project.  I’ll confess this is the best deal that I have or probably will ever come across.  VAF has proven to be a great resource for deals like this.  I happened to see an ad for a Whirlwind Aviation propeller.  I thought it would be too good to be true, but was surprised when I saw a 375RV prop for sale.  Brand new, still in the crate from WW, and listed a good amount below retail.  I immediately reached out to Chris, who had it for sale after buying a RV-8 project and needing a two blade prop.  He proved to be a great guy to work with and we quickly came to a agreement on price and shipping.  I was able to save a significant amount of money that will pay for over half of the interior.

I also spoke with Tanya at WW quite a bit, to make sure warranty will transfer, storage, and a few other questions.  She was fantastic to work with and extremely helpful.  If the long term support from WW is anywhere near my experience thus far, I’m confident I’ll never have an issue with them.  She even set me up with her shipping company and I was able to ship it from CA to NC for a fraction of what it would have cost walking up to FedEx or UPS Freight.


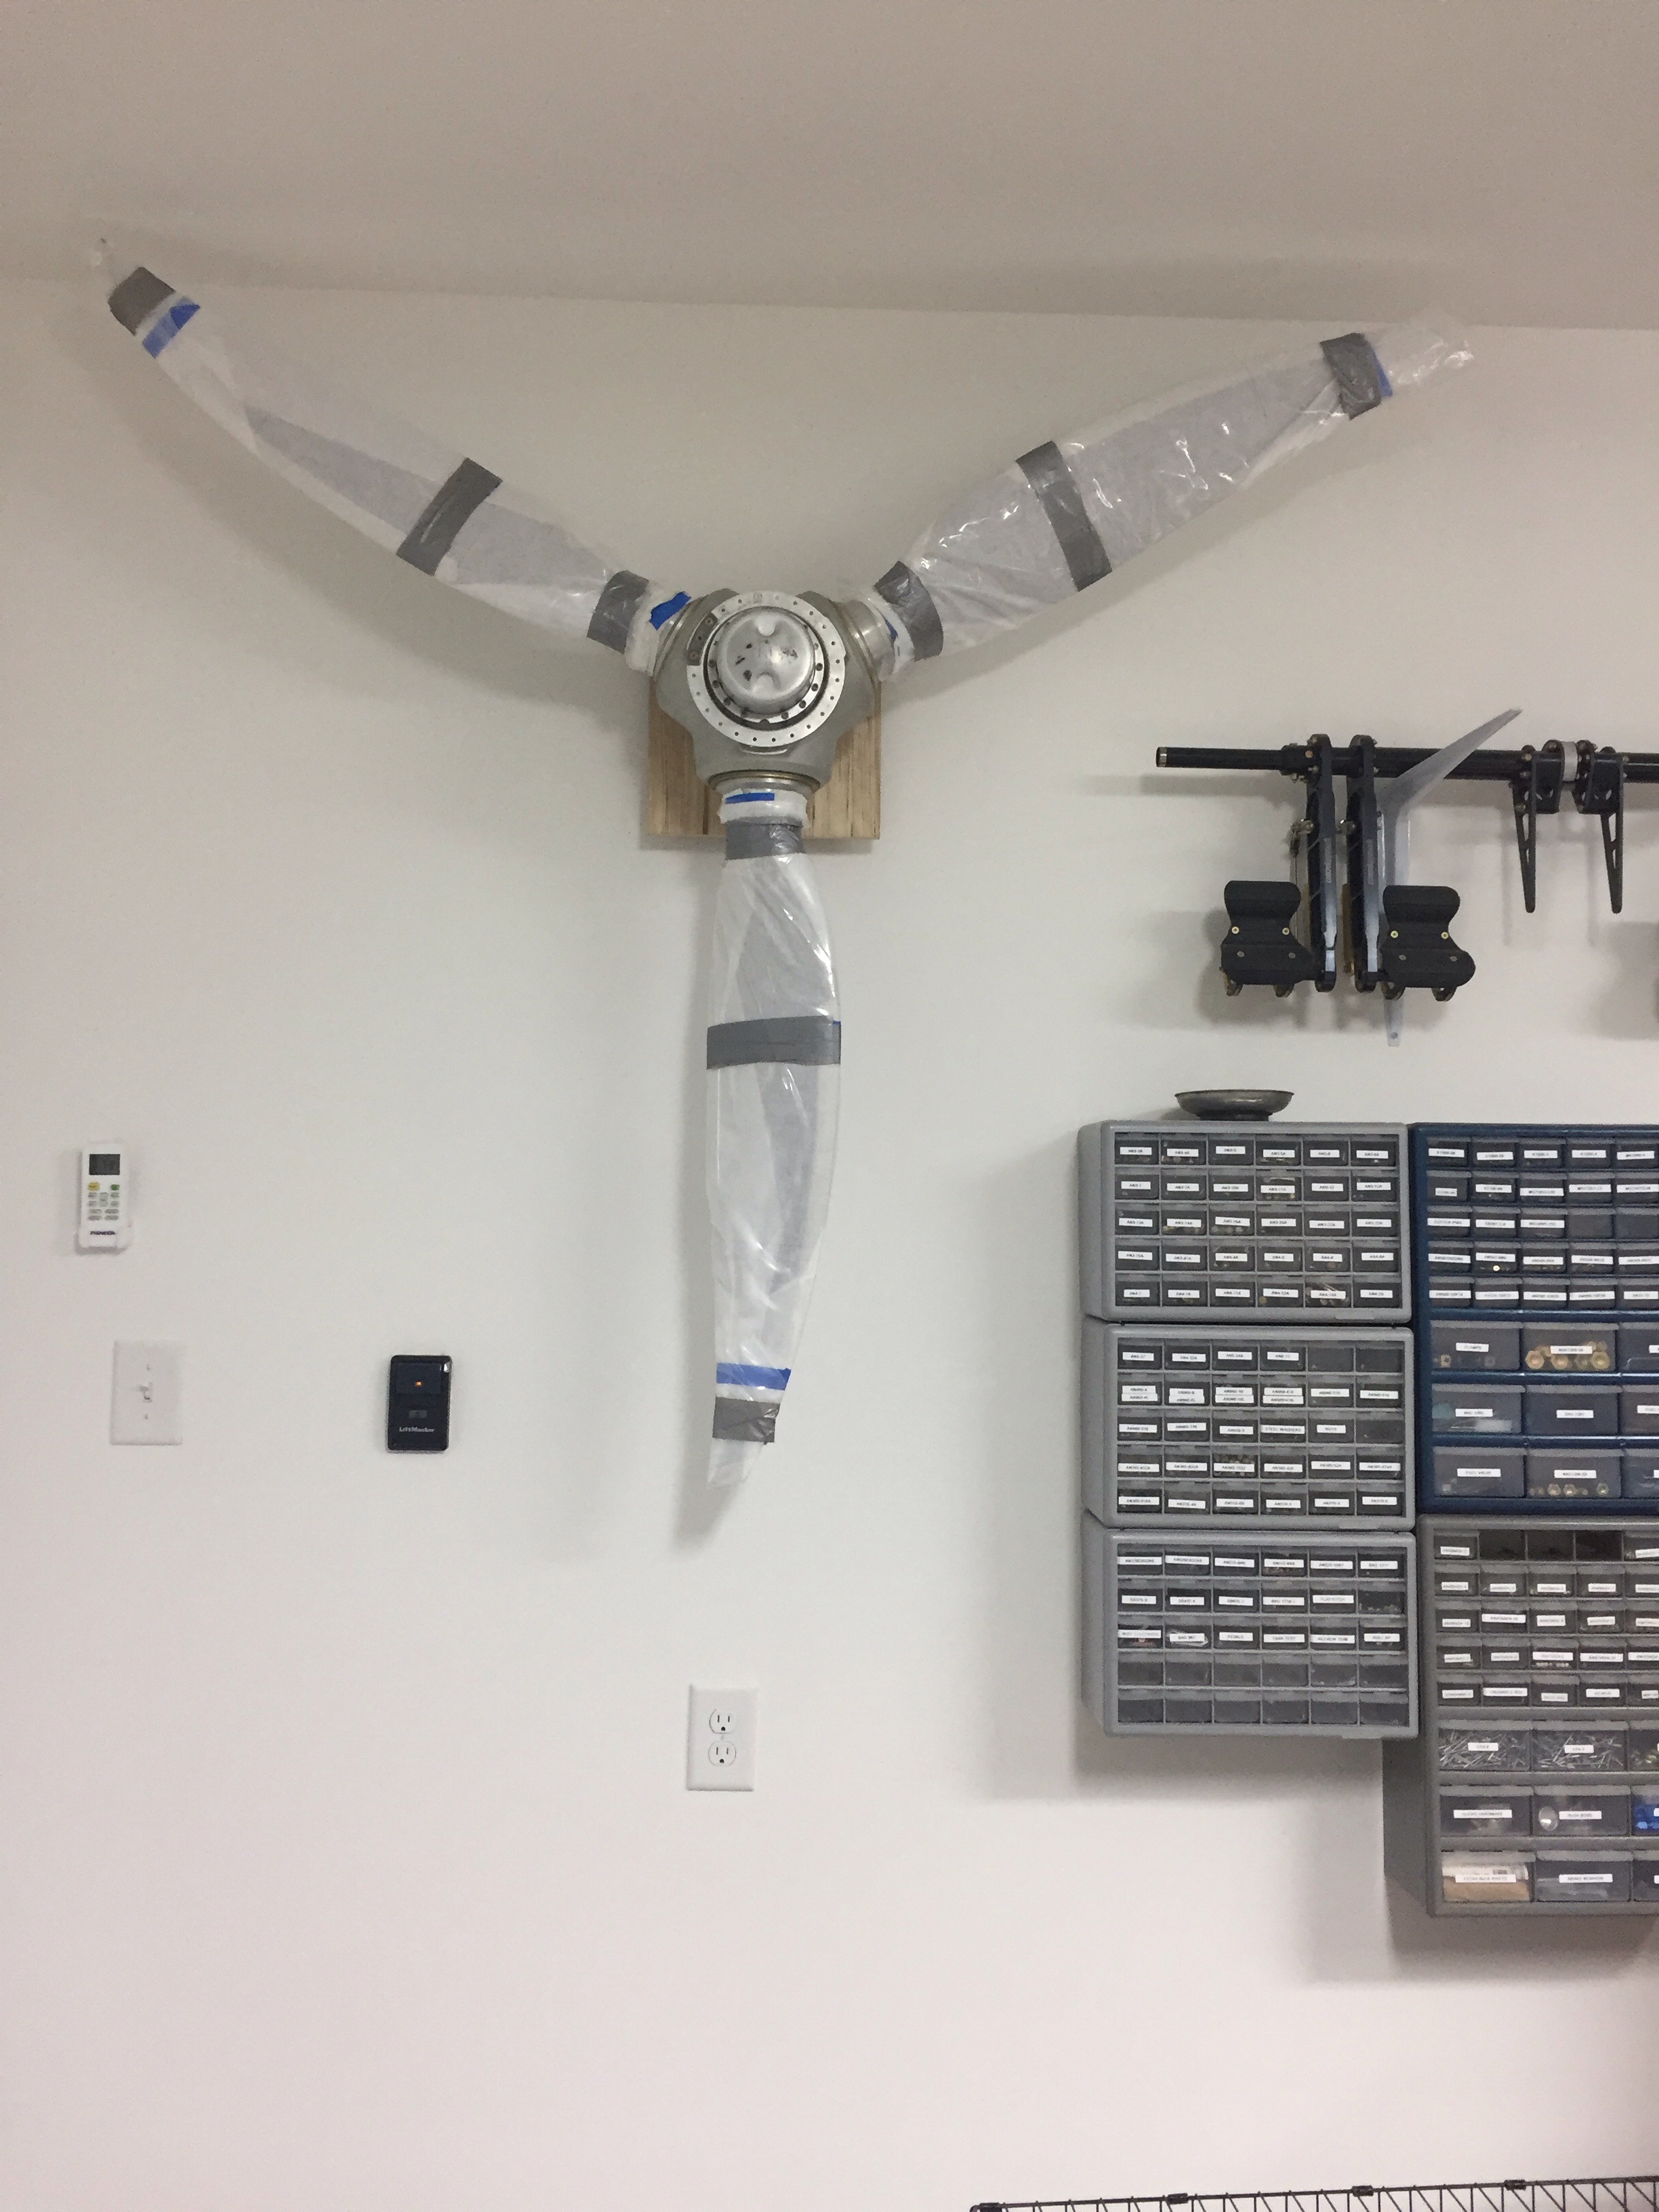
Needless to say, I was excited about opening it up and checking out my new purchase.  I also wanted to ensure there was no concealed damage.  Fortunately, Chris had reinforced the crate and all was well.  It is supposed to be stored vertically, and after finding out my storage plan of the common hangar at Lincolnton wouldn’t be covered under my insurance, I was left no choice but to mount it, temporarily of course, on the garage wall!


I have to say it worked out even better than I thought.  Out of the way and protected.  Plus, it just looks cool!  The prop itself is stmply stunning.  Almost too pretty to actually use.  It is a full gloss black on the front with silver tips that will match the paint scheme perfectly.  The nickel leading edge looks great and the sitar shape is producing good numbers from others who are now flying it.

On a side note, I spoke to a gentleman who was one of the first to fly behind the three bladed prop a few weeks ago.  He was great to talk with and provided a lot of great info and advice about the prop and RV-10 overall.  Sadly, he lost his life when his airplane crashed after a door was lost in flight.  I can guess what happened and what could have been done, but hindsight is 20/20 and the best thing anyone can do is try to learn from the tragedy.  It is a sombering reminder that flying is not without its risks and drives home the importance of building a mechanically sound aircraft that is operated in a safe manner.