One F*&$#ng Bolt

Even though I don’t have the stabilizers mounted, I need to run the rudder cables so that I can start putting other components in the tunnel and move forward with systems layout.  The rudder cables get threaded through the tail cone skin and forward.  Unfortunately, the ends don’t fit through the snap bushings easily and will require me climbing into the tail cone to thread through the bulkheads.  More on that plan later.  I could, however, go ahead and clamp the plastic tubing to the fuselage using cushioned adel clamps where the cables exit the fuselage.  What should have taken about three minutes to put a clamp on and secure it with an AN3-5A bolt wound up taking over 30 minutes and resulted in a lot of frustration.  The clamp proved to be just springy enough that the threads wouldn’t engage and it’s already a tough spot to reach.  With my patience running out and my fingers sore from messing with the bolt, my gut instinct to scream profanities targeted directly at the airplane proved successful and I was finally able to get the little bastard in.  I will never, ever, ever take that bolt out.

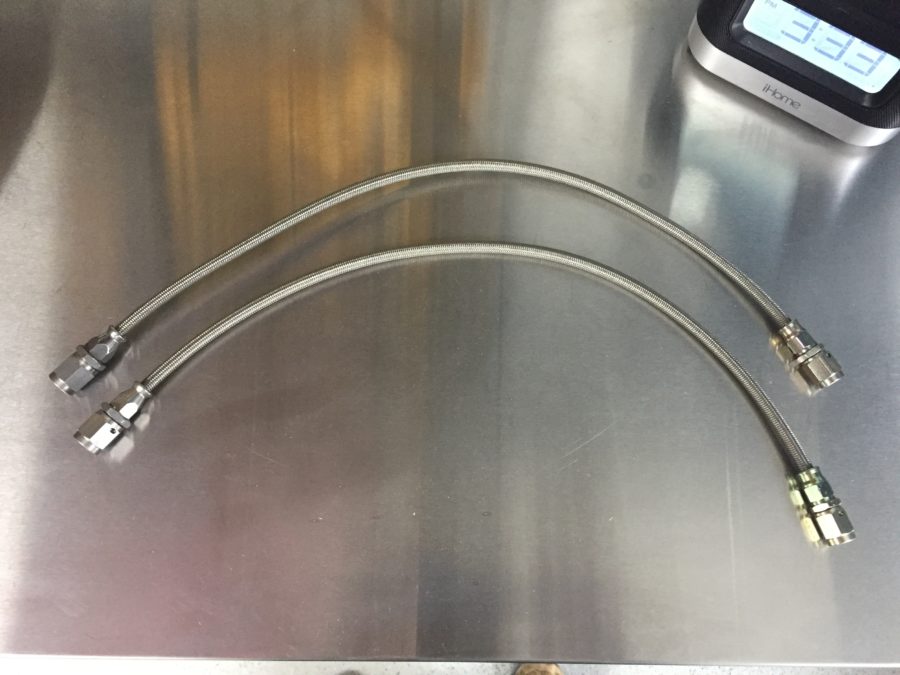
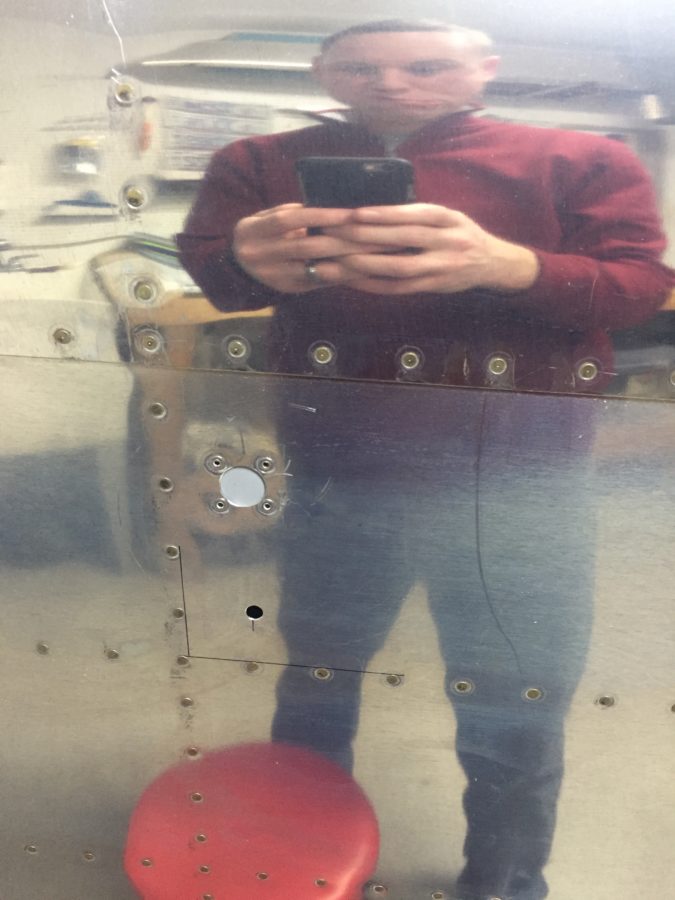
Needing to lower my blood pressure and calm my headache not to mention my now very concerned shop dogs, I decided to move to another aircraft system, the pitot static system.  I ordered a kit from Safe Air 1 quite a while ago and have already installed the pitot tube mount with preliminary tubing in the wing.  When I built the tail cone, I used another brand static ports that after looking at for years had to go.  The Safe Air 1 ports are designed to be mounted from the inside and have a very clean look not to mention good reviews of functionality.  Since I was going to have to crawl in the tail cone anyway, I decided to remove the current ports to prepare for the Safe Air 1 version.  I had to drill out the four rivets, clean up the holes, dimple them, and make a patch.  The patch is required since the original ports had a half inch hole required.  I had to get pretty creative on how I dimpled the holes since I can’t get the pliers or squeezer on it.  I wound up using the blind rivet nail trick with the dies designed for a finish nail with great results.  Once the patches were made, I used blind rivets that sit nicely in the skin for ease of use and negating one more task of bucking rivets while crawling in the cone.  Since I’ll use flox filler to smooth out the hole anyway, the blind rivets will disappear.  I’m really happy with the result and quickly relocated the new port hole just below the original location.  I don’t anticipate any issues with the new location.

I also installed the avionics shelf that I had fabed previously with the proper spacers and screws.  I plan to use nutplates for permanent mounting of components once all of the boxes are laid out.  I’m preparing everything I can think of to do while crawling in the tail cone to include mounting the new static ports, mount the static line and clamps, route the rudder cables, install snap bushings for tail wiring, and run string to pull future wires.

Let’s talk color

With the plans calling for painting the interior at this point, we needed to make some decisions about our color scheme for the cabin.  With the paint scheme already finished (yet to be revealed), we know the exterior will be a mix of black, white, silver, graphite, and an accent deep burnt orange.  We want the interior to resemble a luxury sedan but include a few splashes of accent color to lighten things up.  I already know I’ll be using the SEM rattle can Color Coat paint for the interior covered by the Top Coat low luster clear.  I sprayed a few test pieces and am really happy with the appearance and durability of the SEM.  Plus, it’s super easy to apply and doesn’t require special skills and or equipment.  It will be a tad more costly in the end, but on the big scale, it’s immeasurable.

I called Zac at Aerosport who sent the leather color sample board out.  I ordered the SEM color chart and used both to play around with combinations and choices that we liked.  A few back and forths, hos and hums, and a few nights to sleep on it later, we had our choice made.

The carpet will be all black with the panels and structure below the door sill painted Landau Black.  Above the door sill, we will use the Presidio on the remaining exposed surfaces.  All of the carbon fiber components will be simply cleared over with the same low luster clear coat.  The panel inserts will be the Landau Black. The headliner will be a medium gray.  The seats will be black leather with burnt orange accents.  We’ll be wrapping a few side panel inserts with the accent and black leather as other builders have done.  I’m hoping to integrate the orange in other small spots as well.

Color is a very unique decision based on each builder and it’s somewhat overwhelming at the possibilities.  Combined with not being able to see all materials in hand makes it a bit of a leap of faith.  Zac will be sending out actual samples of the colors and carbon fiber now that we have the colors narrowed down.  But I’m confident that the look will be what we are imagining and should make for a very luxurious and modern appearance inside the aircraft.

Whoa, put the brakes on

It’s finally time to pull another beautiful piece of art work off the wall and turn it into an airplane.  The rudder pedals were next up in the plans and since I have the Control Approach set, it was a pretty quick fit in the fuselage.  I had to spend some time sanding down the tubes to fit into the mounting blocks to allow free but slop-free movement.  I also cleaned up the installation of the Beringer master cylinders on the pedals using some AN bolts and nuts instead of cotter pins.  This took some play out of the pedals while still allowing for free movement of all the components.

Before I put the pedal assembly in place for good, I wanted to paint the interior where the Aerosport panels may not cover the structure.  Per the plans, now is the time to paint the interior of the cabin.  With the Aerosport kit covering most areas, I won’t be painting all of the aluminum.  I also chose not to paint the stainless steel or put any insulation on the cabin side of the firewall but did mask off and paint the aluminum components on the firewall and the very forward area of the side panels.  90% of the work for painting is prep and it took a solid hour to mask off all of the firewall just for a few spots of color.  I’ll have a separate post about color and paint coming up.

It’s also time to start running brake and fuel lines.  Since I have the complete Beringer kit, I started fabricating the stainless braided lines.  The Beringer kit includes some really nice components and saves a lot of weight while providing a more effective braking action.  Sadly, it lacks a lot of detail in the instructions and was missing quite a few pieces.   The kit doesn’t include an inventory, so I wasn’t really sure what I had or didn’t have until I started putting it all together.  Another 10 builder reported the same issue and I believe they are working to improve the kit contents.  I will say that the customer service has been extremely swift and really pleasant.  All the missing items were shipped the same day I called along with a few extras that I ordered.  One disappointment is the use of the rigid tubing retained per plans between the firewall bracket and gear legs (the tube runs through the tunnel and under the seats).  I wanted all SS braided line so ordered extra hose and a few fittings that I needed.

The process is pretty simple to assemble the lines and the quality of the fittings instills confidence of a leak free system if I’m doing it correctly!  Time and tests will tell later in the build.  I am shortening most of the lines, as the Beringer plans have them conservatively long which actually create some routing / securing issues.  For now, I am holding off mounting the reservoir since I’ll be putting insulation on the forward side of the firewall.