Getting back to it

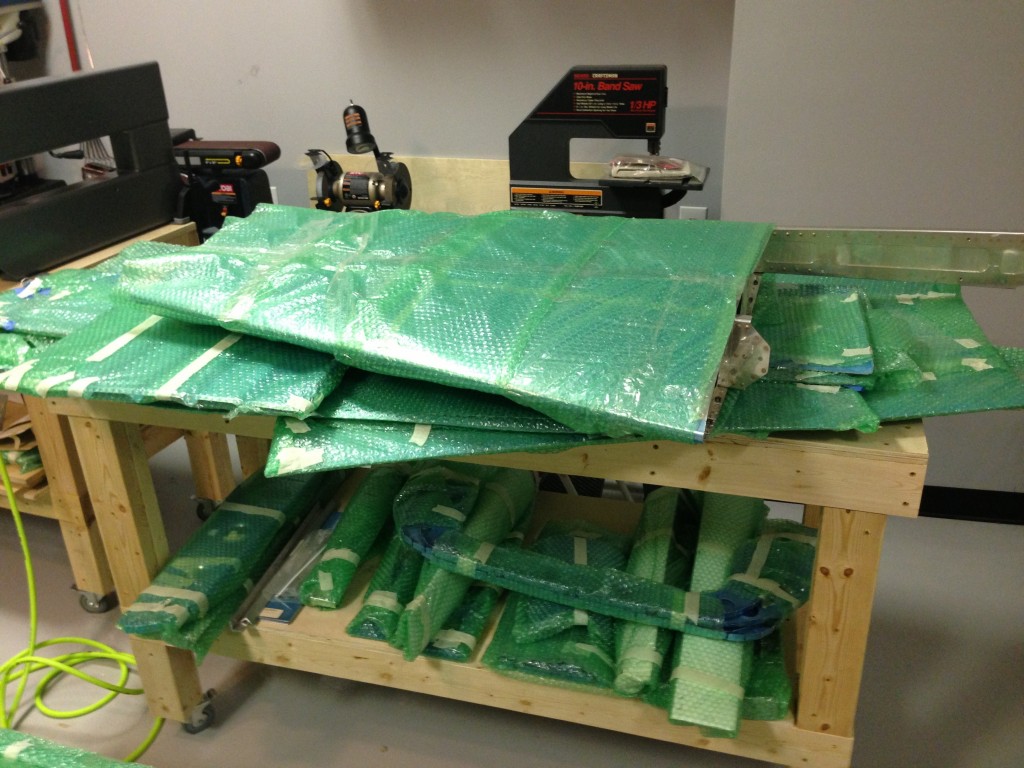
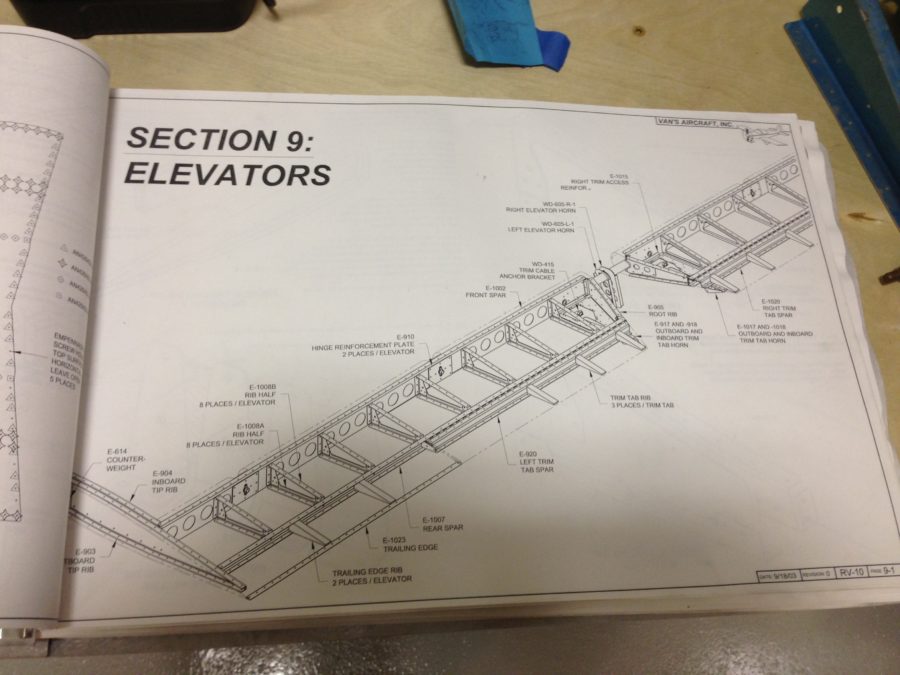
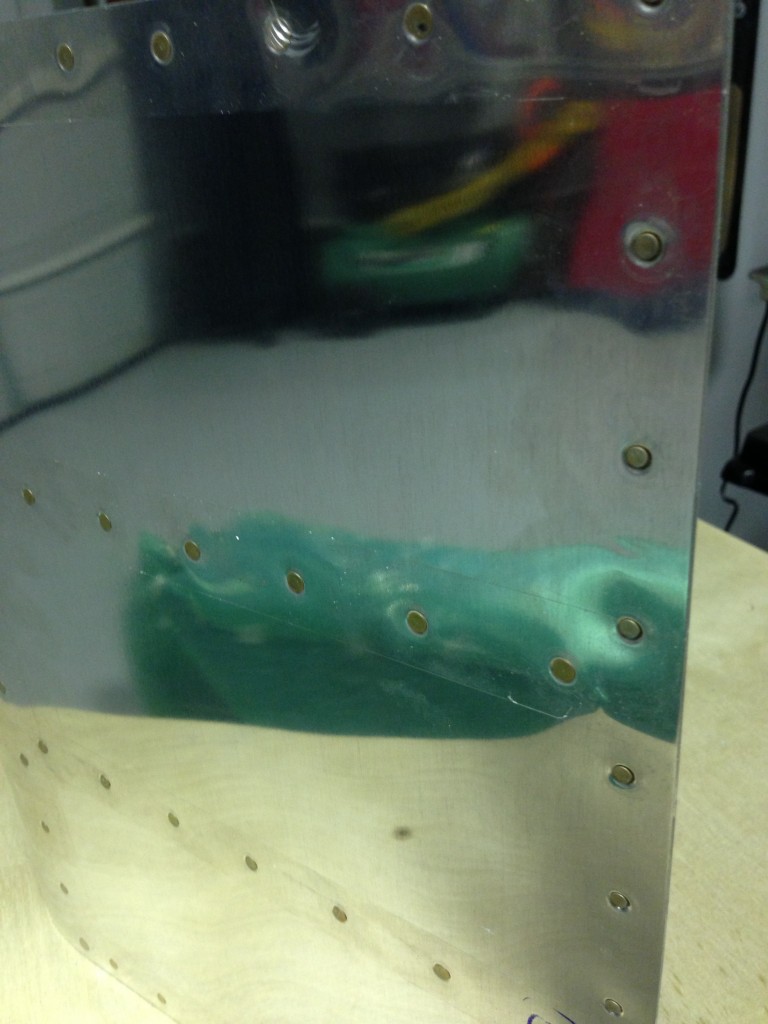
After a busy trip to HI for a NGAUS conference, I’m back in the shop working on the elevators. I finished disassembling both tonight in order to dimple one and remove all the blue film from both skins. The right elevator has already been dimpled but I found a few holes that he missed. I demurred on skin and sanded the edges down a bit to make them all nice and smooth.

I also laid out cut lines for my dimpler table that I have yet to build. It’s absolutely necessary for the skins so I can’t keep putting it off. The table saw is out and ready to go to work in the morning.

Finally tonight, I checked a few toys that came in the mail. The special bucking bar (one of which I already had and forgot about), another 400 silver clecos, and some future supplies. I found a great deal on VAF for the flush door handles, hardened door pins/guides, and a keyed alike flush lock set. At half price and brand new, it was too good to pass up. They will be stashed away for some time in the future. I also received the last of the Aveo Rockrack switches and caps. I heard a lot of folks having availability issues and didn’t want to lose out, so I got all the ones I plan on needing plus a few extra. I played around with the lights on a 9v battery and am really pleased with the way they look.

Hoping to get the table built tomorrow and get the elevators mostly irvine together this weekend.

Garage storage

Tonight I installed a new storage shelf that hangs from the ceiling and will clean up the floor while keeping parts and sub-assemblies safe. I got these from work on Friday and only put one up for now. They are good up to 250 lbs and the install is pretty simple once you are able to find a stud or joist. I confirmed tonight that stud finders are worthless.

I also picked up some ratchet straps and eye hooks to hang the horizontal stabilizer from the ceiling as well. We are lucky that we have almost three feet of room above the opened garage door and this will come in handy for future components.

That’s a lot of clecos

I continued work on the elevators, pre-assembling the right one first. Most holes were already match drilled on the structure but I found a couple that weren’t so I’m glad I double checked everything. I started on the top skin and match drilled everything, clecoing along the way. On the spar, you are to start mid span and work out, clecoing every hole. By the time I was done, I had use a lot of clecos! I’ll definitely need more for the wings coming up. I flipped the unit over and finished the bottom skin as well. Next step is to disassemble, deburr, and dimple the skins. I’ll need to get my dimpler table set up this weekend.

Dusting off the…..dust!

Tonight was the first night I actually got to put my hands on the kit. Having brought it home several weeks ago and inventorying it, I spent tonight reading up on the already completed sections just to understand what’s been done already. The previous owners have completed the horizontal and vertical stabilizers along with some work on the elevators. I verified each step in section 9 as I went along and created a check mark system to maintain accountability on completing each step.

The kit has sat for a long time in storage so it was pretty dusty. I used Simple Green aircraft cleaner to get all the dust and dirt off and was pleased that all the parts are cleaning up nicely. I had a couple of spots that had scratches with a bit of grime. Not sure if it was a precursor to corrosion, I buffed them out and will use a bit of spray can primer on the sections for extra peace of mind.


I picked up on laying out the components for the elevators. I demurred all previously drilled holes and followed the plans to get the spar and ribs laid out on the bottom skins. One skin is already dimpled, but the need for a dimpling table has arose quickly. I have the materials and will get that built tomorrow evening for this weekend’s work.

Practice kits complete

Toolbox and wing section

I finished up the second of two practice kits from Van’s. they are a great way to get all the tools broken in and set up. Most importantly, it is a great way to hone your skills with using the tools and reading plans. I’m pleased with my results especially after having an A&P friend critique and approve of my techniques. I have several rivets that aren’t perfect and identified those to compare future work.

It also quickly teaches you the value and importance of tips and tricks from others. Like pre-rolling the leading edge skins instead of trying to do it when it’s all riveted together. Know which tool to use in which situation will help you efficiently get through the build as well. These kits make you use almost everything in the tool box plus asking you to make a jig, so it’s a great exercise that was highly recommended.

Plus, you have an awesome little toolbox to use and a cutaway of a wing to put in your office!

Trailing edge back riveting