This could be instrumental

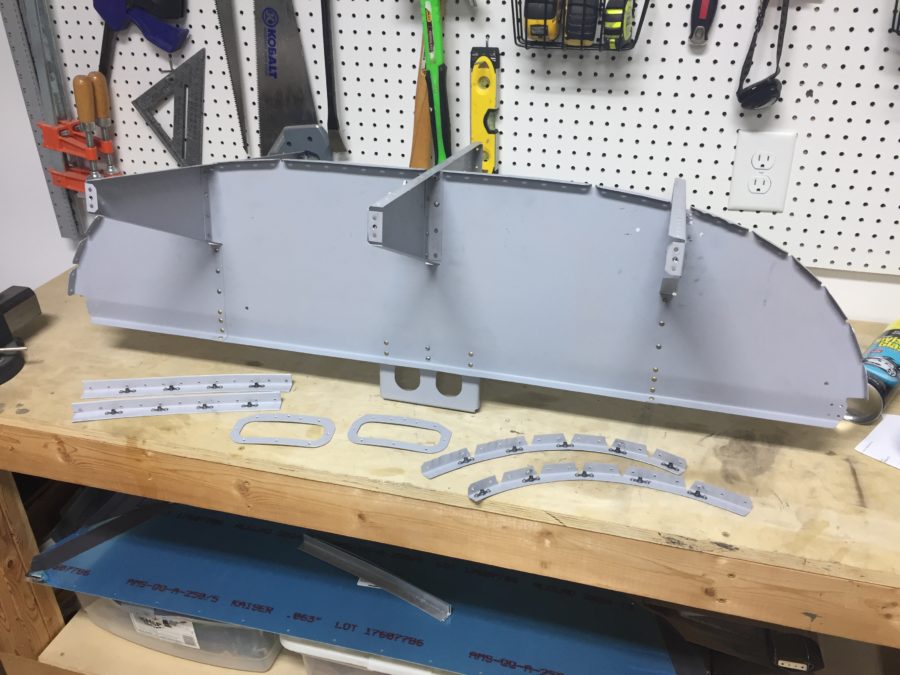
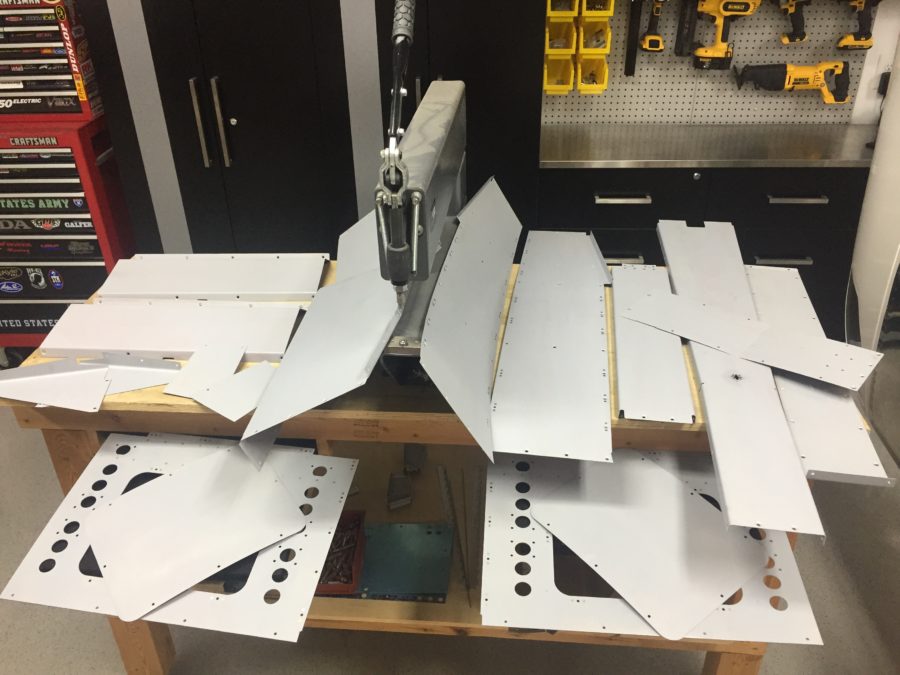
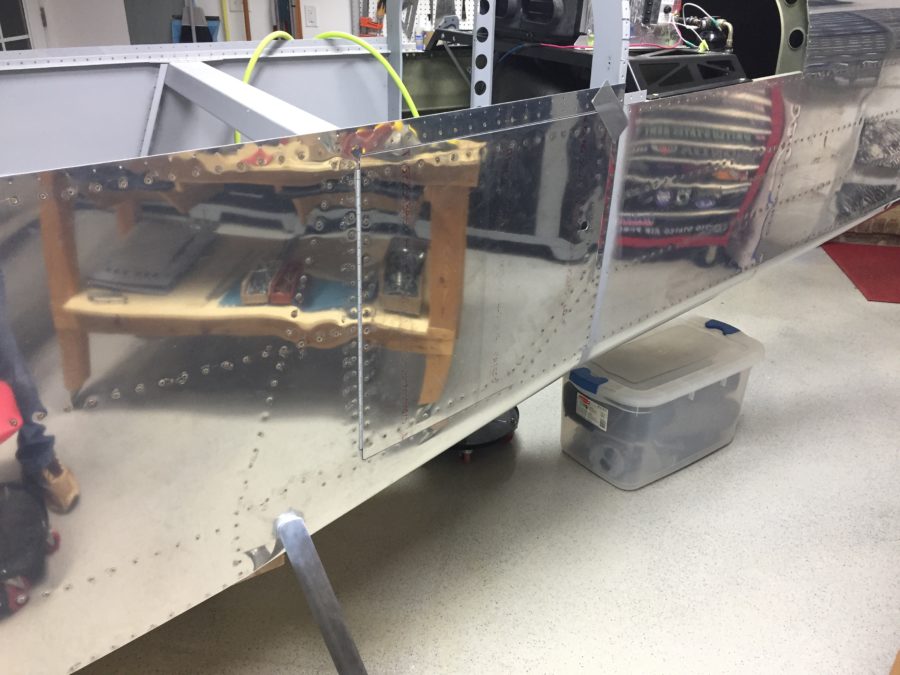
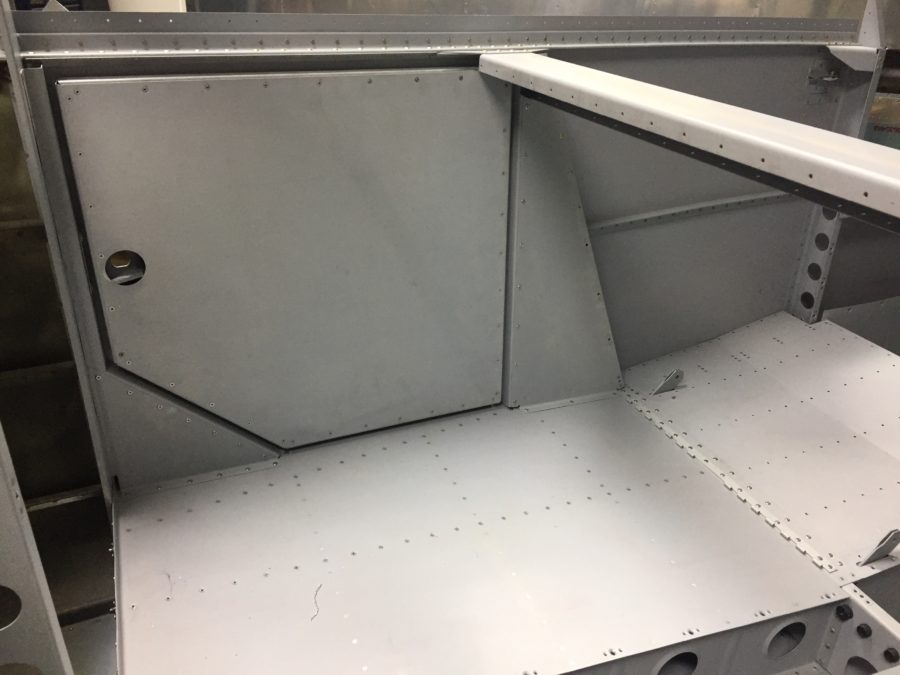
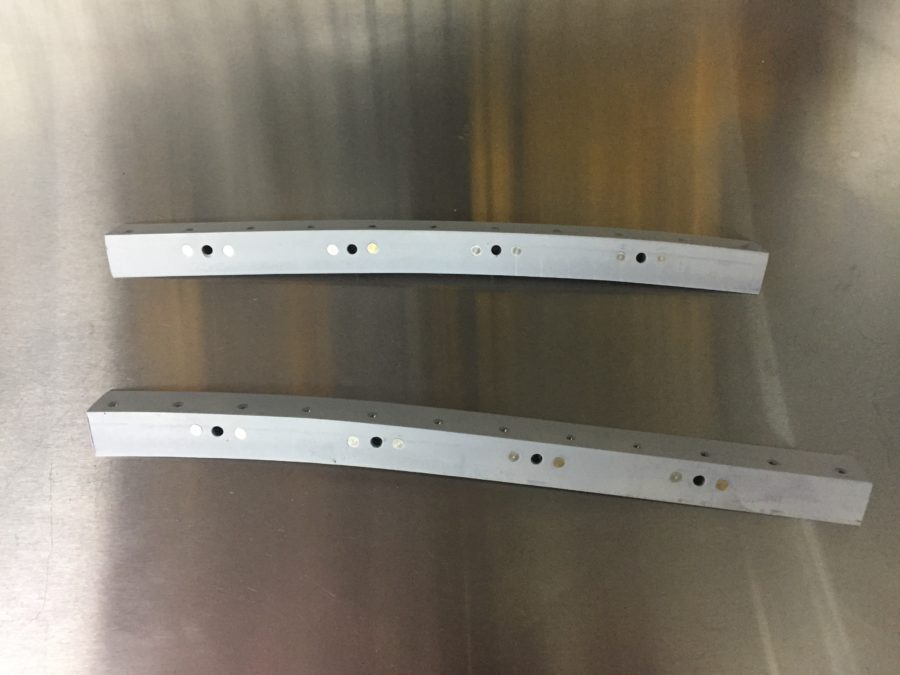
One section that I skipped over is the forward fuselage / instrument panel section.  This needs to be done before the cabin top goes on, but is left off while working on the firewall area and rudder pedals.  I had all the parts down so wanted to get the assembly together and out of the way.  Part of the fabrication steps require the use of the stock panel blank, which I don’t have since I’m using the Aerosport panel down the road.  Fortunately, Parish had the blank and I was able to borrow it to complete the related steps.  I paid him back by fabricating the two curved supports.  The plans call for using fluting pliers, but there is no way that was going to happen.  Fortunately the sheet metal shop on base has some great tools and even better craftsmen that were willing to help out in exchange for a few adult beverages.  All four pieces turned out beautiful and matched up perfectly.  It really is all about having (access to) the right tools!

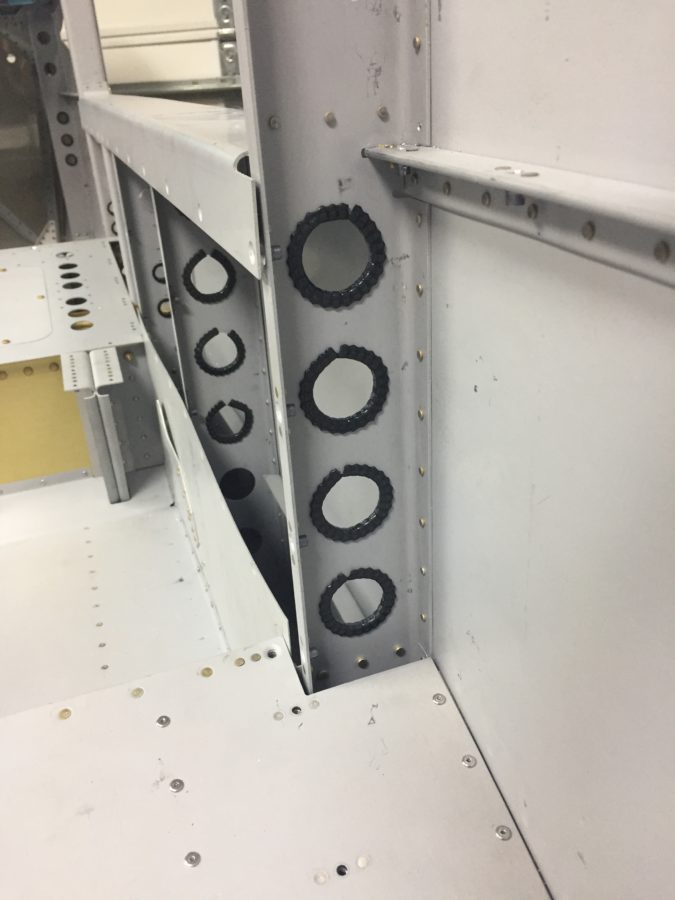
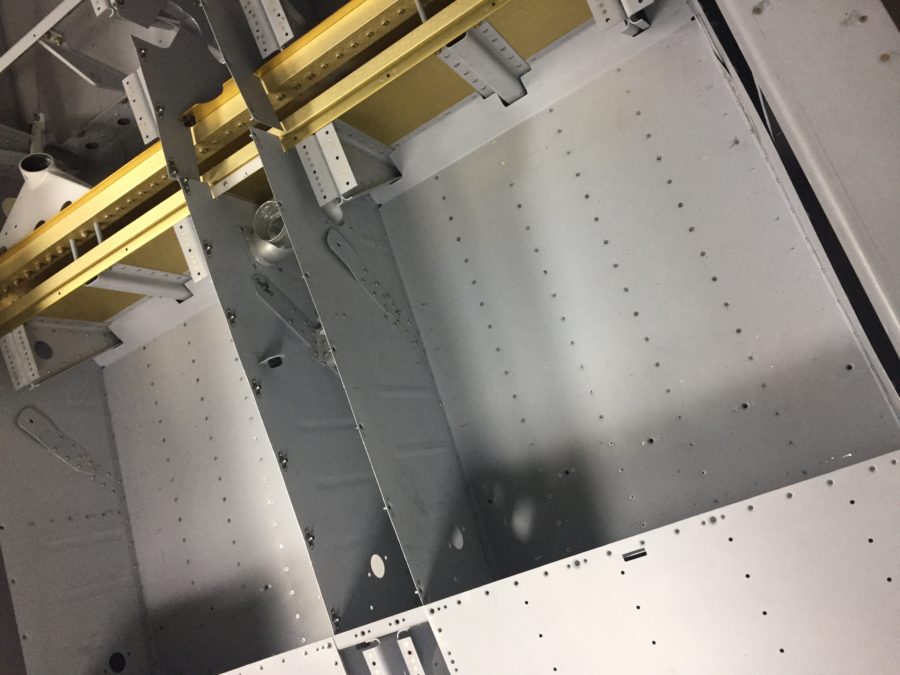
Once all the parts were prepped and primed, assembly was frustrating as the AN470 rivets are difficult to buck in thin metal.  I just have bad luck / technique when trying to hit these on thin structures.  One or two drilled out and replaced after a few deep breaths and it was ready to go back into storage.  This will most likely be modified once I have the panel and some avionics depending on location and dimensions of the components.

Hey, put your panels back on

Quite a few evenings were spent on fitting, prepping, and finishing interior panels.  The rear seat bottoms were riveted on after mulling over anything that might need to be accessed under them.  Since I don’t have conduit running along the floor and already have the antenna doublers installed, I went ahead and secured the panels for good.  I’m starting to wish I had splurged or asked a friend for a pneumatic pop rivet gun.

There are quite a few panels on the interior to work through.  The tunnel covers, front seat pans, side panels, and cross bar panel were all fairly simple to prep and prime after drilling.  They required a lot of nutplates to be installed on the fuselage, a few of which are in really tight spots.  I ended up using a few blind rivets on the nutplates just because I couldn’t get a rivet gun / bucking bar or squeezer in the space.  I was fortunate enough to have a few guys at work make a custom bucking bar for one rivet near the baggage door frame which worked like a champ.  This whole section is somewhat of a tease, as you get all these panels finished and the cabin looks really nice until you read the plans and it tells you to set them all aside until the project is finished.

I’m also planning more detailed runs for wires and hoses since the time is right working with the panels.  I used a flexible edge grommet material to prepare for wires passing through lightening holes that are too large for snap bushings.  These will be for wires, pitot tubing, coax, and anything else that needs to run fore/aft.

In other news…

Several months ago I made the difficult, but wise, decision to sell my propeller.  As beautiful as it looks hanging on the shop wall, I only purchased it because it was the exact prop I wanted and I got it at a good price.  The reality was it is due for an overhaul years before it ever turns on an engine and I could reallocate the funds better right now.  Comforting my decision was the fact I can purchase another prop, same design down to the paint, at any time.  It wasn’t something I had invested time or personalization in.  I’m happy that it will be on a finished project much sooner than I could have achieved and I didn’t lose any money on the whole thing.

On the project, I tackled the baggage door with relative ease, finishing it up in just a few evenings’ work.  It was an easy project and one that really gives a sense of accomplishment.  Several things to note, however, are to pay close attention to the hinge pin position and deciding if you want the door removable.  I purposefully positioned the hinge inboard to keep the protrusion subtle but in doing so, made it where the pin is not removable (or easily installed).  I realized this too late and had already drilled the holes.  Ed Krantz made his pins removable like the rear seat backs, but I decided that I just don’t have the need to remove the door and can live with the results.  I was luckily able to keep the hinge halves together and riveted to the door while slipping the whole assembly into the fuselage.  It turned out well and the door skin only needed a minor amount of finessing to lie flush with the fuse surround and produces a nice even gap all around.

Next up are the rear floor panels that fit very tightly.  When the plans say to put the manufactured head of the rivet on a certain side, they say it for a reason.  I had to wrestle the panels over two shop heads that would have been easier had I paid attention.  Van’s pays the builder to always think a few steps ahead and friendly reminds you if you don’t!  One change on the rear floor panels I made was to replace the AN470 rivets around the perimeter with LP4-3 rivets.  Bucking the AN470s was going to be a real pain and no doubt lead to issues with drilling a few out.  The front panels are all blind rivets, so I don’t think I’m breaking too many rules with this substitution.