Not much to say, but a lot to look at!
Scheme designed by Plane Schemer
Paint by Evoke Aviation
Photos by Jonathan McCormick
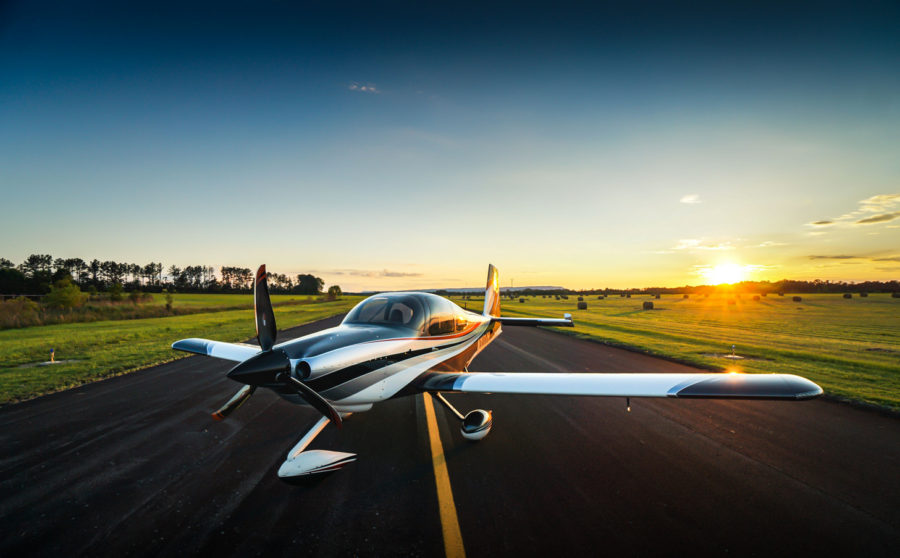


Not much to say, but a lot to look at!
Scheme designed by Plane Schemer
Paint by Evoke Aviation
Photos by Jonathan McCormick


Several (four-five?) years before first flight, I met this little guy named Jonathan McCormick who has a scheme design and paint business in Alabama. Plane Schemer and Evoke Aviation are his life’s work and they are simply put amazing. Here’s a brief story of how we got Tess all dolled up.
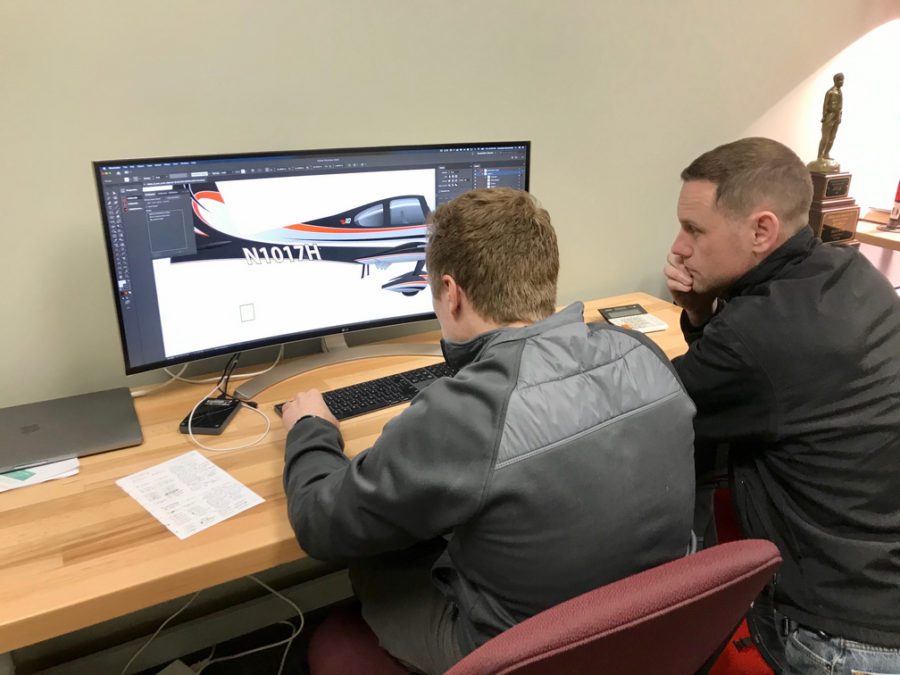
I met Jonathan at Sun N Fun in 2015 and got to work with him on designing a scheme. I was early in the build but wanted to have some motivation and vision on what we were putting together in the garage. He was great to work with for a reasonable fee and didn’t stop until I gave the final approval on every little detail. We started with some inspiration photos that I sent him and some descriptions of each aspect that I like and wanted to incorporate. He then took this and put his artistic skills to work creating a truely unique and exiting paint scheme.

We wanted something no one else had and something different than a typical cheat line or a few swooshes. My main inspiration came from another RV, this one having 8 wheels and two slide outs used on the road. He really nailed the design with the tail and the whole scheme grew from that feature. Laura loves orange, and it’s high on my list of favorites, so we decided that would be the splash of color in the scheme. We went back and forth with a few things, lines here, swooshes there, wheel pants reversed, etc. When it was all said and done, we had a one of a kind paint scheme that was going to be a head turner. I also had motivation to stop cruising the internet for plane pictures and finish building.

But wait, there’s more! Sam, Jonathan’s girlfriend and business partner, has a side business creating custom artwork. Laura and I wanted a little logo we could use for the plane, shirts, cups, seats (didn’t get to put it on the seats), pillows, basically anything that can be embroidered! She and I worked together to create a custom logo for the plane and I couldn’t be happier with the result. We will incorporate that into the paint as well as all kinds of fun stuff. I do politely ask that our logo not be copied, as Sam earned a commission on this artwork and Laura and I would like to keep this unique to our plane.

Fast forward a few years and airshows later with a random meeting in Raleigh NC on the ramp, I reached out to Jonathan about getting a slot for painting the plane. He and I agreed it’s best to paint after flight tests, as stuff comes on and off a lot plus a few adjustments can be made without messing up the paint. In March of 2020, I flew Tess down to Gadsden, AL (KGAD) airport to drop her off for paint. Jonathan and I spent the morning doing a tour of his two facilities, checking out other projects, and poking our heads into warbird jet projects on the field. He also finalized the actual colors in his office and did just a few tweaks on the scheme after having a few years and hundreds of other designs now under his belt.
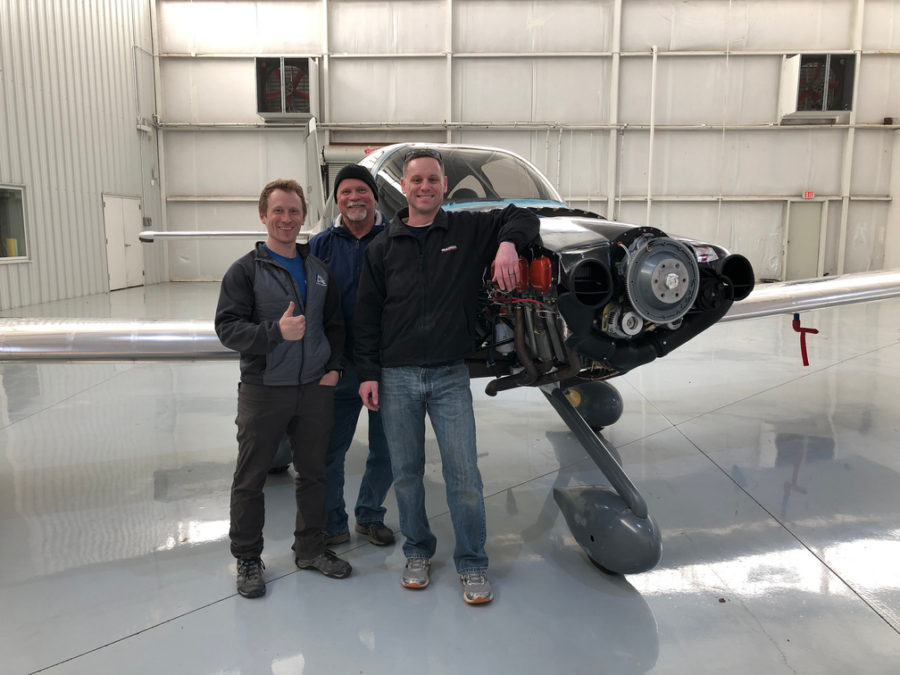
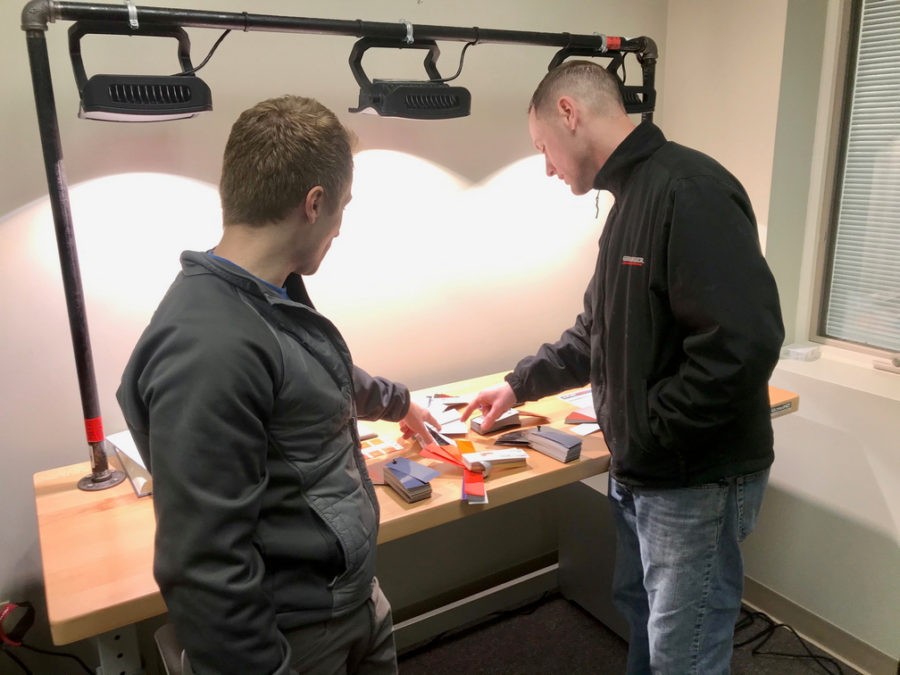
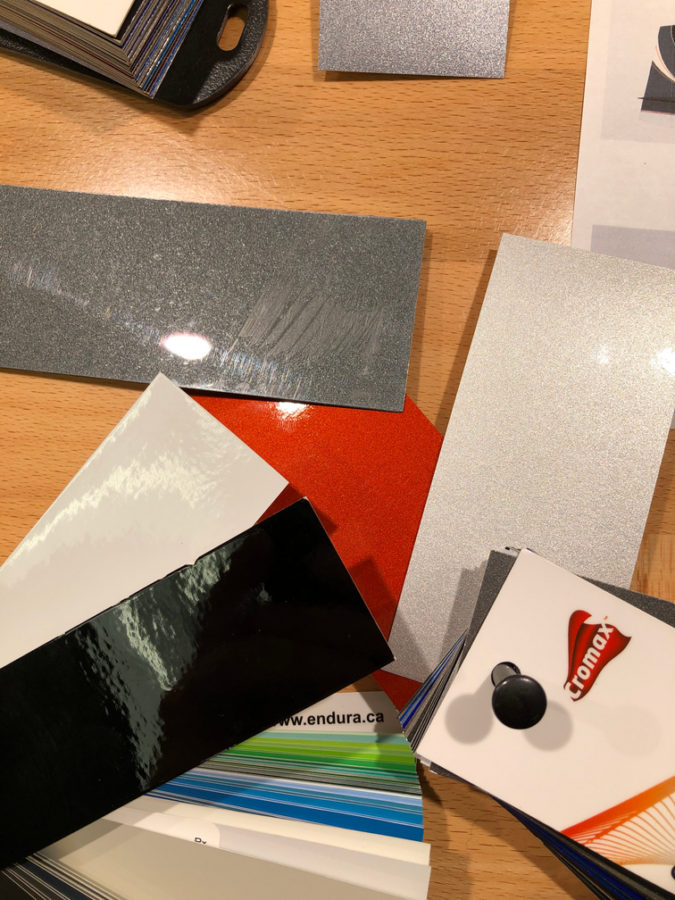
I left knowing it’d be a few months before it’s all finished up and let him and his team go to work. This website doesn’t have room to describe all the work they did! It does have room to say how good the work was! Wow, they dove in deep and with a vengeance for perfection. All of my stupid little new builder mess ups were corrected, they smoothed and perfected the fit of the wingtips which needed a lot of work, and they did an amazing job prepping each and every surface for a perfect paint job. The amount of filling and sanding was mind blowing to me even after I thought I had done a decent job of prepping. With the amount of colors and layout of the scheme, it was also a ton of work to get the color on the airplane. I still can’t figure out which order they put the colors on but the results were mind blowing. With the status pictures coming in with all the color on, I thought we were close to the finish line, but that’s where even more work comes in. They wet sanded the entire airplane, knocking each line down between colors and eliminating all waves, orange peel, and imperfections. Then, they cleared the entire plane. One smooth consistent surface makes a massive difference on the quality and longevity of the paint job. Buffing and touch-ups were next and then I got to come down and help put it back together. We finished the windows with sealant filling the troughs in around the edges and a protective bead on the bottom of the windshield. The guys were great hosts, taught me a few things, gave me a lot of help, and lots of new shiny stainless steel hardware!
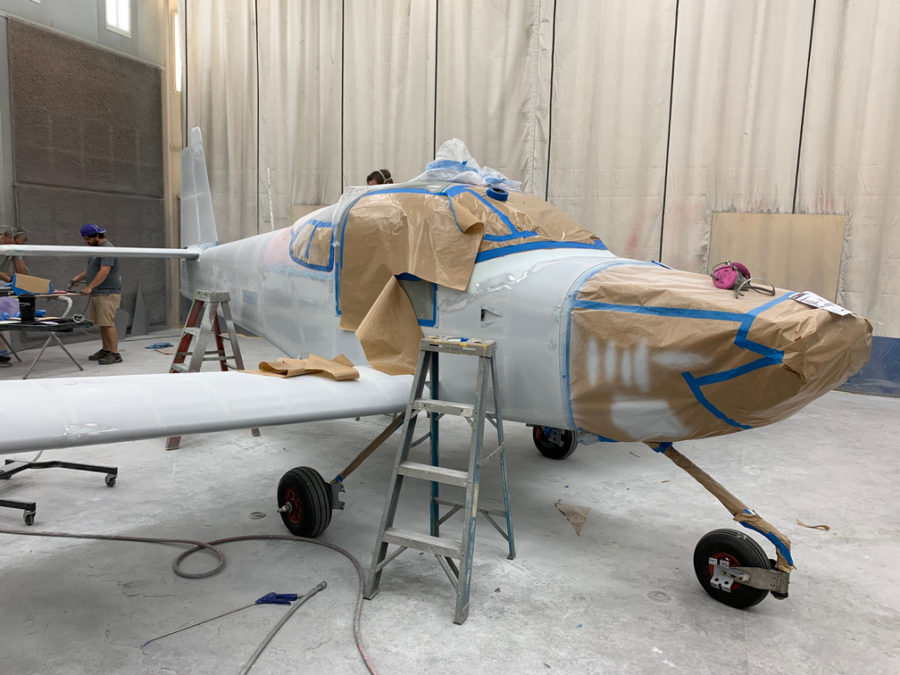
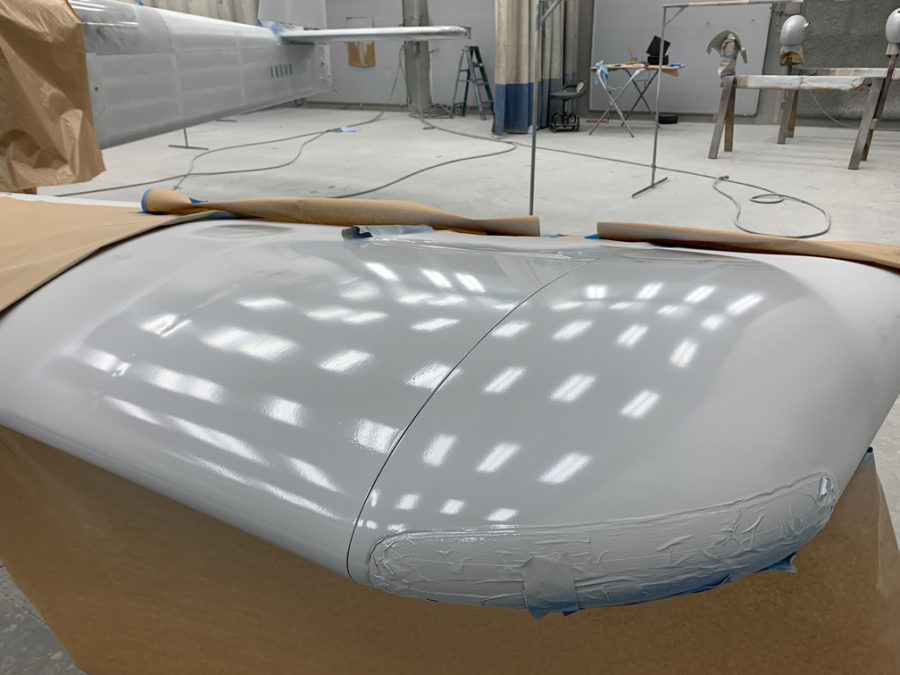
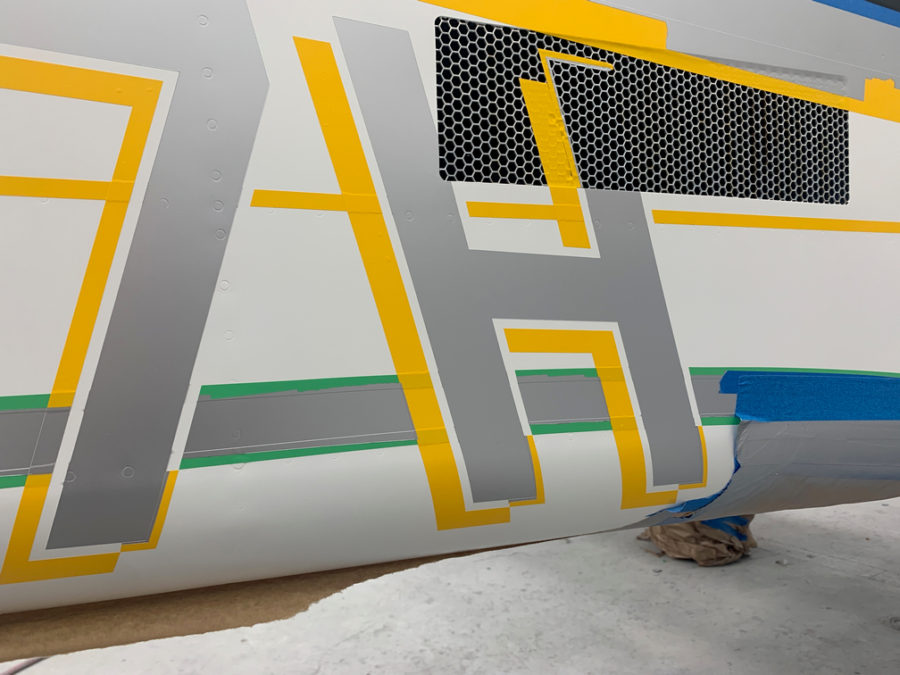
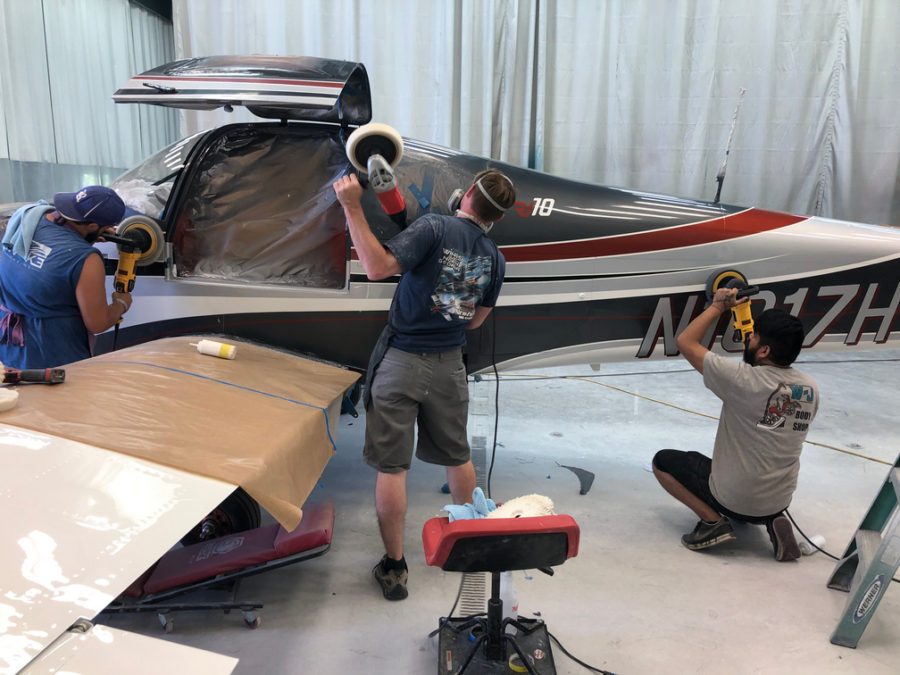
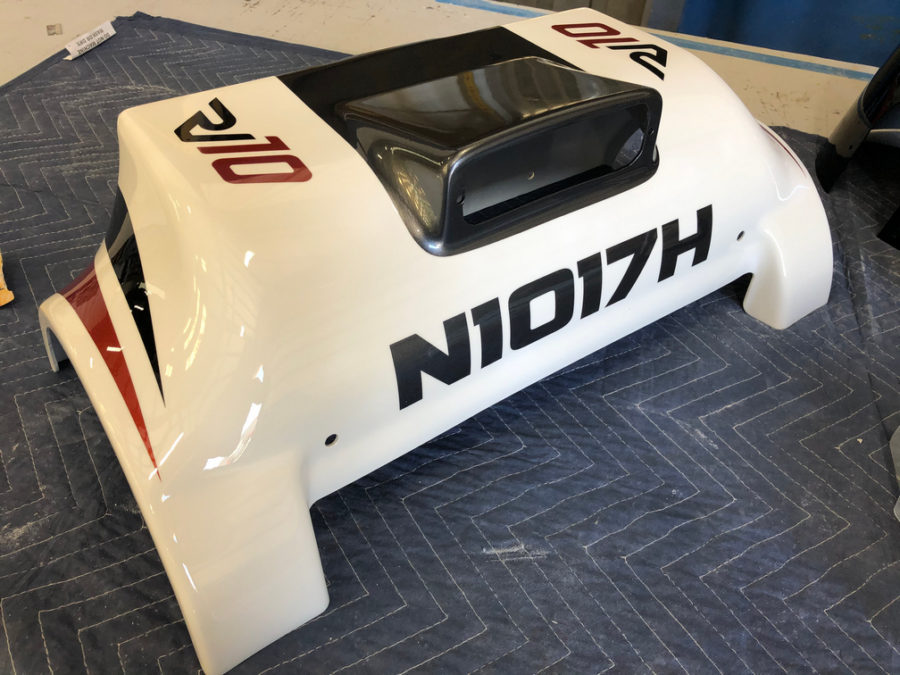
Even our tug got a cool paint job from a new painter learning his skills. Honestly, the tug gets more comments than the plan does at home!
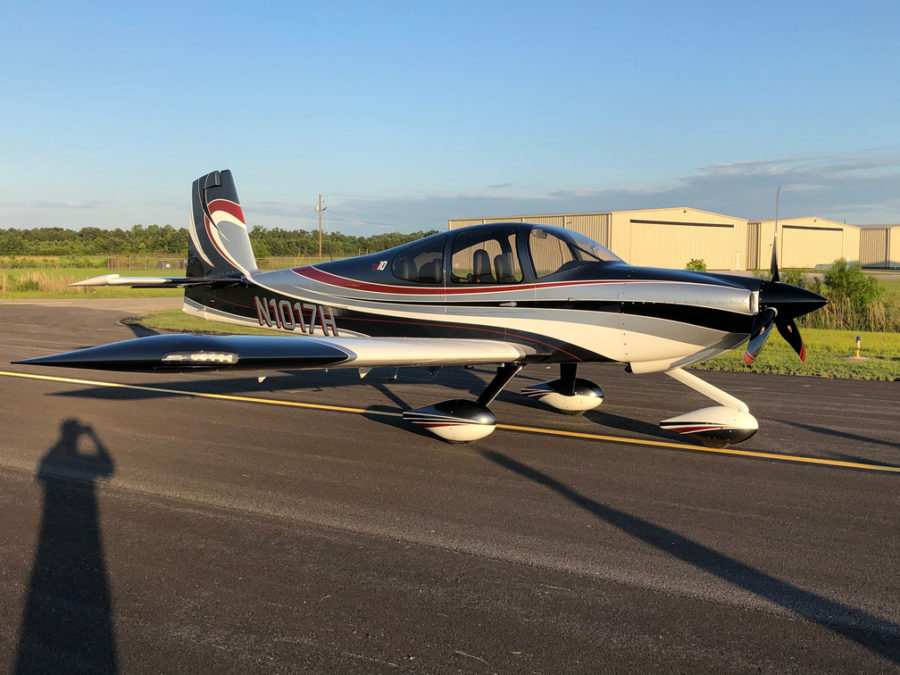
After several agonizing months without a plane, we rolled Tess out into the evening sun for a photo shoot on the taxi way. I was drooling the entire time! To say I’m happy is a massive understatement and the feedback from others is the same. Even after a year of flying and a few scratches, sorry Jonathan, I still get people coming up to it everywhere I go commenting on the paint.
So, the nitty gritty of it all. It was expensive. Really expensive. It took a long time. A lot longer than I was told originally and was expecting. It is better than I could have ever imagined. It is worth twice what we paid for it. I’m realizing that even more with fellow builders struggling with paint quality issues. I have and will continue to recommend Evoke and the team of professionals to everyone because they doe the job right the first time.
Jonathan, you took our baby girl and made her beautiful. Thank you!
I will document the biggest and most annoying things wrong with the airplane during the test flight here but do not plan on blogging about every repair or modification to the airplane. Mainly because I’d have to become a full time writer.
The flight tests went fairly smoothly and I finished the 40 hour phase 1 in under a month. Most of my issues were builder caused, I must admit. Either a rework or bad soldering, decision making or lack thereof, and a few “that’s good enoughs” that came back to haunt me were to blame.
I tracked these by creating a list in my phone/iPad that I could check off as I corrected the issues. The list kept growing for some time before it started getting checked off. It’s worked really well for me and actually motivates me to complete all the repairs or adjustments to get the check boxes checked. I can also make group entries into the logbook to keep track of the work.
I found that I had a lot of electrical gremlins throughout the first bit of flying. Solder sleeves are amazing little buggers that are notoriously difficult to use correctly. I used sparingly while building, but they still bit me a few times. The problem is you think the solder ring has melted completely but it hasn’t. The connection will be good until it’s subject to some vibration and then all kinds of weird things happen. My oil pressure spiked to 200 PSI, multiple random annunciations based on my discrete inputs, and a few others due to the solder sleeves. And I only have about 10 in the whole plane! I will use them now if I have good access to the connection, but if not, I’ve found using Dsub pins and heat shrink as more reliable.
I had to reposition my EGT probes, as I realized they blocked 5 out of 6 spark plugs. I had a master cylinder bolt leaking just a bit. Lots more clamps and zip ties were installed, mostly firewall forward, to avoid chafing after a few oil changes and seeing where things moved a bit too much. I had to replace the autopilot pitch servo due to a service bulletin, roll servo due to slipage, and had to reinforce the rudder trim tab mount to get it to work effectively. I chose to rewire a few engine switches and add a engine master switch, which I should have done in the first place. That all neccessitated under the panel work, a new switch panel overlay and backlight sheet. The oxygen system leaked above 1200 psi (loose connection), and a few adjustments to the door light switches have been made.

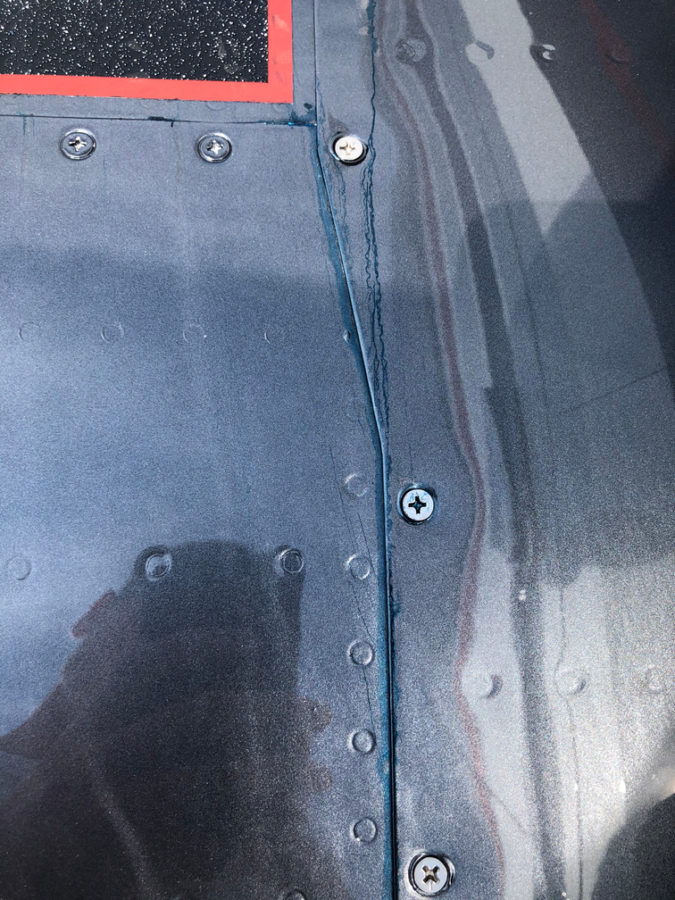
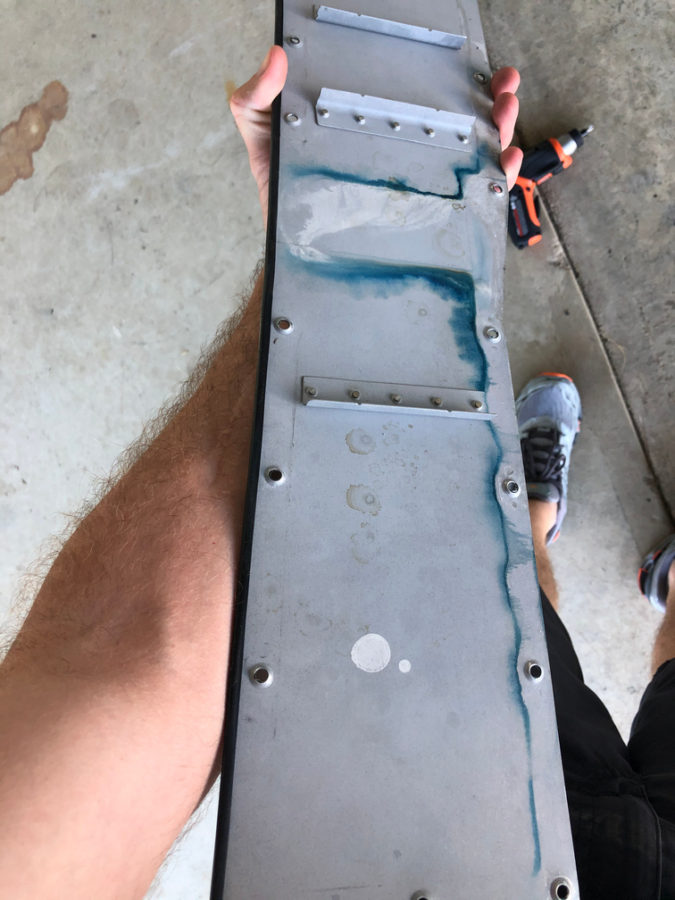
The biggest squawk is a leaking fuel tank. I am getting ahead of myself on the blog, but this was discovered post paint unfortunately. Turns out a little weeping rivet that I discovered prior to paint and thought I had fixed with the Loctite trick wasn’t fixed. In fact, it wasn’t a weeping rivet, but a pinhole in the sealant on the rear baffle. Fortunately, I spent an entire day and was able to use my borescope to provide a view and a coat hanger/tube of pro seal to apply sealant and fix the leak without taking the tank off. Not a fun job.
The engine ECU tweaks were pretty easy, although I’ve gone through four O2 sensors (leaded fuel doesn’t make them last long). I removed the air filters and just installed a mesh screen over the intakes. Speaking of intakes, one was too close to the exhaust header and a hole burned through it so that required a bit of glass work along with better heat insulation and a bit more clearance.
Lots of other tweaks and adjustments were made and most of these delayed discrepancies were taken care of during the first condition inspection performed in November last year. I do have a few more items to check off the list including new door hing covers, some finish rework on the interior windshield pillars, an intake plenum on the air conditioning condensor (more on that later), and adding a second tunnel access plate are all on the list for 2021.
Bottom line, you’re not done building when you’re done building. Flying brings on new stuff that you can’t forecast on the ground so it’s a continuous process to keep it in tip top shape. I also put some of this stuff off, as I wanted to get it flying so its been a challenge to get caught up after flying so much. I am now at a point where the regular maintenance time is decreasing vs the flight time increasing. The check boxes are all most all filled in!