First Inspection

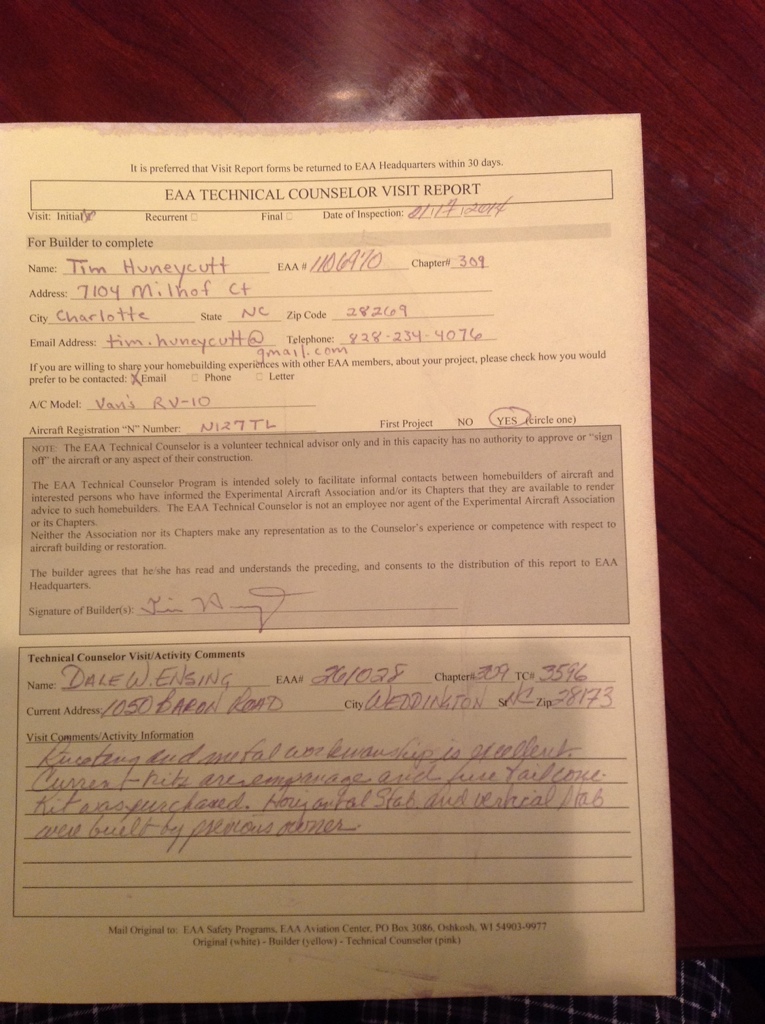
The project got it’s first inspection today when the local EAA Tech Counselor, Dale Ensing, dropped by to take a look at my work. I wanted him to critique my build early on to ensure that I was on the right path and correct any bad habits before getting too far into the project.

As typical, the visit turned into swapping stories and sharing experiences, all of which something can be learned from. People like him make this rewarding project even more fun. He took a good look at the work done thus far by the previous builder and by myself with favorable comments. The main recommendation he had for me was to go ahead and spot prime the outer skins on areas where I had taken of the surface corrosion. I asked him several questions about priming, rivets, other random build techniques and got some great info and tips from him. Best of all, it was an evening spent talking about our passions for aviation!

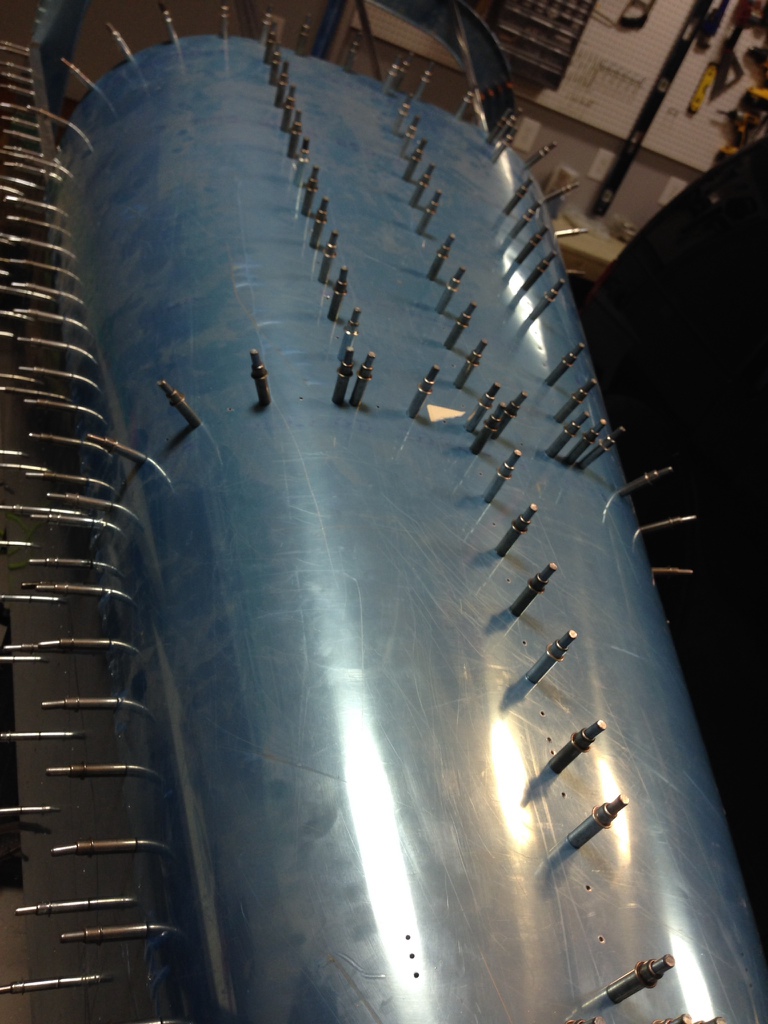
With a boost of confidence and a confirmation of satisfactory work, I’m left with a pile of parts once again after disassembling the tail cone. I began stripping the blue film off pieces and will work now on deburring and dimpling. That will all have to wait at least a week, however, as I’m headed up to Greensboro for a week of flying and hopefully my commercial rating!

20140117-215050.jpg

Covering the Canoe

Over the past several days, I’ve continued work on the tail section.  I completed drilling the longerons on each side and am now working on the top skins.  The aft skin is completely drilled and ready for the forward skin next.  It was more of the same with using a lot of clecos to align everything well and positioning the stiffeners correctly to drill new holes.  The structure is much more rigid with the addition of the L-shaped longerons and top skin.  This whole process just includes a lot of match drilling and final drilling.  I’m already thinking about all of the deburring that needs to be done!

I again got to break out a tool that has never been used, the fluting pliers.  Several of the flanges on the ribs need to be “heavily fluted,” whatever heavily means.  I started by putting a good squeeze and it turned out to be right on.  Beginner’s luck.  Fluting the metal puts a kink in a flat piece so that the metal can bend around a curve and still have a 90 degree flap on it.

I also had a first (but probably not last) injury related to the project.  While drilling a longeron, I had my index finger on the back side a little too close and managed to put a #40 drill into the finger tip.  Fortunately my lightning fast reflexes (and the drill stop) prevented it from sinking in any further and I got away with just a band aid and sore finger.

Finally, I’ve been working on the preliminary electrical system design.  It’s very early but I am a systems guy and also want to plan ahead.  So I started with the switches that I wanted in the panel to ensure I have enough of the Aveo RockRack switches I want to use.  Of course, I missed one cover kit with all the lights and now can’t find them anywhere.  Very frustrating, as they are being discontinued and Aircraft Spruce no longer has the covers I need in stock.  I’m following a couple of leads now to see if I can get my hands on them and will grab a couple extra switches if I can put the whole plan together.  If not, it will be back to the drawing board.

20140102-224211.jpg

20140102-224215.jpg

Working with the Tail

The tail cone continues to take shape as I added the bulkheads to the rear along with the bottom skin panel and aft top deck.  The bottom skin panel was very difficult to put in place.  I also had questions on if it went underneath the side skins or on top.  I’ve seen both on other builds.  I was able to put mine underneath and think it’s the best move as the somewhat unclear plans show it that way and common sense says skins should over lap with the top being the outside of the two.

I did mess up a fabricated piece and had to remake one.  Chalk another piece up to the scrap pile.  For some reason, the plans always get me with length dimensions.  It will say to cut a piece 8″ long with 1/8″ angled edge on either side.  That equals 8 1/4″ but I always read it as overall length and wind up with apiece just a hair too short.  Better to learn now on cheap pieces, I suppose.

One exciting aspect is getting to use a new tool.  You get to break out the 12″ #40 drill bit to drill four holes in the rudder stop stiffeners.  It goes to show you must have the right tool for the job!

20140102-223952.jpg

20140102-224005.jpg

20140102-224015.jpg