Dreaded Doors

The biggest and most dreaded part of a RV-10 build for most people are the doors. The are notoriously tough to trim, fit, and fill to get a nice result. However, they are critical in the safety and looks of the plane. And since I don’t want to mess up my hair while flying, I dove in to start closing up the cabin.

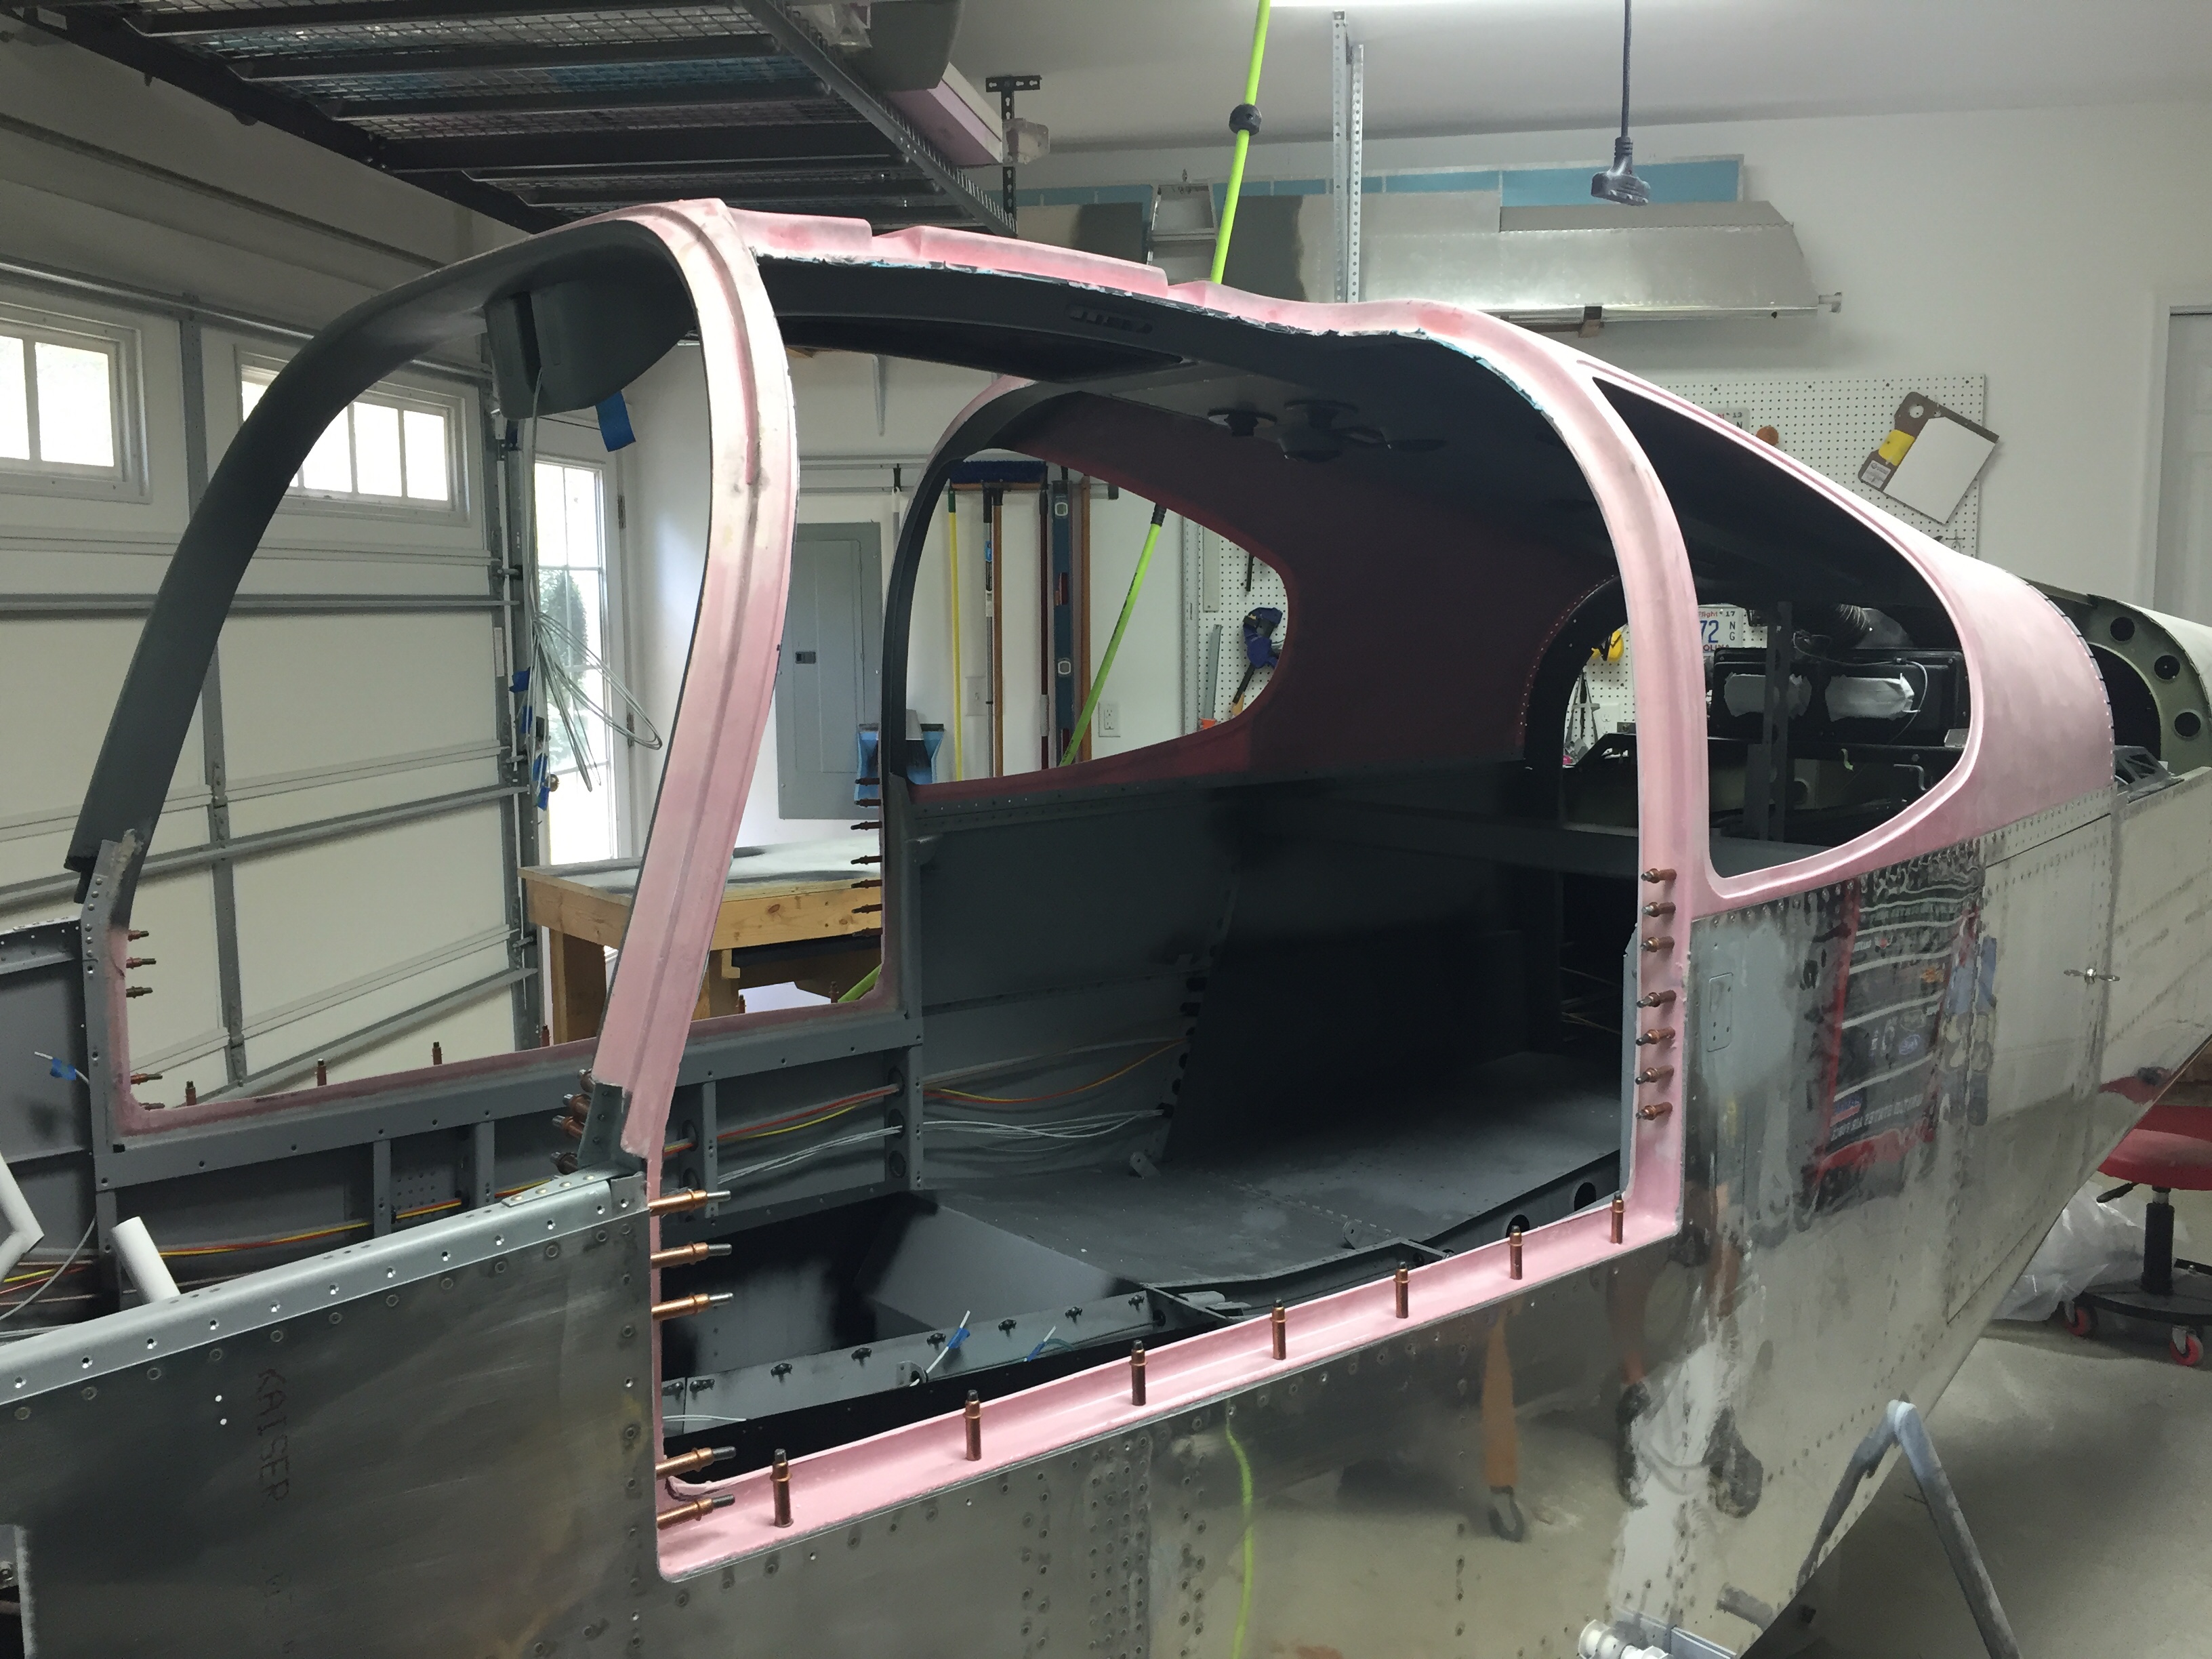
It’s commonly known the scribe lines and reference dimples are useless and my doors were no different. The dimples were a half inch off from each other So I matched up the two shells of the doors by eye and measurements. The first step is to trim the window opening and prepare the shells for bonding.

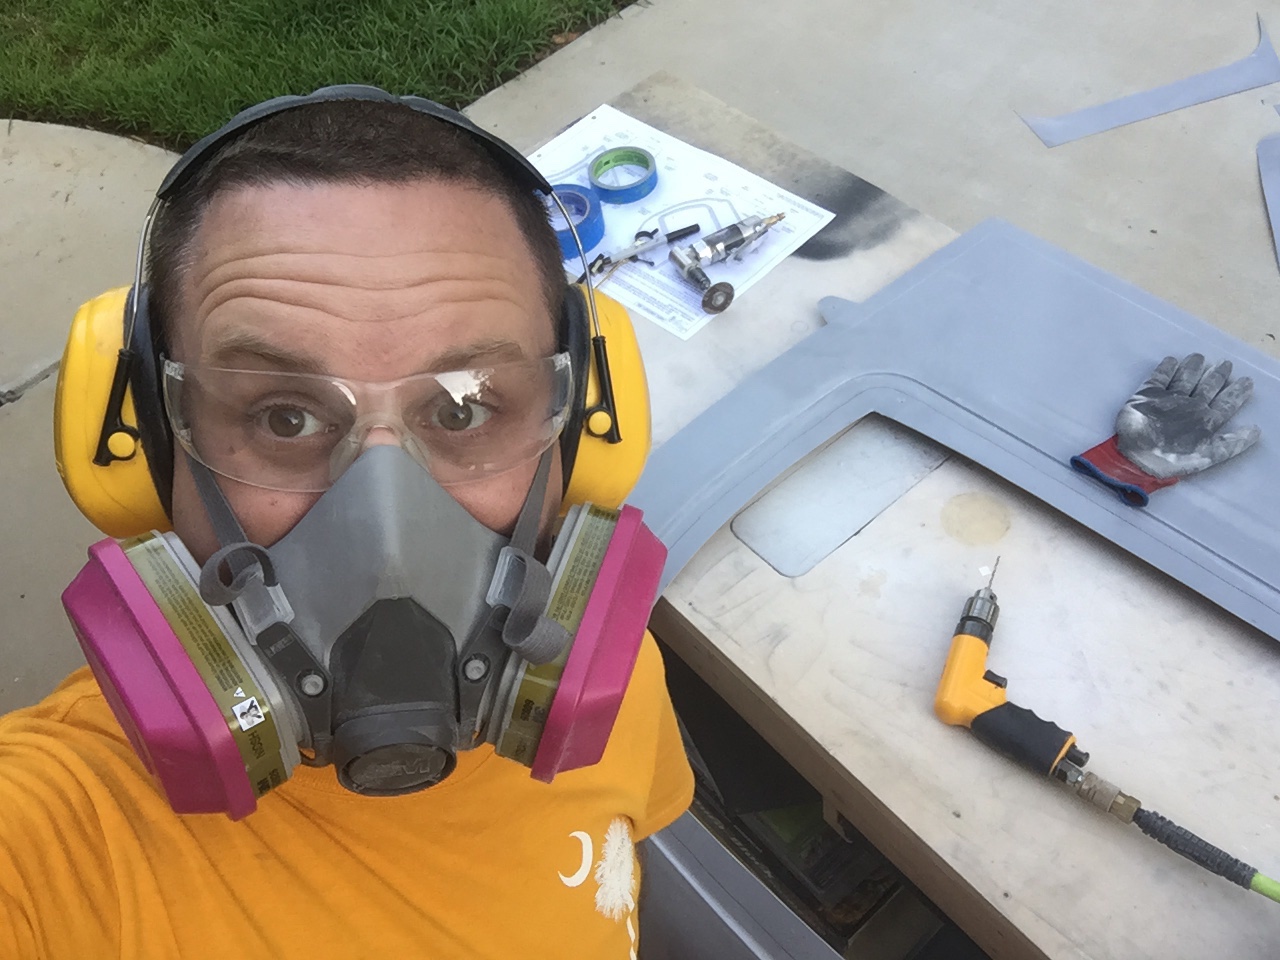
Fiberglass is messy stuff, so use proper PPE! I then did a rough trim on the exterior of the halves to get ready to bond them on the cabin top. You use the cabin top as a template to get the proper curve set while the epoxy sets. So I payed the halves on the top and prepped by drilling holes for the clecos.

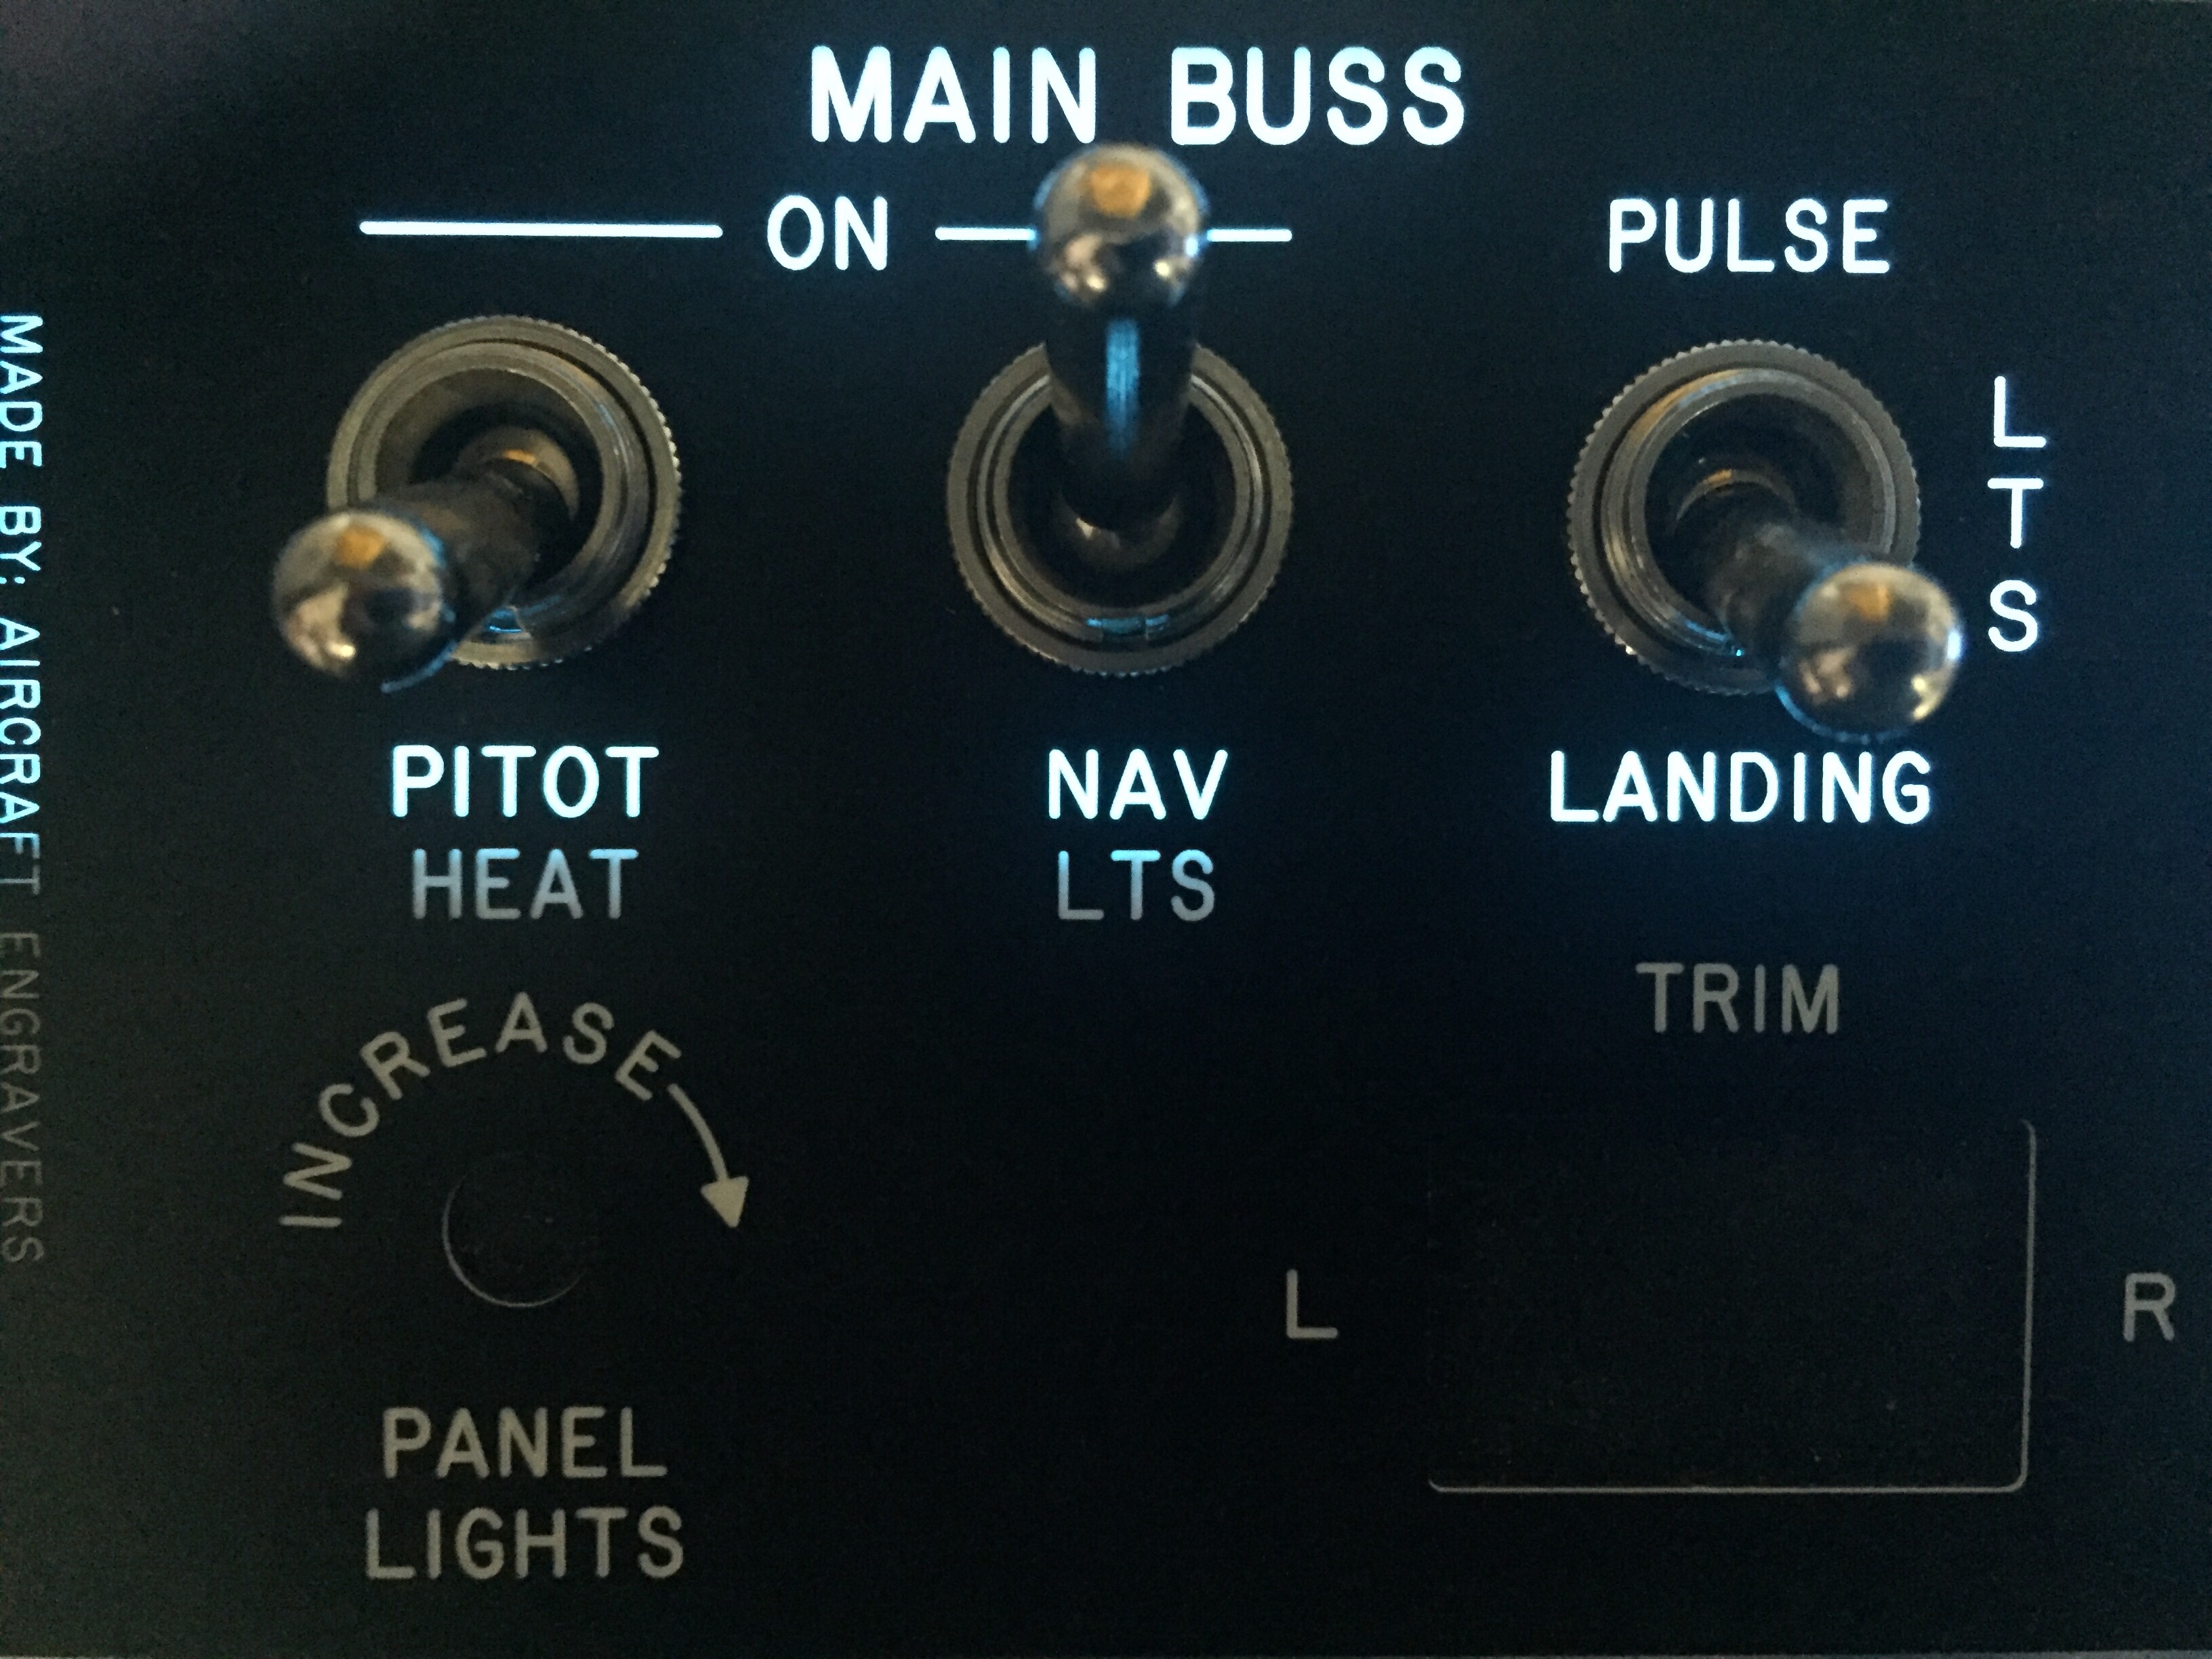
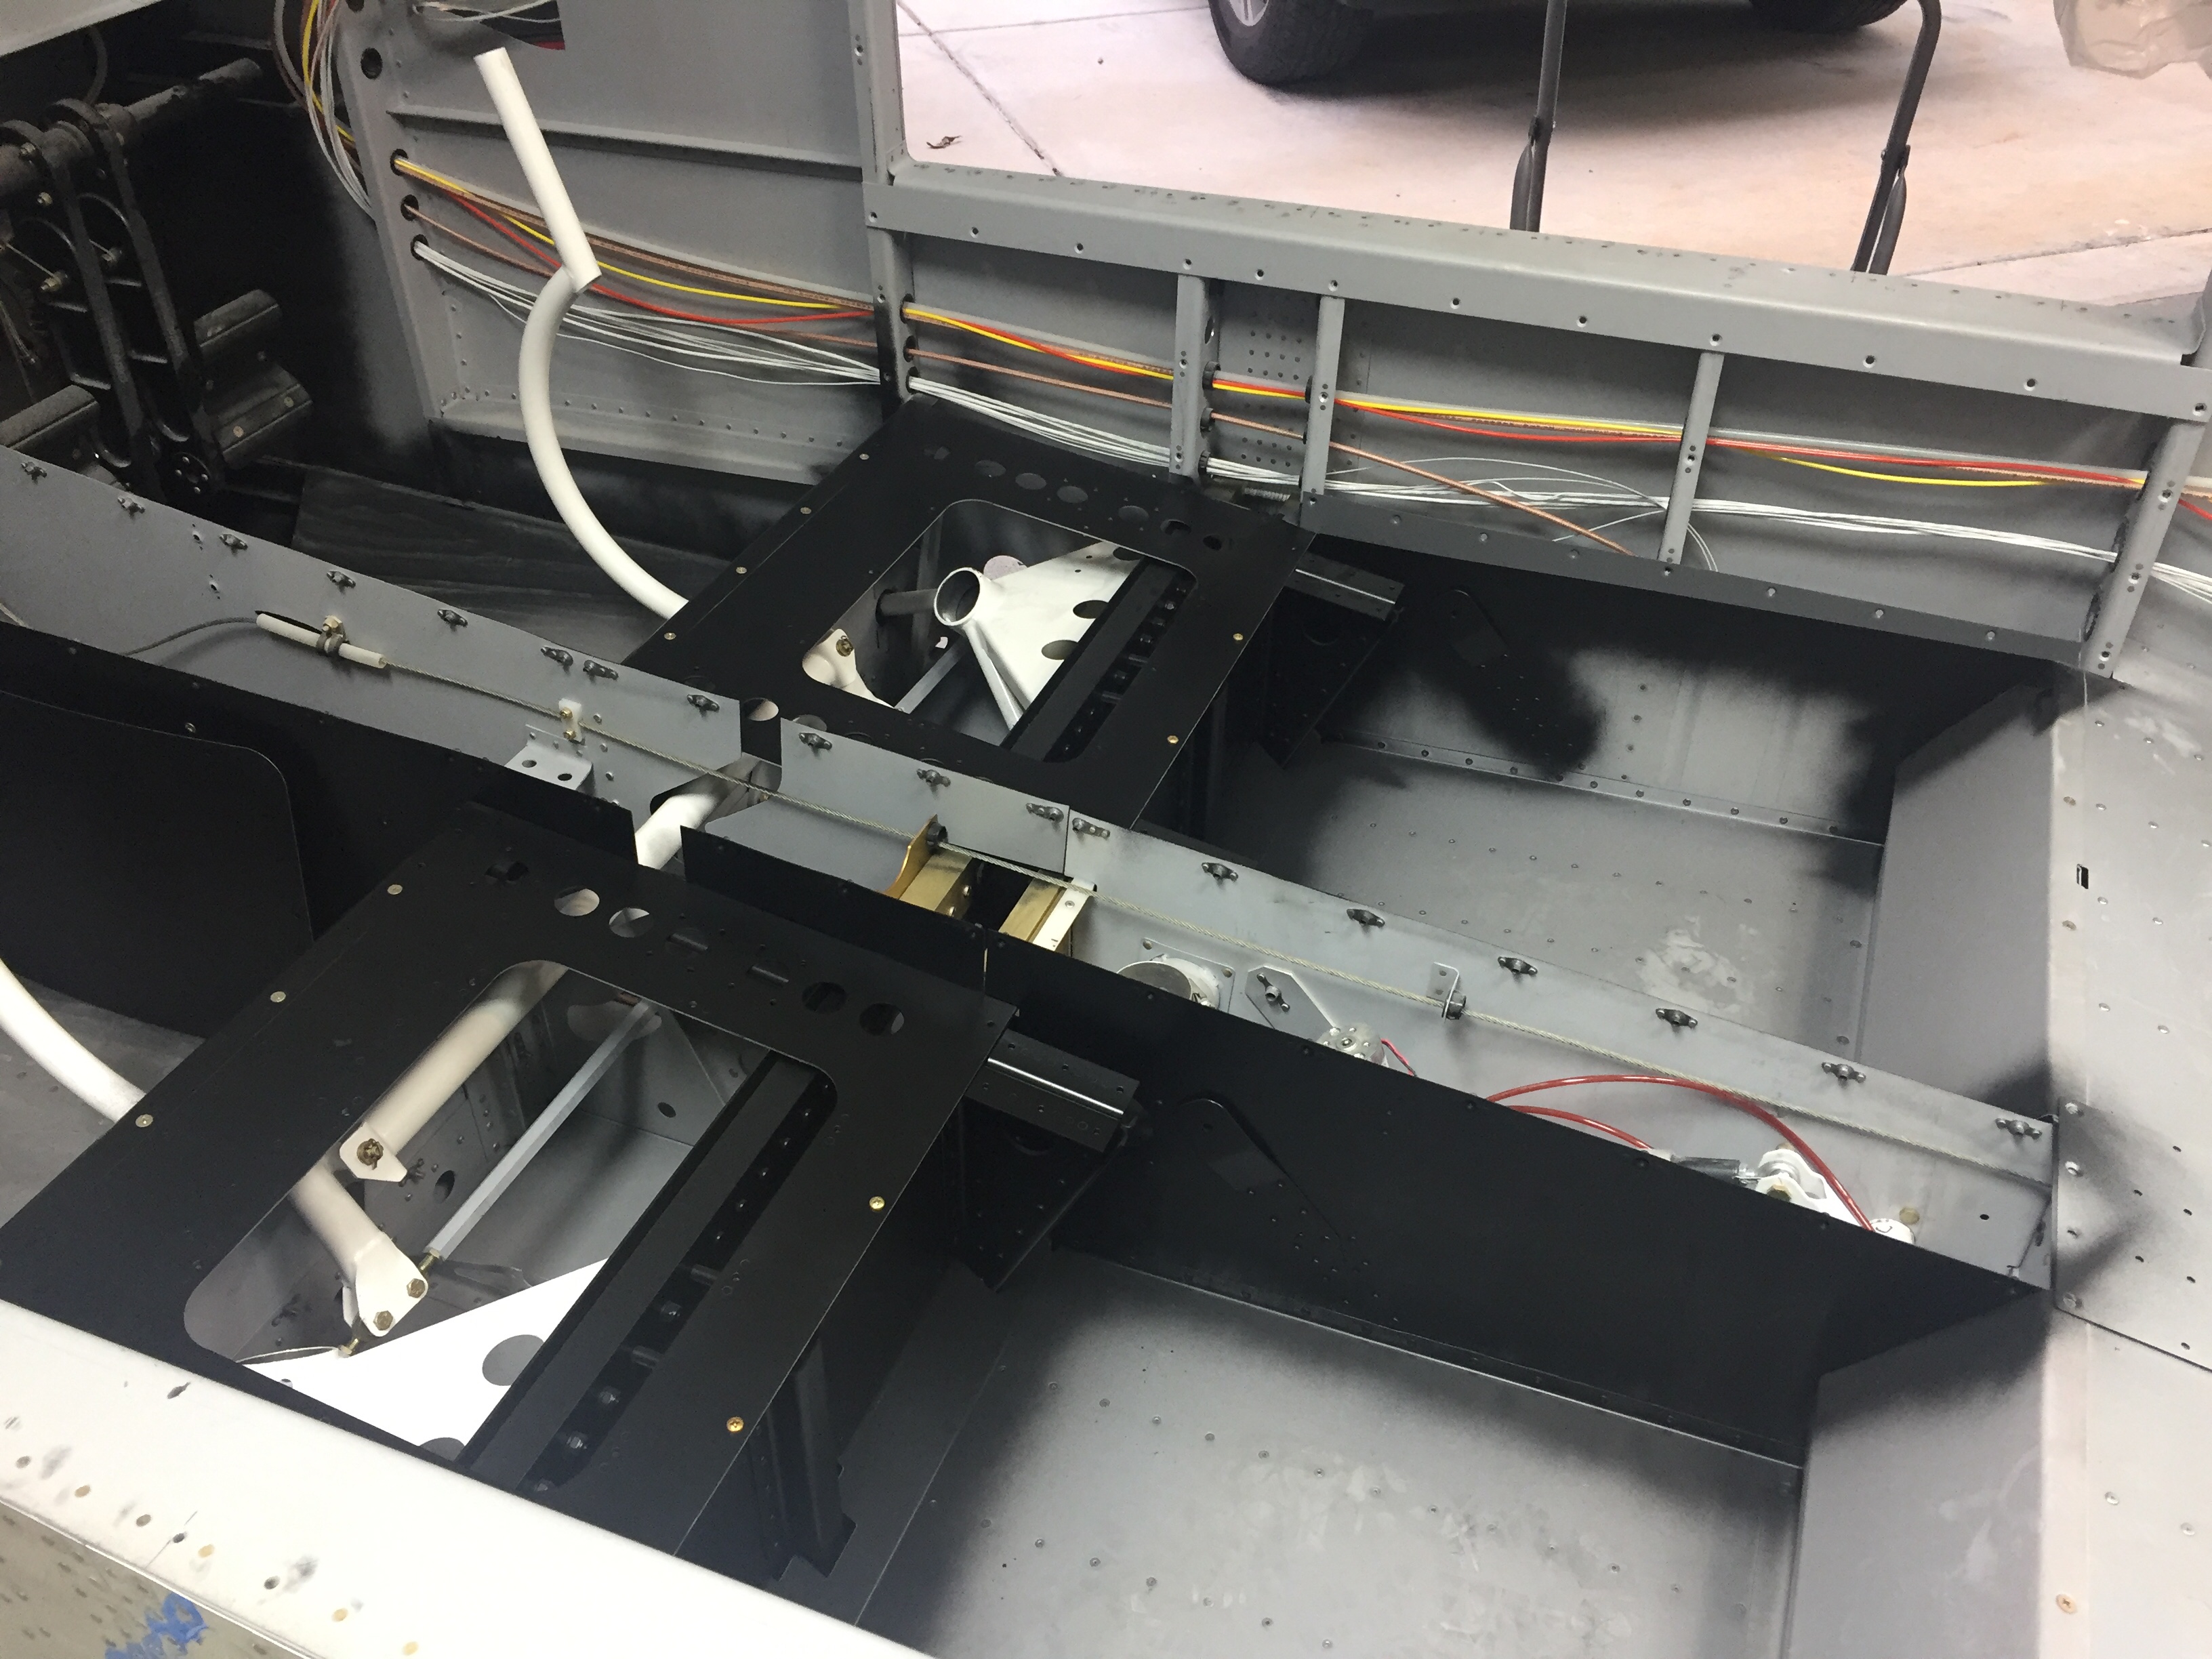
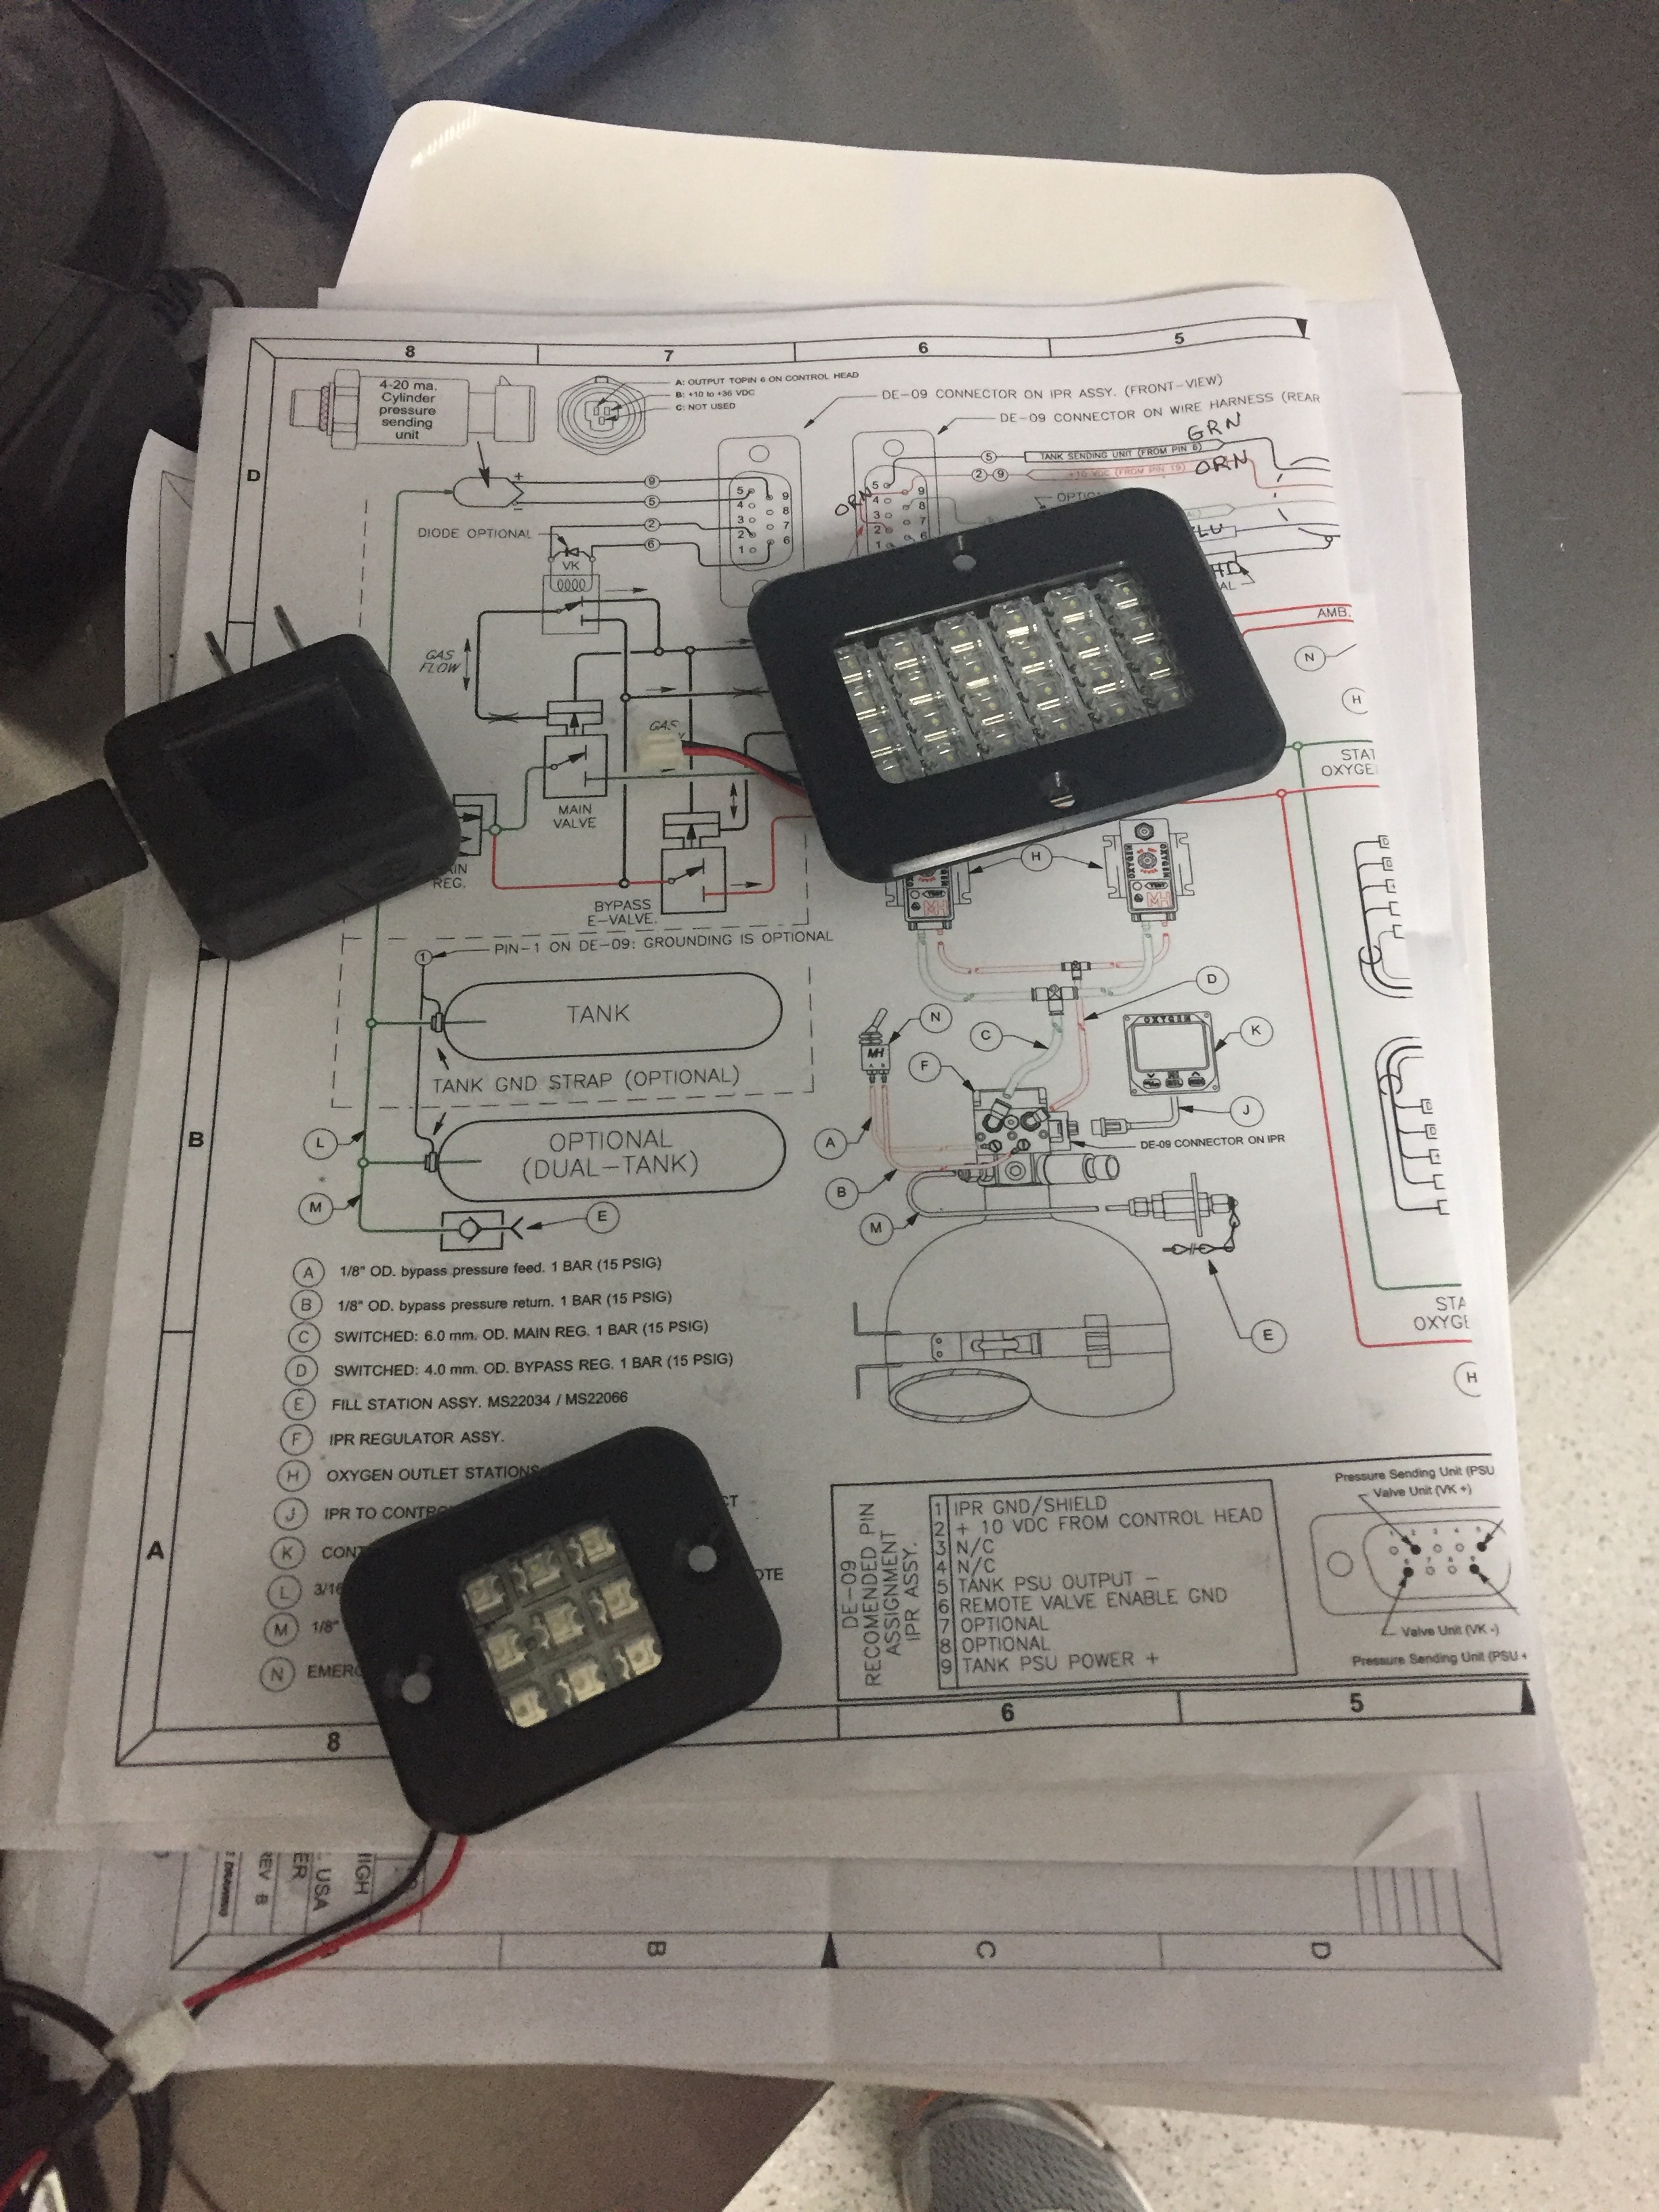
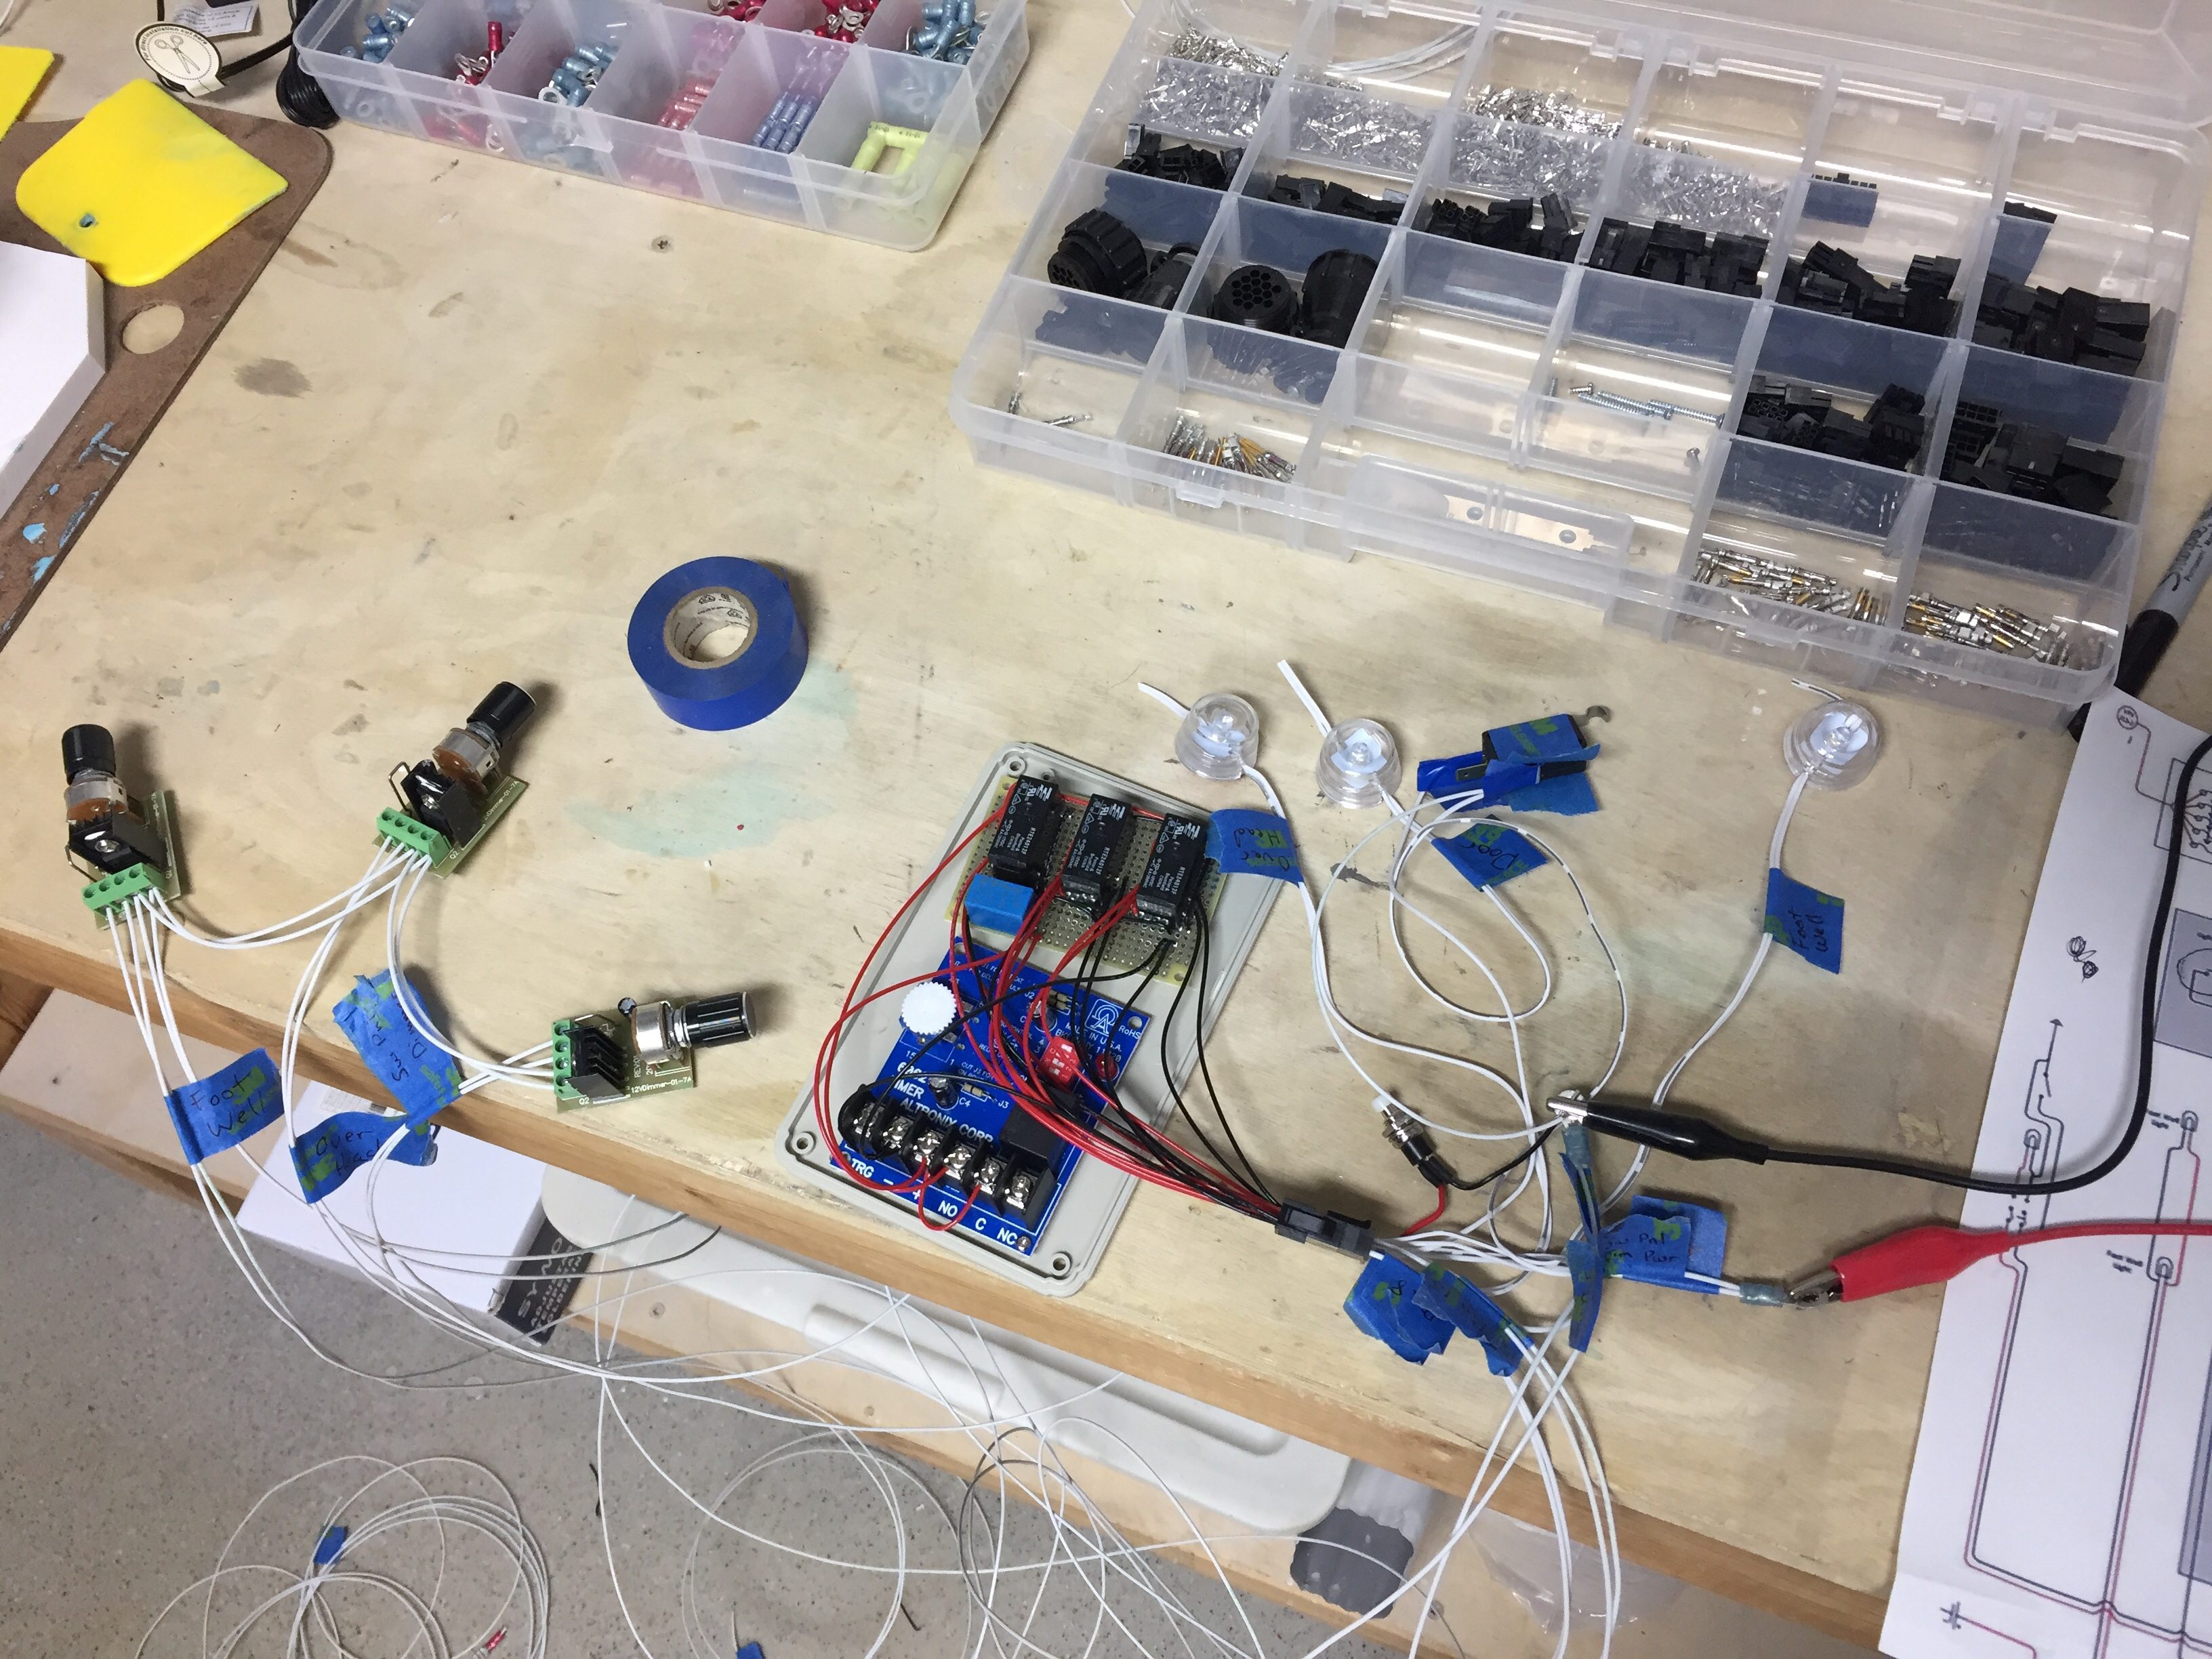
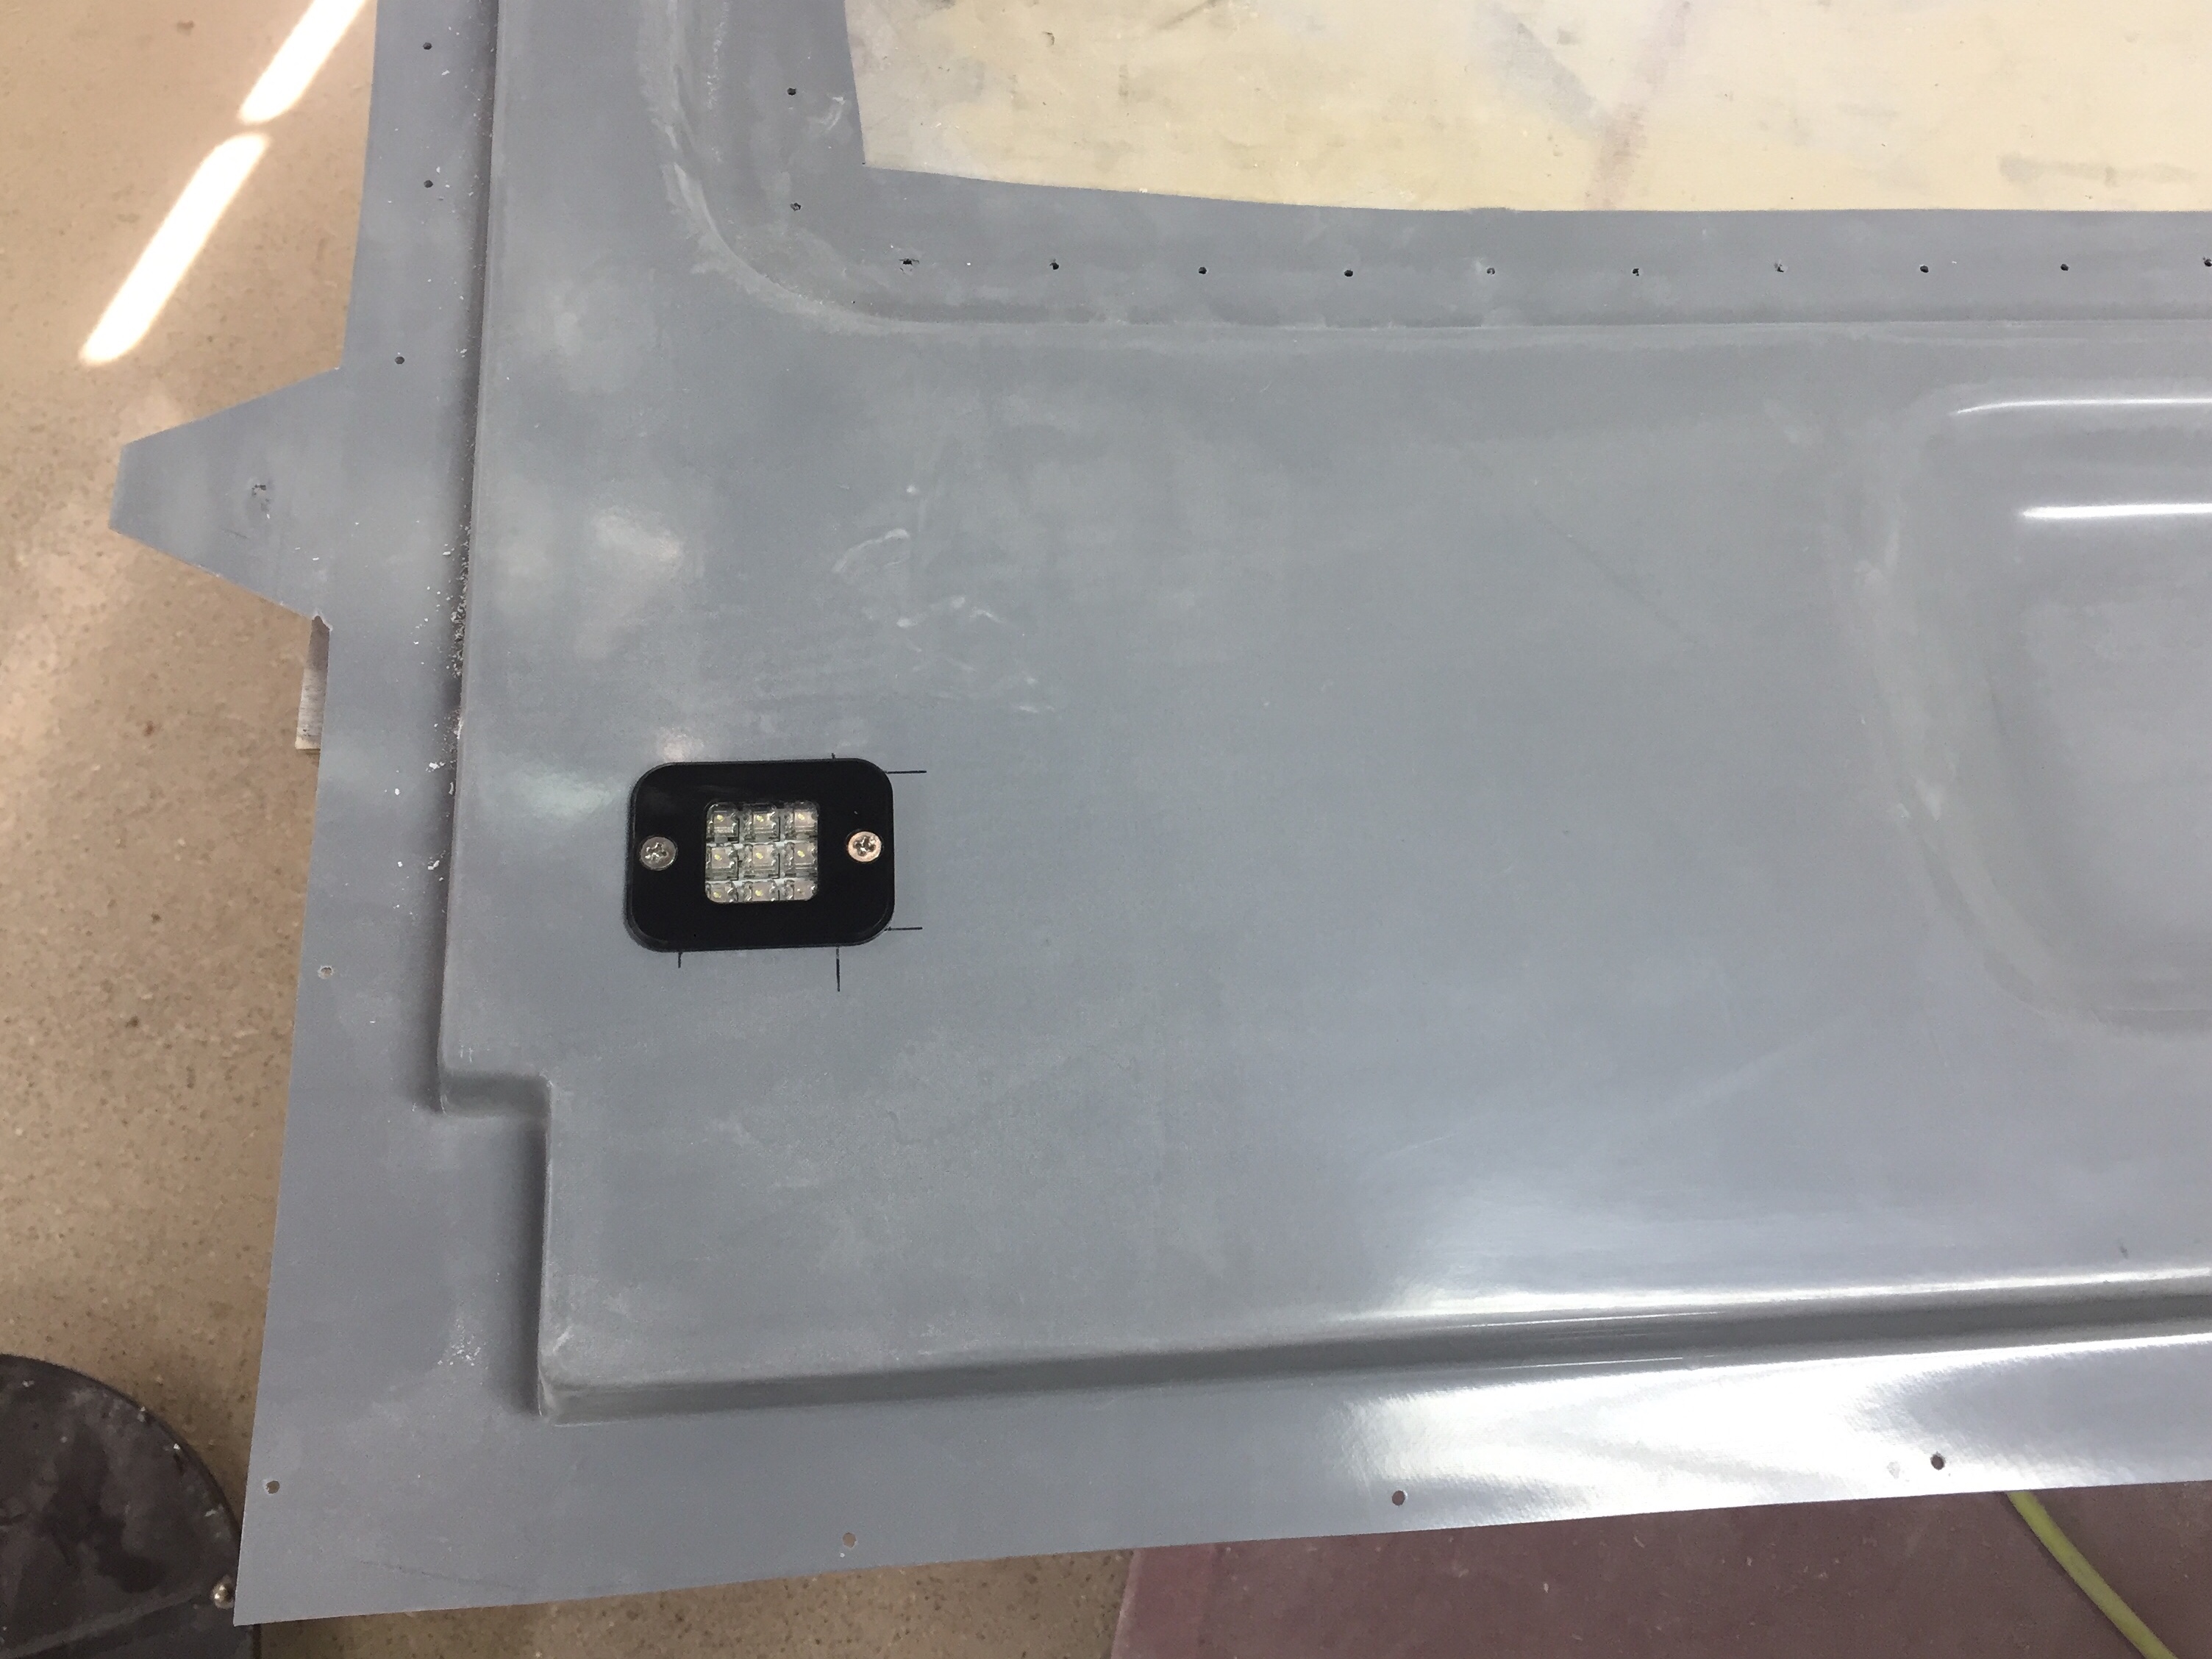
I then began working on the Planearound center latch as another builder did, before epoxying the door halves together. It was much easier to work on the back side of each half before the pieces work together. It also allowed me to insert the gear box through one hole instead of having to cut the slot. Looking back, I wish I had done the entire door handle system while the door halves were apart, but I’m getting ahead of myself. I cut the reinforcement tubes and also ran wire for the door/access lights that I ordered from Sean as well. These are smaller versions of what I put in the overhead console and should light up the wing and step at night very well.

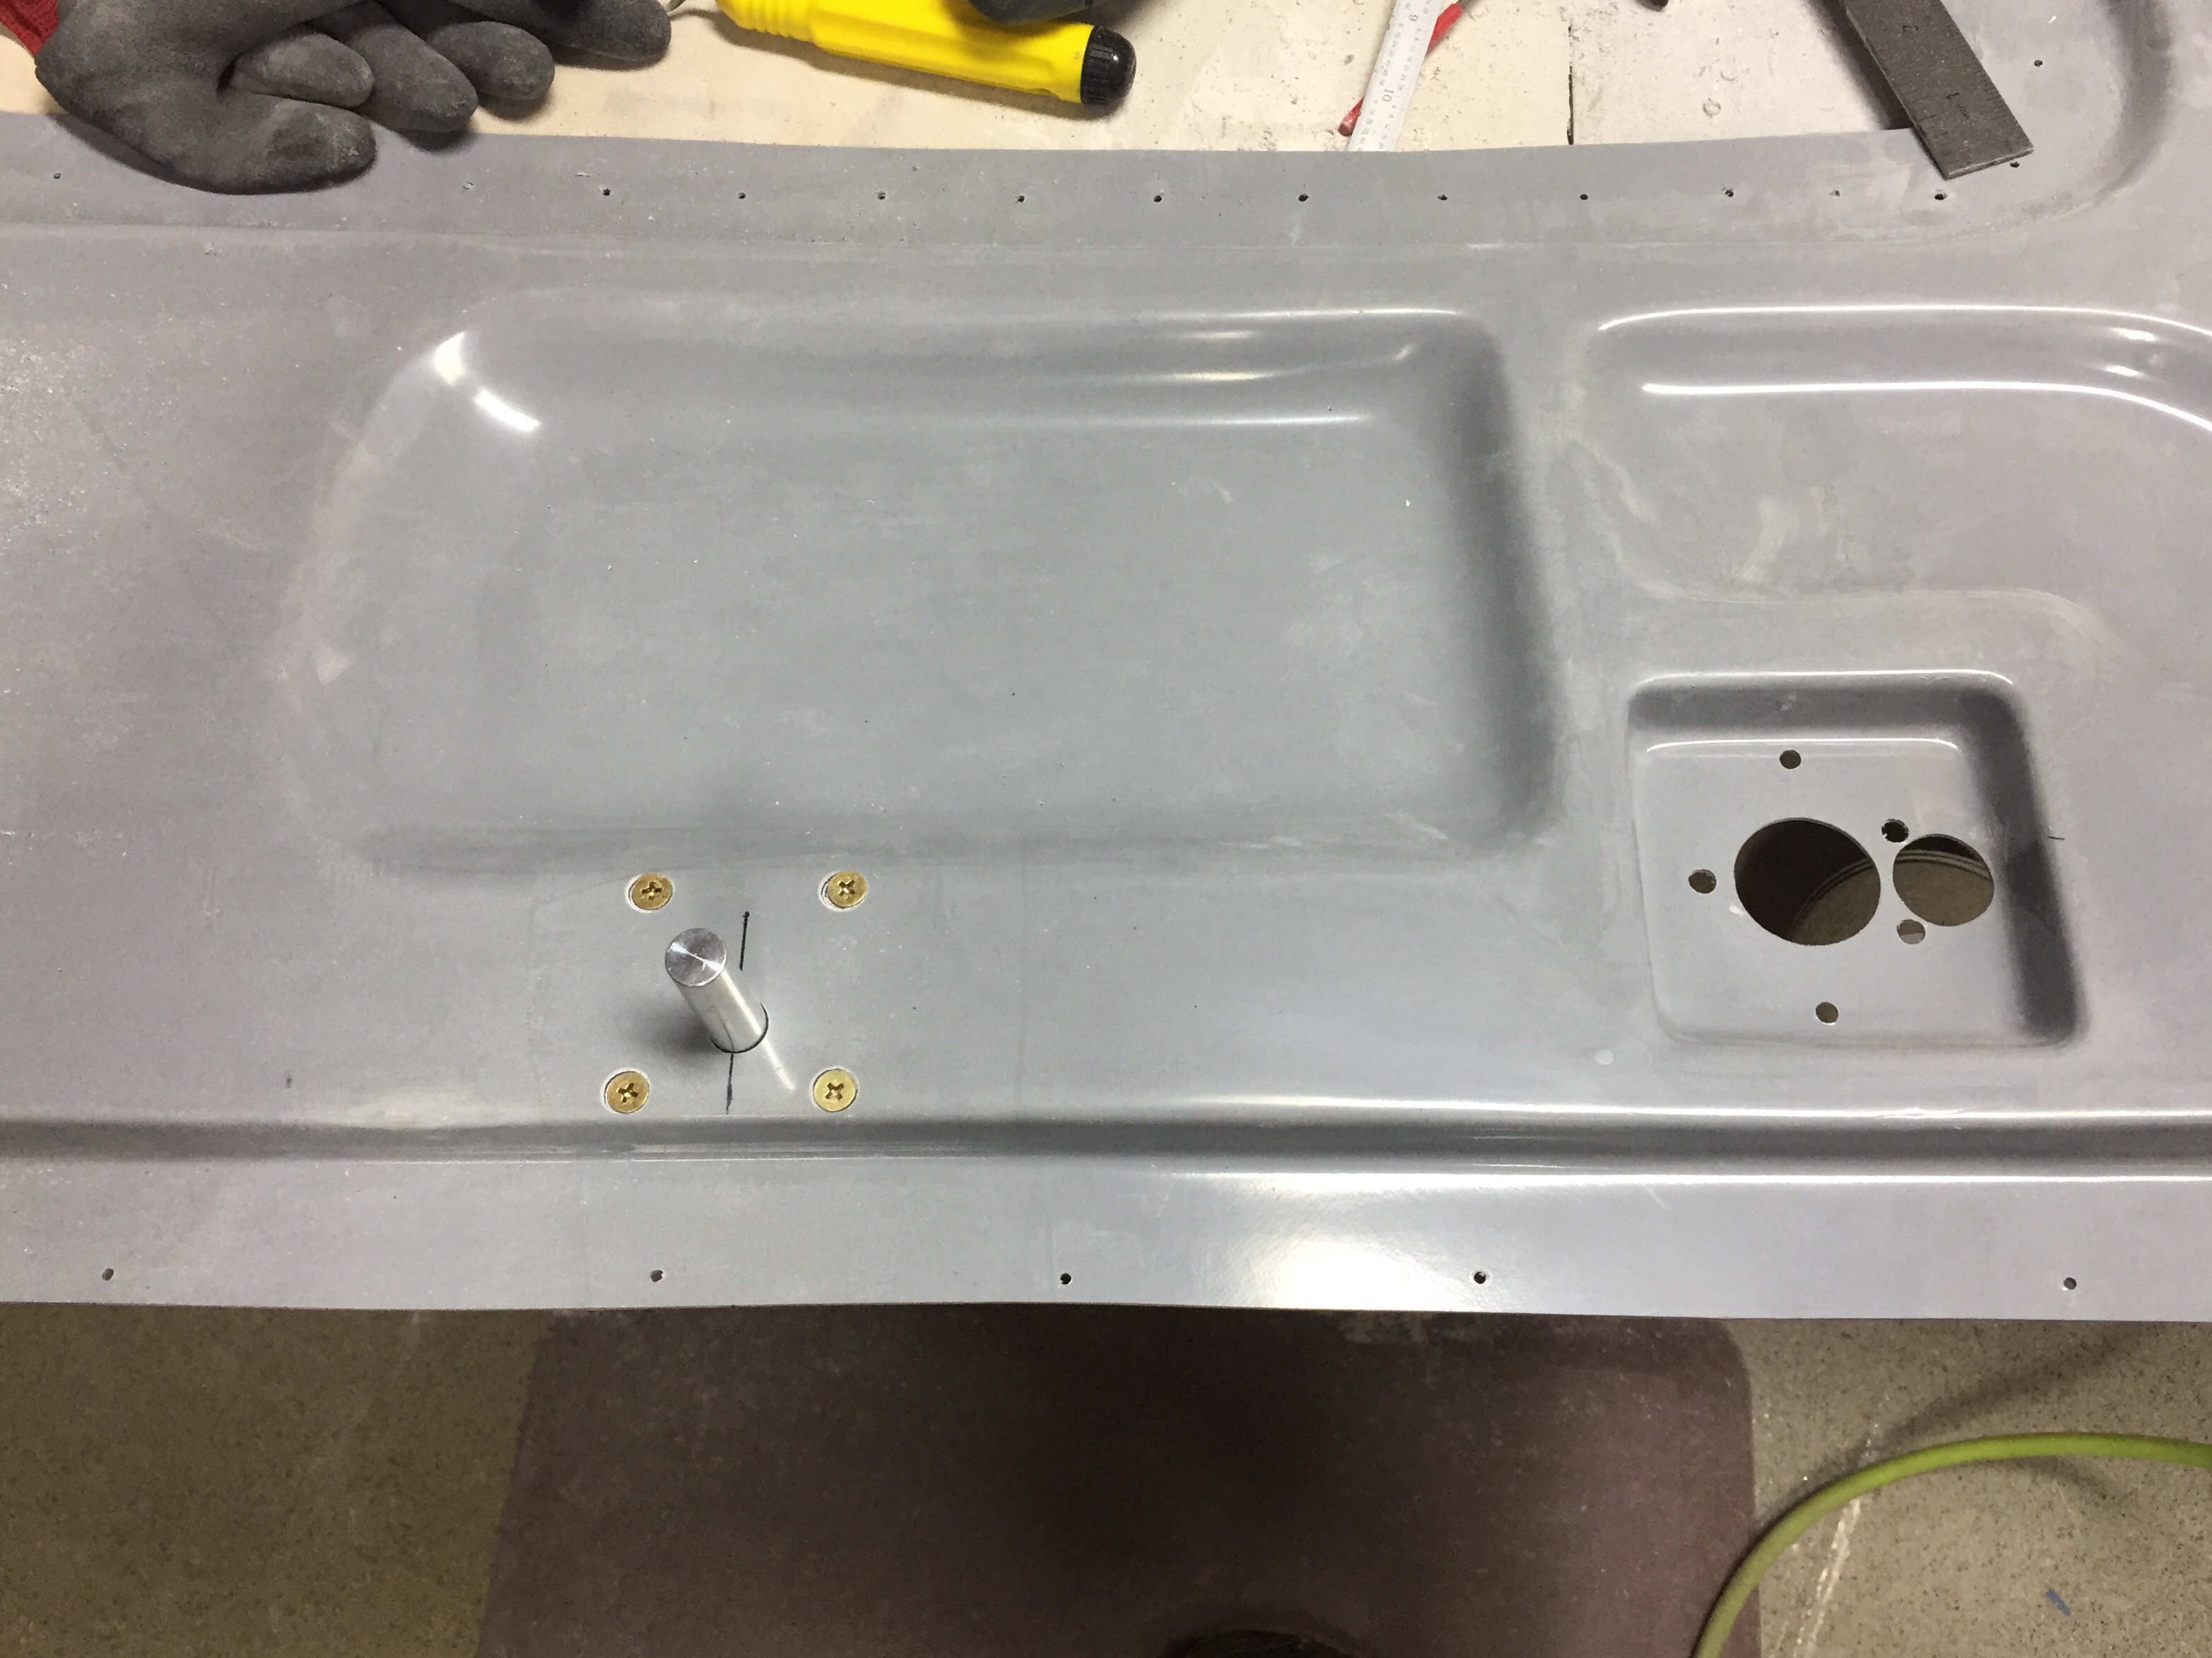
I’m also installing the low profile exterior door handles from Aerosport and again it was easier to do some preliminary work on those before the doors went together. Drilling the skins for the large block as well as the door lock and trim ring saves a lot of work later on.

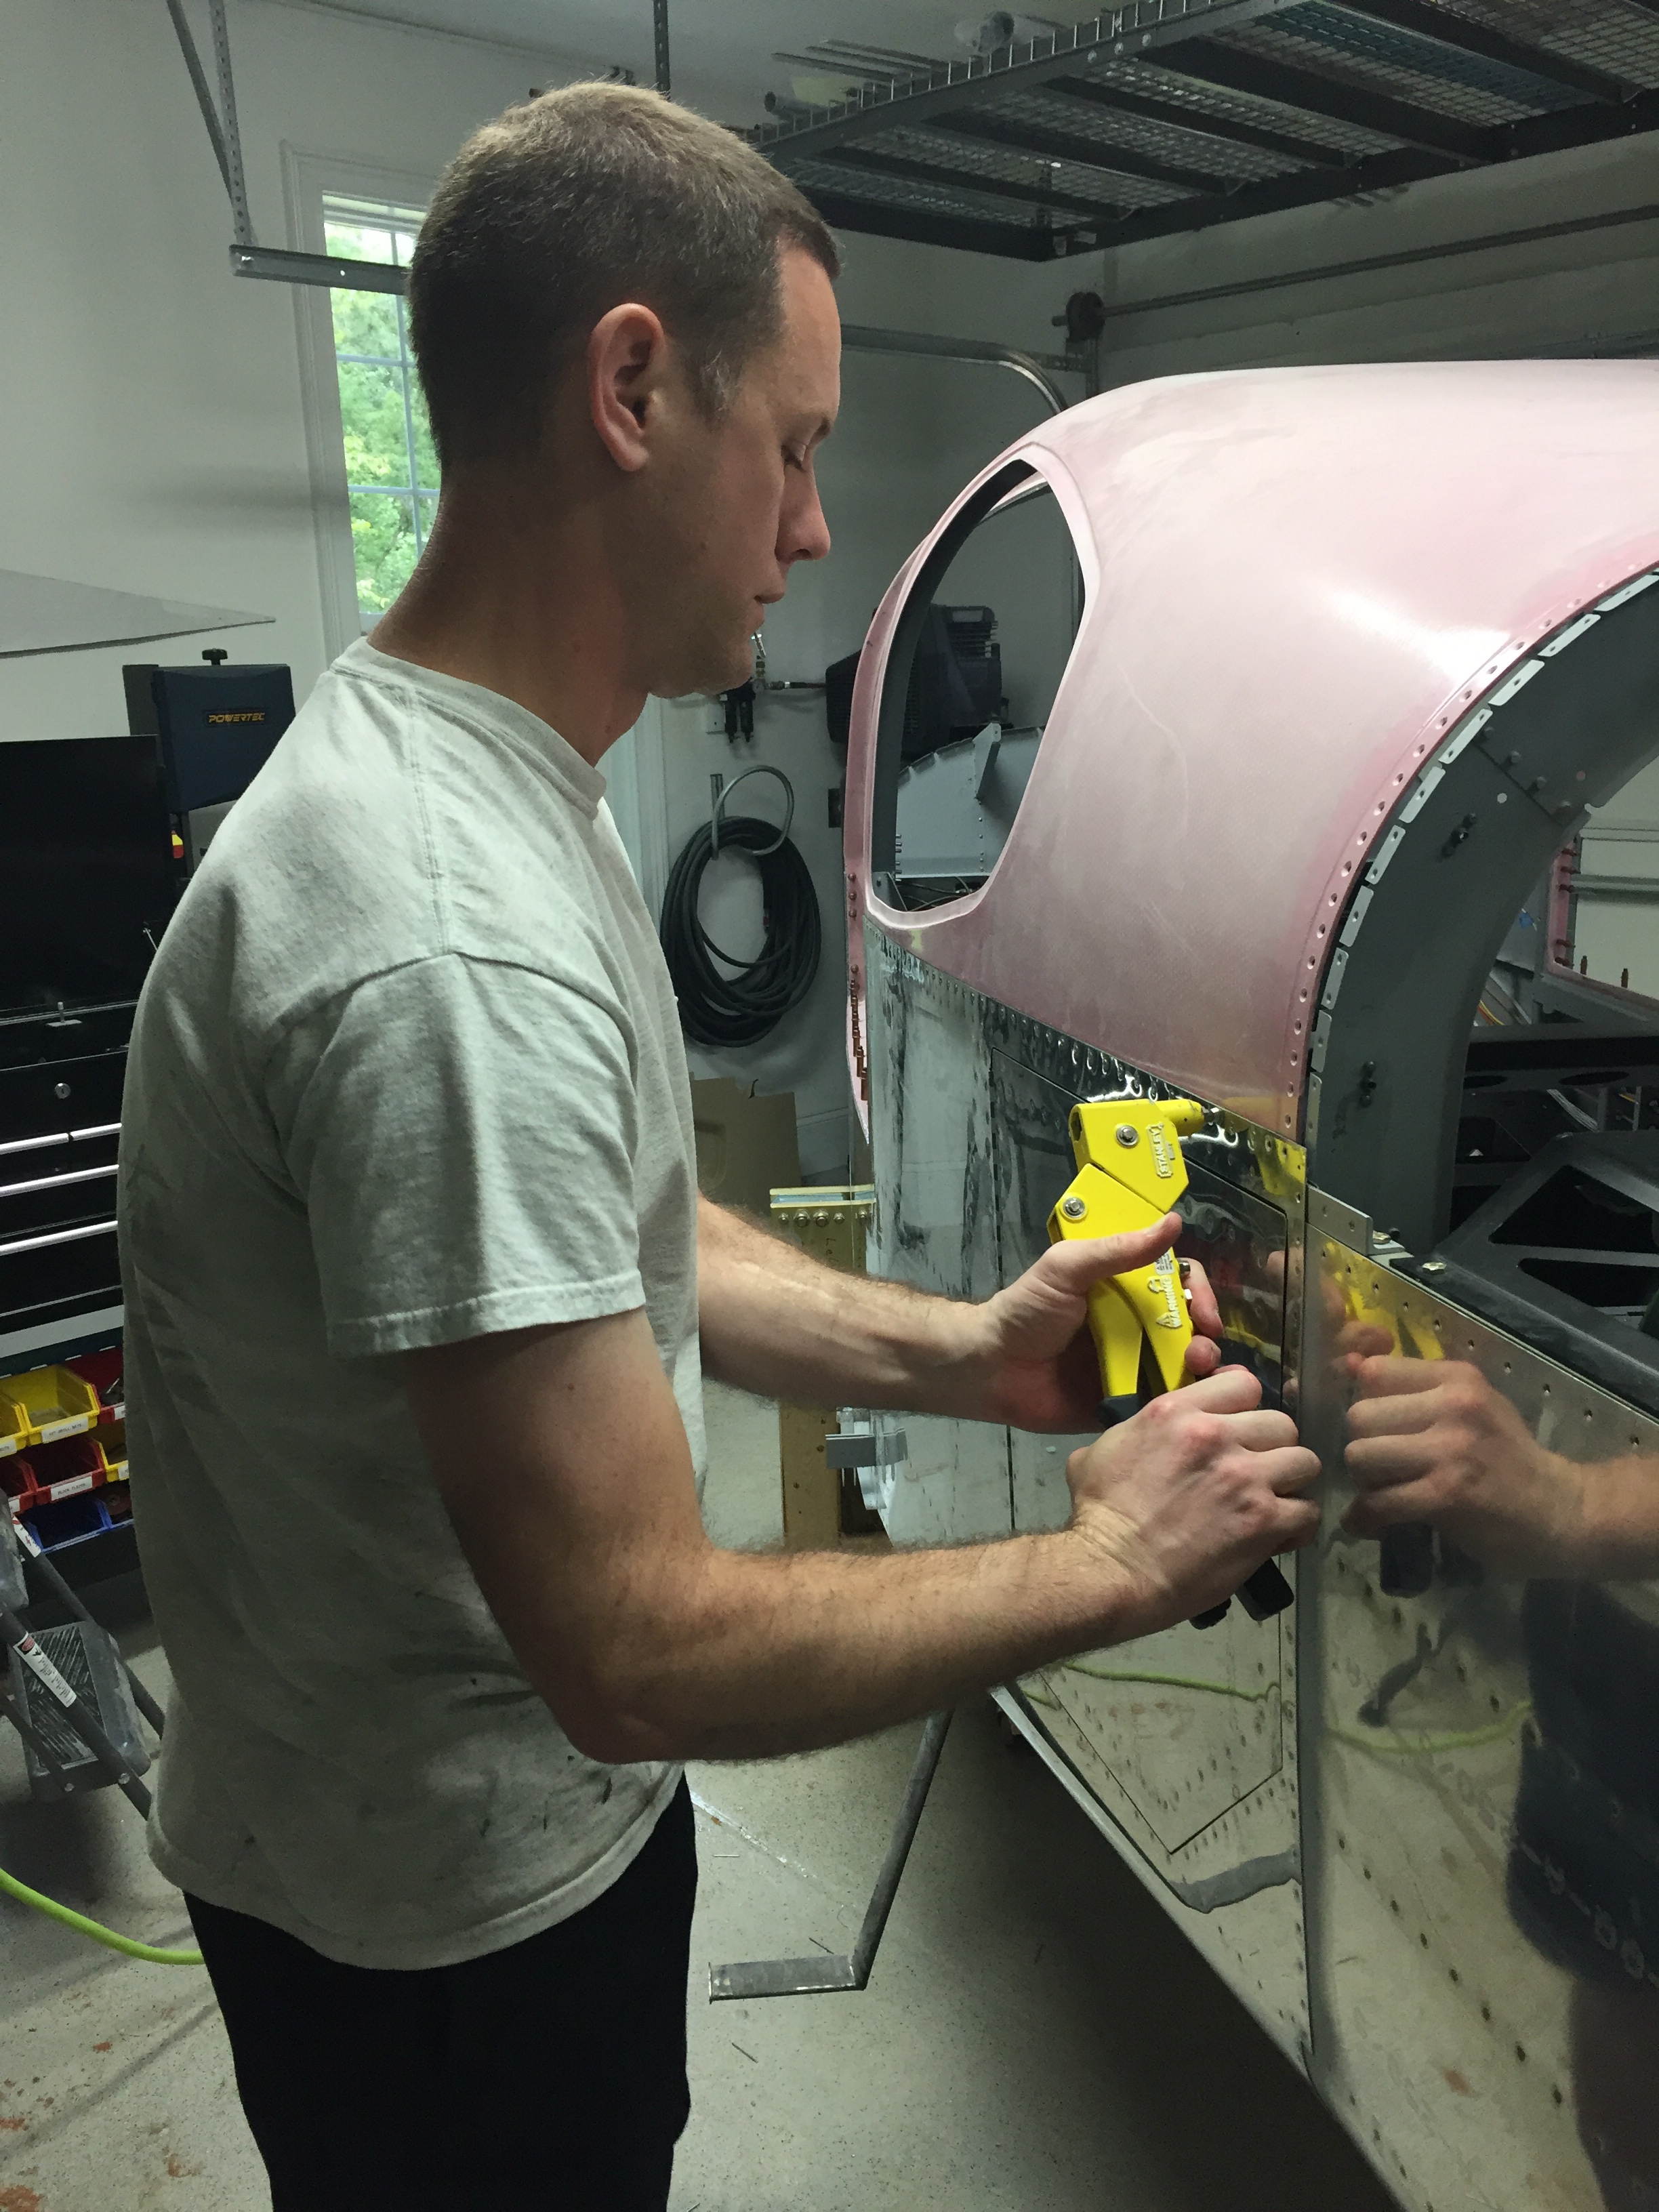
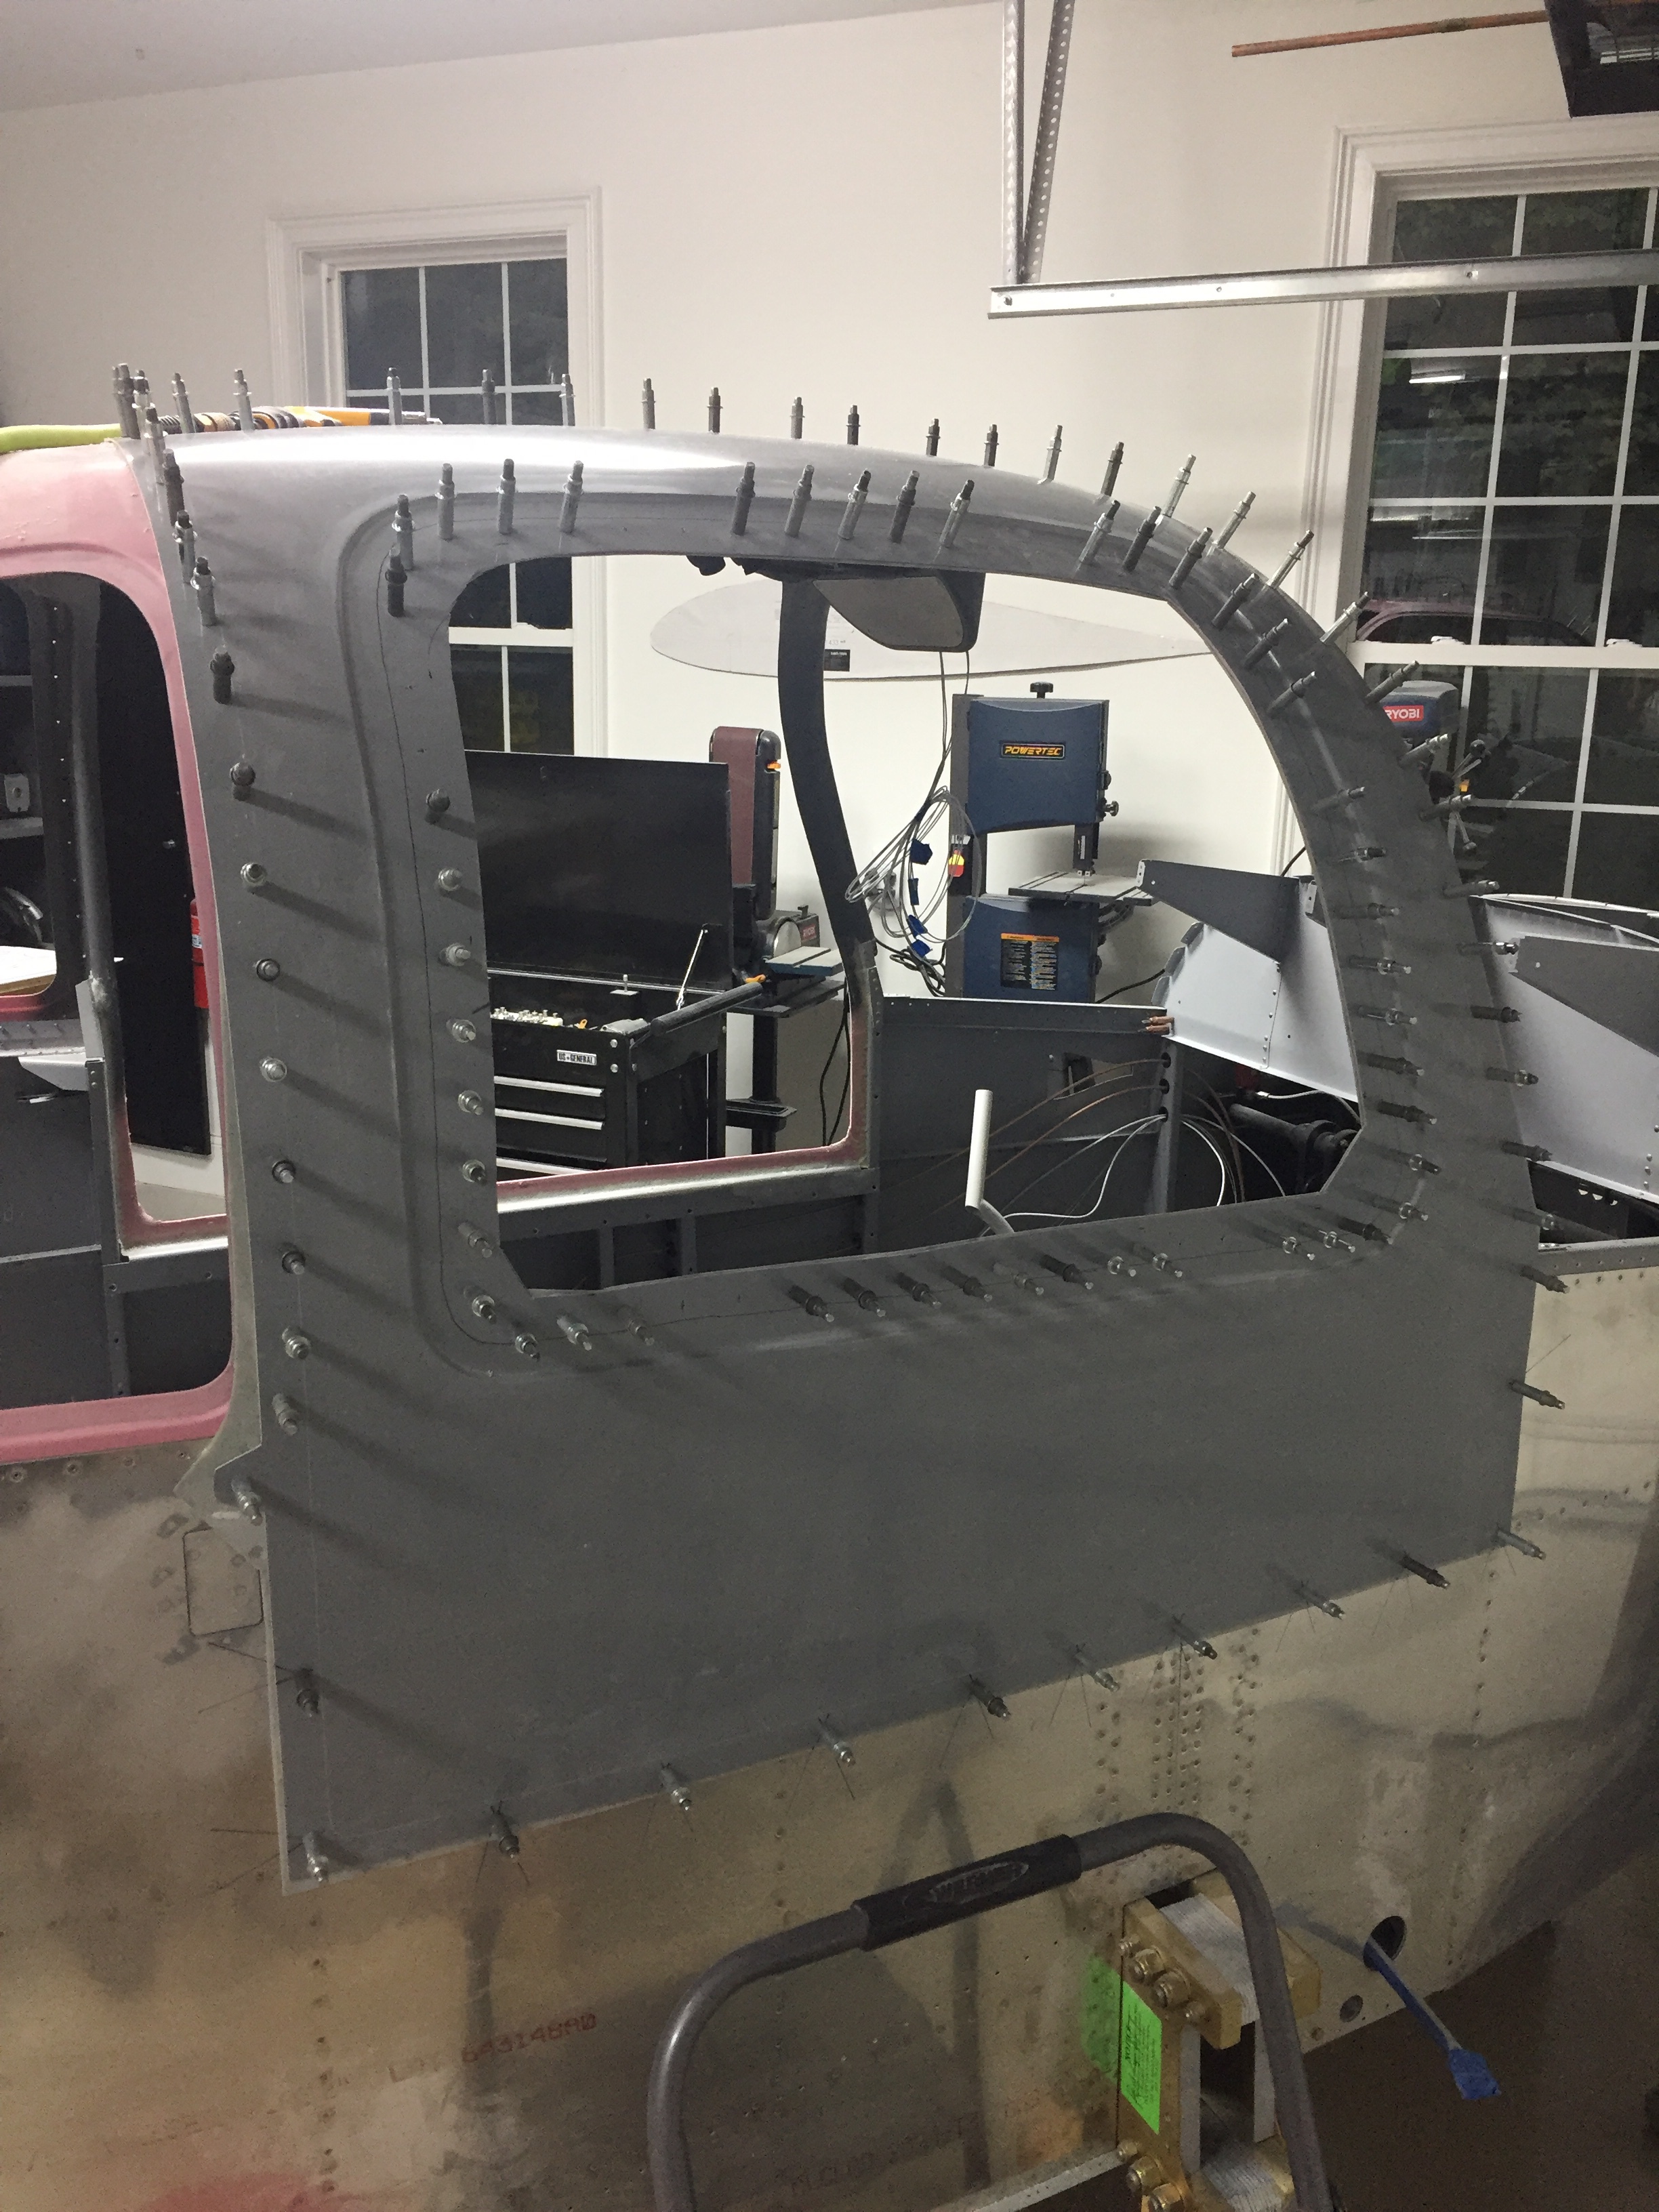
I had a fellow flyer-buddy of mine come over and help mix flox and set everything in place. I chose to follow a few others by using clecos into the cabin top instead of tape, clamps, weight, etc. to get the curve. This worked very well except for one spot on the right side door where the door just would lay flat against my cabin top. I pressed on knowing I’d be doing some fill and finessing later. It takes a lot of epoxy/flox mix to butter the halves up. I filled the cavities near the center cam we slathered on the flox followed by pinning it all to the cabin top.

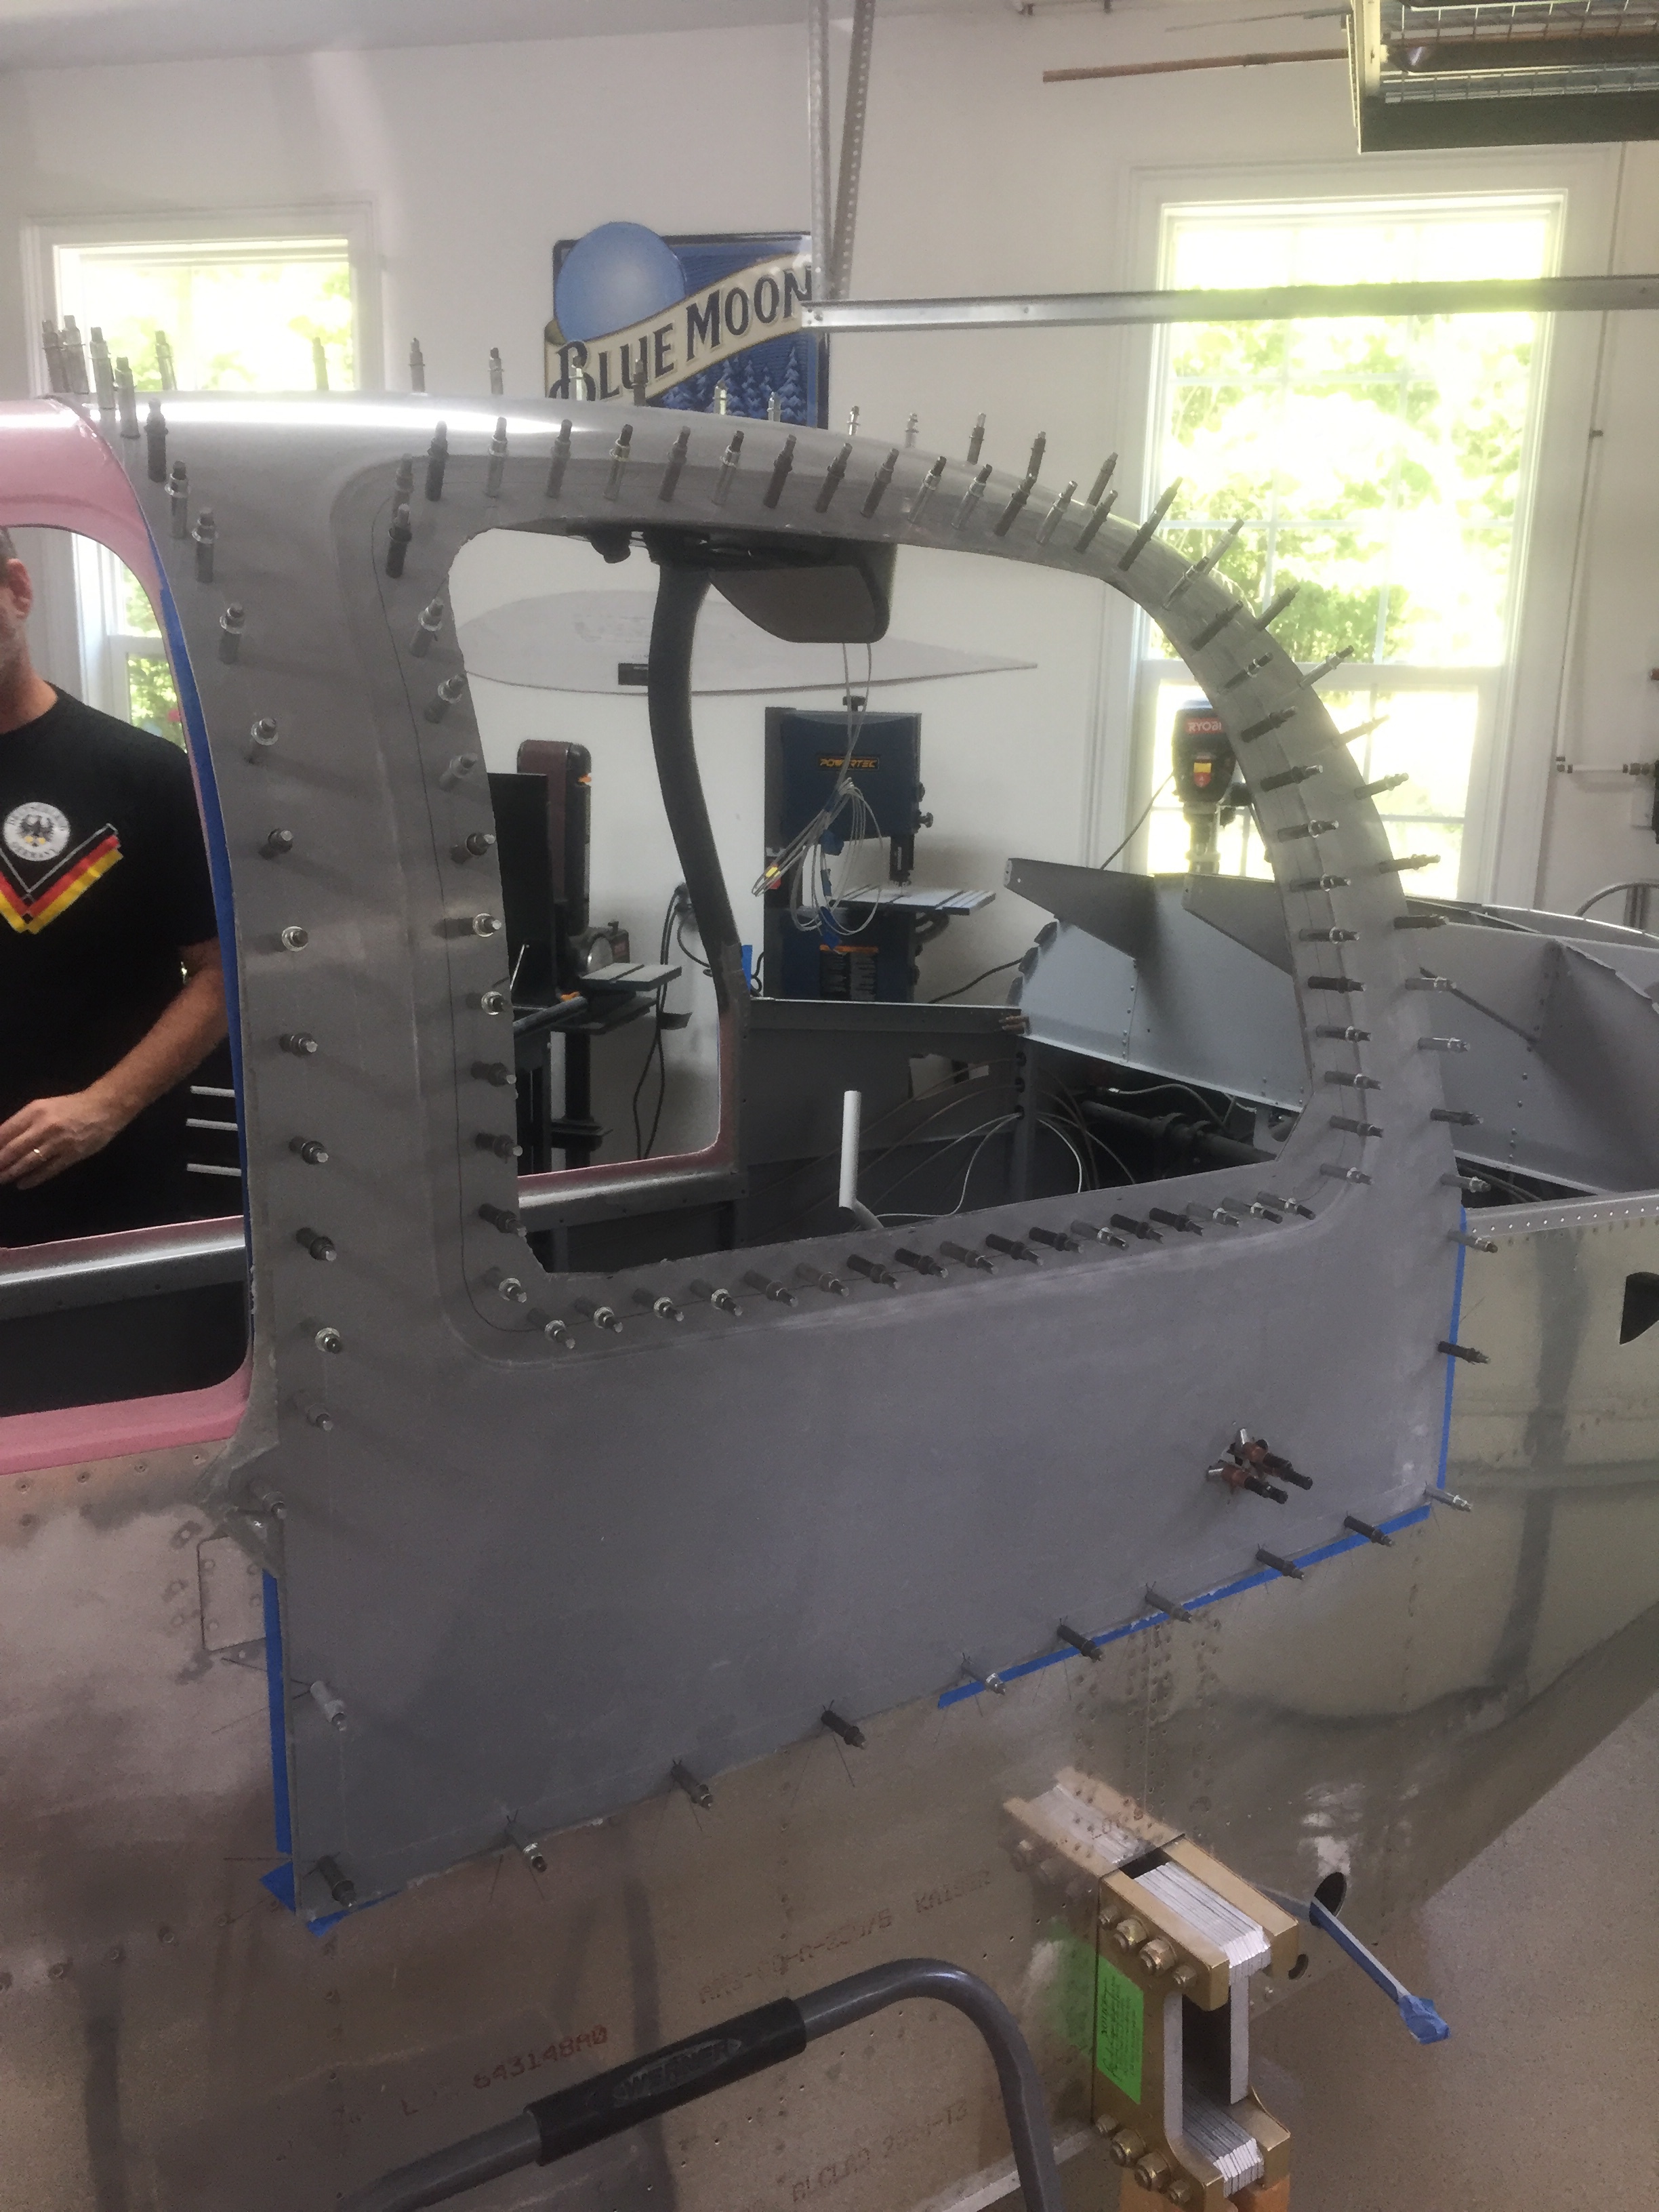
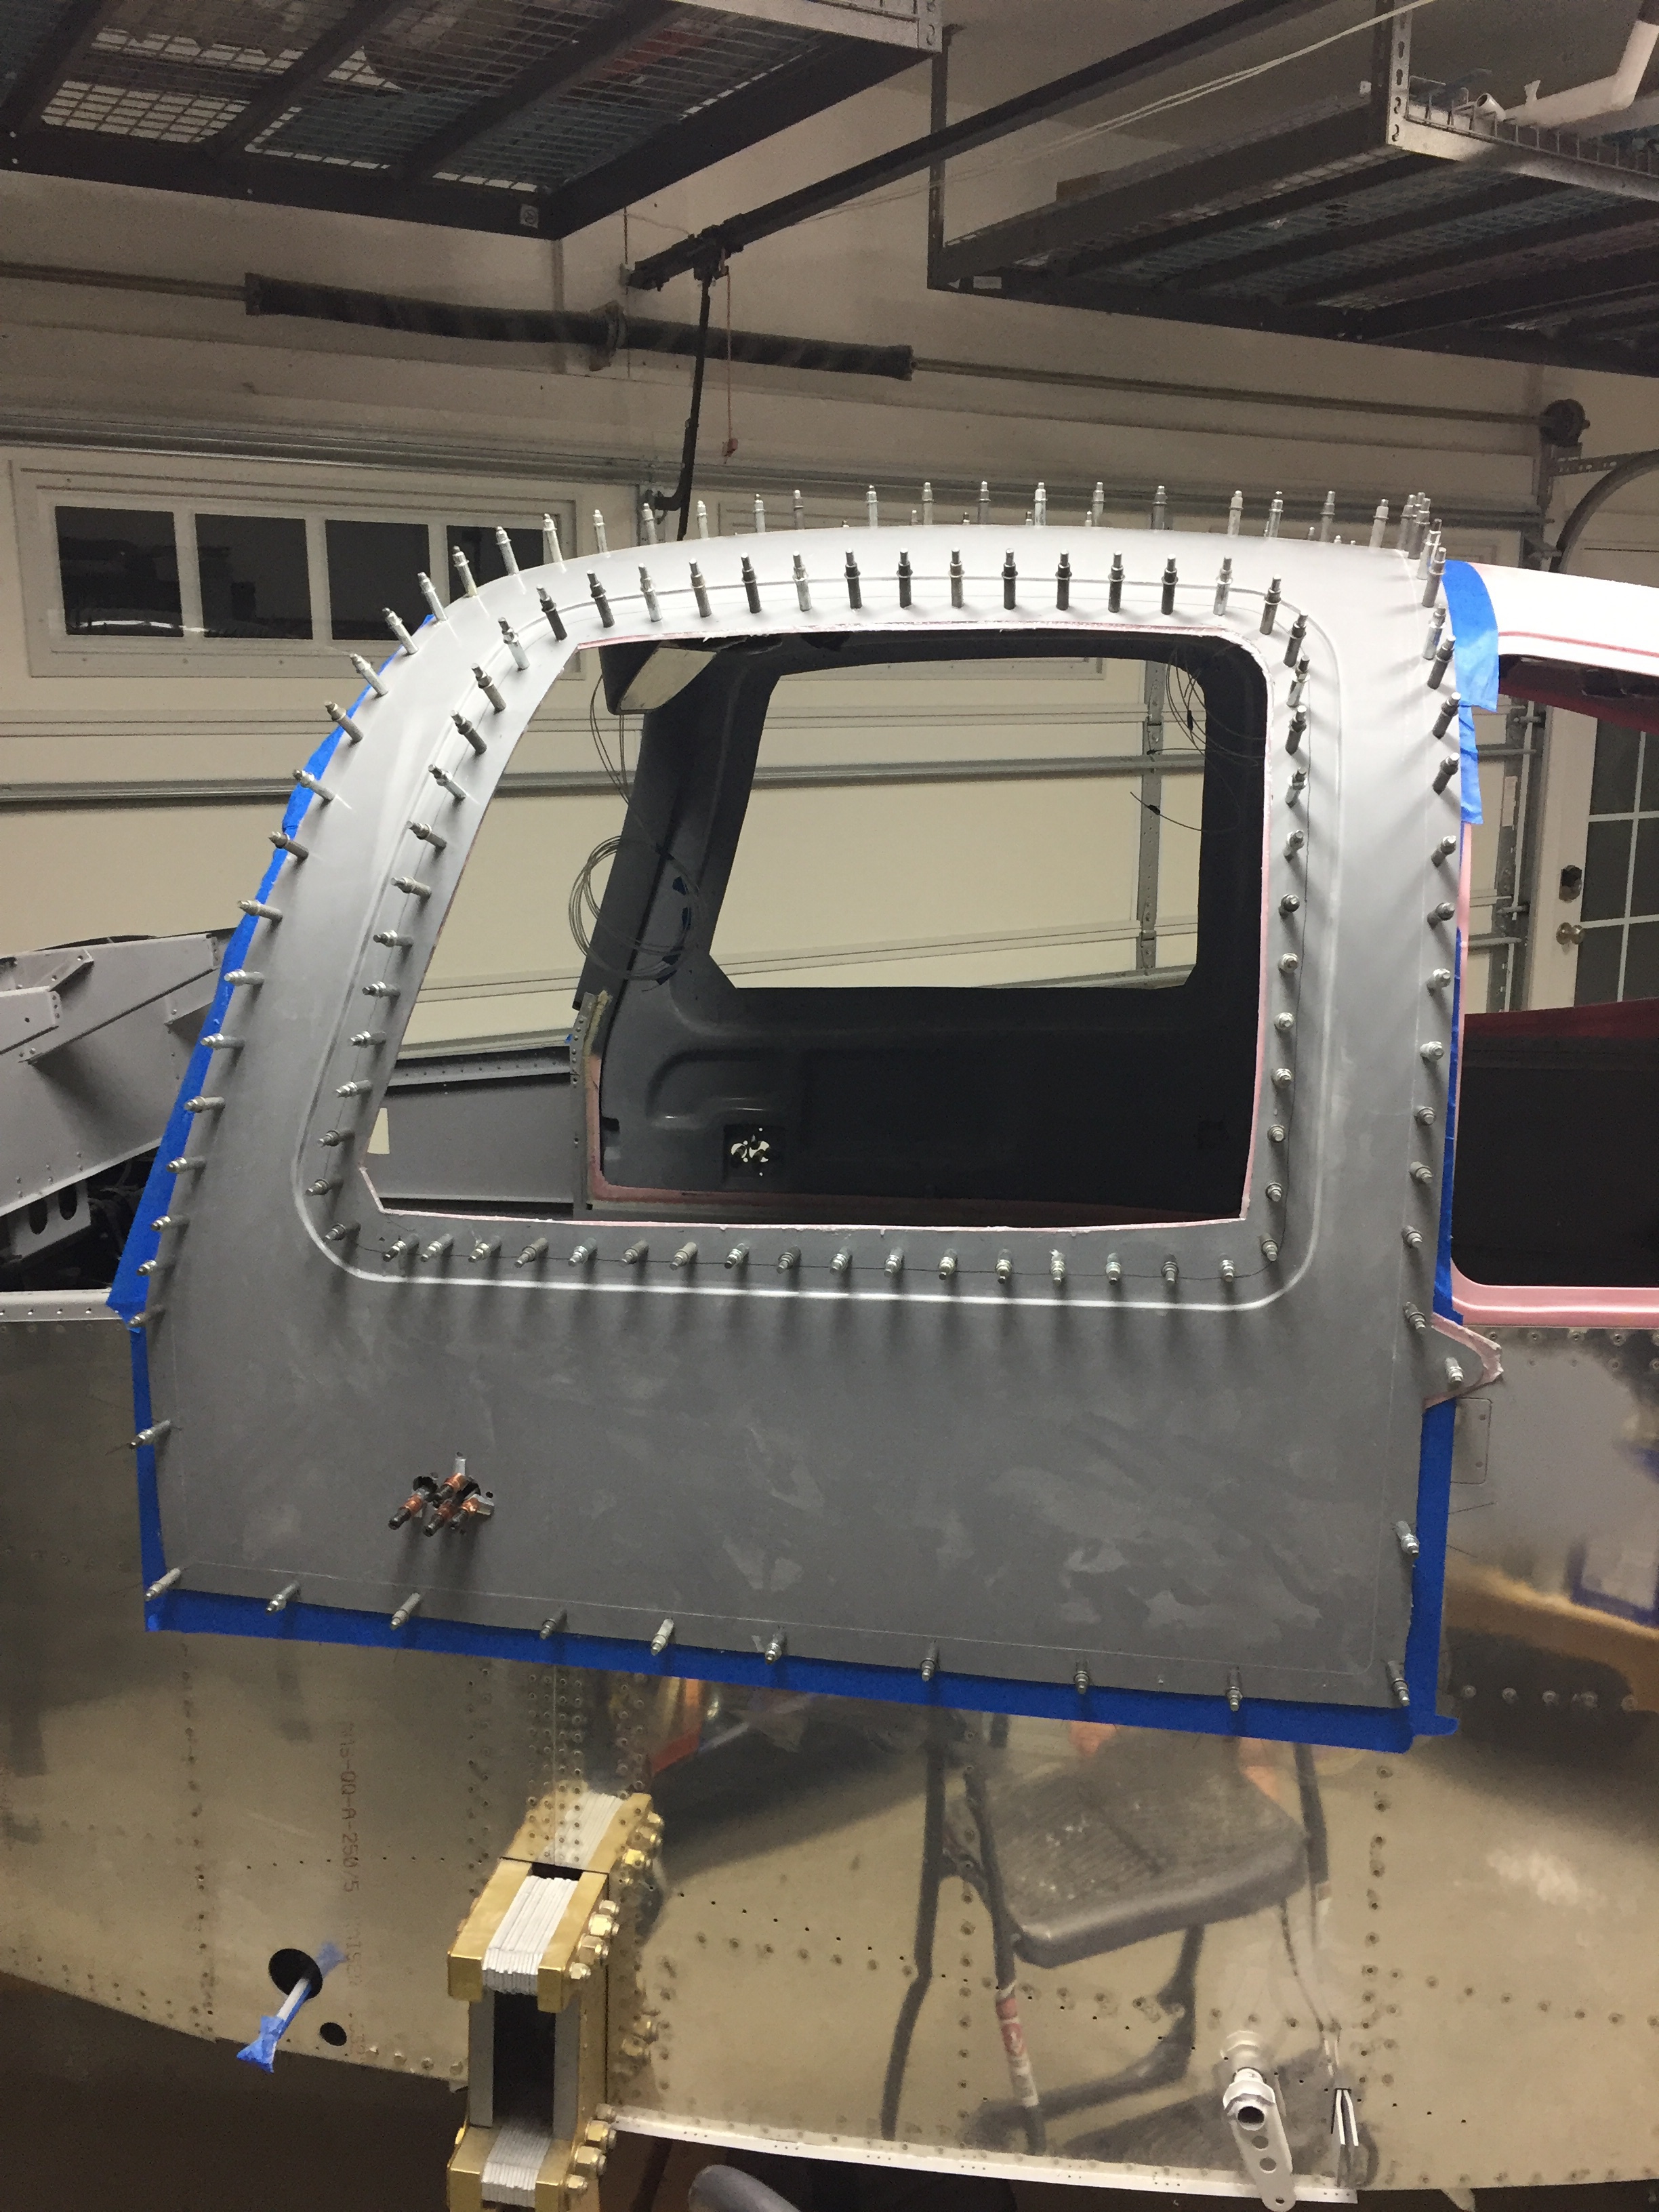
We cleaned up the excess flox that oozed out and I’ll start popping these off tomorrow. This is all the easy part!

Almost finished!

Ha! No, I’m not nearly almost finished. But the finish kit has arrived! I had it shipped to my work and brought it home on our trailer. I wasted no time in unpacking and inventorying the contents. To be honest, it’s almost a disappointment on how little was in the crate, especially considering how much it cost! Granted, I deleted quite a few items, including the windshield/windows, brakes, wheels, tires, and cowling. I am using all aftermarket vendors for those items and have some of them already.

A few days later, another large crate arrived from Show Planes with my cowl and induction system inside. The cowl has a little different shape to it, most notably around the intakes which are circular and the absence of the snorkel. The induction system splits the two round intakes and provides air to the throttle body. I scored a great deal on a quick turn fastener kit for the cowl as well.

This was perfect timing, as I did a few more odd jobs such as pulling some wires and quick clean up jobs on the fuselage but was quickly running out of things to do. The doors are the first job to tackle from the finish kit while I get busy planning and ordering some other things which I’ll cover next.

Fun with electrons

While waiting on the finish kit, I worked on a few electrical to do’s on the build. The AC system is installed, but all the wiring still needed to be hooked up. The system’s controller uses relays and I decided to move the location of the fuse panel to the bulkhead for easy maintenance. The relays were labeled and mounted to angle aluminum on the equipment tray. A lot of wire connectors later, the relays are all hooked up and the wires up front are pulled. I also wired the condenser fan with a disconnect for future servicing. The only wire not run is for the compressor, as I may go with an electric compressor depending on a few things down the road.

I also received a sample of the electroluminescent panel to experiment with backlighting my instrument panel. Aircraft Engravers sent me a sample panel on acrylic that I put on the EL panel and am really excited about the results. The EL panel put off a nice amount of light and dimmed well. The sample panel looked great and is easy to produce as well. My plan is to have Aircraft Engravers produce the panel overlays in acrylic which I will mount on top of the metal panel inserts holding the avionics. The EL panel will be sandwiched in between. In theory, it will be a nice clean look to the panel and have a high end backlight to boot. I took the EL panel with me in the Diamond on a quick flight to see if there was any noise from the transformer and didn’t notice any issues. Not a overly scientific test, but enough to keep me motivated to make this work.

I only had a 1″ strip, so you can see the difference where the panel is not backlit. The EL panel is also white when off, not the typical pinkish so the panel during the day appears to have white lettering as typical. More to come on this!

Coloring outside the lines

Painting the inside of the cabin is much easier when the cabin top is removable, and with only a few items left to do before permanently installing the cabin top, I took the opportunity to put some color on the project. As mentioned earlier, the cabin interior will be a dark grey and black. I started by cleaning and prepping the tunnel walls and footwells. Most of this will be covered by the black carpet, but I wanted to make sure any areas not covered would be black. The SEM is really easy to work with and two nice coats provided plenty of coverage. I then used a low luster clear to help provide some further protection and sealant. I didn’t worry about overspray since the carpet will hide the imperfections.

The rest of the interior is the dark grey so I prepped again and sprayed the remaining parts of the cabin which will not be covered by Aerosport panels. I’m not a huge fan of painting because it’s so much prep work, but the results are rewarding. It’s nice to see a finished surface finally.

Sean also sent me his updated LED lights for the overhead so I got those wired up and installed using nutplates and the standard micro-Molex connectors. I really appreciate working with fellow builders as vendors because they provide great support. Upon receipt, there were a few LED boards that didn’t work properly. I gave him a quick text and new ones were on the way in a few days. He later did some troubleshooting and found out the wire used to secure the boards was shorting them out. So I pulled the wire and simply filled in the back with black silicone and had no other issues. The lights are great quality and very bright, providing a nice pattern of light. Night loading should be very easy with these on the overhead and in the doors.

As typical, the big moment of putting the cabin top on for good was somewhat anti-climatic! I am glad I won’t be Atlas-ing the thing on and off anymore, as that was getting a bit tiresome. It is secured with a ton of pop rivets on the rear and screws up front. The challenge to it, however, is setting the frame in a bed of flox all around the door areas. I had the Mrs. come out to help mix epoxy and spread it on the fuselage. Even with slow hardener, we were pushed for time getting it all mixed, applied evenly, and positioning the top on just right. I chose not to drill the screw holes yet and clecoing the cabin top was much quicker and easier at this point.

I cleaned up the remaining flox from inside and and put the rivets in. All in all, a bit stressful for us but a rewarding step seeing the canoe form finally disappear! The finish kit is coming next and I’m pretty pleased with the amount of progress I’m making this year.

I just need a little air

We have big travel plans for this airplane and a great way to take advantage of weather on a long cross country flight is to climb up high. In order to do that, you need supplemental oxygen. There are many ways to do this but I wanted to go with the top of the line, integrated solution from Mountain High.

The 4ip setup is all electronic control, pulse demand system which allows greater conservation of oxygen while giving better flows to the people on board. I was able to score a significant discount via Oshkosh this year and it’s a great time to install the system before the interior goes in.

All laid out, it’s pretty intimidating, but as with everything it’s eaten one bite at a time. The bottle and regulator are the main component that needs to get installed behind the baggage bulkhead. Some folks have mounted it on a tray but I chose to take advantage of the air conditioner equipment tray and hung it from angle aluminum.

Then it was a simple matter of running some wire making the connections to the bottle. I also installed the remote filling valve in a panel underneath the baggage floor. Gaylon did this in his and I really liked the idea which is why I copied it. I’ll add a little cutout to get a better handle on the cover but it will all be covered by carpet so no need for a latch or anything. A flying buddy and I have already partnered on a cascading setup to refill the tanks on our own with him having a Mooney.

The tubing will run up the center console and go to the panels for the front seats and console for the rear. Once my center console comes in, I’ll install the user side of the system. The control head will be mounted on the lower center instrument panel up front.

Kool like Krantz

In between working on the overhead console, I decided to tackle a fun little project dreamed up by Ed Krantz (Good Plane Living) to control the interior lighting. He came up with a fancy little box full of relays and a timer to essentially make the lights behave as a modern car. While this doesn’t seem fancy, most little airplanes have one dome light from the 1960’s, so this is all pretty high tech. The best part is he designed it to work as a DIY project and kept it simple and functional. The best, best part though is he shared it online for others to benefit from, so thank you!

Without diving into the actual wiring schematic, the little box receives a signal from a micro switch that a door has opened. This in turn causes the three overhead LED lights to illuminate, the footwell lights, and under panel lights all to come on to full brightness, even if they were on using the dimmer. The timer is used to keep them on for a set amount of time then they all turn off. Once the door is shut, the whole system resets and the lights return to their prior state, either off or according to their dimmer.

I’ll have two additional LED lights, one on each door, that shine down on the wing when the doors are open. Ed had put each task light on the control as well, but I chose not to since I think the three overhead will provide plenty of light.

It also has a manual reset switch to allow a door to be open but reset the lights to off or dimmed in case you want to have a door open while taxing or any other reason. There will also be a master switch near the rear baggage door to control overall power. This is because even after the lights are reset, the timer does draw a small amount of power and in theory could drain a battery if left for many days, for example during extended maintenance.

After a few hours of laying out the components and soldering it all up, I hooked up a few cheap-o LED lights to test it all out. Just as Ed did, I forgot one ground wire but that was soon fixed and everything worked just as designed. It was a really fun project and will make night flying / loading a non-issue.

So on the overhead control panel, I will have all lighting switches (Nav, Strobes, Taxi, Land, Interior Reset) along with the dimmers for the panel, instruments, and interior lights.

I also fabed up and installed the pitch trim servo mount. It was a pretty quick job and the wiring for the servo was already pulled during an earlier build session. I’m trying to get as much wiring roughed in now before much more structure goes in place.