The biggest and most dreaded part of a RV-10 build for most people are the doors. The are notoriously tough to trim, fit, and fill to get a nice result. However, they are critical in the safety and looks of the plane. And since I don’t want to mess up my hair while flying, I dove in to start closing up the cabin.
It’s commonly known the scribe lines and reference dimples are useless and my doors were no different. The dimples were a half inch off from each other So I matched up the two shells of the doors by eye and measurements. The first step is to trim the window opening and prepare the shells for bonding.
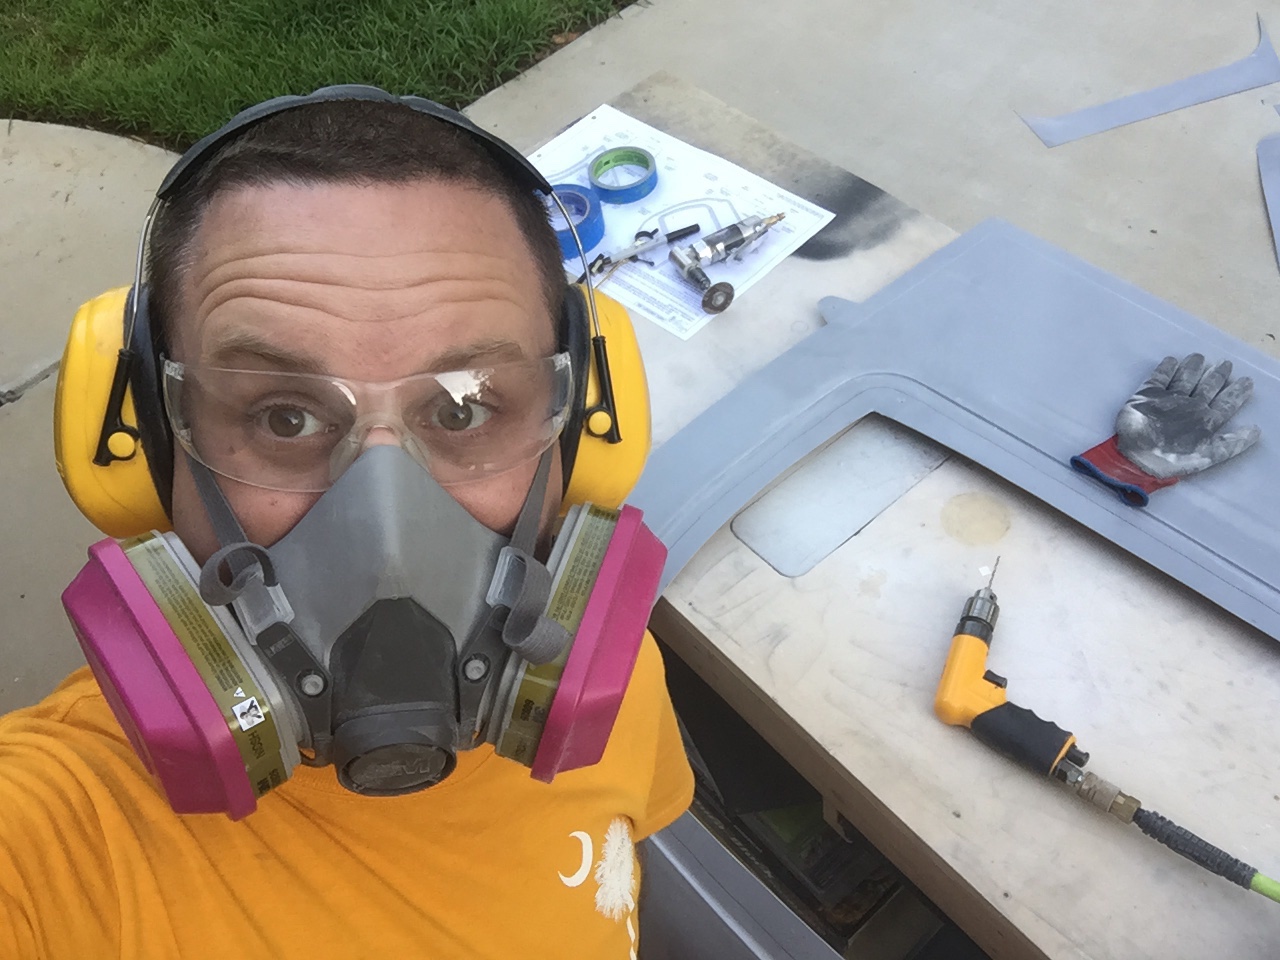
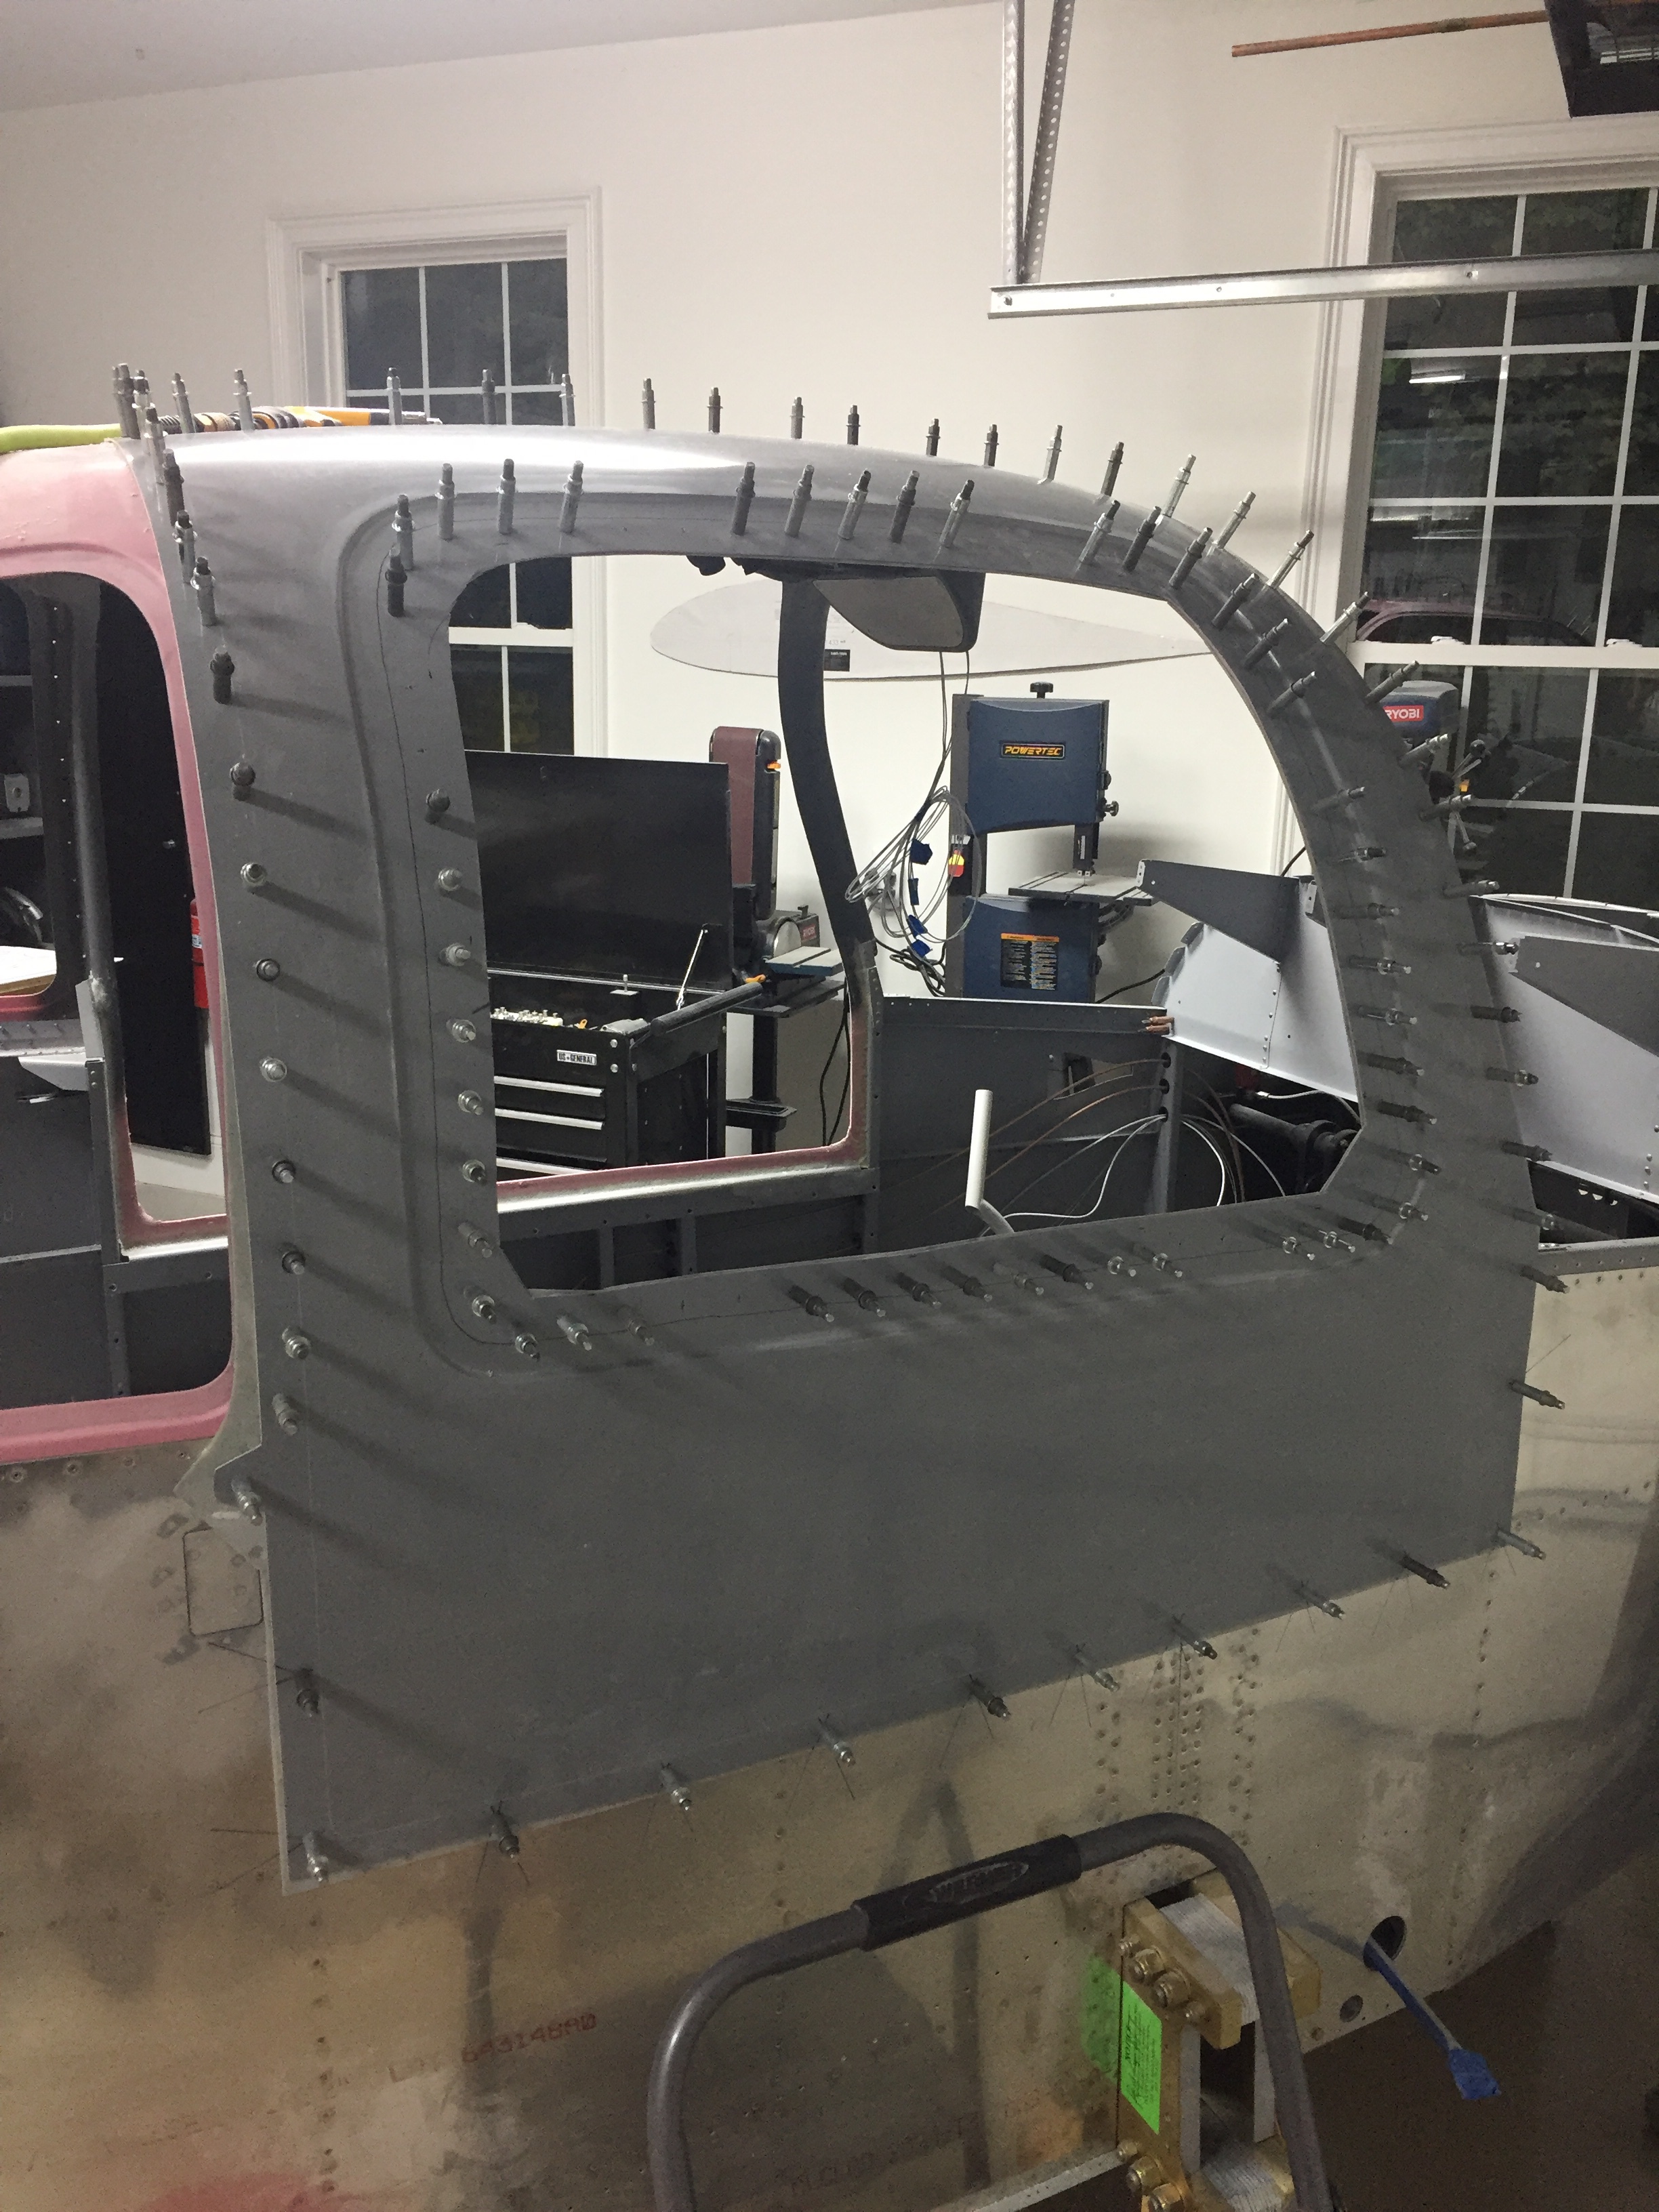
Fiberglass is messy stuff, so use proper PPE! I then did a rough trim on the exterior of the halves to get ready to bond them on the cabin top. You use the cabin top as a template to get the proper curve set while the epoxy sets. So I payed the halves on the top and prepped by drilling holes for the clecos.
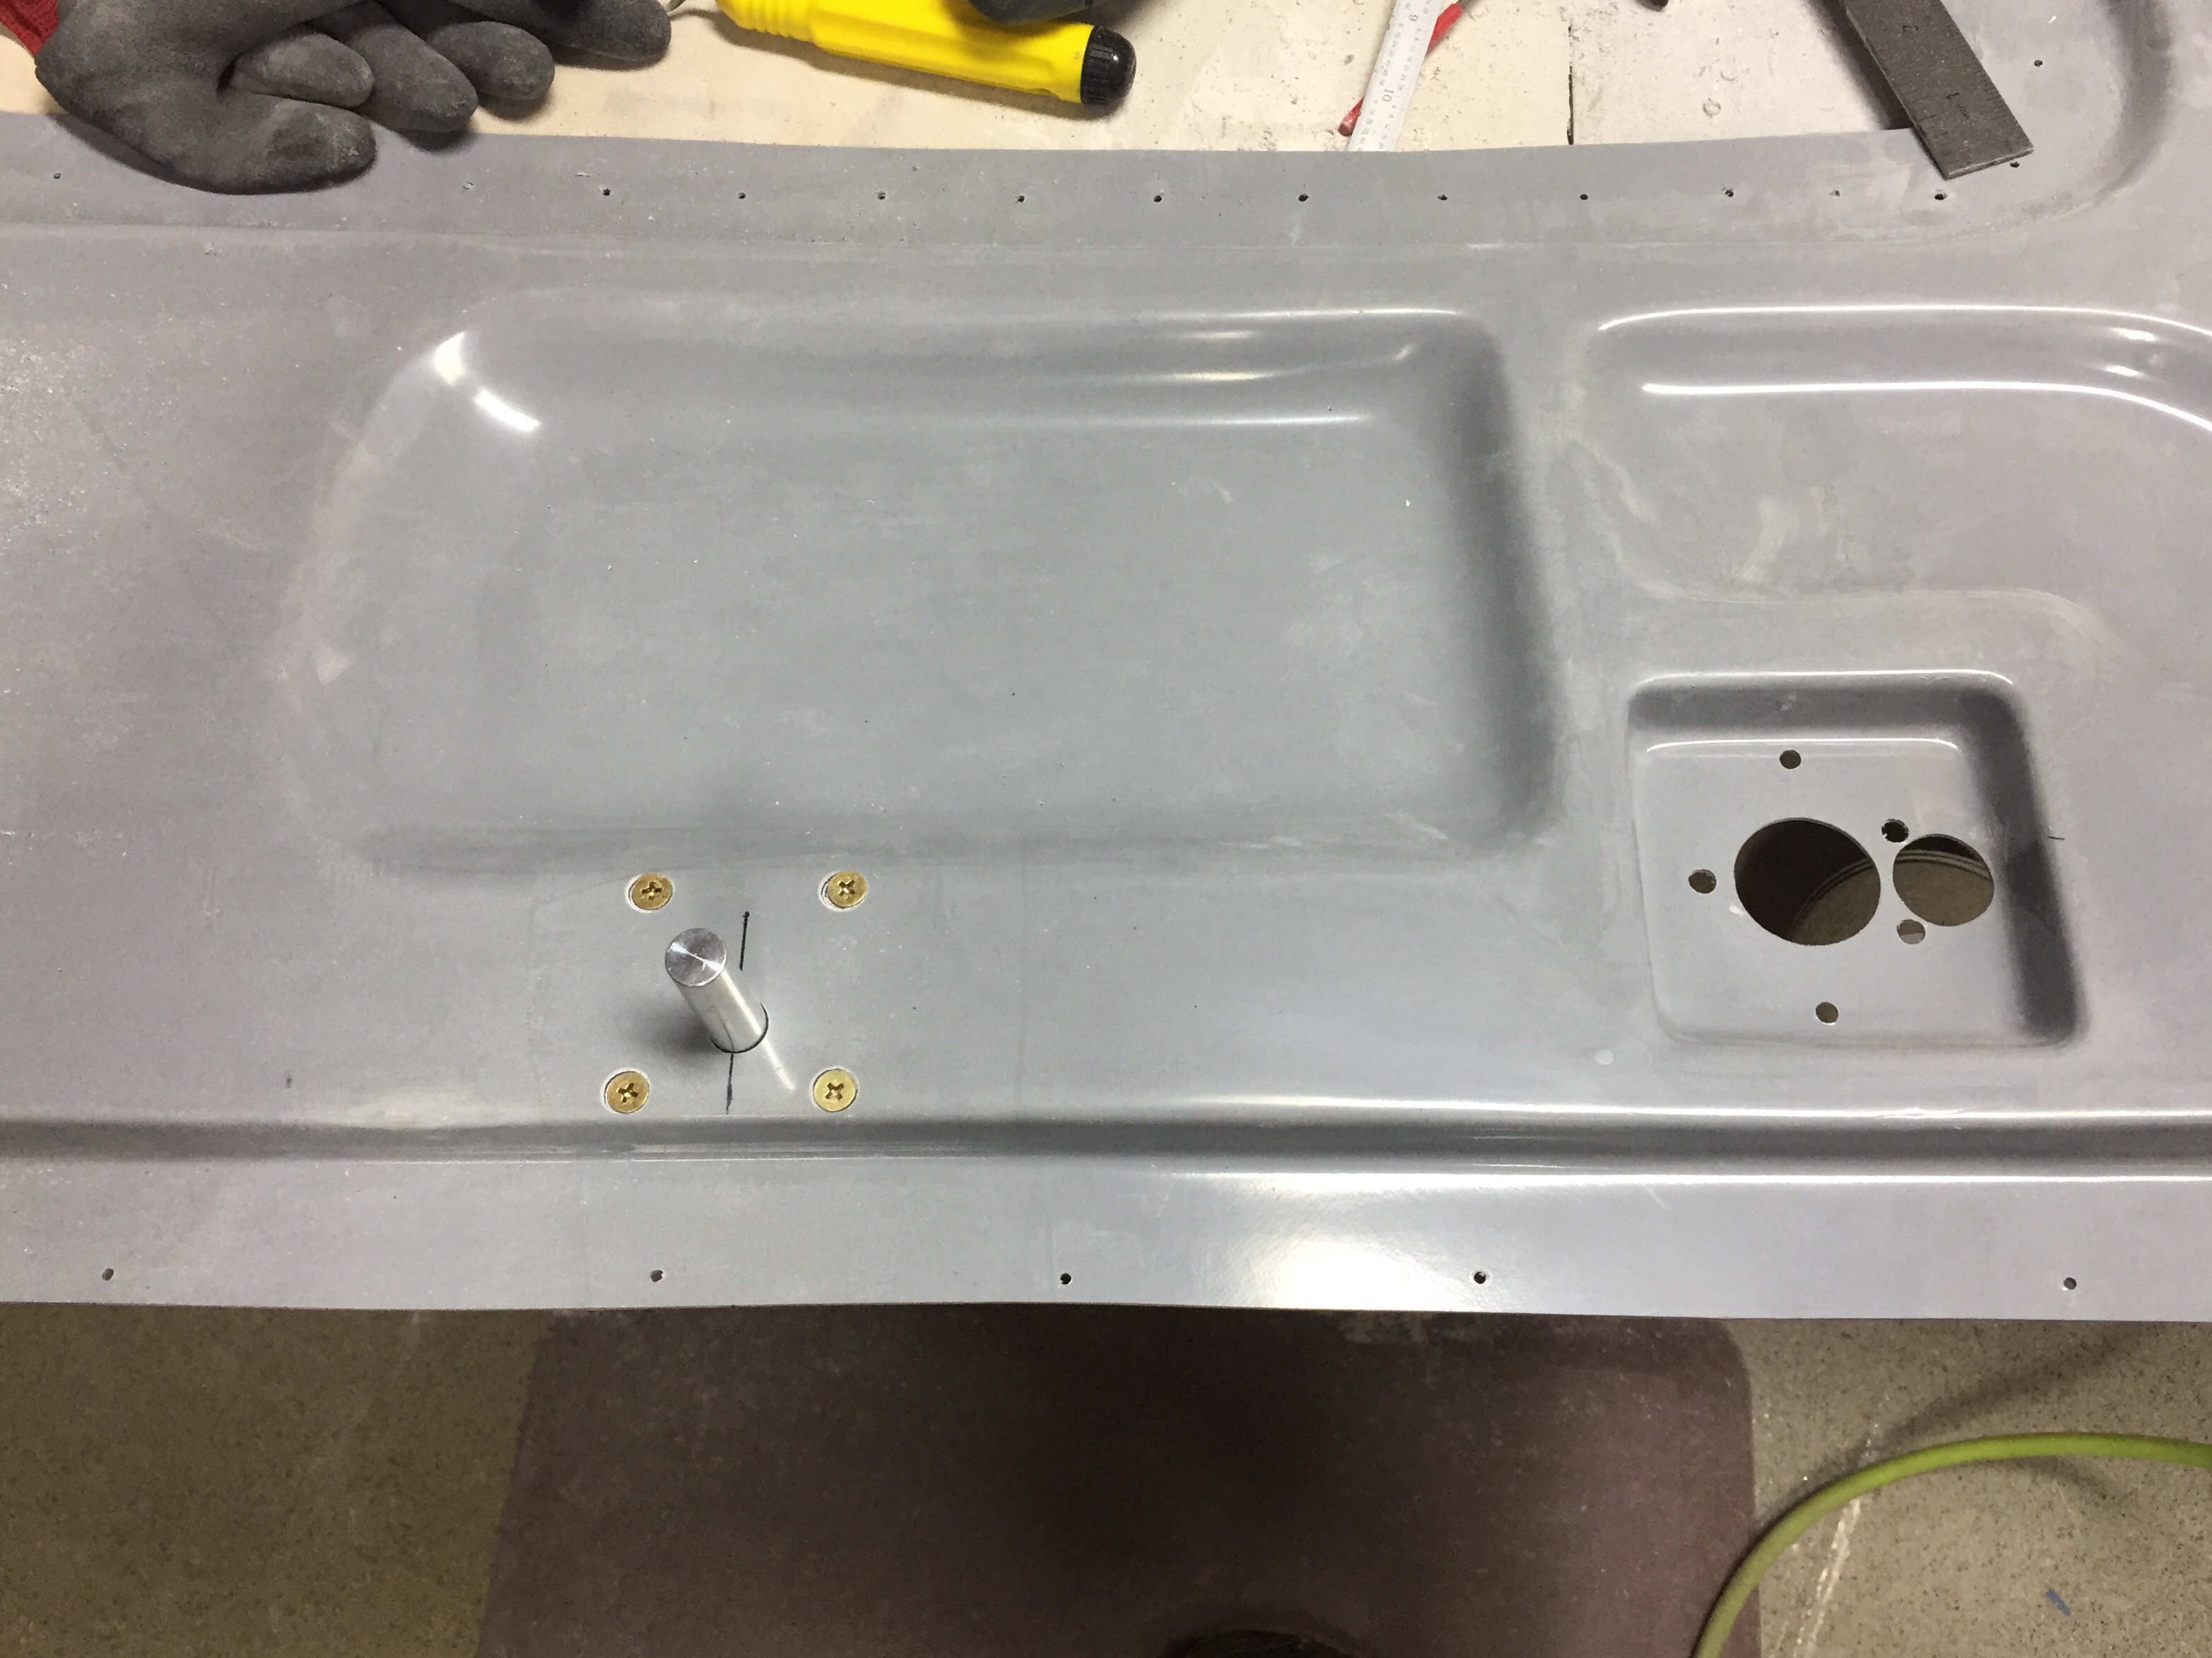
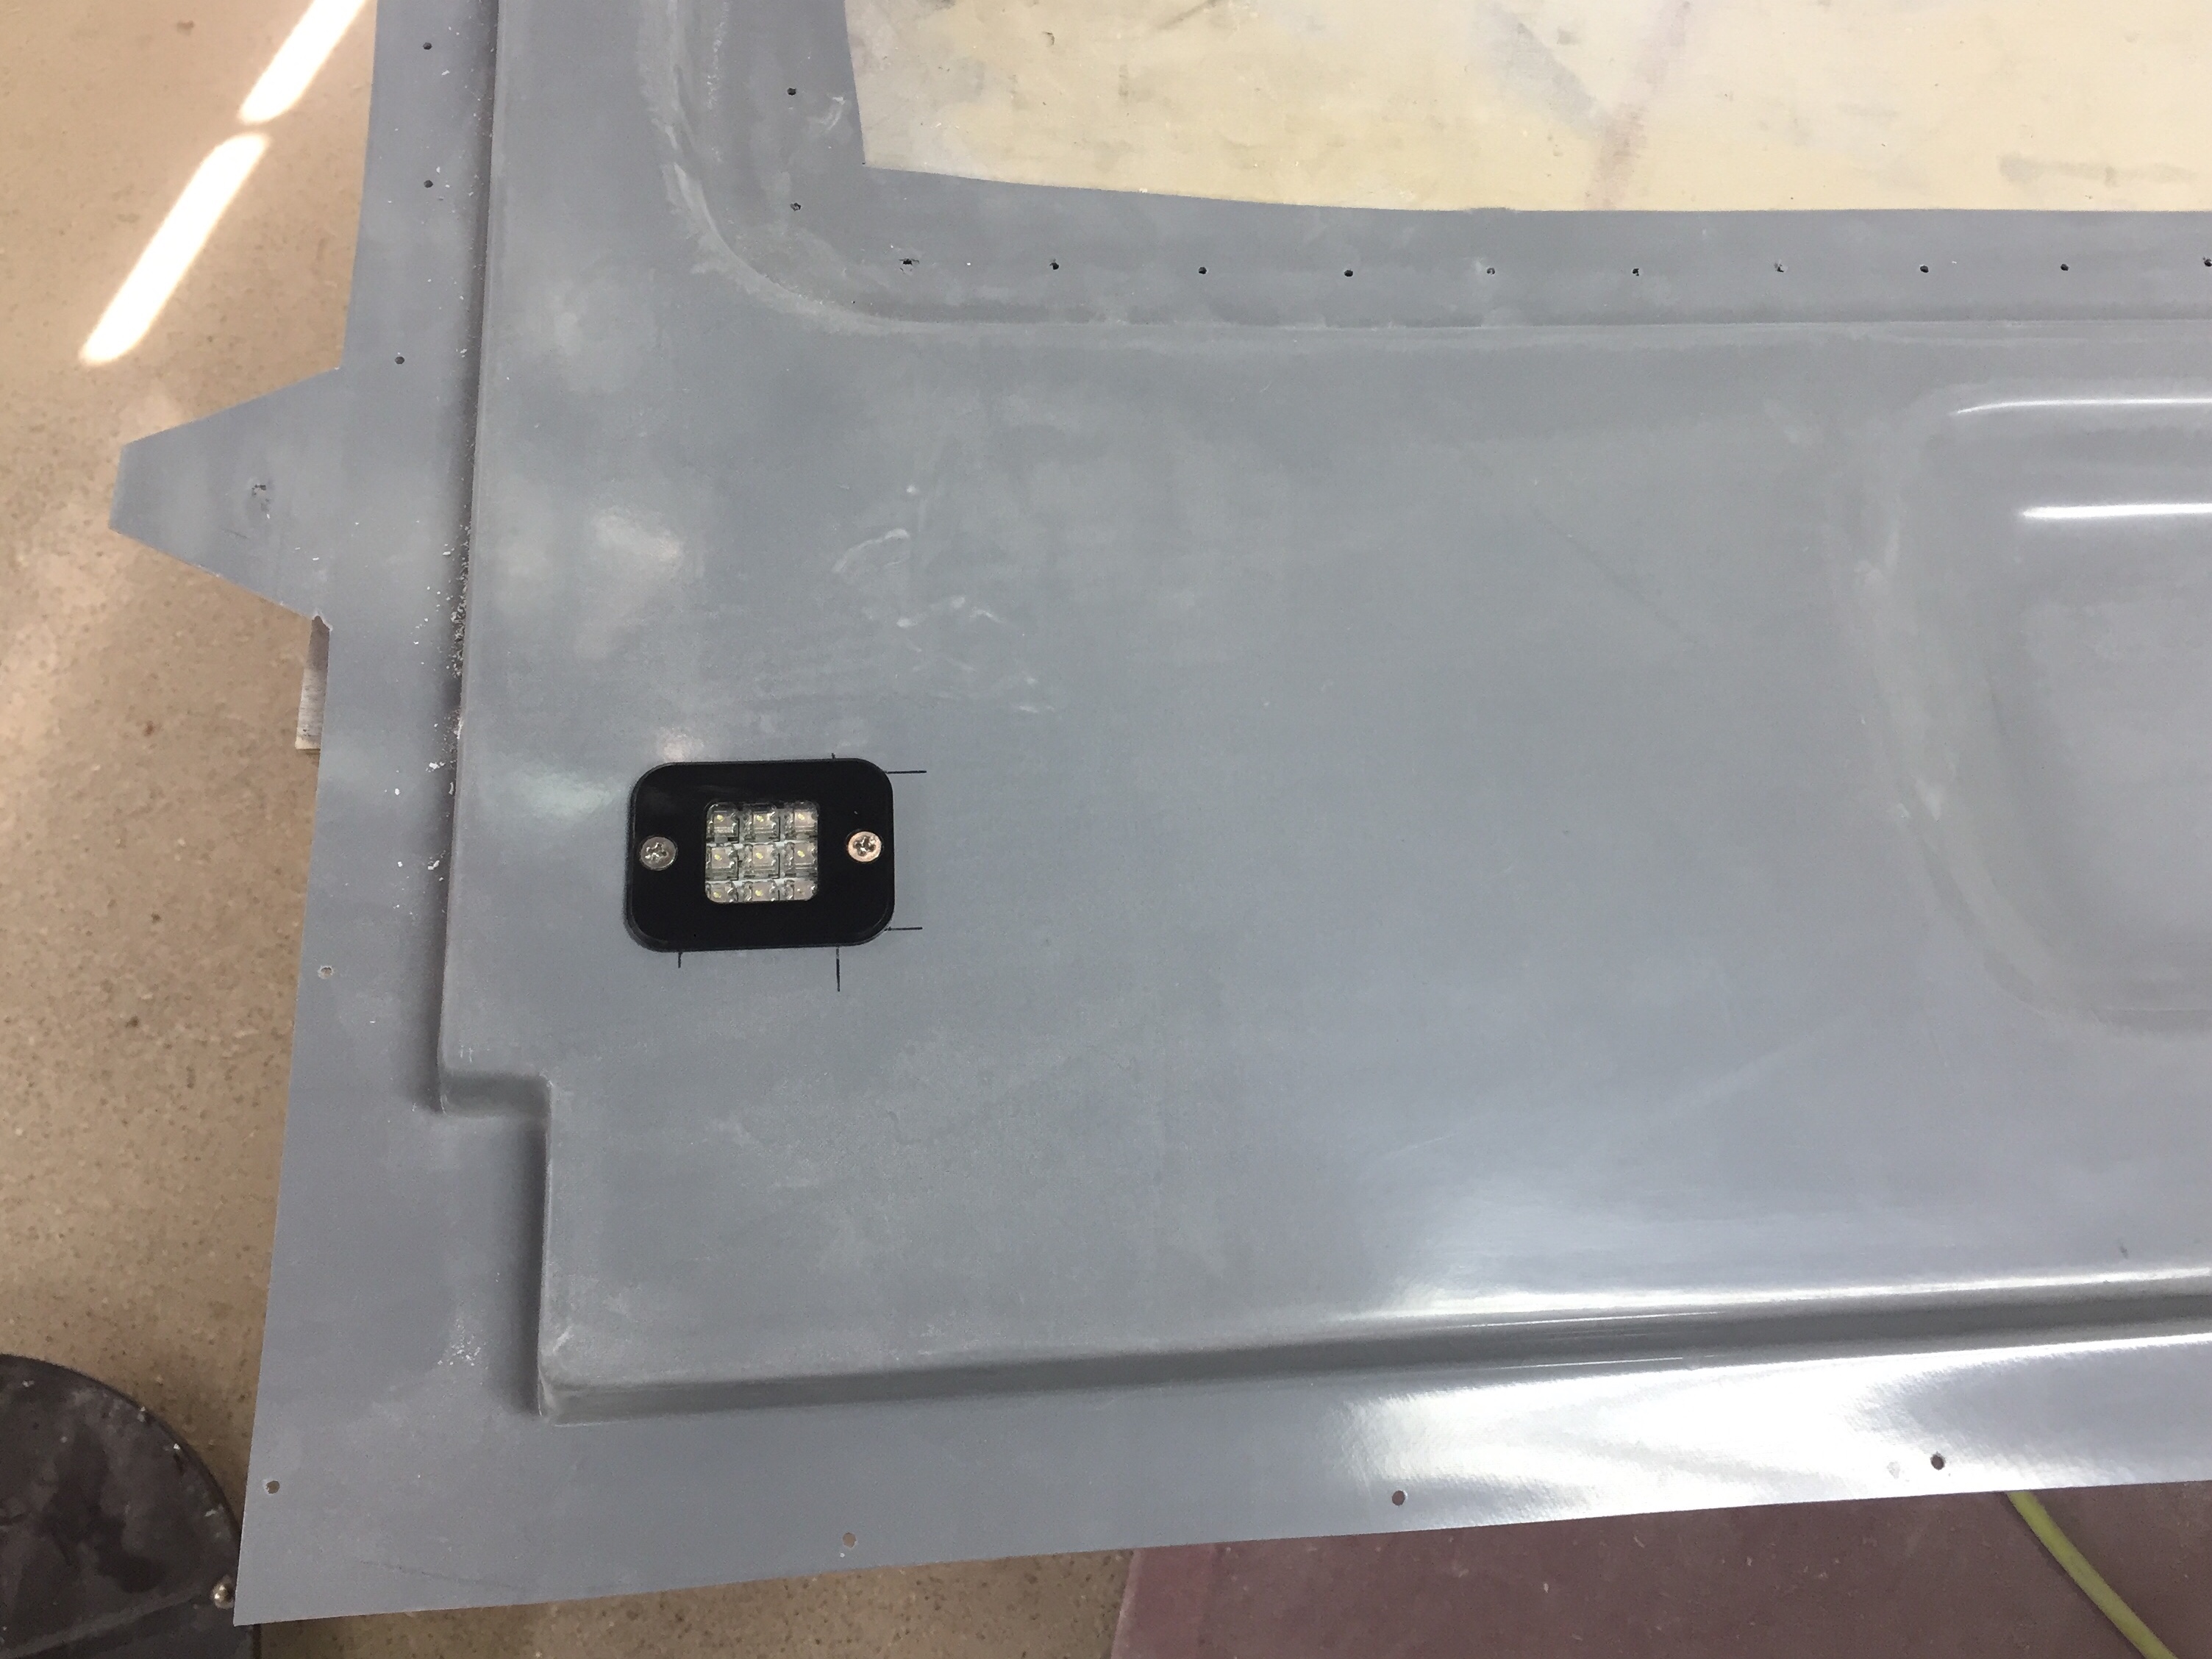
I then began working on the Planearound center latch as another builder did, before epoxying the door halves together. It was much easier to work on the back side of each half before the pieces work together. It also allowed me to insert the gear box through one hole instead of having to cut the slot. Looking back, I wish I had done the entire door handle system while the door halves were apart, but I’m getting ahead of myself. I cut the reinforcement tubes and also ran wire for the door/access lights that I ordered from Sean as well. These are smaller versions of what I put in the overhead console and should light up the wing and step at night very well.
I’m also installing the low profile exterior door handles from Aerosport and again it was easier to do some preliminary work on those before the doors went together. Drilling the skins for the large block as well as the door lock and trim ring saves a lot of work later on.
I had a fellow flyer-buddy of mine come over and help mix flox and set everything in place. I chose to follow a few others by using clecos into the cabin top instead of tape, clamps, weight, etc. to get the curve. This worked very well except for one spot on the right side door where the door just would lay flat against my cabin top. I pressed on knowing I’d be doing some fill and finessing later. It takes a lot of epoxy/flox mix to butter the halves up. I filled the cavities near the center cam we slathered on the flox followed by pinning it all to the cabin top.
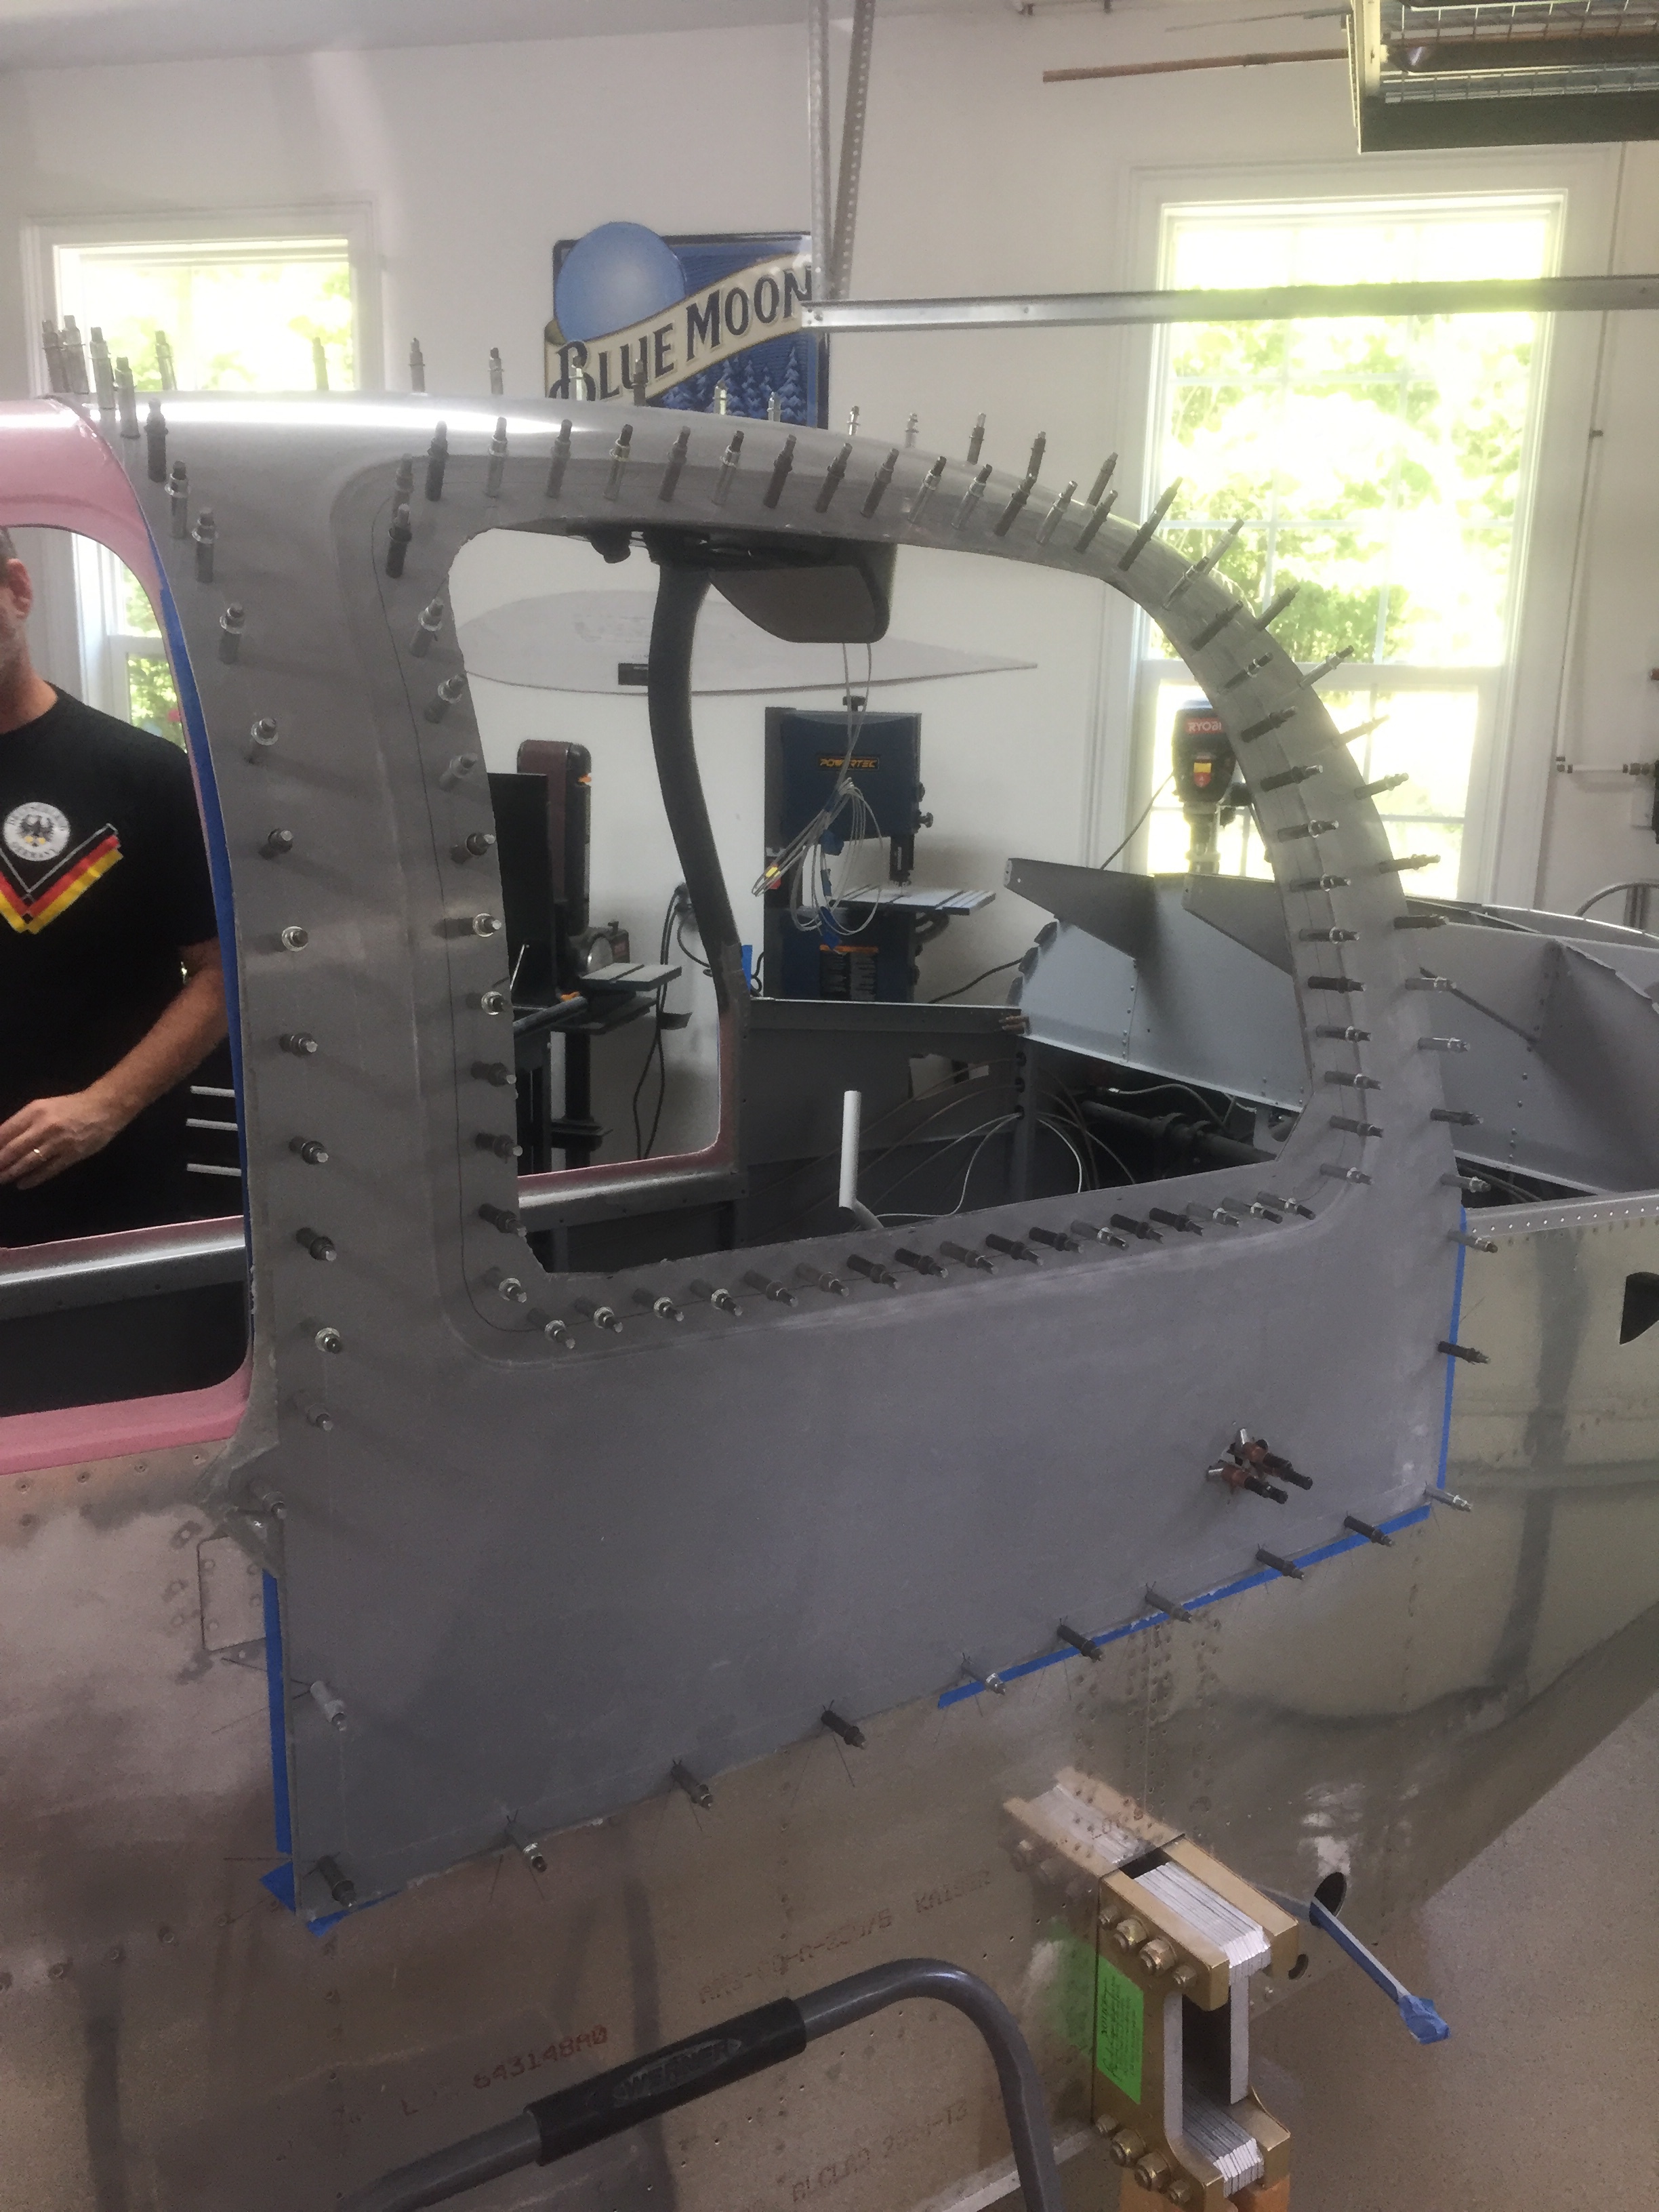
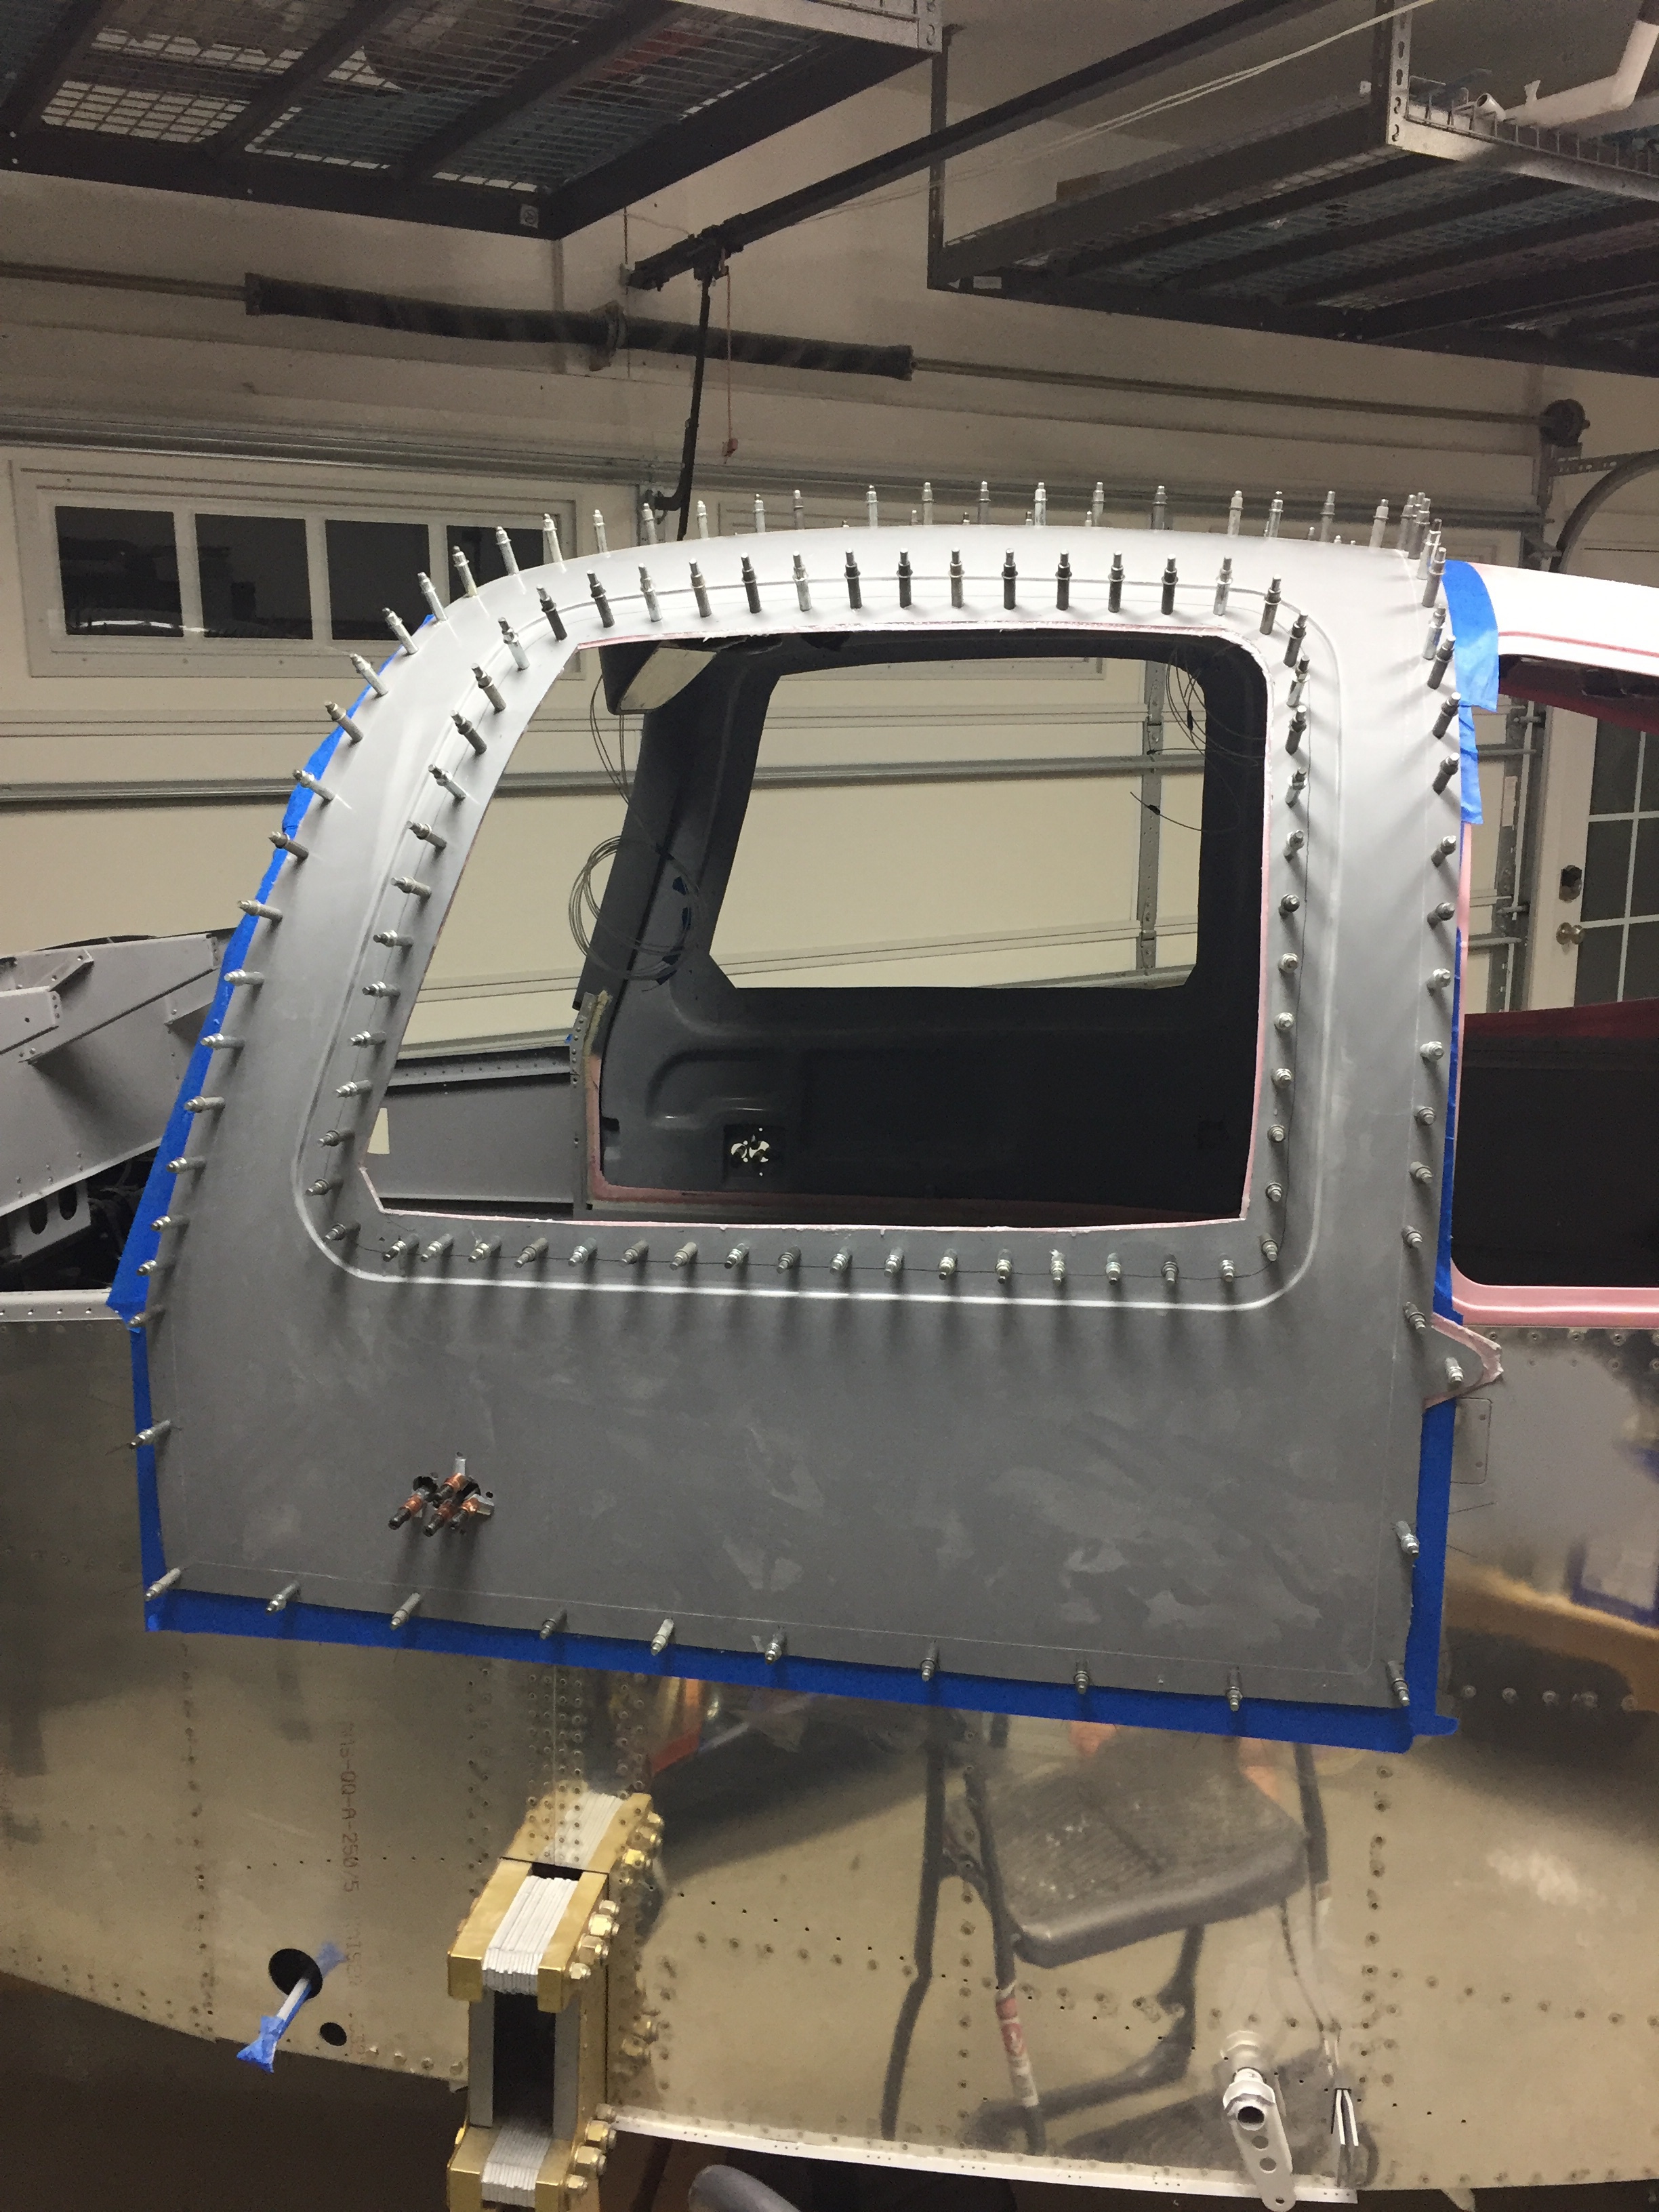
We cleaned up the excess flox that oozed out and I’ll start popping these off tomorrow. This is all the easy part!
