On a wing and a…well, just on a wing

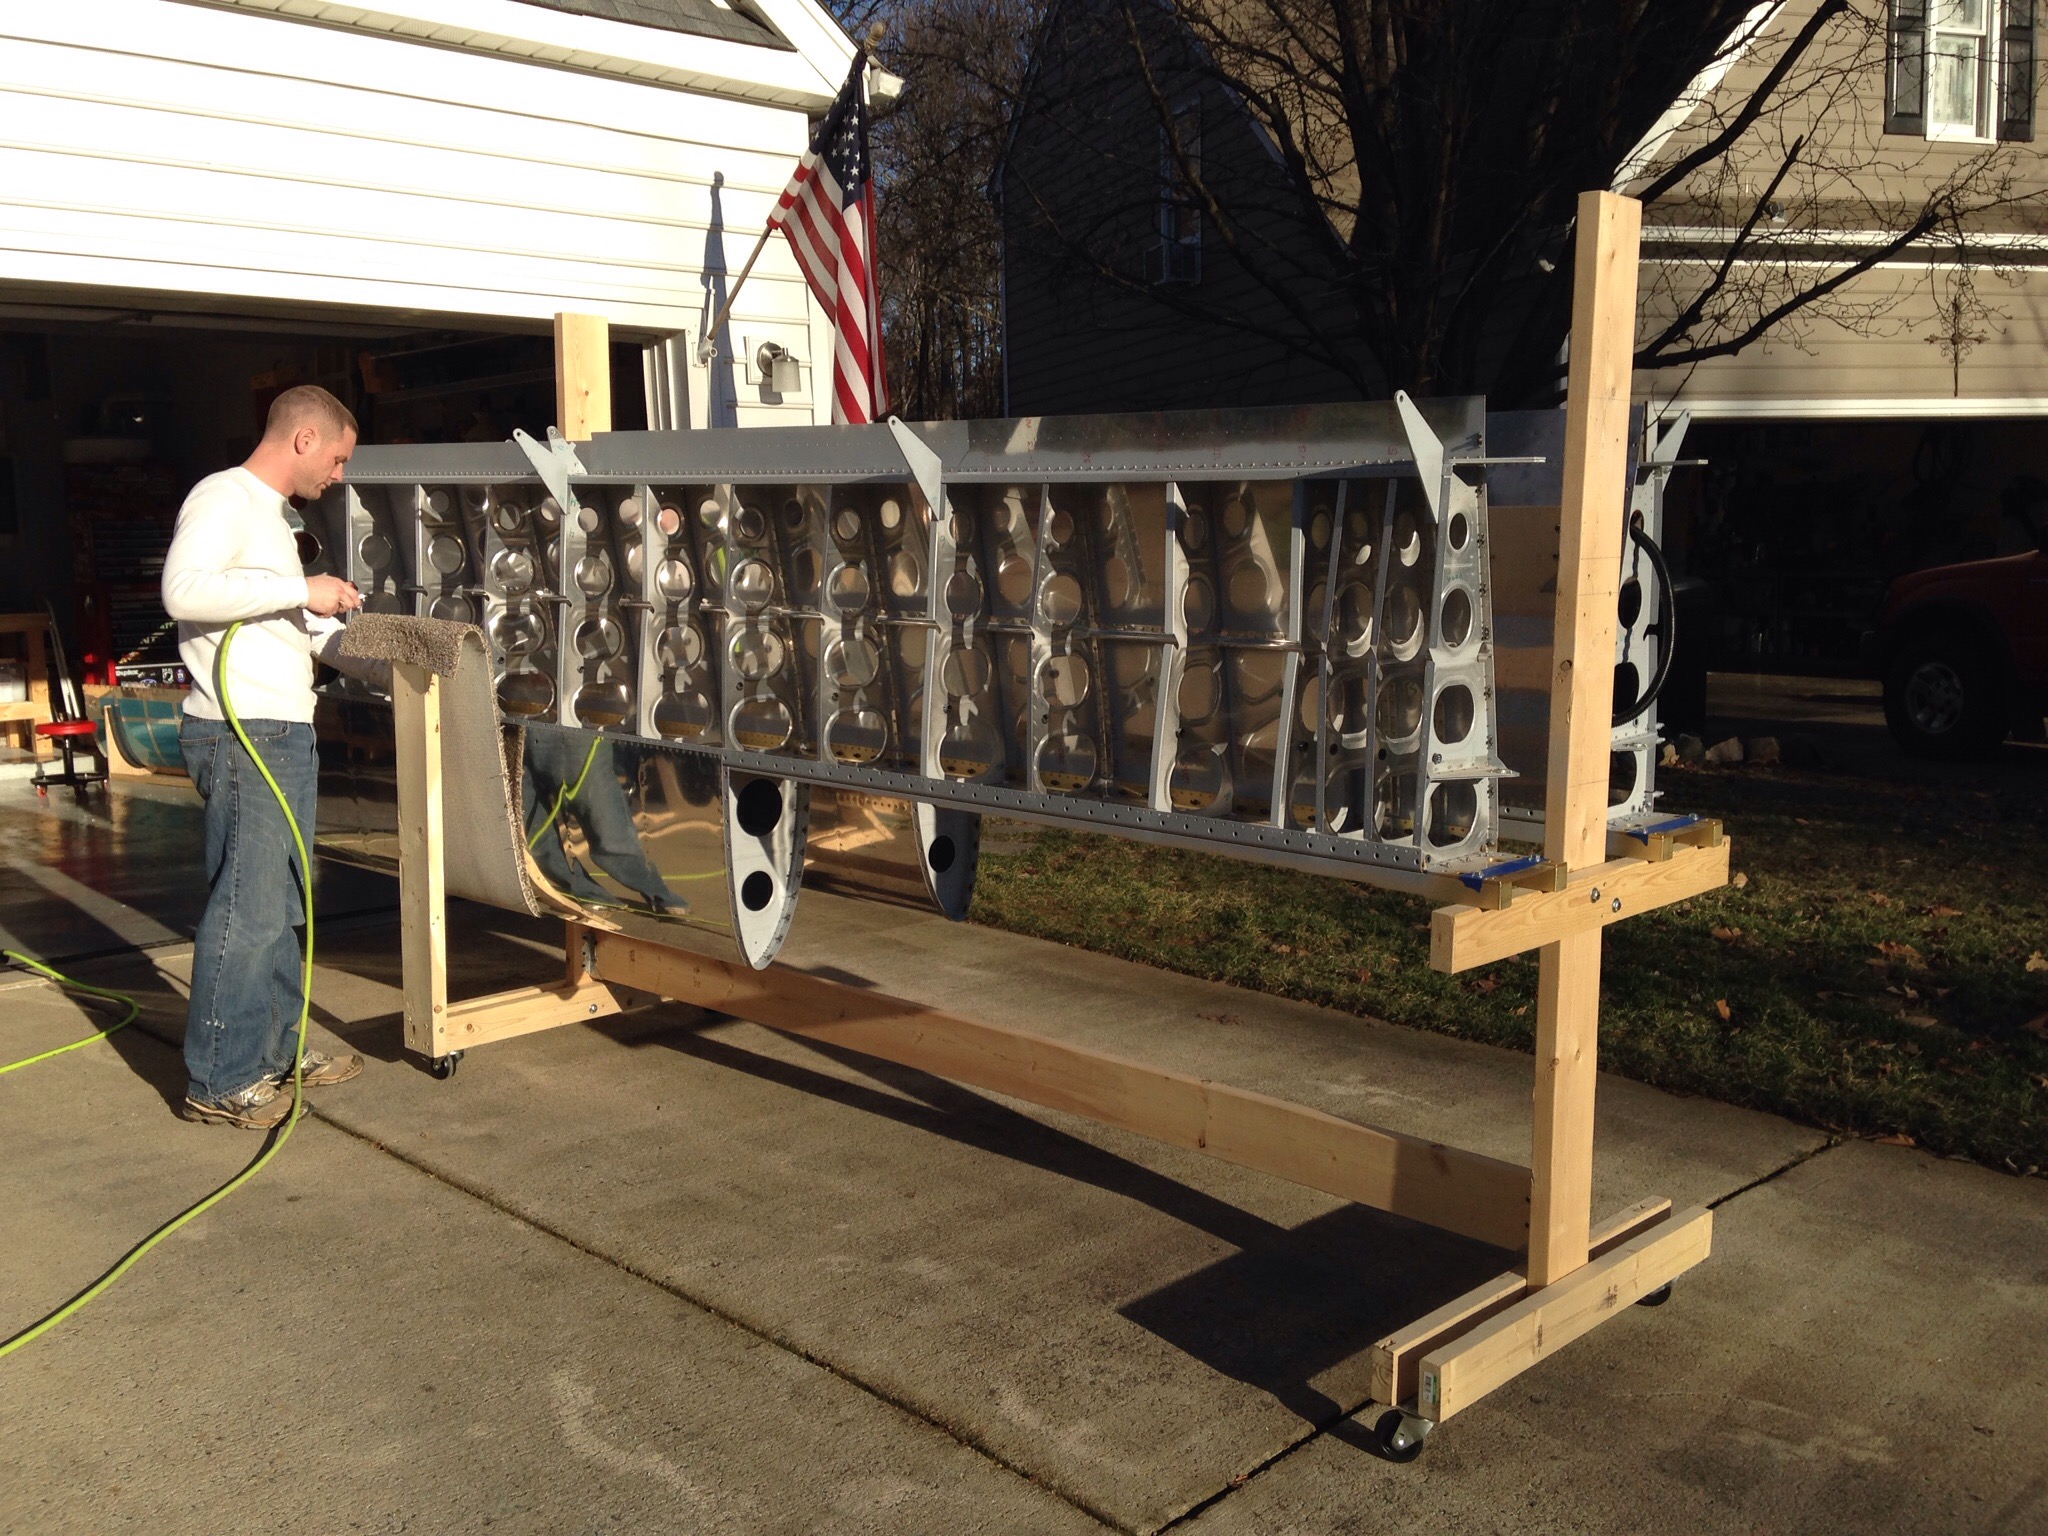
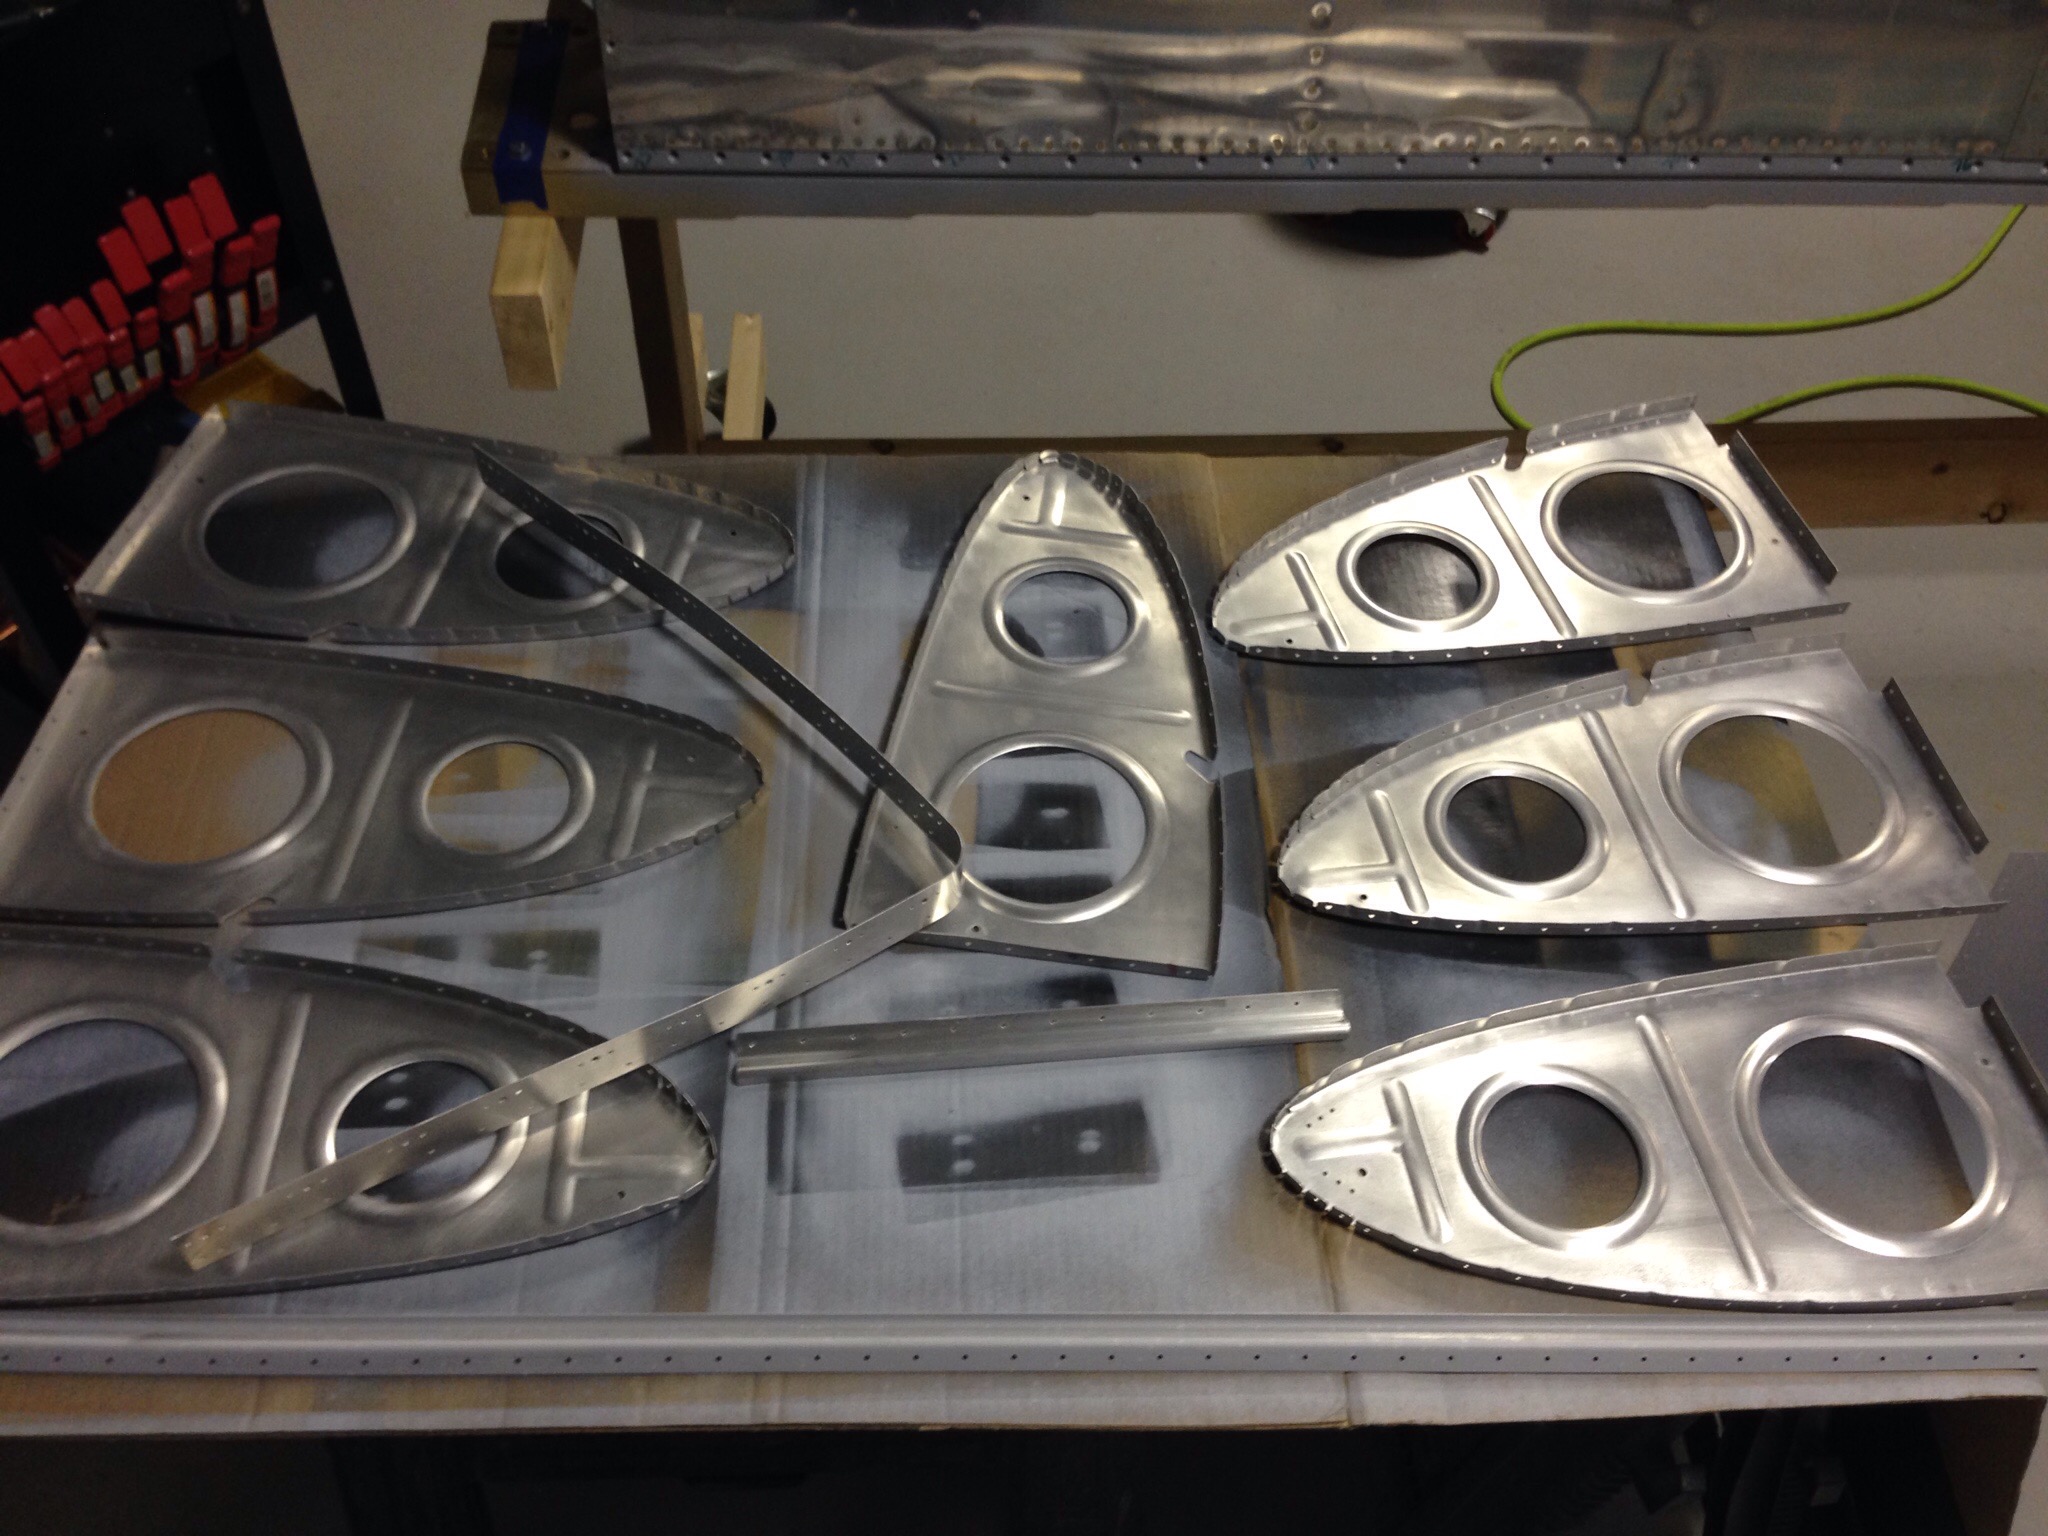
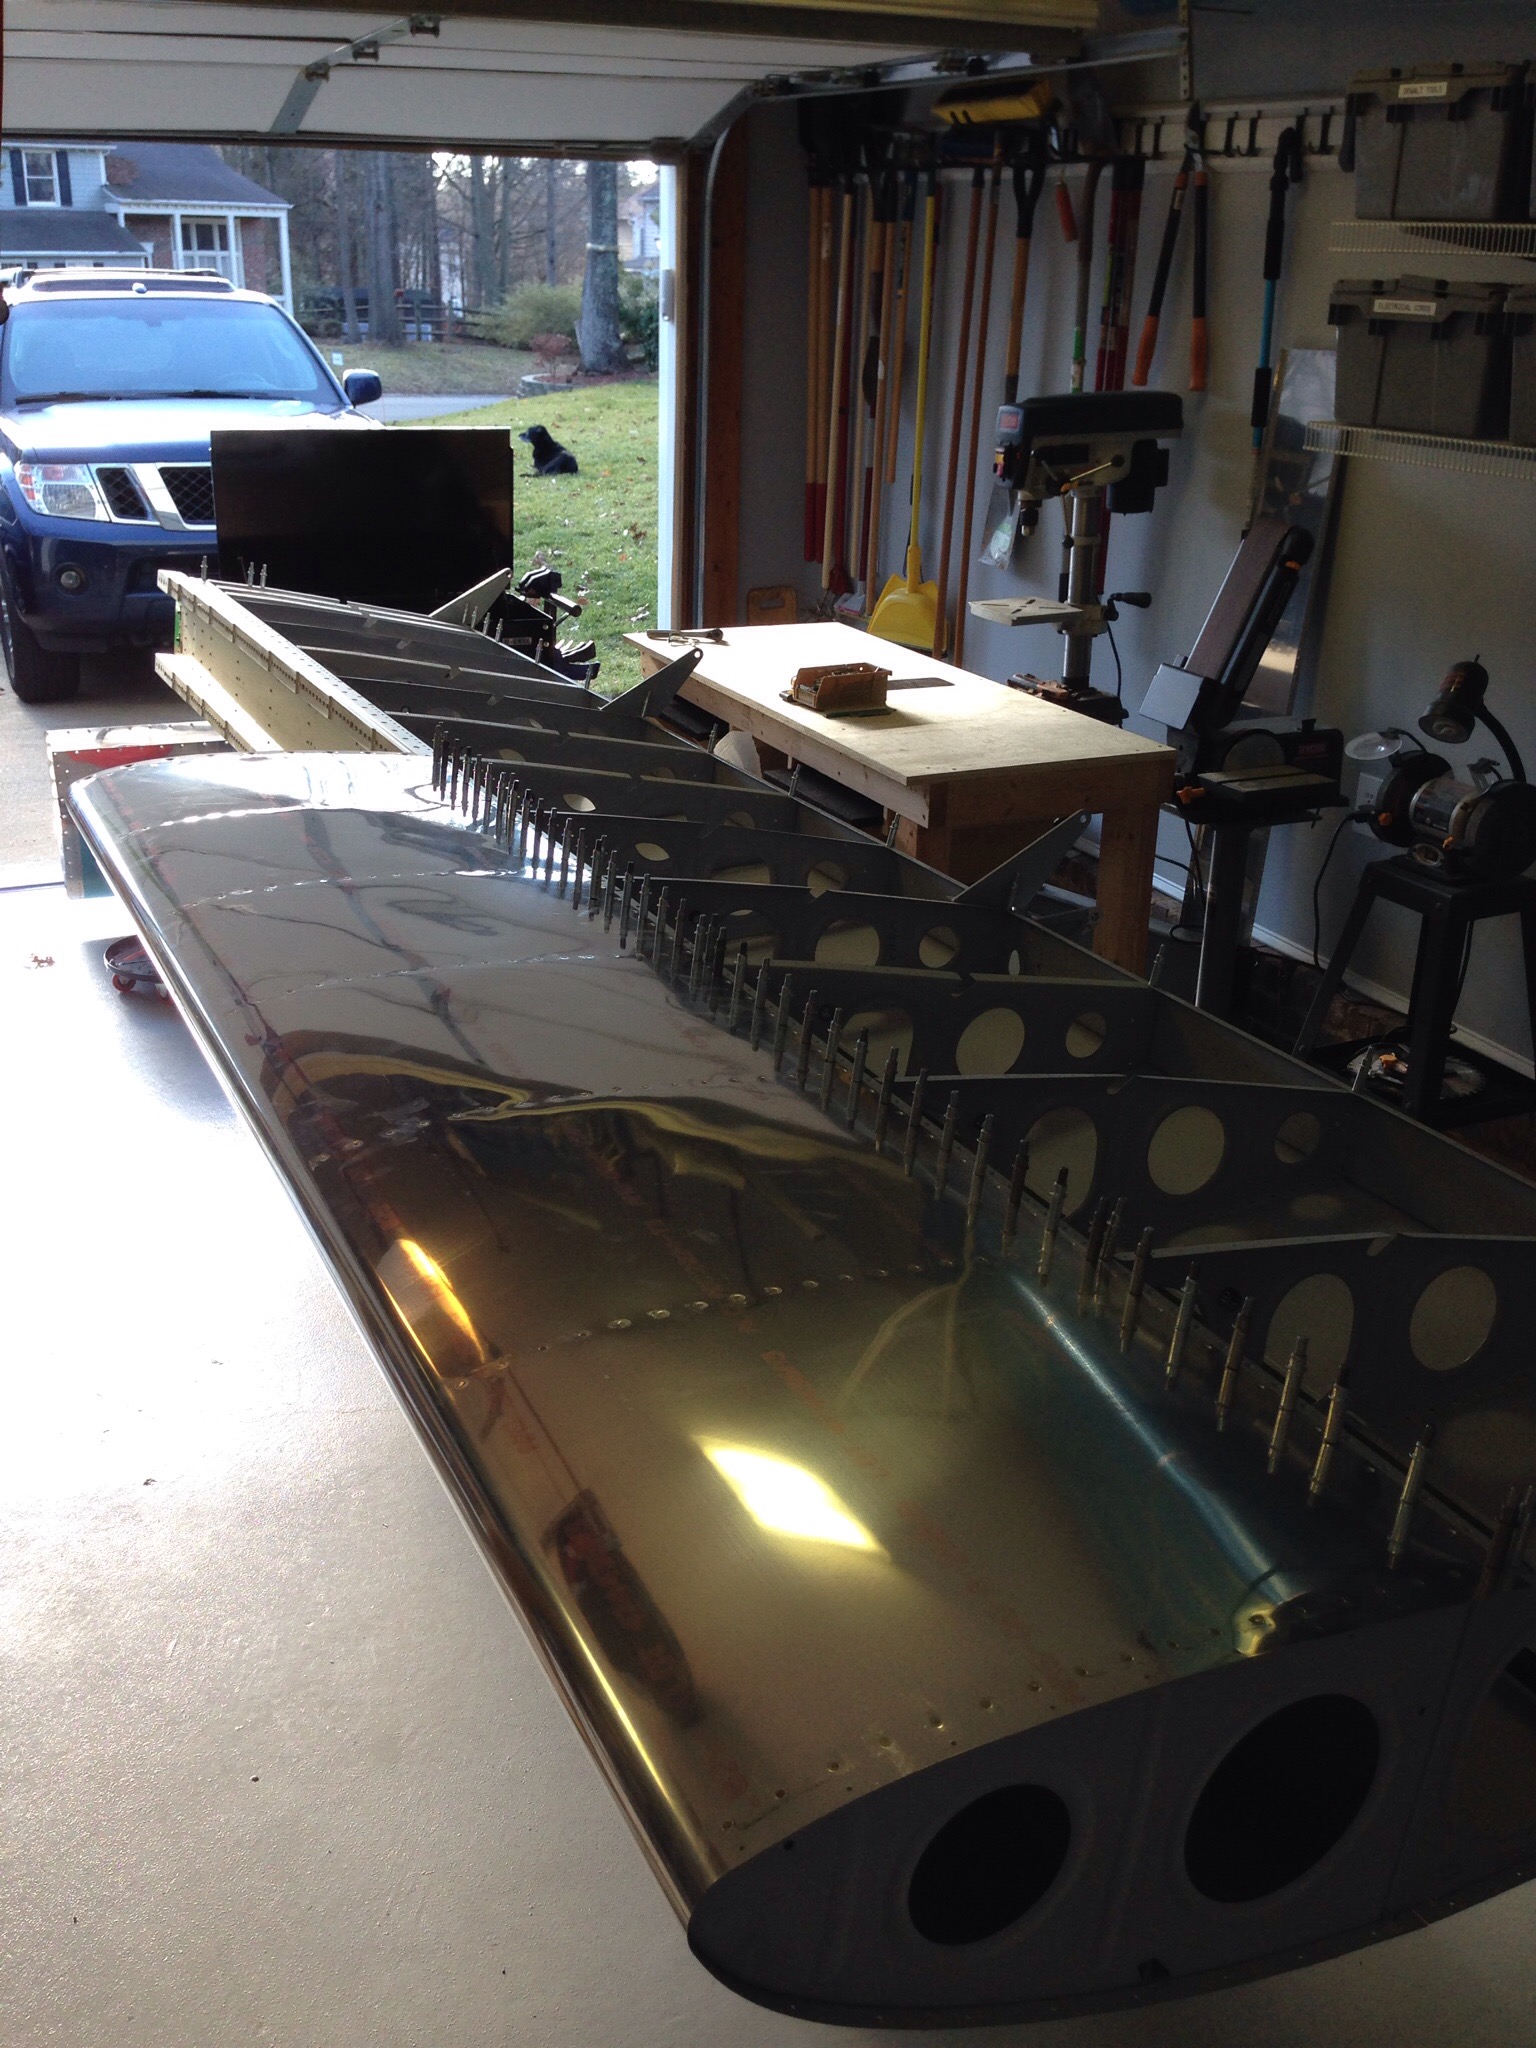
With the recent success of the fuel tanks boosting my spirit, I got to work over a long weekend on the wing and leading edge union. It’s a big step, as it adds a lot of surface area and shape to the wing. It also now takes on the appearance of a wing so hopefully folks can tell what the heck is hanging from some wooden rack in my garage!
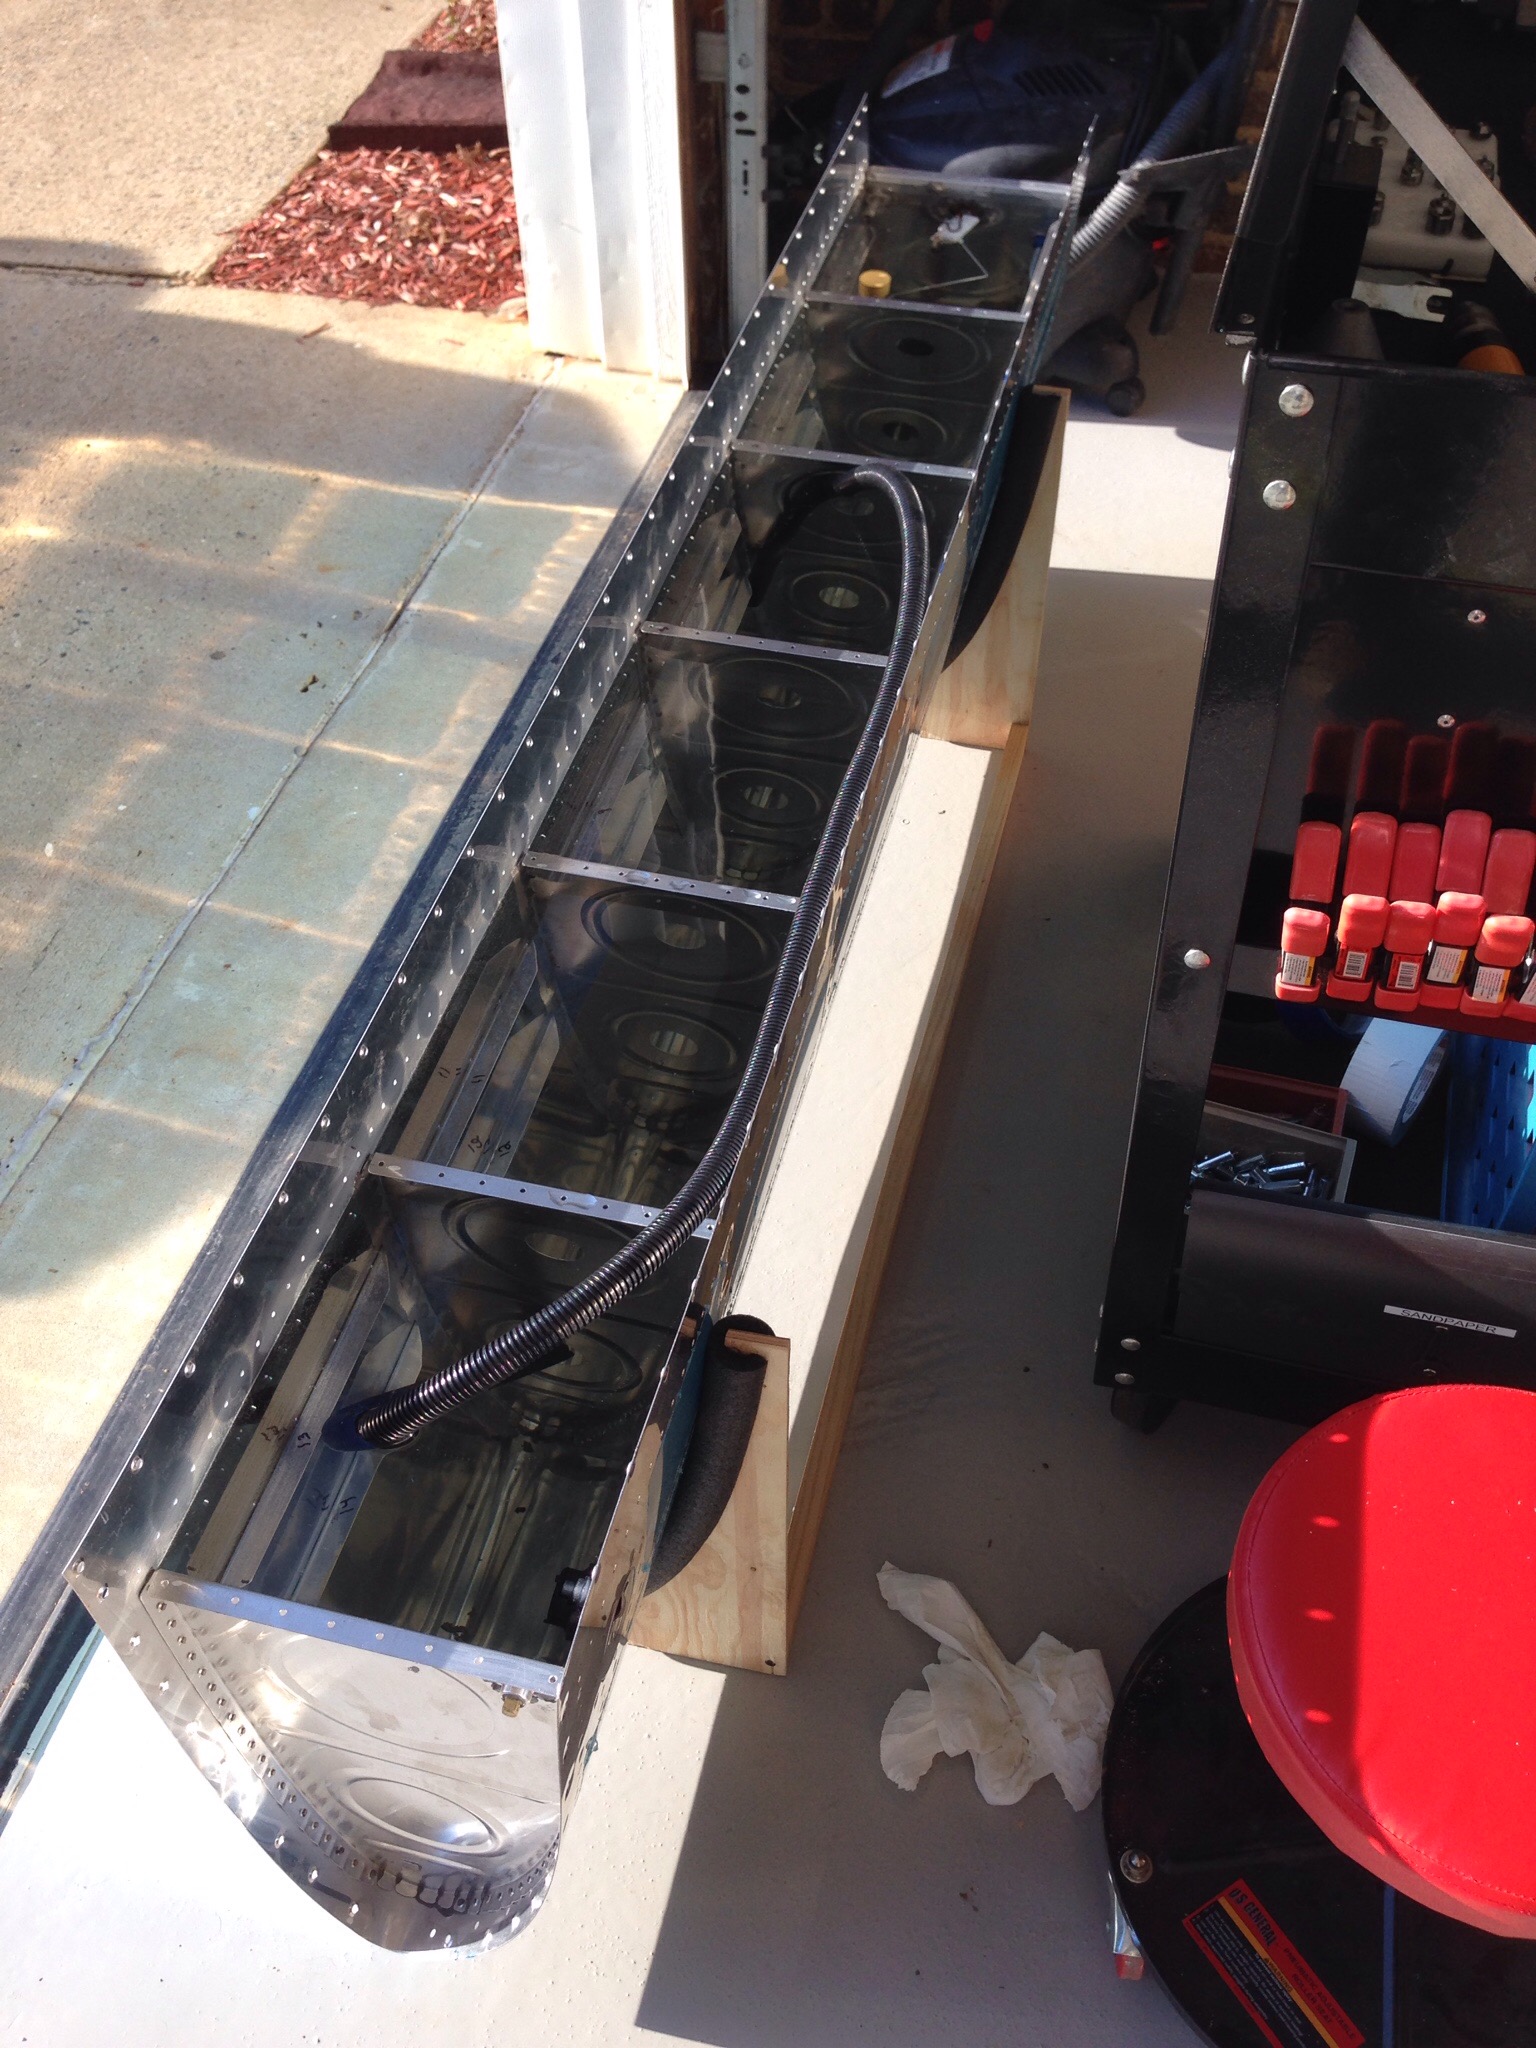
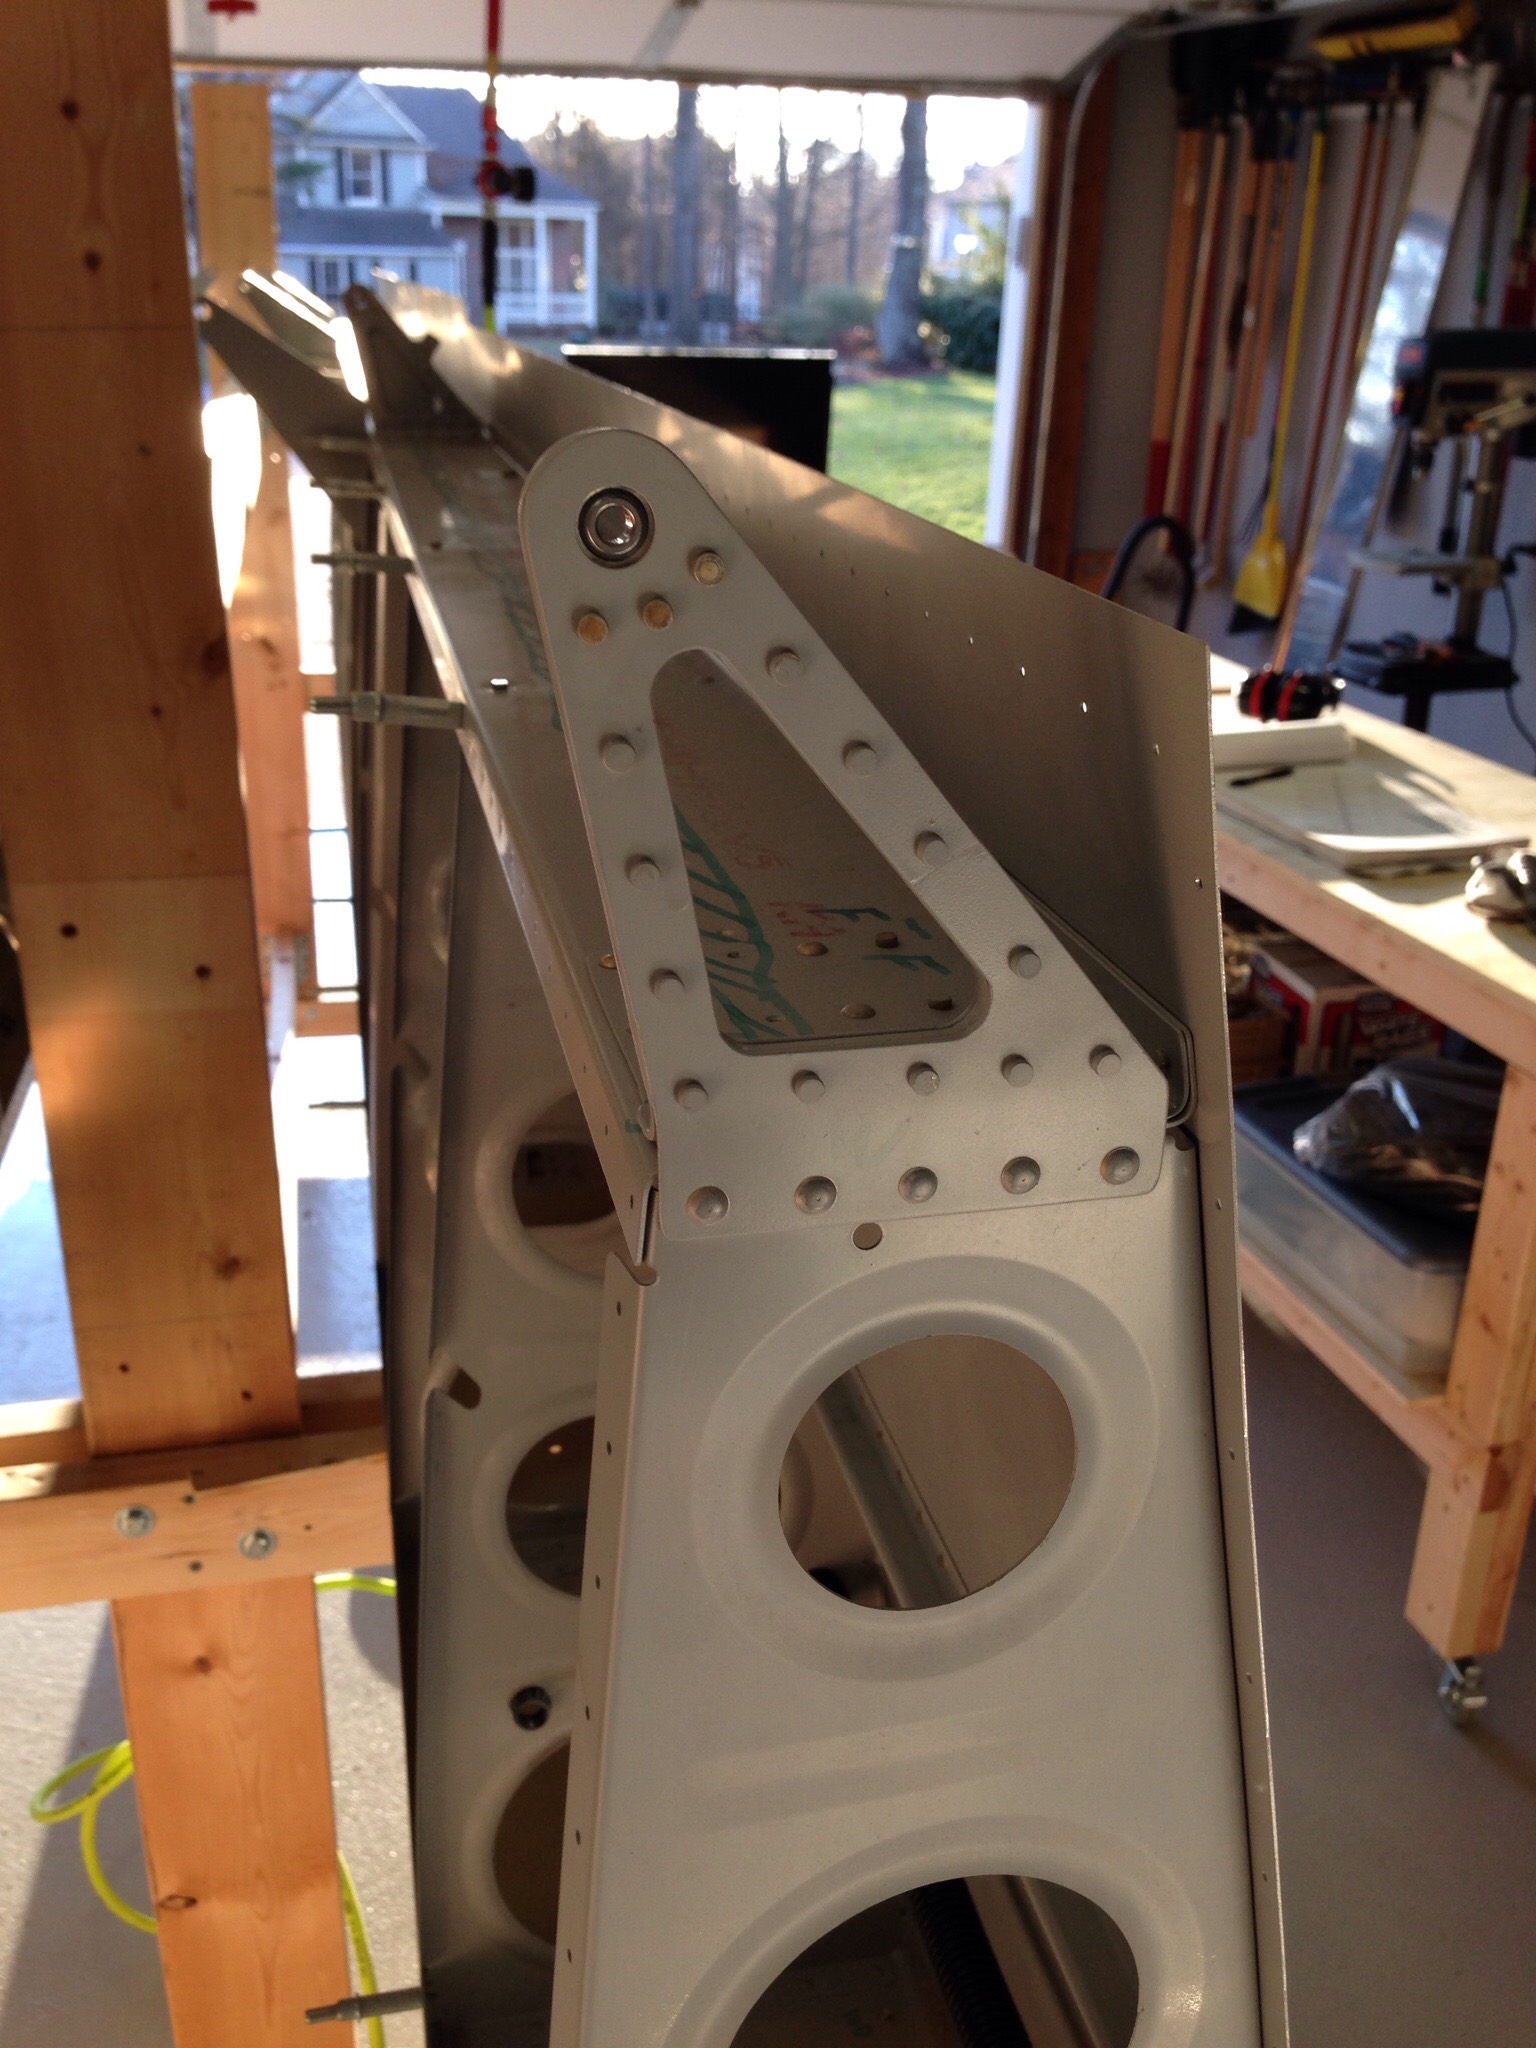
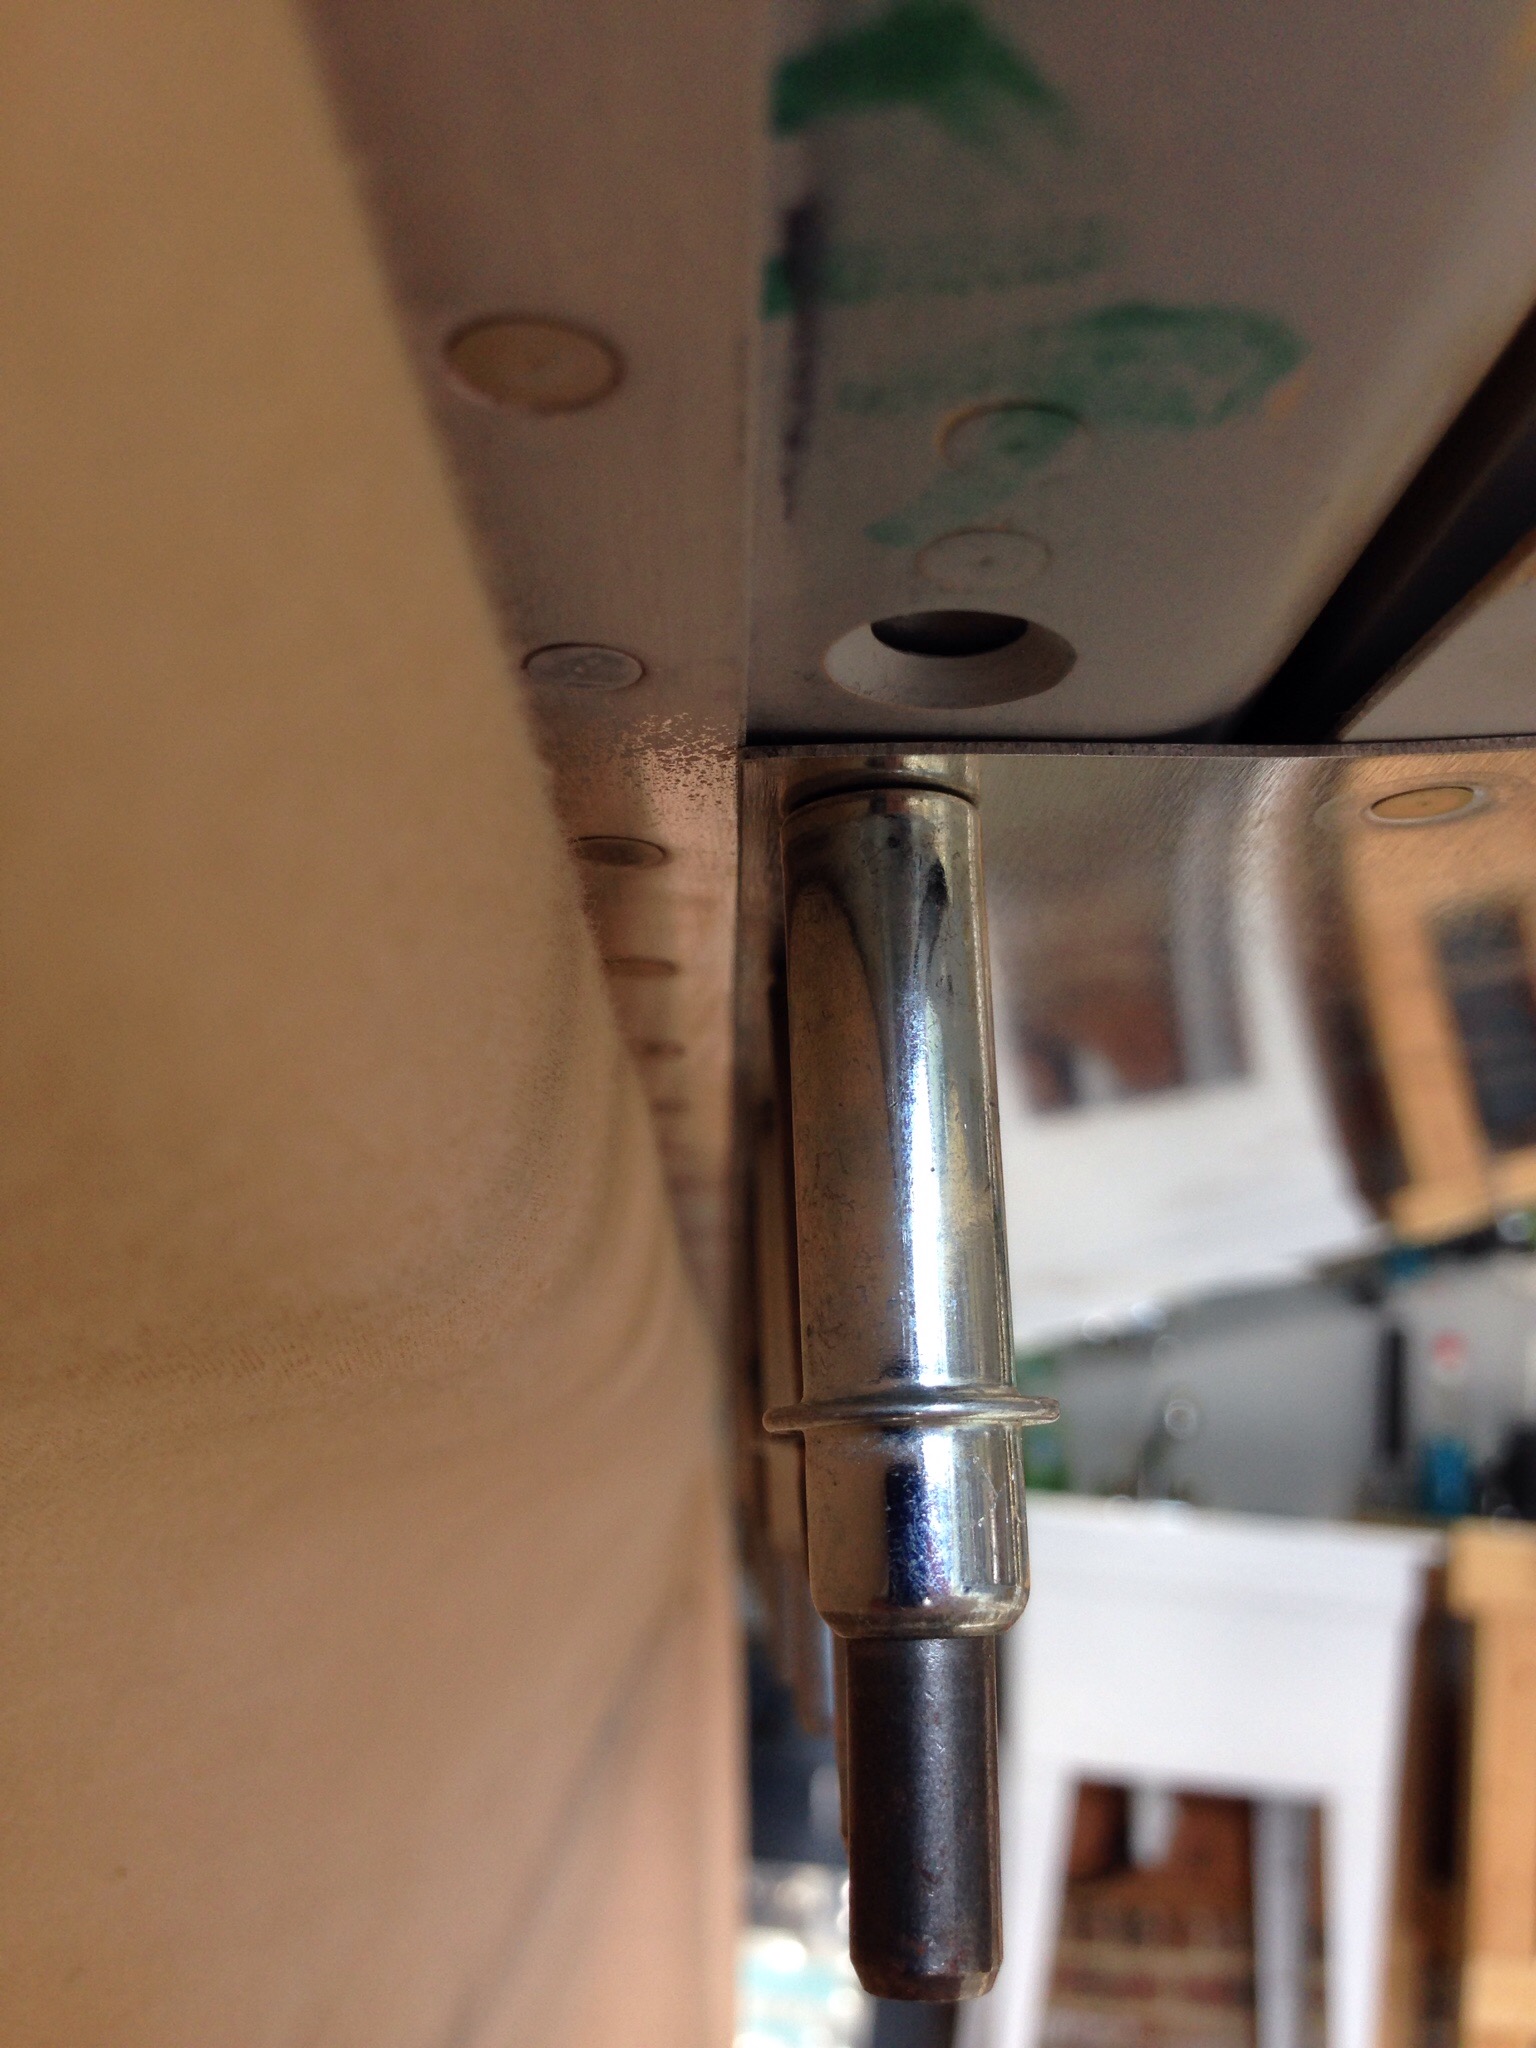
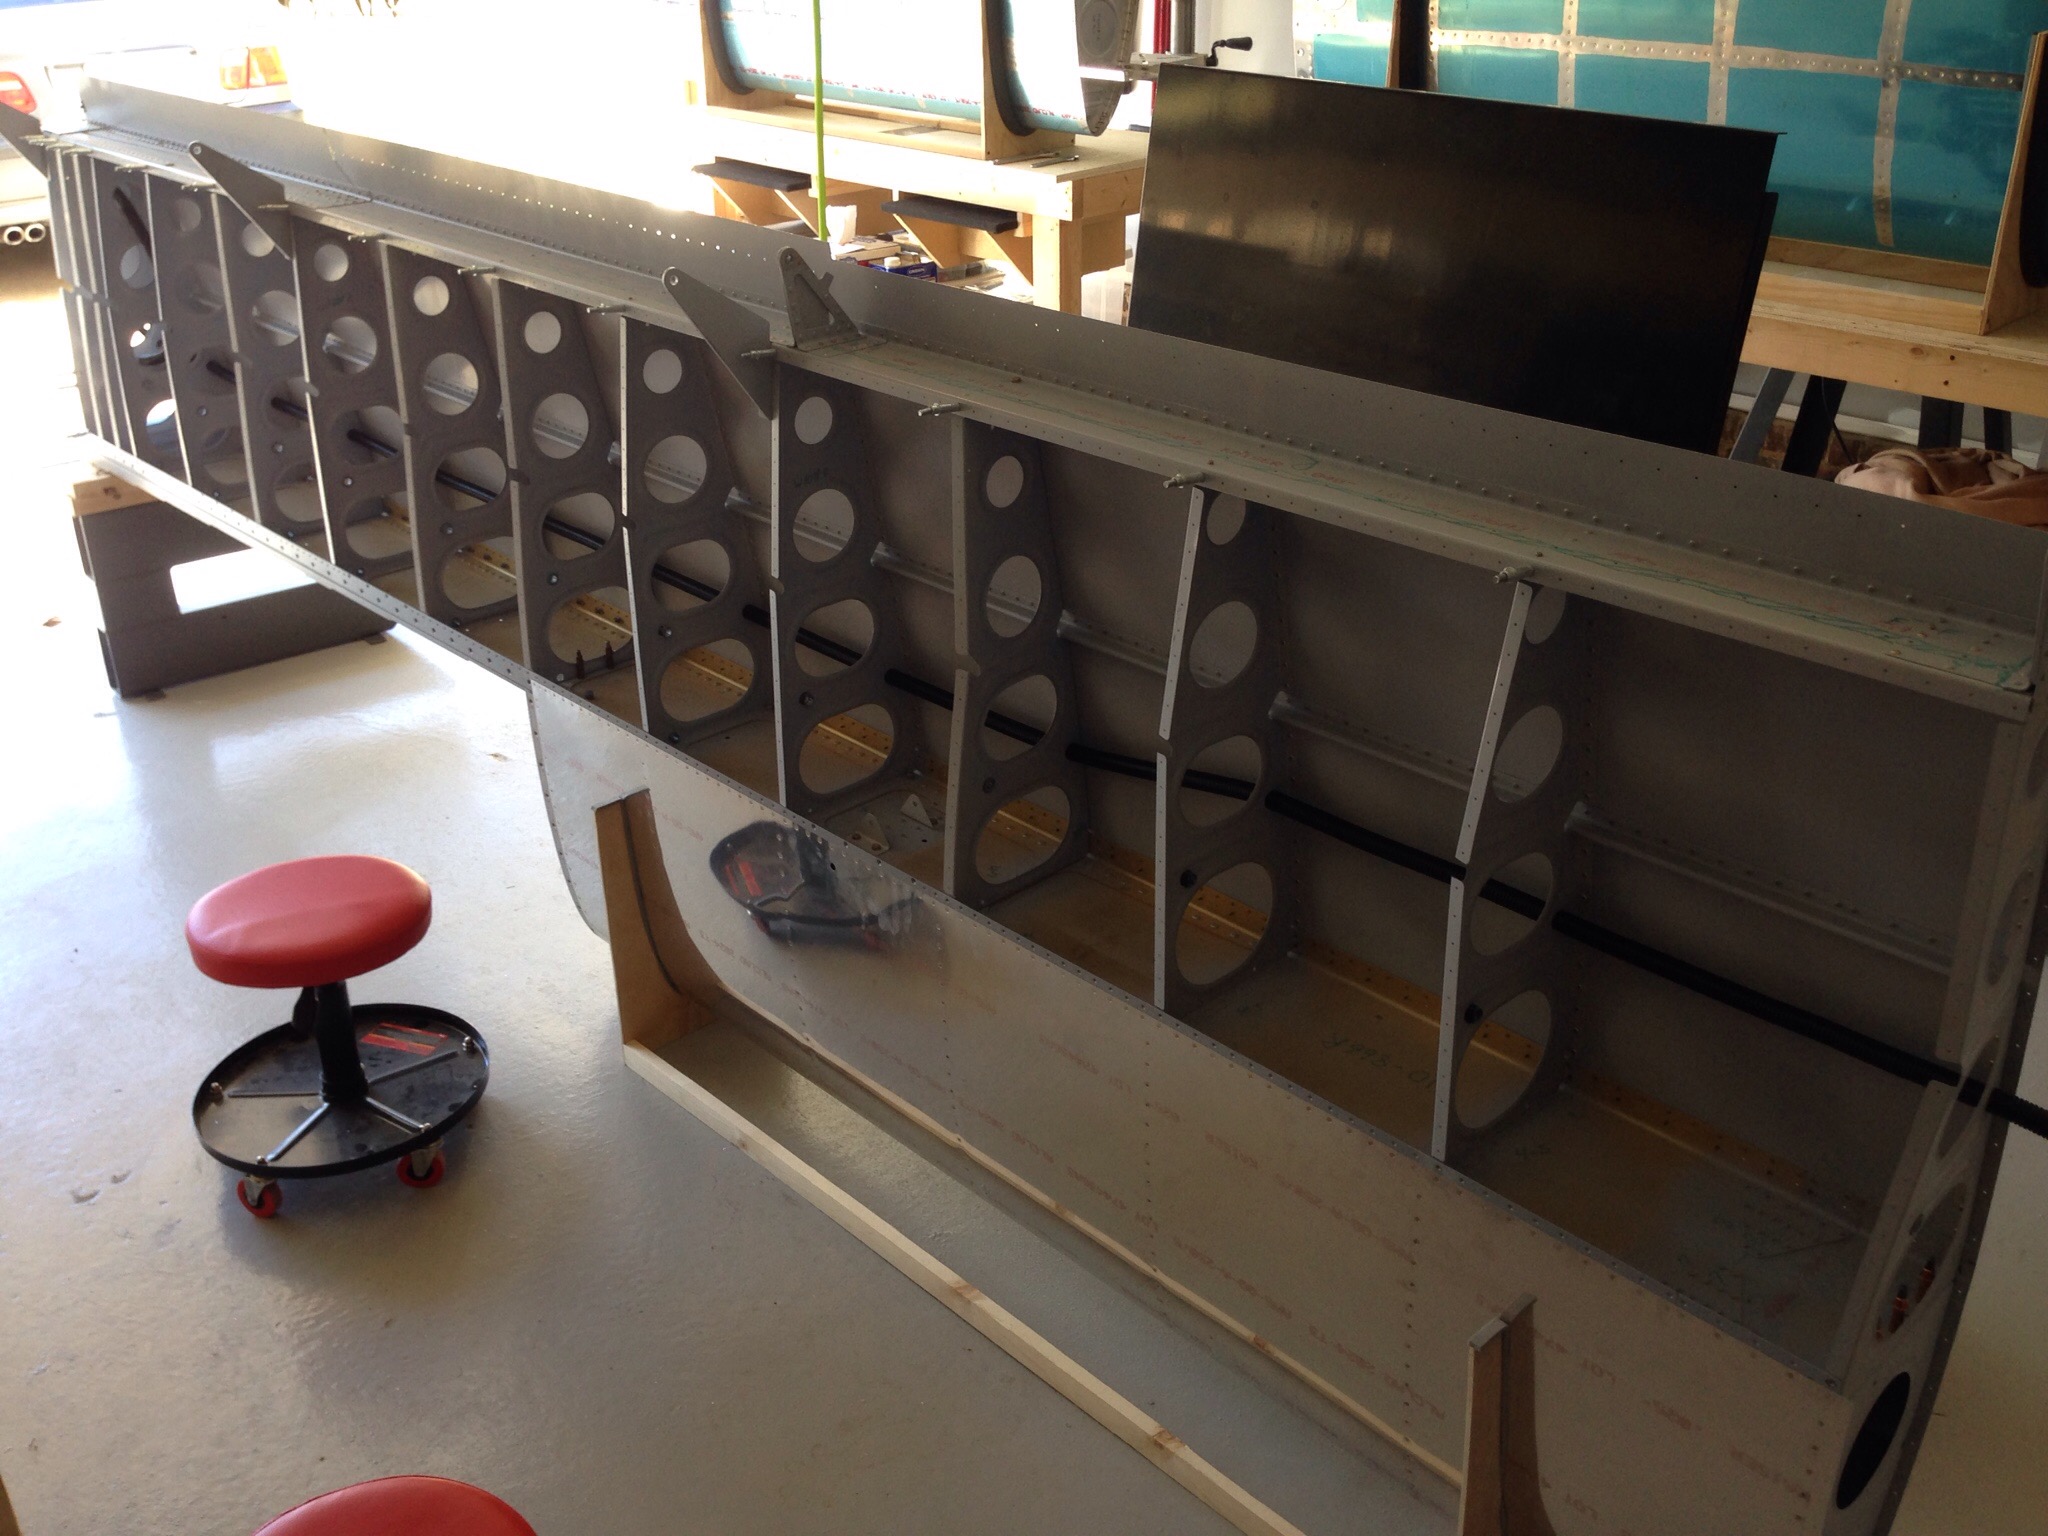
I started solo by clecoing the leading edge to the right wing spar. Working on the bottom first, when I got to the top side of the wing (it’s laying upside down) I noticed that the skins overlapped instead of a nice butt joint. Thus, I removed all those clecos and started from the top side (again on the bottom as it’s upside down) first to get the joint smooth.

IMG_1492.JPG

IMG_1490.JPG
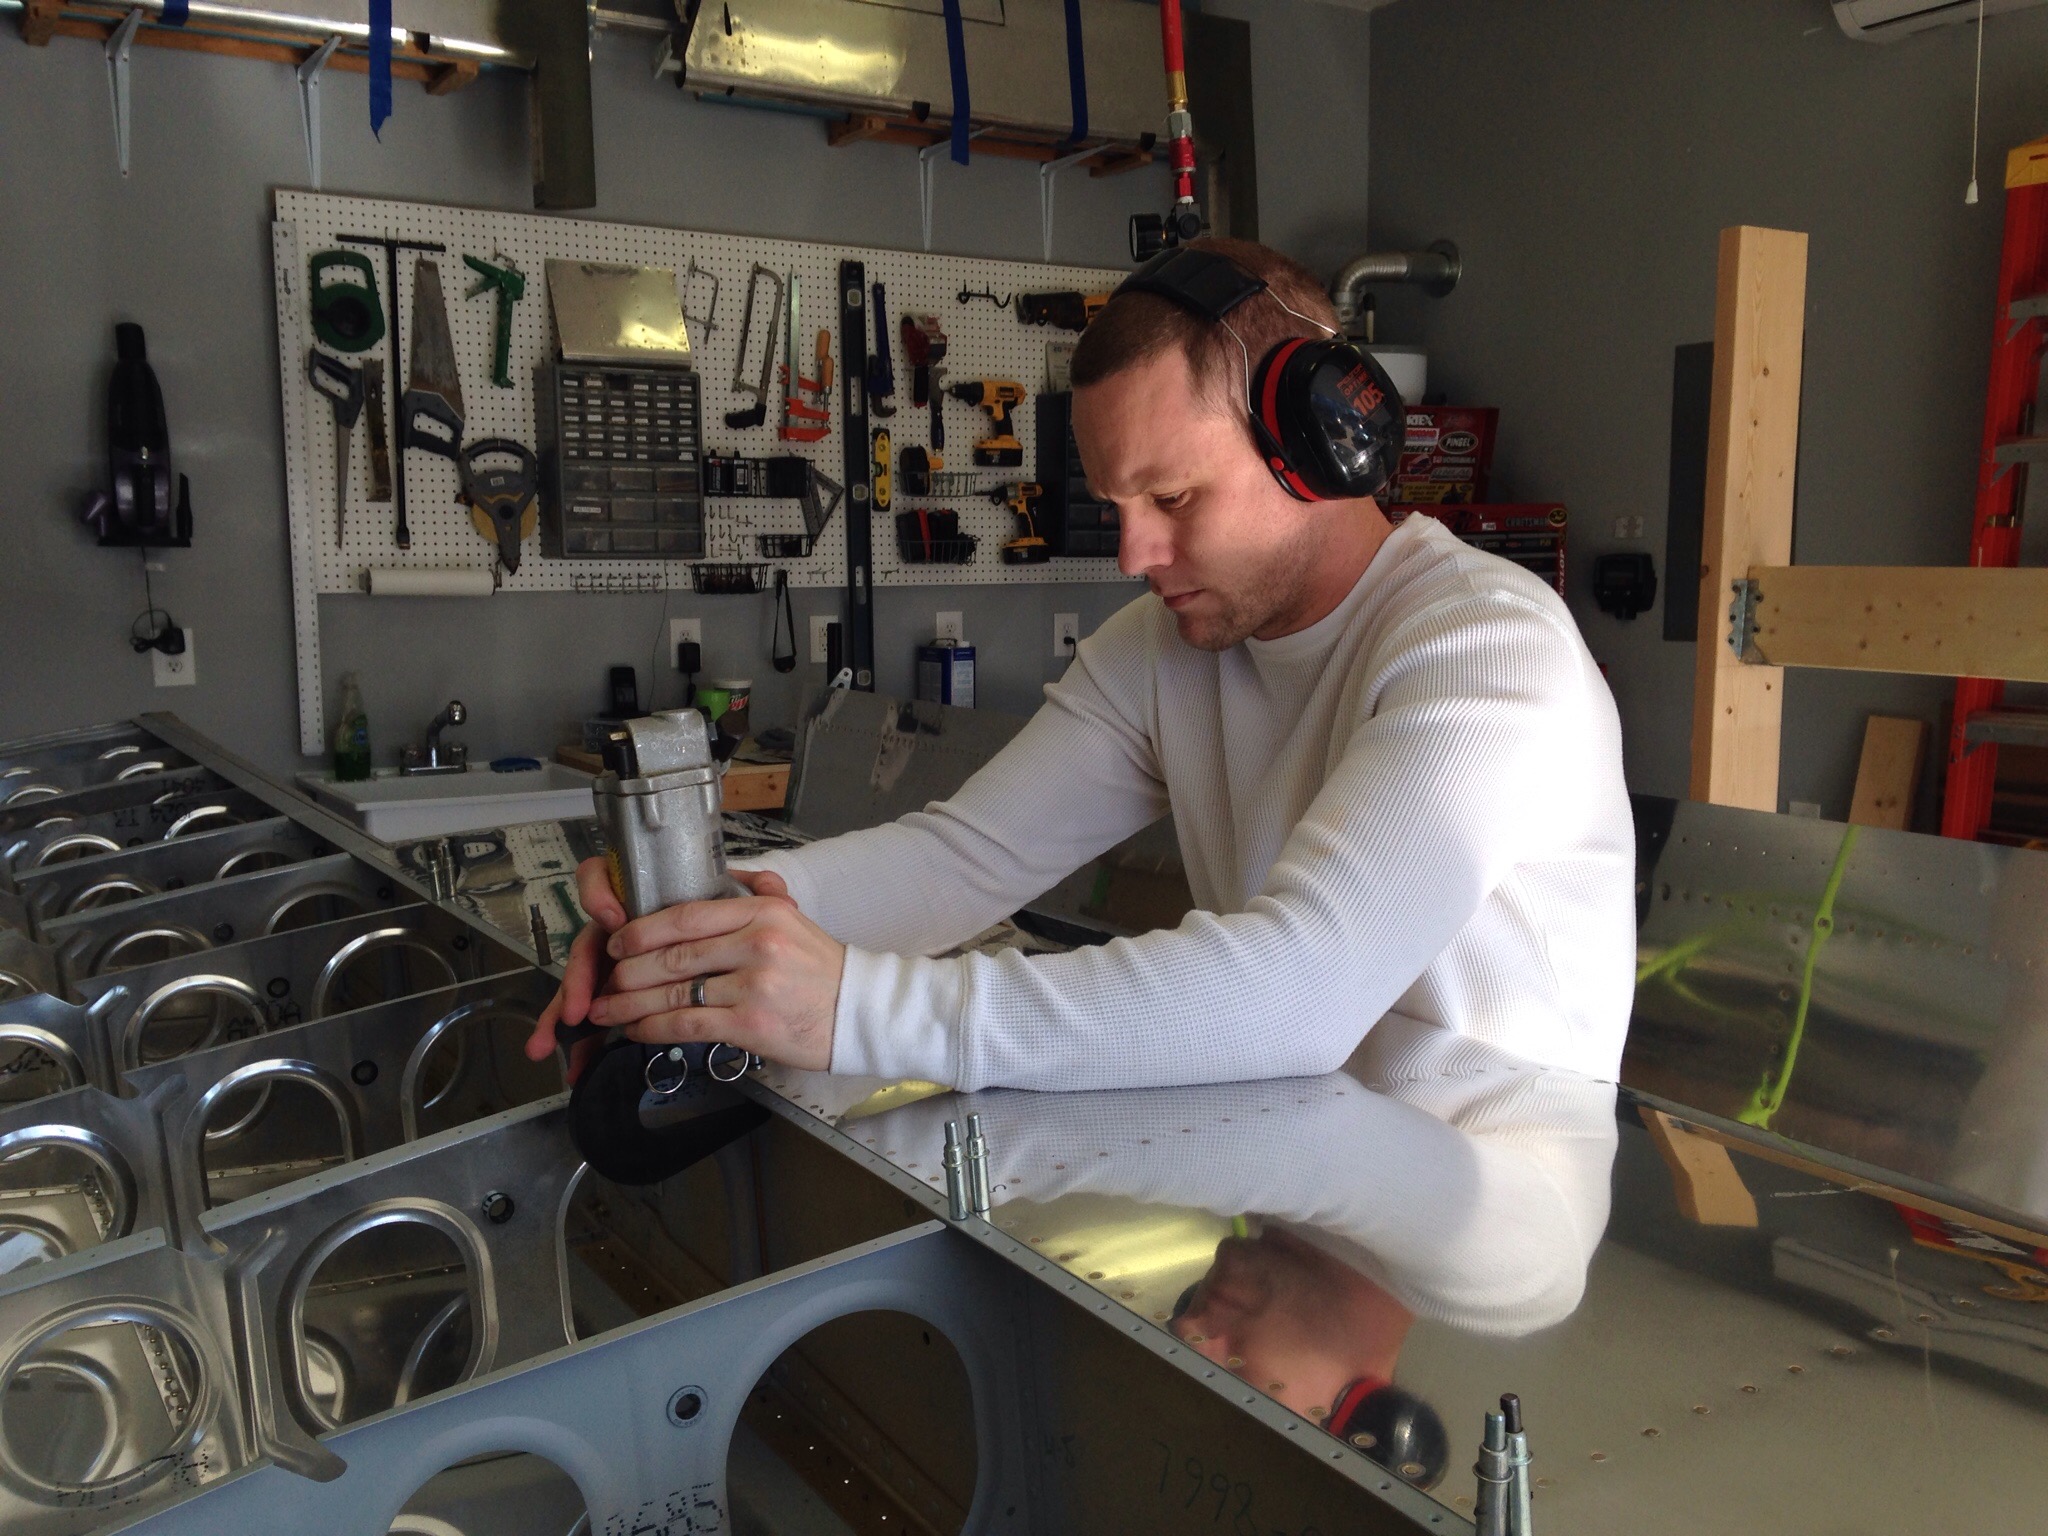
It worked like a charm and within no time, I was using my squeezer to rivet the bottom of the skin to the spar. This is when a tool like this comes in handy, as it makes quick work and nice consistent results.

IMG_1503.JPG
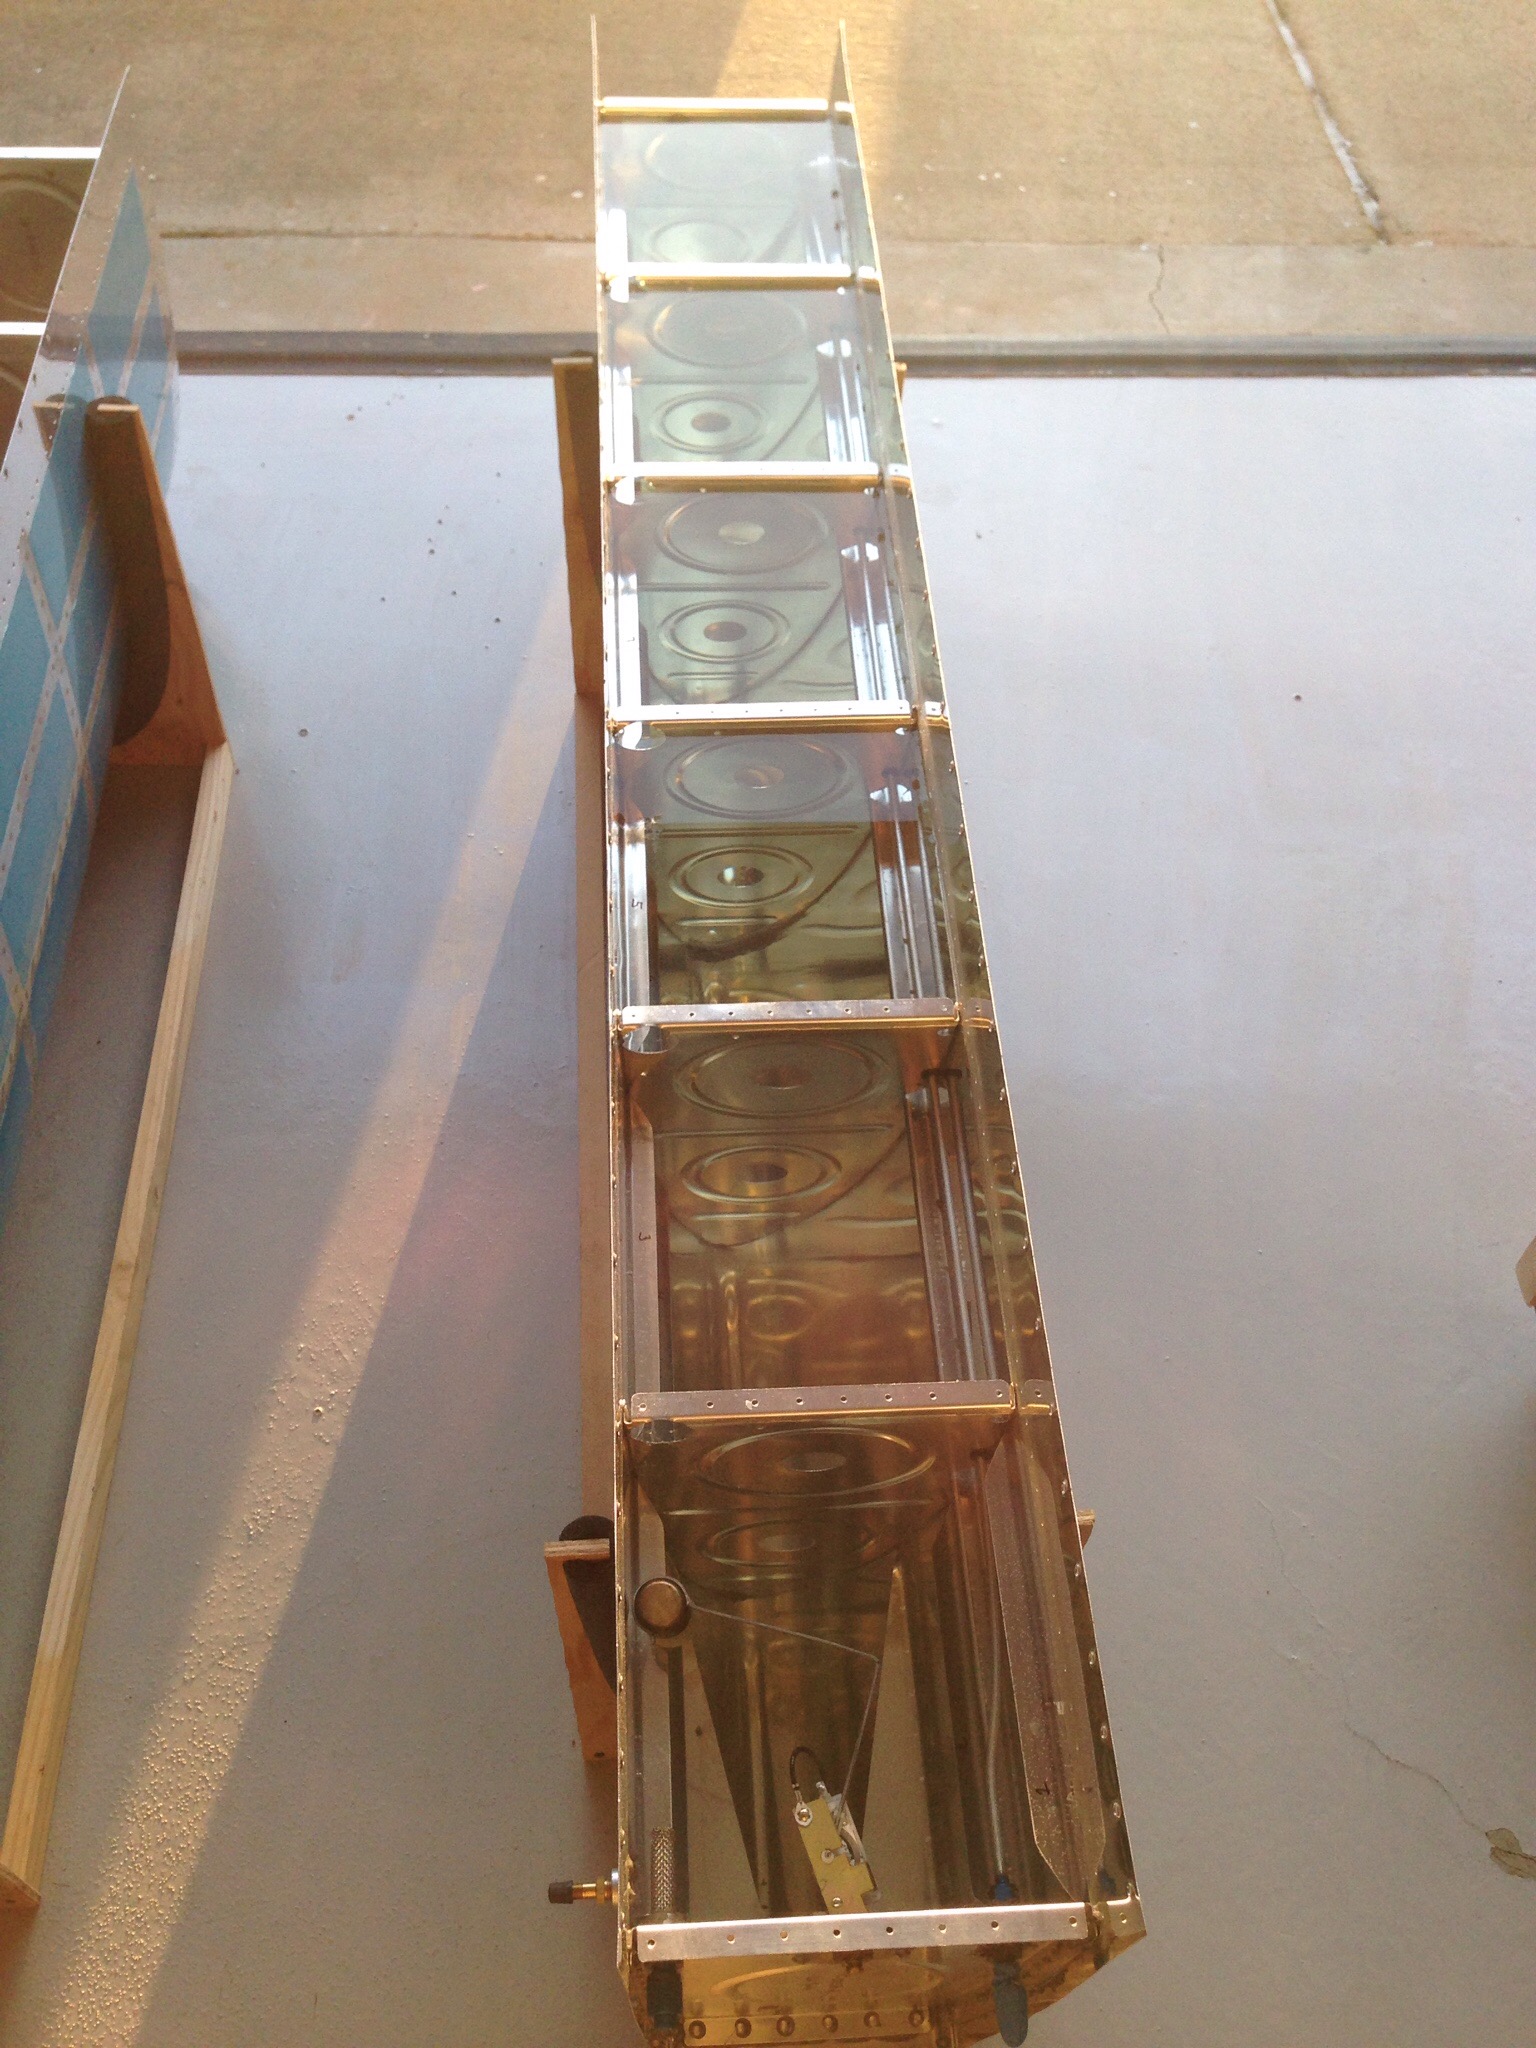
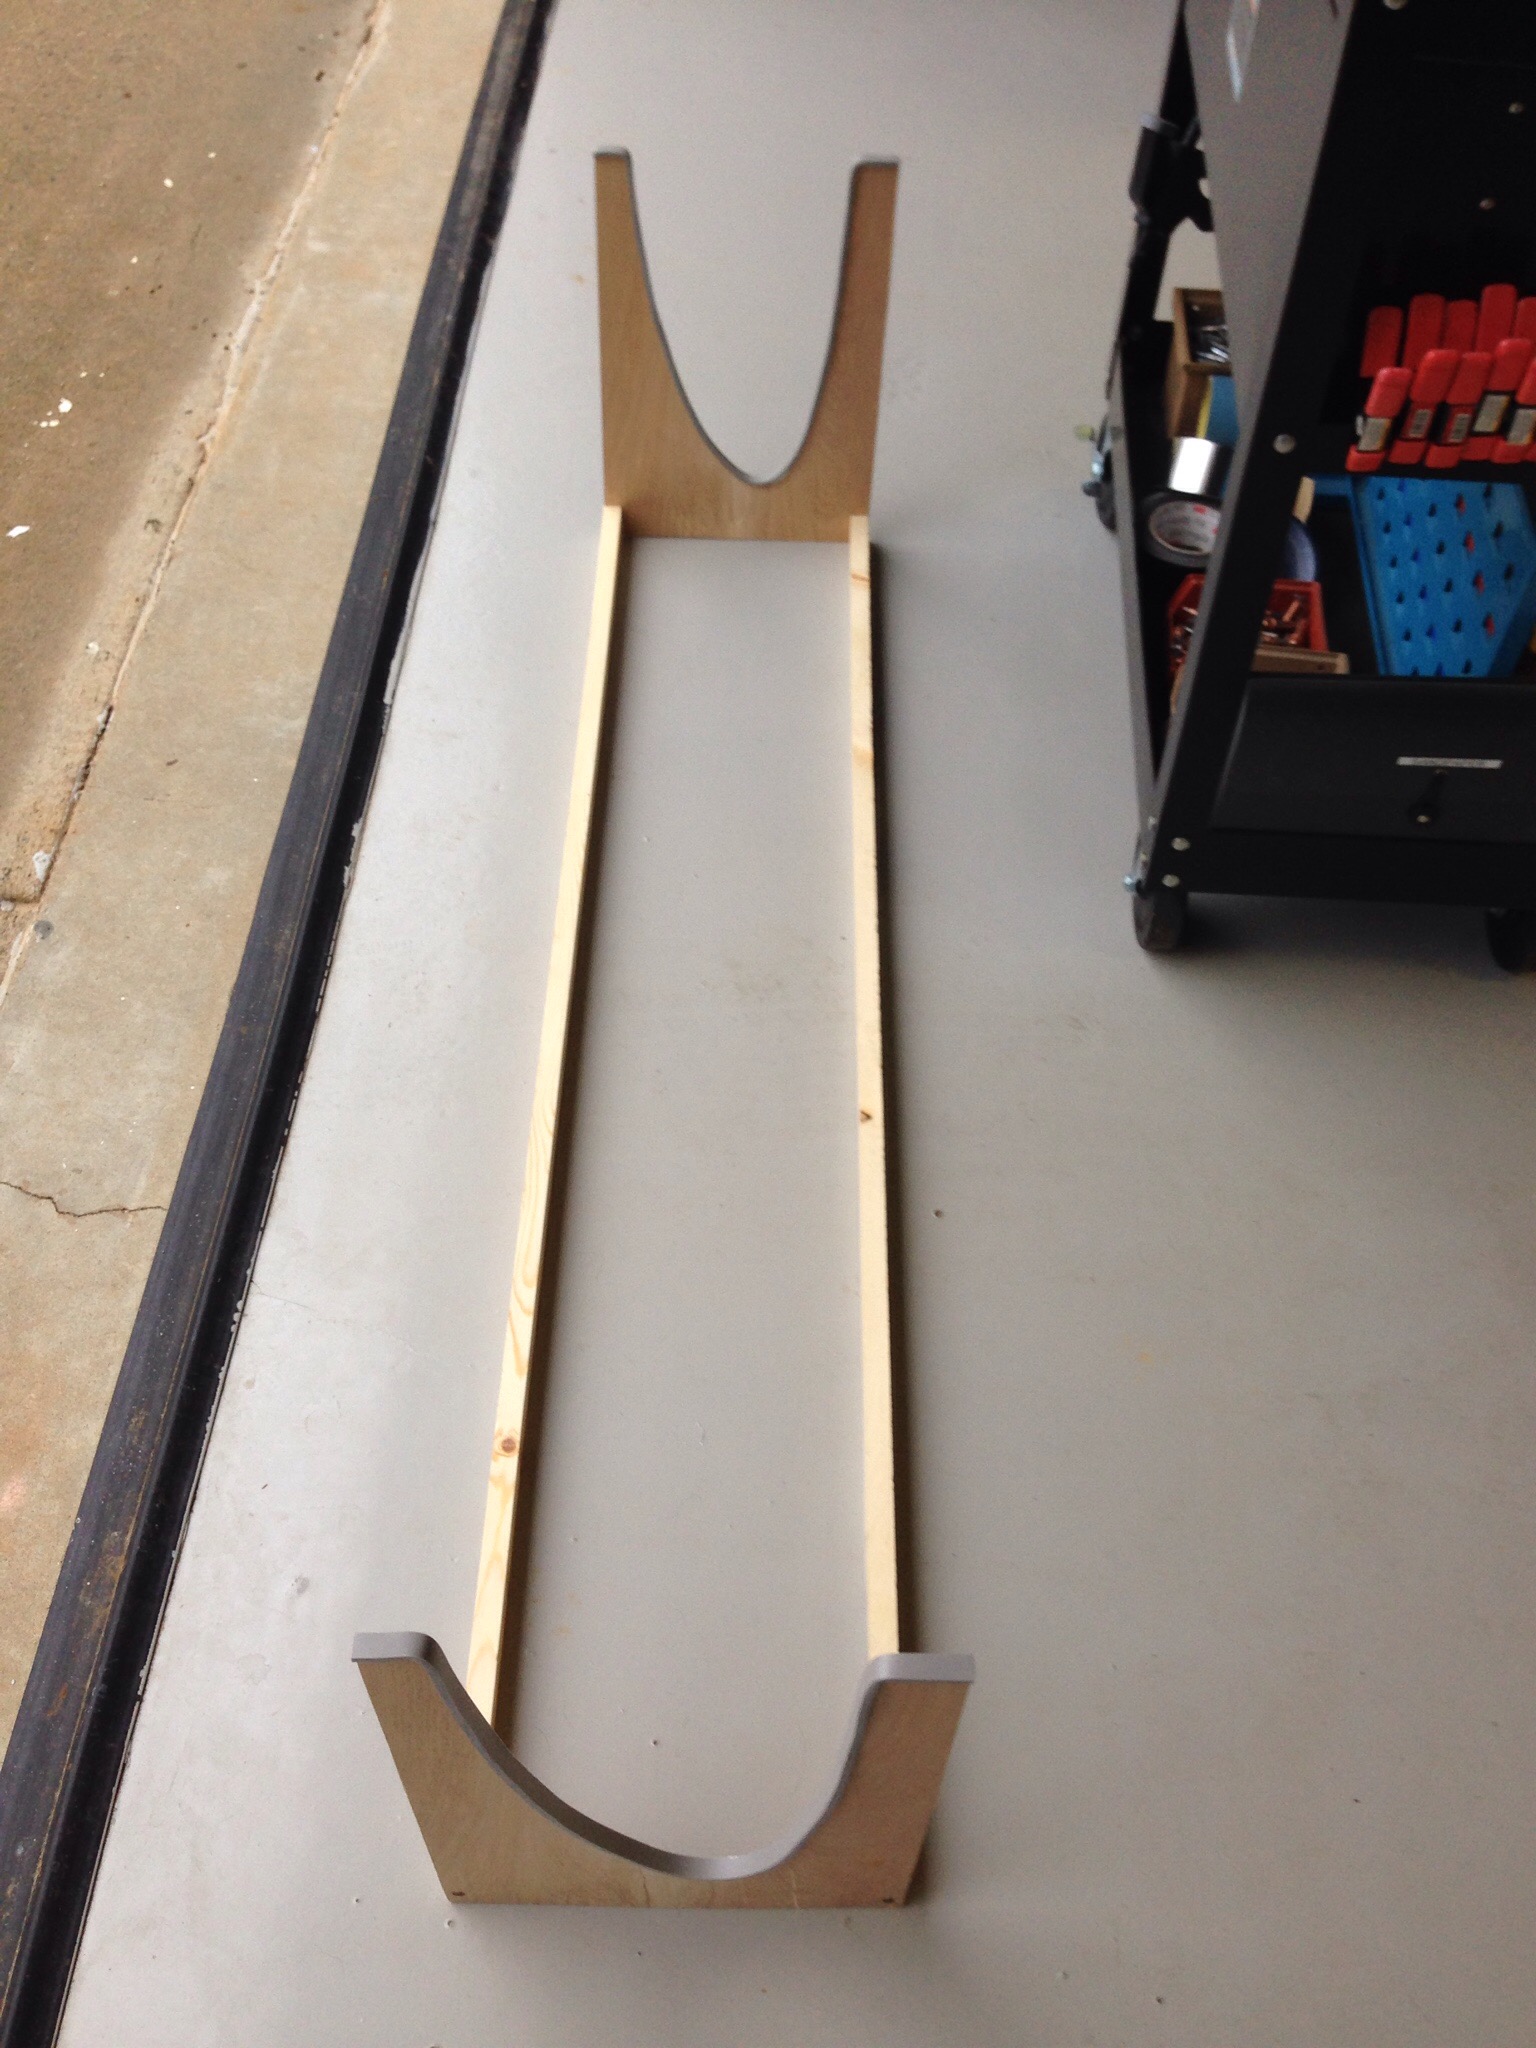
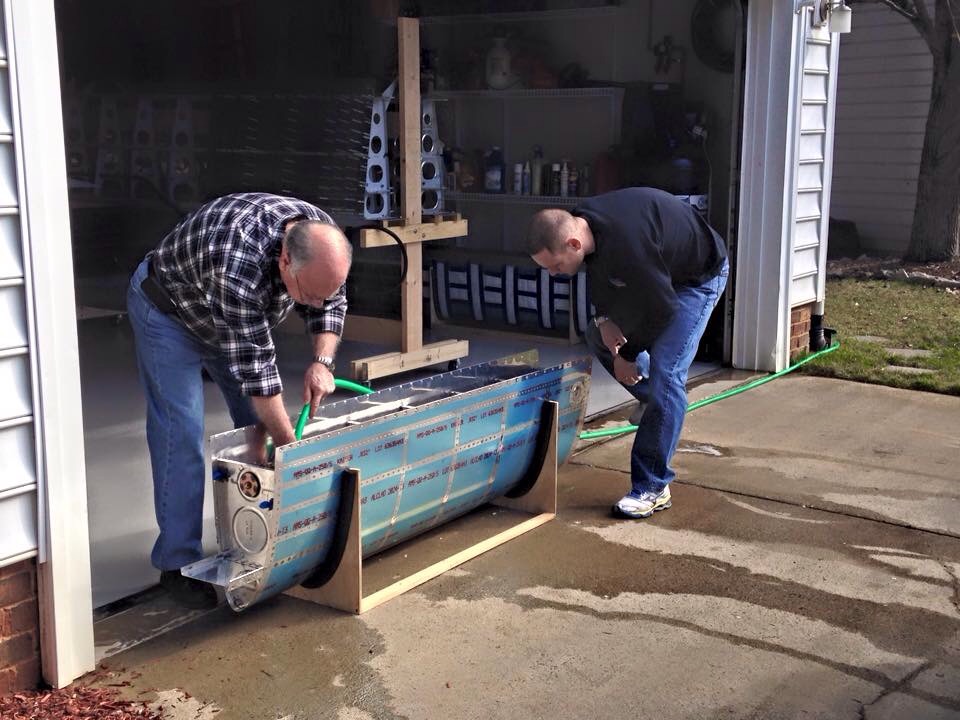
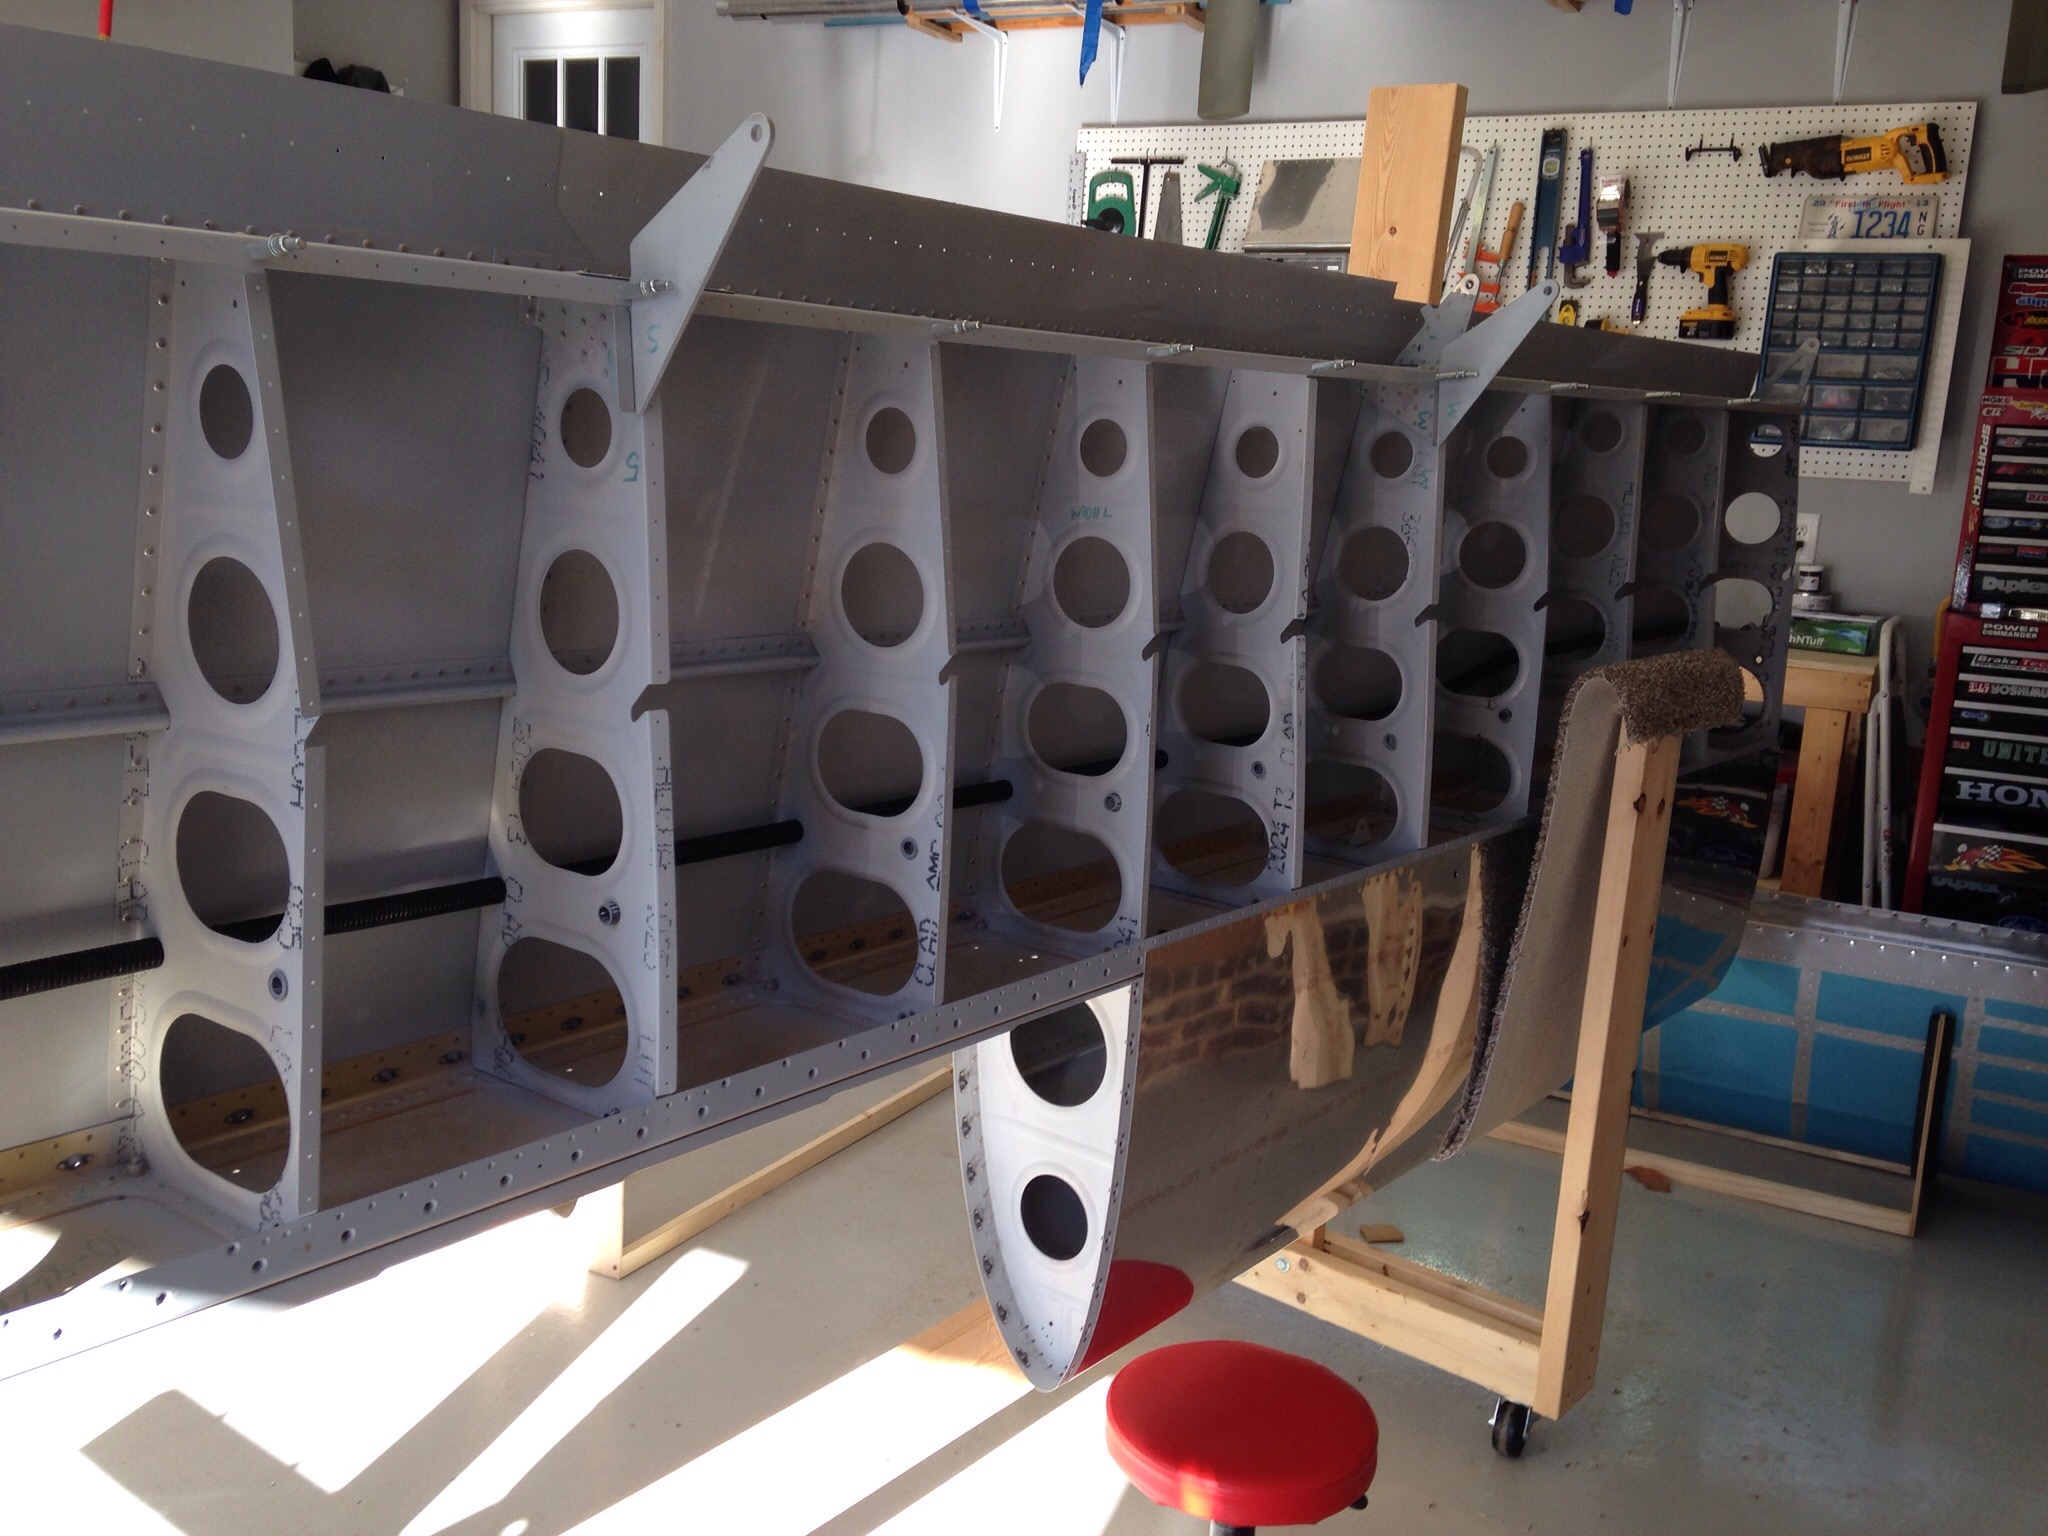
Then it was time to figure out how to position the wing so that two of us could rivet the top skin. It worked out for me to use the DRDT2 dimpler as a spar stand and the wooden cradle on the other end. I put a couple of pieces of wood to block it and it provided a very stable stand for the wife and I to team up for some riveting.

IMG_1496.JPG
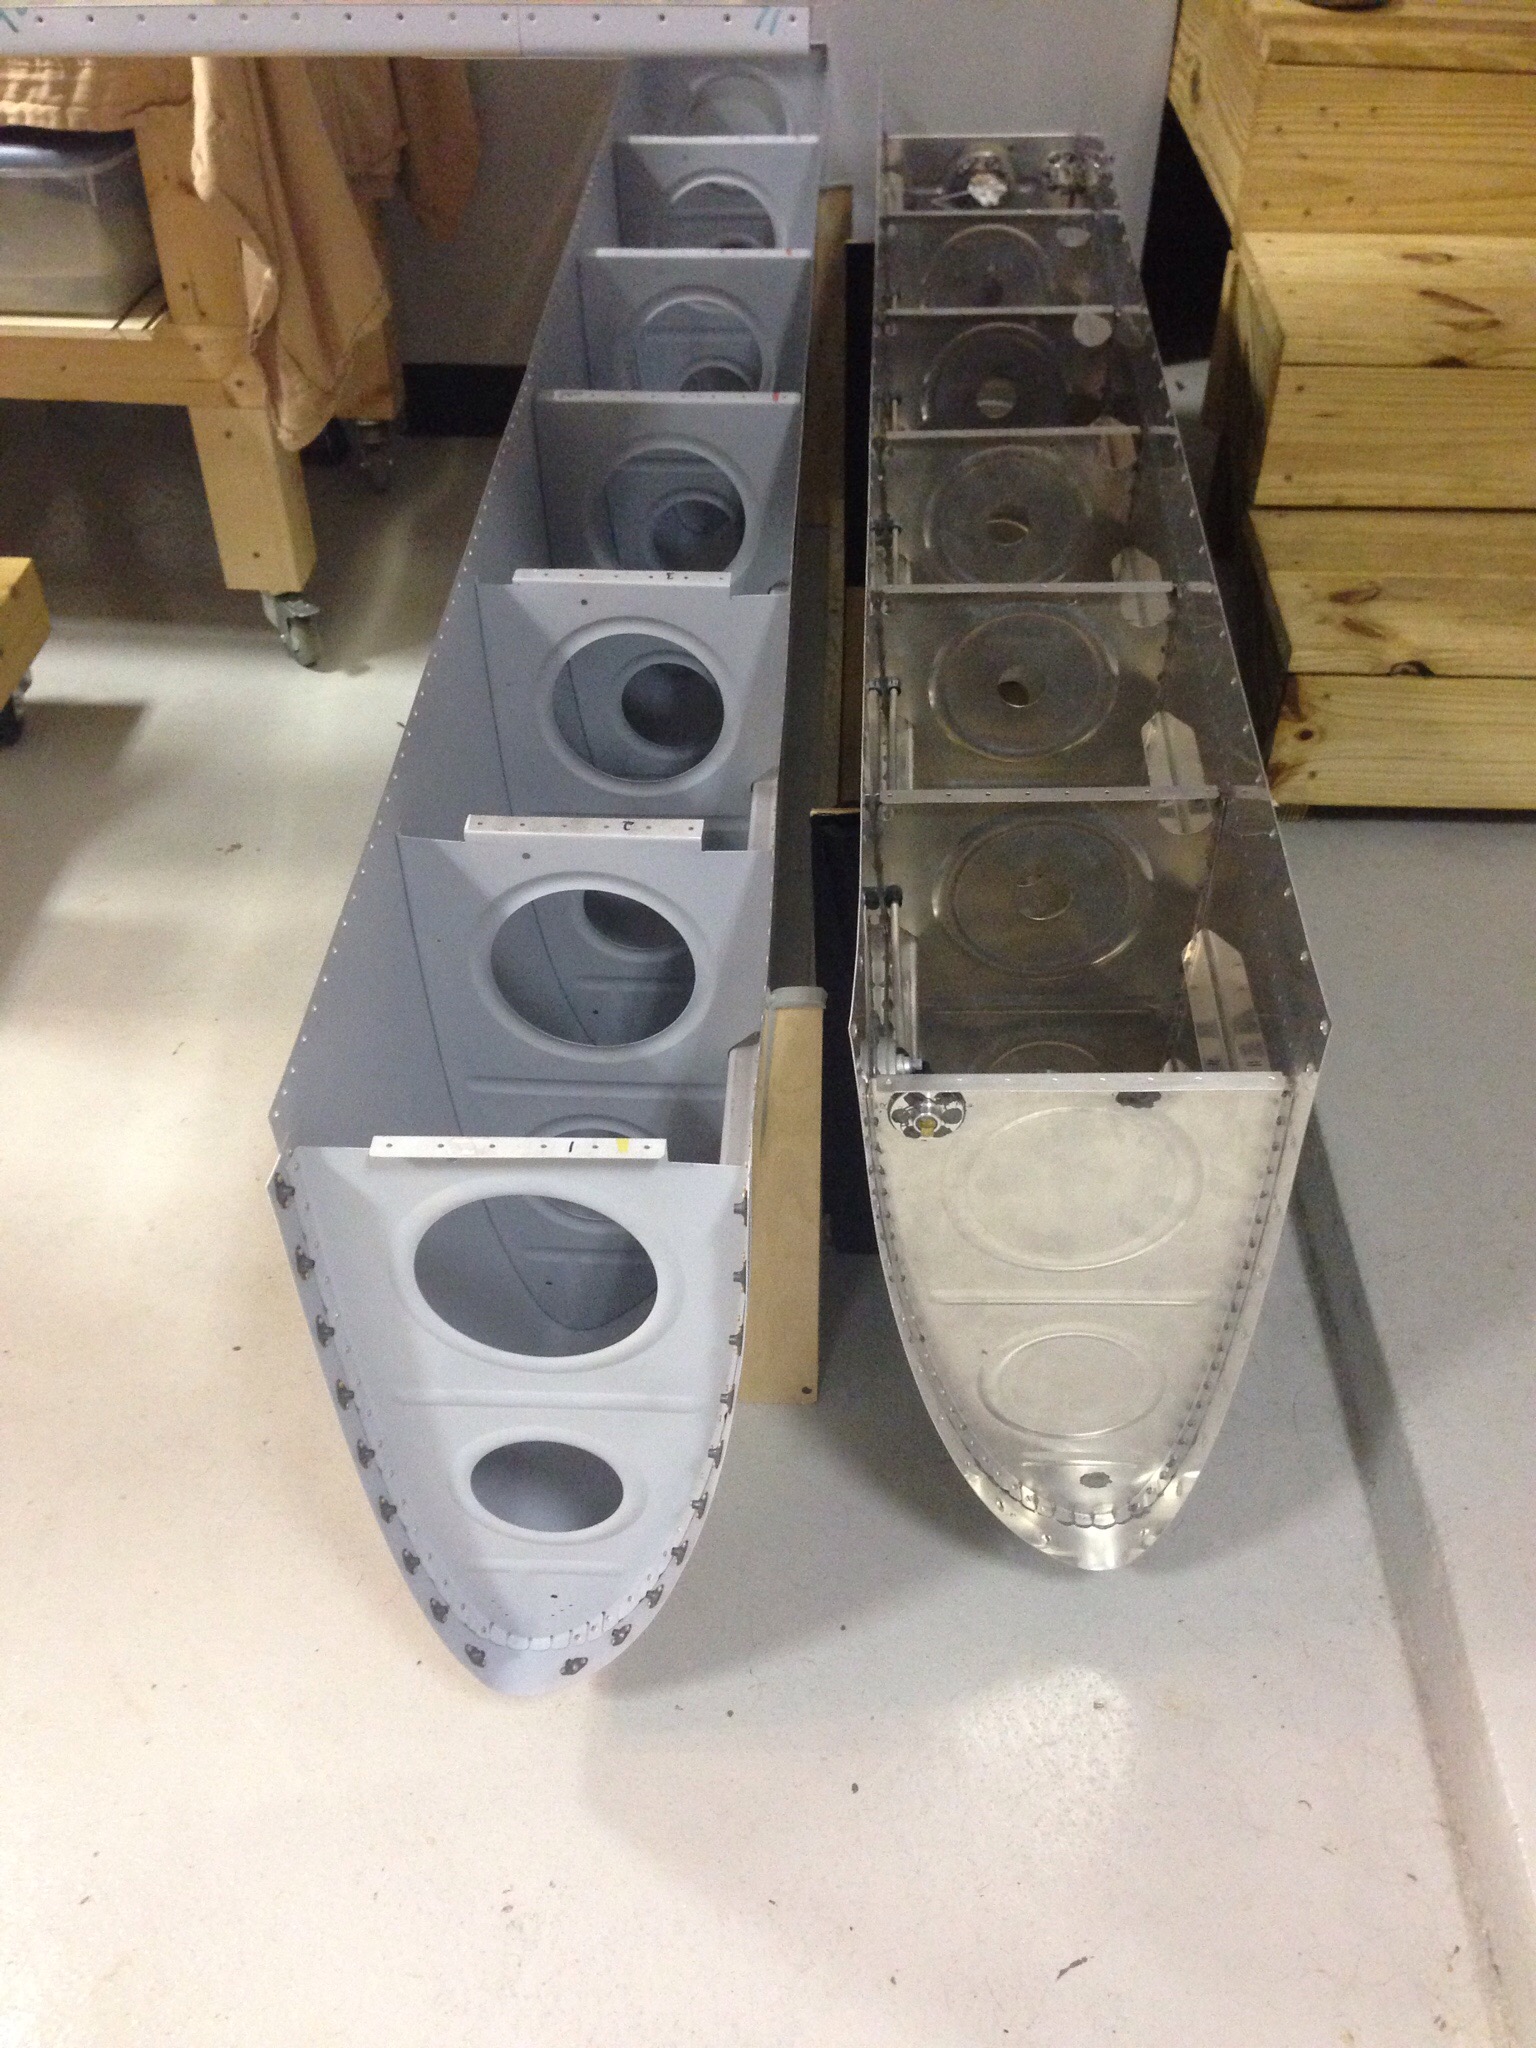
We made great progress, finishing both leading edges, the rib/spar rivets, and moving on to modifying the wing rack for the final time. With the leading edges on the spar, I had to move to the carpet tactic to form a soft cradle for the leading edge. We had the material and it was a quick fix. Hopefully the last time we’ll need to reconfigure it.

IMG_1505.JPG
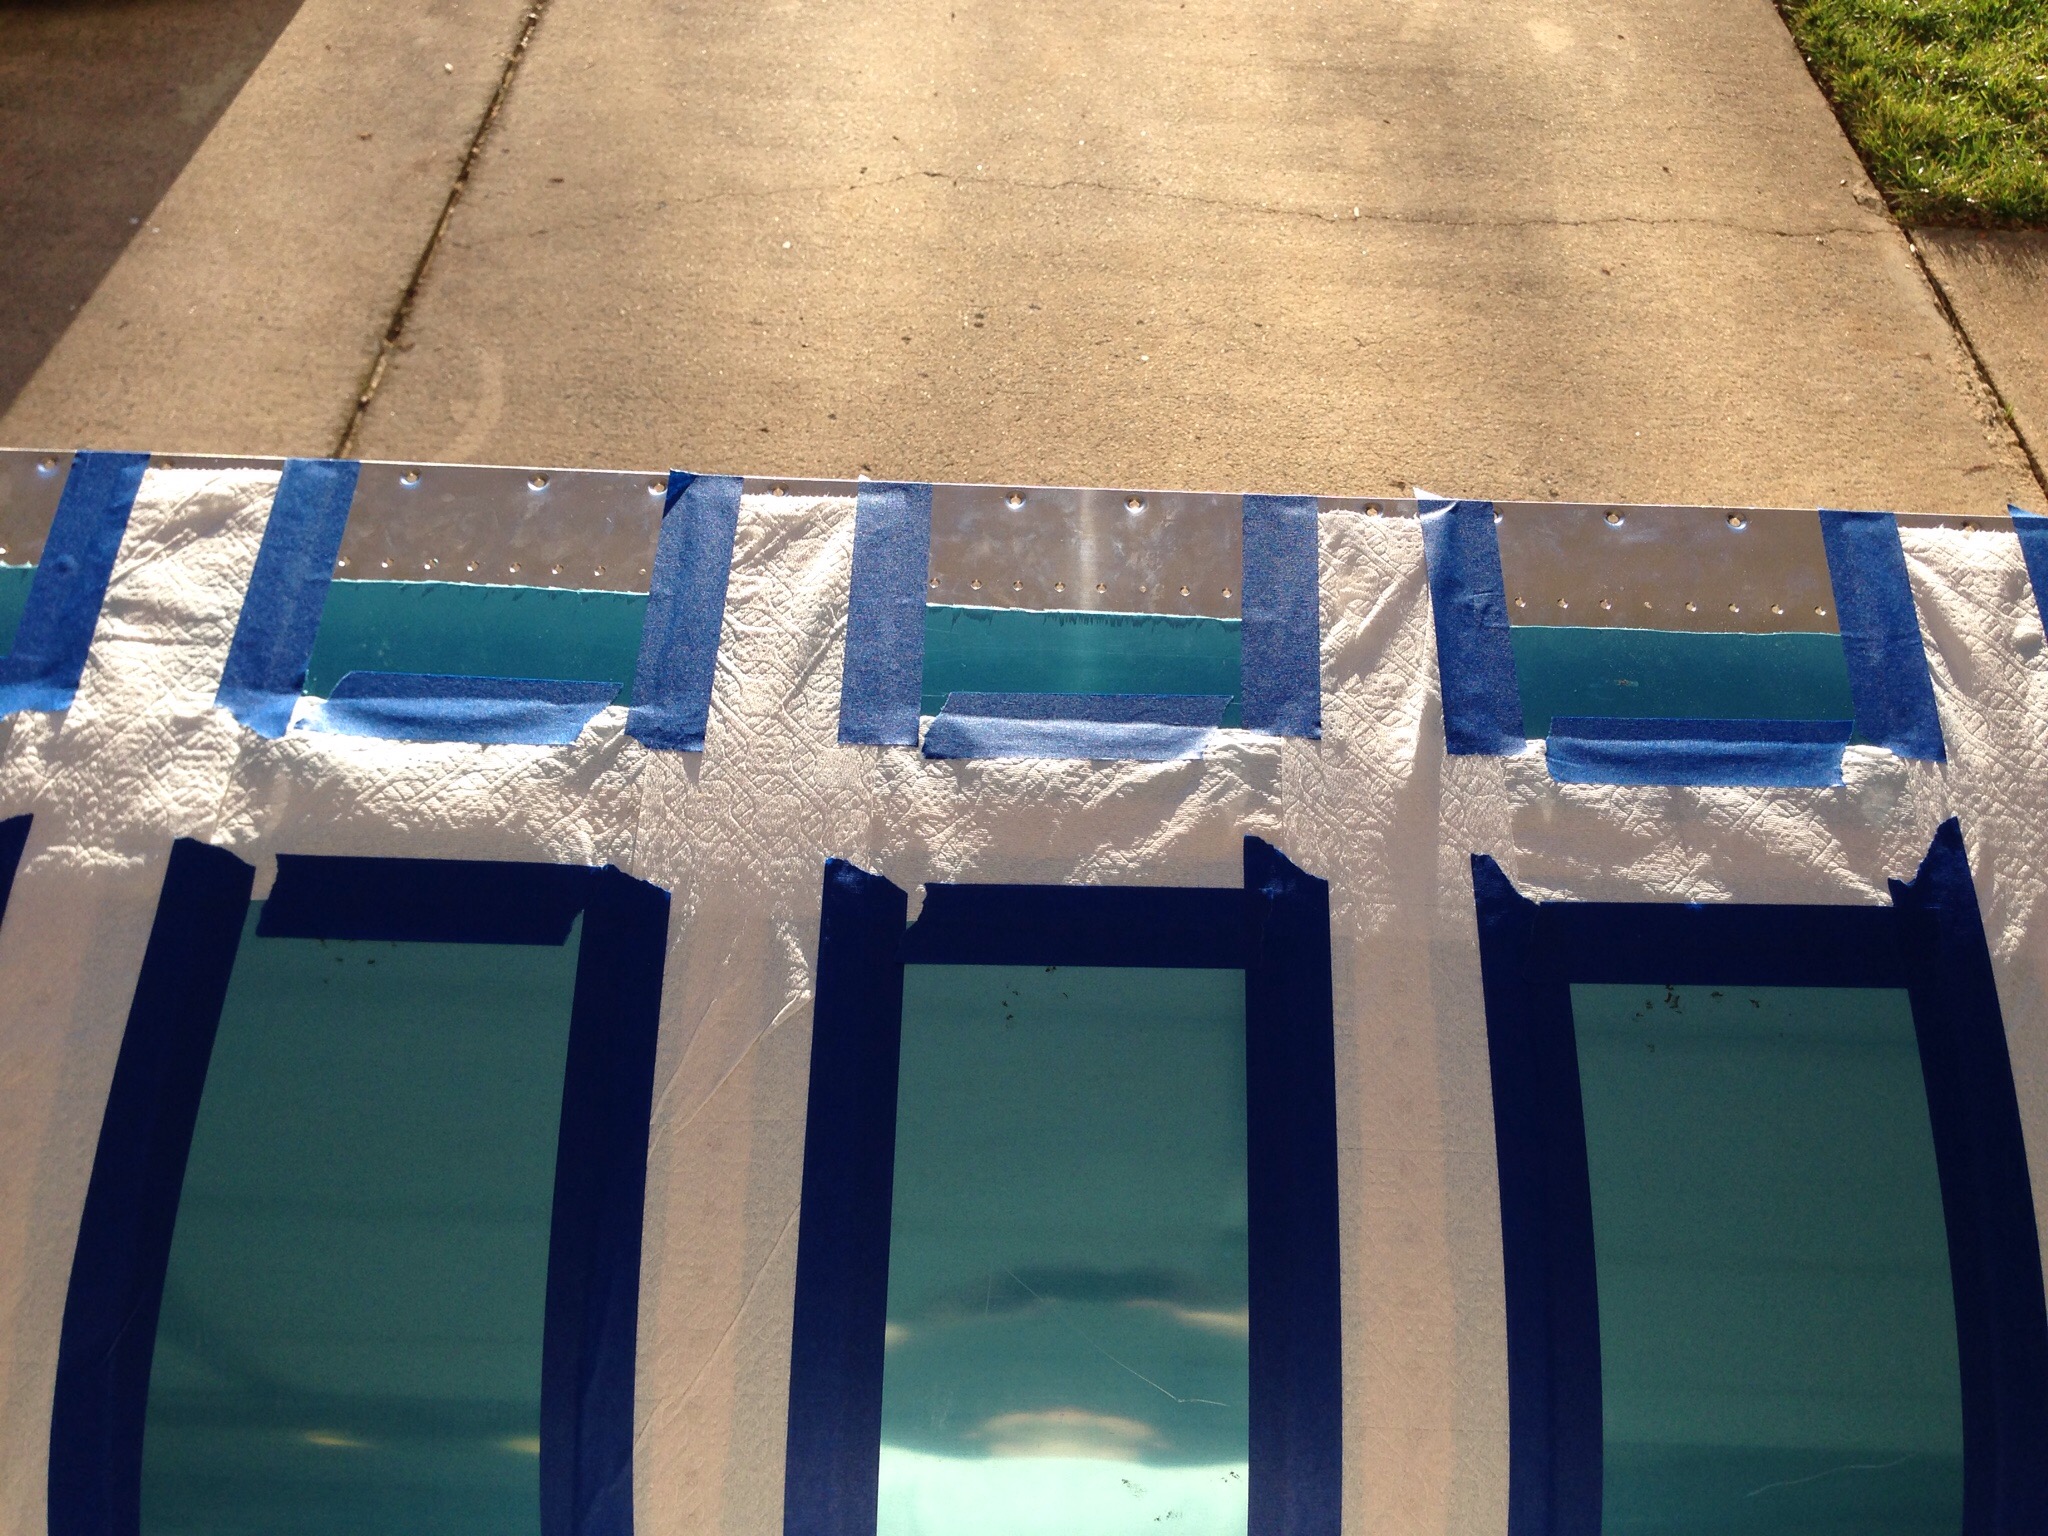
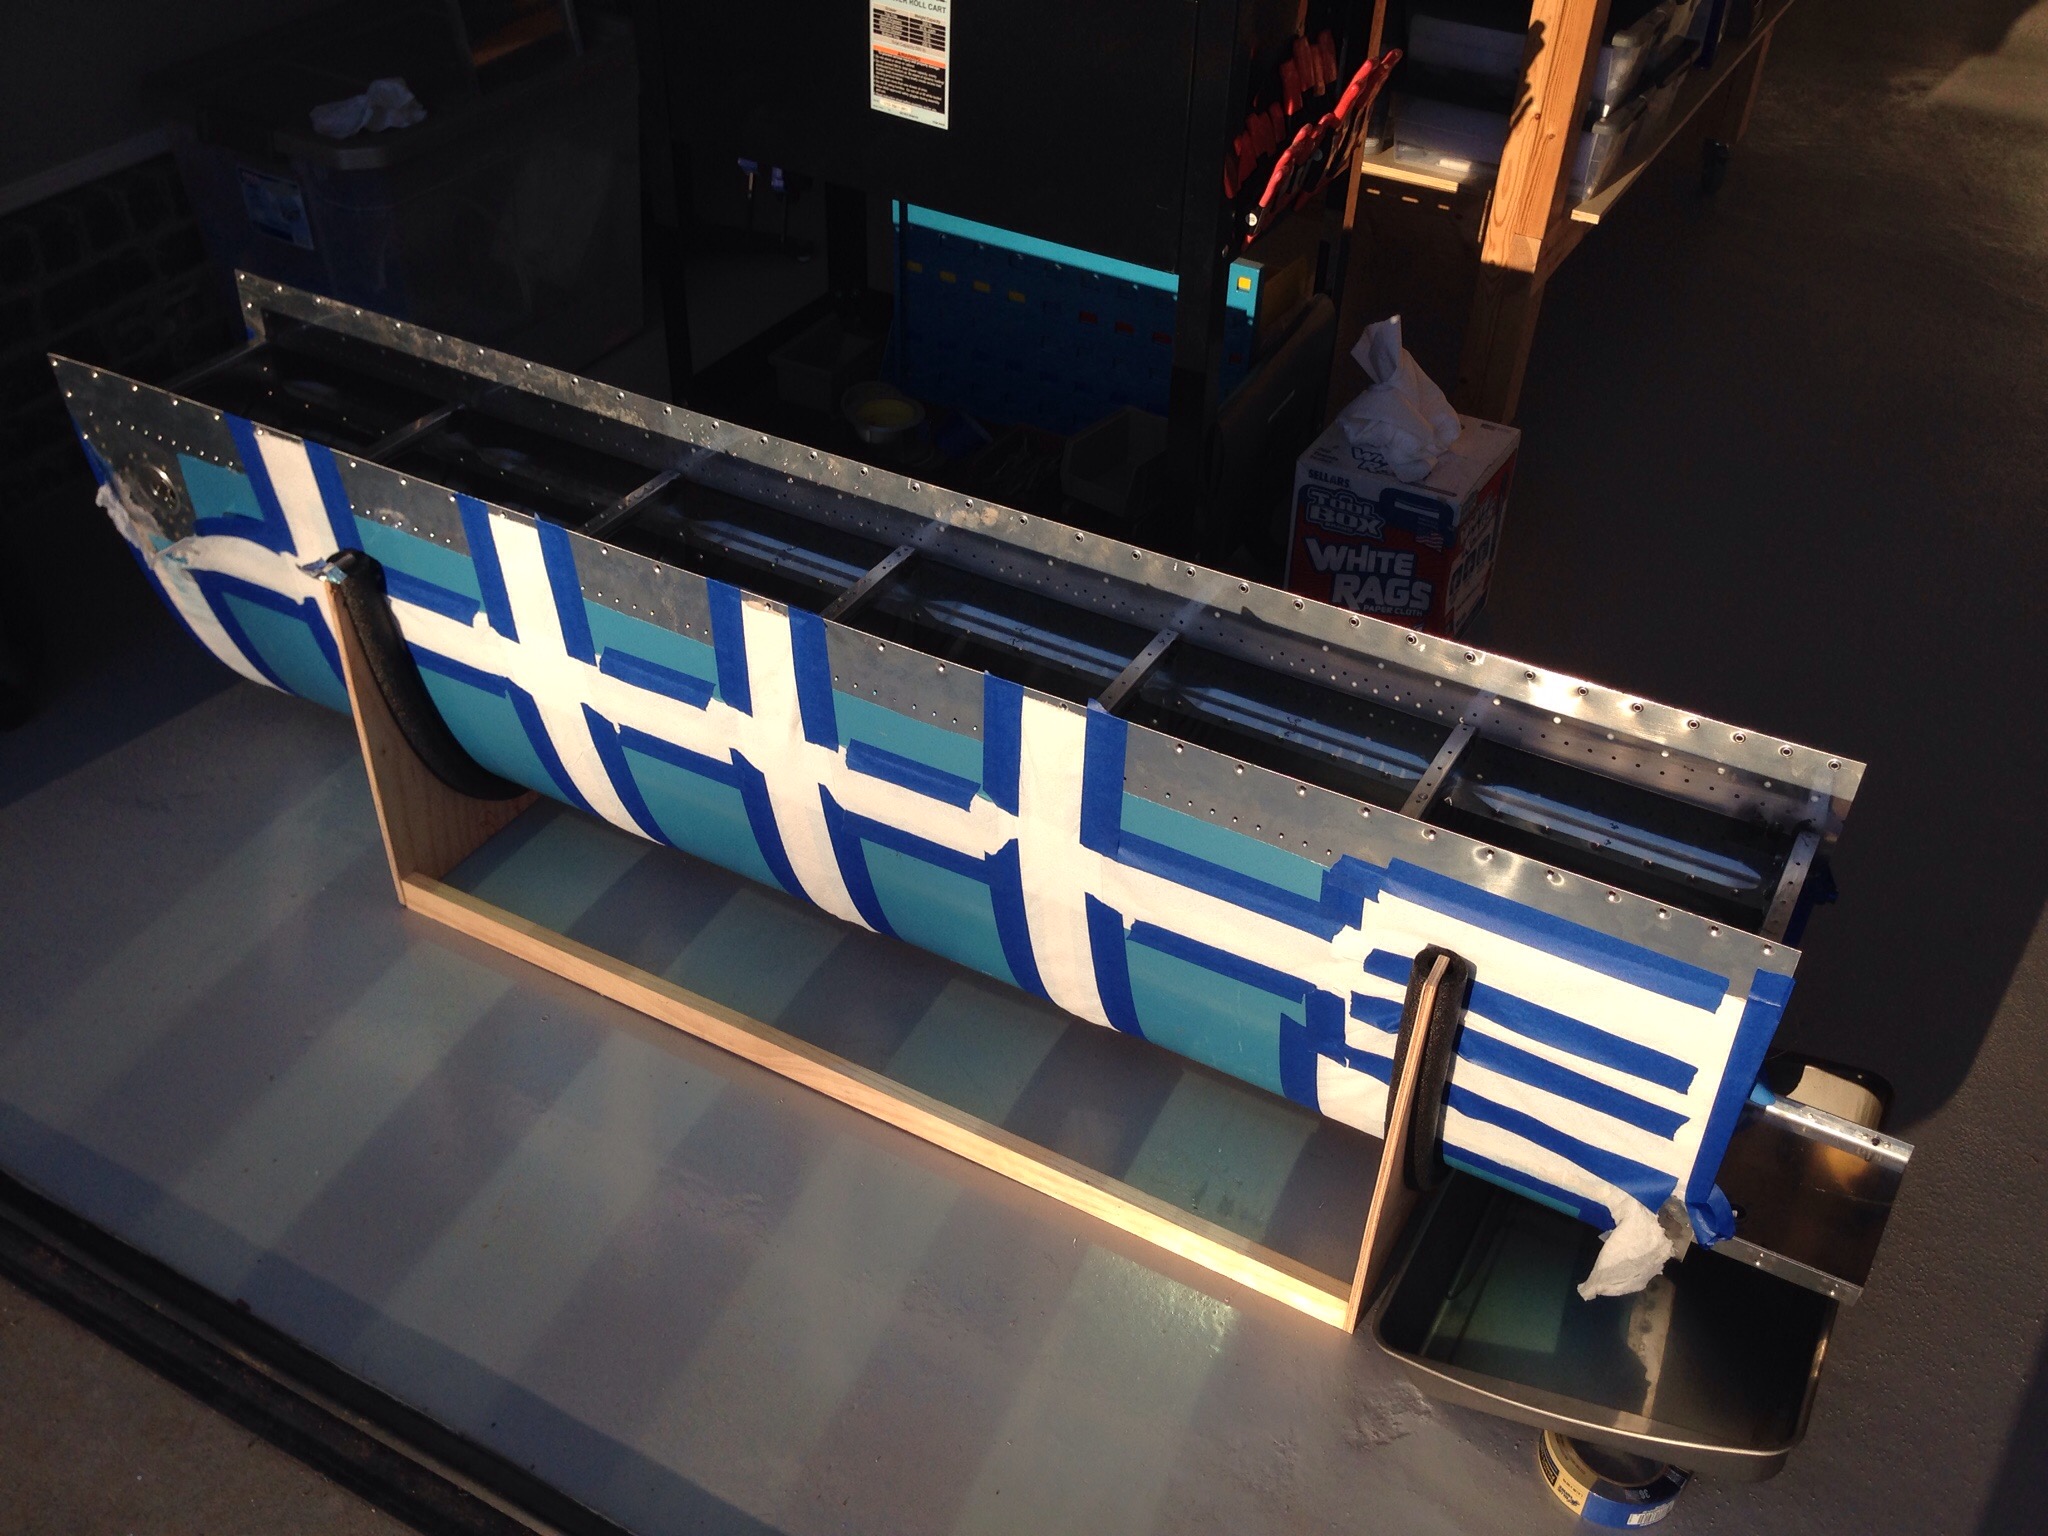
I used the good weather to swap the wings from side to side on the rack and finish priming the interior of the left wing. The last project of the day was to blow out both tanks very well and ensure no foreign contaminants were left in them before sealing them up as the next task.

IMG_1506.JPG

Are we there yet?

The right fuel tank cap flange is not my friend. This same rivet continues to leak. I’ve inspected with mirrors, flashlights, magnifying glass, and fingertips to no avail. It drips the third test just as it has the first two. At this point, it was clear that there was a path for the water to get to that hole from somewhere obscure and slathering proseal on the back isn’t fixing it. I decided to drill it out all together.

IMG_1475.JPG
I then surgically removed a chunk of proseal from the back of the flange covering the shop head. I cleaned the area well and mixed up a mini-batch of proseal, this time resealing the hole from the front before inserting and setting the rivet. I then resealed the back and put one more generous layer of proseal, basically covering the inside of the skin and flange from the end rib all the way over to the flange.
The good news is that the once-large leak is no more and the rest of the tank was finally behaving. All of this testing time has given me ample opportunity to finish up the leading edges with a bit of help from the Mrs. and a buddy who came over to drink a beer and was voluntold to learn how to rivet in quick order. He now owns 1/100,000,000 of an RV-10!

IMG_1494.JPG

Being on the leading edge isn’t all that great

I have decided I don’t like leading edges. While they are beautiful and shapley, not to mention aerodynamically critical, they are a real pain in the ass to build. The real problem are the rib tips and how they just never want to fit right the first, second, and sometimes third time. But with enough patience, perserverance, and hammering (not really, but yes really), they will come together. After assembling and final drilling the components, everything got deburred, primed, and dimpled.

IMG_1456.JPG
Of course now that I’ve done this four times, I figured out the easiest way to get the skin to wrap around the ribs is to start on the flat side, then work from end to the other around the profile of the skin. I also had the first “F**k-up” that will be a lasting oops on the project. I managed to drop the bucking bar and it seemingly bounced around the inside of the leading edge before finally dropping right in the bottom with a nice zit on the outside.
It’s not terrible and I was able to very gently hammer a bit back into place. It’ll just remind me that I built the airplane every time I do the preflight!

IMG_1476.JPG
In other bad news, the fuel tanks gave me a 50/50 success rate. The left tank tested fine after the initial fixes cured. Not a single drop of moisture, which made me happy. This was confirmed after four days of water sitting in the tank.

IMG_1460.JPG
The right tank wasn’t done fighting. The one rivet on the fuel cap flange continued to drip like I hadn’t even attempted to fix it. And the rather large leak on the front spar continued to leak, albeit a bit slower and farther out on the spar proving I didn’t really fix it but just slowed the exit path. So, again it was drained of 30 gallons of water down the driveway and dried out to prep another fix session. For now, here is the completed bits of the left wing.

IMG_1479.JPG

Ah yes, that’s what it’s called…progress

It seems like progress appears in spurts with these types of builds. And this is one of those spurts! I finished riveting the top wing skin with the help of my dad and wife over the course of a couple of days. All went well and I’m now much more comfortable with the rigidity of the wing hanging on the rack.

IMG_1452.JPGI also attached the outboard aileron brackets on each wing per the plans. My random parts tub is quickly emptying out for the wing kit, which is a good thing.

IMG_1451.JPGNext up while the tanks finish curing with the fixes are the leading edges. Normally these are done before the tanks, but it doesn’t really matter as long as they are bolted on the wing spar in the correct order. I went about doing woodwork again to create cradles for the leading edges. A quick job and hopefully won’t be needed as long as the tank cradles have been.

IMG_1453.JPG

IMG_1454.JPG

Leaking…I mean Testing…the tanks

You can guess how it went by the title. I read another build log and saw the idea of testing the tanks before sealing the rear baffle in with water and food coloring. The guy had taped toilet paper on all the seams to be able to identify weeping rivets / leaking joints. I decided that was a good idea since I’m not in a hurry and it would allow me to fix any spots with Pro-seal instead of having to tear into the sealed tanks.

IMG_1427.JPG
Boy am I glad I did this.

My dad and I got out the hose and filled up the right tank first. Overall, I’m really happy with my first Pro-seal job. I had one weeping rivet (a solid, steady drip) at the fuel cap flange and a stead little stream at the seam between the front spar and skin. After a little inspection, I think I can see where I didn’t get a complete fillet on that joint, so I’m confident it will be a quick fix. I also had one drop appear on the fuel sender plate after letting it sit for 24 hours, so I’ll beef up the Pro-seal on those as well.

IMG_1430.JPG
The toilet paper really wasn’t neccessary, so I didn’t repeat the prep on the left tank. We filled it up and were immediately standing in water. I missed a fillet on the outboard rib and it was a pretty good leak there. I also had one weeping rivet on the bottom leading edge of a middle rib that I’ll need to put some more on.

IMG_1441.JPG
I’m pretty excited that my work was solid and method proven capable. I didn’t use nearly as much as others and my tanks look clean. While I know it wont’ win any awards, it makes me feel better not having the extra mess, weight, and sloppiness inside my tanks. My plan is to fix those few spots after a couple of days of drying and then retest for a few days to ensure they are all set before cleaning and sealing the rear baffles.