I’m getting bad at taking progress photos, as quite honestly I’m under the gun on getting this thing airworthy and ready for inspection by November 12th. So I’m really powering through a lot of tasks and am so exhausted by the end of the night I just forget to document it all.
We got the wings back on and permanently bolted on. I had to order a few washers as the nuts bottomed out on the threaded portion before they should have. I just added one washer on each bolt and got the proper torque value with no spinning in the hole. I did the same with the main landing gear bolts on advice from another builder who had a bugger of a time replacing the bolts after the holes elongated.
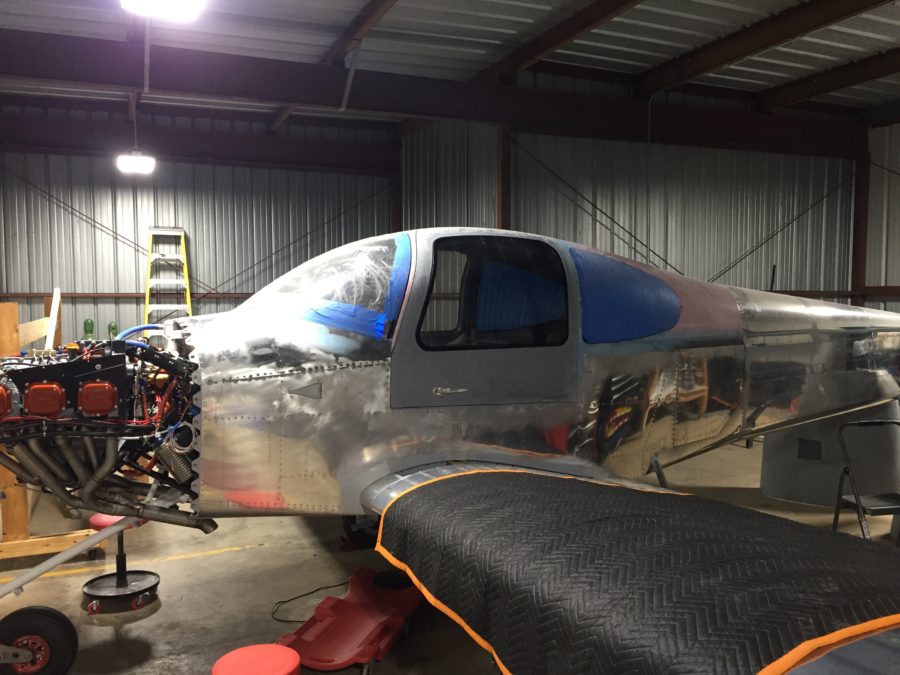
Fuel testing is next on the list and a big hurdle to climb over. We had pressure tested the tanks, but I was still a bit nervous to put avgas in them for the first time. I collected all the gas cans I could muster and had enough to hold 36 gallons for the first fuel tank test. I also bough two two-gallon cans to calibrate the fuel senders. This test is not only for the tanks, it will see if I have leaks in the lines and will finally show what fuel flow the pumps provide, a key test point for first engine start and flight.
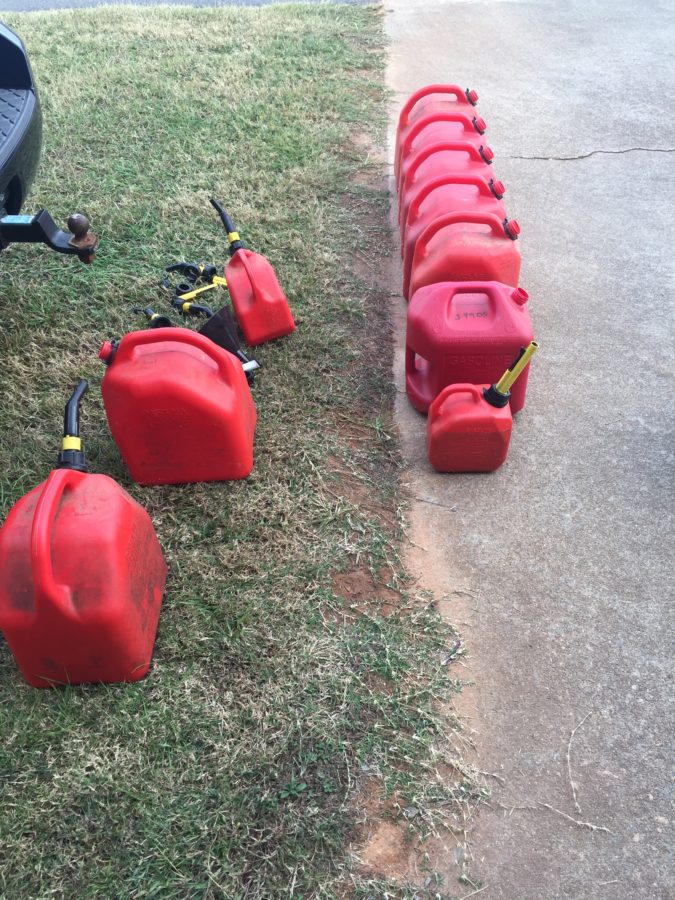
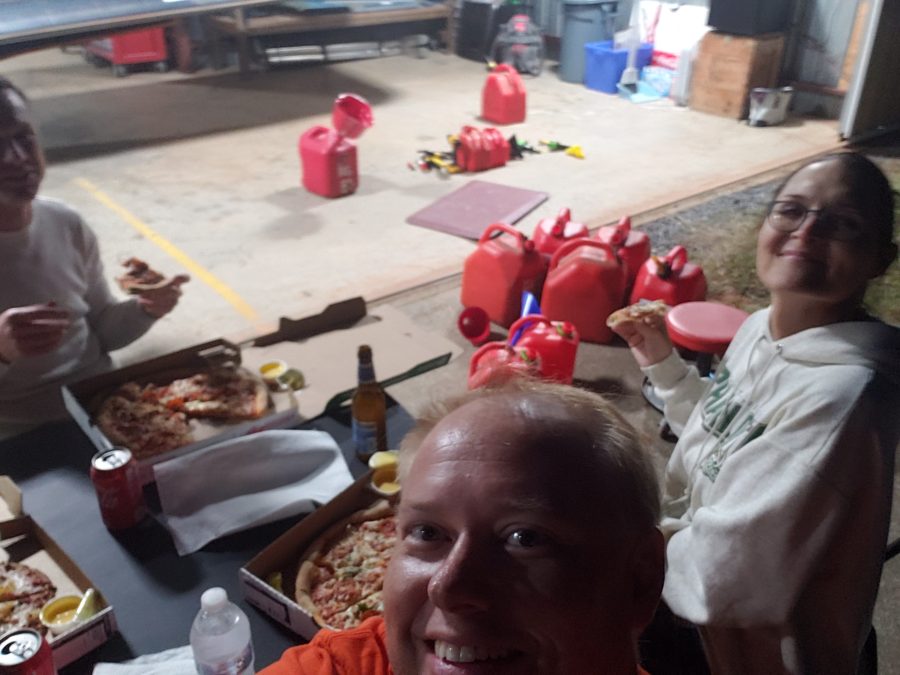
We started by filling the left tank at two gallon intervals and capturing the value on the avionics to create the level points. The cans nor the amount in them were exactly precise, but it was close enough. Parish and Jacquie came over and helped us with the reward of eating pizza on the ramp after filling the tanks.
We did 30 gallons in the left and then removed the sump drain to empty the tank and prepare for calibrating the right tank. The right went pretty easy and we had no leaks on either tank! I was nervous about leaks but the tanks held great. Parish and I worked out a good technique of draining the fuel and switching gas cans. Much easier with two people!
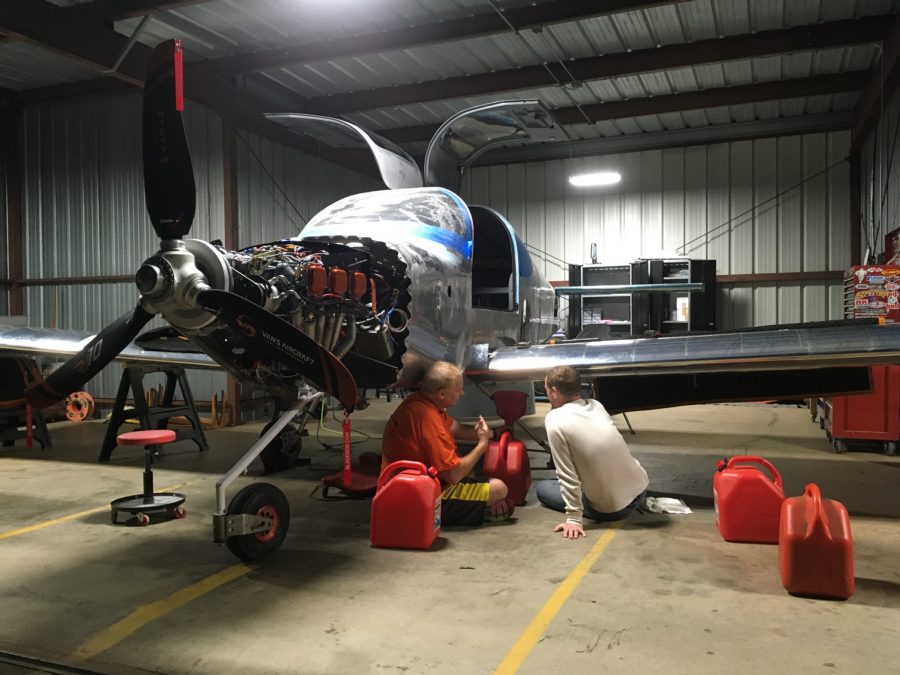
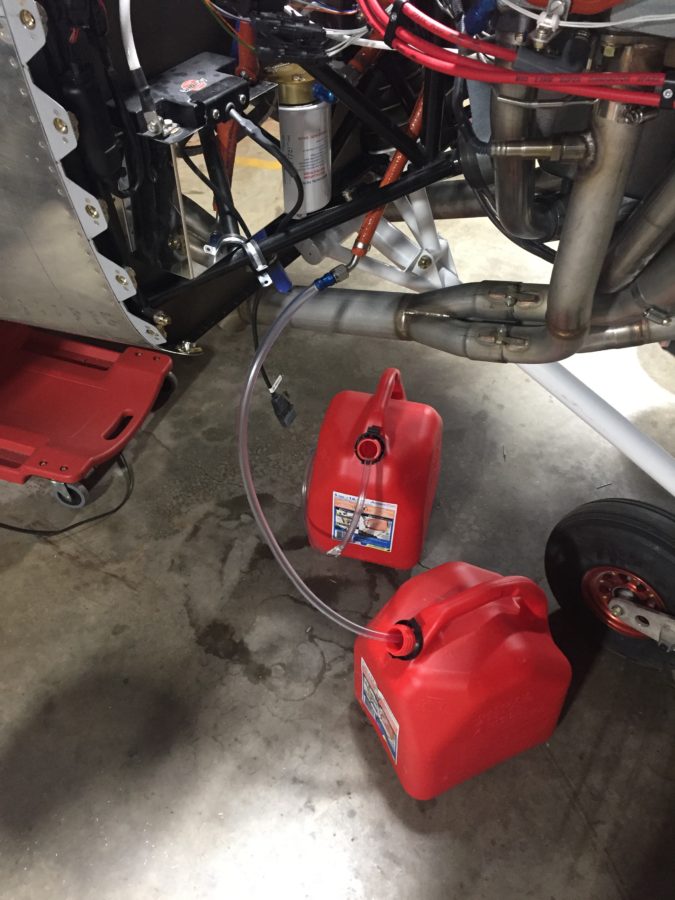
After the right tank was calibrated, I removed the return line from the firewall and put in an empty can to get ready for the flow and pressure test. It took a few long seconds for the pump to purge air and draw fuel, but after what seemed like eternity, the noise changed and the pump got a hold of liquid. Unfortunately, that liquid came spewing out of the firewall instead of the hose! Turns out I mixed the fuel supply line and return line on the tunnel side of the firewall. That caused a big oh shit moment!
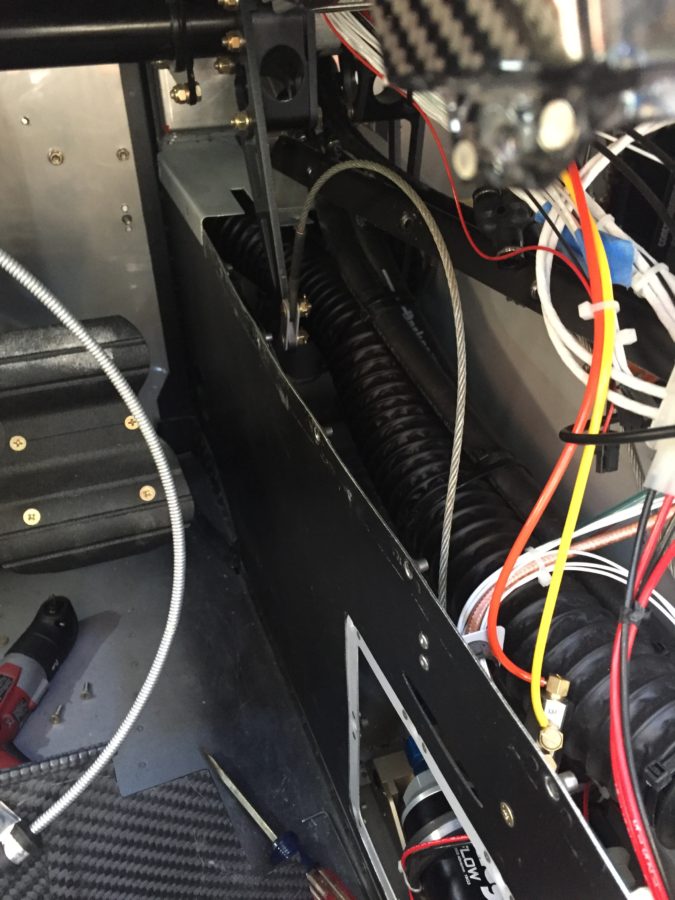
A bit of head scratching and cussing lead to digging in the already disassembled tunnel even more to get at the firewall. Folks, not an easy task. Two extensions, crowsfoot, and a lot of scratches, but I was able to get the lines un-crossed and hooked up on the tunnel side correctly.
We flipped the fuel pump on again and had fuel coming out of the correct line. We also had fuel coming out of the filter fittings. Yup. So, back in the tunnel I go. Like an idiot, I didn’t use fuel lube (EZ Turn) on the AN NPT fittings into the fuel pumps. I did for the fuel pumps manifold, but not the filters. Gah, idiot. So I had to take the whole fuel pump/filter module out and get at it on the bench. While it’s not impossible, it’s not easy. I’m definitely putting another tunnel access panel on the copilot’s side during the first annual.
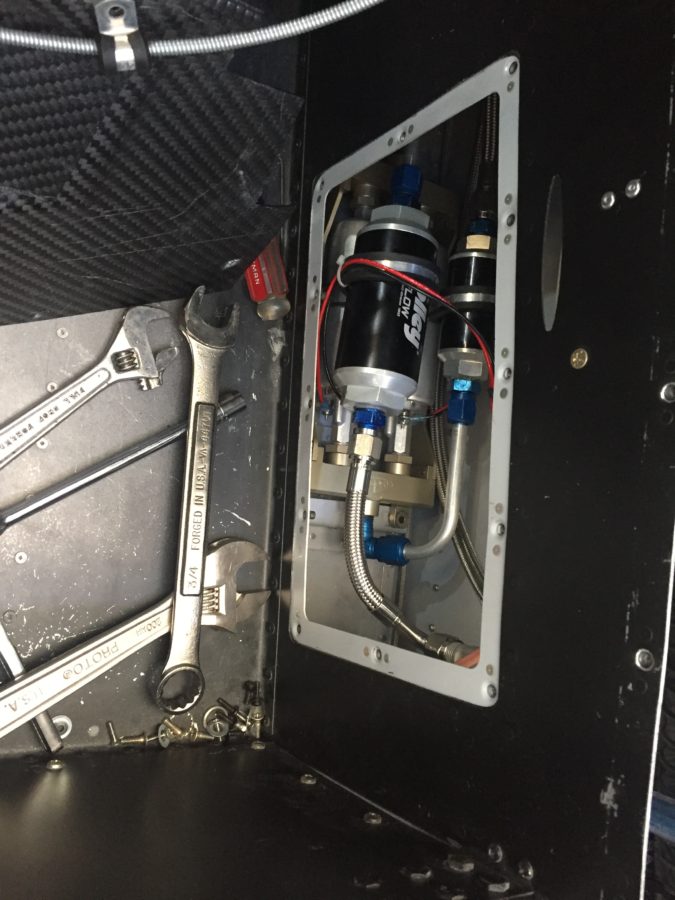
Fittings were properly lubed and torqued, so the module went back in and we turned the pump on for a third try. That was the ticket, as we got good pressure readings and good flow. I turned the pressure up a bit to 45 PSI on the regulator and we did flow tests equaling 45 GPH on a single pump and 75 GPH with both on. Plenty of fuel to feed the thirsty engine on take off!
Tess had one more surprise for me, though, when I attached the return line back to the firewall and found one more leak, this time at the outlet of the pressure regulator. Seems that I didn’t torque that line at all. Oops. Again, this is why you extensively ground test! Got that one all fixed and ran the pumps for about 30 minutes, just recirculating fuel with no issues. She’s ready for engine start!
