This Bird is Squawking

I will document the biggest and most annoying things wrong with the airplane during the test flight here but do not plan on blogging about every repair or modification to the airplane. Mainly because I’d have to become a full time writer.

The flight tests went fairly smoothly and I finished the 40 hour phase 1 in under a month. Most of my issues were builder caused, I must admit. Either a rework or bad soldering, decision making or lack thereof, and a few “that’s good enoughs” that came back to haunt me were to blame.

I tracked these by creating a list in my phone/iPad that I could check off as I corrected the issues. The list kept growing for some time before it started getting checked off. It’s worked really well for me and actually motivates me to complete all the repairs or adjustments to get the check boxes checked. I can also make group entries into the logbook to keep track of the work.

I found that I had a lot of electrical gremlins throughout the first bit of flying. Solder sleeves are amazing little buggers that are notoriously difficult to use correctly. I used sparingly while building, but they still bit me a few times. The problem is you think the solder ring has melted completely but it hasn’t. The connection will be good until it’s subject to some vibration and then all kinds of weird things happen. My oil pressure spiked to 200 PSI, multiple random annunciations based on my discrete inputs, and a few others due to the solder sleeves. And I only have about 10 in the whole plane! I will use them now if I have good access to the connection, but if not, I’ve found using Dsub pins and heat shrink as more reliable.

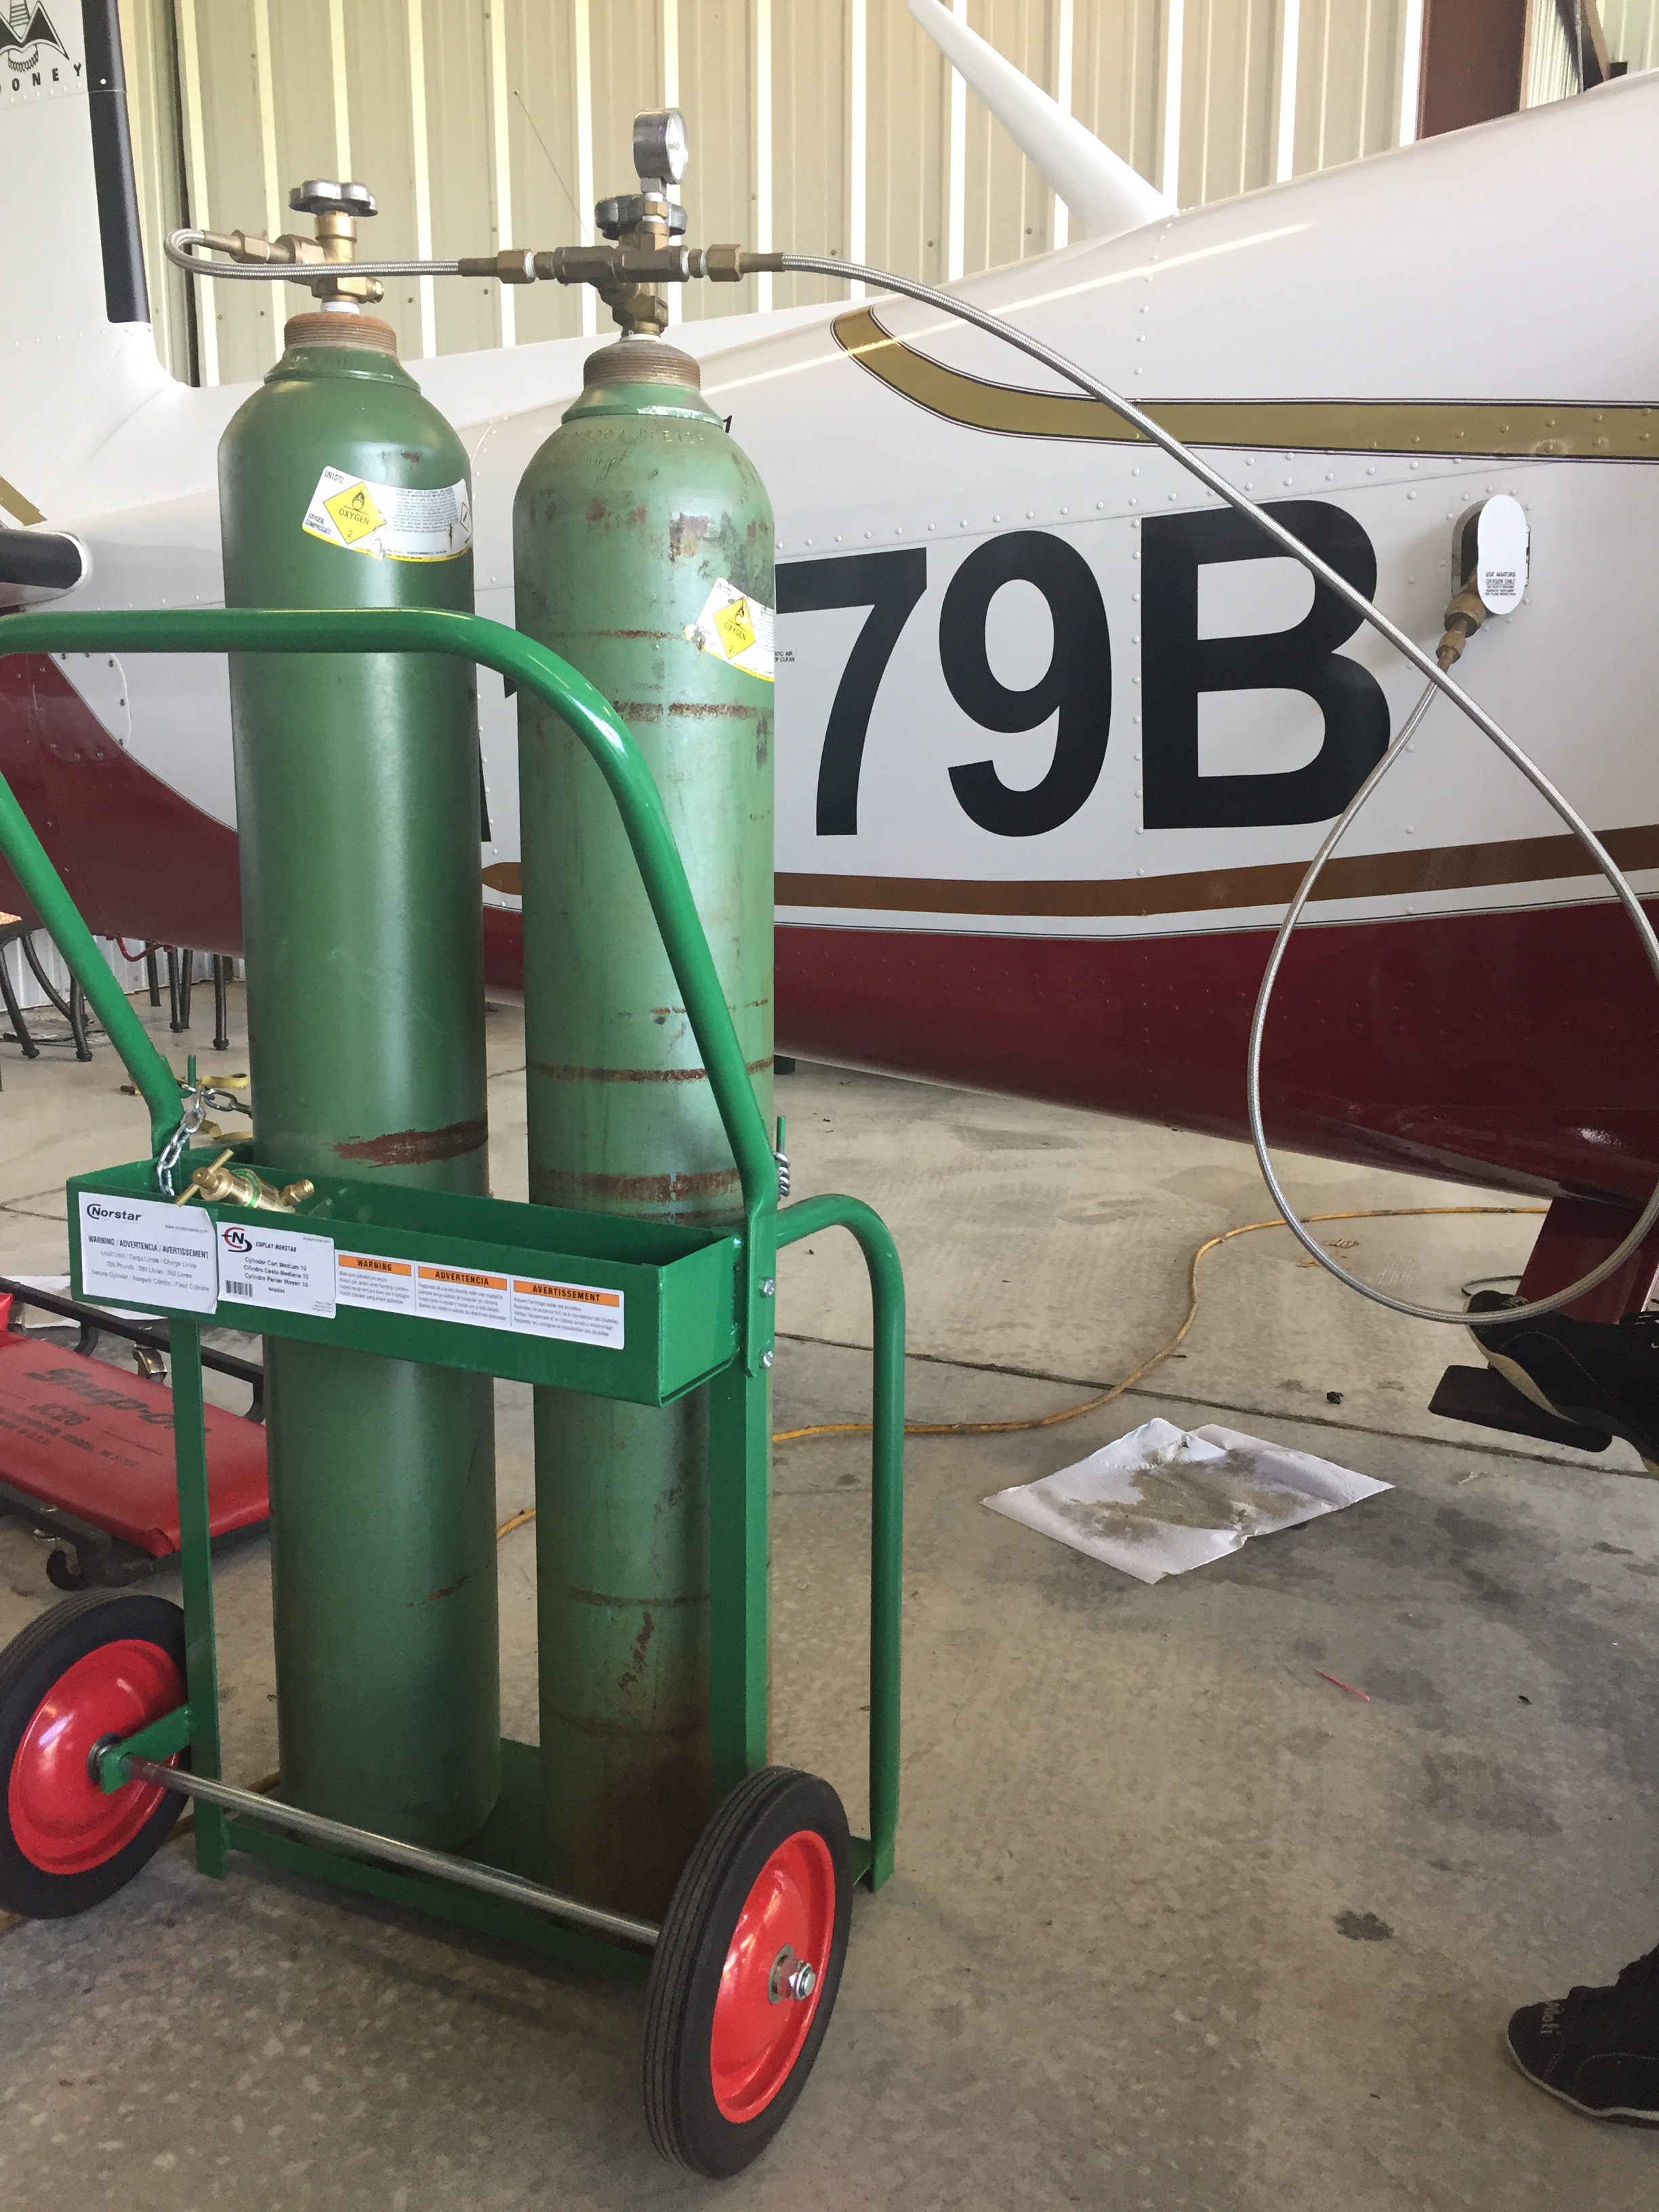
I had to reposition my EGT probes, as I realized they blocked 5 out of 6 spark plugs. I had a master cylinder bolt leaking just a bit. Lots more clamps and zip ties were installed, mostly firewall forward, to avoid chafing after a few oil changes and seeing where things moved a bit too much. I had to replace the autopilot pitch servo due to a service bulletin, roll servo due to slipage, and had to reinforce the rudder trim tab mount to get it to work effectively. I chose to rewire a few engine switches and add a engine master switch, which I should have done in the first place. That all neccessitated under the panel work, a new switch panel overlay and backlight sheet. The oxygen system leaked above 1200 psi (loose connection), and a few adjustments to the door light switches have been made.

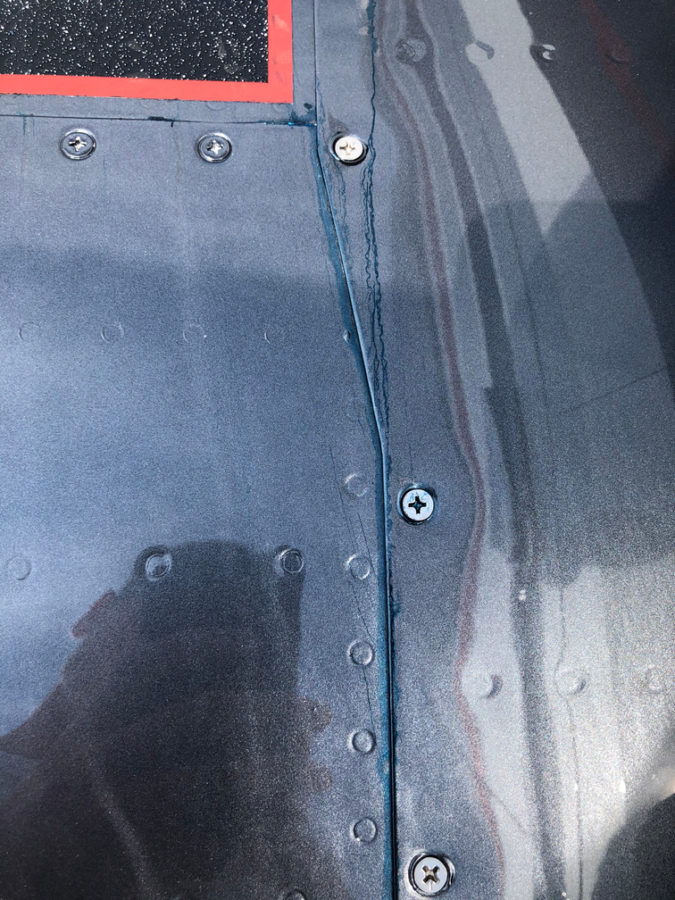
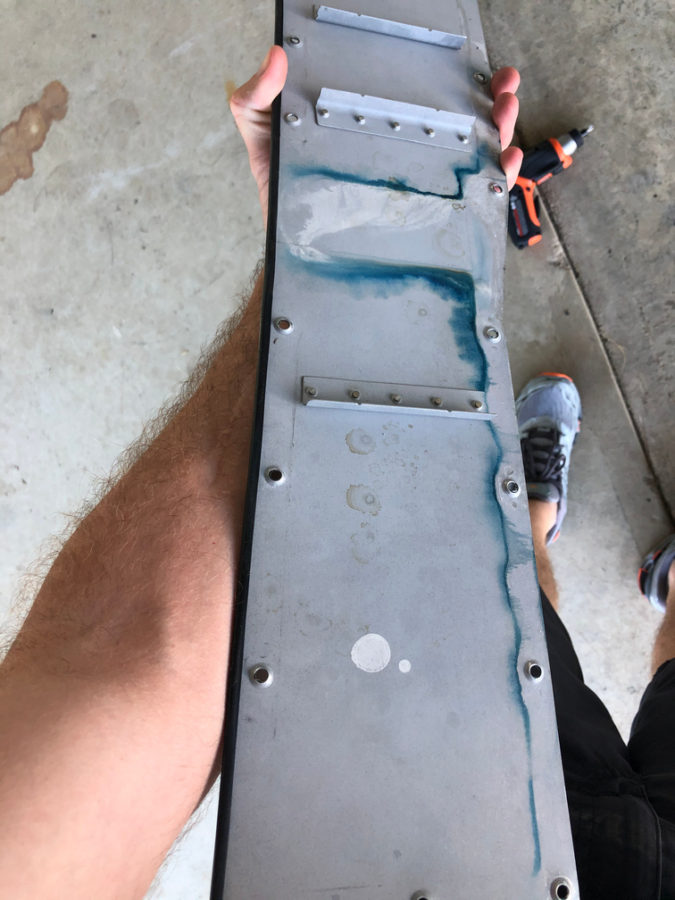
The biggest squawk is a leaking fuel tank. I am getting ahead of myself on the blog, but this was discovered post paint unfortunately. Turns out a little weeping rivet that I discovered prior to paint and thought I had fixed with the Loctite trick wasn’t fixed. In fact, it wasn’t a weeping rivet, but a pinhole in the sealant on the rear baffle. Fortunately, I spent an entire day and was able to use my borescope to provide a view and a coat hanger/tube of pro seal to apply sealant and fix the leak without taking the tank off. Not a fun job.
The engine ECU tweaks were pretty easy, although I’ve gone through four O2 sensors (leaded fuel doesn’t make them last long). I removed the air filters and just installed a mesh screen over the intakes. Speaking of intakes, one was too close to the exhaust header and a hole burned through it so that required a bit of glass work along with better heat insulation and a bit more clearance.

Lots of other tweaks and adjustments were made and most of these delayed discrepancies were taken care of during the first condition inspection performed in November last year. I do have a few more items to check off the list including new door hing covers, some finish rework on the interior windshield pillars, an intake plenum on the air conditioning condensor (more on that later), and adding a second tunnel access plate are all on the list for 2021.

Bottom line, you’re not done building when you’re done building. Flying brings on new stuff that you can’t forecast on the ground so it’s a continuous process to keep it in tip top shape. I also put some of this stuff off, as I wanted to get it flying so its been a challenge to get caught up after flying so much. I am now at a point where the regular maintenance time is decreasing vs the flight time increasing. The check boxes are all most all filled in!

Punching the punch list

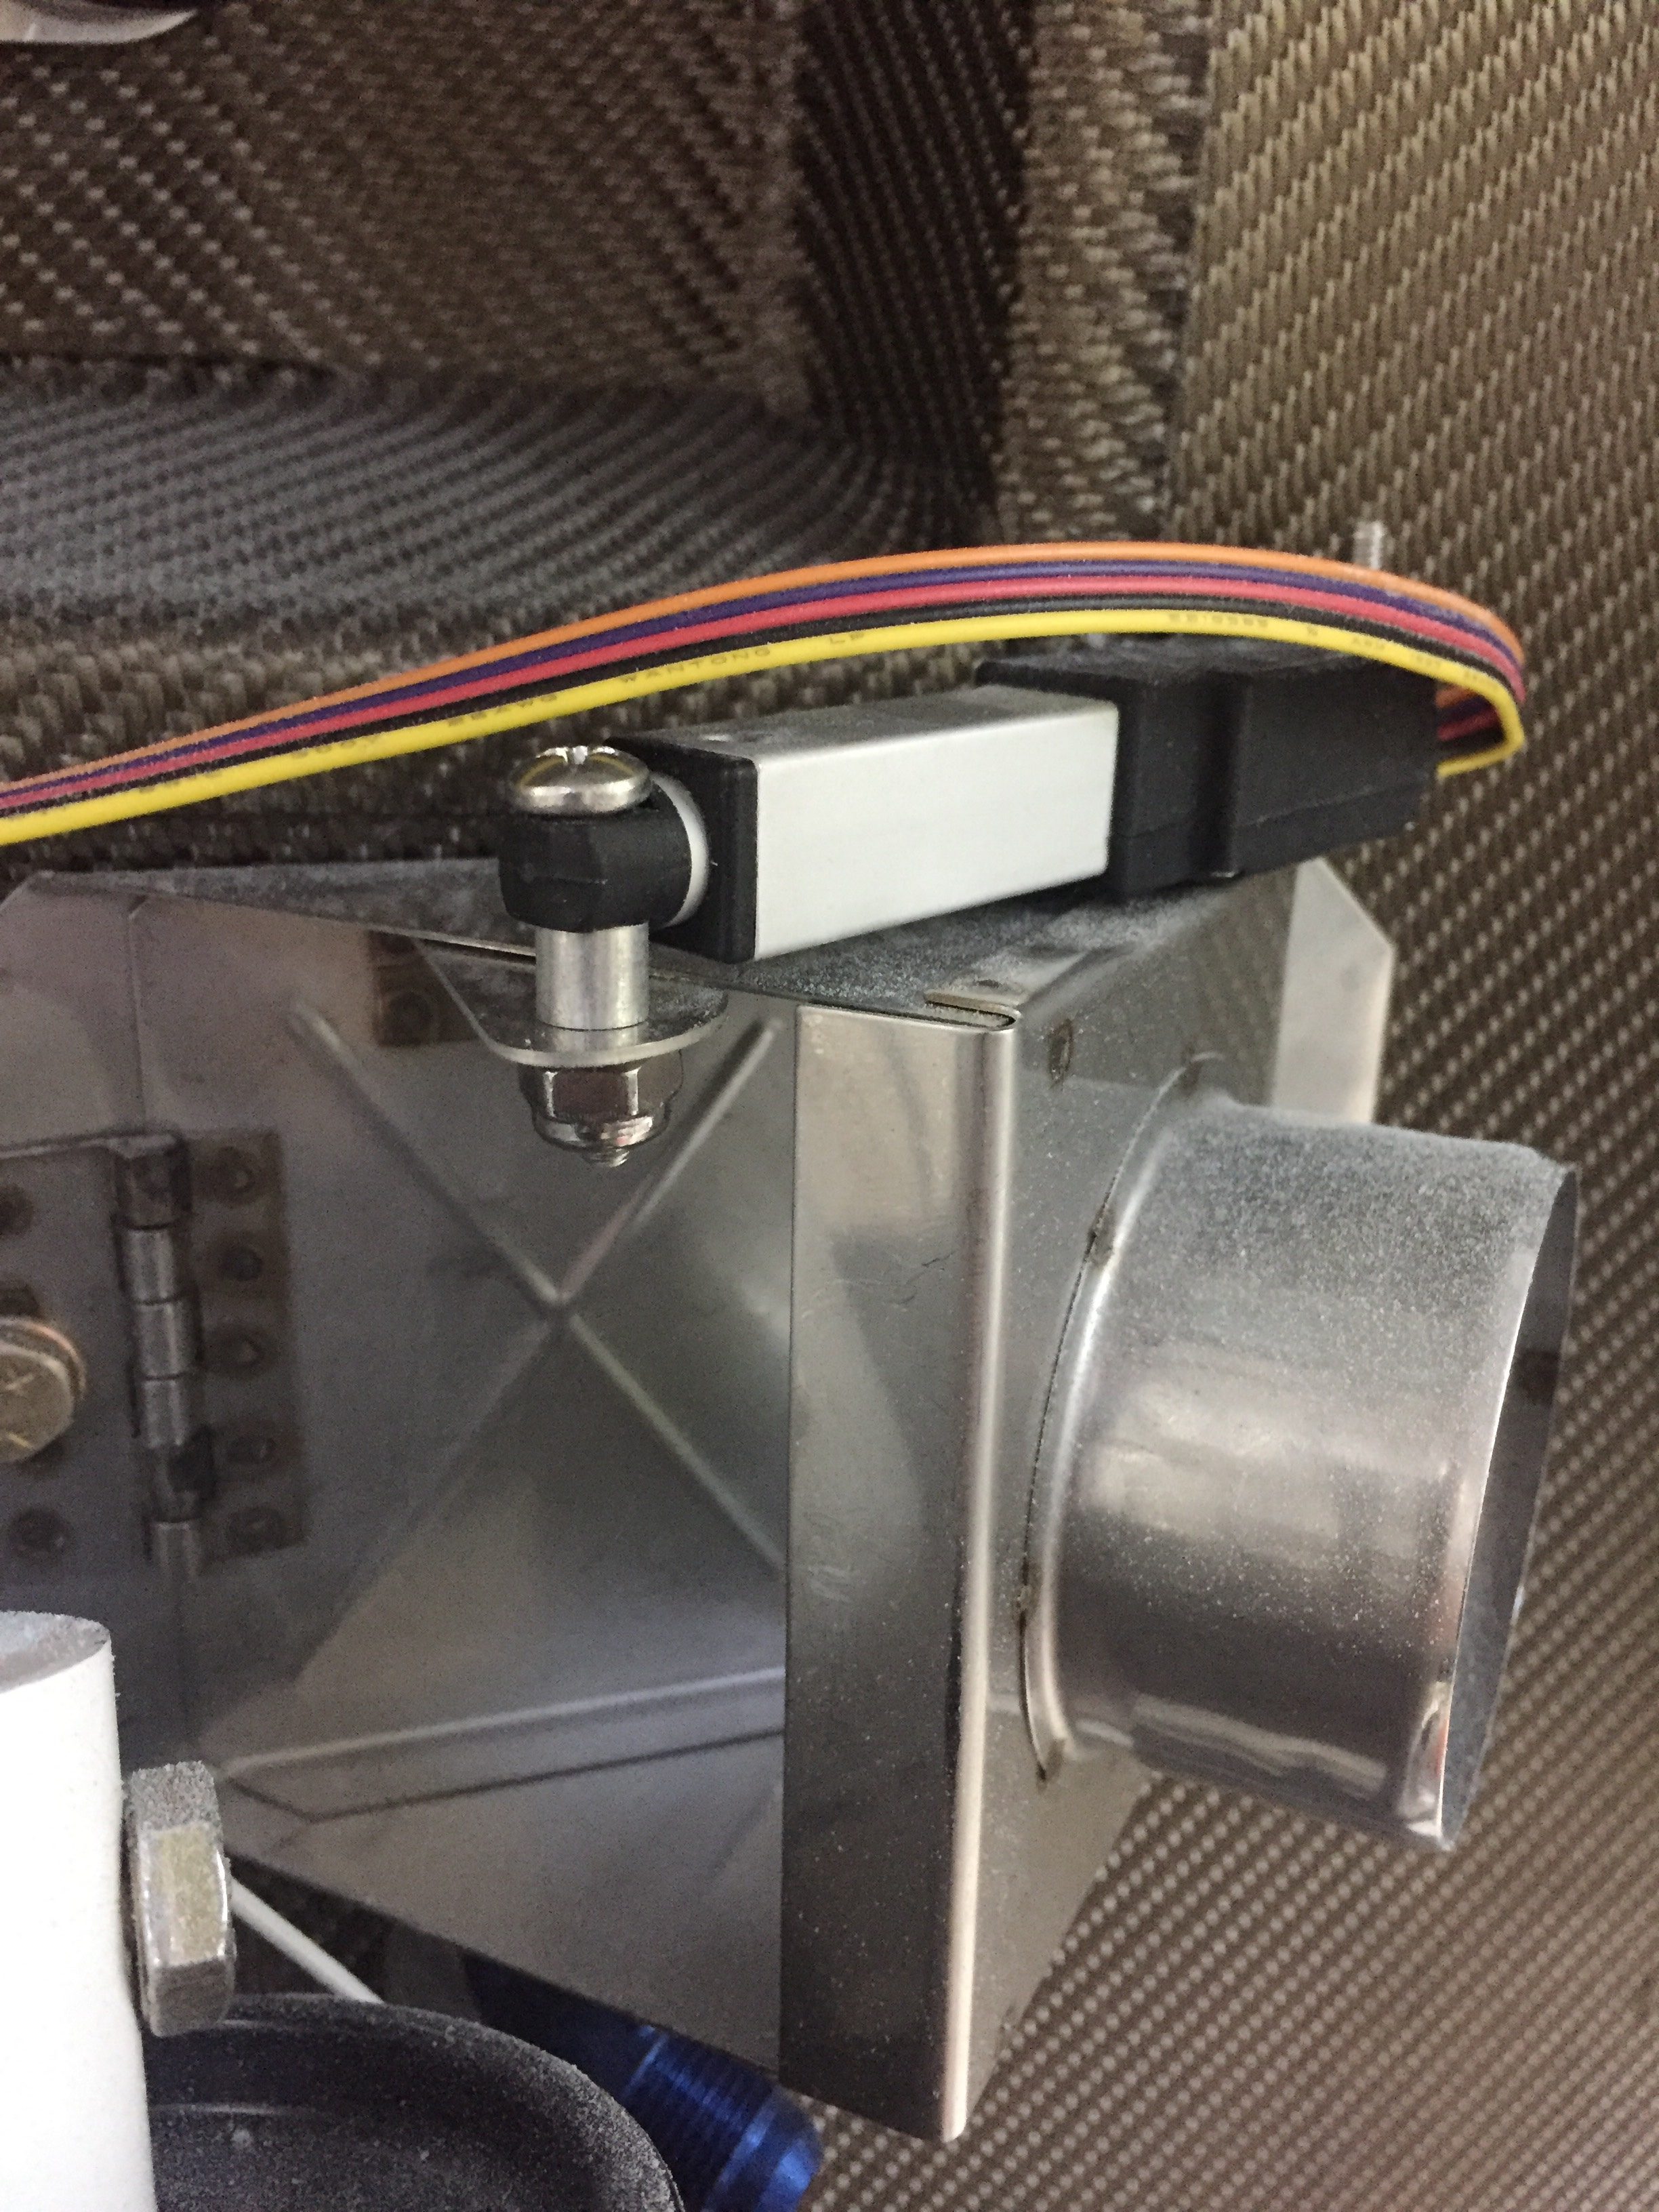
There are a lot of little jobs that go along with the big jobs on building a plane.  I’m trying to use my time efficiently while waiting on the engine to knock out a bunch of them.  The first was fixing the arms and servos on the heat ducts up front.  An order to ACS and a few minutes at the band saw and the servos for the heat and oil coolers were attached properly and pots adjusted for full travel.  I also spent an hour trouble shooting a bad pot for the rear heat duct, as I have a switch that allows either the front or rear rheostats to control the servo and the rear rheostat was inop.

I cussed and bled in equal amounts installing the last of the seat rail brackets now the gears are on.  The nuts and bolts are not easy to access at this point, but you have to wait in order to install the gear bolt.  I also put in the last bolt and custom spacer for the GPU plug which helps reinforce the receptacle by attaching it to the seat pan.

I ignorantly forgot to install the transponder antenna before buttoning up the tunnel, so I had to take the center console, tunnel cover, and lower instrument panel off to get down in there.  Of course I burried it near the core of the earth which made access tricky to say the least.  I was able to squeez my hands down there and got it all bolted on with the coax attached.  I knew I had left one fuel line untorqued but couldn’t remember which one so checked all fuel line fittings for proper torque.

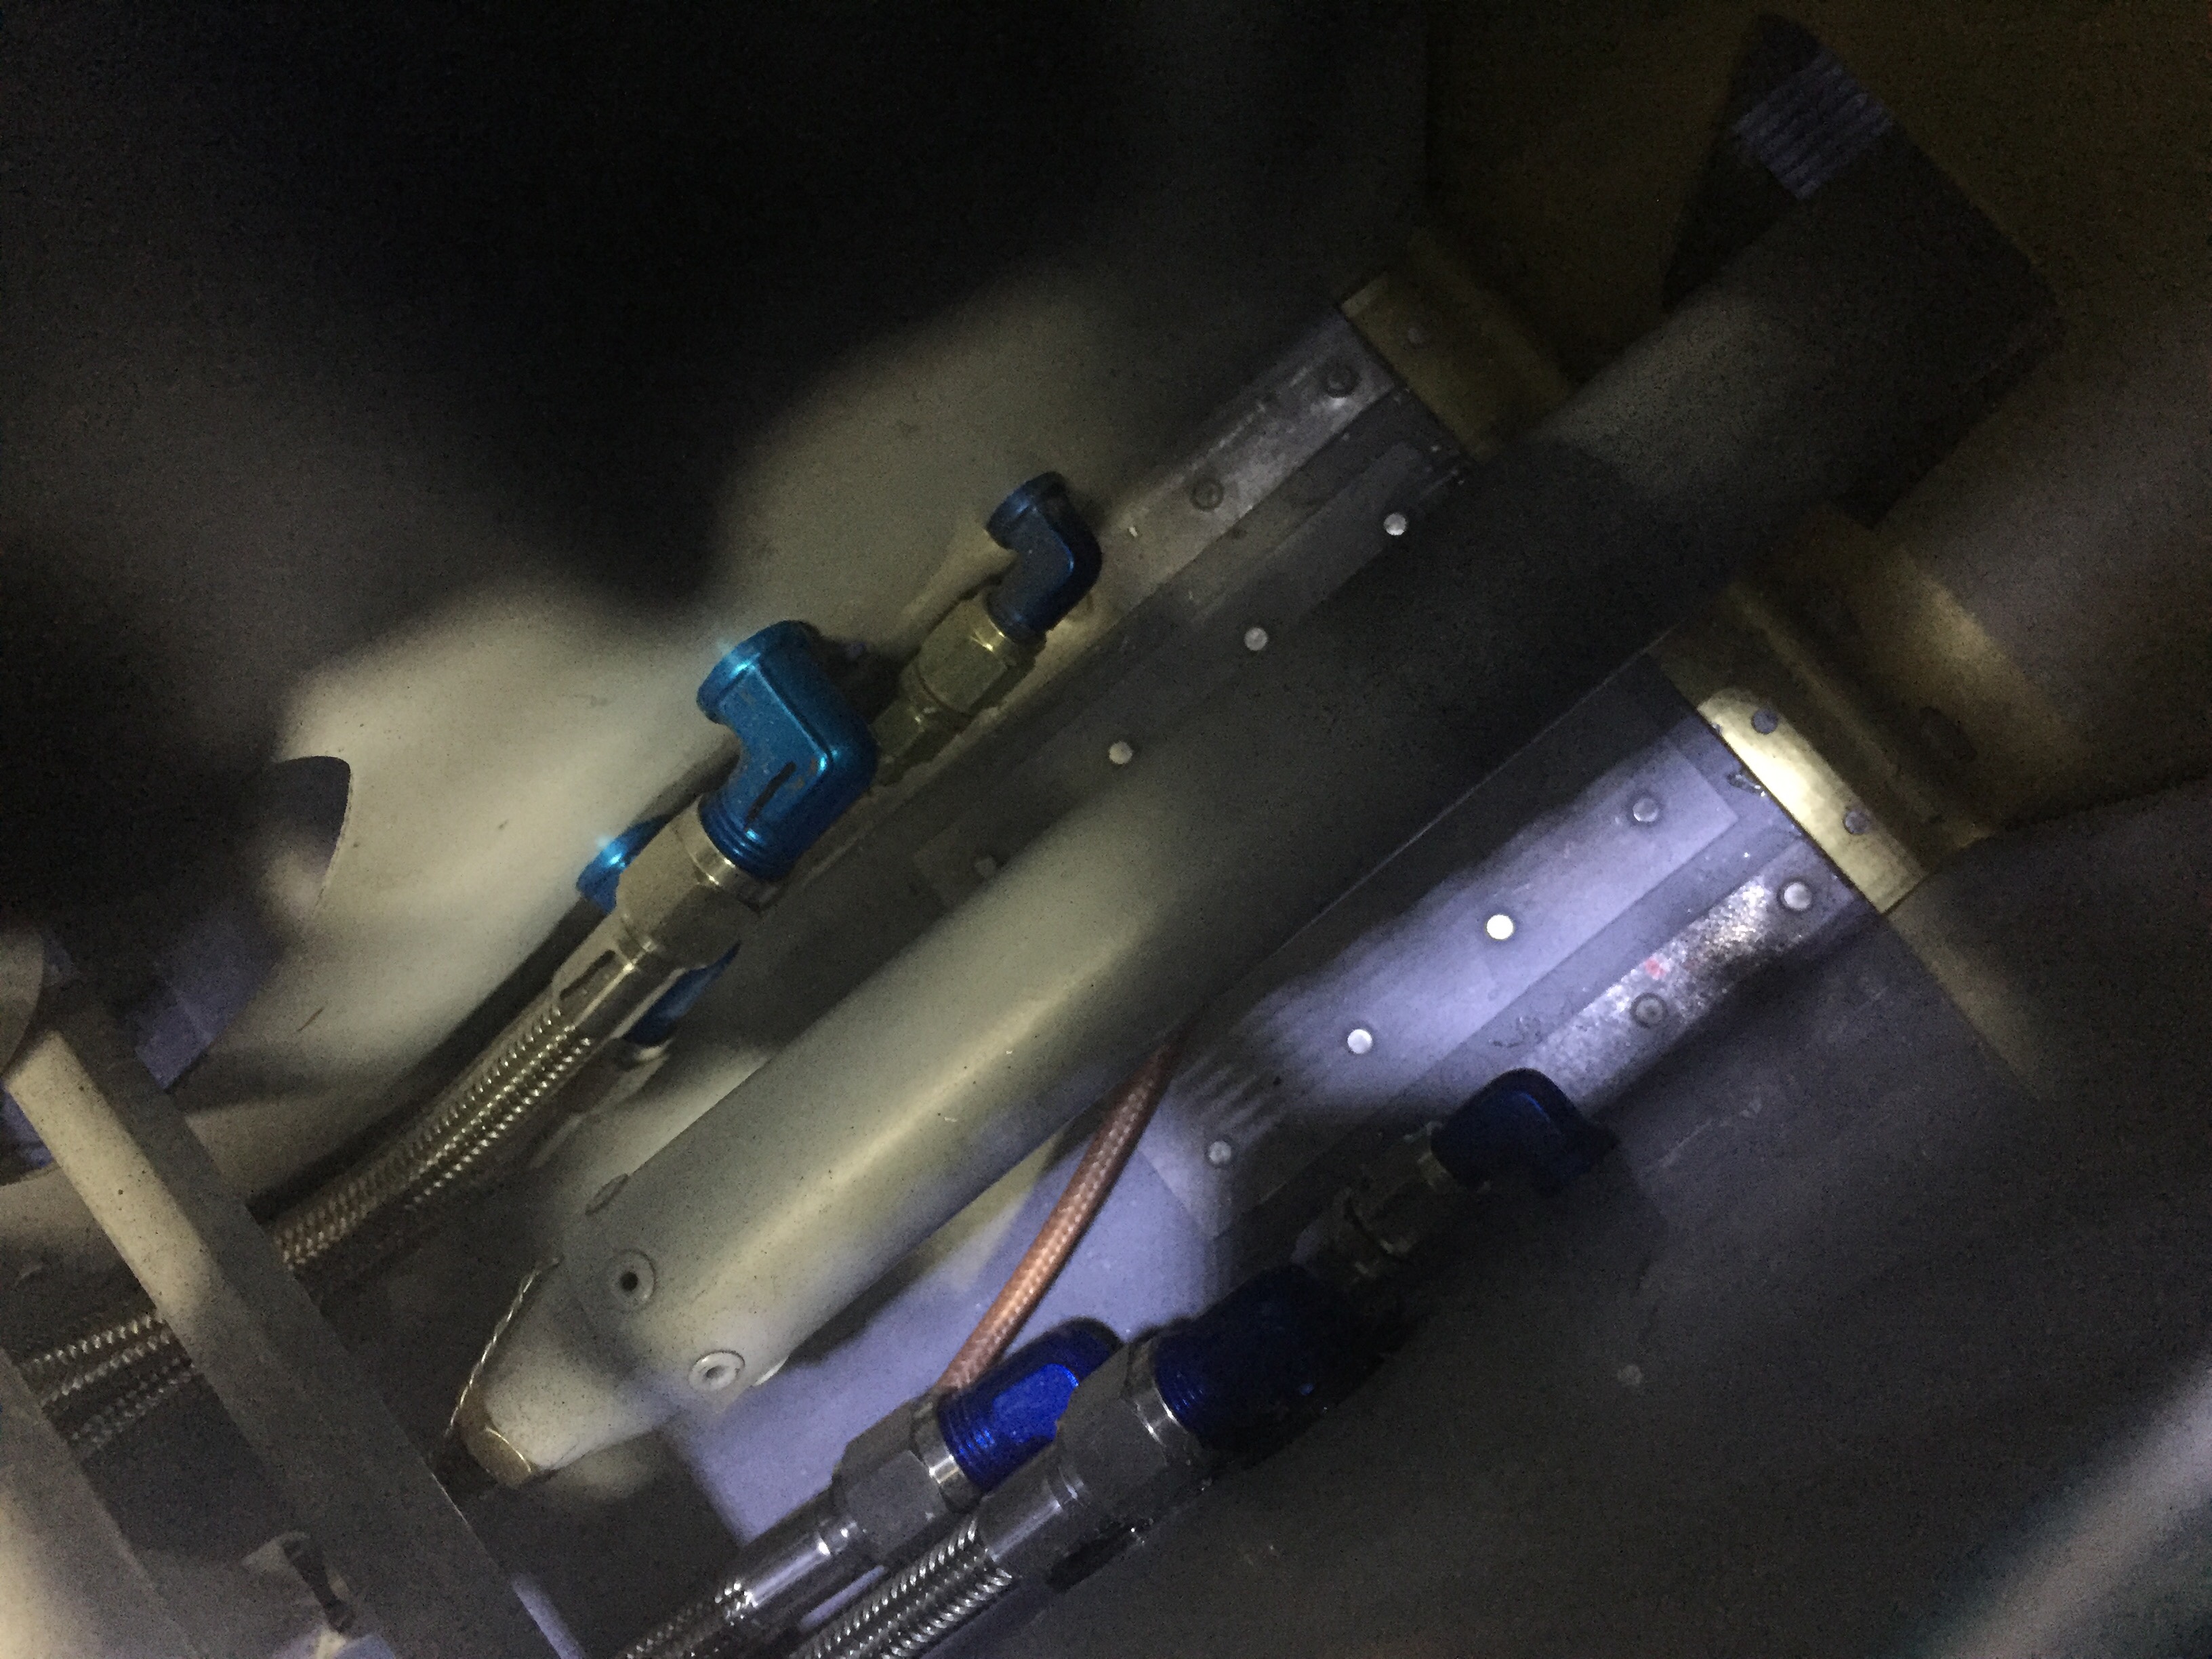
The last task in the rear tunnel is to secure the aircon lines which I did with some hose clamps and edge grommet material.  Again, not fun to get to the hardware but it was doable and will rarely if ever be removed.  The lines are now secure and fit nicely in the tunnel, I’m glad I didn’t run them down the side of the fuse.  I also secured the last little sections of the O2 lines in the tunnel.

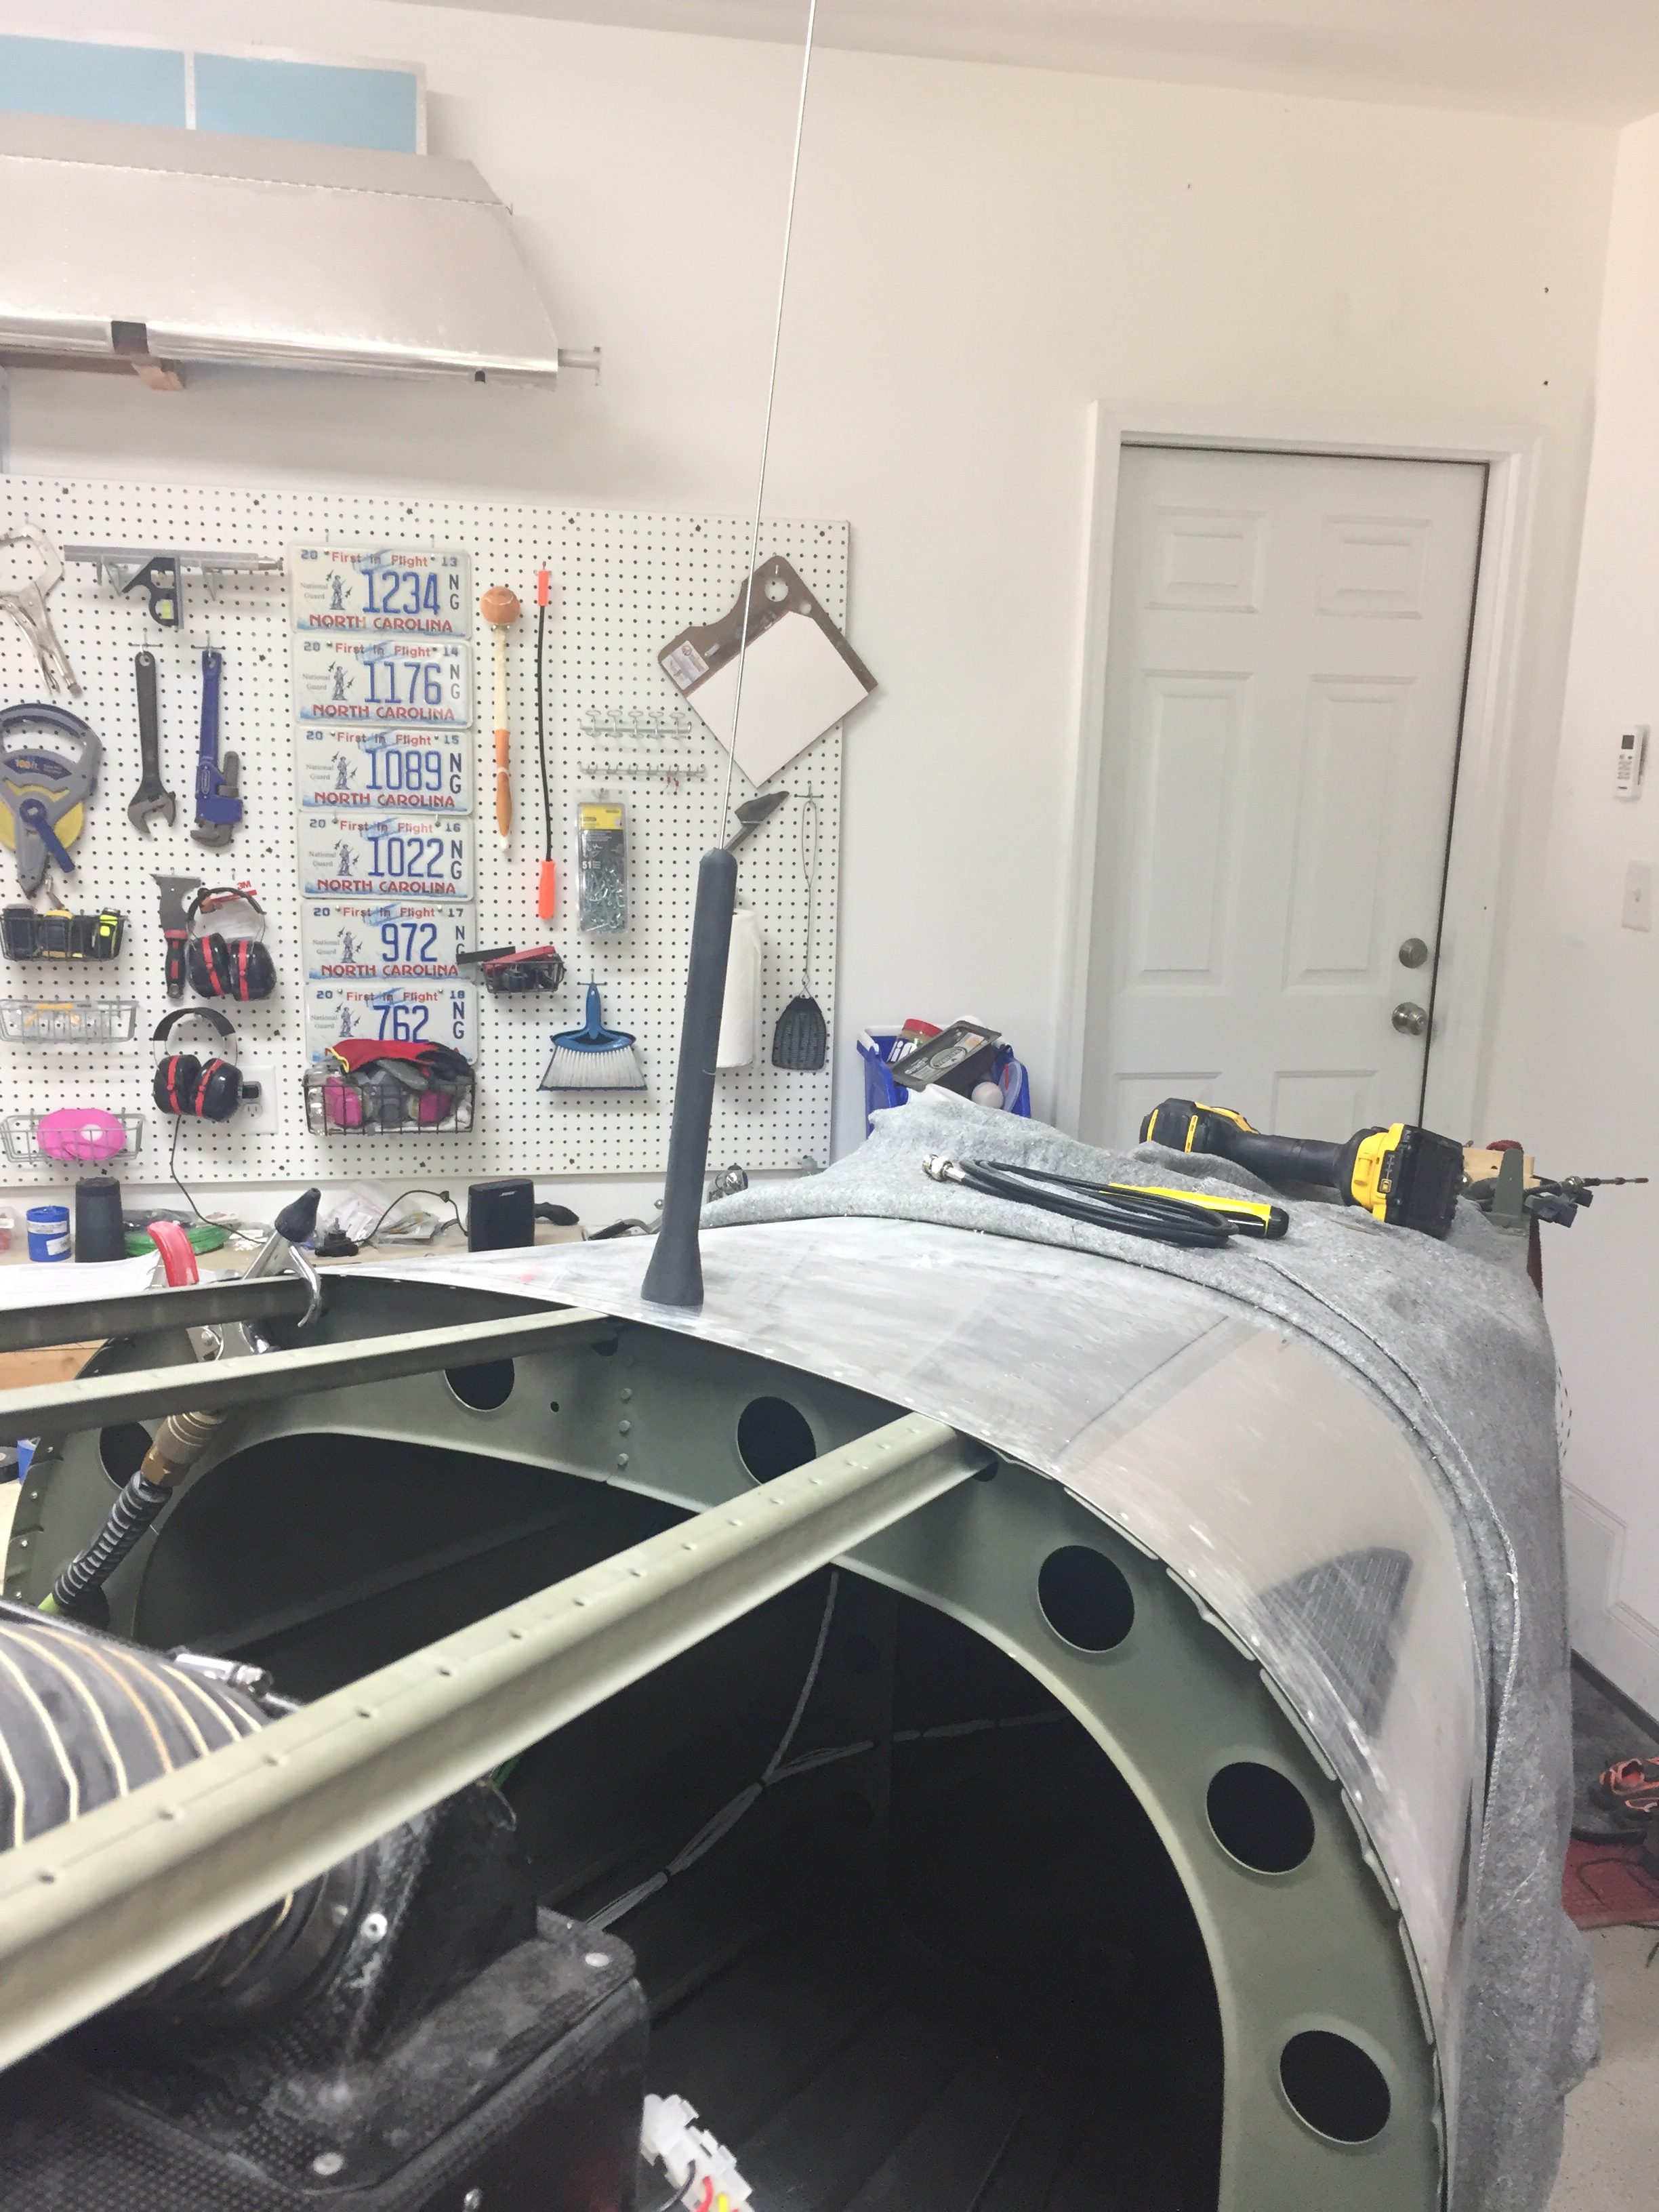
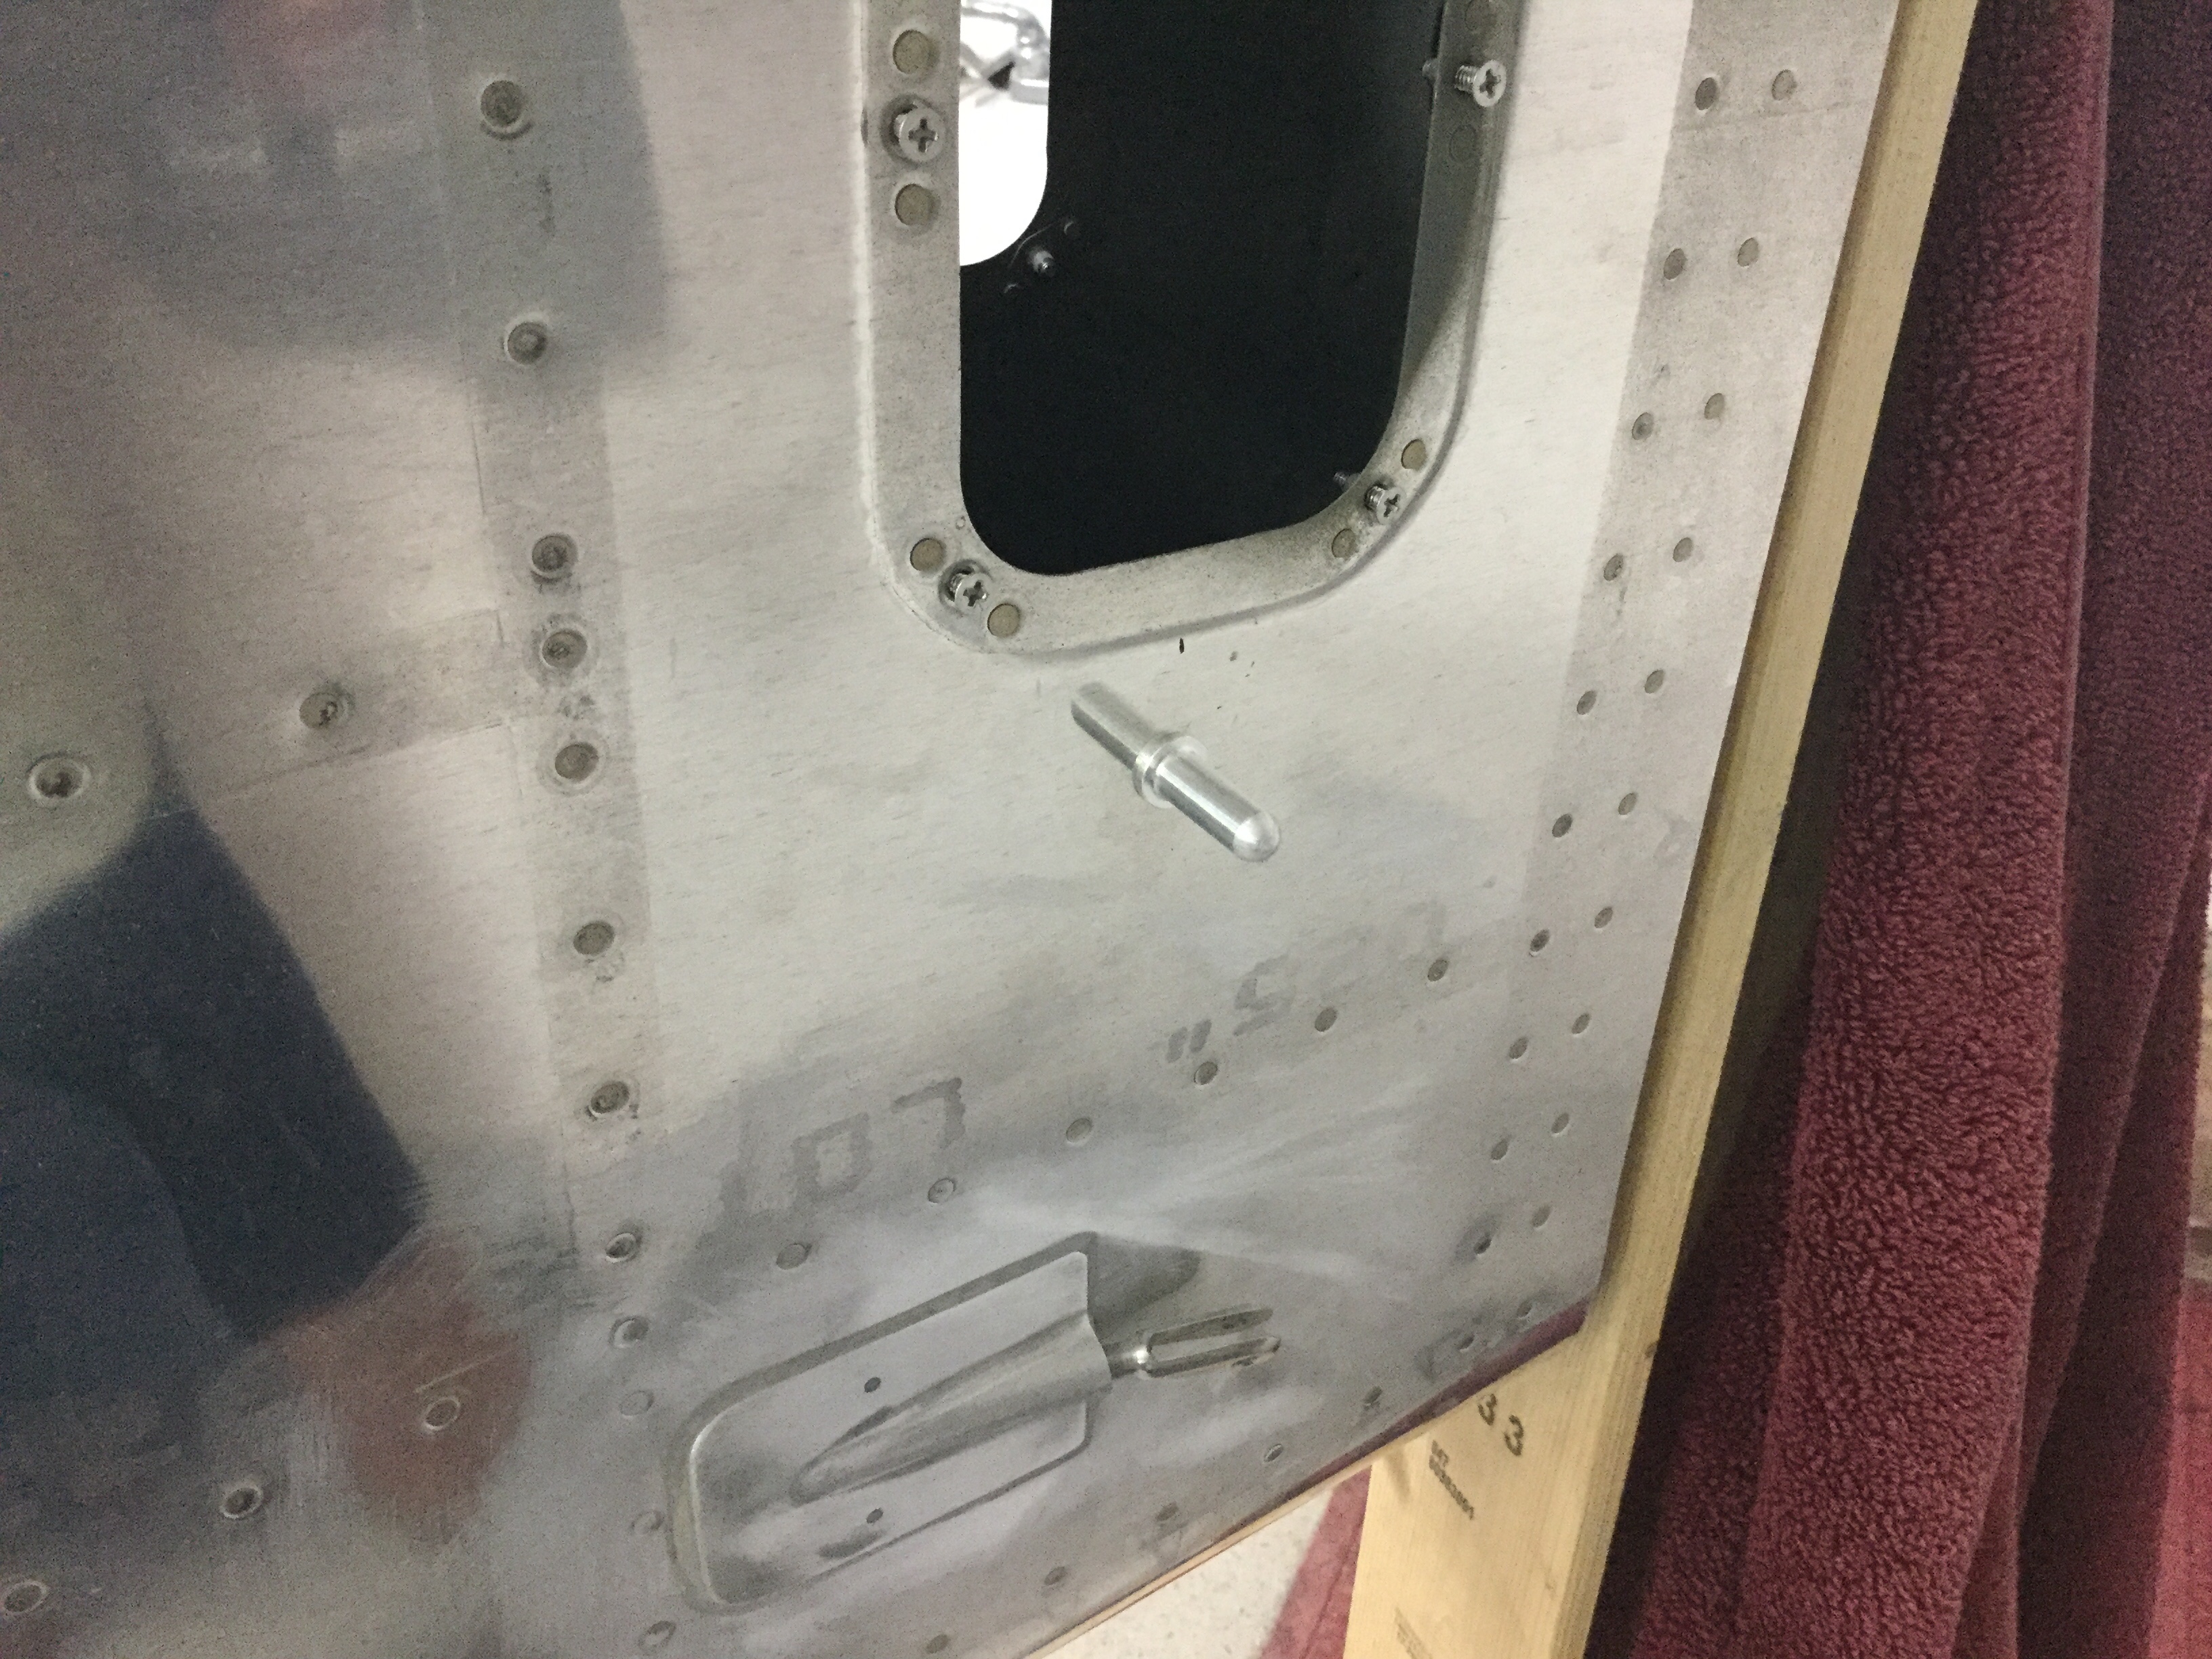
My ELT antenna placement has been a topic of disagreement on VAF, as I really wanted to avoid mounting it on top of the tail cone.  It’s big, ugly, and ugly.  Mainly, though, it’s ugly.  It’s also essential to my life and the lives of my passengers should the worst happen and we have an accident, so I guess it’s important to do it right.  I debated on doing some reception tests with it mounted internal to the tail cone, but honestly, I just got lazy and decided it really isn’t that ugly.  In the end, I chose to do it the right way and put it on the top of the tail cone.  The cable was secured along a bulkhead and the last of the wiring clean up for the O2 tank / ELT was completed.

I love spending time wiggling back into the tail coffin, I mean cone, so I made a fort with blankets and towels and dove in to attach the OAT sensors to the ADAHRS and finish securing tail cone wiring.  I put the OAT sensors below the access panels underneath the horizontal stab since I had all of my wing wiring complete and for shorter wire runs to the ADAHRS.  Since they have to be calibrated anyway, I’m not too concerned with exhaust from the engine affecting them too much.

The O2 tank was put back in for good and connected to all of the lines.  I also attached the pitch auto pilot servo to the bellcrank and will connect the yaw servo once the tail feathers and rudder cables are rigged at the hangar.  That is the last task in the tail cone and can be completed without having to crawl all the way back there.  It’s going to be motivation in life to keep from getting fat or have a small child that can slide back there for maintenance, it’s a very tight fit with all the extra stuff I put back there.

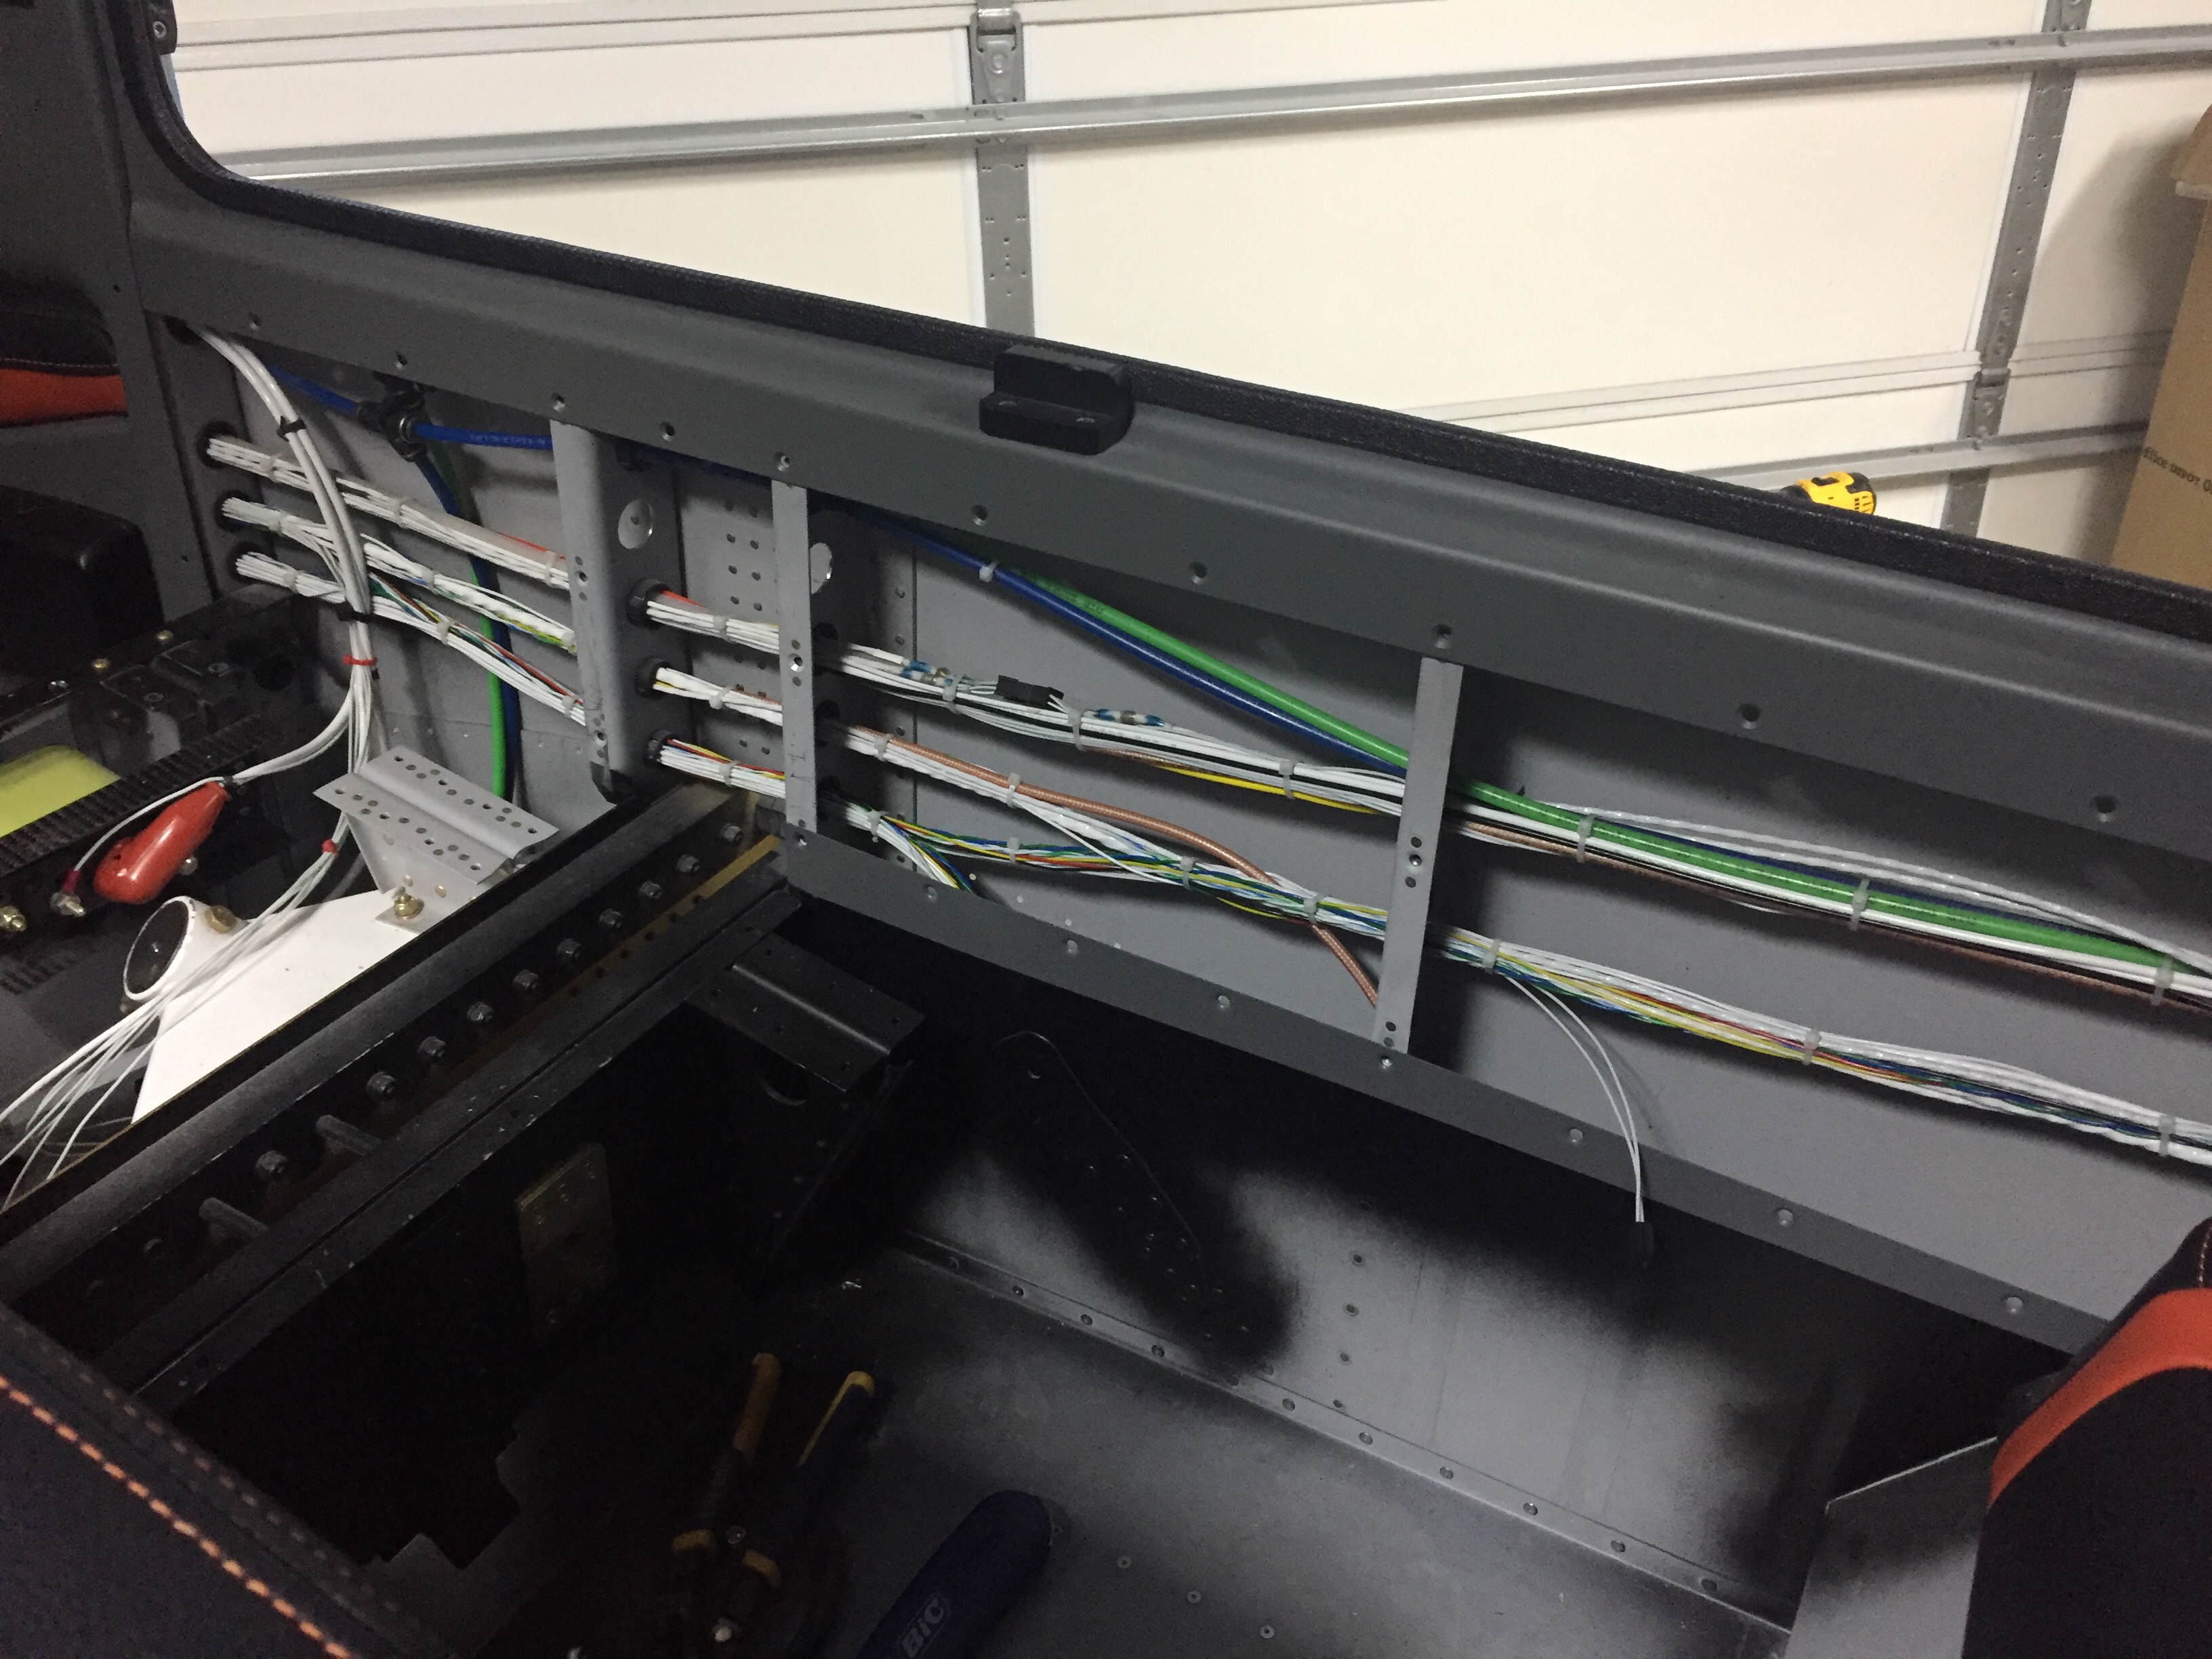
More zip tie work on the side walls as I cleaned up all of the wire bundles.  I was lazy and didn’t lace them.  If you don’t like that, you go build your own damn airplane!  Lots of zip ties.  Overall I’m happy with the wire runs, I was able to keep coax with mainly data / signal wires and have the high current ones seperated.  I have seen plenty of aircraft with everything bundled together without issues, so I think it’s more important to terminate and ground properly than anything.

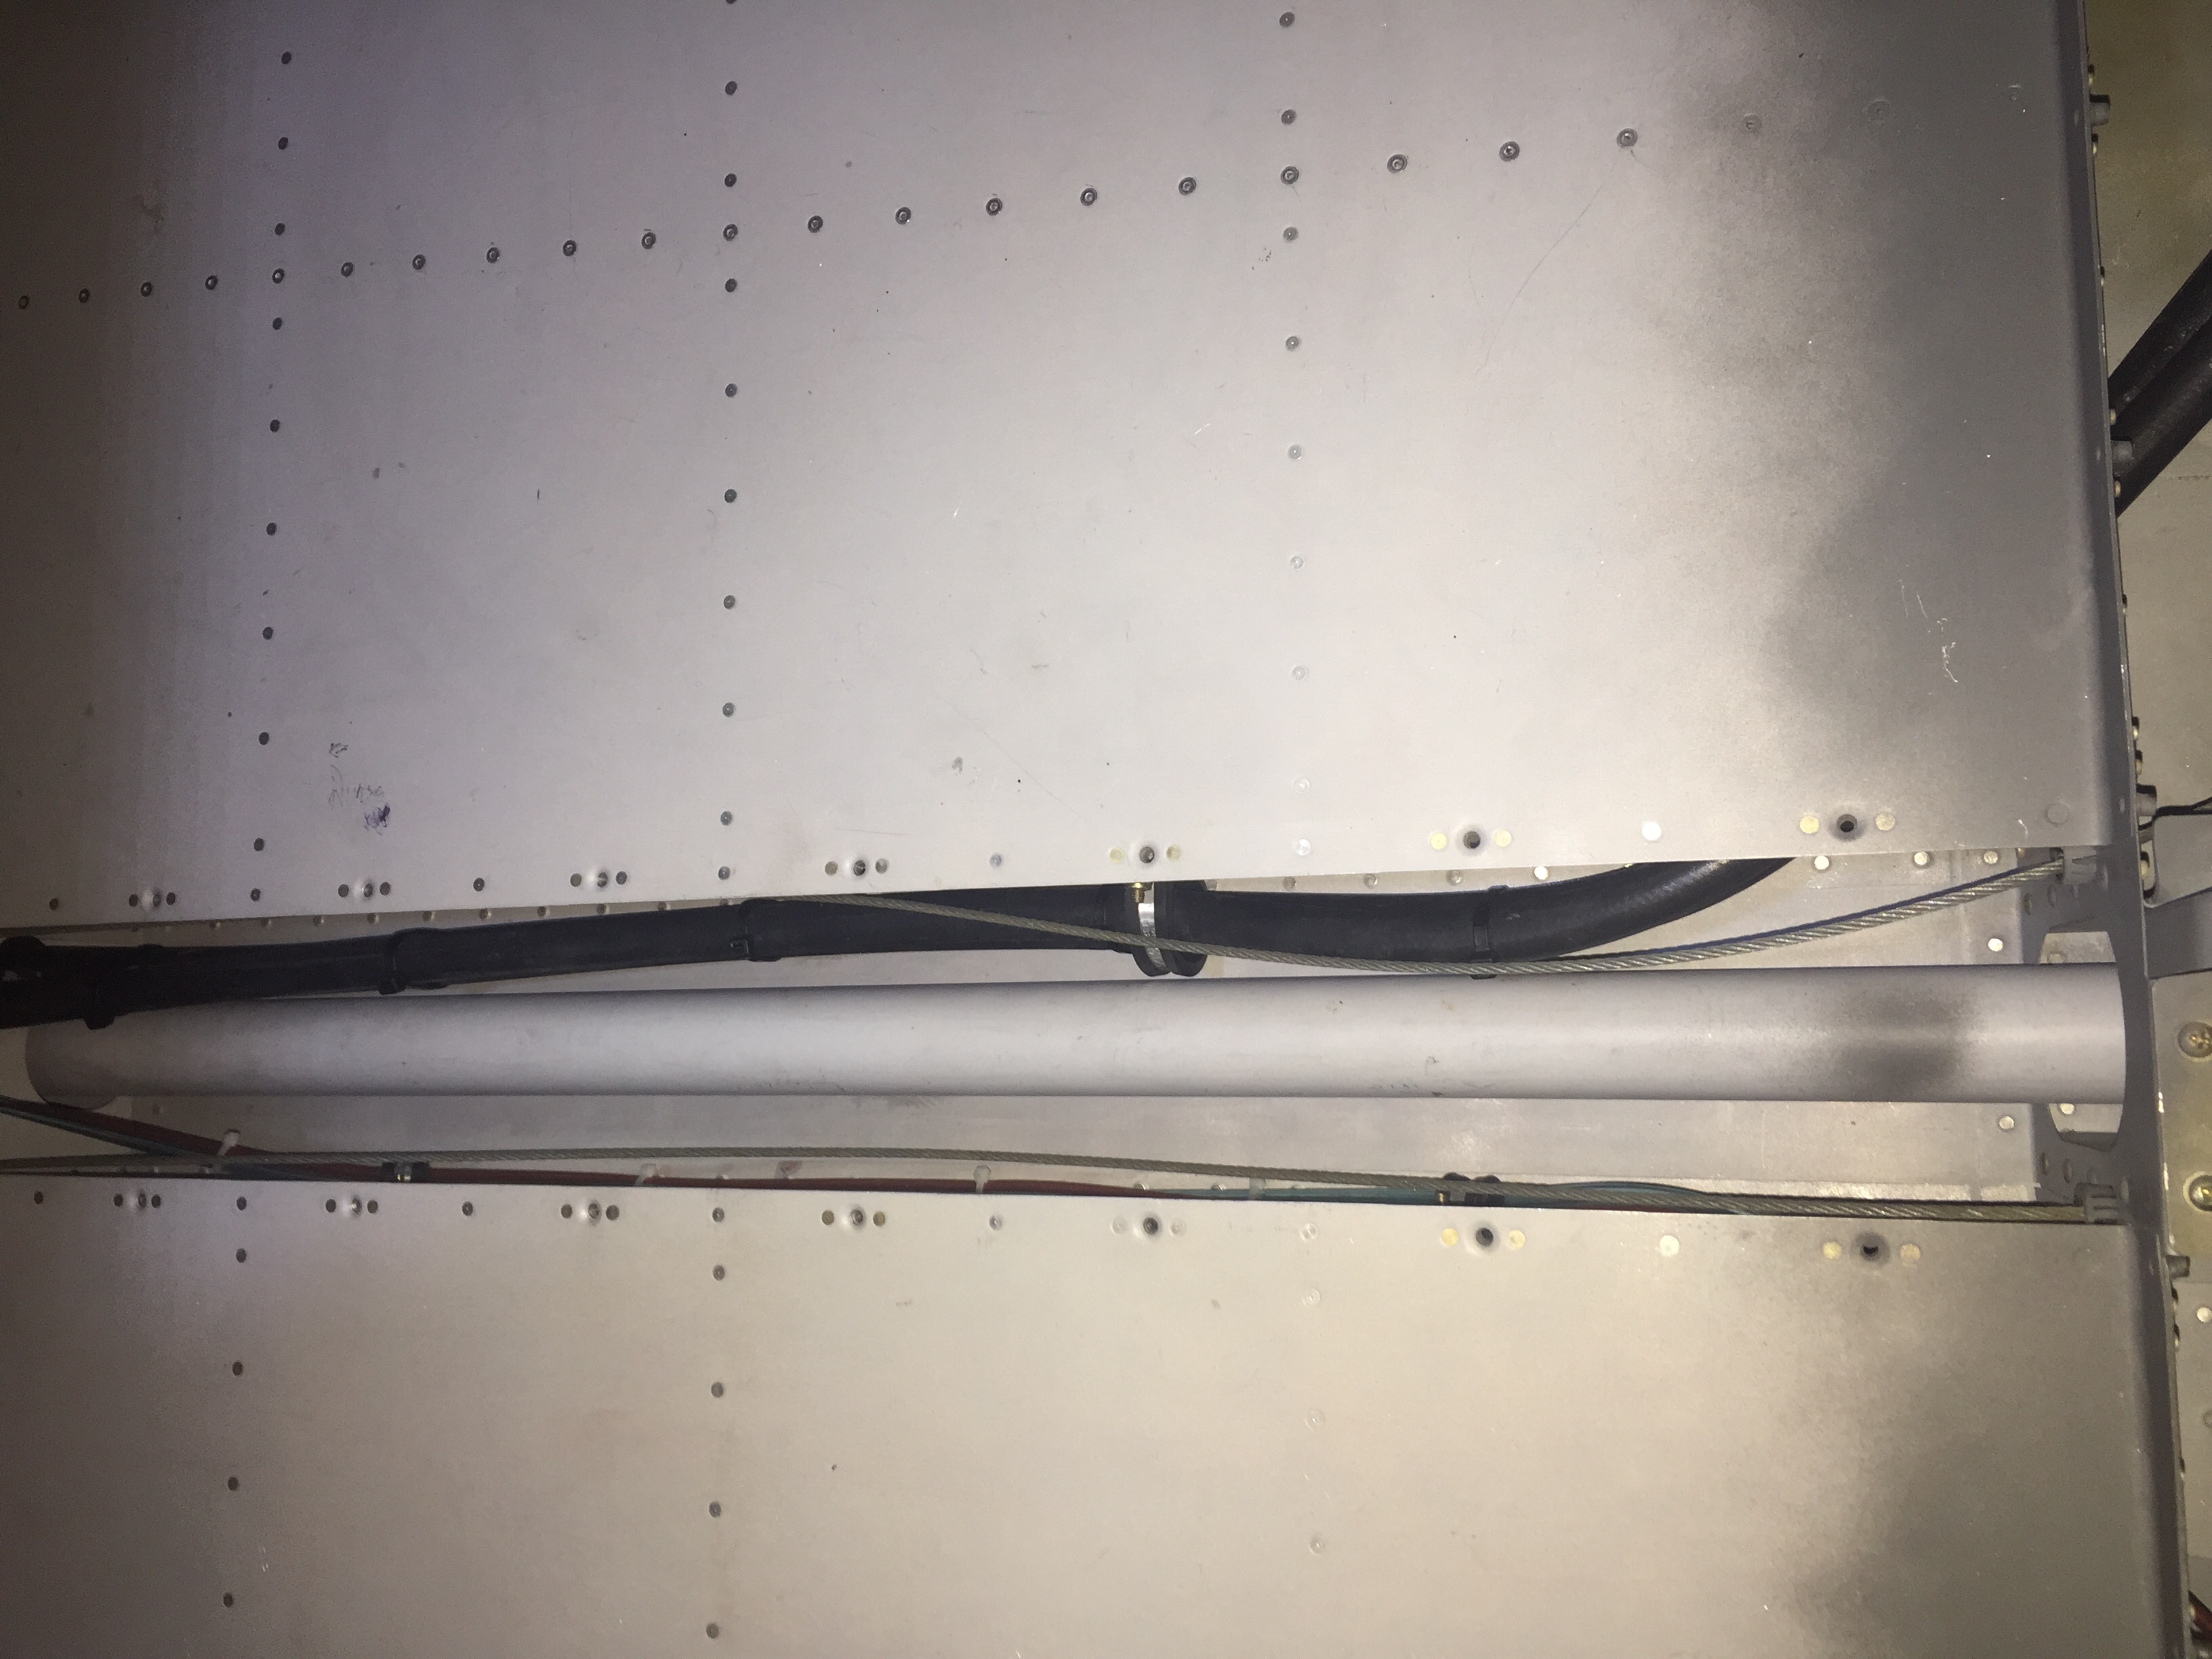
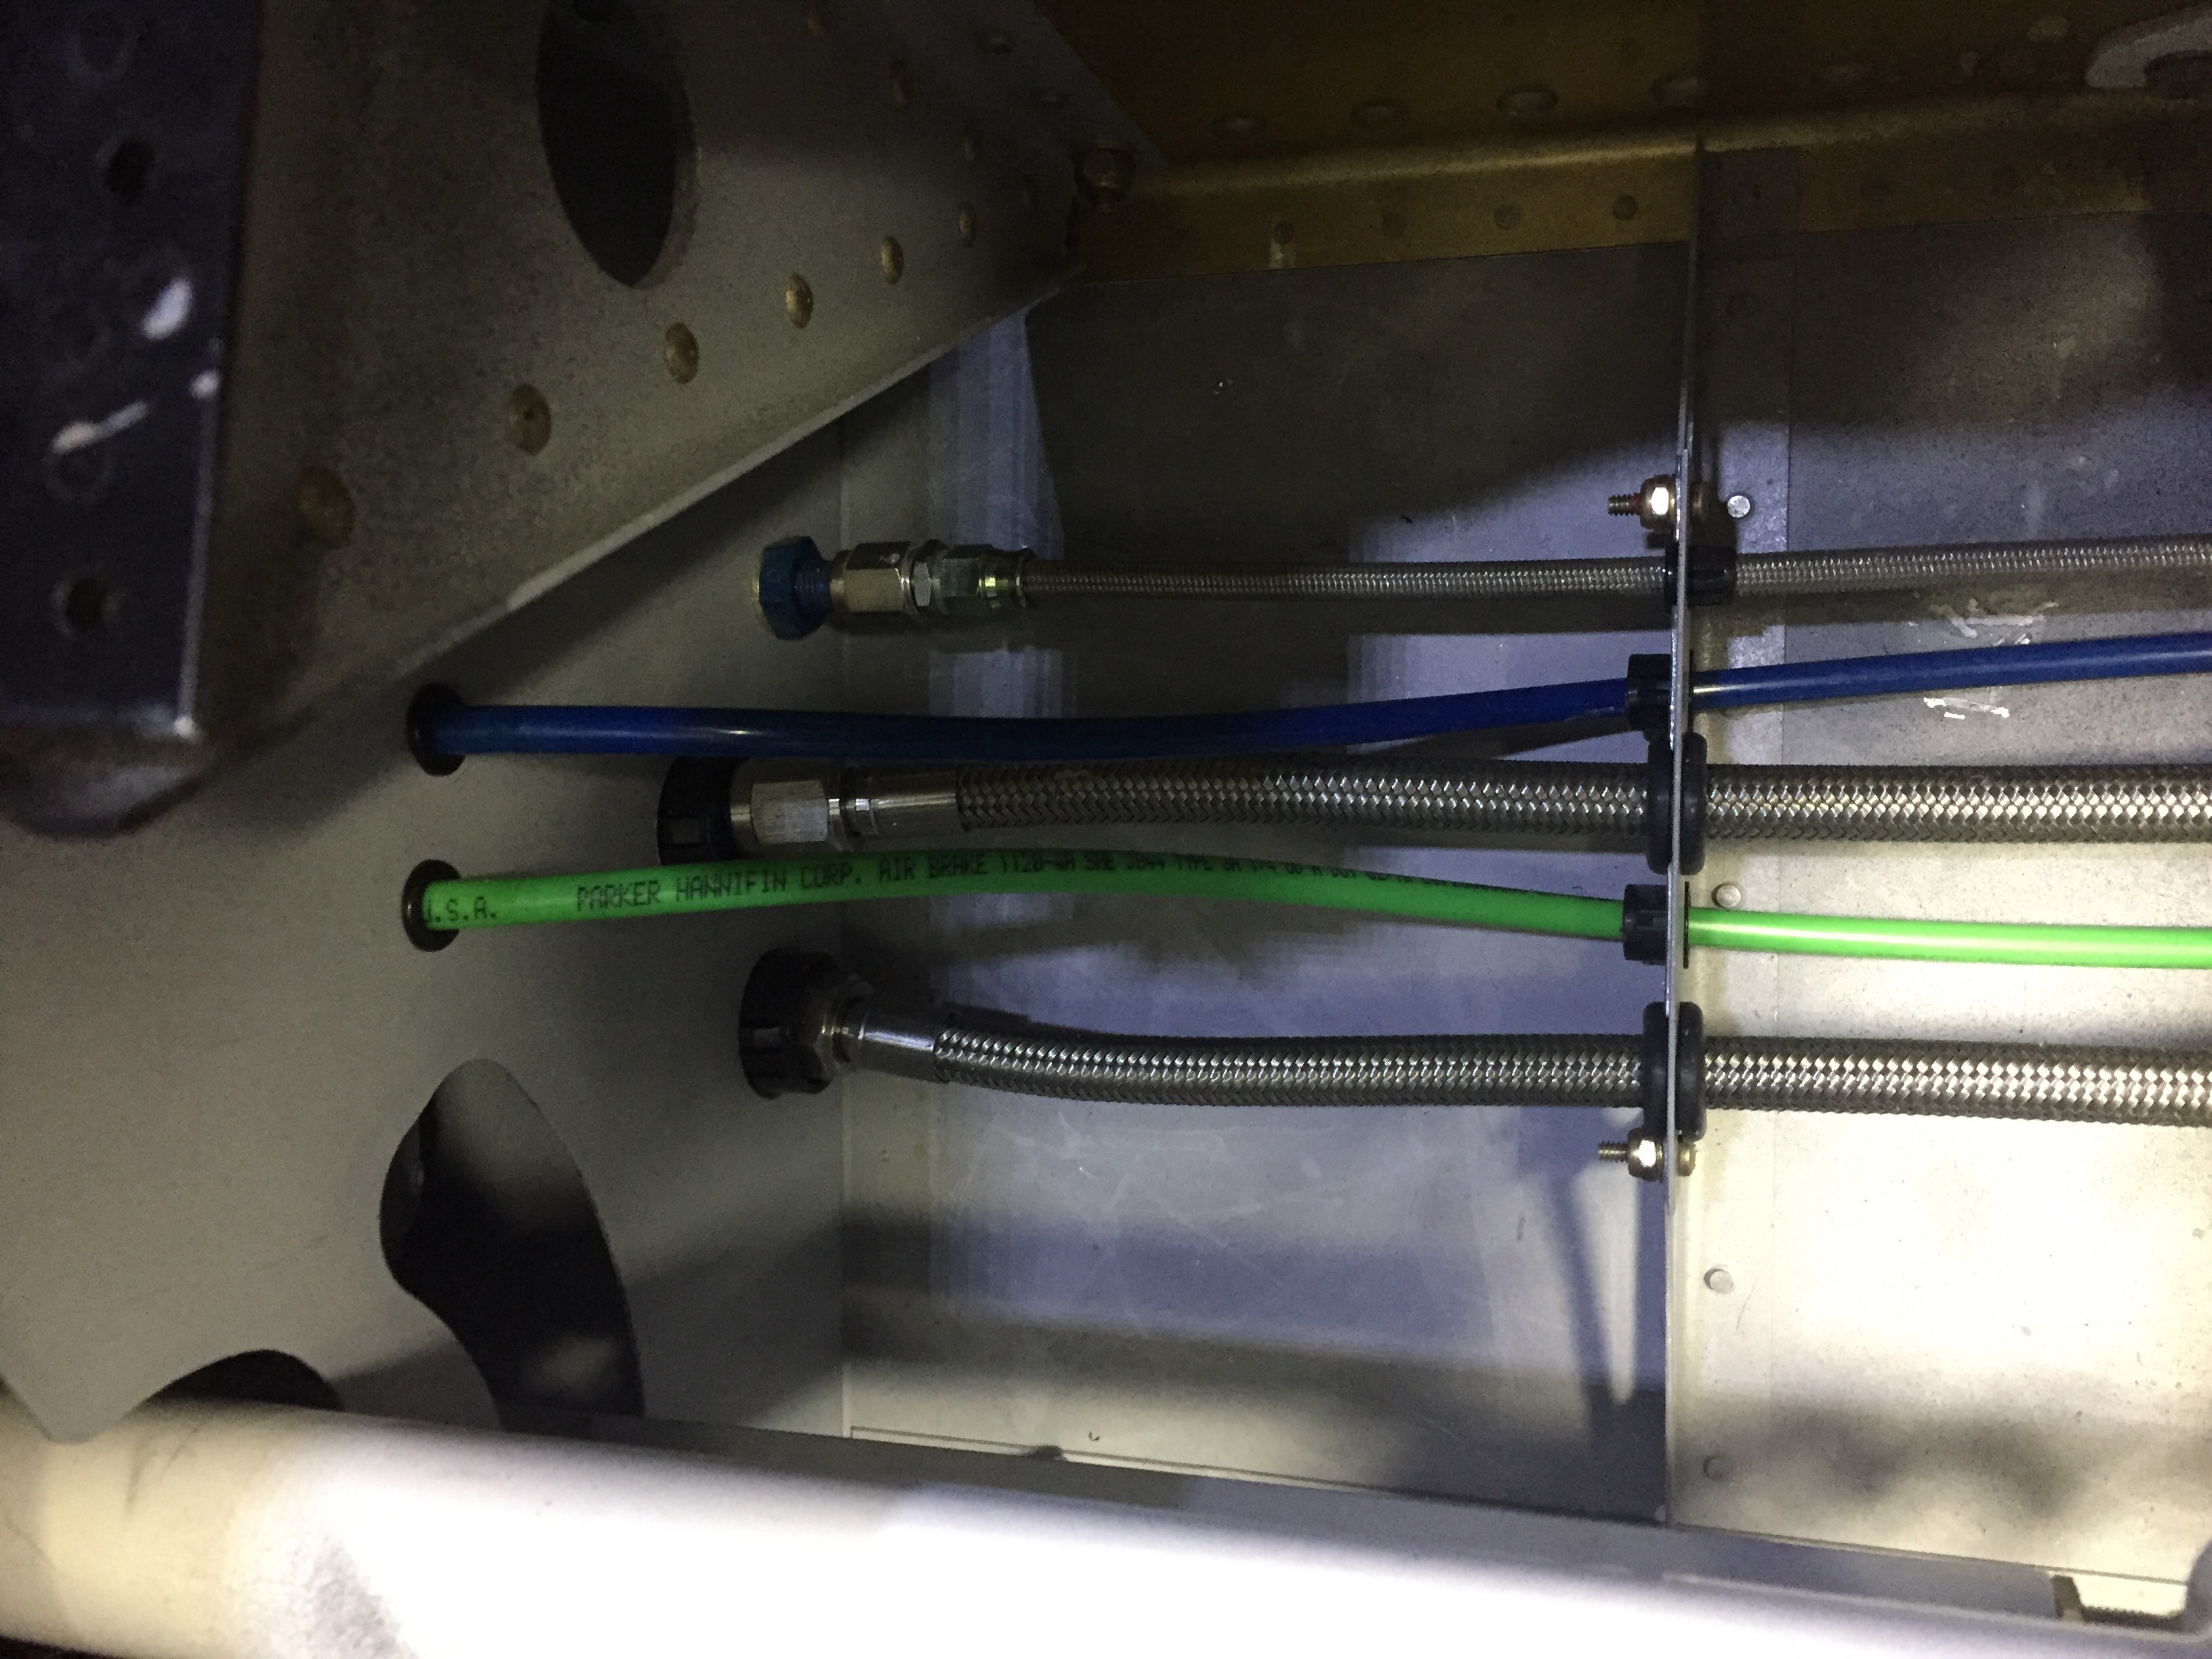
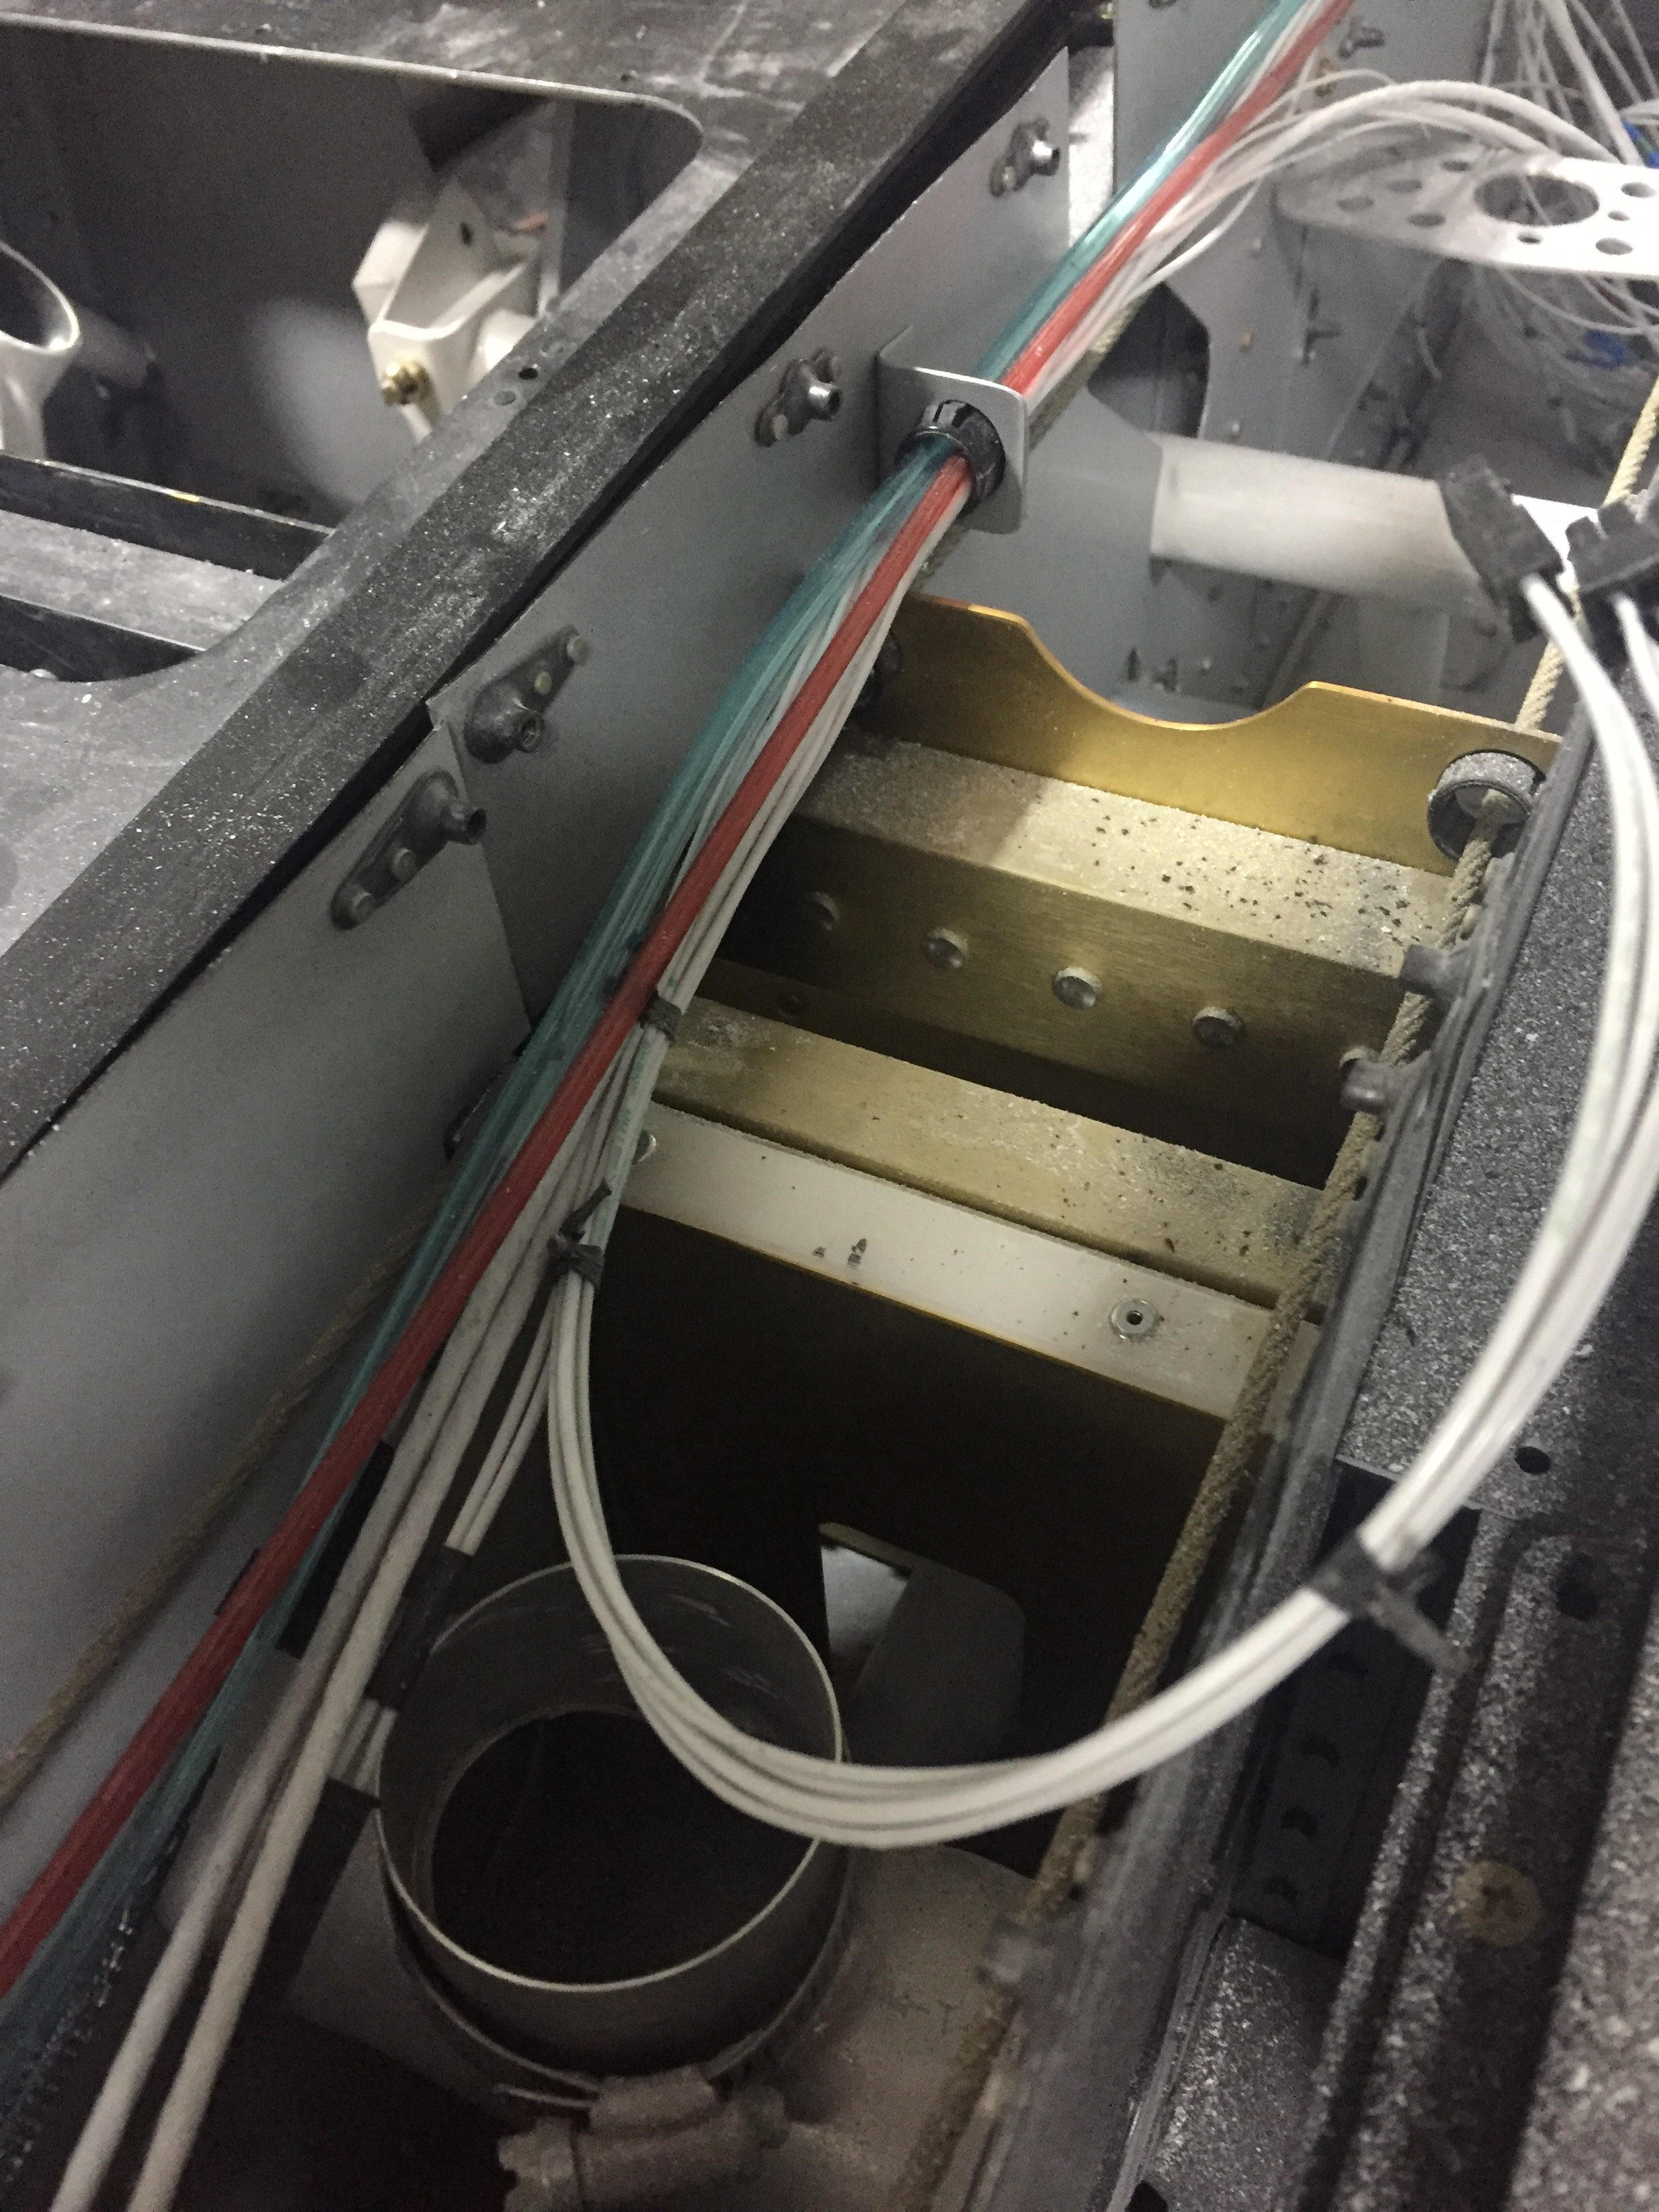
The pitot / AoA tubing needs to run across the fuselage from the left wing to the right sidewall, so I put two holes in the tunnel and used free holes from the fuel line anchors to run the blue and green tubing.  The wing is already plumbed, so these lines will connect with those from the wing with two connectors and be done.

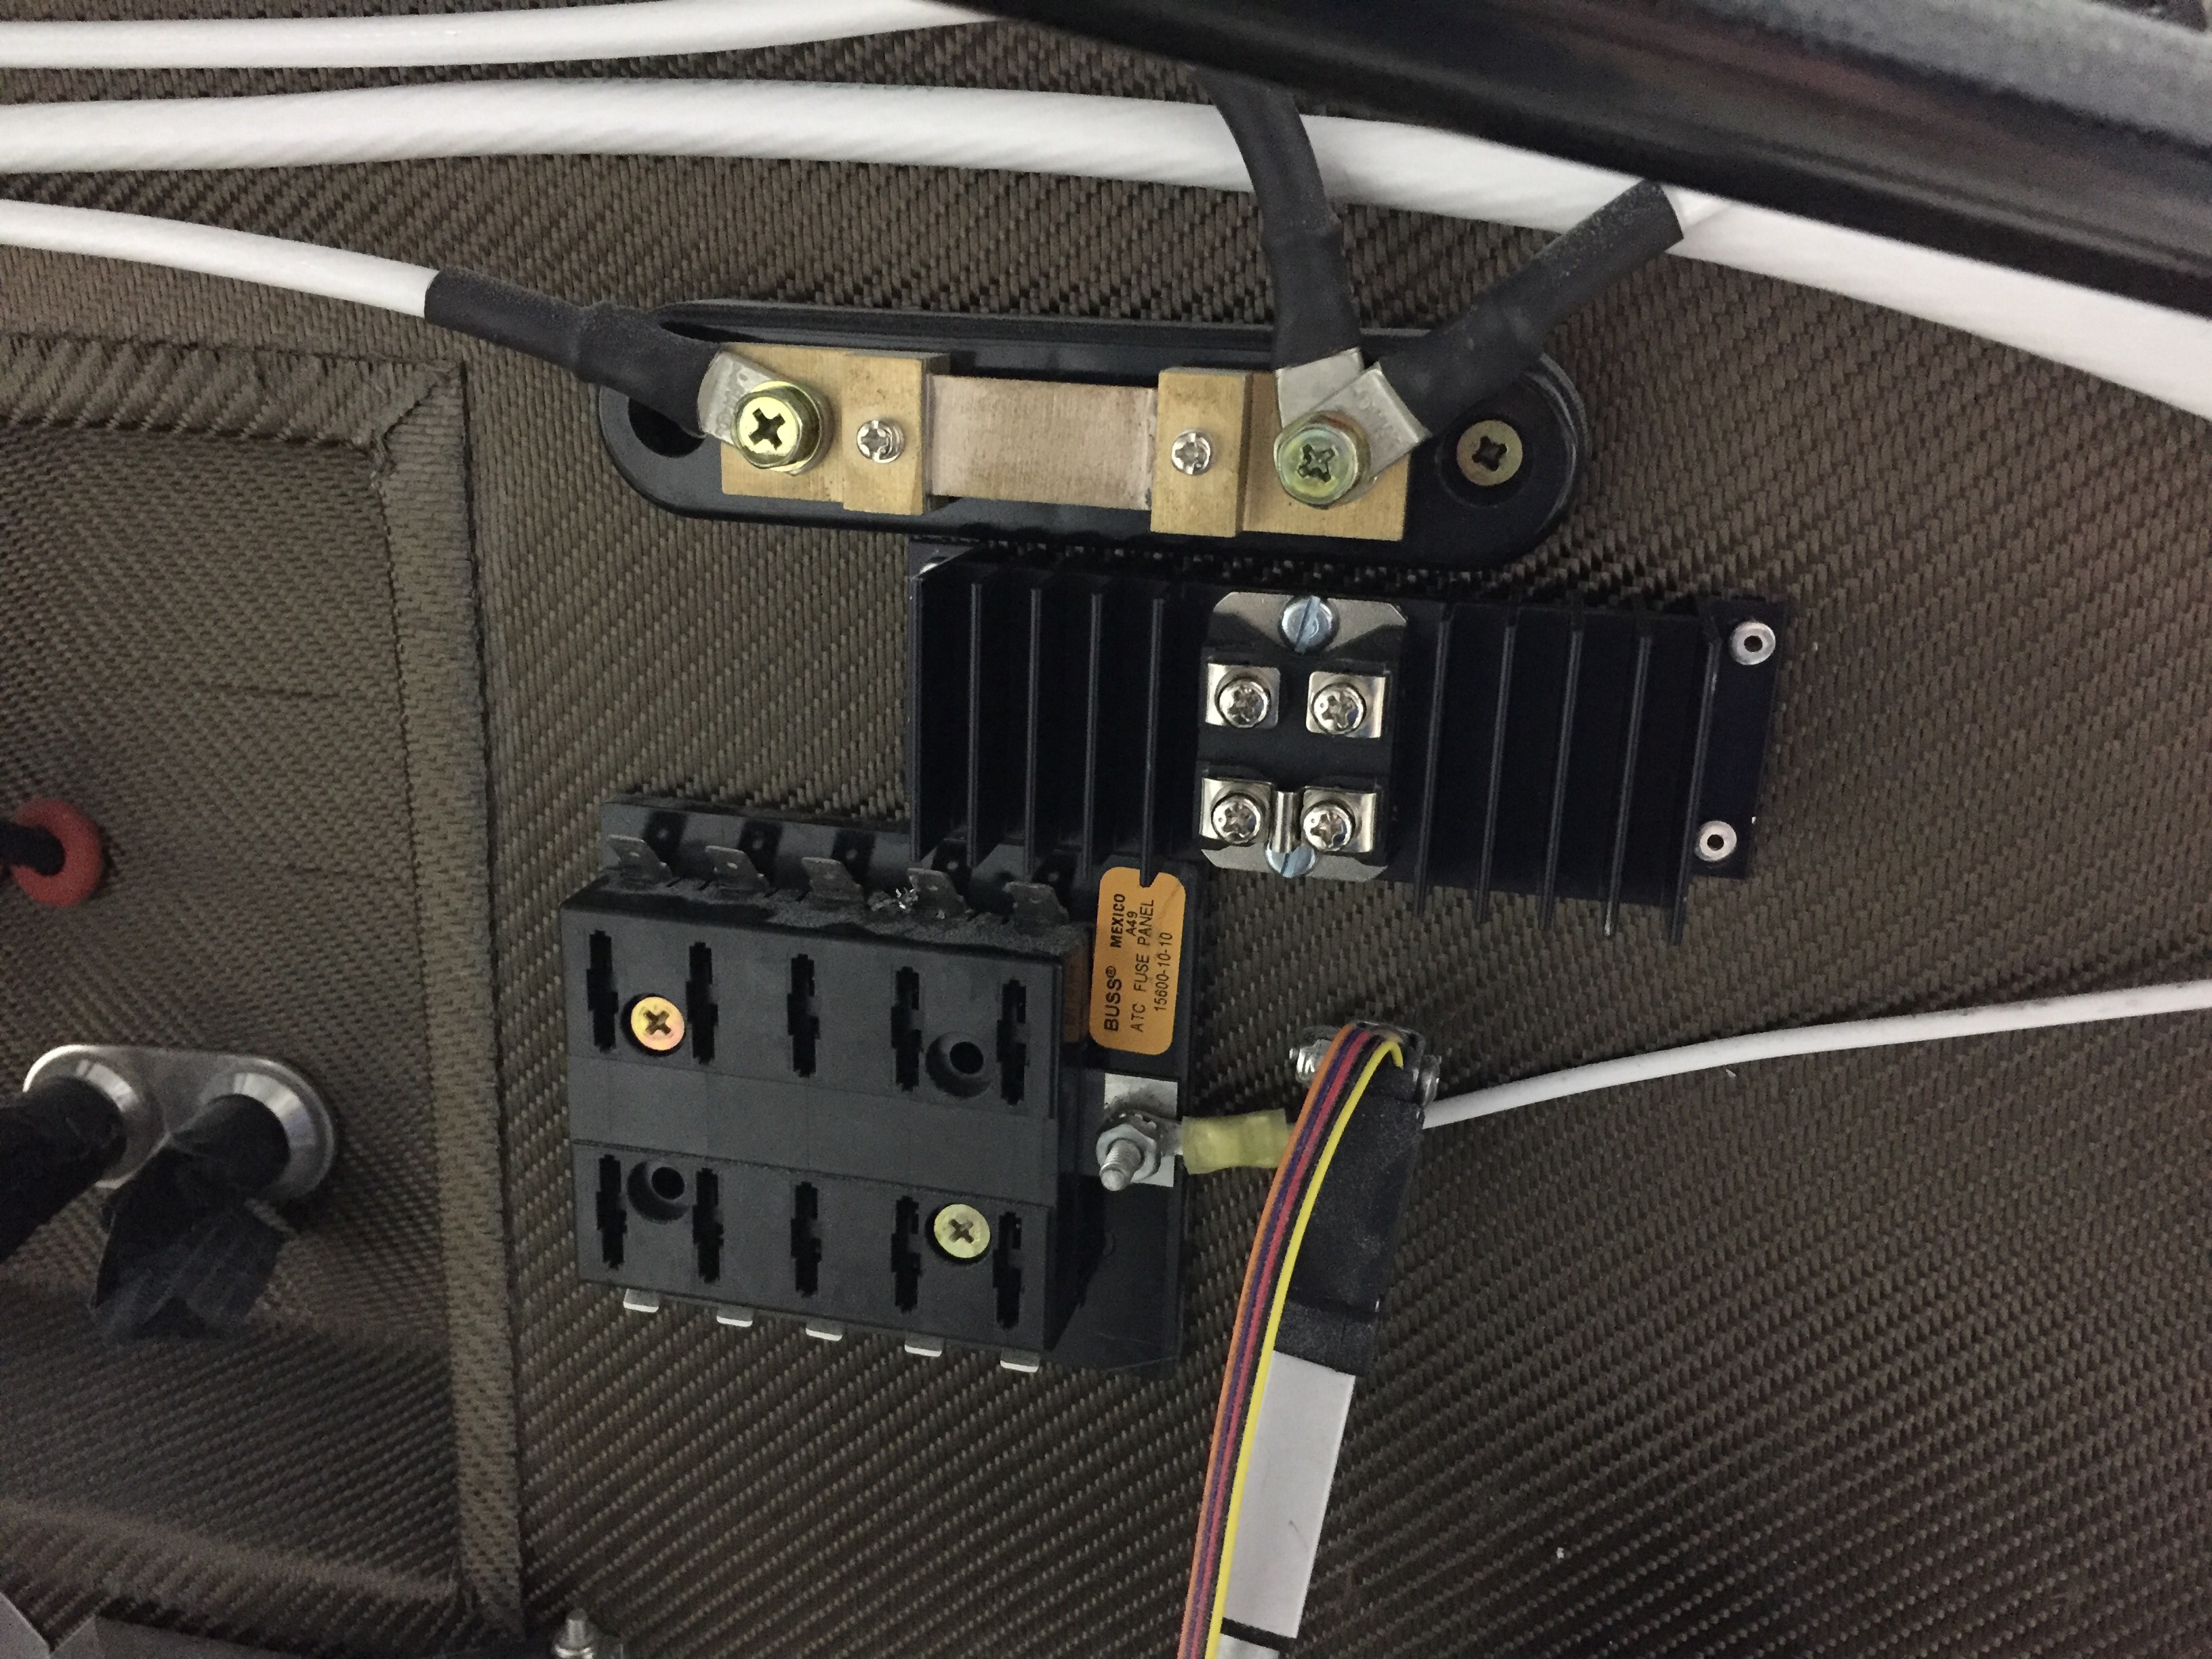
Finally, I put the 30 amp Schottky diode on the firewall between the shunt and engine fuse block.  I had this in my electrical design but just in the wrong location.  It provides redundant power input to the engine fuse block only, keeping it from backfeeding the rest of the electrical system.  The power comes in from the emergency engine power switch which comes from the battery to the fuse block.  Big picture, it is a redundancy for the single point of failure of the master contactor or short in the system.  A complete electrical failure or engine stopping SOP will be to turn off the master switch (leaving PFD, MFD, and G5 operating on independent back up batteries) and switch on the emergency engine power switch.  If the battery has any juice at all, it will go only to the engine fuse block.

Bringing up the rear

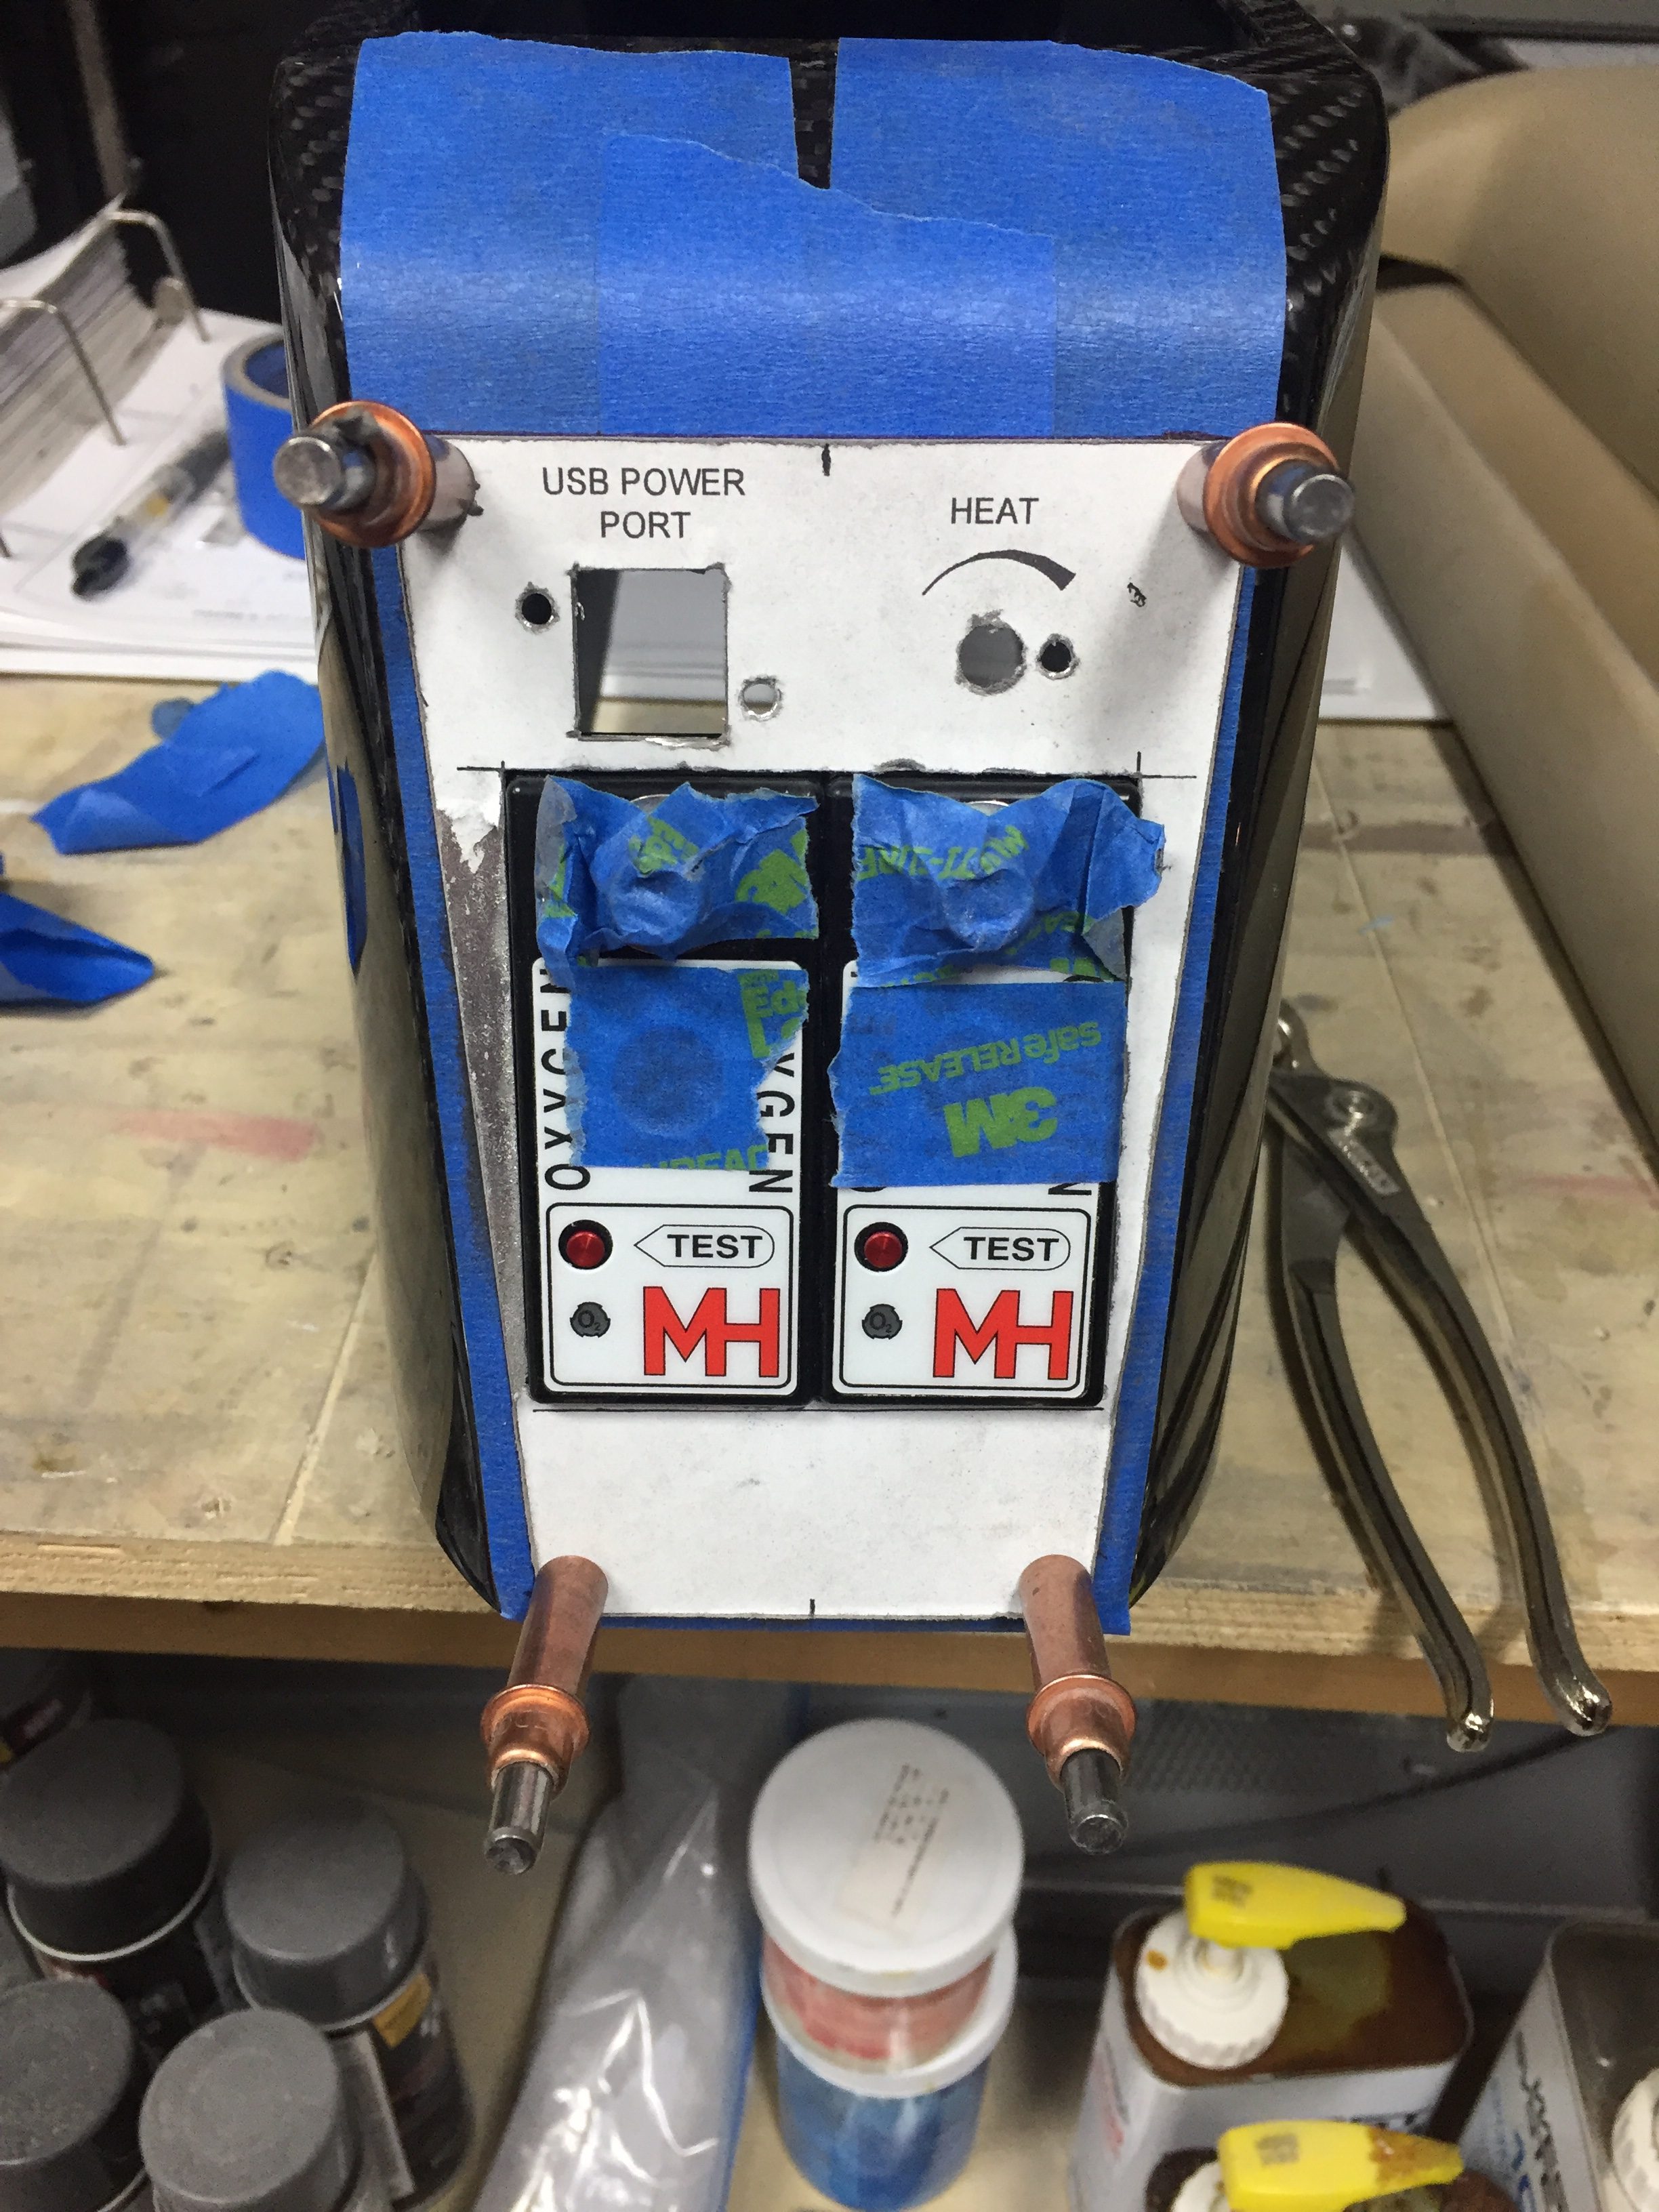
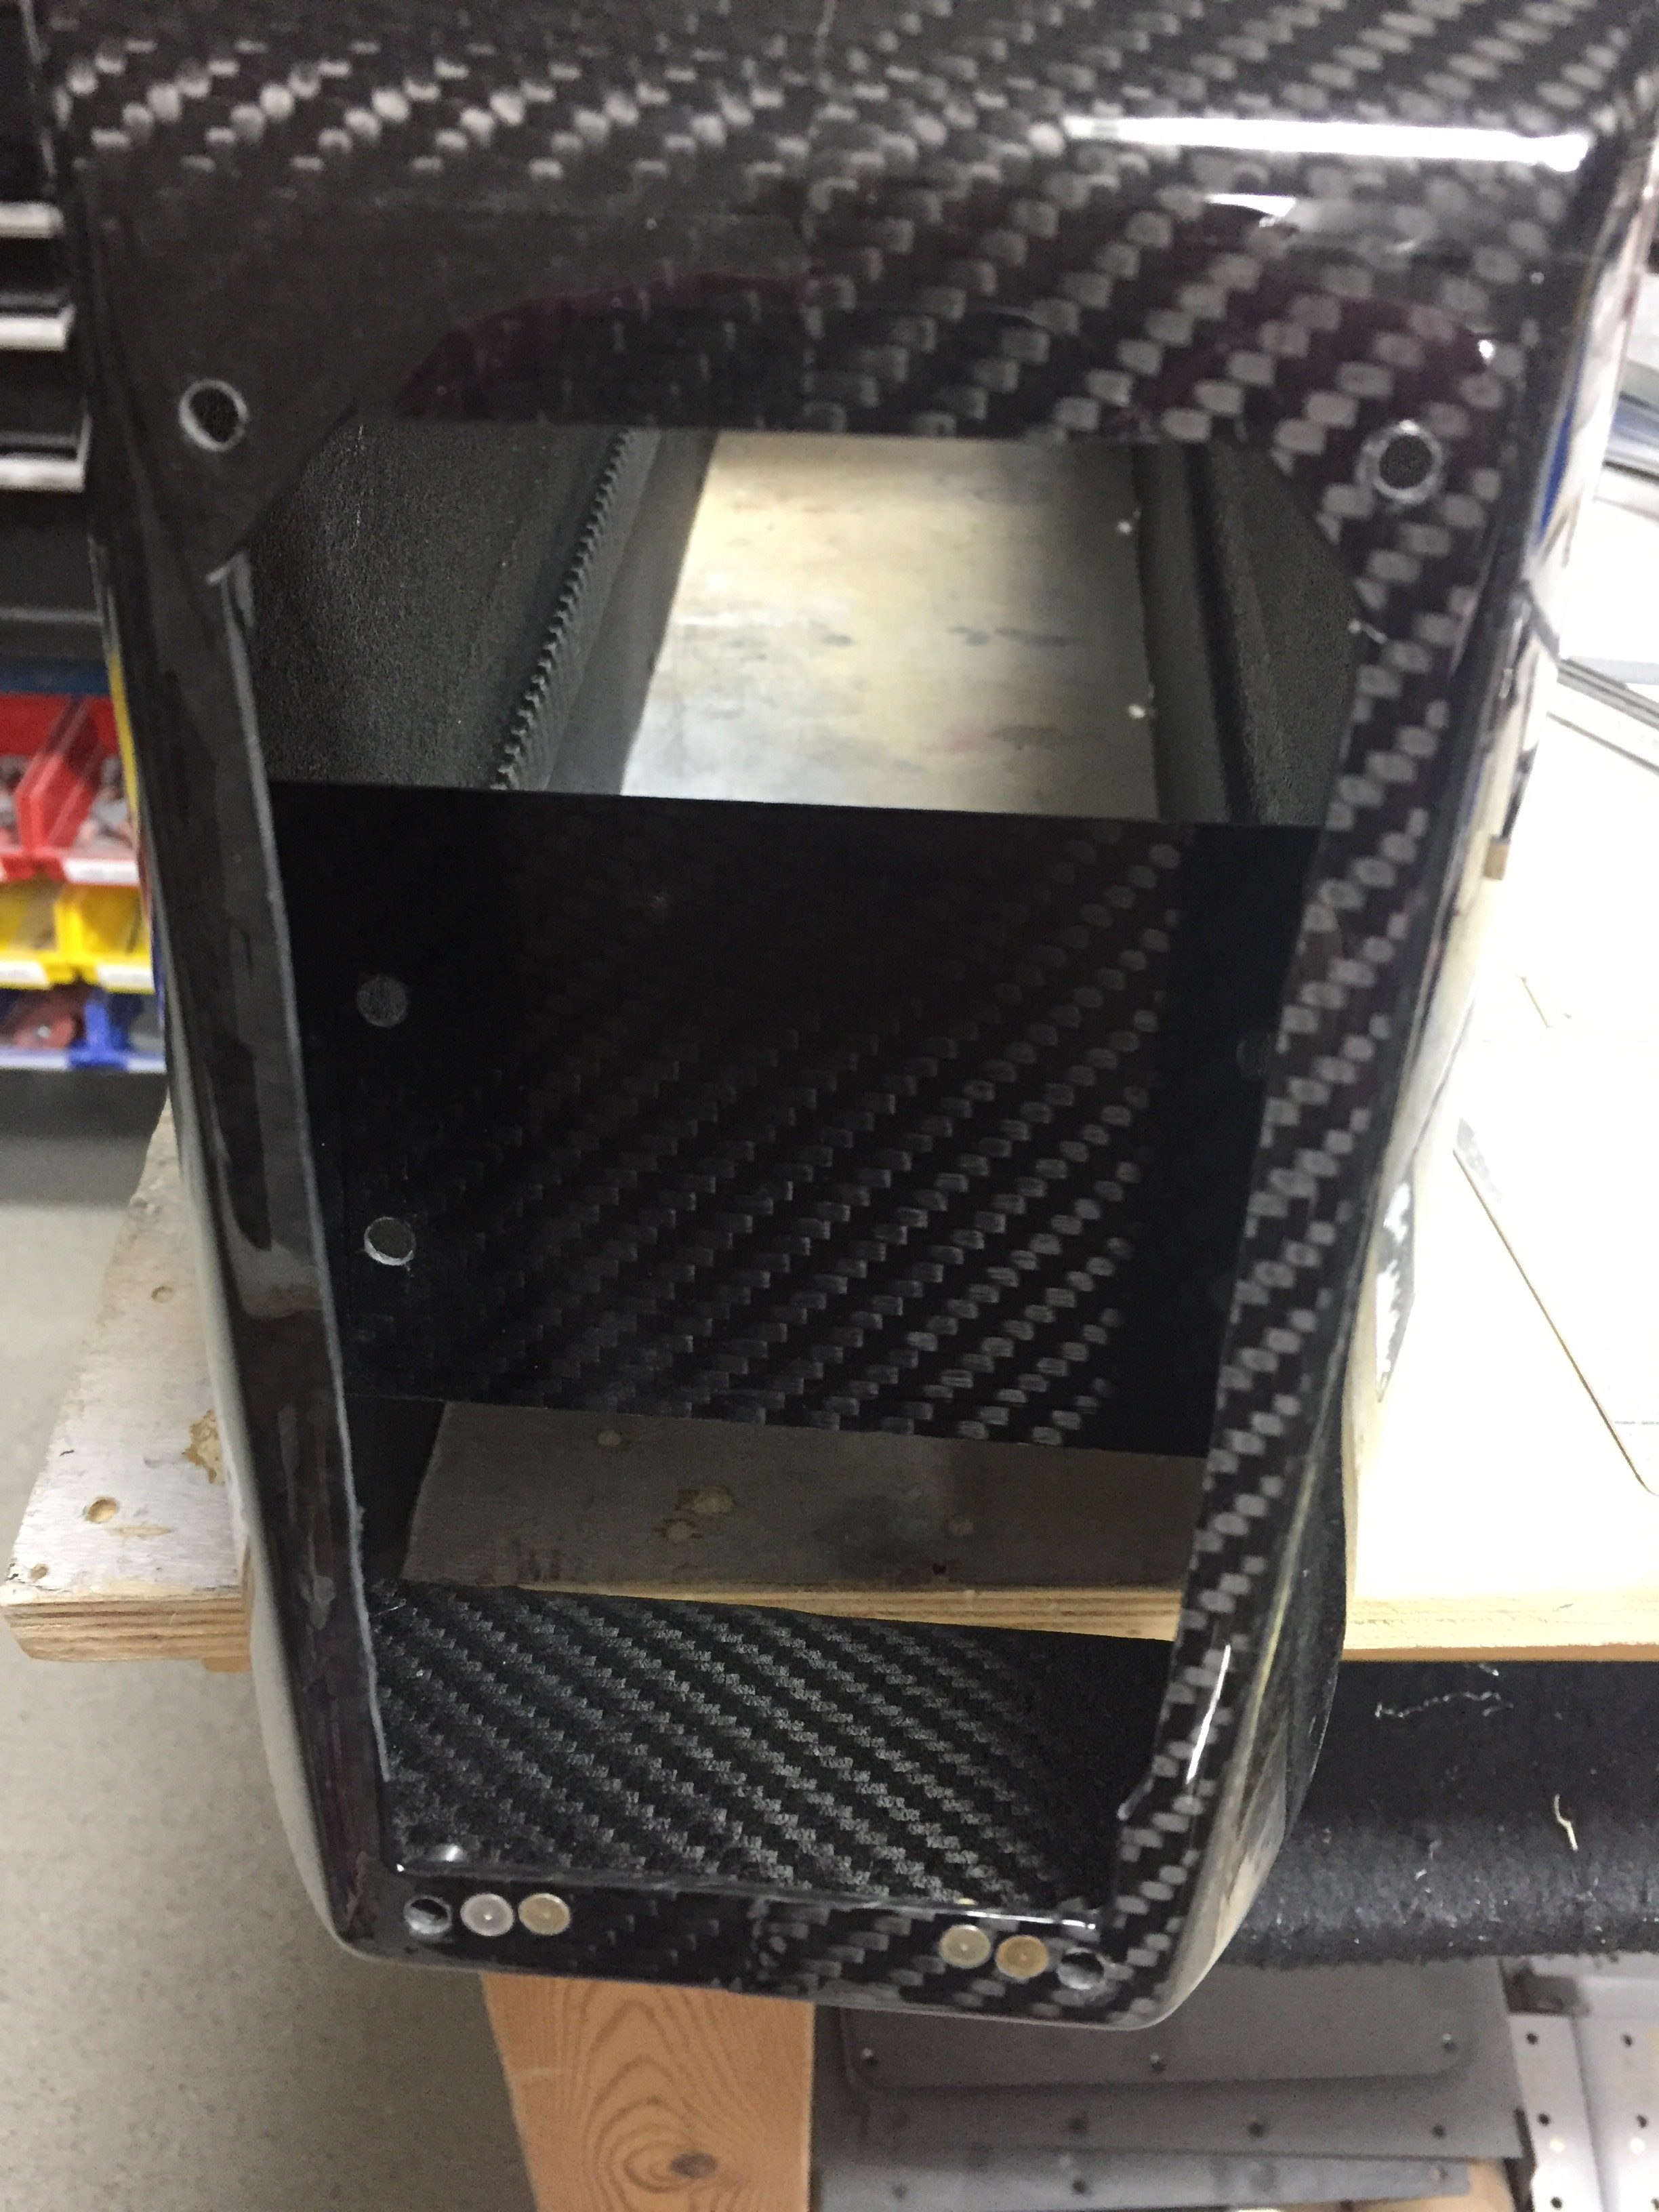
Now that the carbon fiber bits are cleared, I went to work on the rear panel for the back seaters.  My original plan was to mount the oxygen ports, a USB power port, heat control rheostat, and headset jacks into the rear console but it all just wouldn’t fit.  The O2 ports had to stay there, as I didn’t want them in the side panels due to lack of room, so the headset jacks got the boot.  I drew up a layout based on the measurements of the rear panel area.  The carbon is too thick and rigid for the ports to cleanly snap into so I will use AL with a matching acrylic overlay just like the instrument panel up front.  I was able to keep the power port and heat control on top.  I won’t be back lighting these as there isn’t much room and I figure at night a task light can be turned on easily.

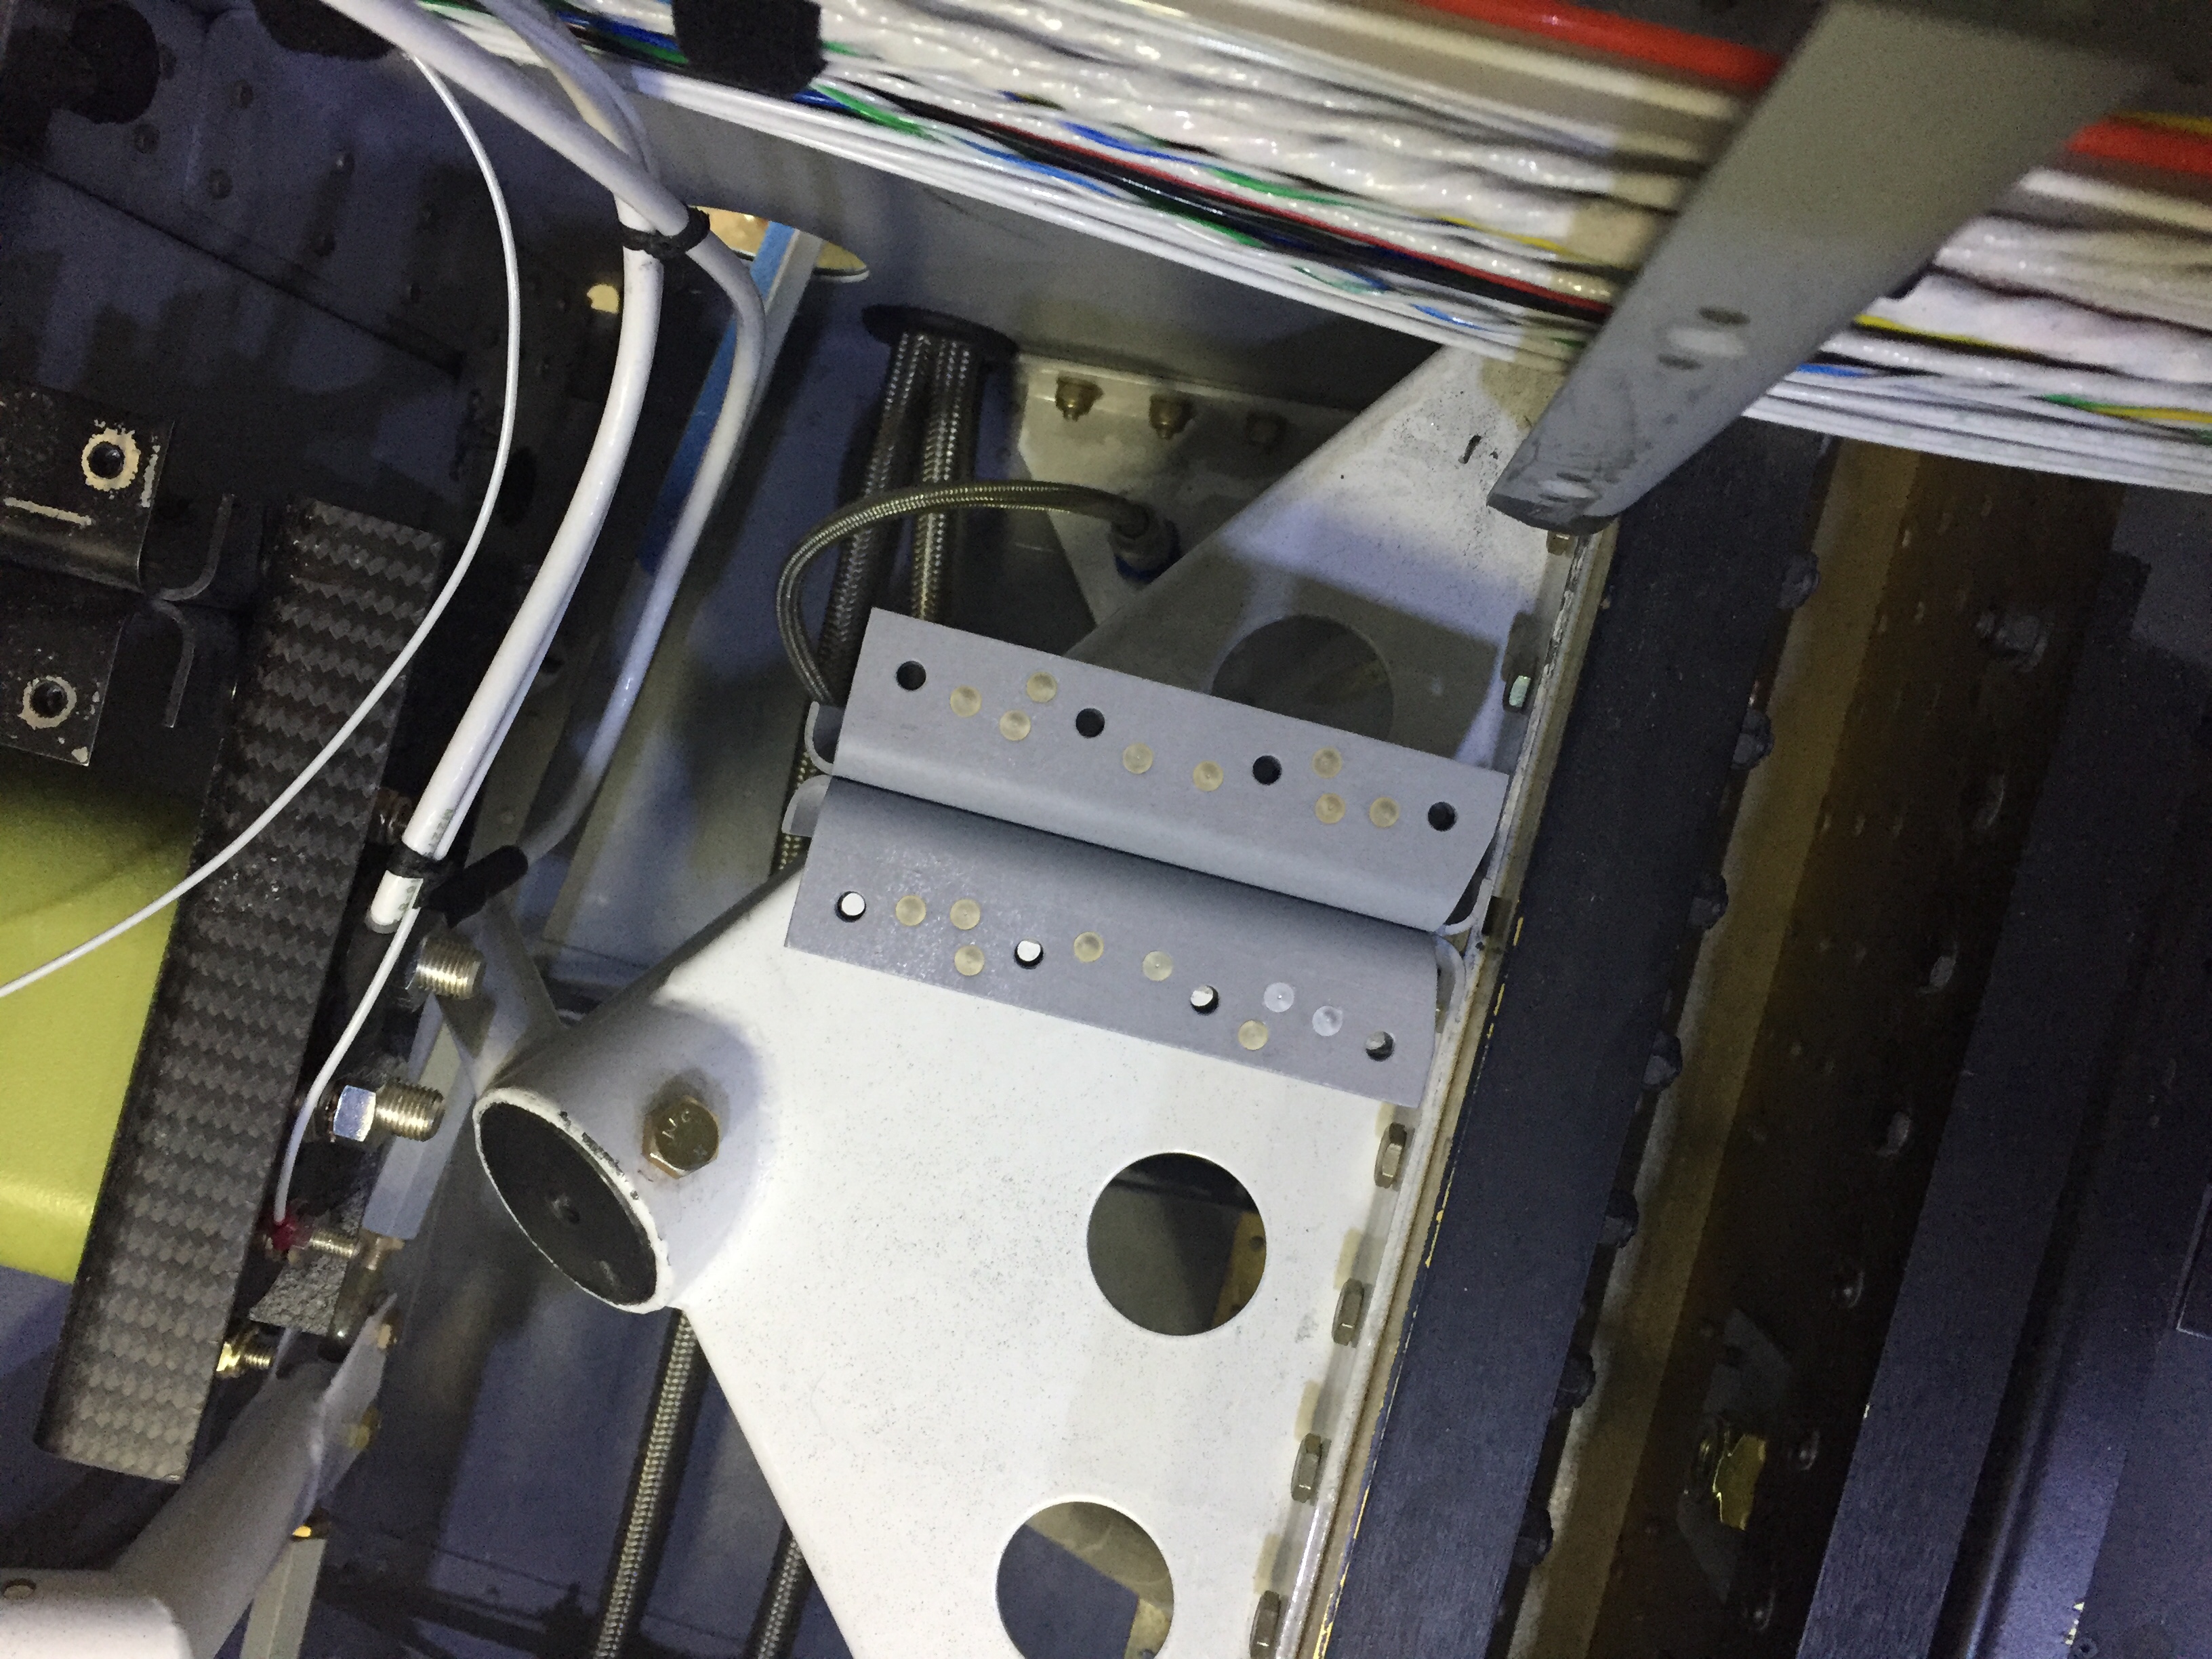
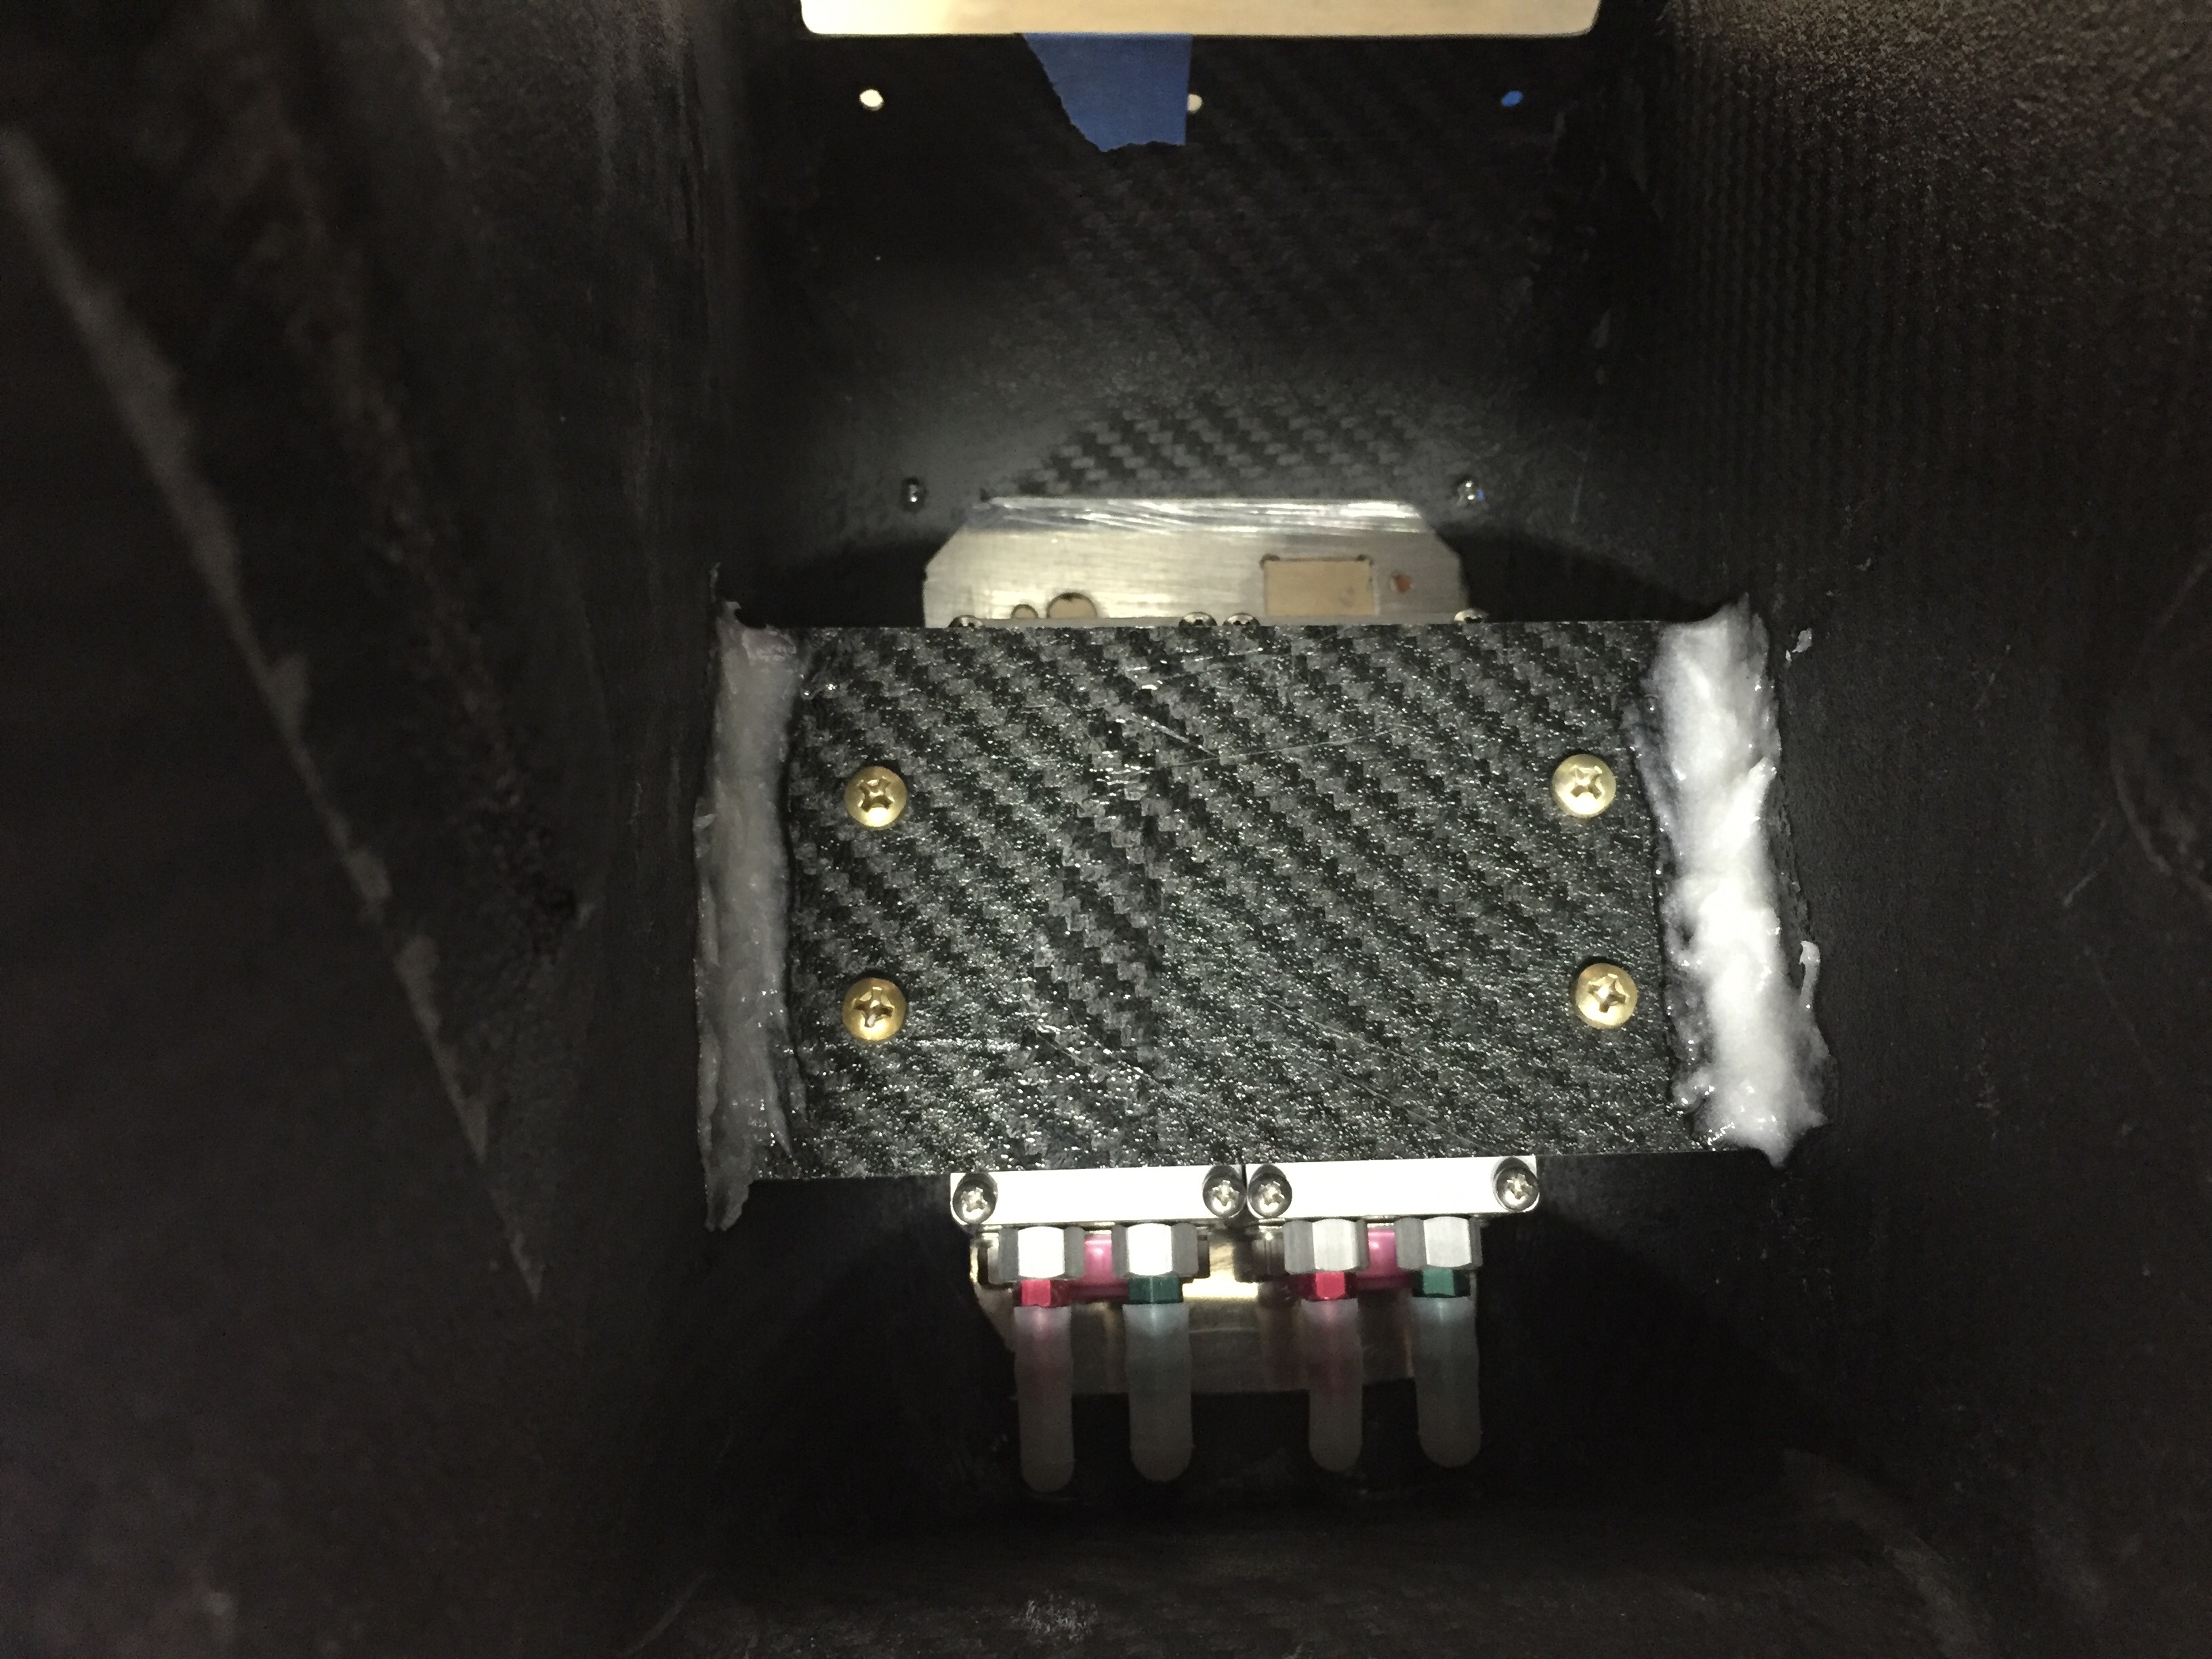
I did need to come up with a way to secure the O2 ports, so I used a scrap piece of carbon and installed a few nutplates before epoxying it into the console.  I had to trim the brackets of the O2 ports so they fit side by side as well.  In the end, it’s a nice fit and still allows easy removal for maintenance.

I used some advice from TCW Tech folks to add a source selection switch into the controller for the rear heat servo.  I had to cut the rheostat off of the circuit board and ordered two matching ones from DigiKey, wiring them up with the control wire going to the switch.  This will allow me to control the rear heat using the rheostat mounted up front or give control to the rear seaters.  Testing with the multi-meter confirmed the desired function so those were tucked away for future install.

Now that I knew where the rear O2 ports would exactly be, I could continue the plumbing of O2 lines.  That also led to running the wires to the O2 ports, power port, and rear heat rheostat.  I fabbed up a few bushing holders to attach to the tunnel and ran everything down the left side.  The front seat headset jack holes were drilled inside the armrest cubby and the wires will be secured onto the tunnel cover.  I placed connectors on all of the wires so that the tunnel cover and center console could be removed for maintenance without needing to remain attached via wires.

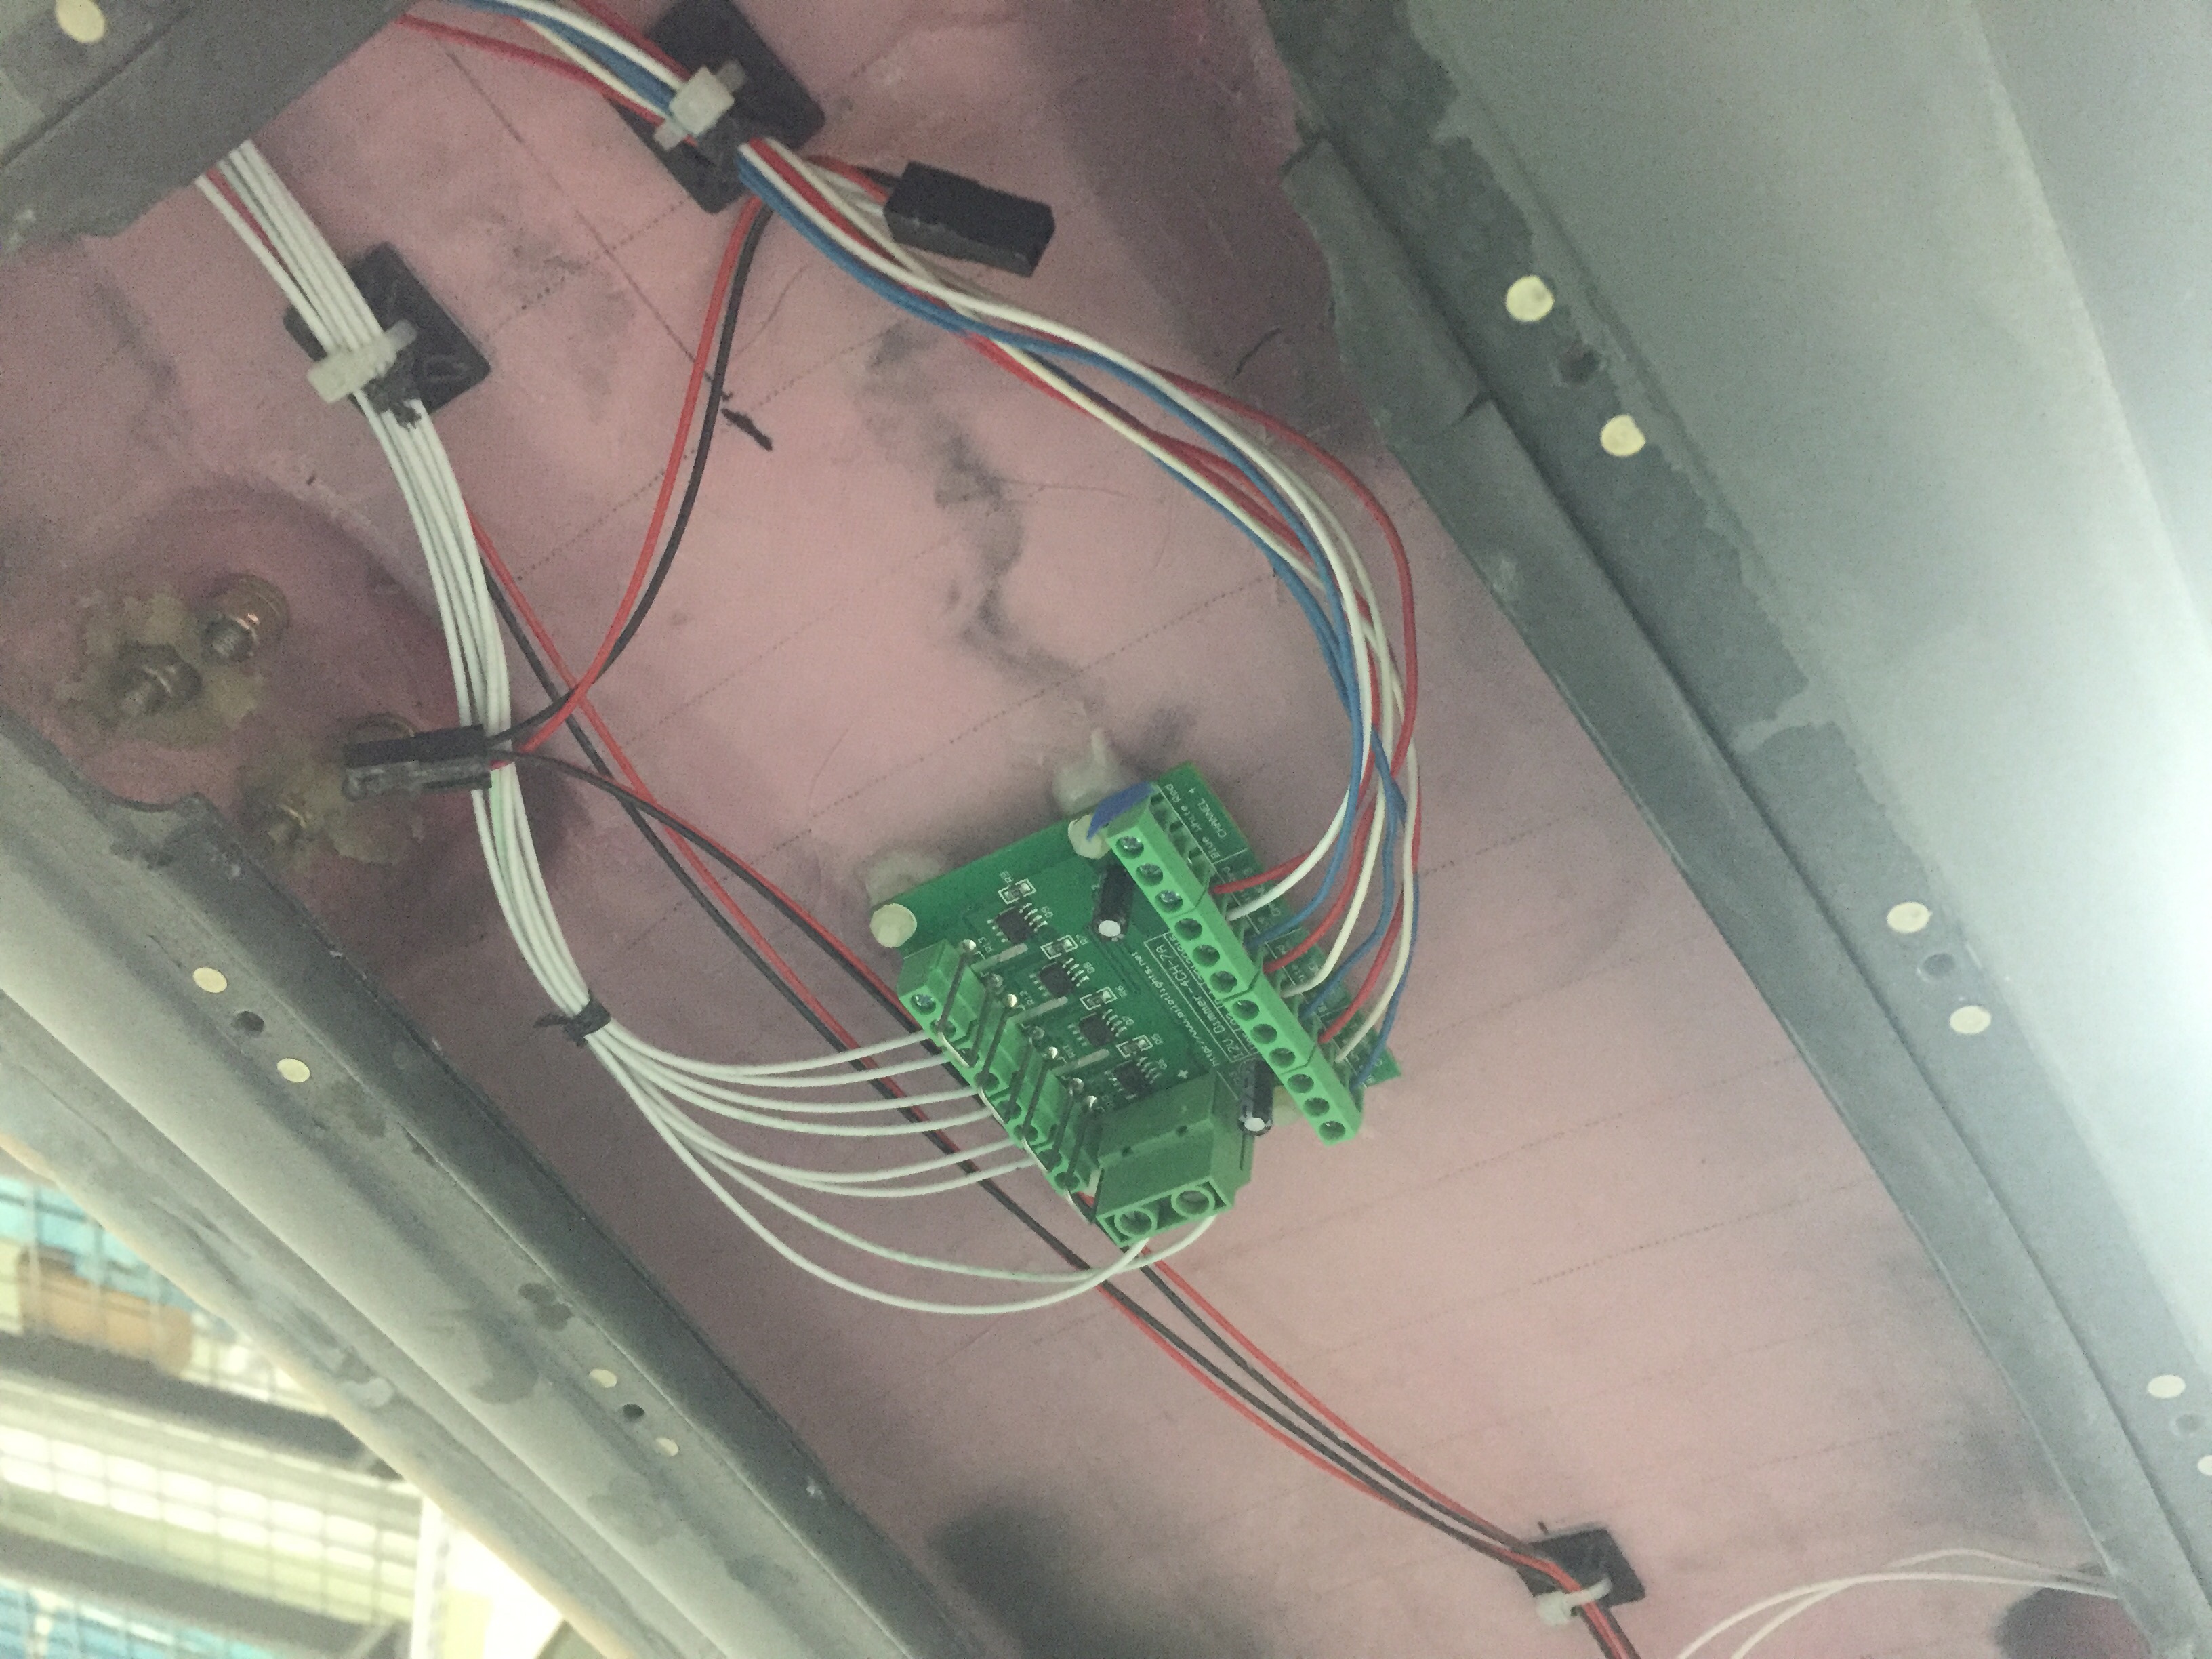
I also ordered a four channel dimmer from Pilot Lights to replace the three single channel dimmers for the overhead panel.  They all would fit up there, as space is tight, so this was  a good solution.  I’ll have a spare channel if I want to add anything later.  I chose to epoxy the mounts to the overhead cabin top which kept some of the wiring runs short.  All wiring for the overhead will be coming up through the center post from the sub panel.  I went ahead and fabbed up the wires for the switches and controls on the overhead so I could ensure it would all fit within the post – no issues there.  With that bit done, I was able to close up the overhead console minus the switch panel which is waiting on the back light panel.

Oh yeah, I sanded more on the doors.  You know, the same thing I’ve been doing for months now.  Gah, the damn things are never going to be done.

I just need a little air

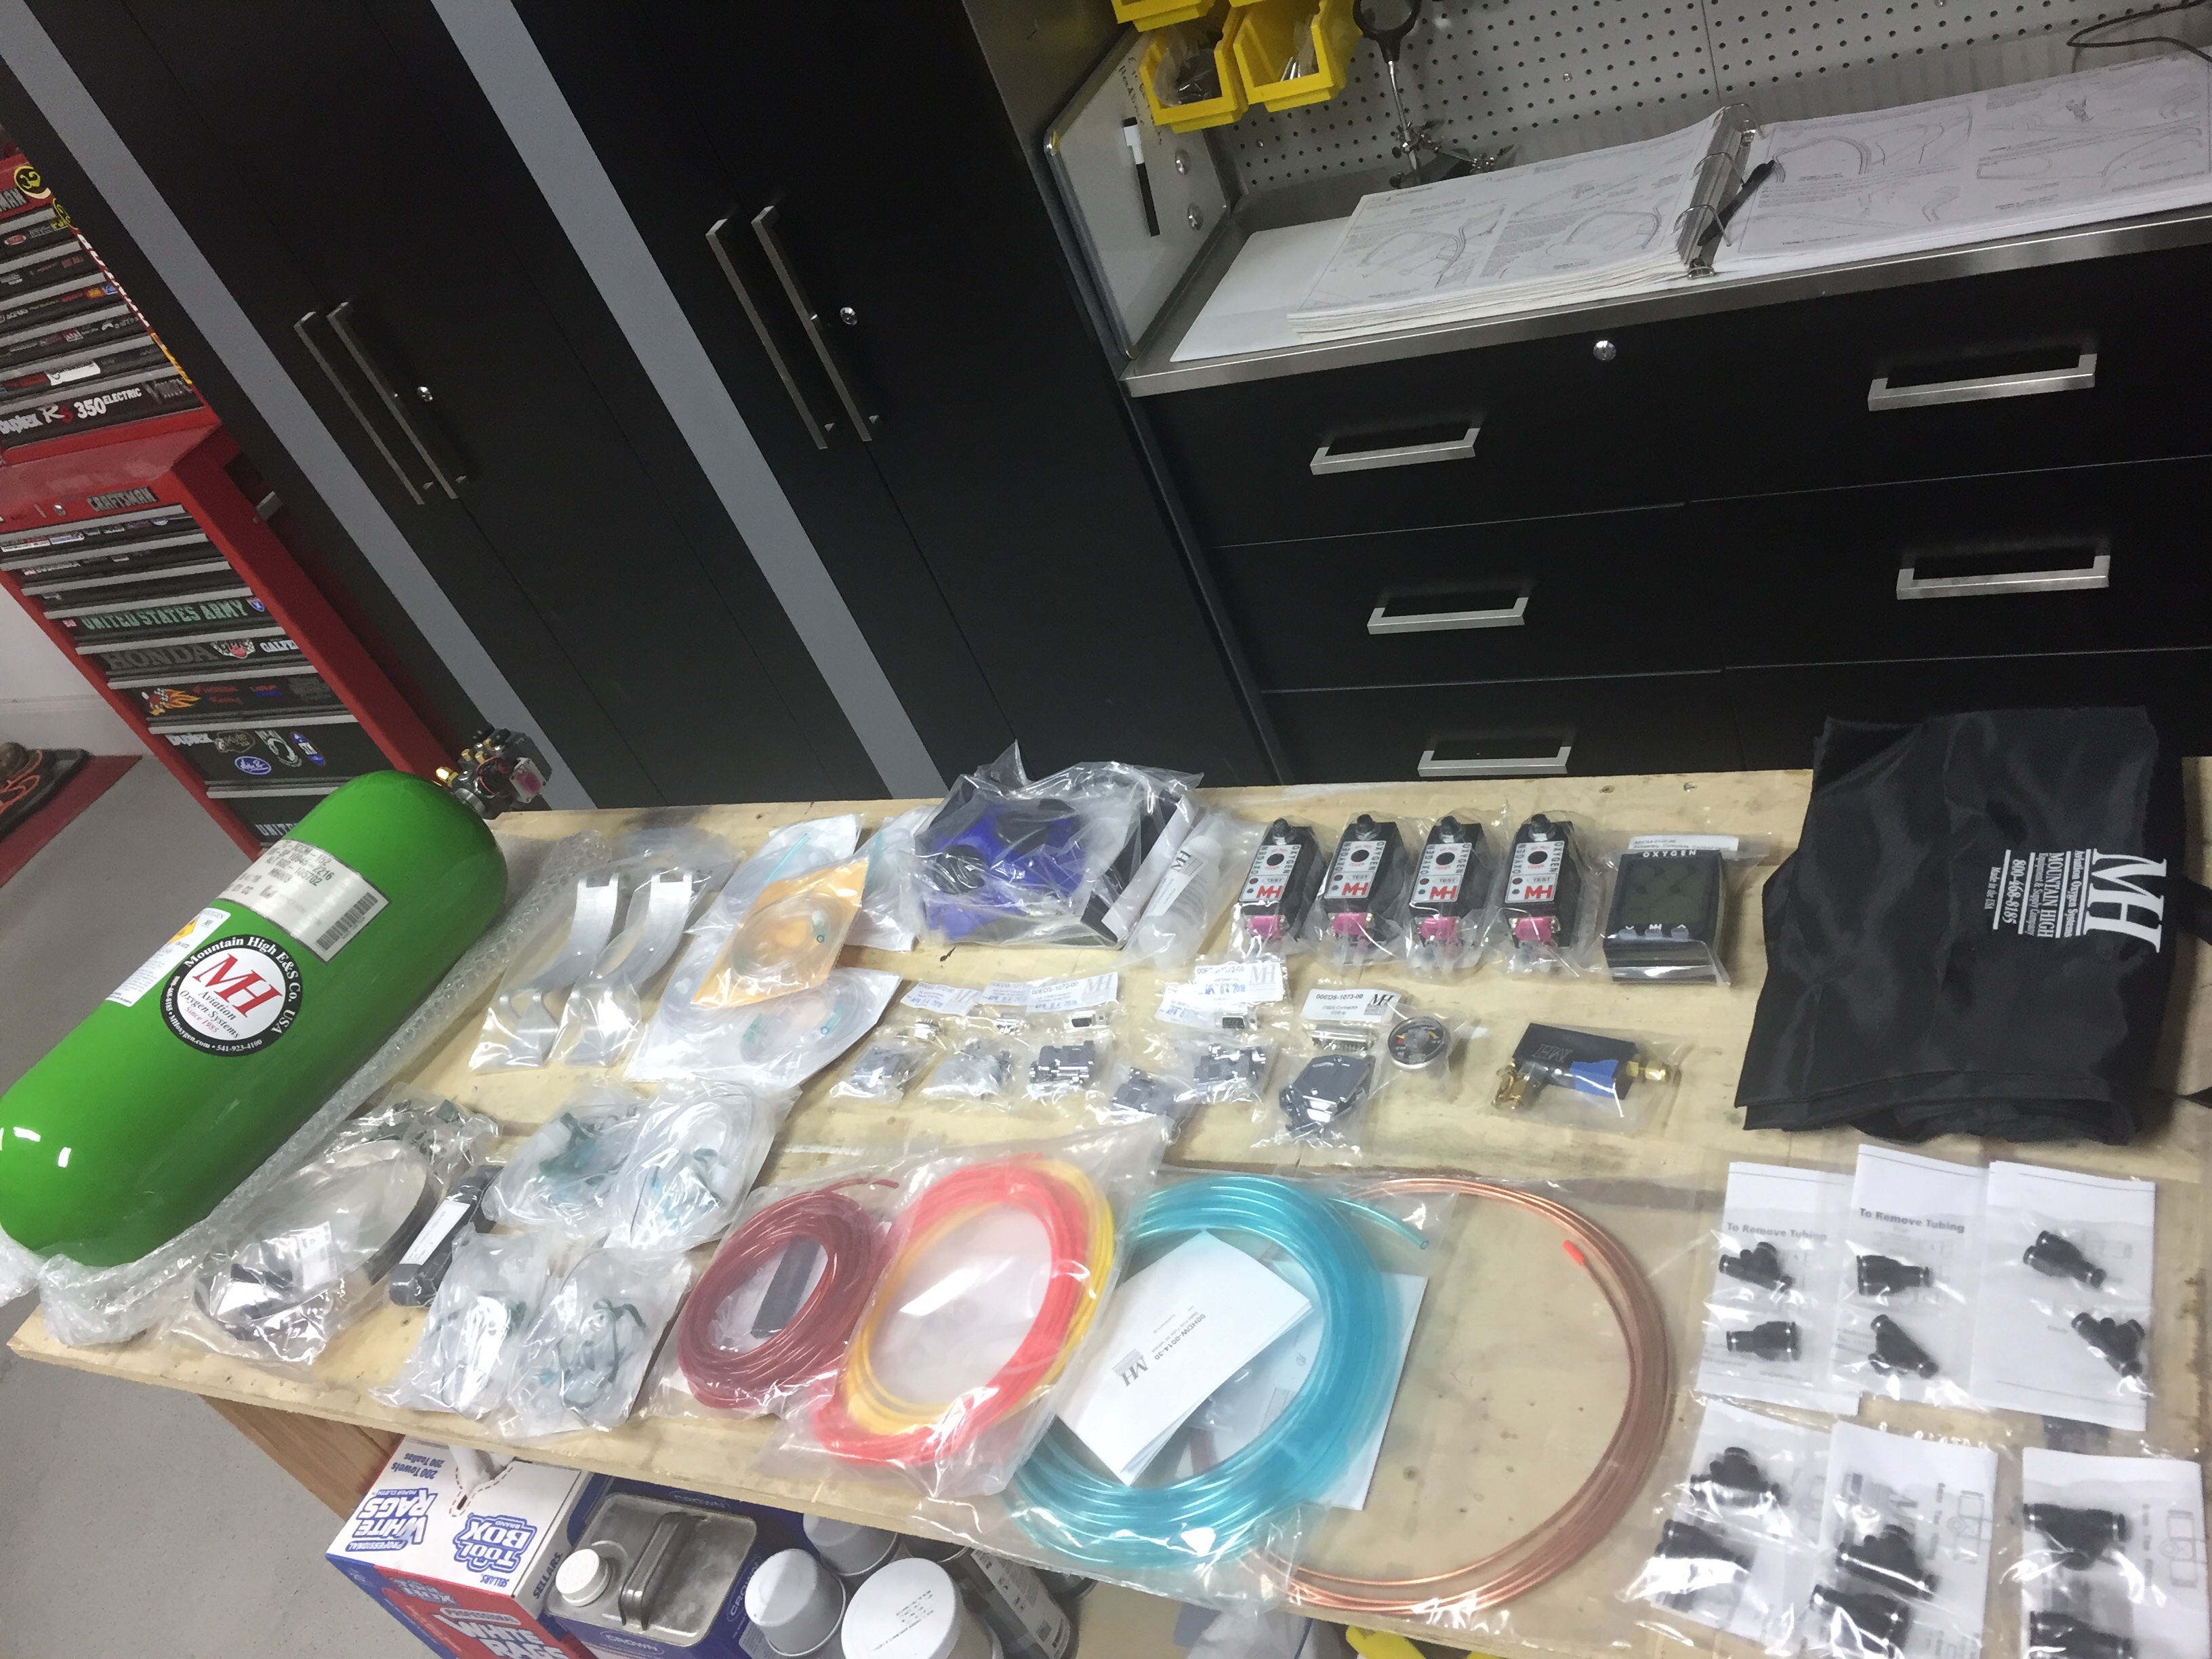
We have big travel plans for this airplane and a great way to take advantage of weather on a long cross country flight is to climb up high. In order to do that, you need supplemental oxygen. There are many ways to do this but I wanted to go with the top of the line, integrated solution from Mountain High.

The 4ip setup is all electronic control, pulse demand system which allows greater conservation of oxygen while giving better flows to the people on board. I was able to score a significant discount via Oshkosh this year and it’s a great time to install the system before the interior goes in.

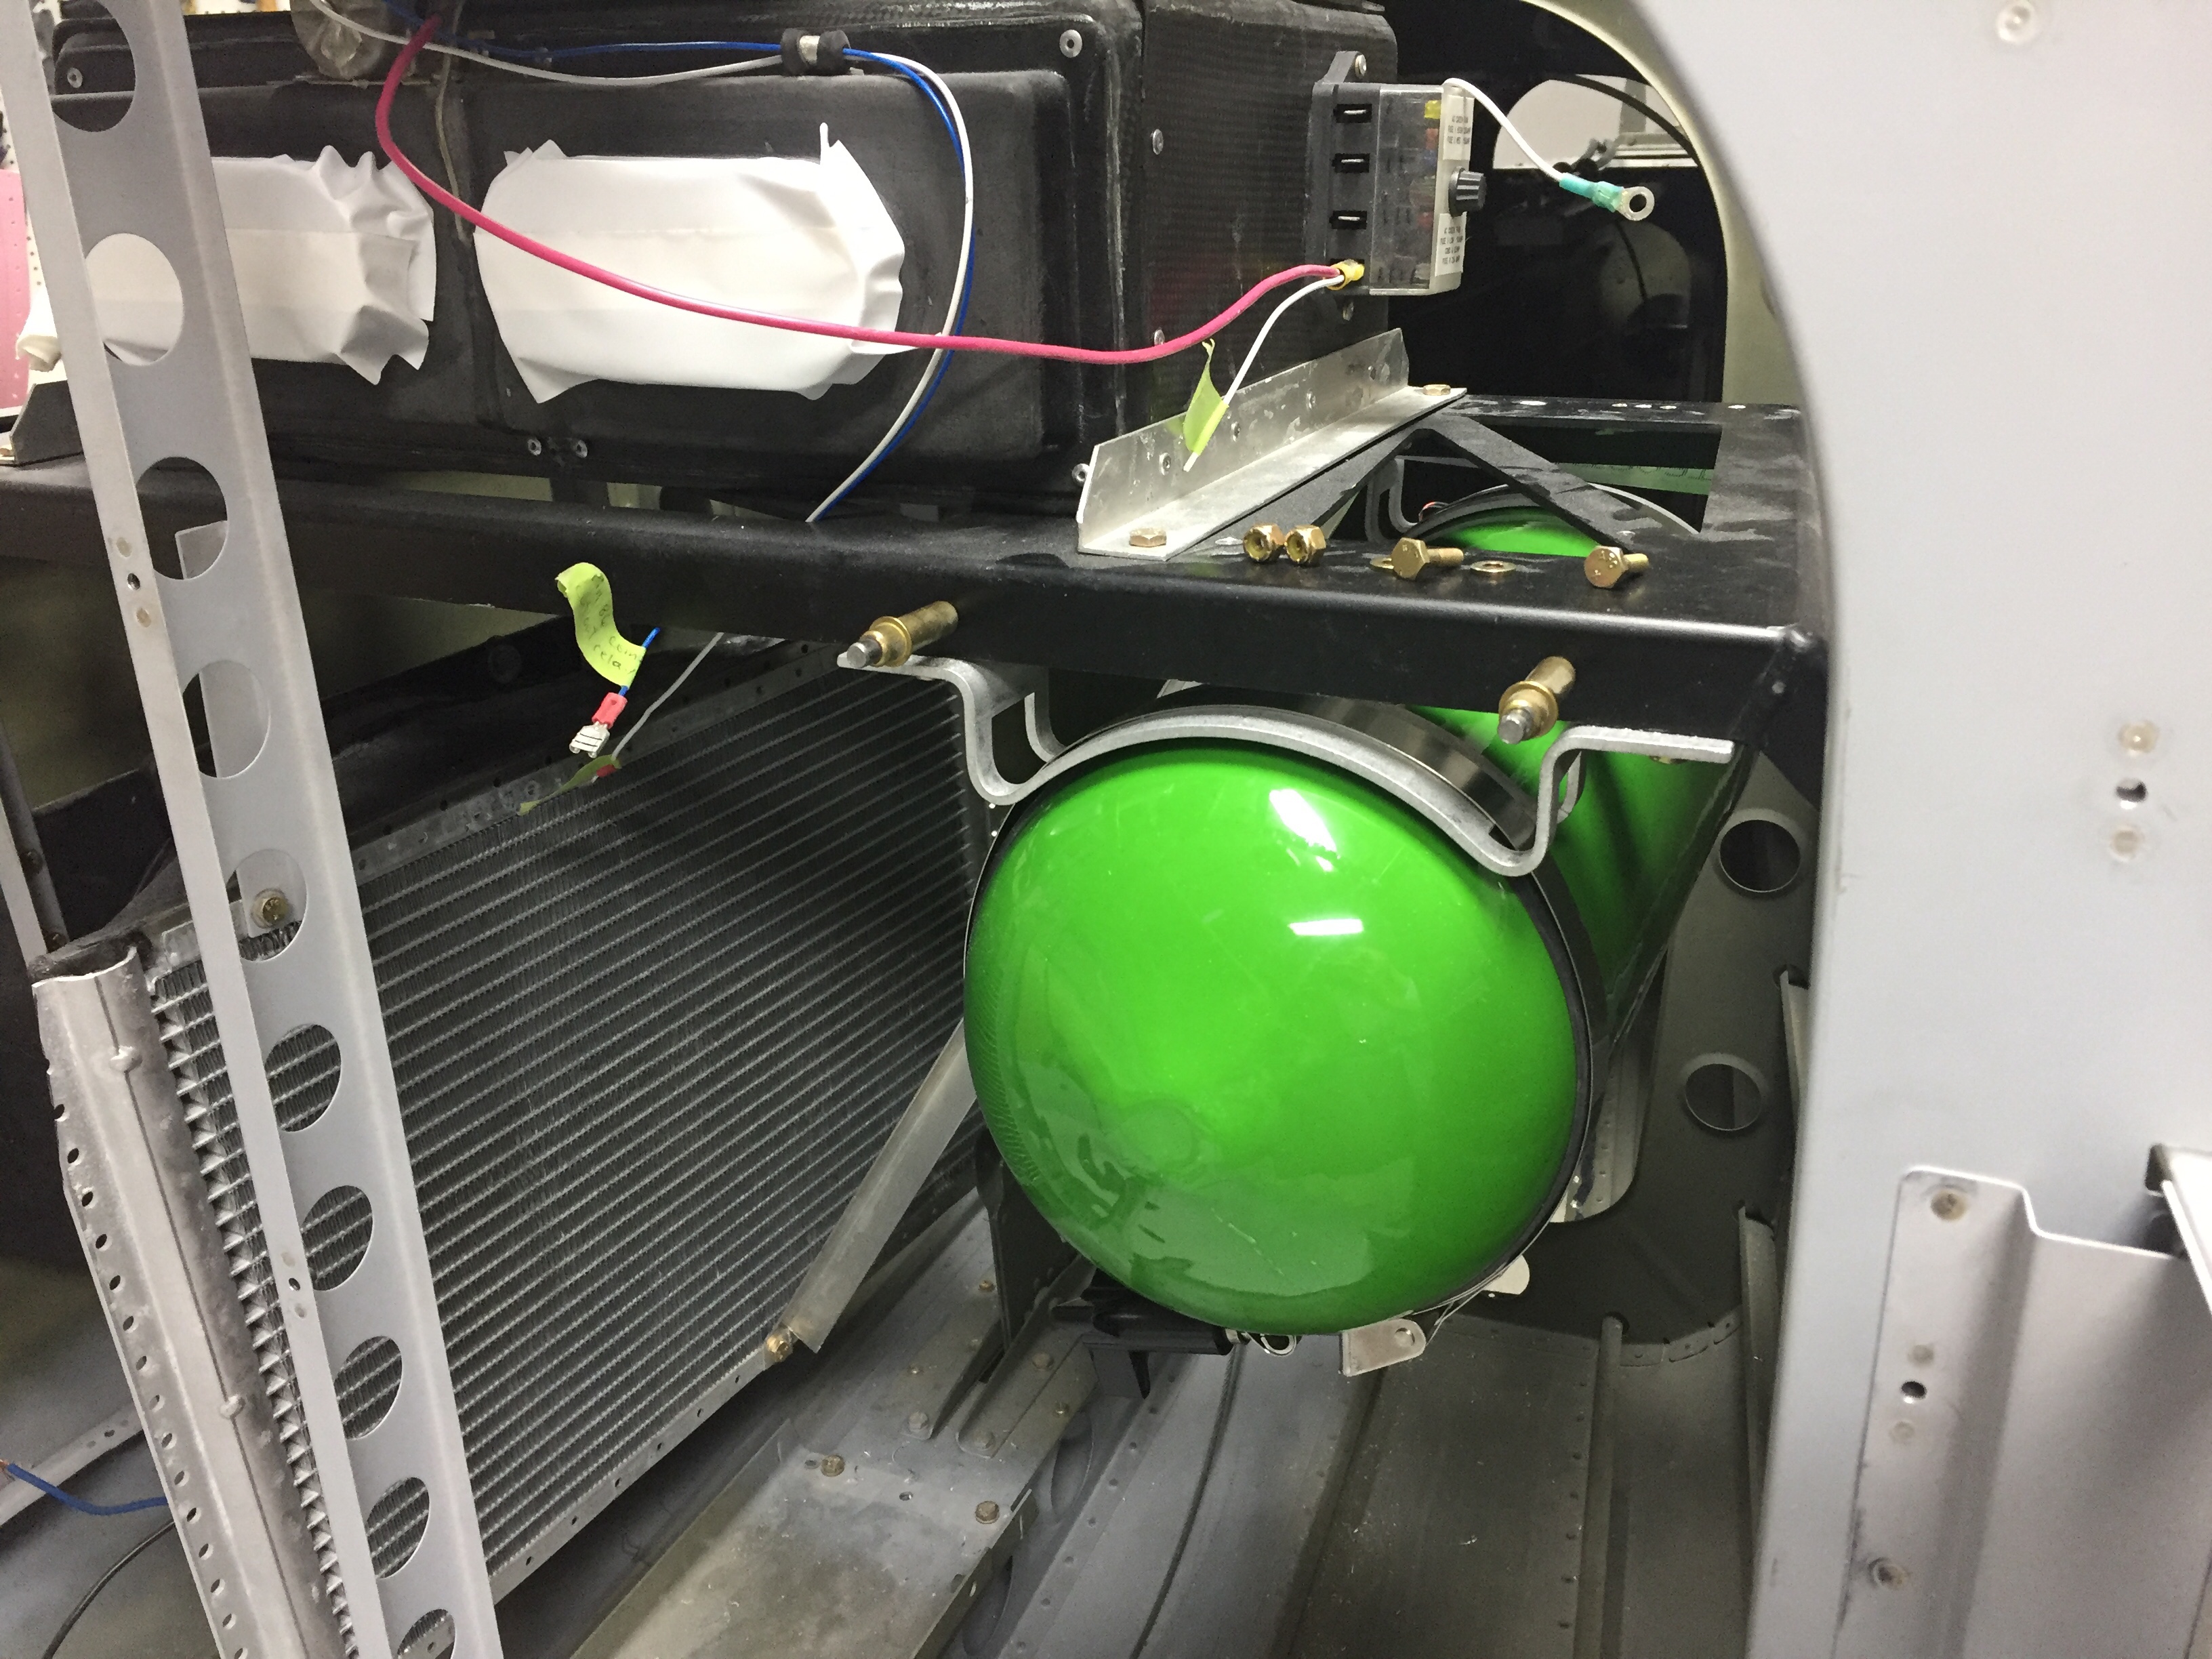
All laid out, it’s pretty intimidating, but as with everything it’s eaten one bite at a time. The bottle and regulator are the main component that needs to get installed behind the baggage bulkhead. Some folks have mounted it on a tray but I chose to take advantage of the air conditioner equipment tray and hung it from angle aluminum.

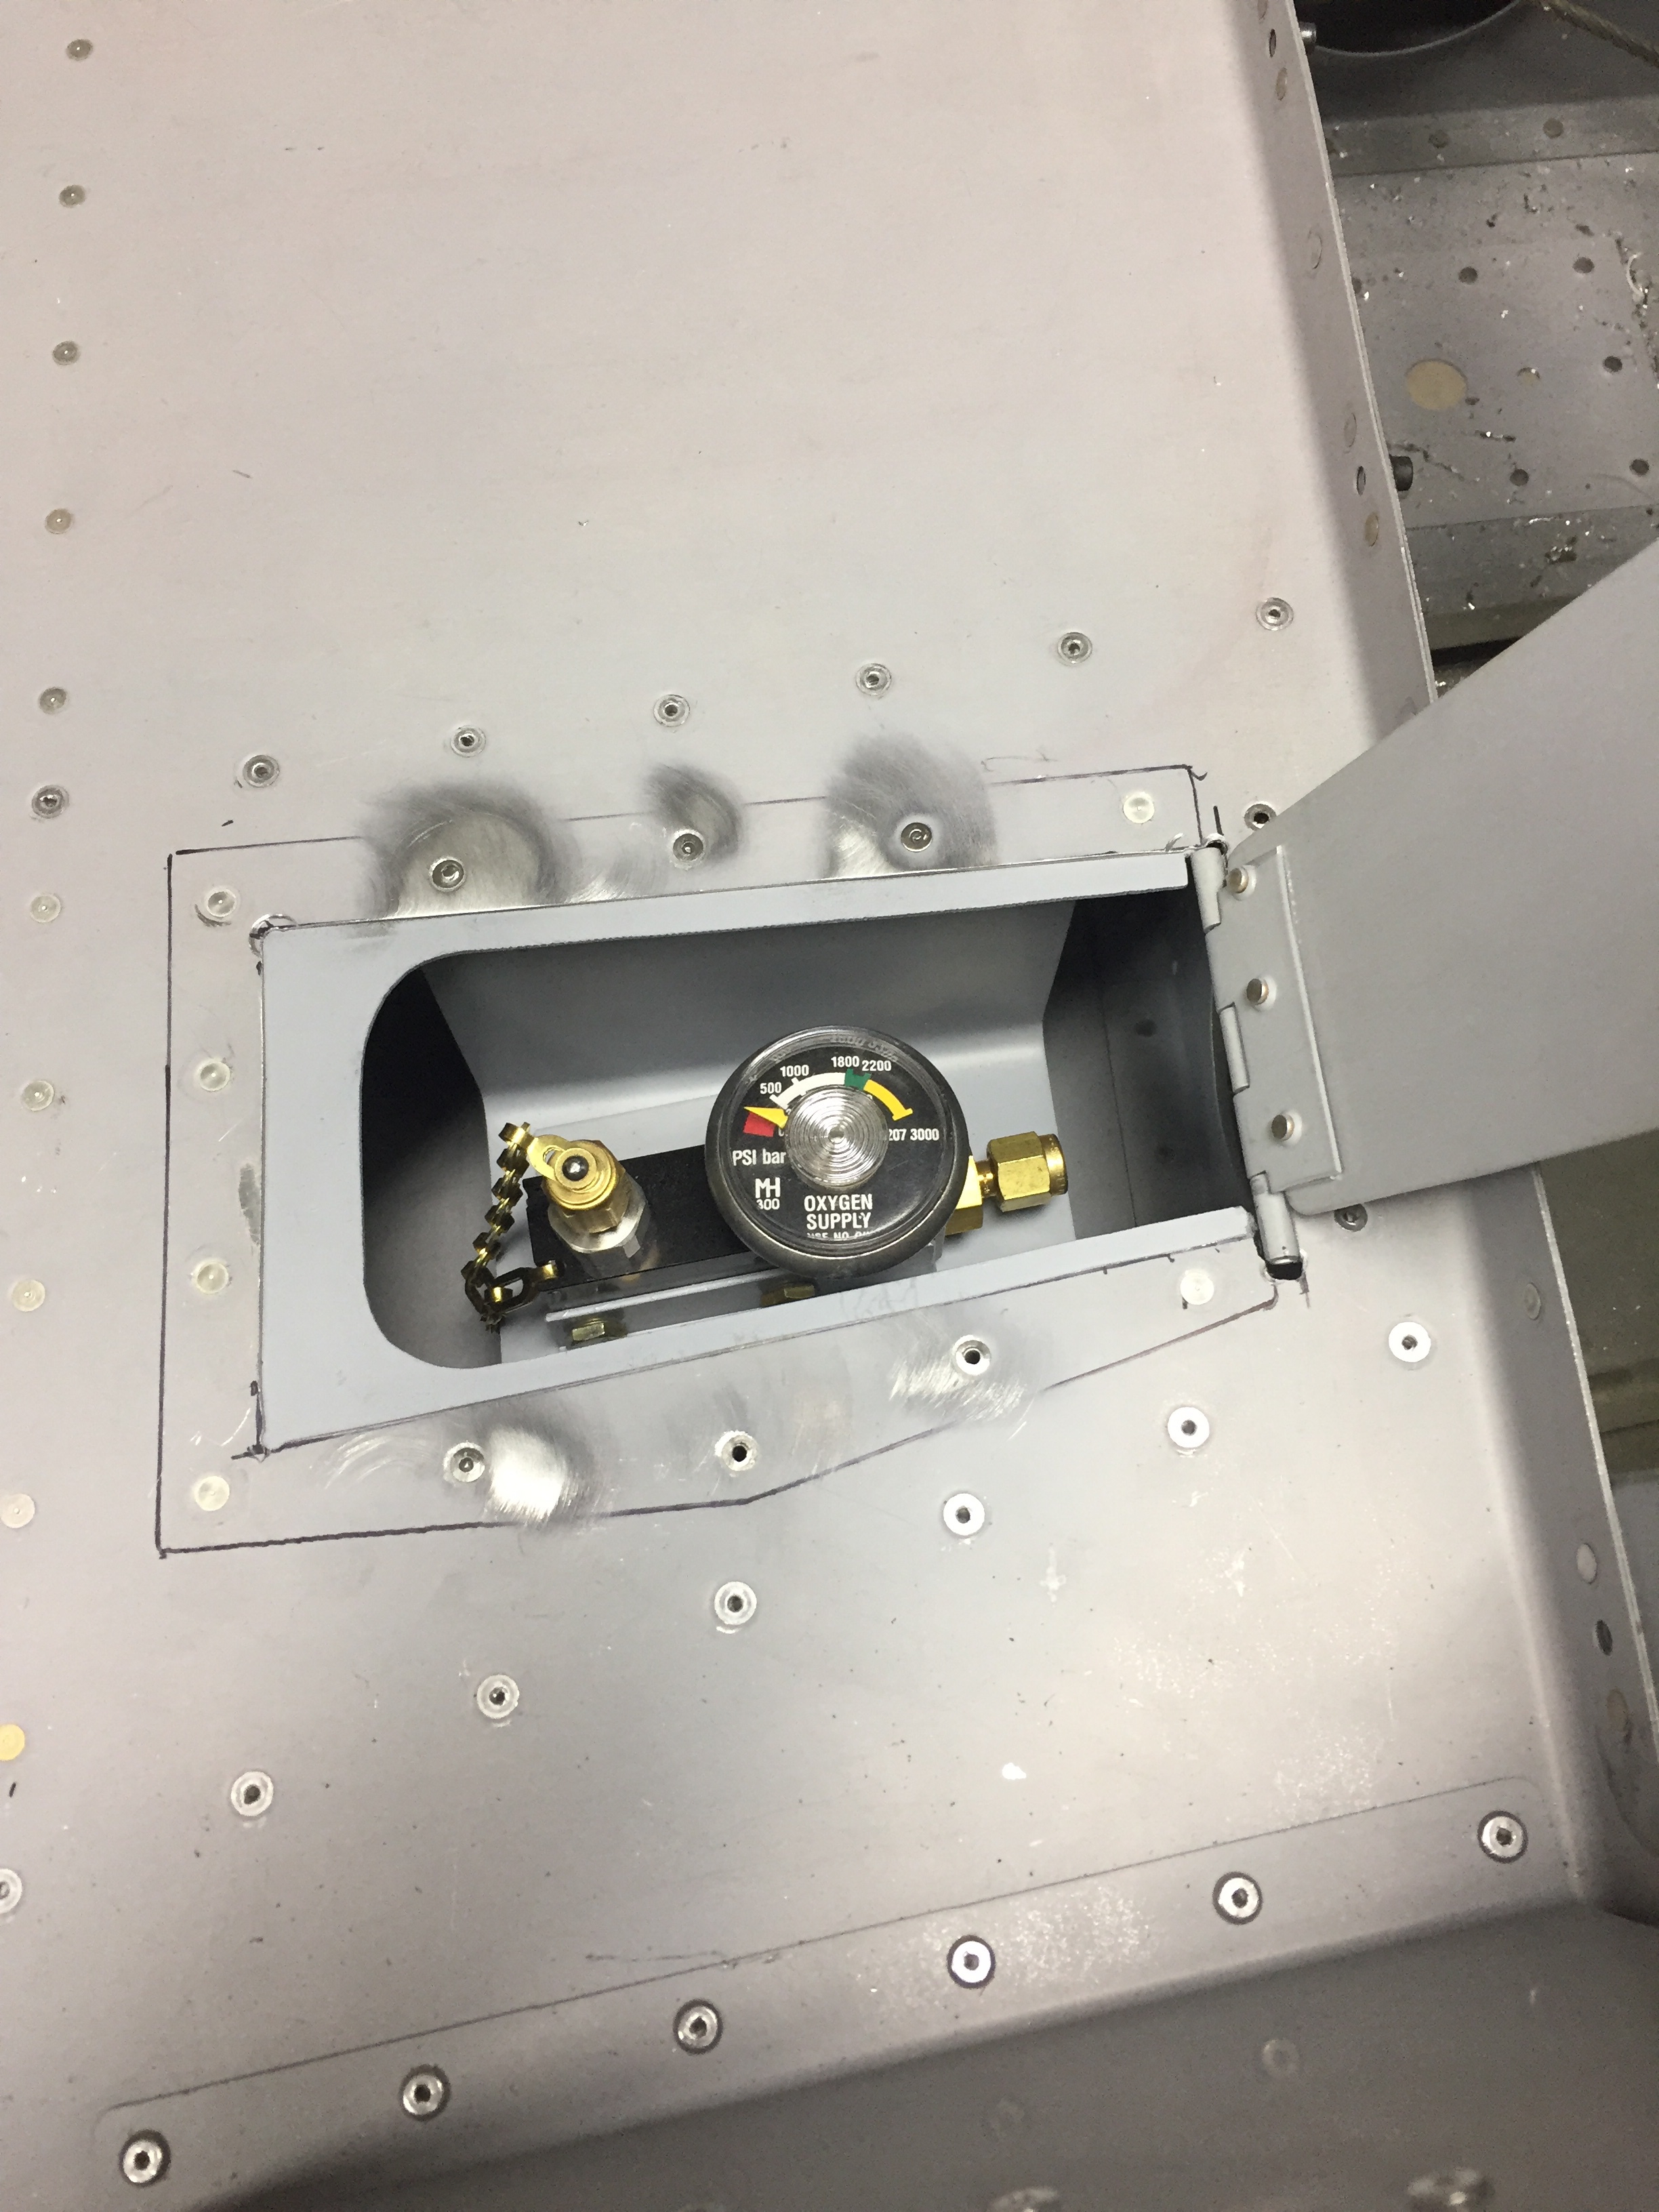
Then it was a simple matter of running some wire making the connections to the bottle. I also installed the remote filling valve in a panel underneath the baggage floor. Gaylon did this in his and I really liked the idea which is why I copied it. I’ll add a little cutout to get a better handle on the cover but it will all be covered by carpet so no need for a latch or anything. A flying buddy and I have already partnered on a cascading setup to refill the tanks on our own with him having a Mooney.

The tubing will run up the center console and go to the panels for the front seats and console for the rear. Once my center console comes in, I’ll install the user side of the system. The control head will be mounted on the lower center instrument panel up front.