Time to start fusing

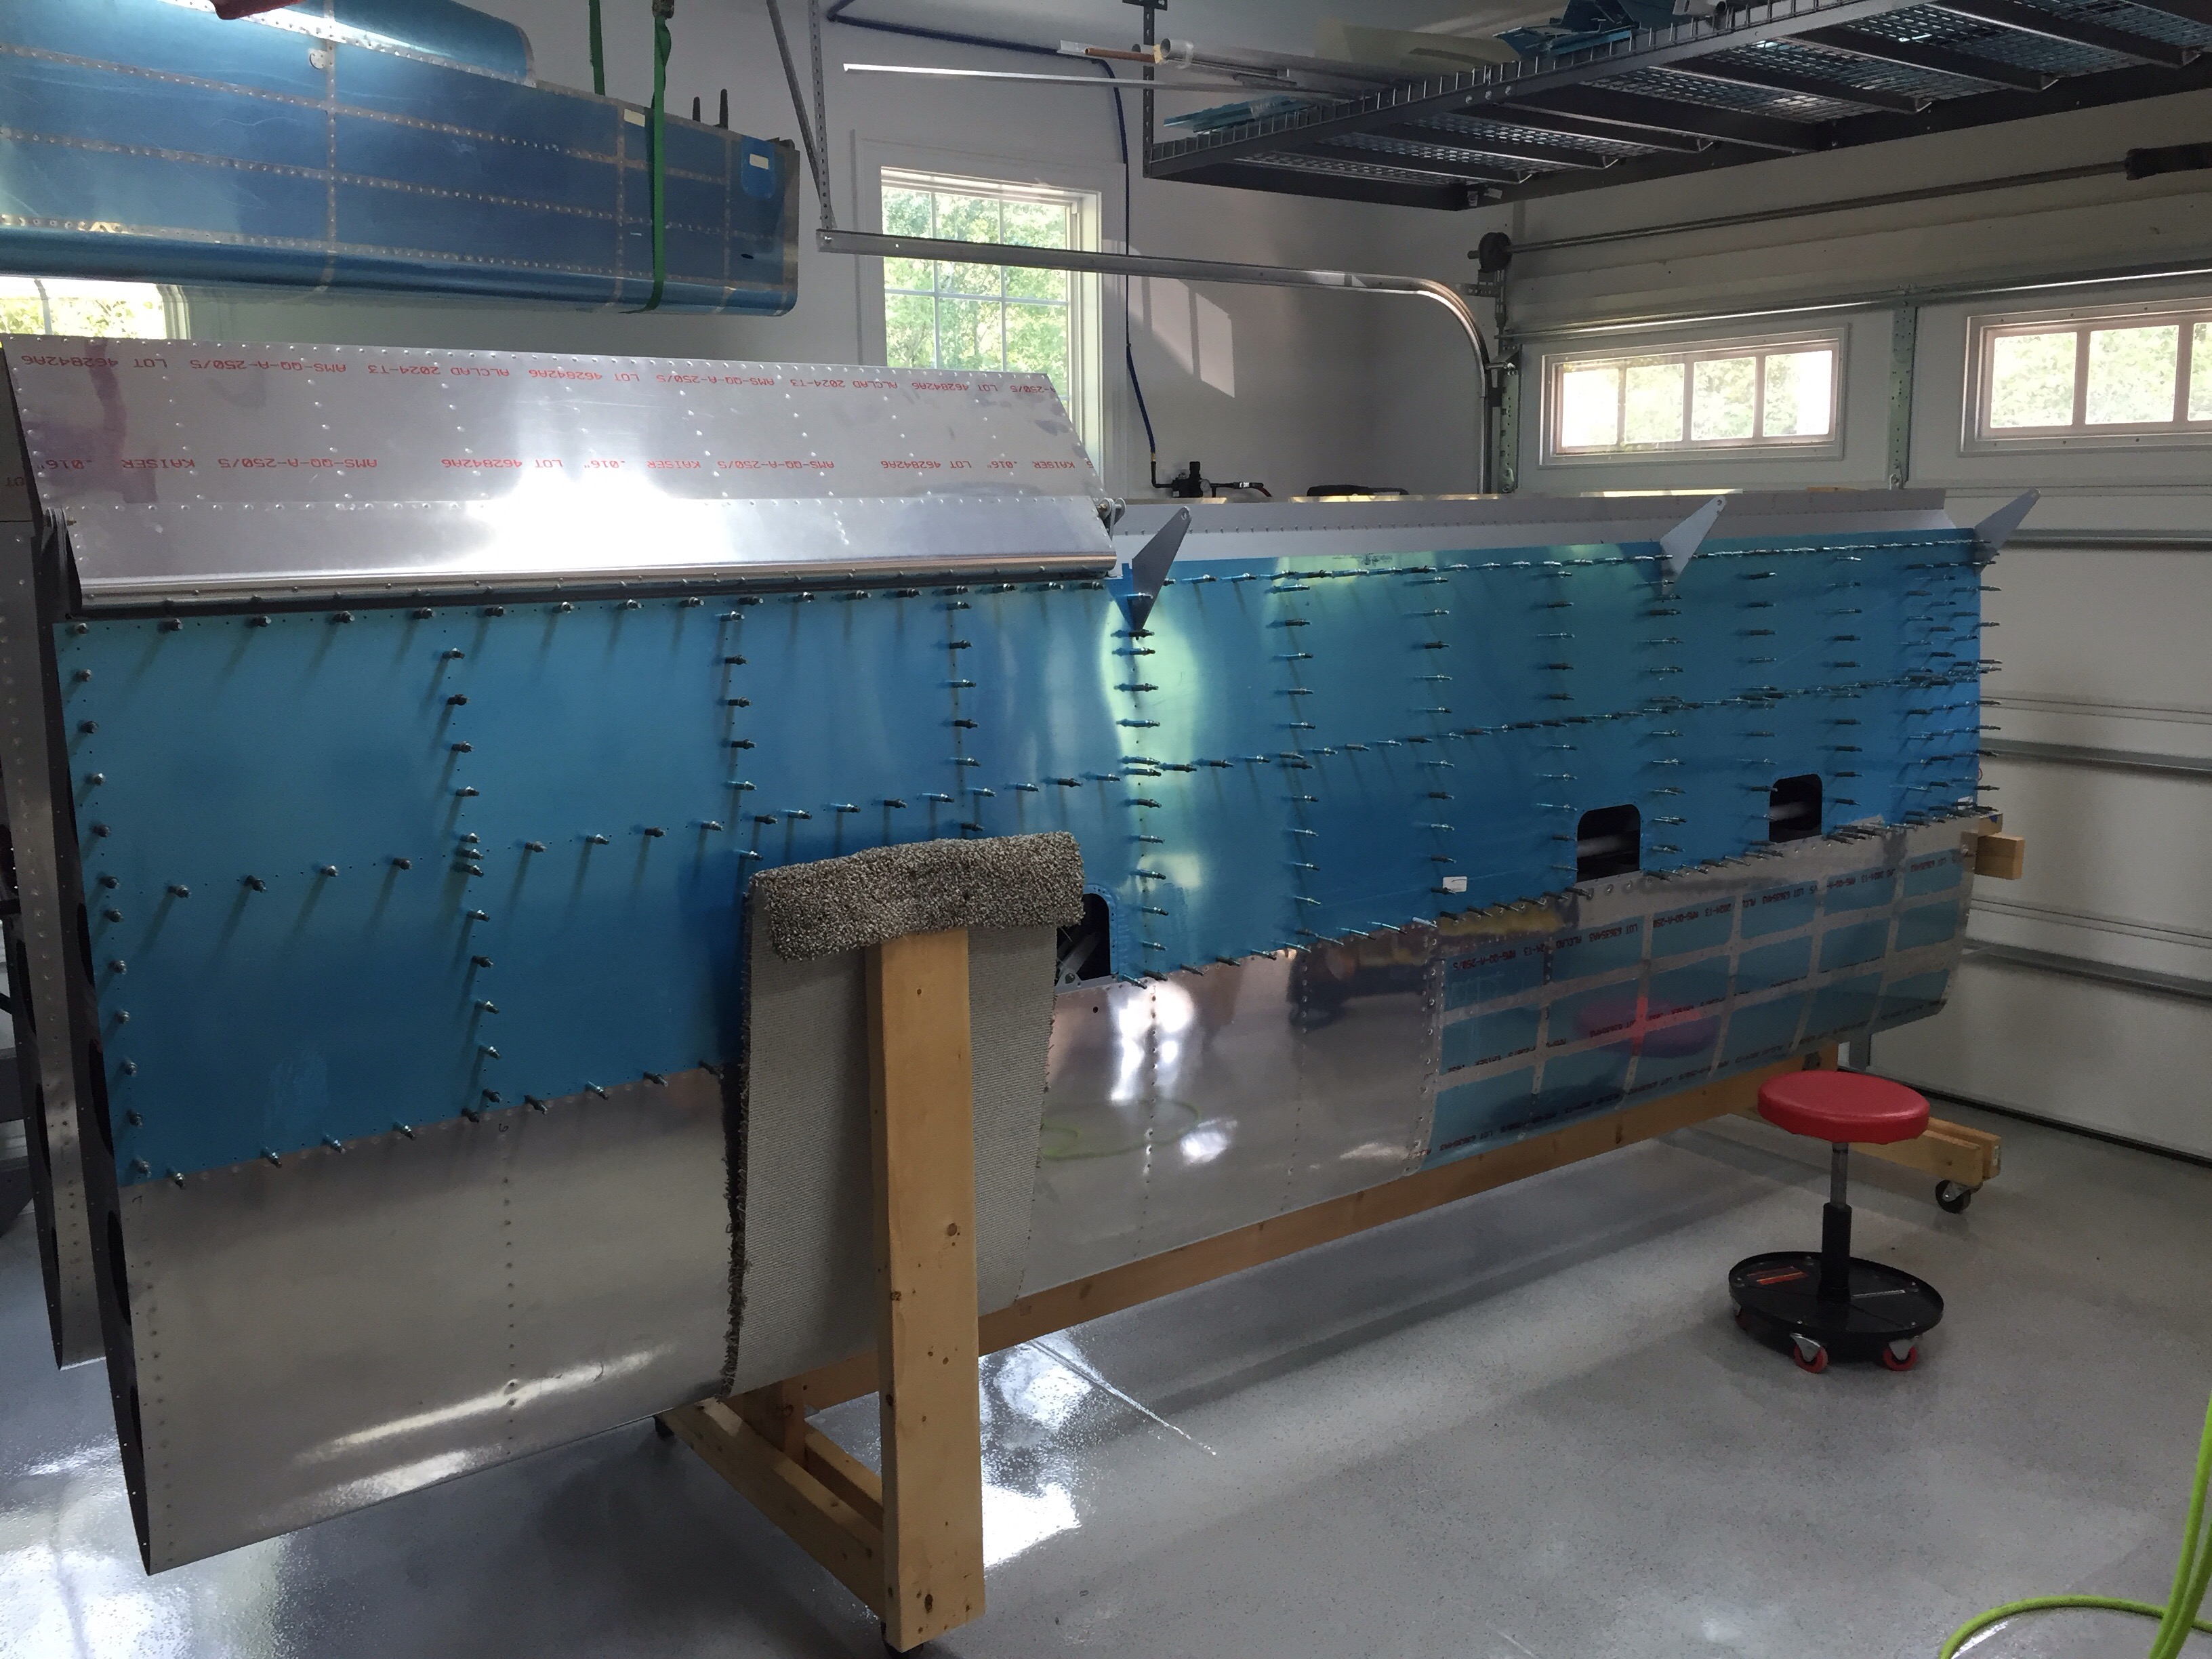
With the decision to hold off on the bottom wing skins until after another EAA tech counselor visit, it’s time to move onto the fuselage kit.  This kit arrived to our old house over a year ago, and has since been stored on the overhead racks in the garage.  The first challenge was to find all the associated parts that resulted in lots of trips up and down the ladder.  Alas, I finally located everything and was able to get started on the spars and seat rails.


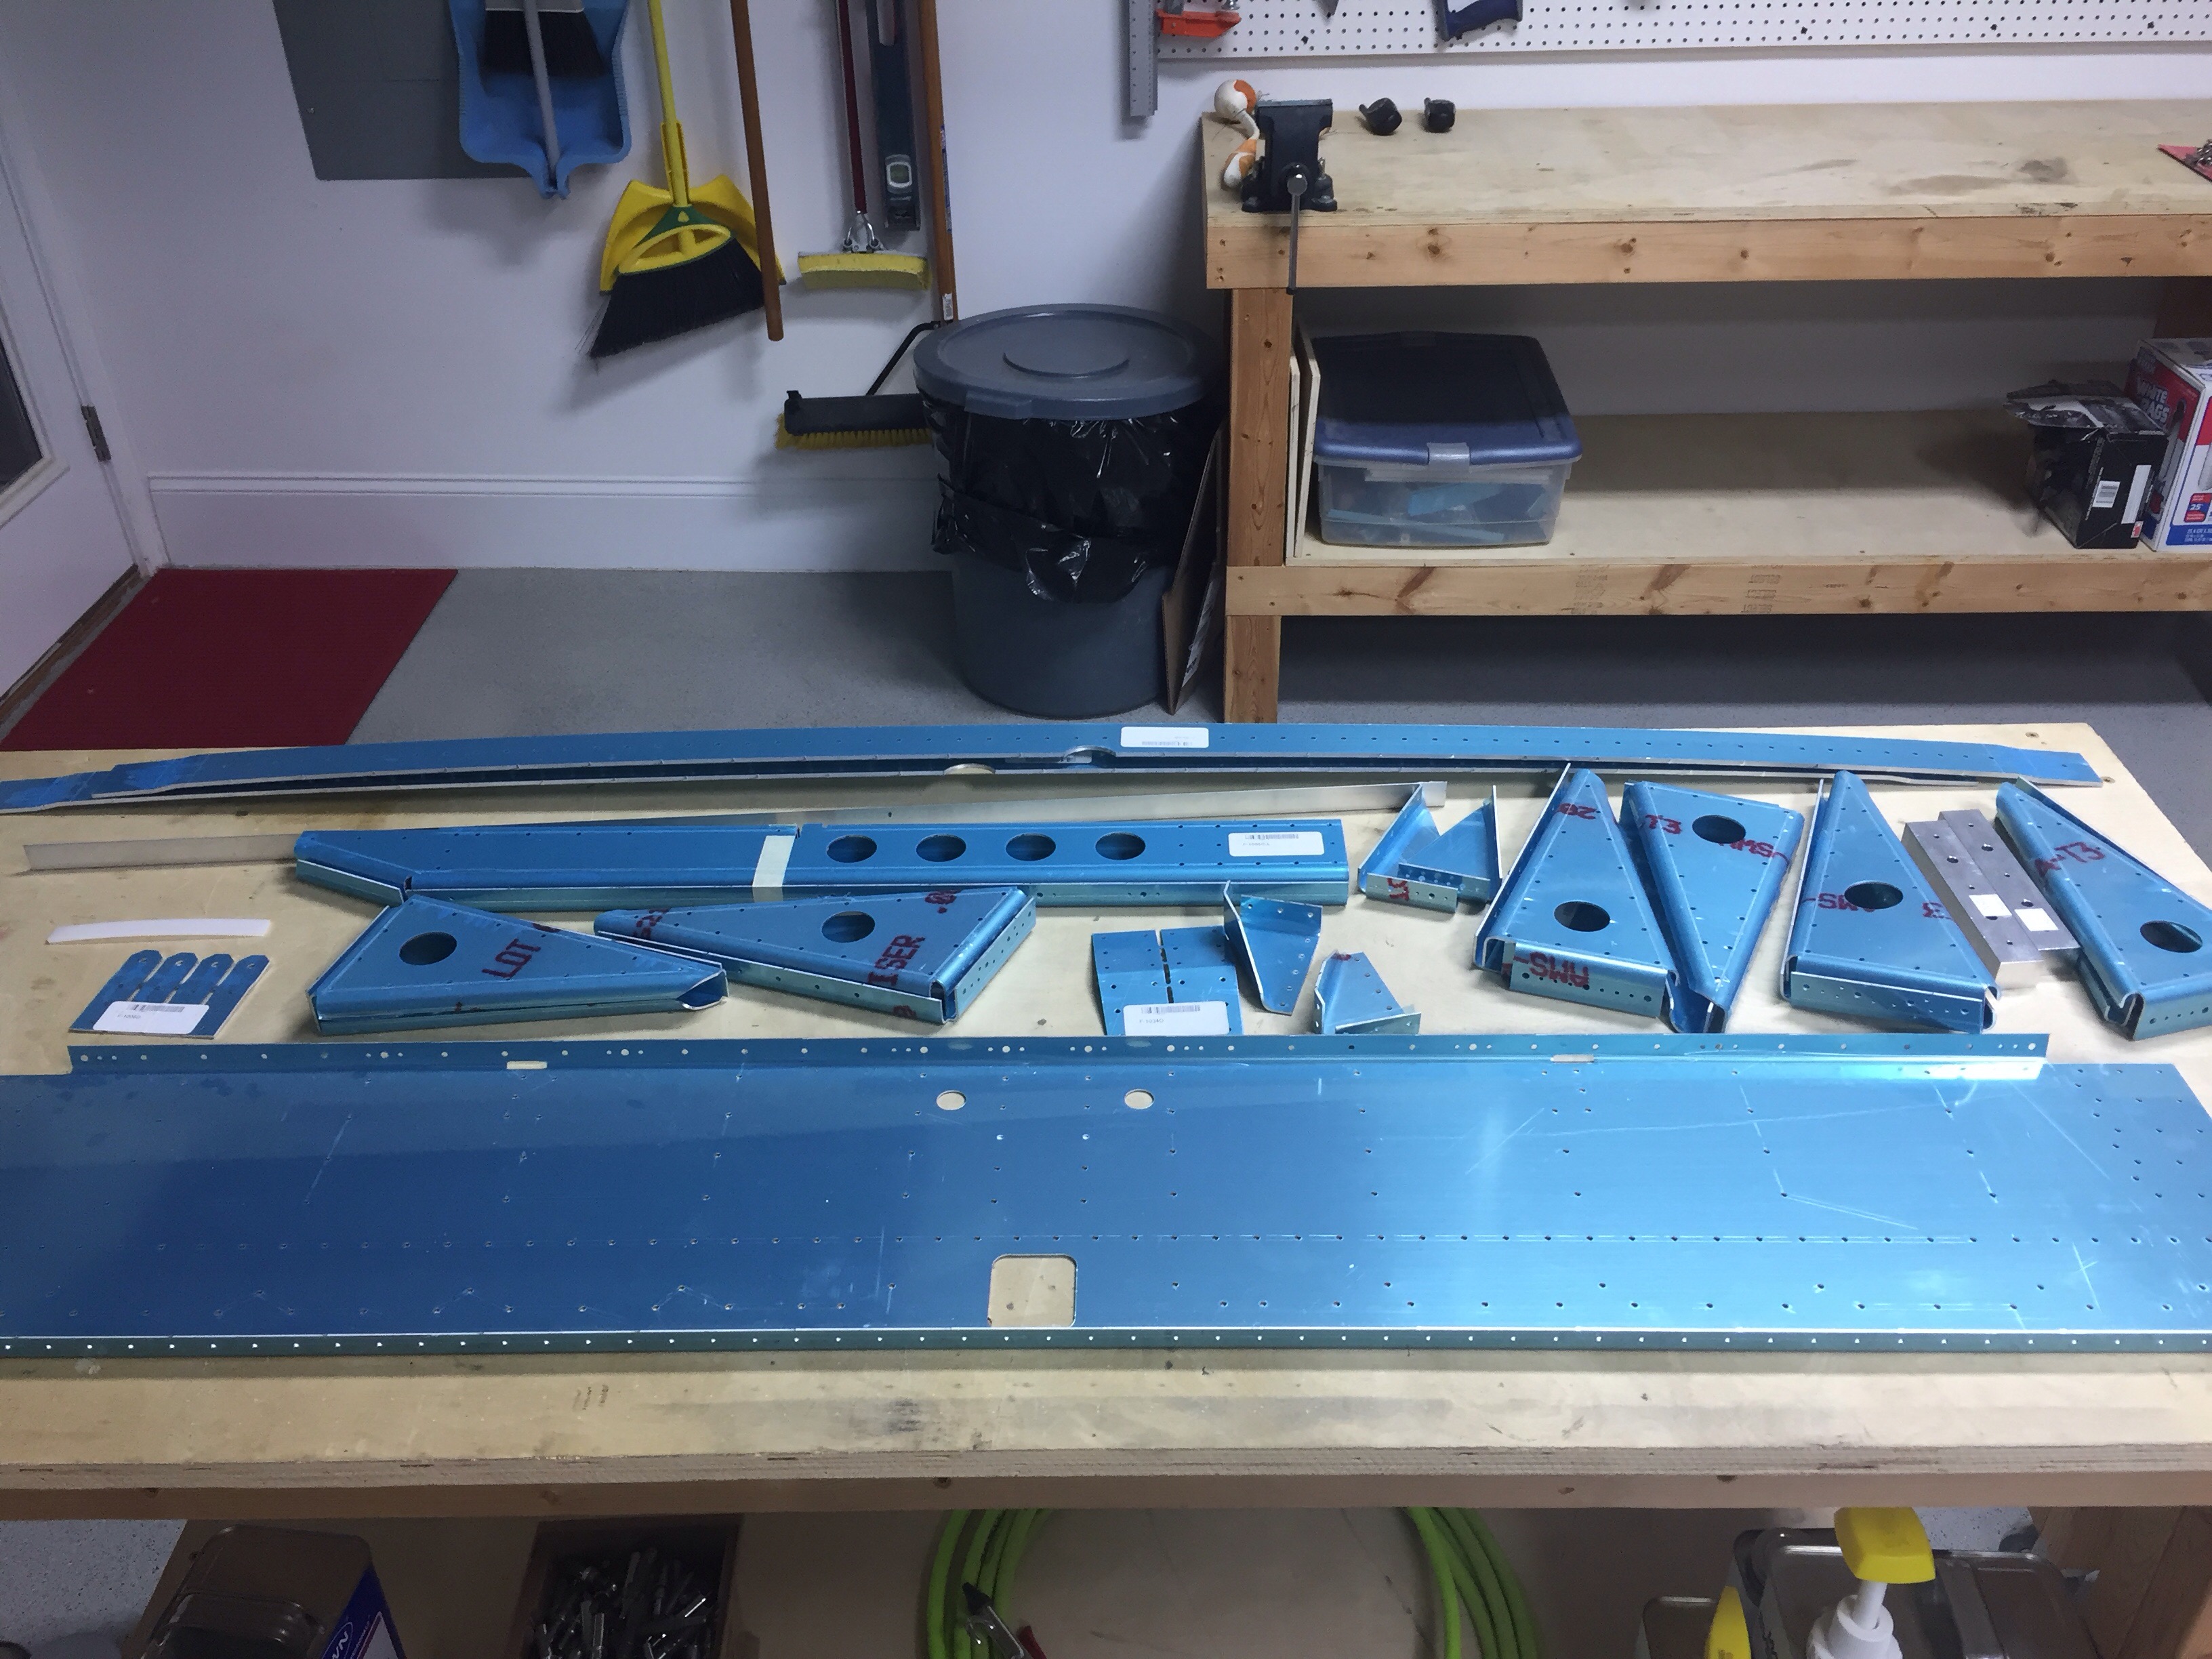
I’m already seeing a lot of smaller pieces but many more than in the wings, and of course beefier substructure as it carries most of the loads of the aircraft.  After the normal routine, I got to riveting and quickly remembered it’s been a year and a half since I’ve bucked a rivet.  It has also been a year and a half since I’ve drilled out a rivet.  I can now say I’m current on both tasks.   


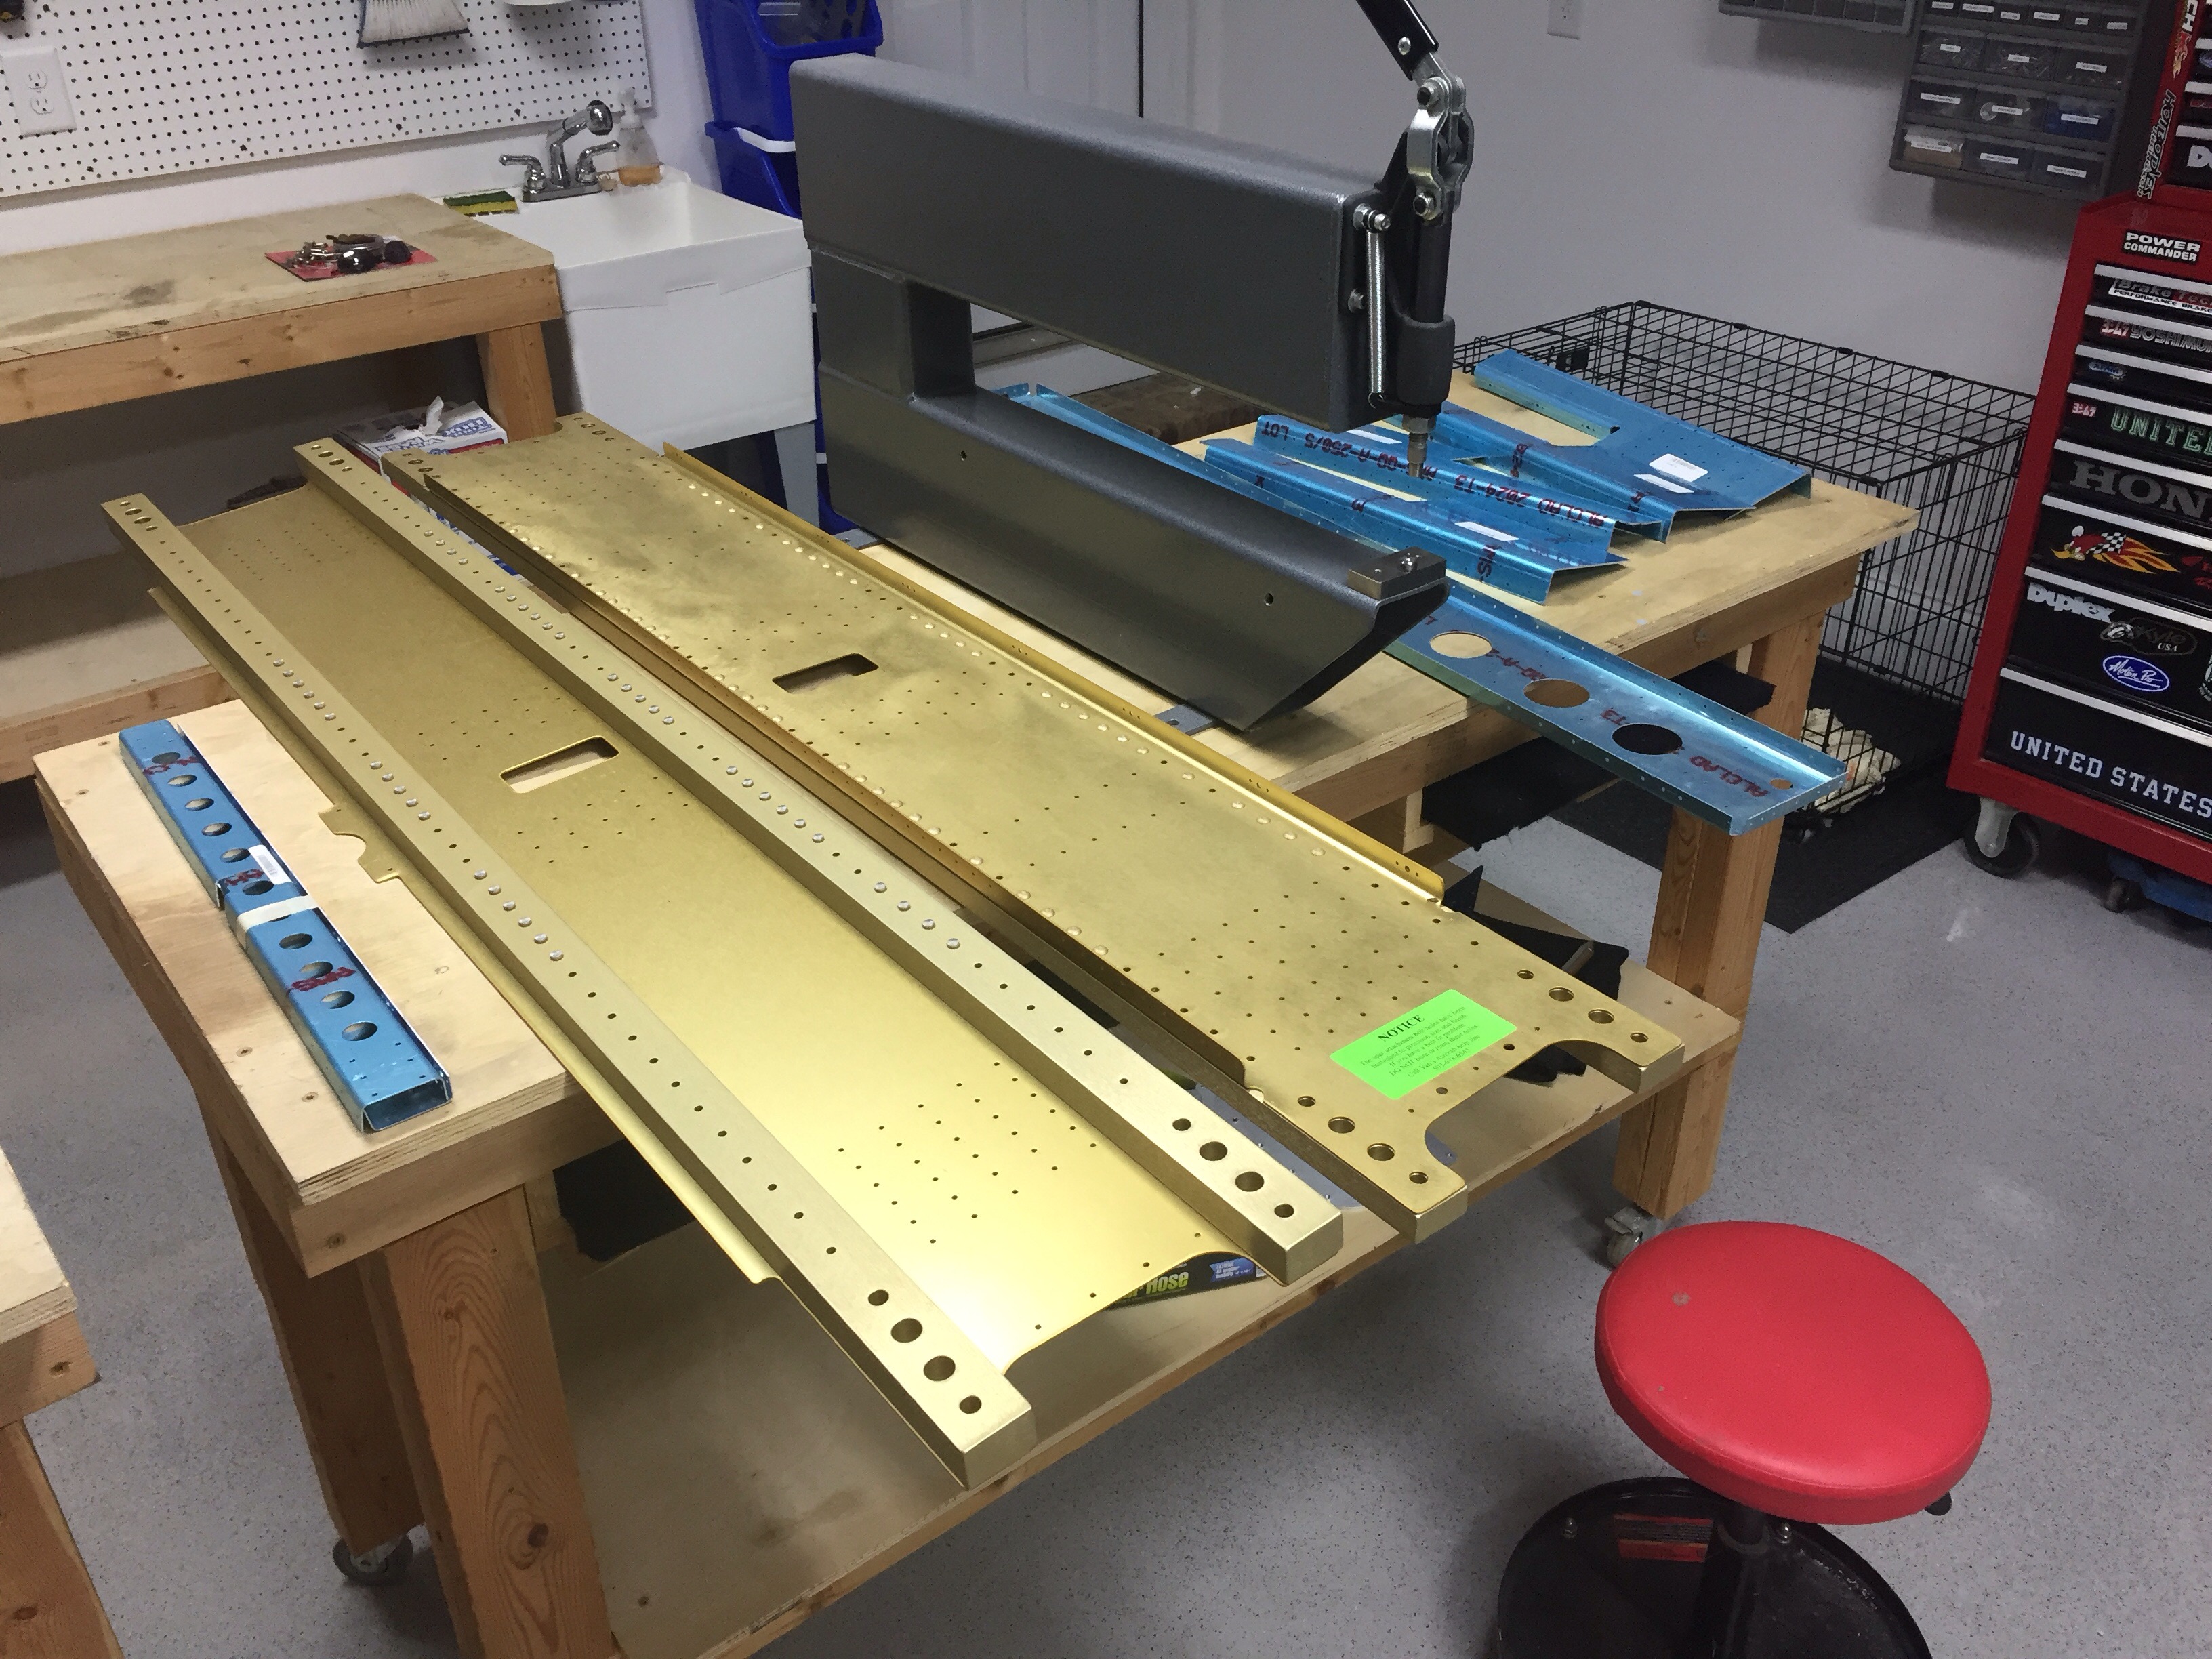
The front spar is all ready to go with the aft spar and assemblies up next.  I’m also happy to say that for the past three weeks, I’ve worked on the airplane every single day, whether it’s physically in the shop or electrical planning.  Not only am I really feeling motivated by that, but I’m also making a lot of progress.

Excuse me Sir, but your pitot is showing

Turns out, the pitot is much easier to install before putting the bottom skins on.  I learned this thanks to the great info from other builders’ blogs.  Check out the link Other Build Logs for some of my go to’s.  It’s good advice, as it gave me a lot of room to mount the heater controller and the actual mount itself.

I’m putting in the Dynon heated AOA and pitot tube along with the Safe Air mount.  Great products all around and the process wasn’t too bad.  First step is marking and cutting the hole in the skin.  Safe Air provides a nice template for this and a Dremel makes quick work of the task.  I chose to use the standard Van’s location just inboard of the tie down location.


I used a bottoming tap to carefully cut threads in the pitot tube, making sure the drill and tap stayed clear of the tubes.  I also installed the fittings which allowed me to use the new crows foot wrenches.  It did surprise me how much torque they require, as I was afraid of ruining them.  But they shouldn’t leak now that they are good and tight per the specs.


I also got to break out my Stein wiring kit for a connector and pins.  I’ve used a similar crimper before, so the hardest part was figuring out which pins went into which side of the connector.  I shortened the wires to reduce the amount of slack wiring inside the wing and put the pins on with ease.  The only thing left to clean up is putting some braided sleeve on the wires to provide some abrasion resistance and spruce them up a bit.


One piece of advice is to mark the wires coming from the pitot itself before cutting off the spade connectors.  There is a blue and orange connection from the controller but both wires from the pitot are white with a corresponding piece of heat shrink on them.  I had to email Dynon and get a trick to identify which wire went to blue / orange.  They advised a great trick to freeze the pitot and determine which is blue / orange by seeing which side of the tube heated up first.

I originally mounted the controller to the access panel as others have done, but didn’t like that with having to tuck wires in so I decided to follow another builders idea of putting it on a rib.  Adding four nut plates makes it a clean instal and still allows easy to access once the bottom skin is on.  Overall, I’m very pleased with the install and looking forward to having the integrated AOA display in the cockpit.

Service Bulletins

While having some down time at home that I can’t do much productive anything with, I decided to research quite a few things while lying in bed after surgery.  One of those was service bulletins.  There are a handful out there for the RV-10 and are a lot like AD’s issued by the FAA, but they are not mandatory by law.  Highly recommended, however, so in the home built world, you comply with them.  With this being a build log, I wanted to document them here and then I’ll make the associated entries in the air frame log book once I have one.

The empenage kit (oldest original kit) was delivered in October 2005 to the original builder, thus I have only addressed those SB’s relating to the dates affecting our kits.

SB 06-2-3 is for the vertical stabilizer rudder mount.  This SB was completed by the original builder and complies with all aspects of the SB.  I could not get a good picture inside a tiny access hole, however, visually confirmed the doubler plate is in place inside the main spar of the VS.

SB 06-9-20 is for the trim cable anchor nut on the elevators.  While our kit does have the double welded nut, I chose to upgrade to the CNC machined piece by IFLYRV10.com.

SB 08-6-1 is for the F-1010 bulkhead near the vertical stabilizer in the tail cone.  My kit came with the SB contents and I completed it as part of the original build of the tail cone.

SB 16-03-28 is for the aileron hinge brackets possibly cracking on the inboard aileron mount.  I have removed the portion of the gap fairing to allow future inspection and no further action is needed until flying, at which time an annual inspection of the bracket must be made and noted in the log.

There are other SB’s that will affect our build, however, I have not gotten to that stage of the build yet, so will cover it in another post.

I’ll be right back under construction

After almost a year and a half, construction on our RV-10 is back under way!  Now that the new shop is done and organized (check out the Garage Part Deux), I’m making time to get the build back on the top of the priority list.  With as much time away as I’ve had, I decided it’d be a good idea to review the plans and remember just where I had left off.  The last check mark was in the aileron rigging section, so that’s where I dove in.  I decided to go ahead and rig the control surfaces before riveting the bottom skin on just to have easier access and am glad I did.  If needed, I can always remove the large pushrod now that it’s all tweaked to have the surfaces lined up properly with the control arms.  I also added the spring attachment points for the aileron trim servo, having made the servo mount a while back.

Next up is buttoning up the wing bottoms.  I took a long last look at both before moving forward and read a lot of blogs to see if I could do anything else before losing easy acces.  I’m glad I did because I realized I had the trim servo wiring going to the wrong spar location.  That was a quick fix and I’m now confident I’m ready to put the bottom skins on.  The only item left to add is the pitot tube mount, but the bottom skin has to be attached first.


I did have to modify the rack yet again as the carpet post was too tall and blocking a few rivets.  A quick fix with the circular saw and reattaching the carpet.  Not a whole lot of exciting details, as it’s a lot of basic processes with a lot of repetition.  Good practice to get me back into the swing of aircraft construction, though; and I’m really enjoying being out in the shop working again.  Unfortunately, I’ll have to take another few weeks off for back surgery recovery, but at least I got a start on it again!