Wipe the cowl off your face, we’re moving!

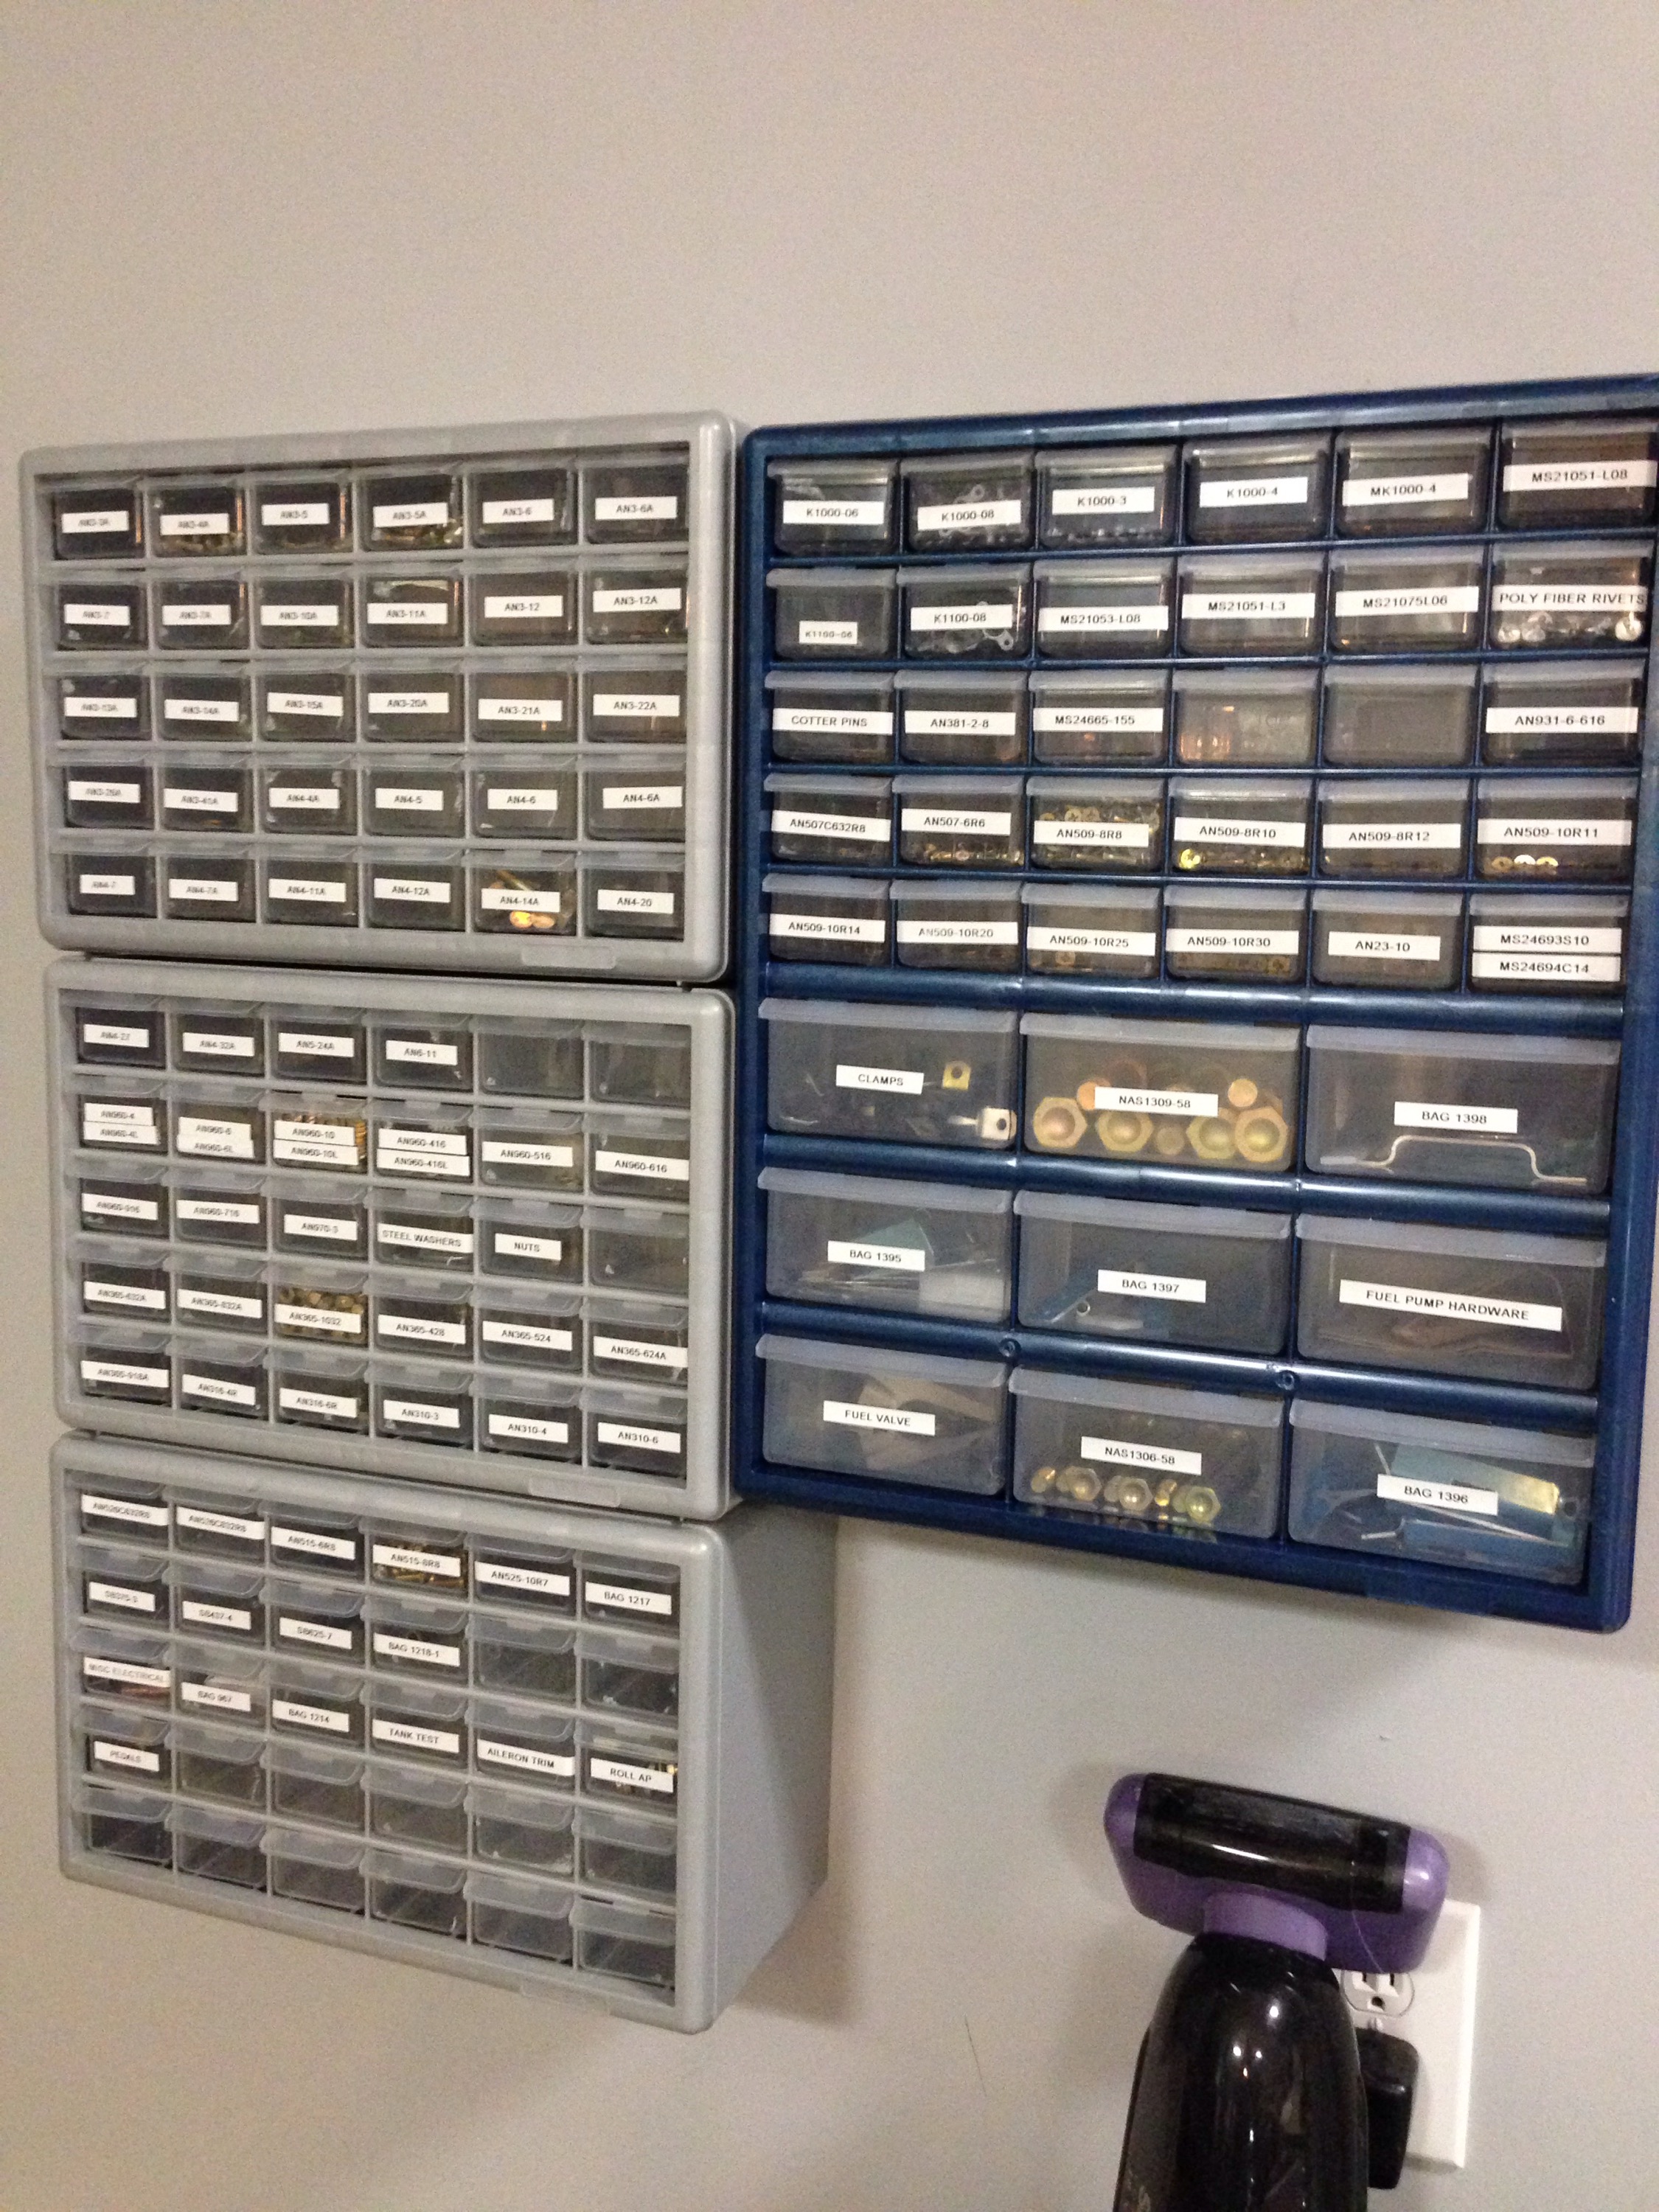
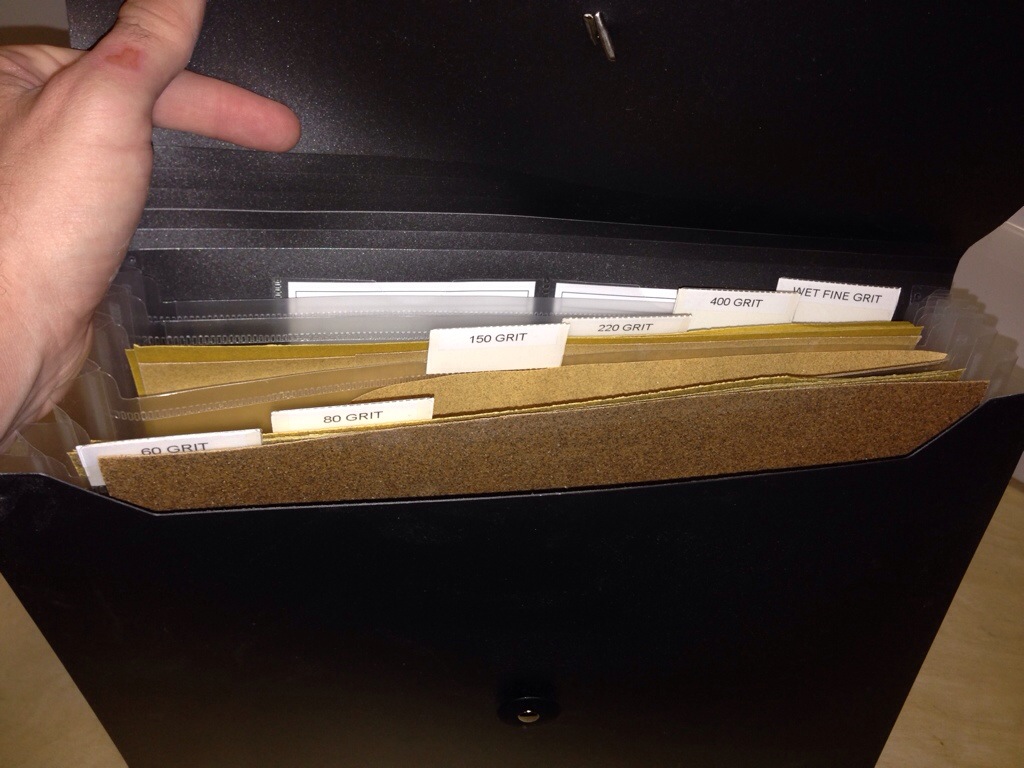
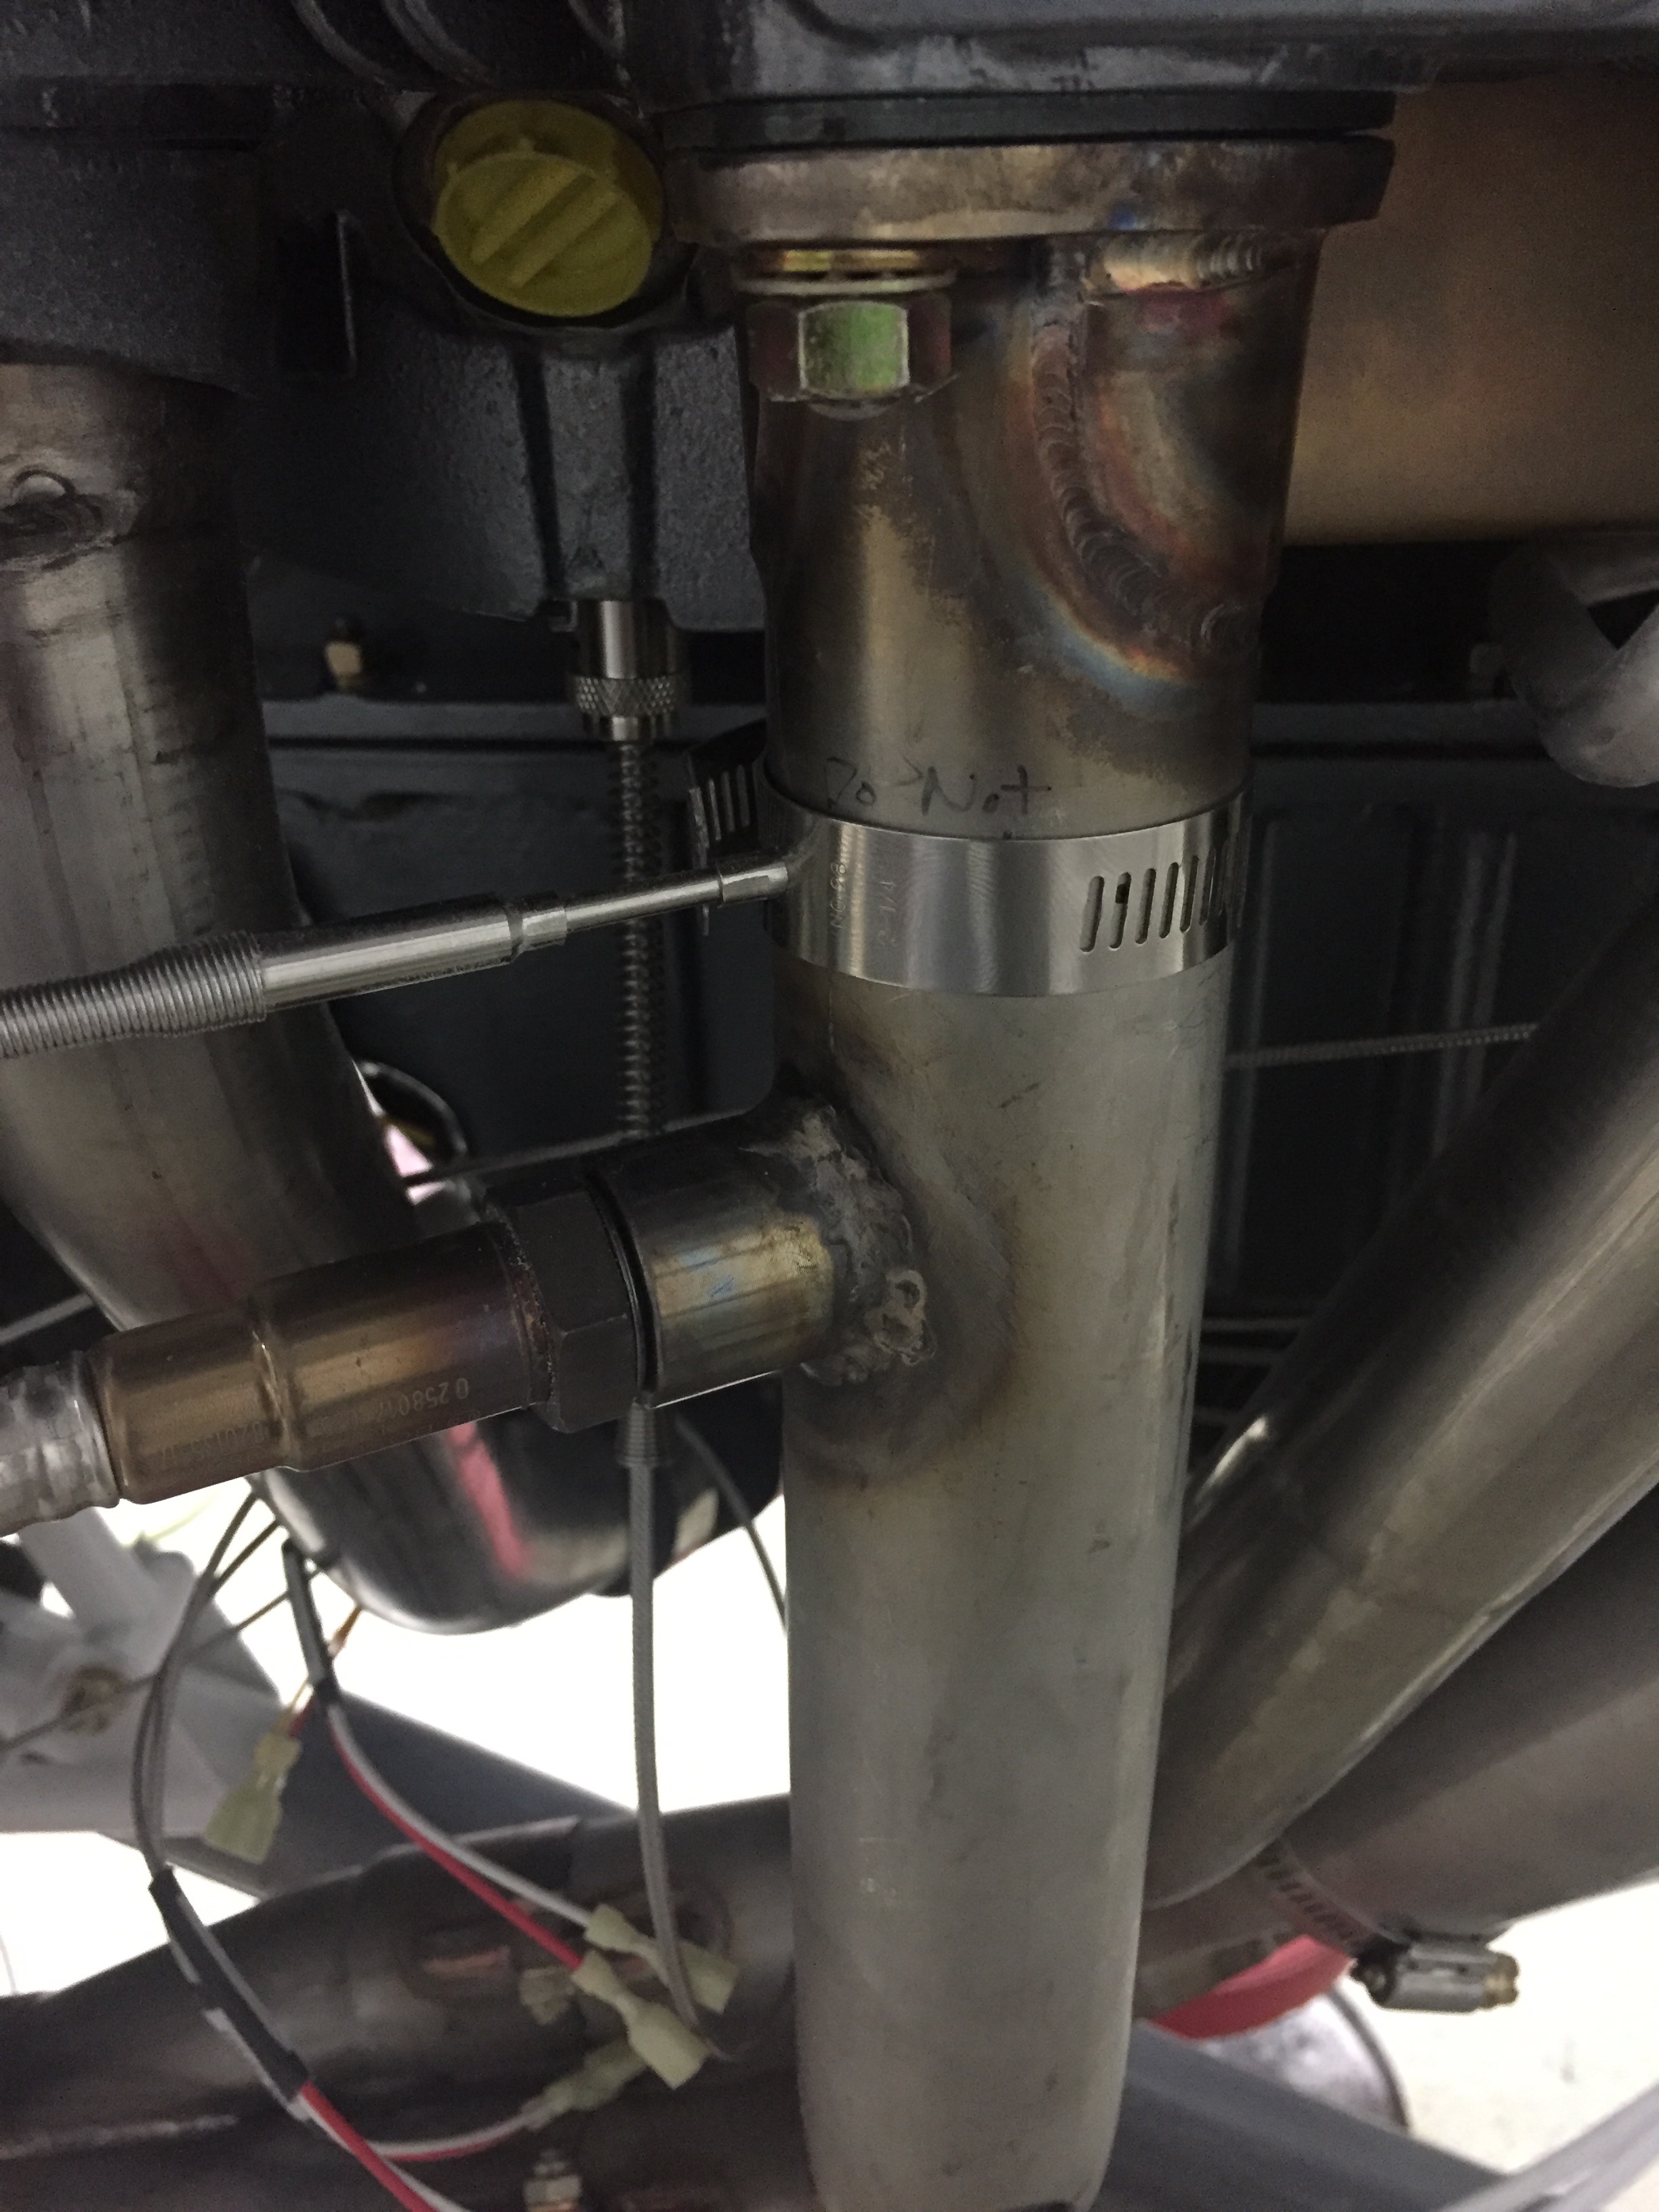
Thanks to a great guy on base that has a side business of welding, I had my AFR (O2) sensor bung welded on the exhaust per Ross’s recommendation on location.  I chose the #6 cylinder, but he said it doesn’t really matter.  I chose that one since it fit well there.  The sensor has a controller that I attached to the engine mount just above the battery box.

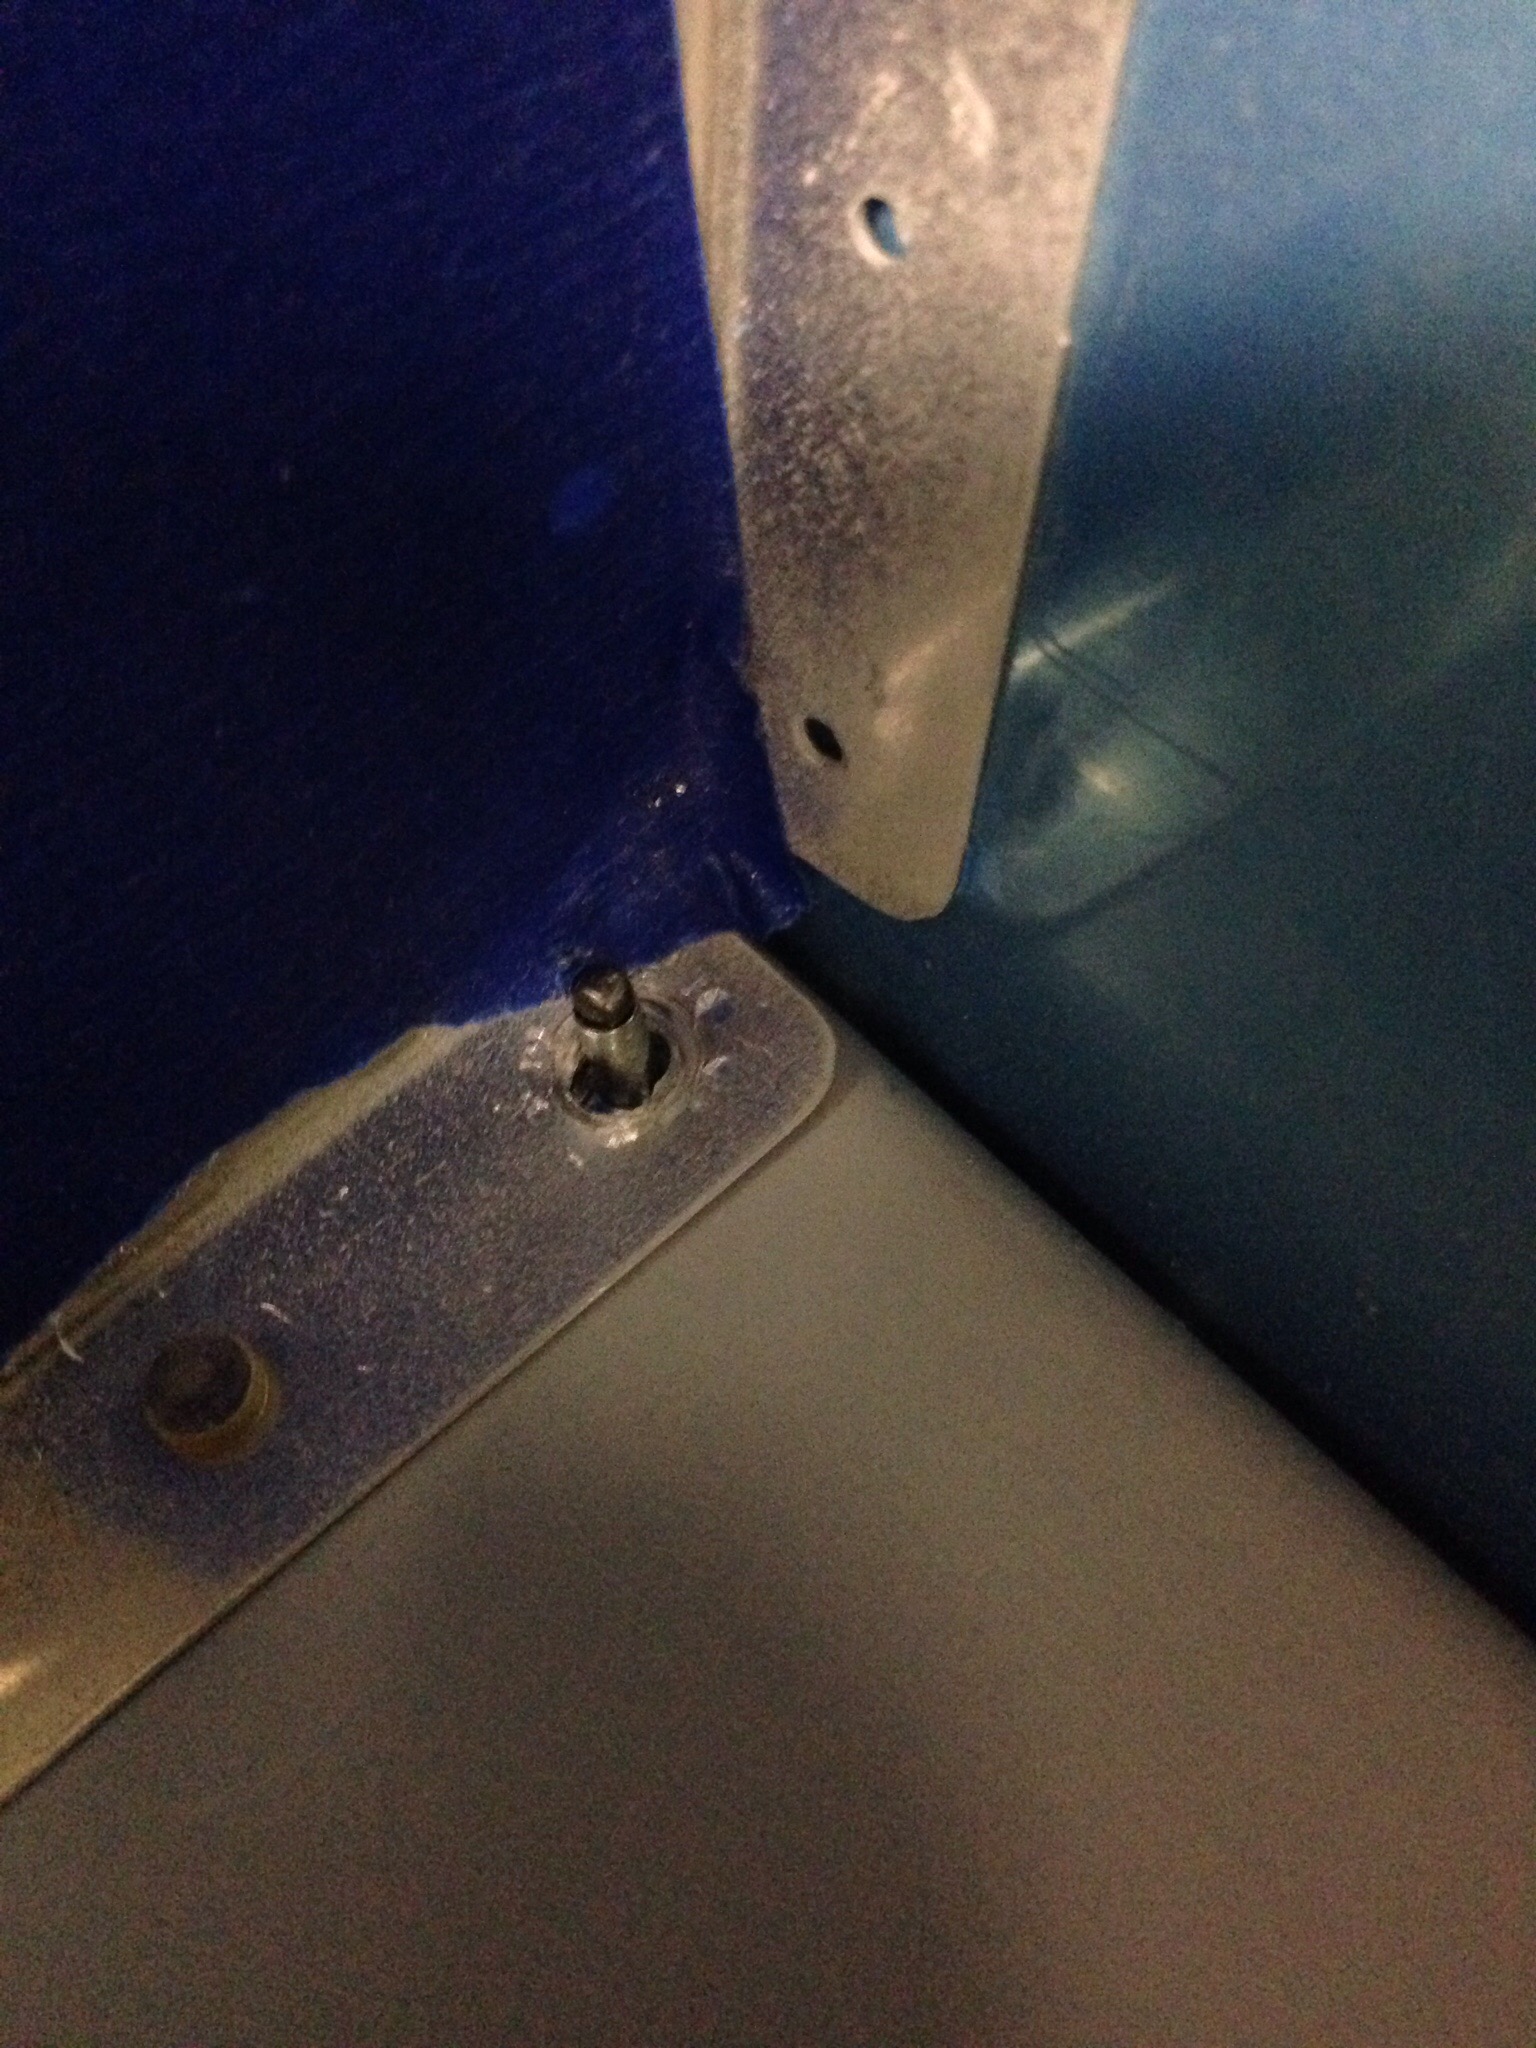
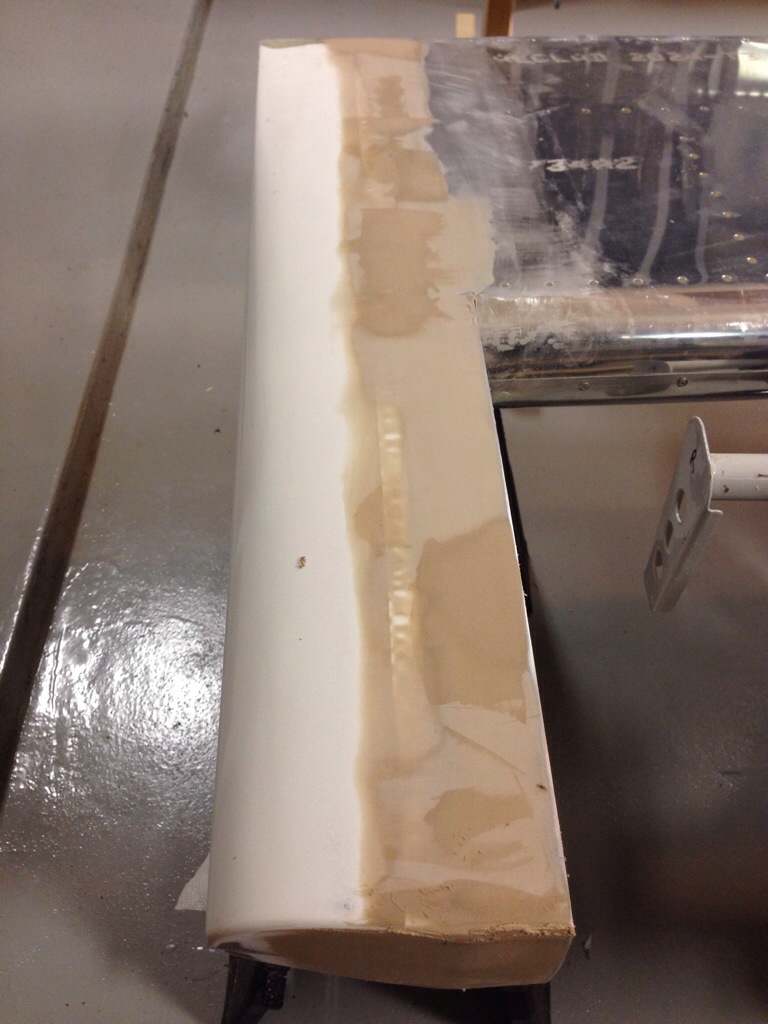
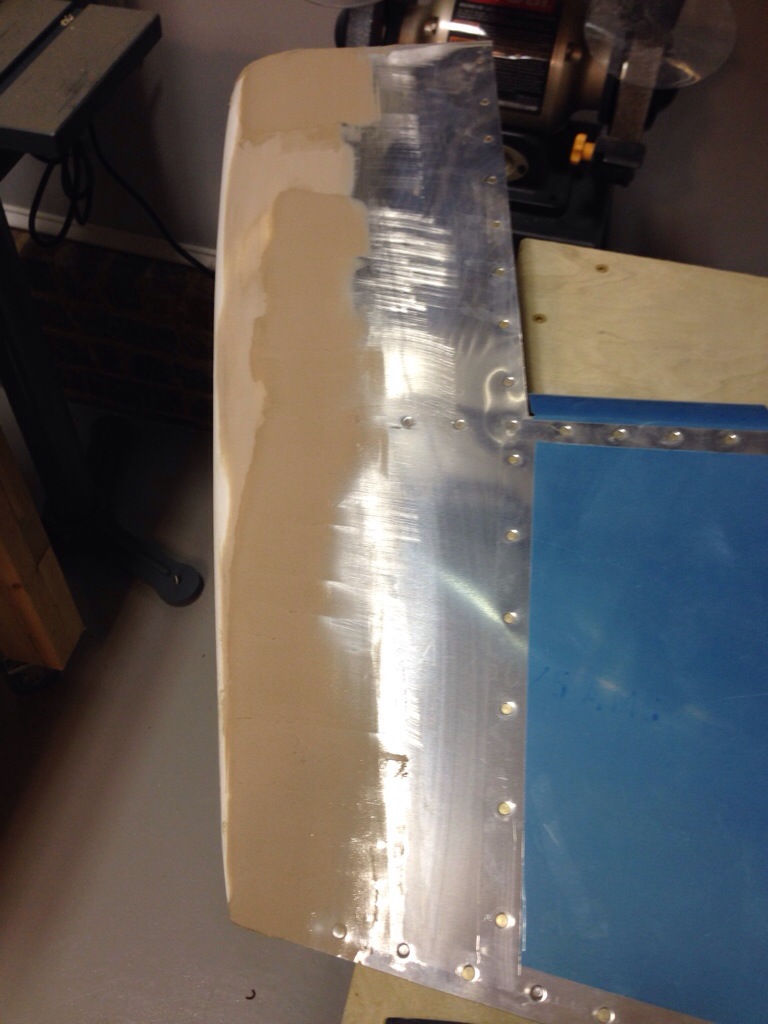
I never have been able to wrap my head around the nose gear fairing made by Show Planes until I physically put it all together.  The idea is to not only support the lower cowl around the exhaust openings (and air exit) but also smooth the exiting air flow around a turbulent area.  I started by attaching the front and rear fairing together and then positioning it roughly on the lower cowl.

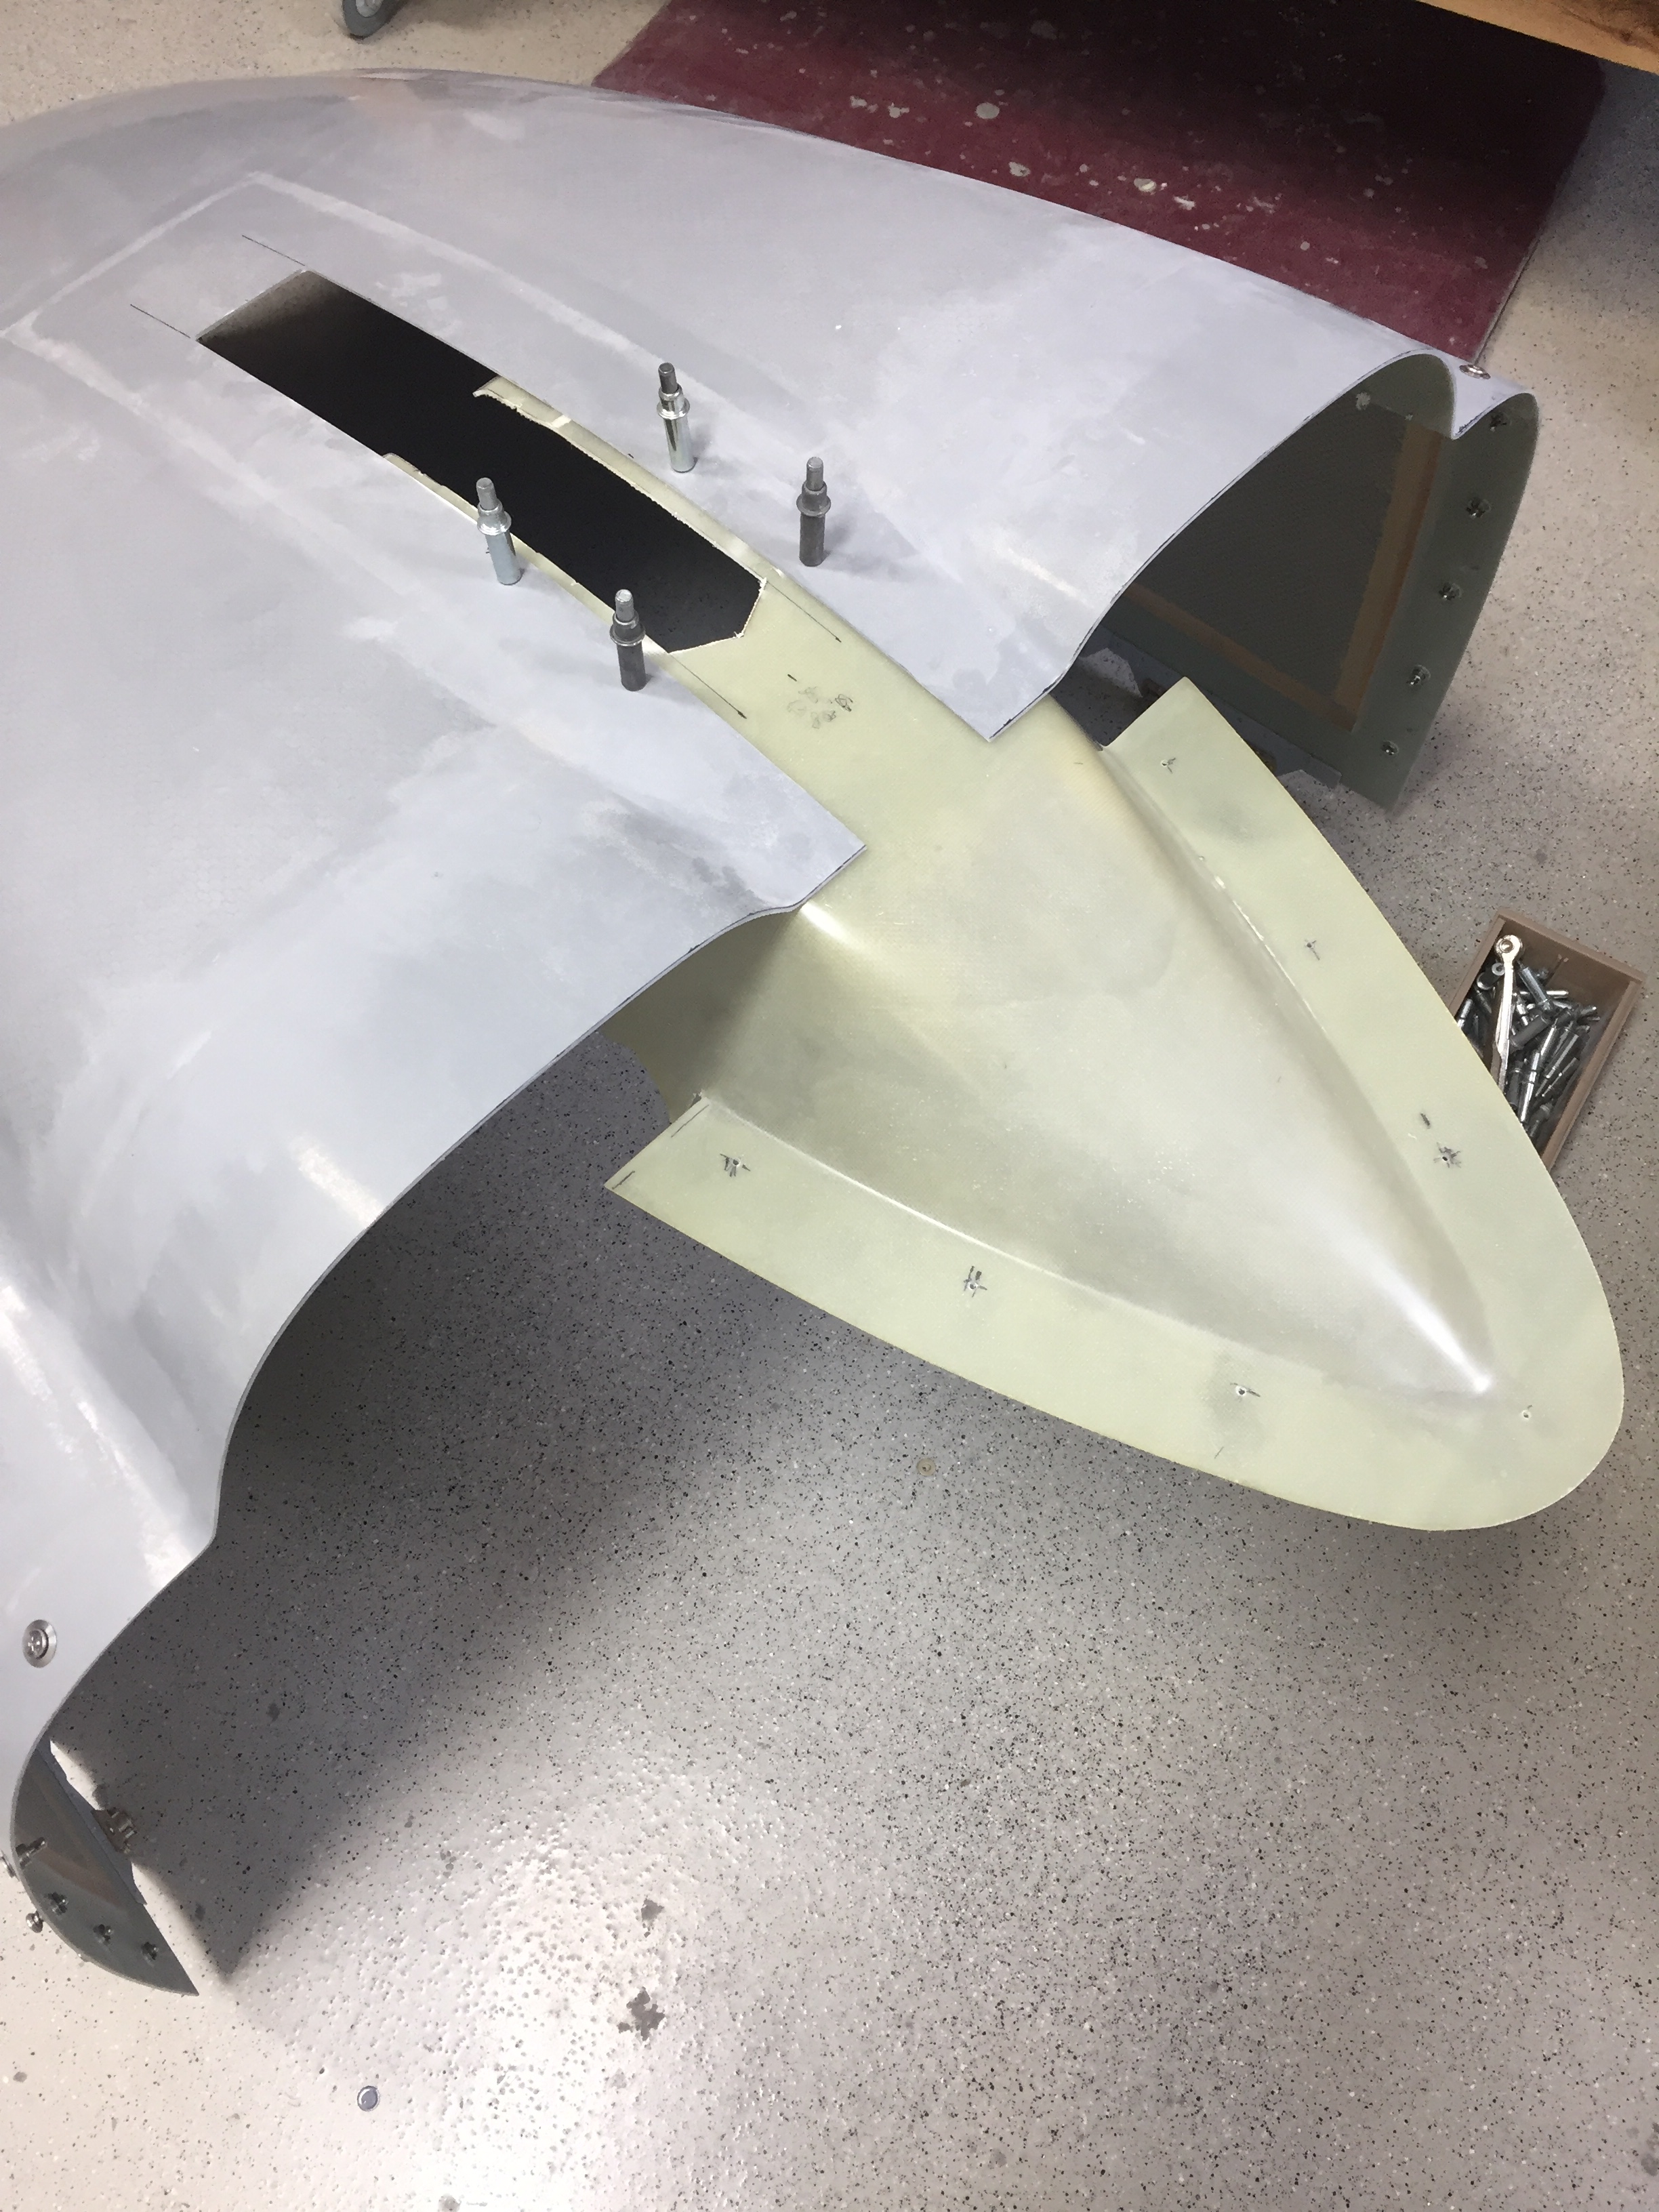
The rear piece has a few lips that fit over the bottom skin to help locate it correctly, so I did an initial fit before starting to trim the nose gear slot.  Bryan shows a very tight opening for the gear leg, but I’m not sure how much it actually moves, especially on a grass or dirt strip, so I’ll leave a bit more room.

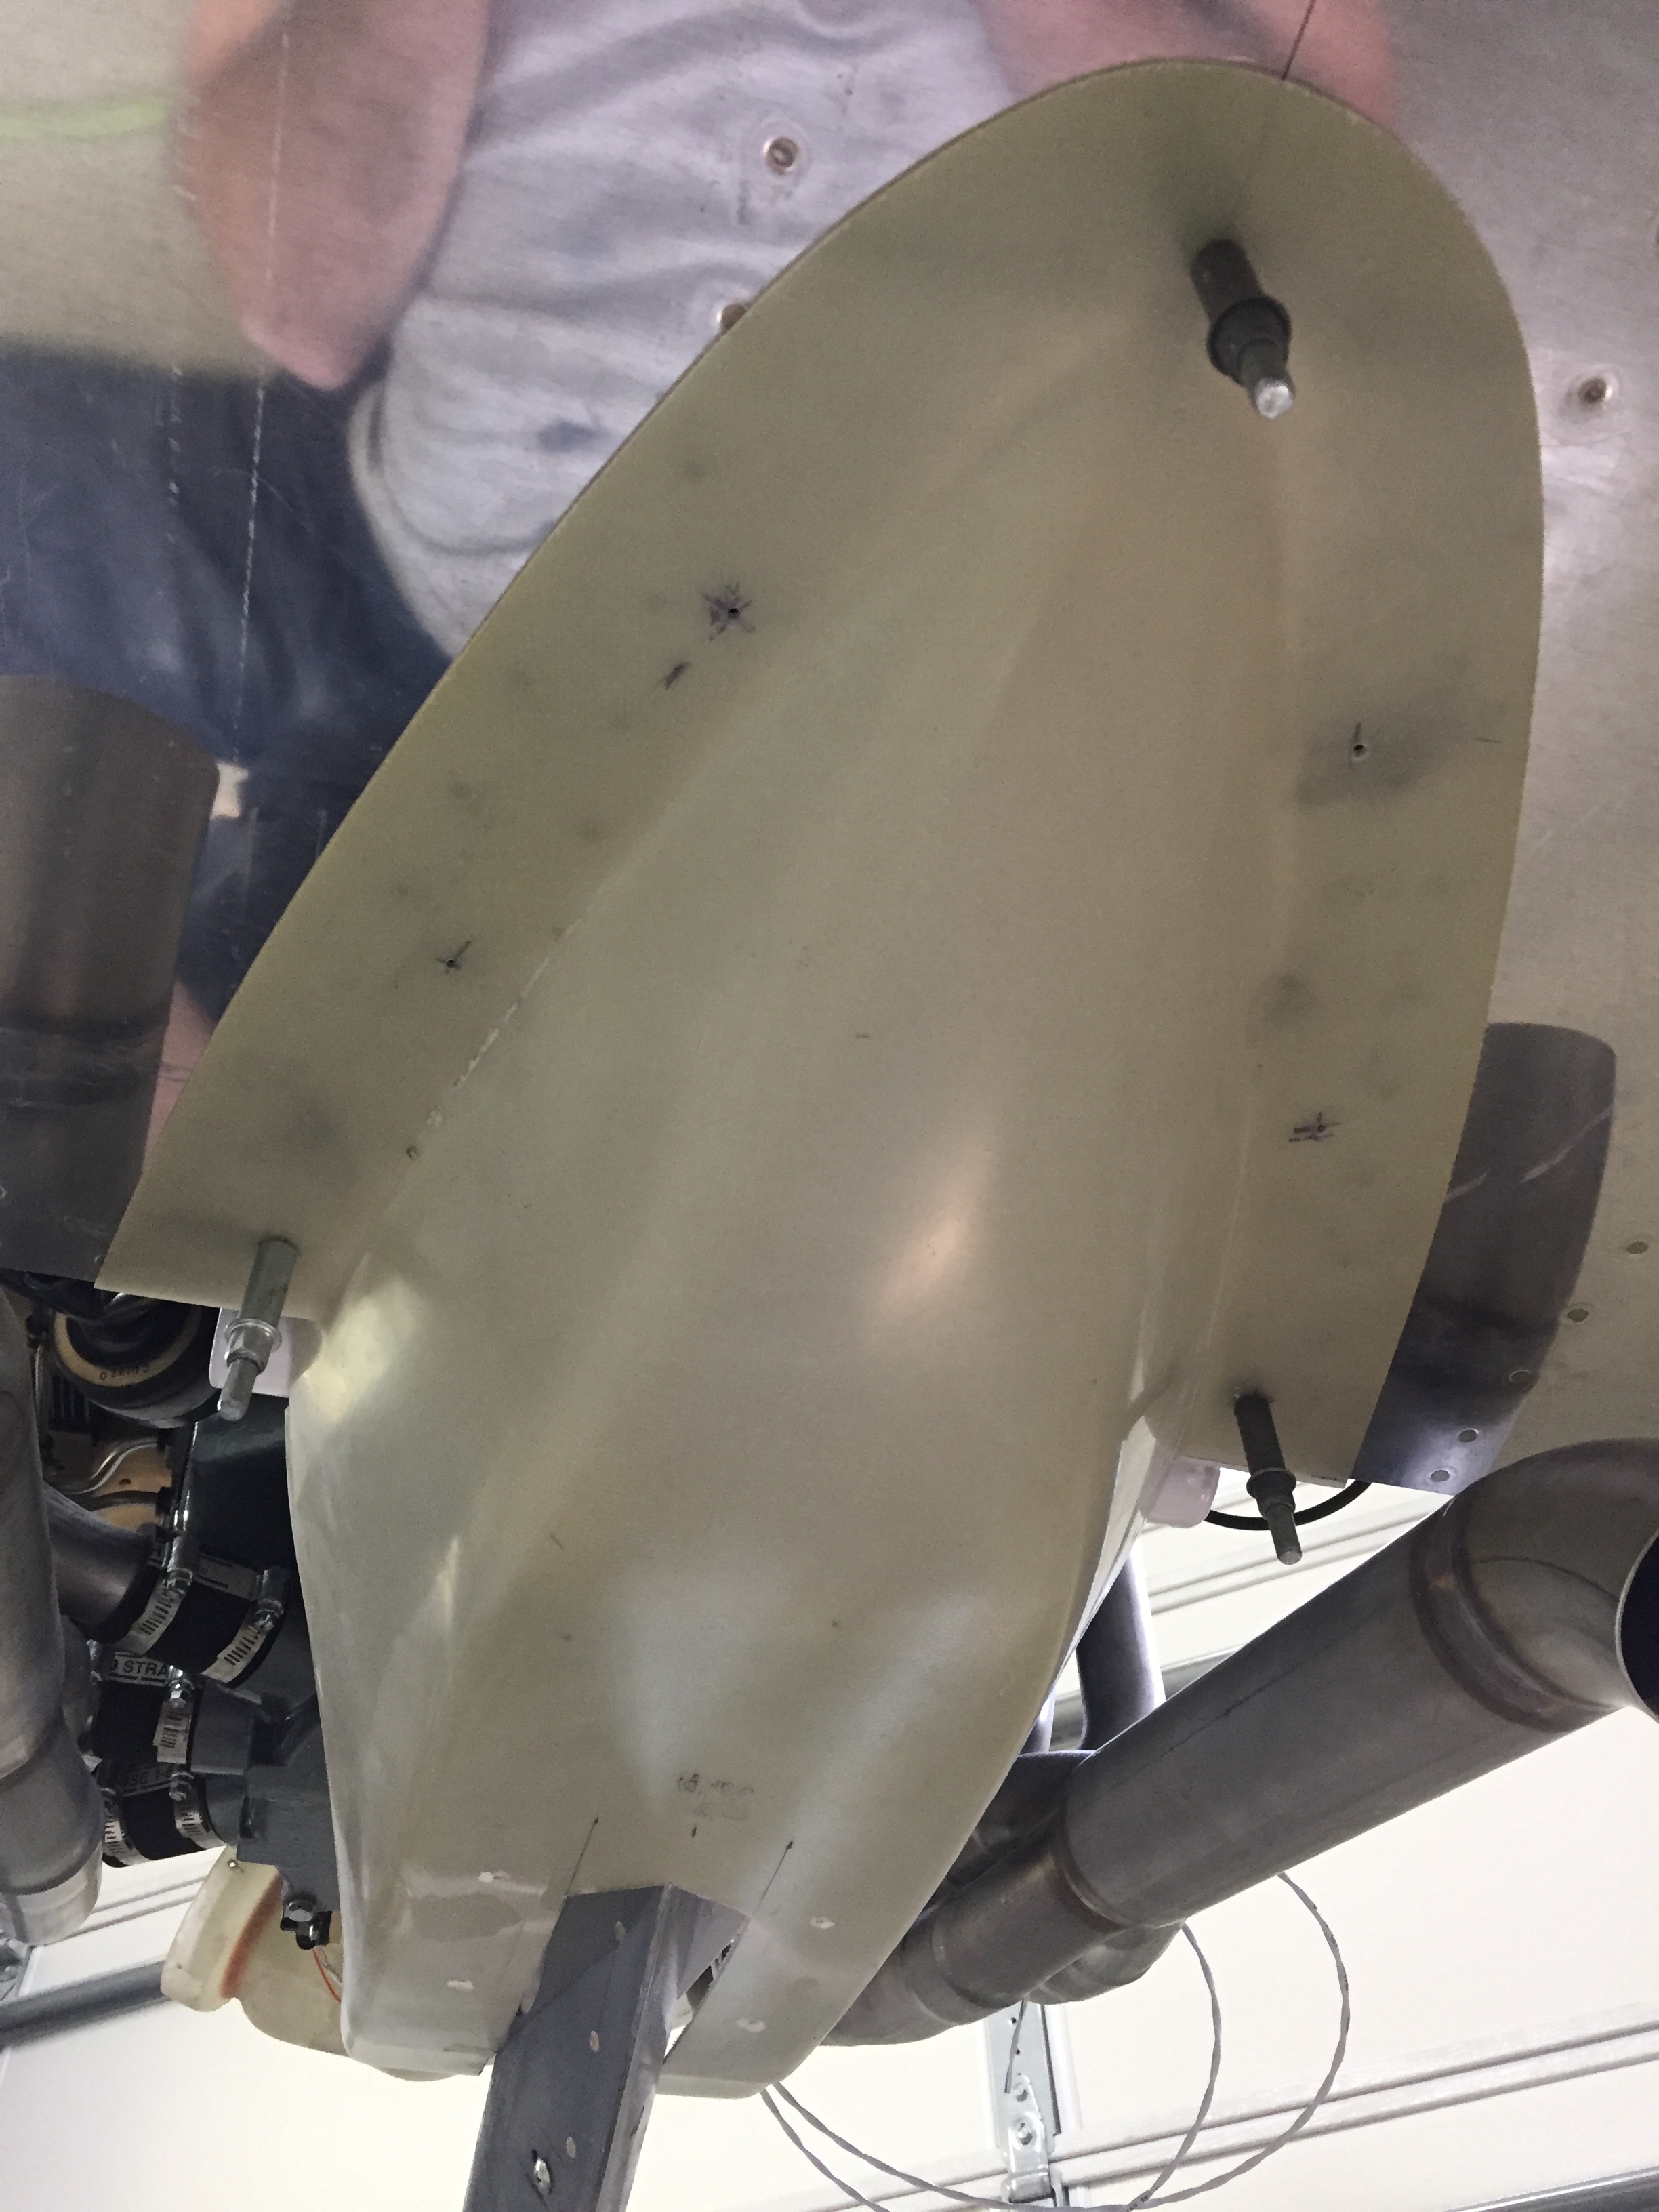
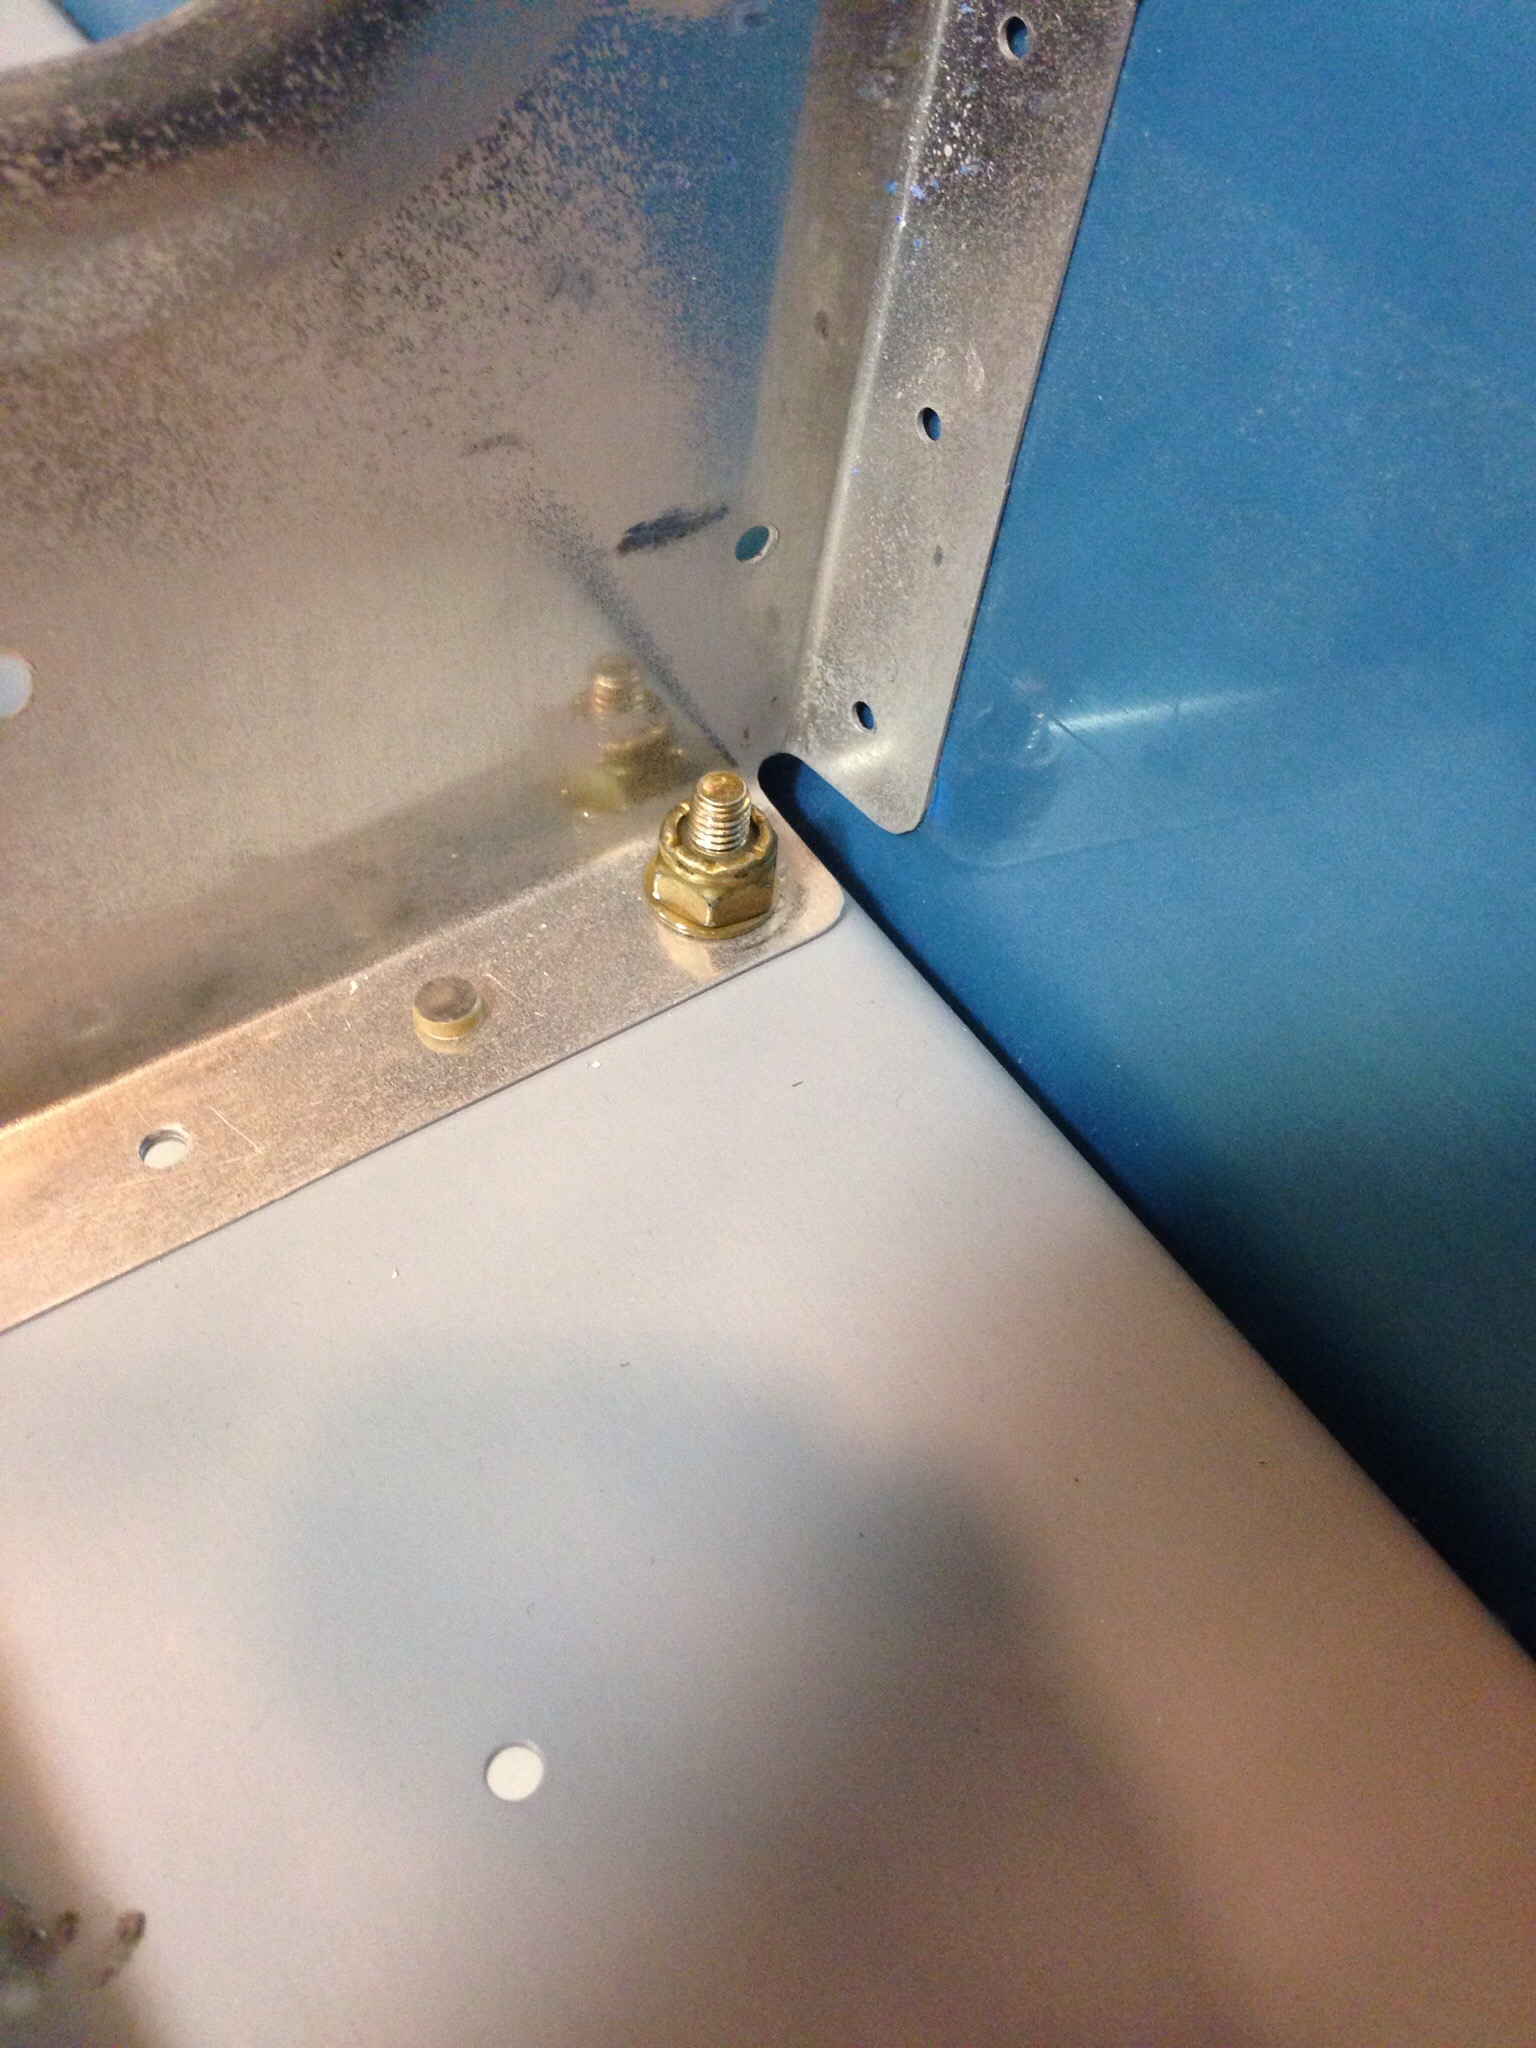
Once initially trimmed, I drilled into the bottom fuse and used nut inserts vs. sheet metal screws.  I figured it’d give a better grip long term and less chance of stripping holes.  Once the fairing is on, it reminds me of a duck billed platypus.  Ha!

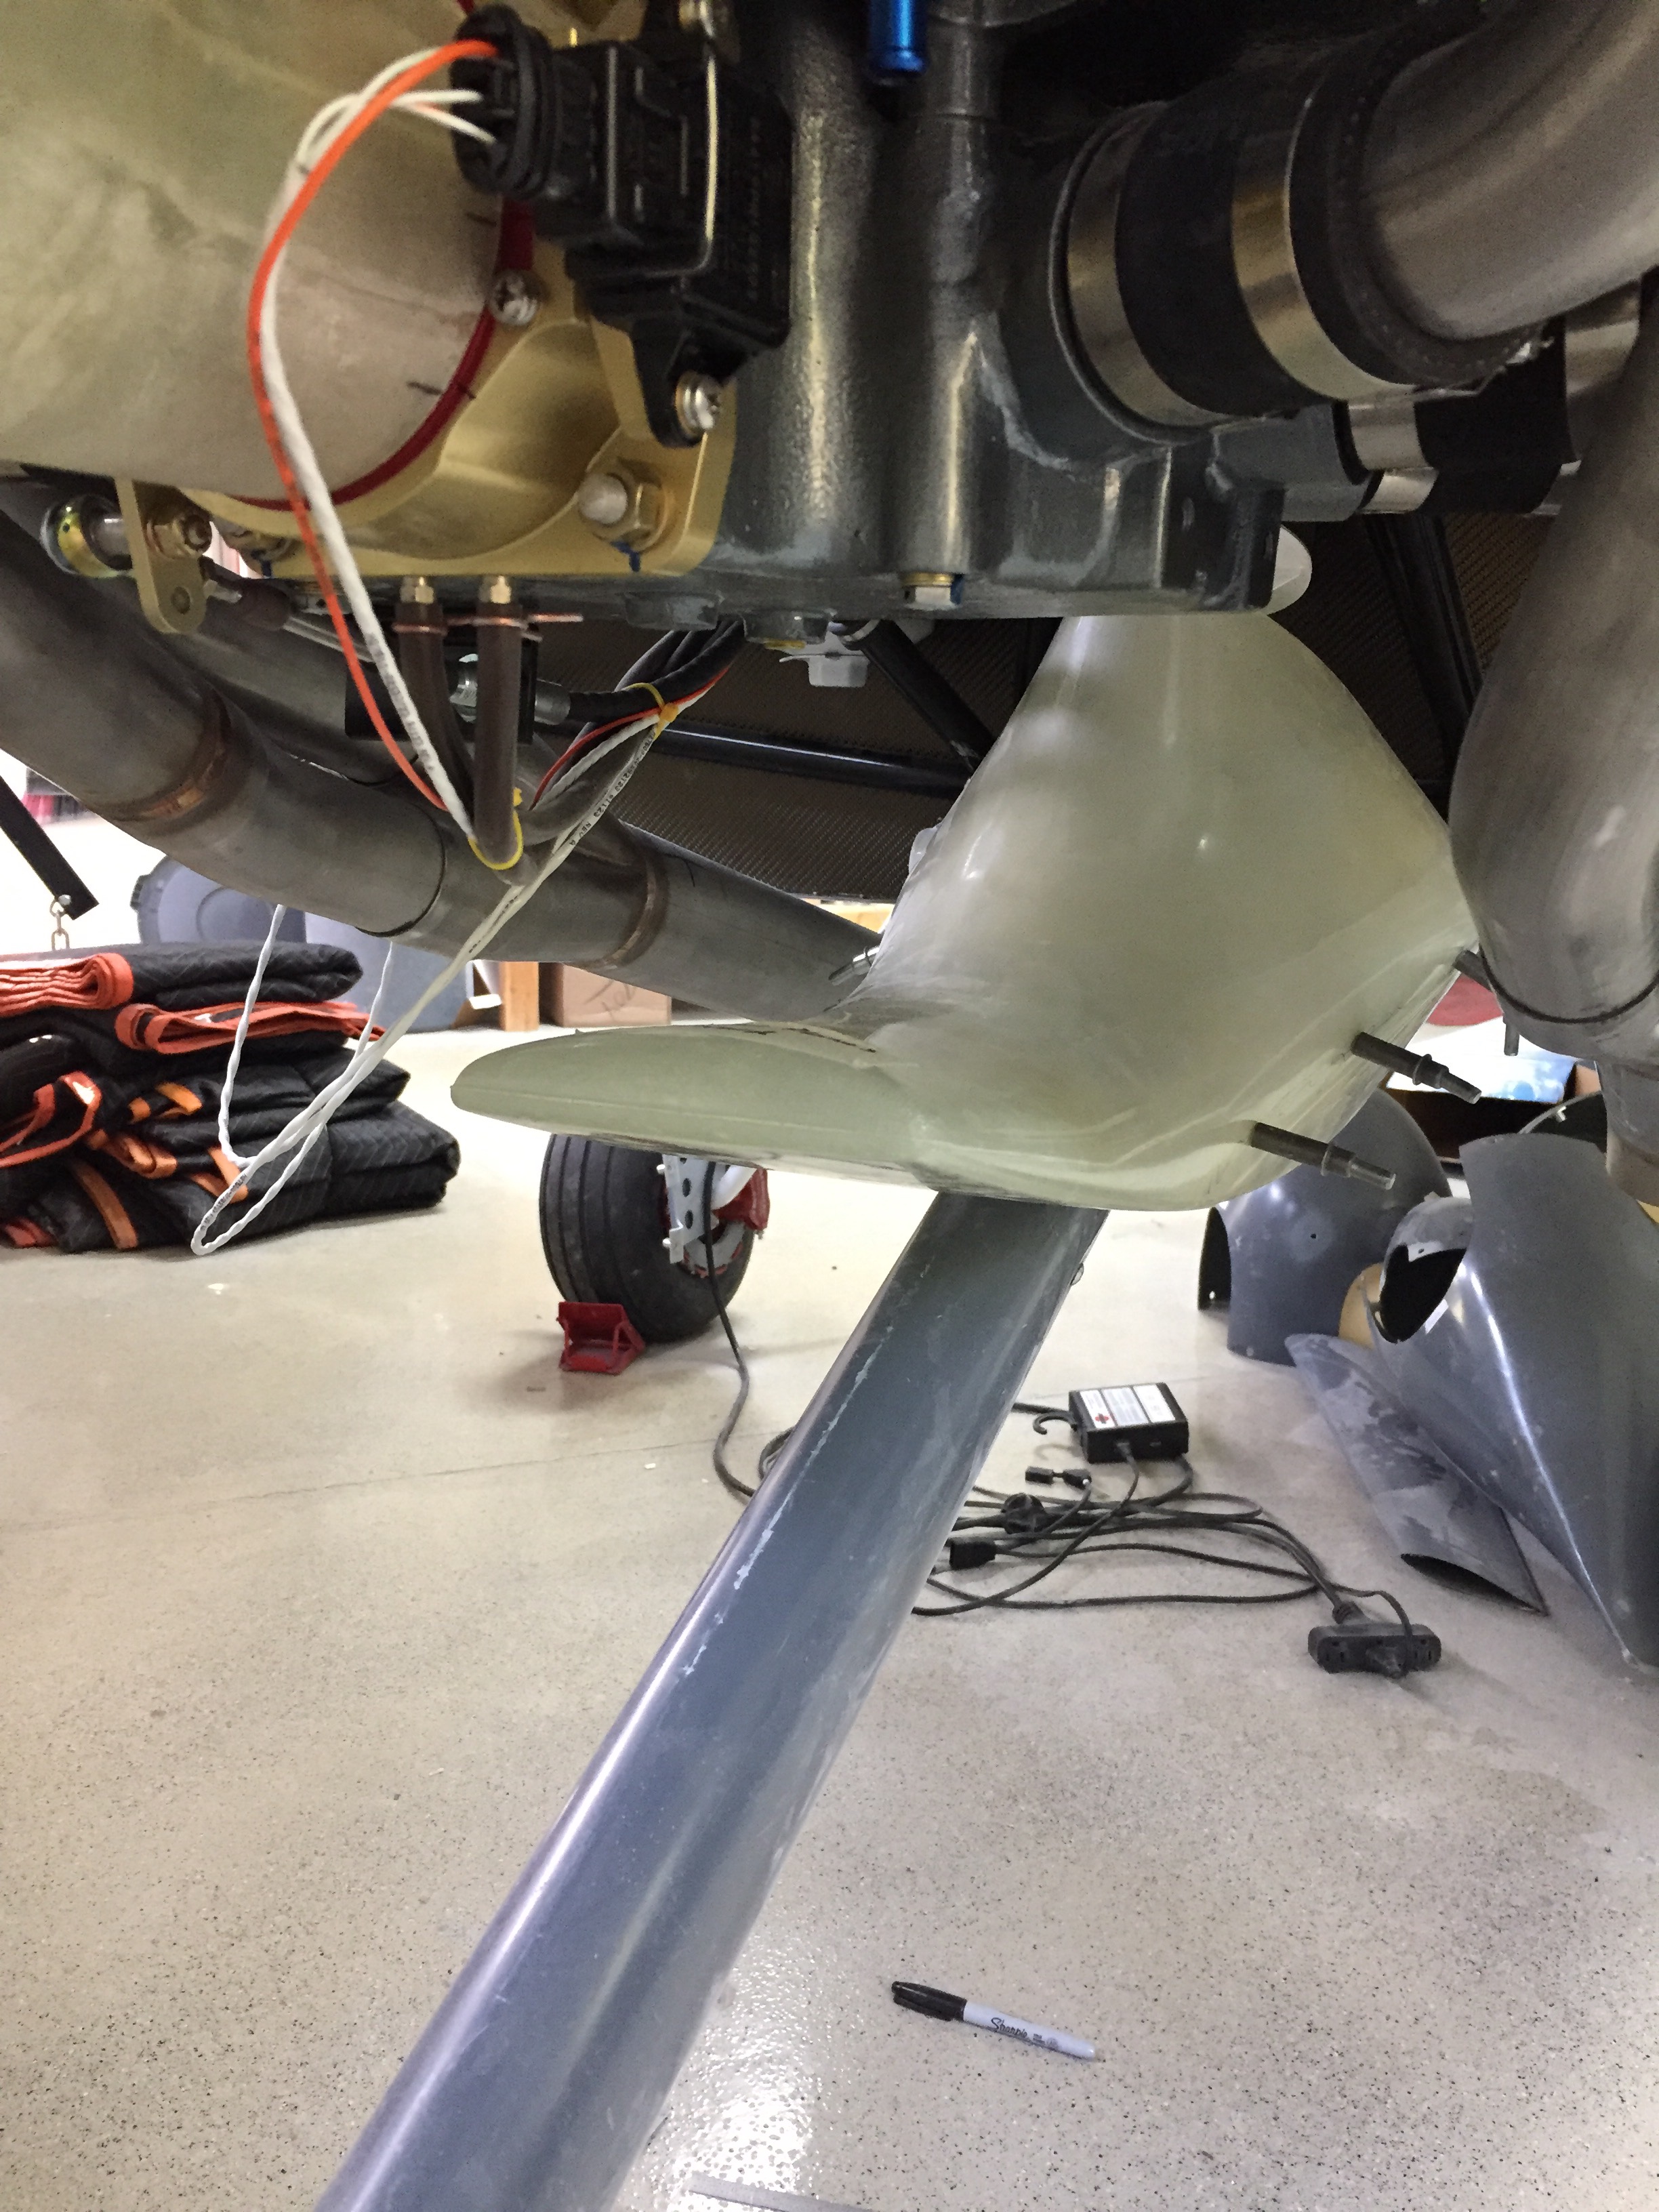
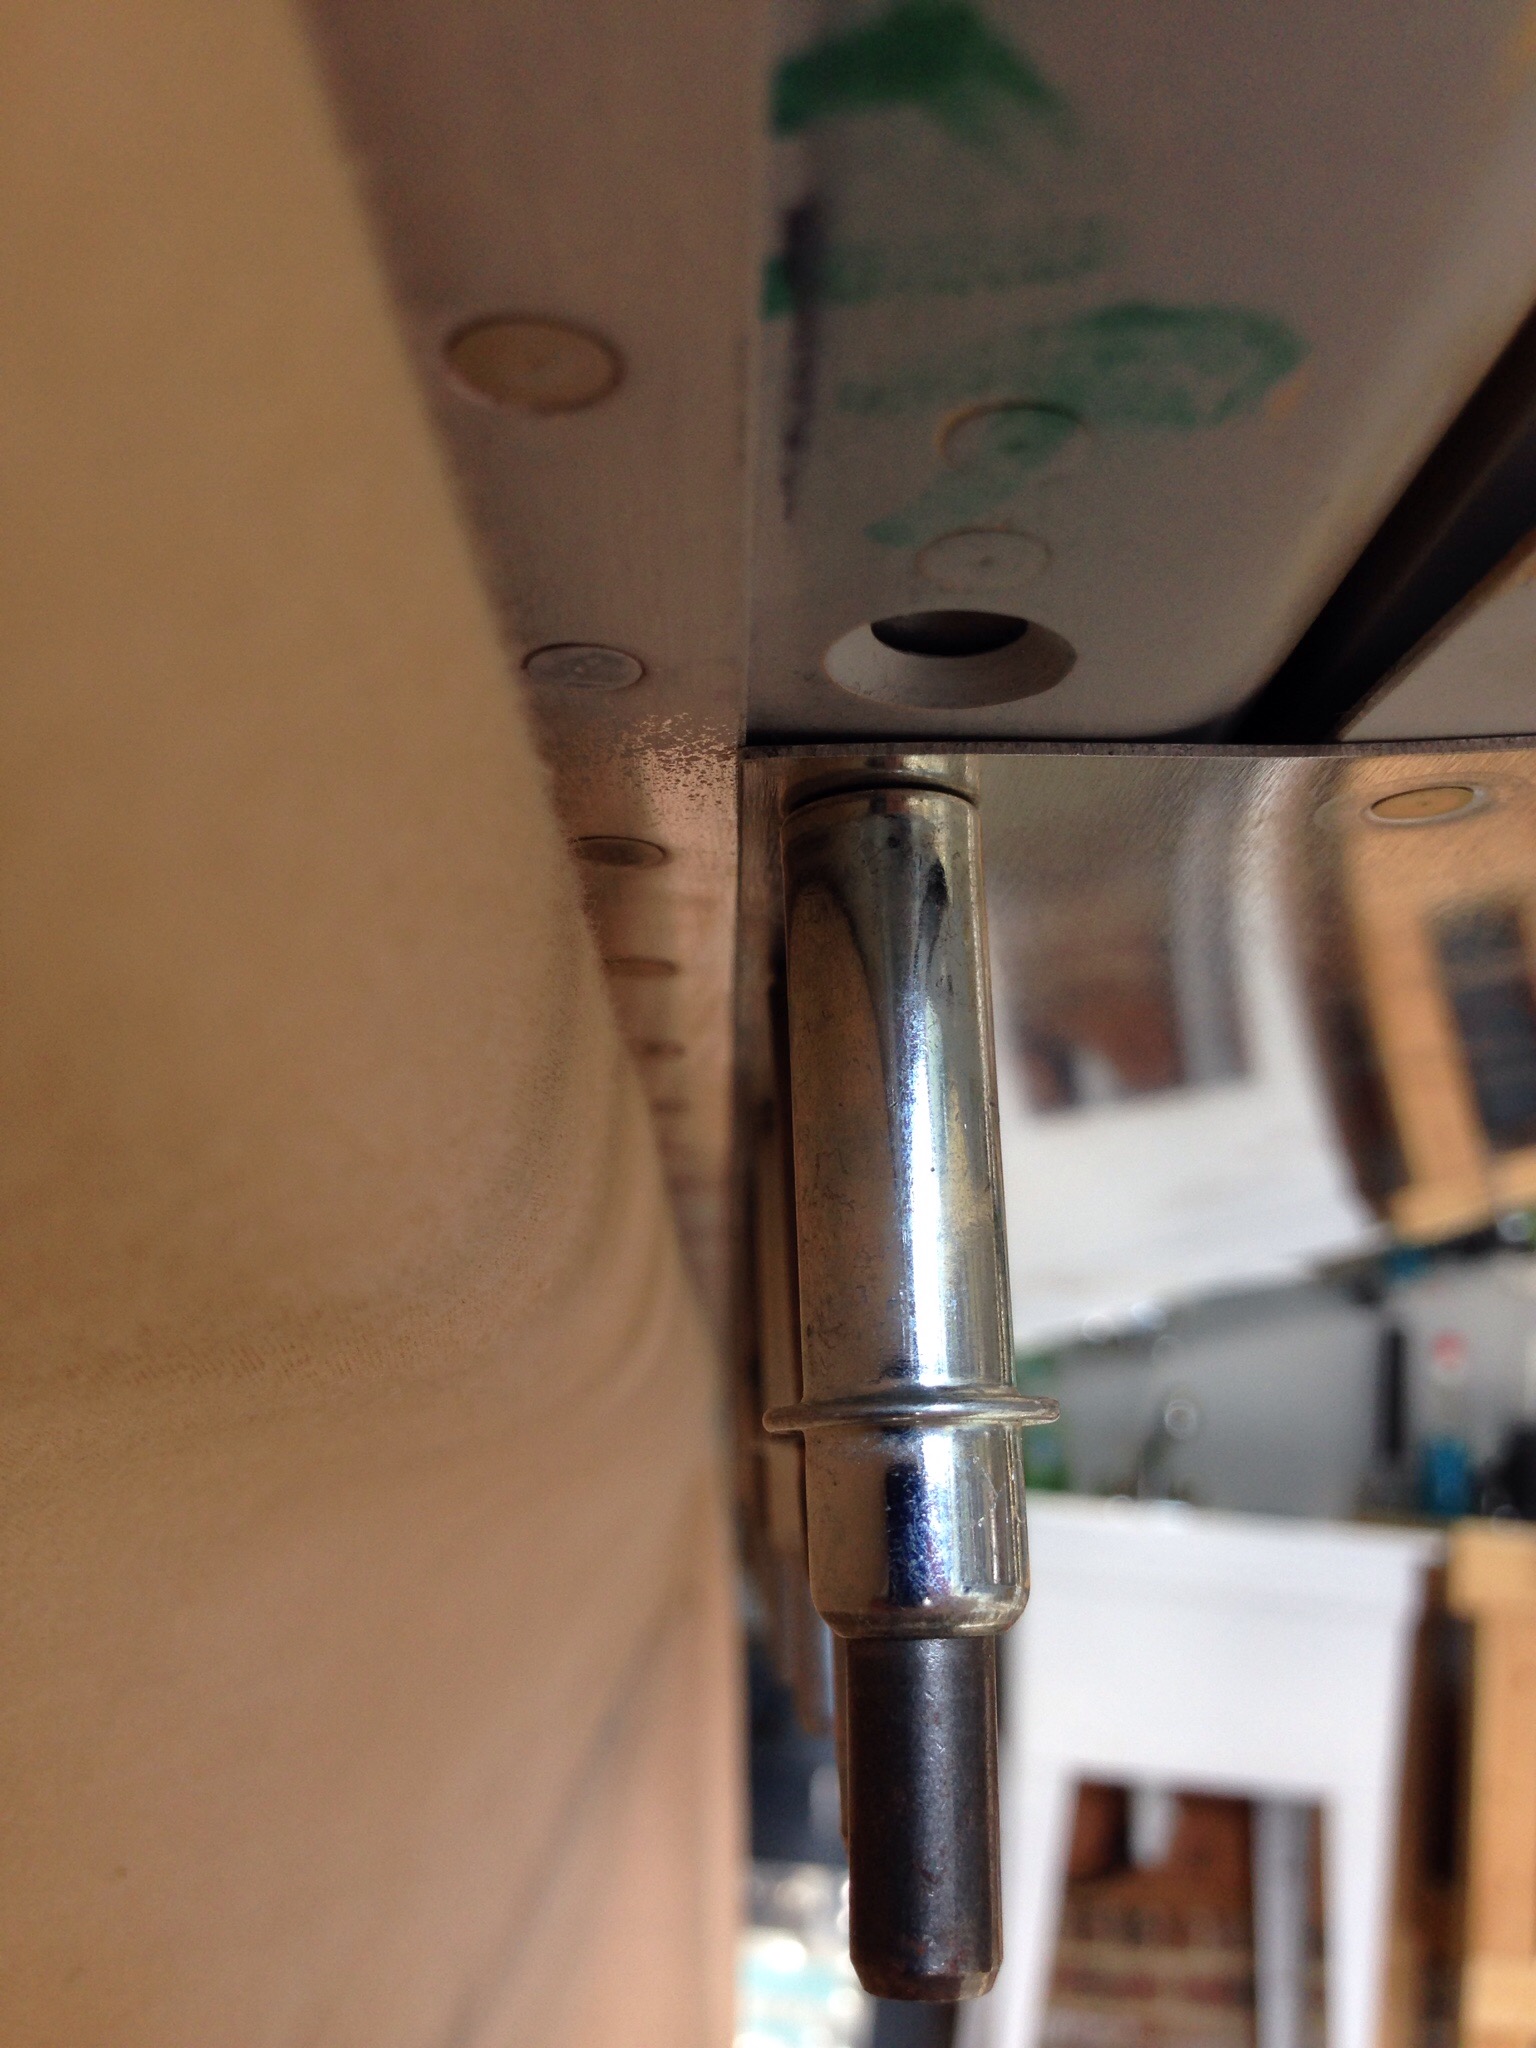
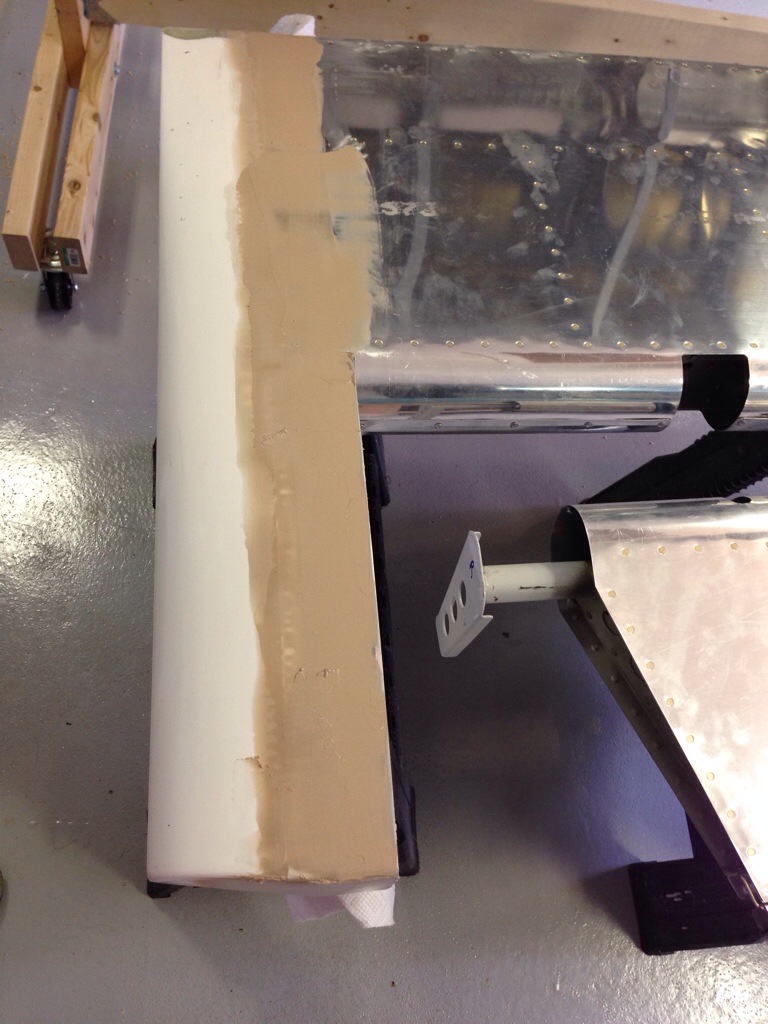
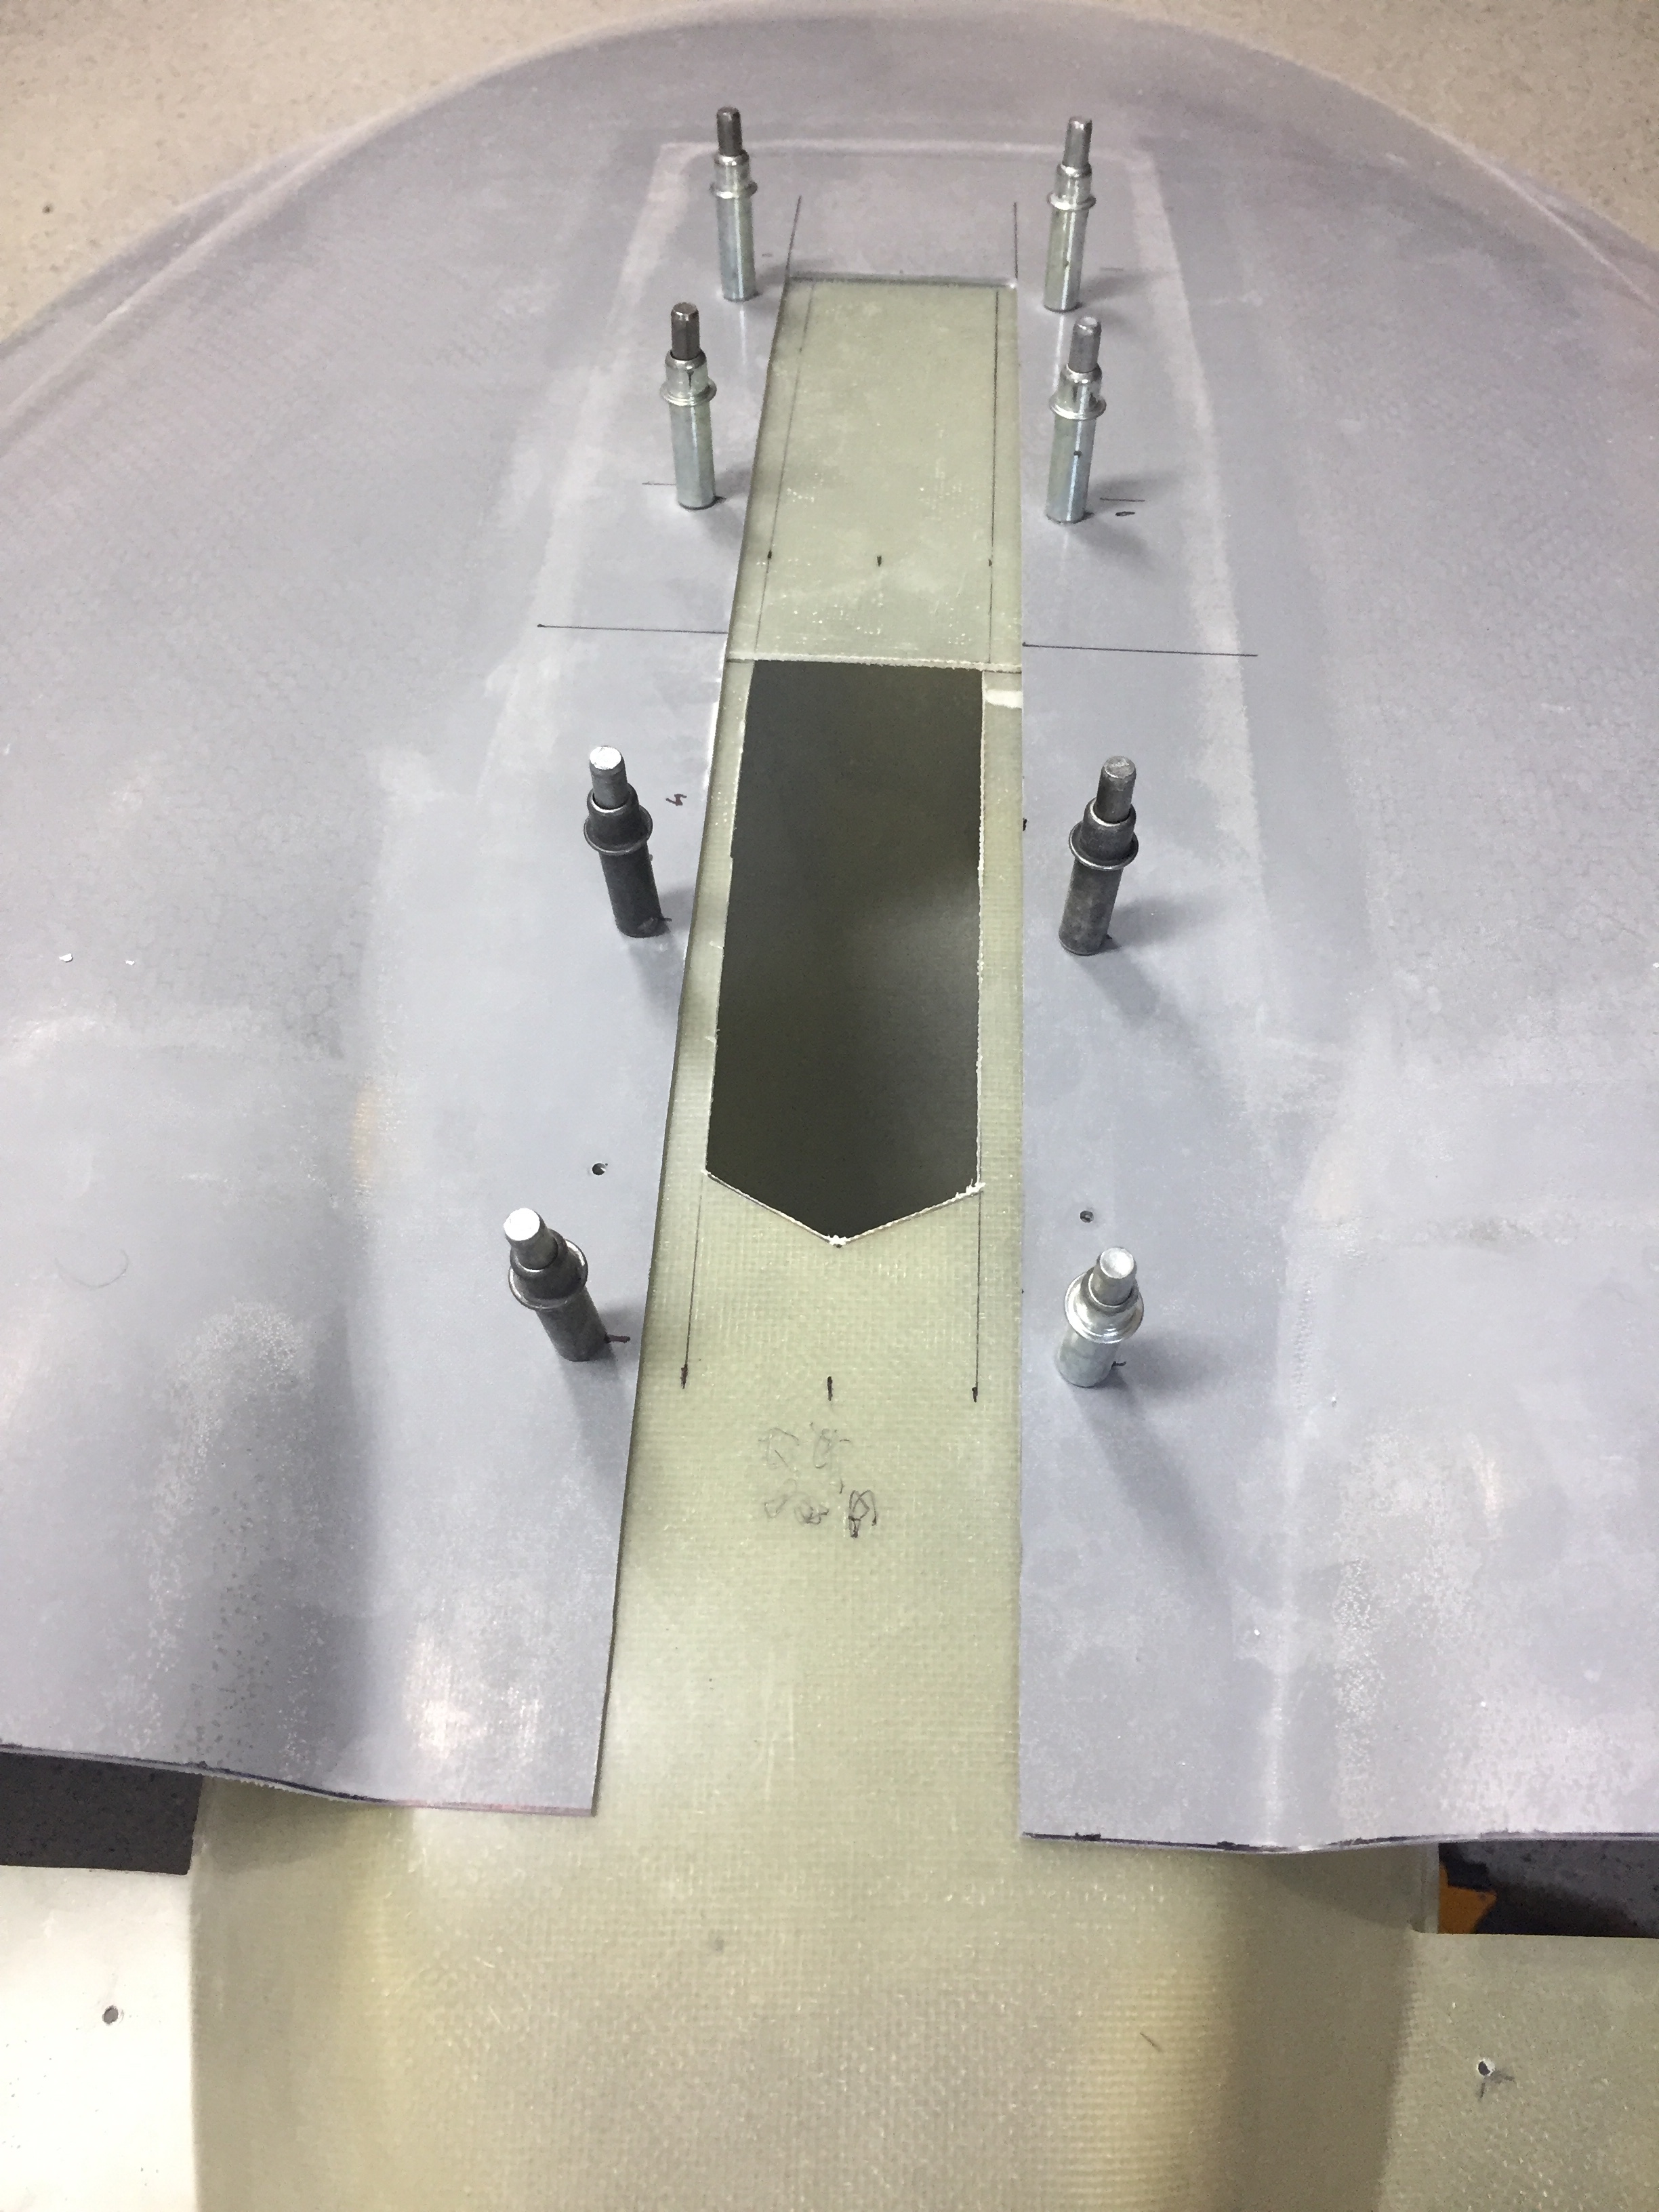
I chose to use more SkyBolts to secure the fairings to the cowl.  I am also following Joe Keys’s lead on making a cover plate to cover an extended nose gear leg slot.  This will allow the cowl to fit a bit better going on and coming off since I have the dreaded three blade propeller.

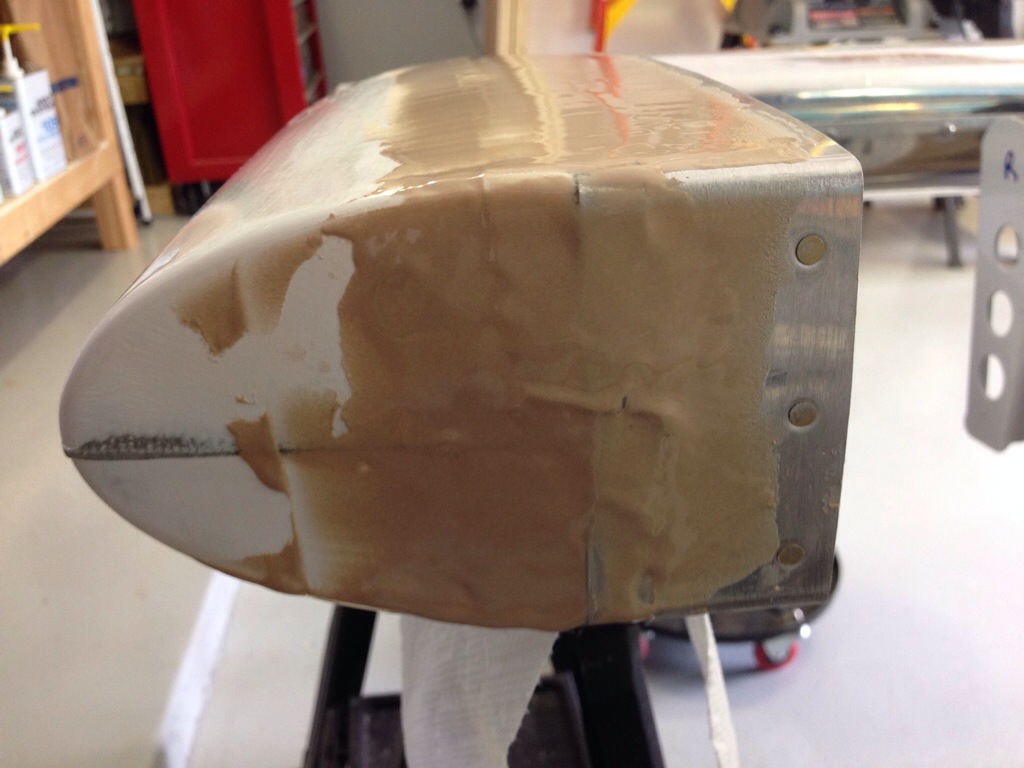
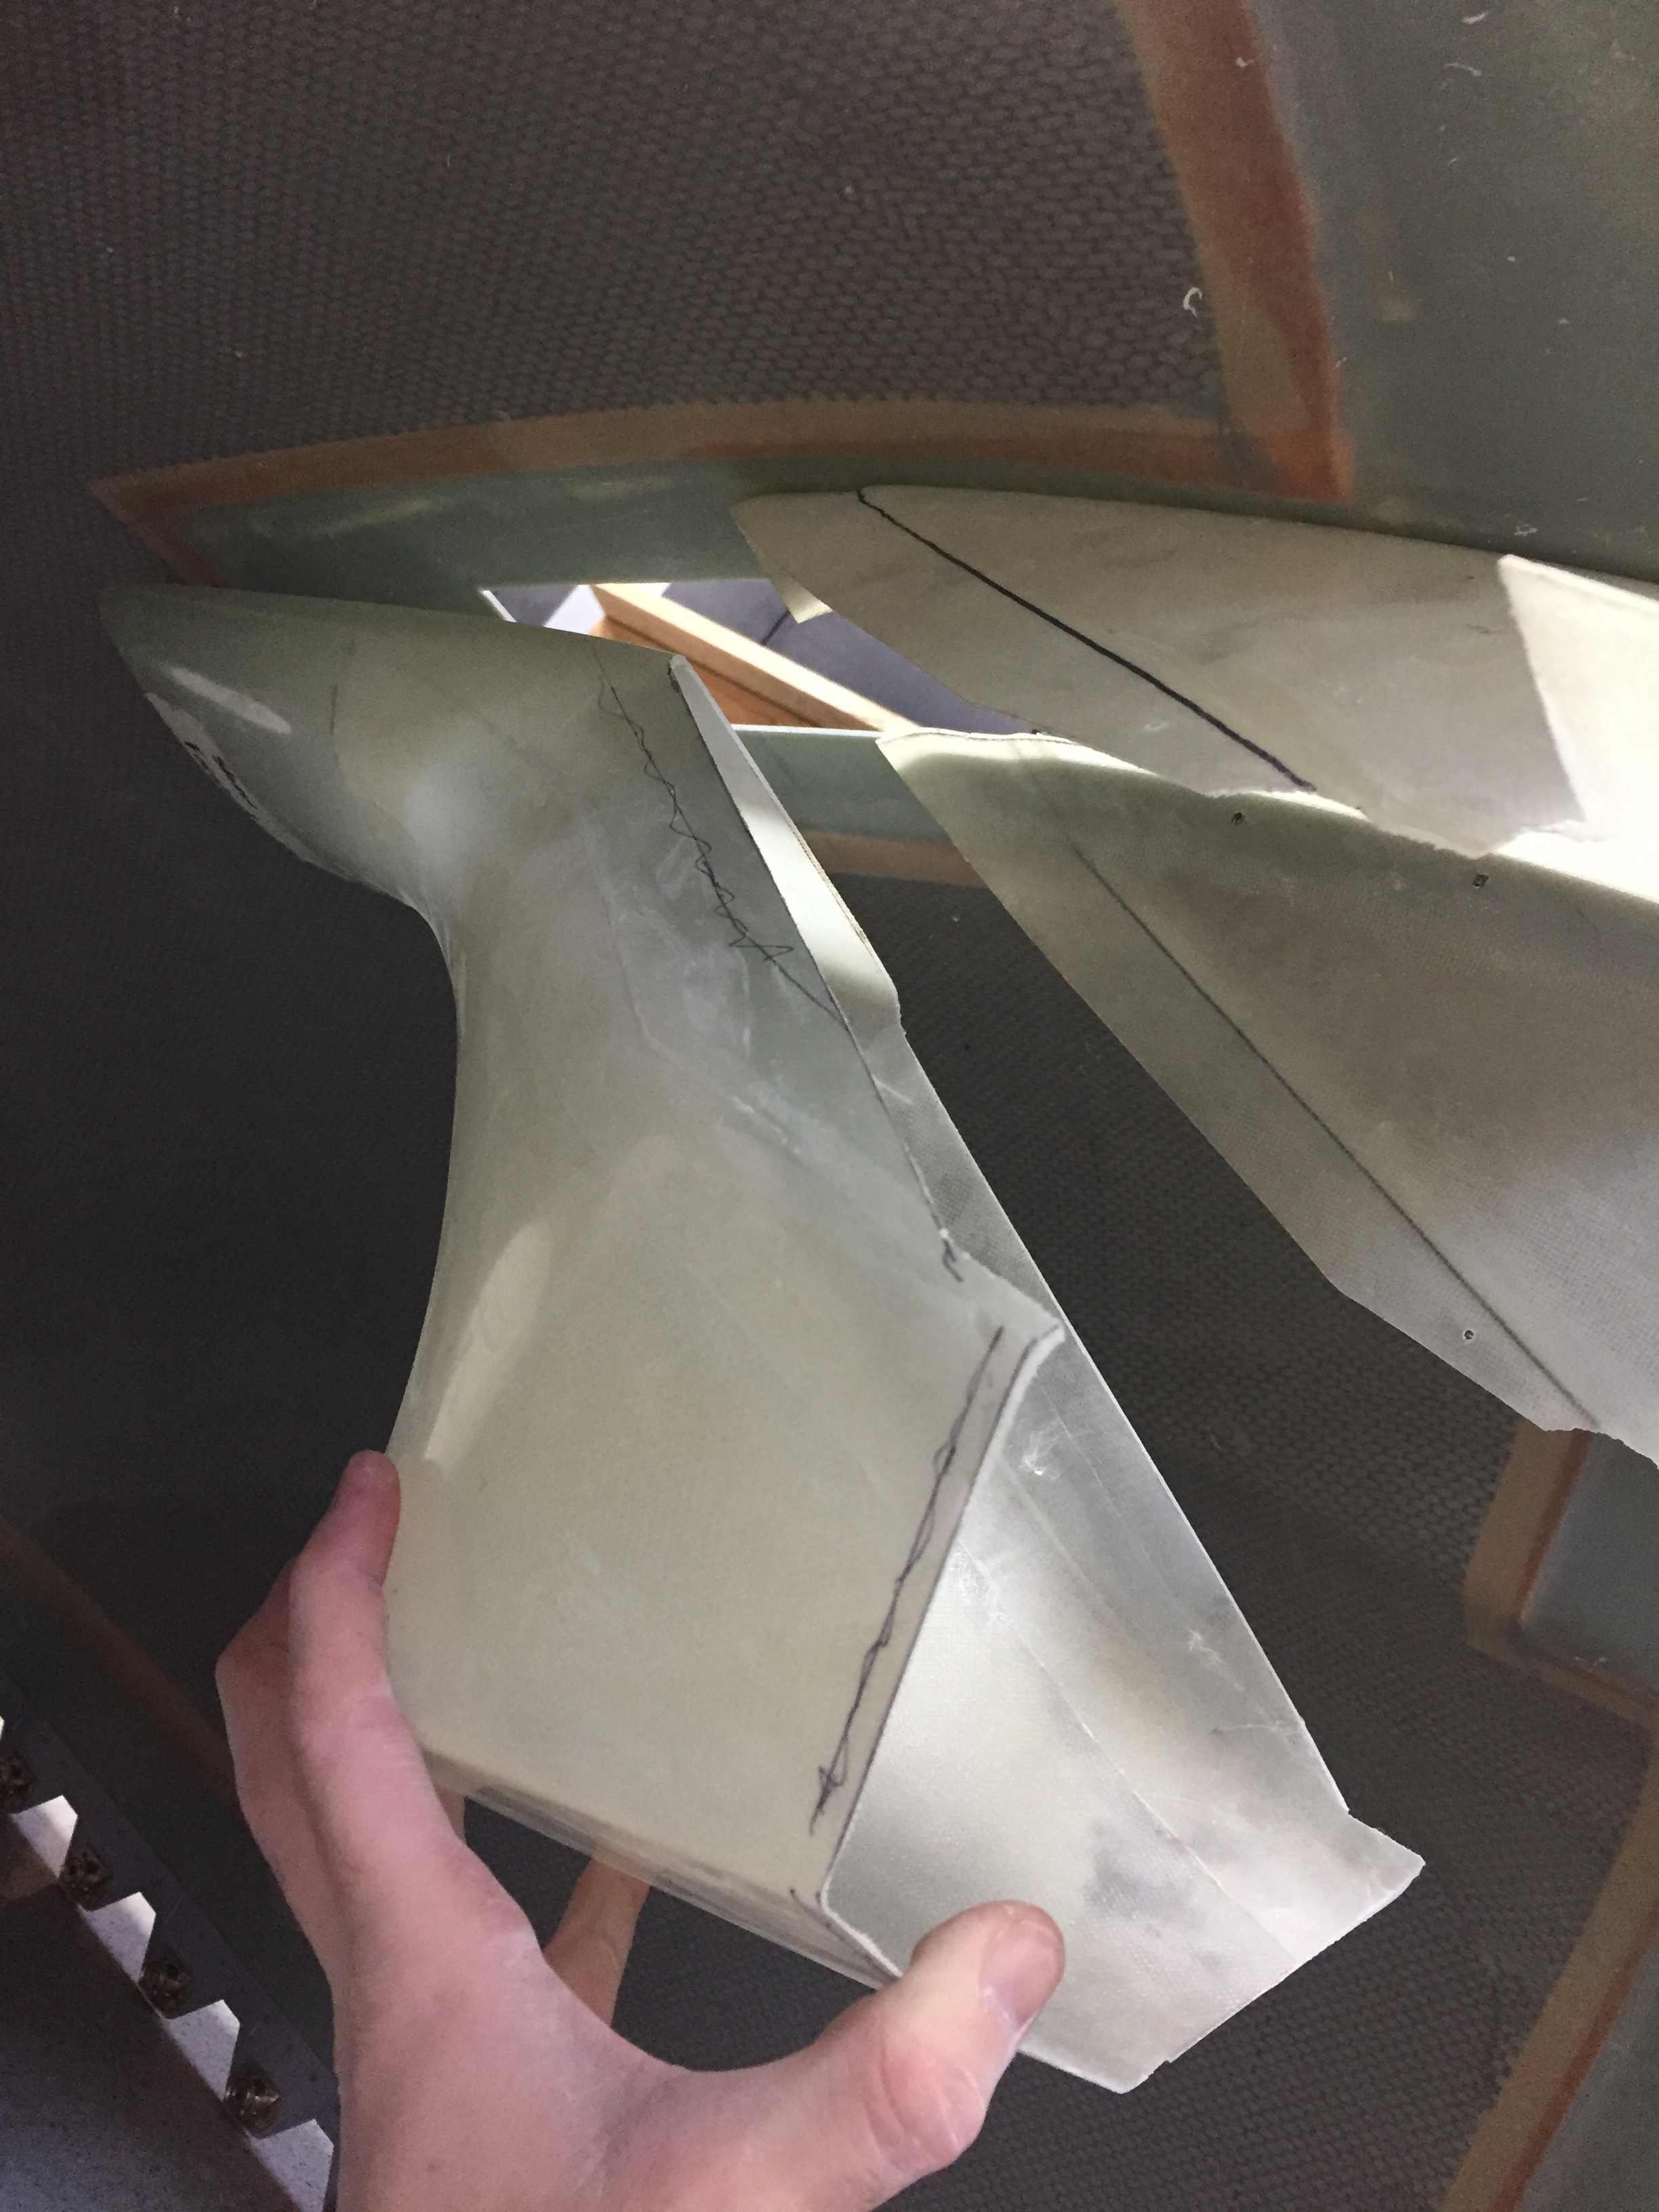
I finished up by extending the cowl slot as far as possible while still covered by the fairing and epoxied the front fairing onto the bottom of the lower cowl.  Getting the lower cowl on and off is a bit of a challenge, but it does just fit and the blade sox I have really pay off here to avoid nasty scratches on the prop blades.  

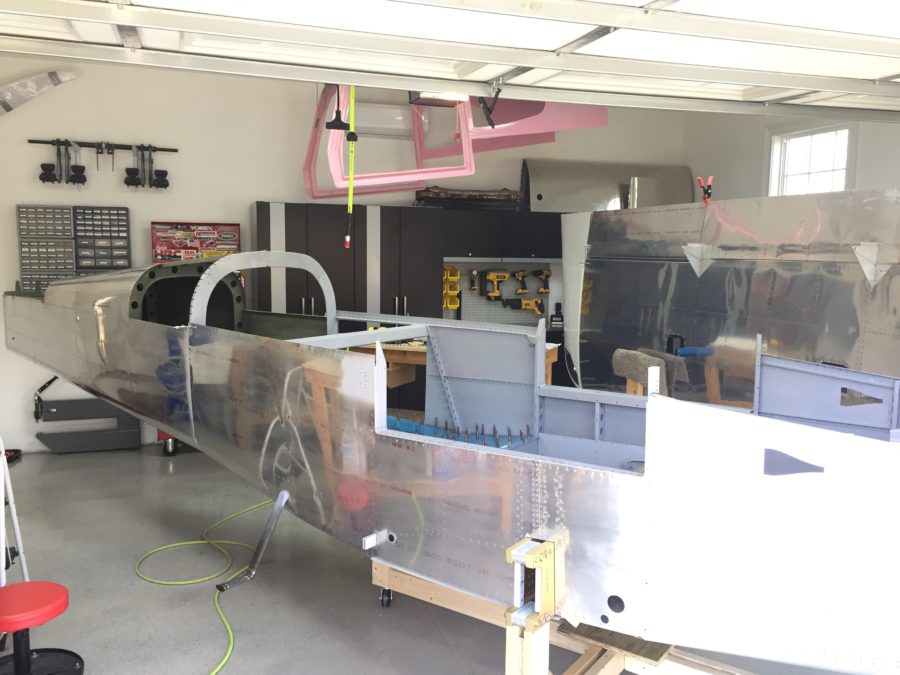
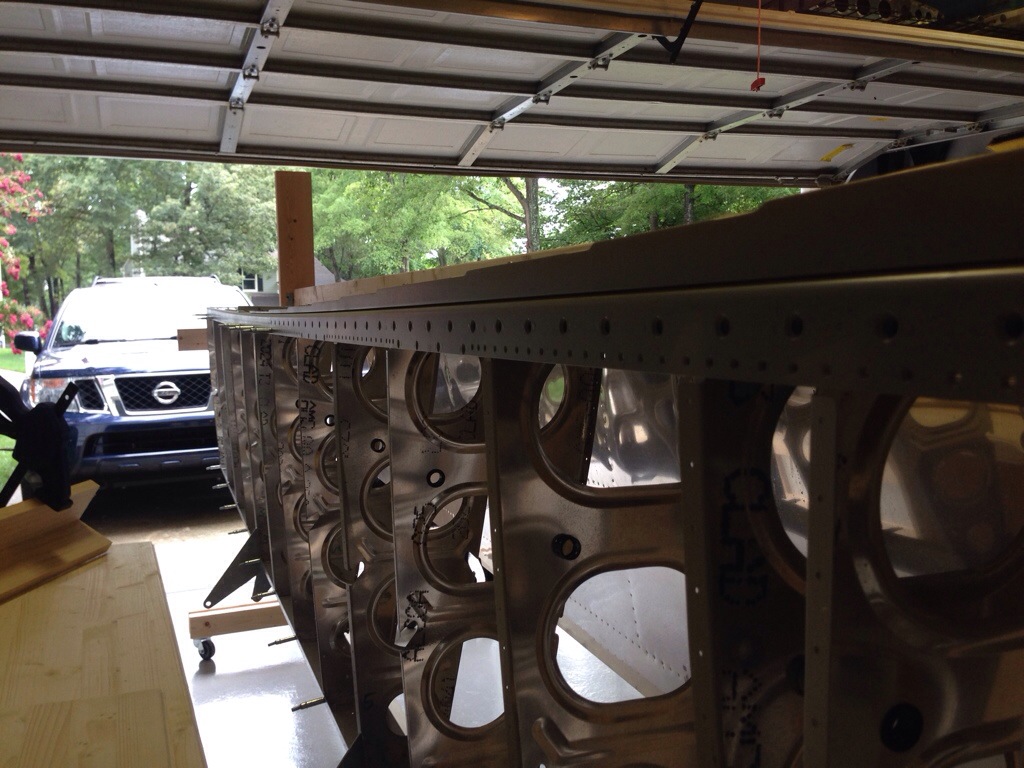
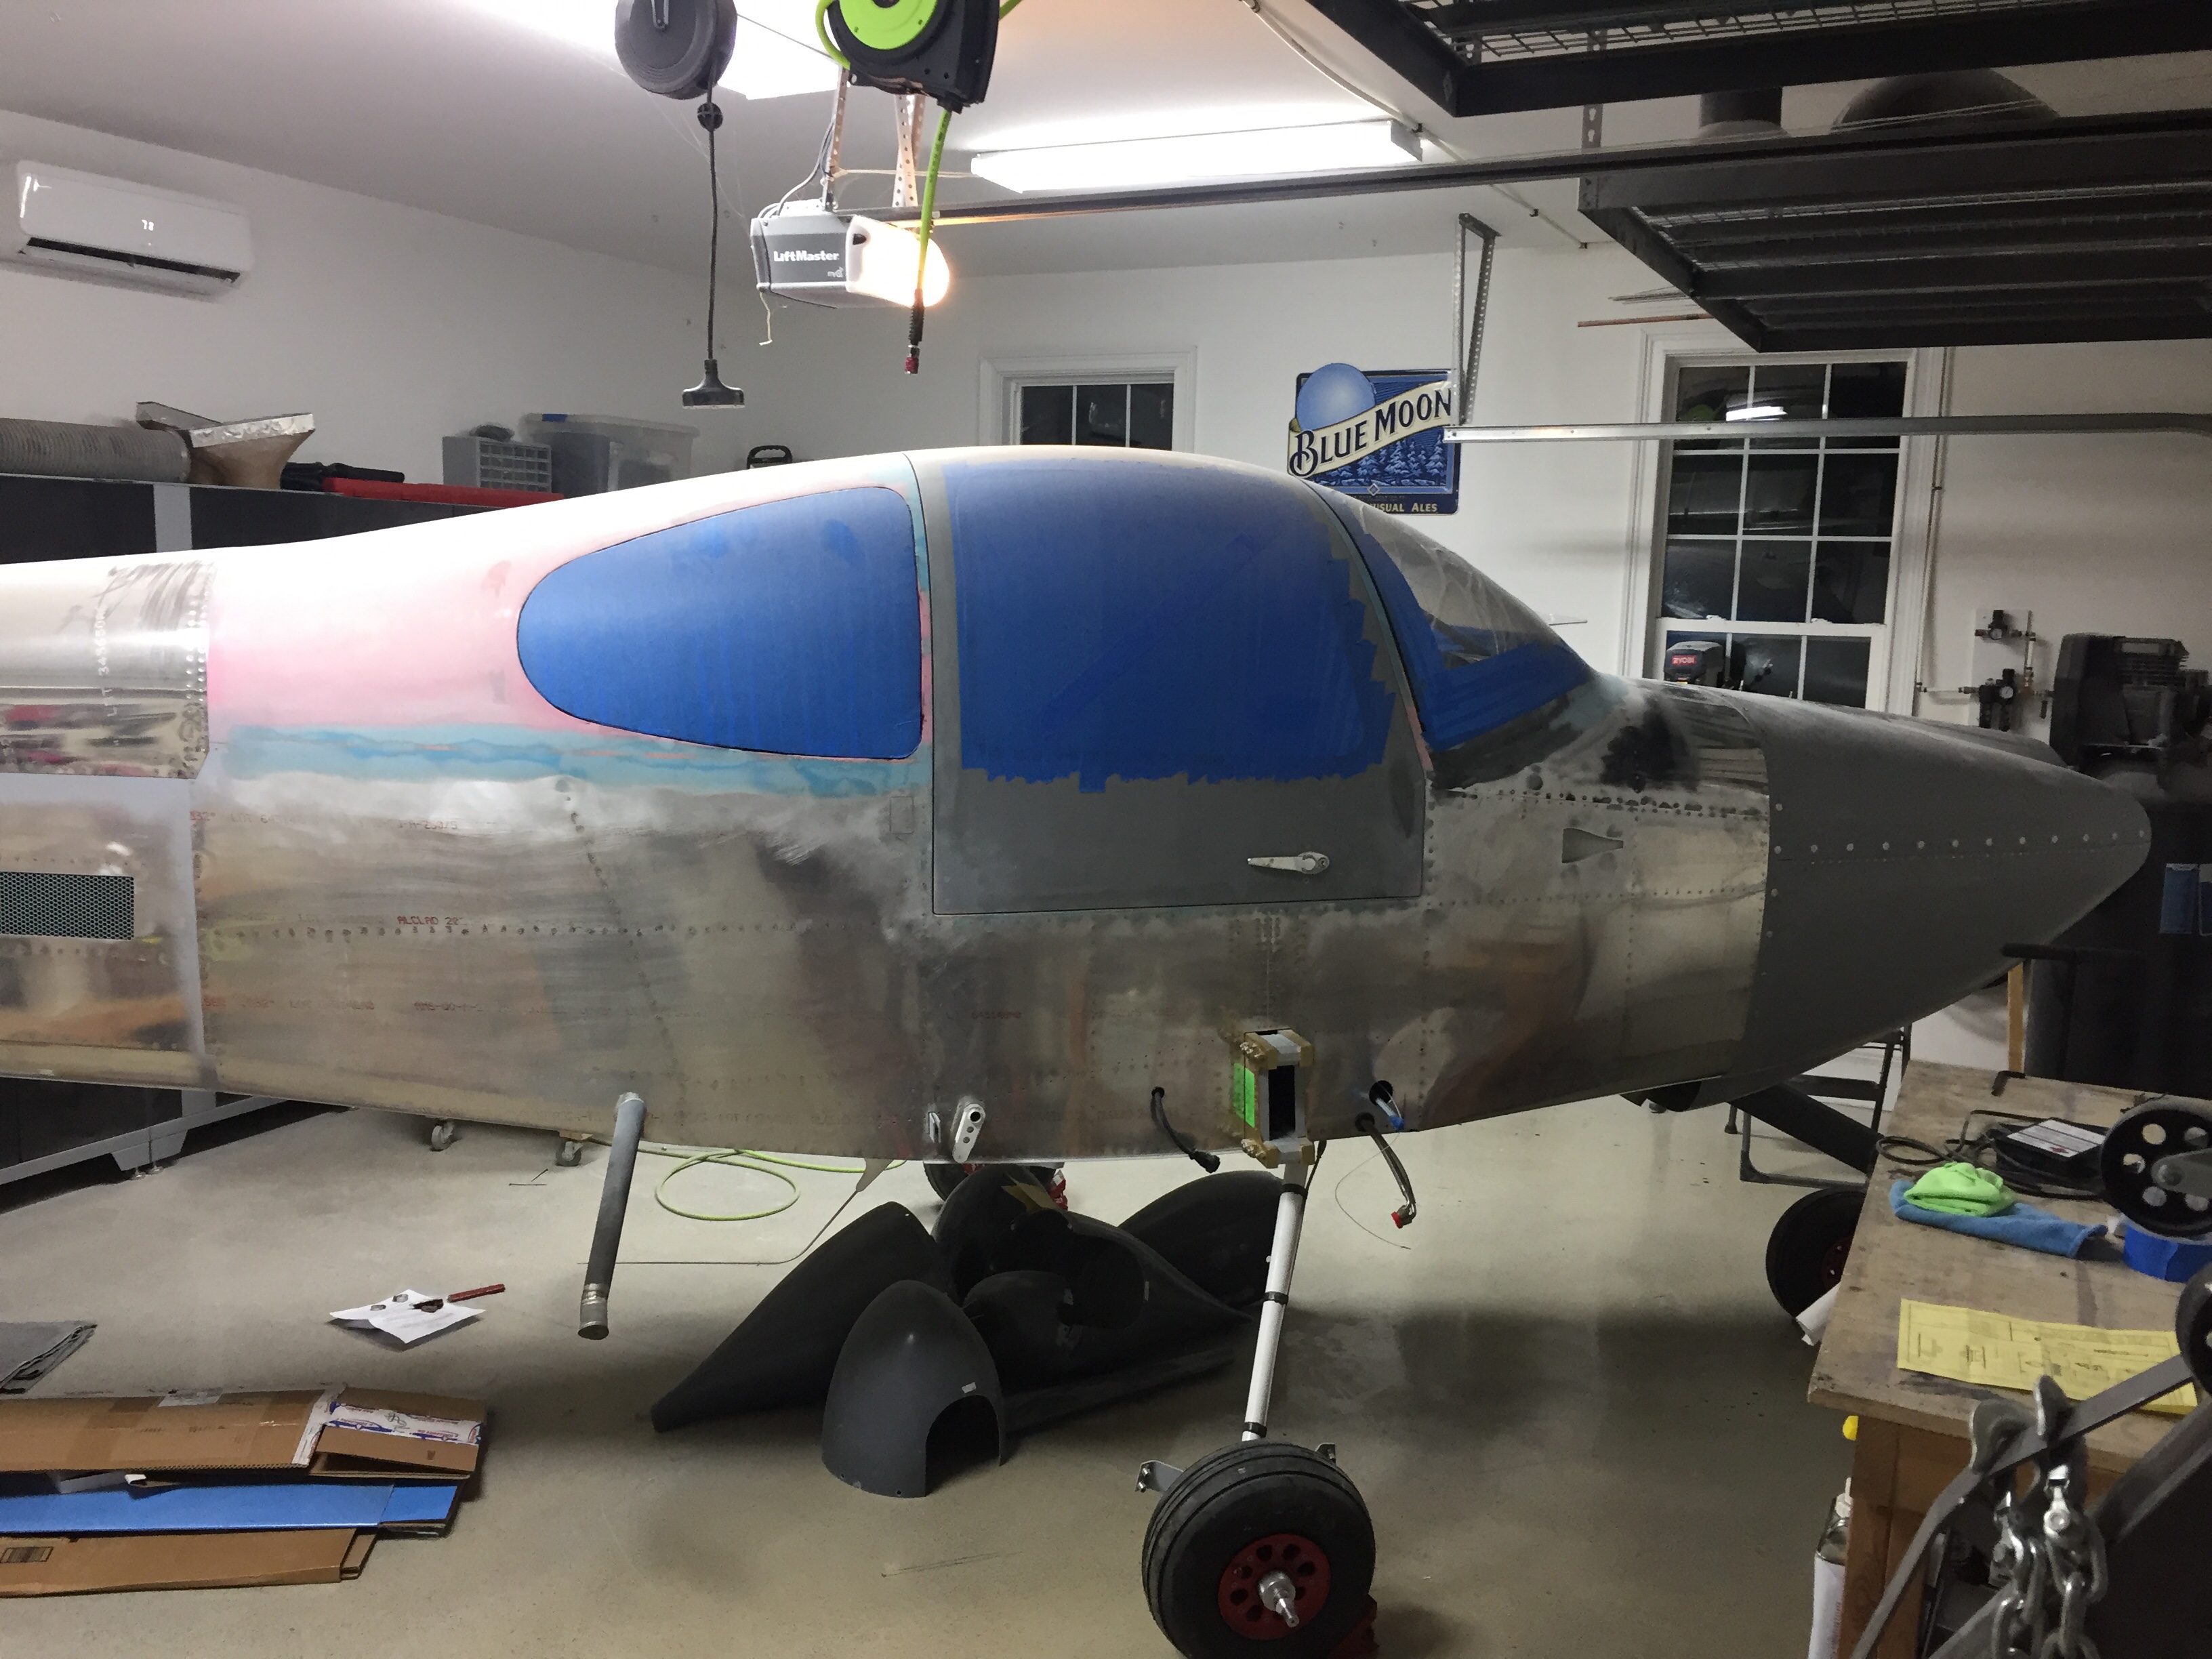
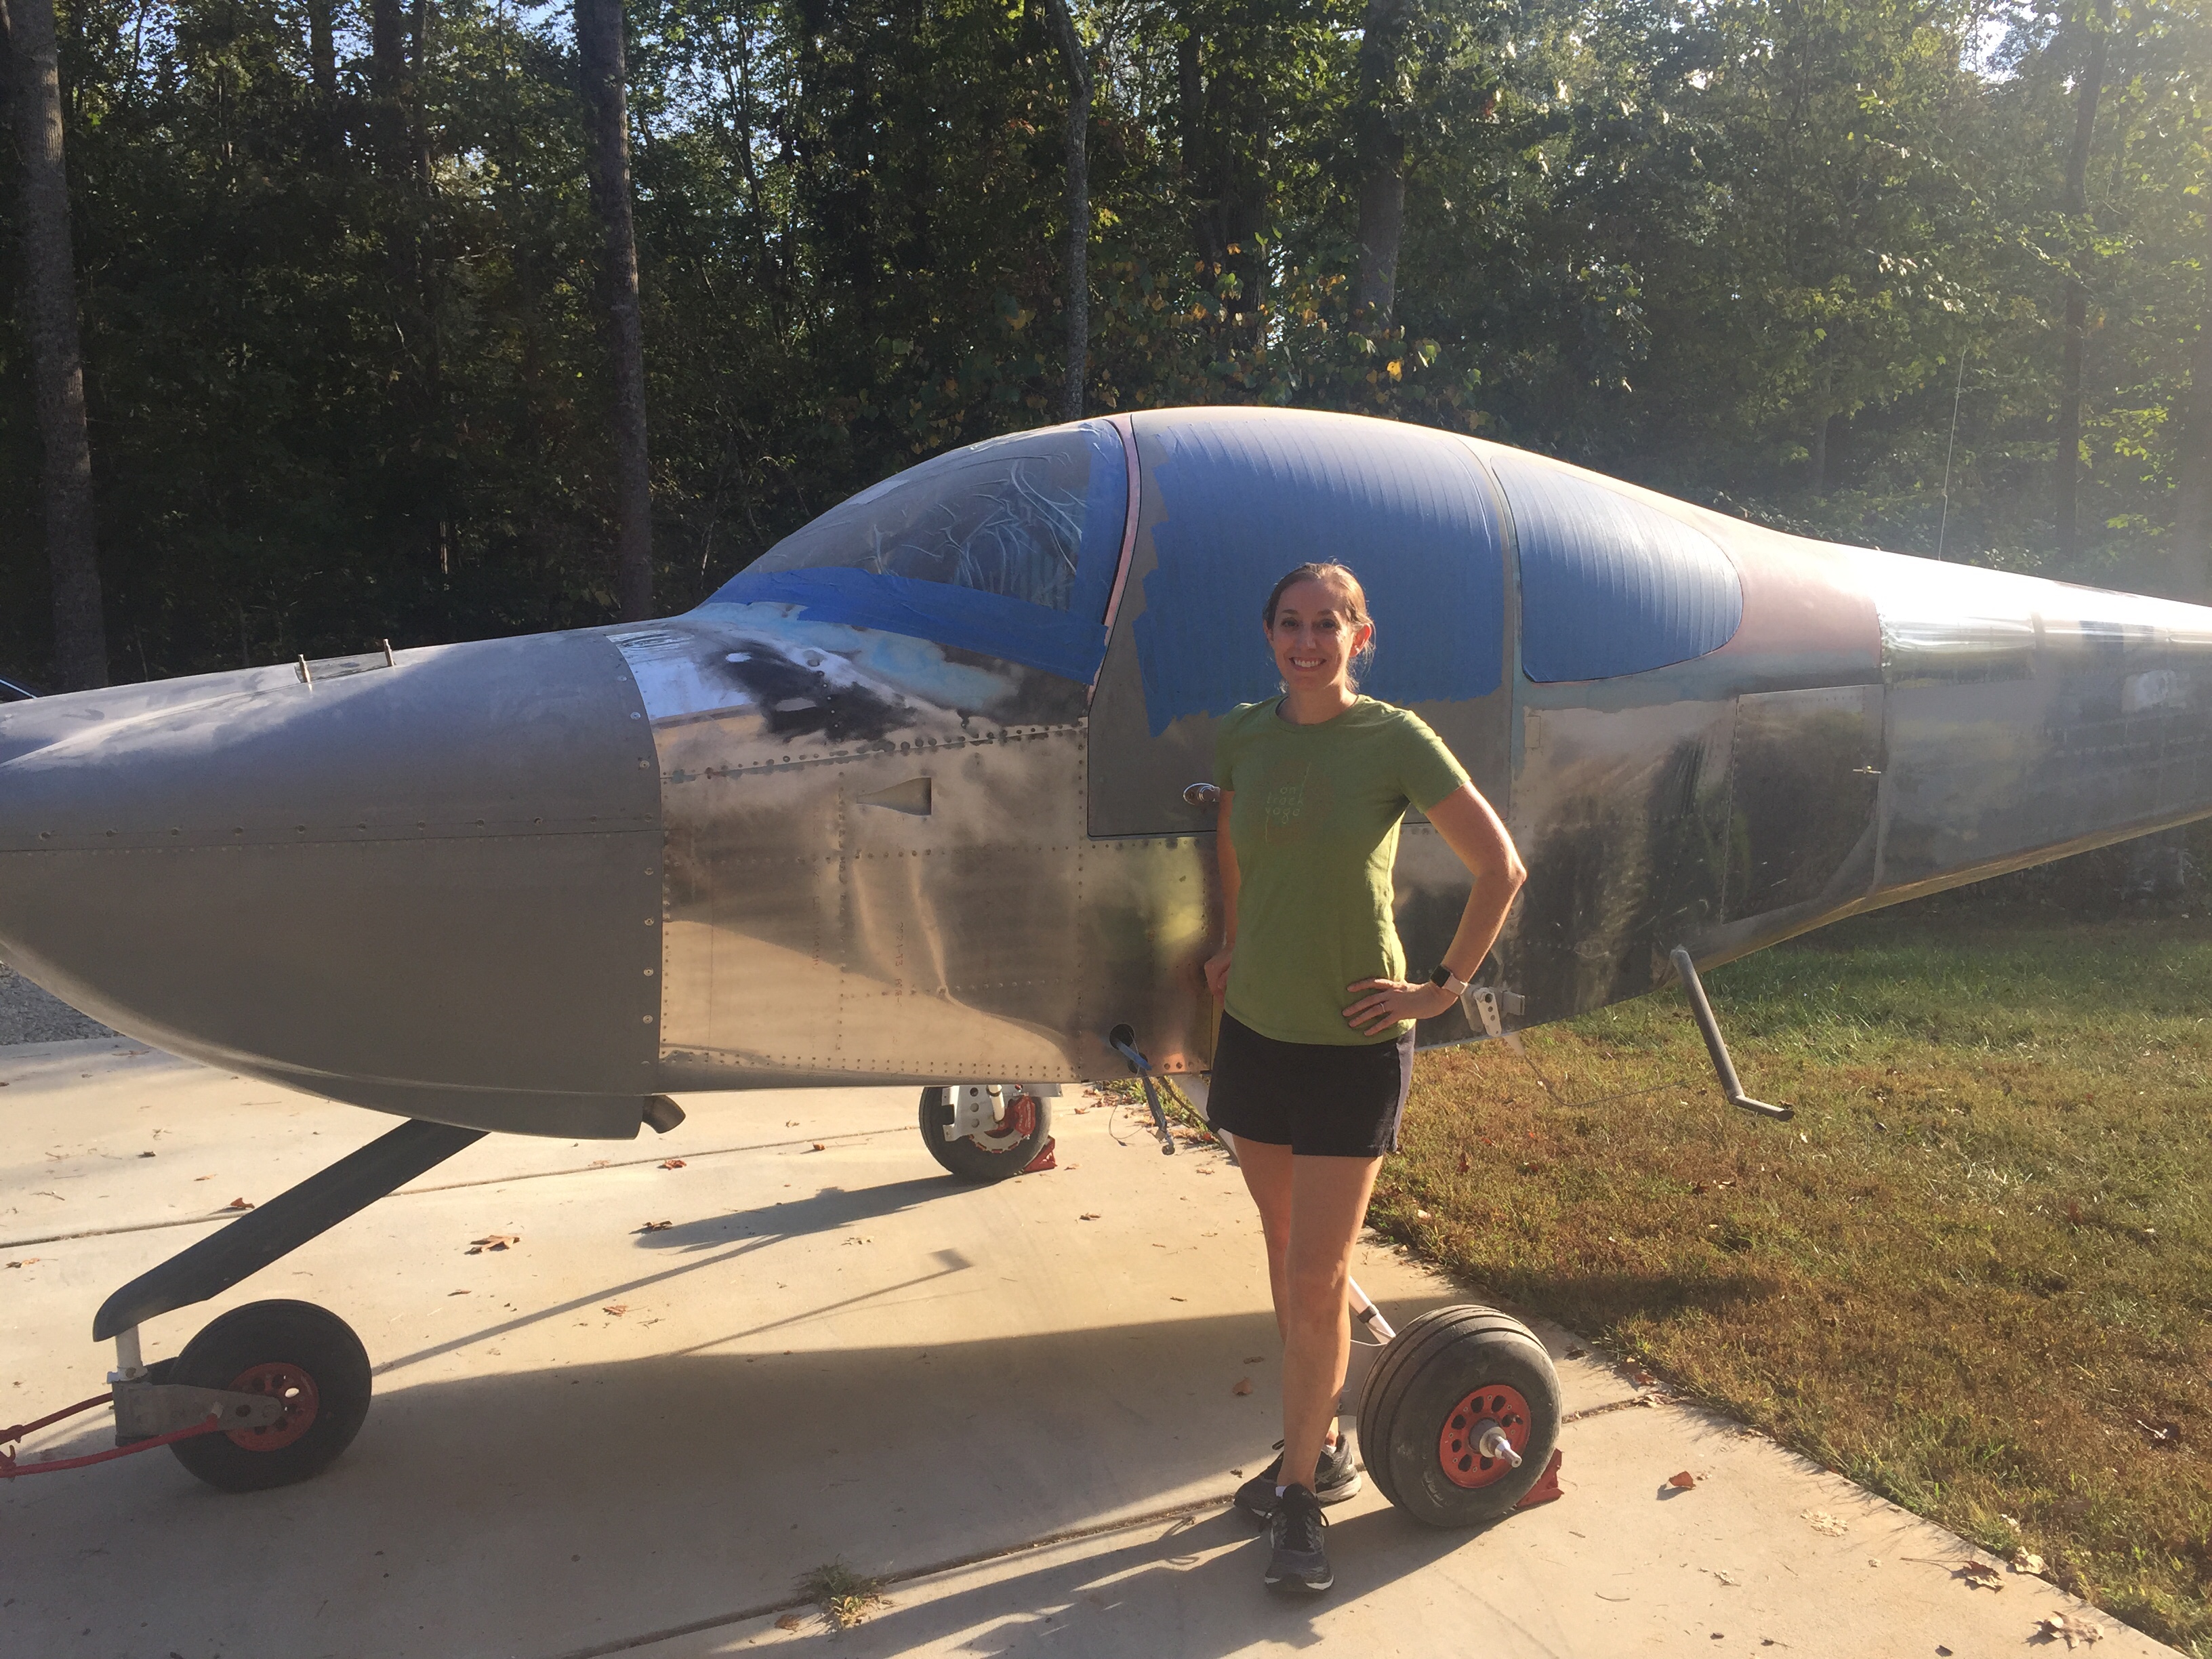
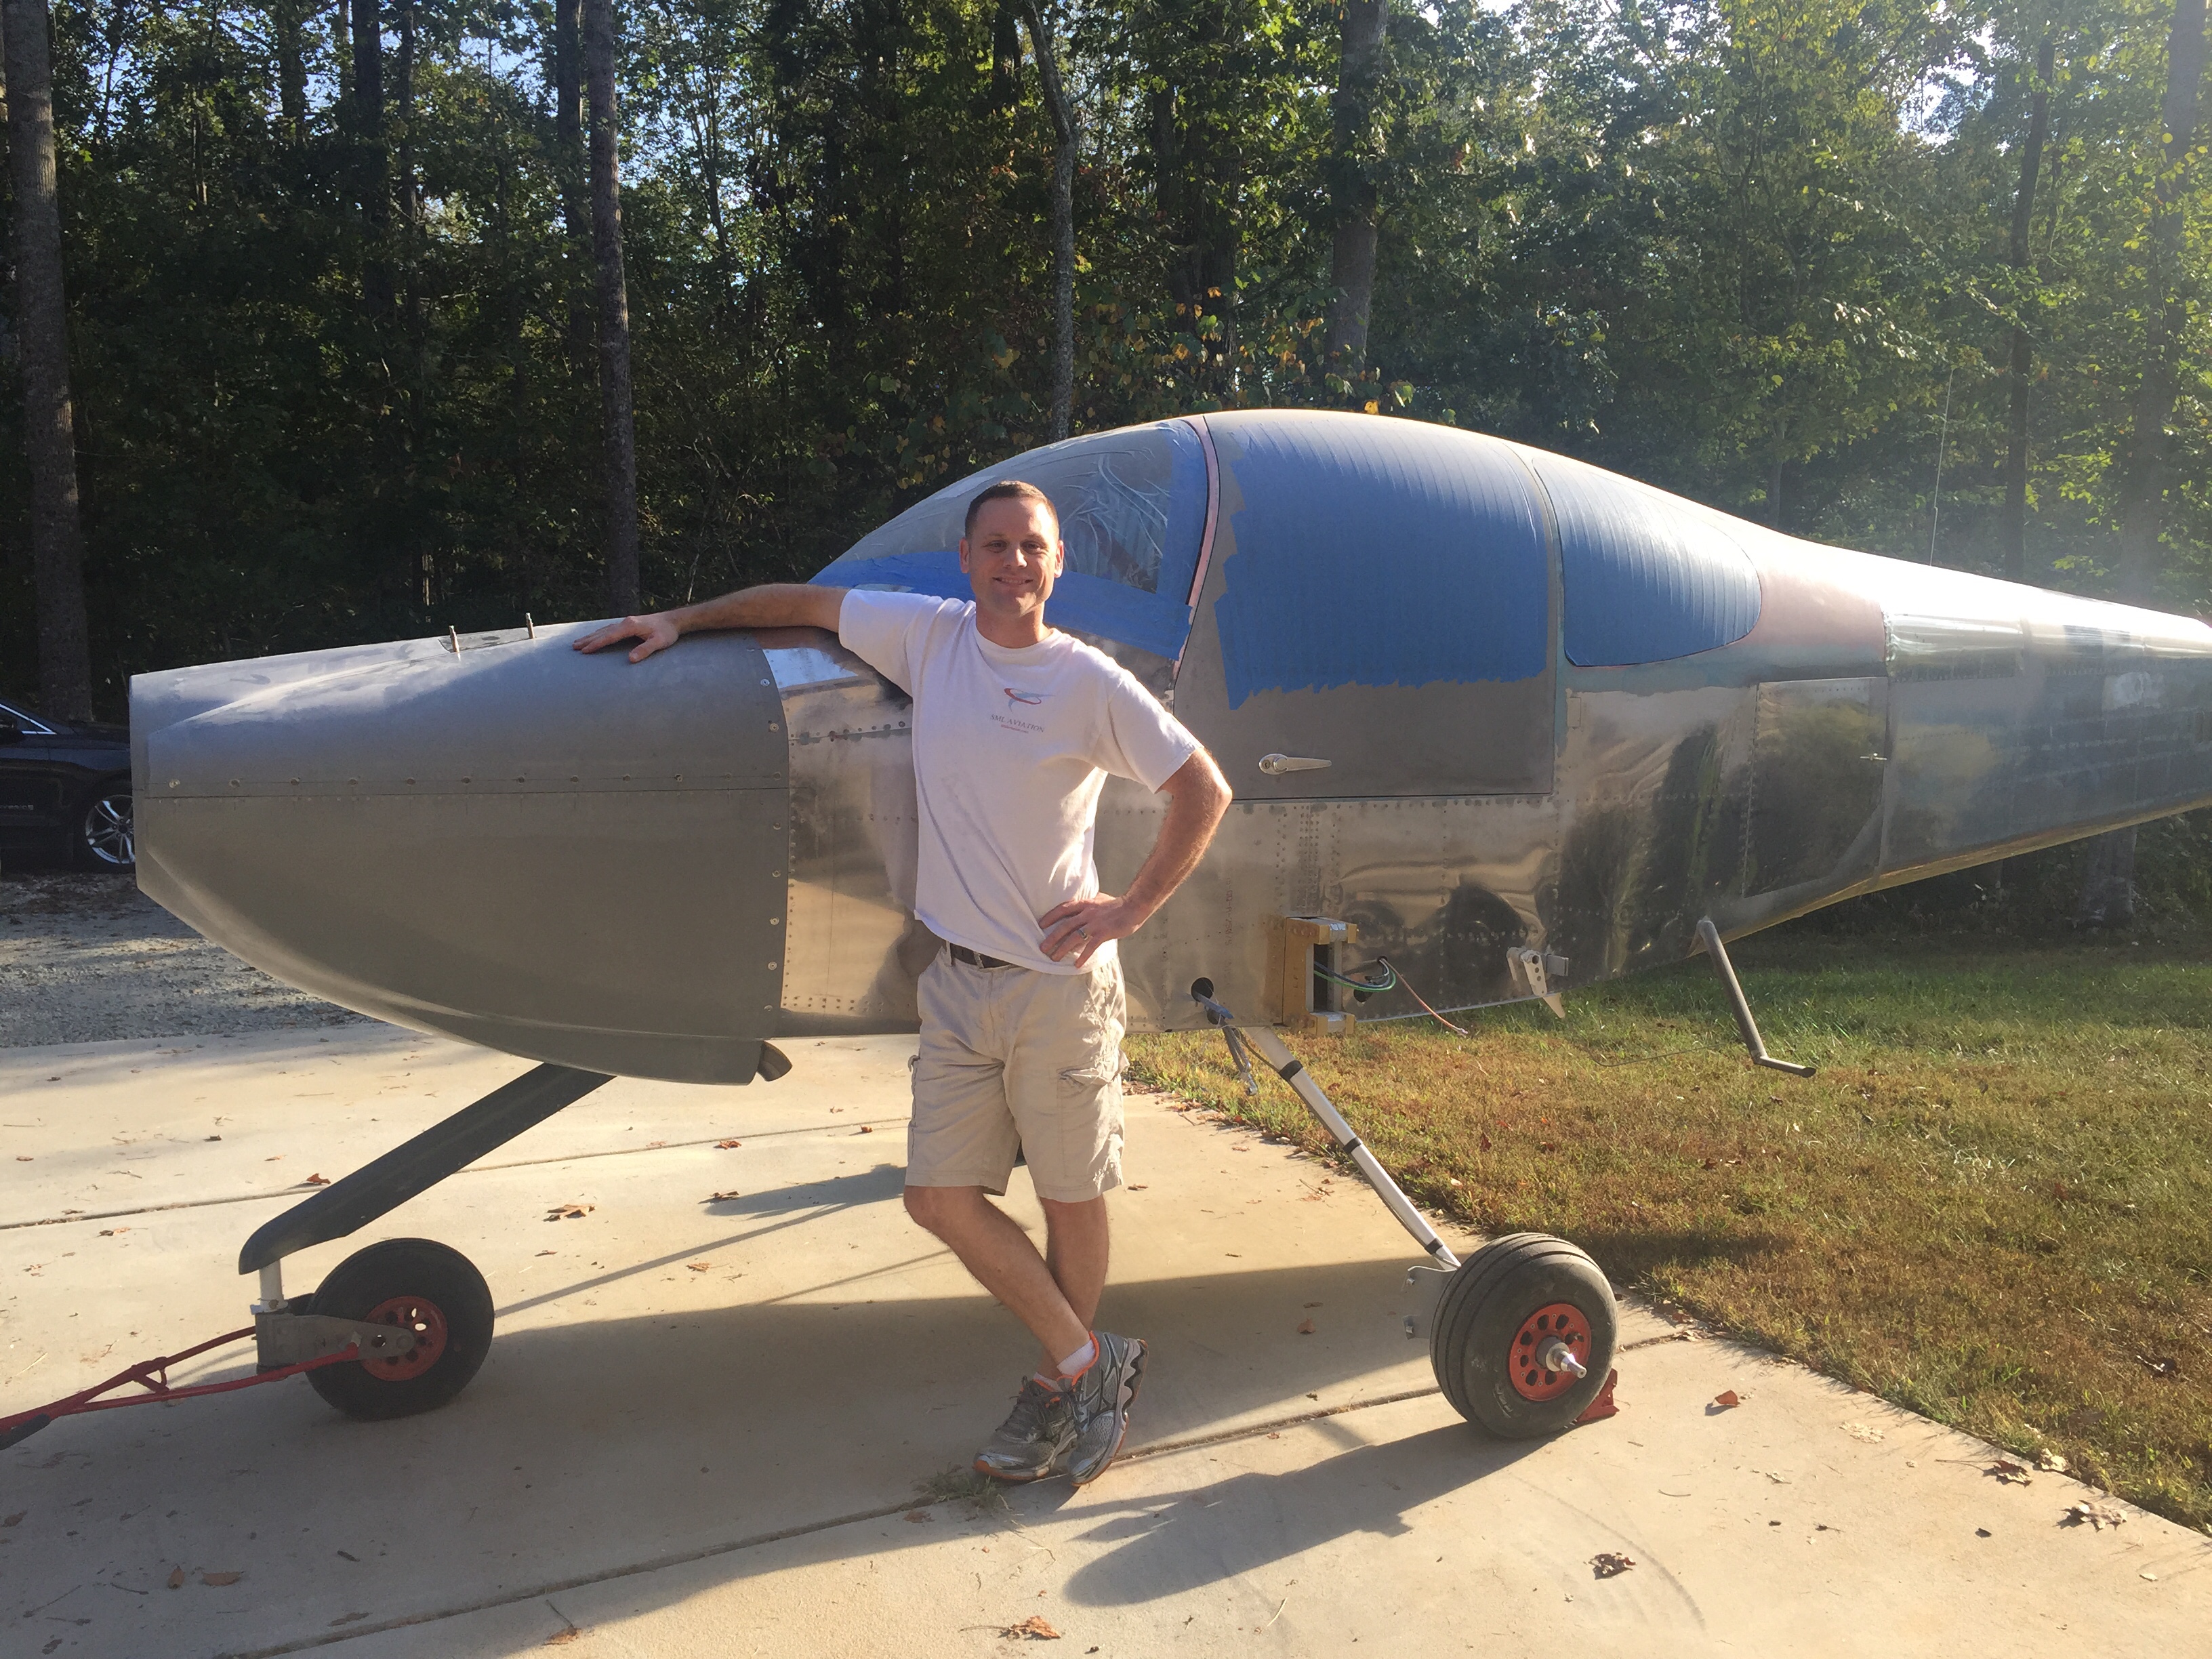
Since the cowling was the last big project left to complete at home, the fuselage is ready to join the wings at the airport!  I was able to complete all of the interior, electrical, avionics, and engine including cowling at home which saved a lot of time and money in the long run.  Now I need to fit the wings and tail surfaces to finish up the build and need the hangar space to do so.

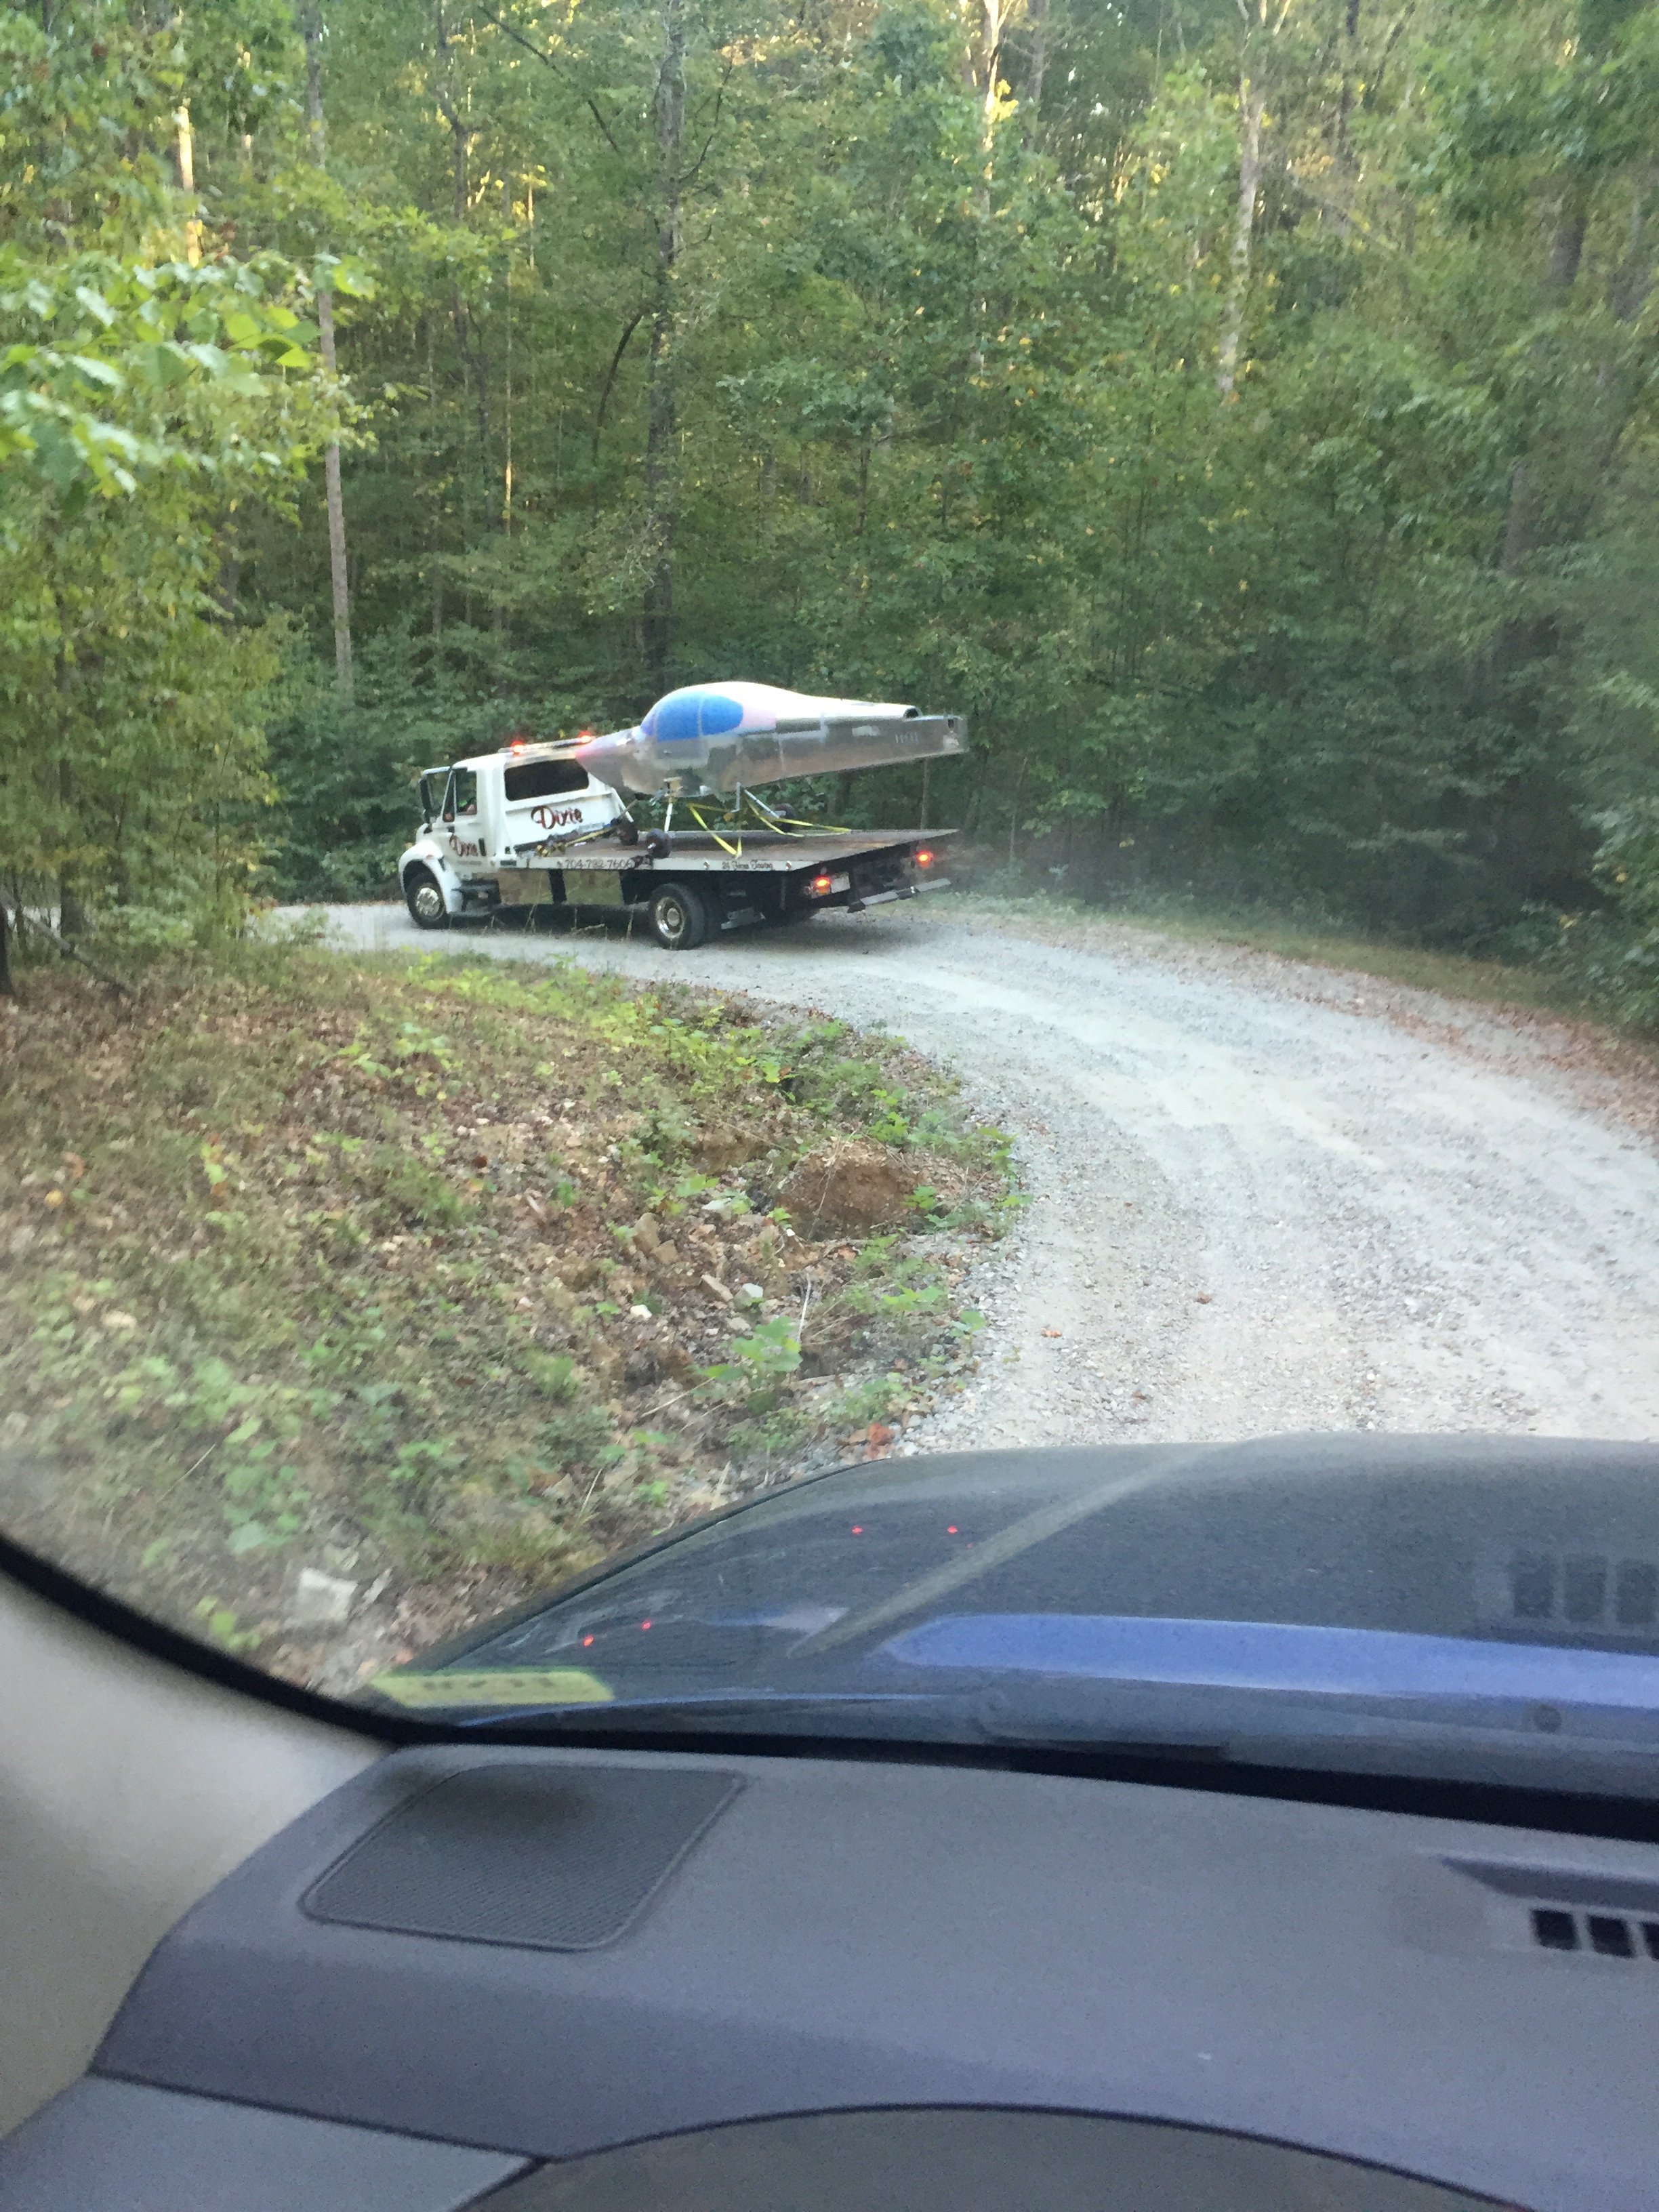
On a sunny afternoon, we rolled the fuselage out and did a good blow job (hahahaha, grow up) to get most of the dust off of everything.  I found a roll back wrecker driver that made me feel comfortable and who wasn’t in a hurry to move it the few miles to the airport.  He did a fantastic job, talking through each step and making sure I was happy with how we winched it and tied it down.  He took his time on the curvy bumpy back roads after managing down our driveway of doom and destruction with ease.  I think I breathed twice during the 45 minutes it took to move it and I only panicked once when I thought tree limbs were going to scratch the windscreen but were actually three feet clear.

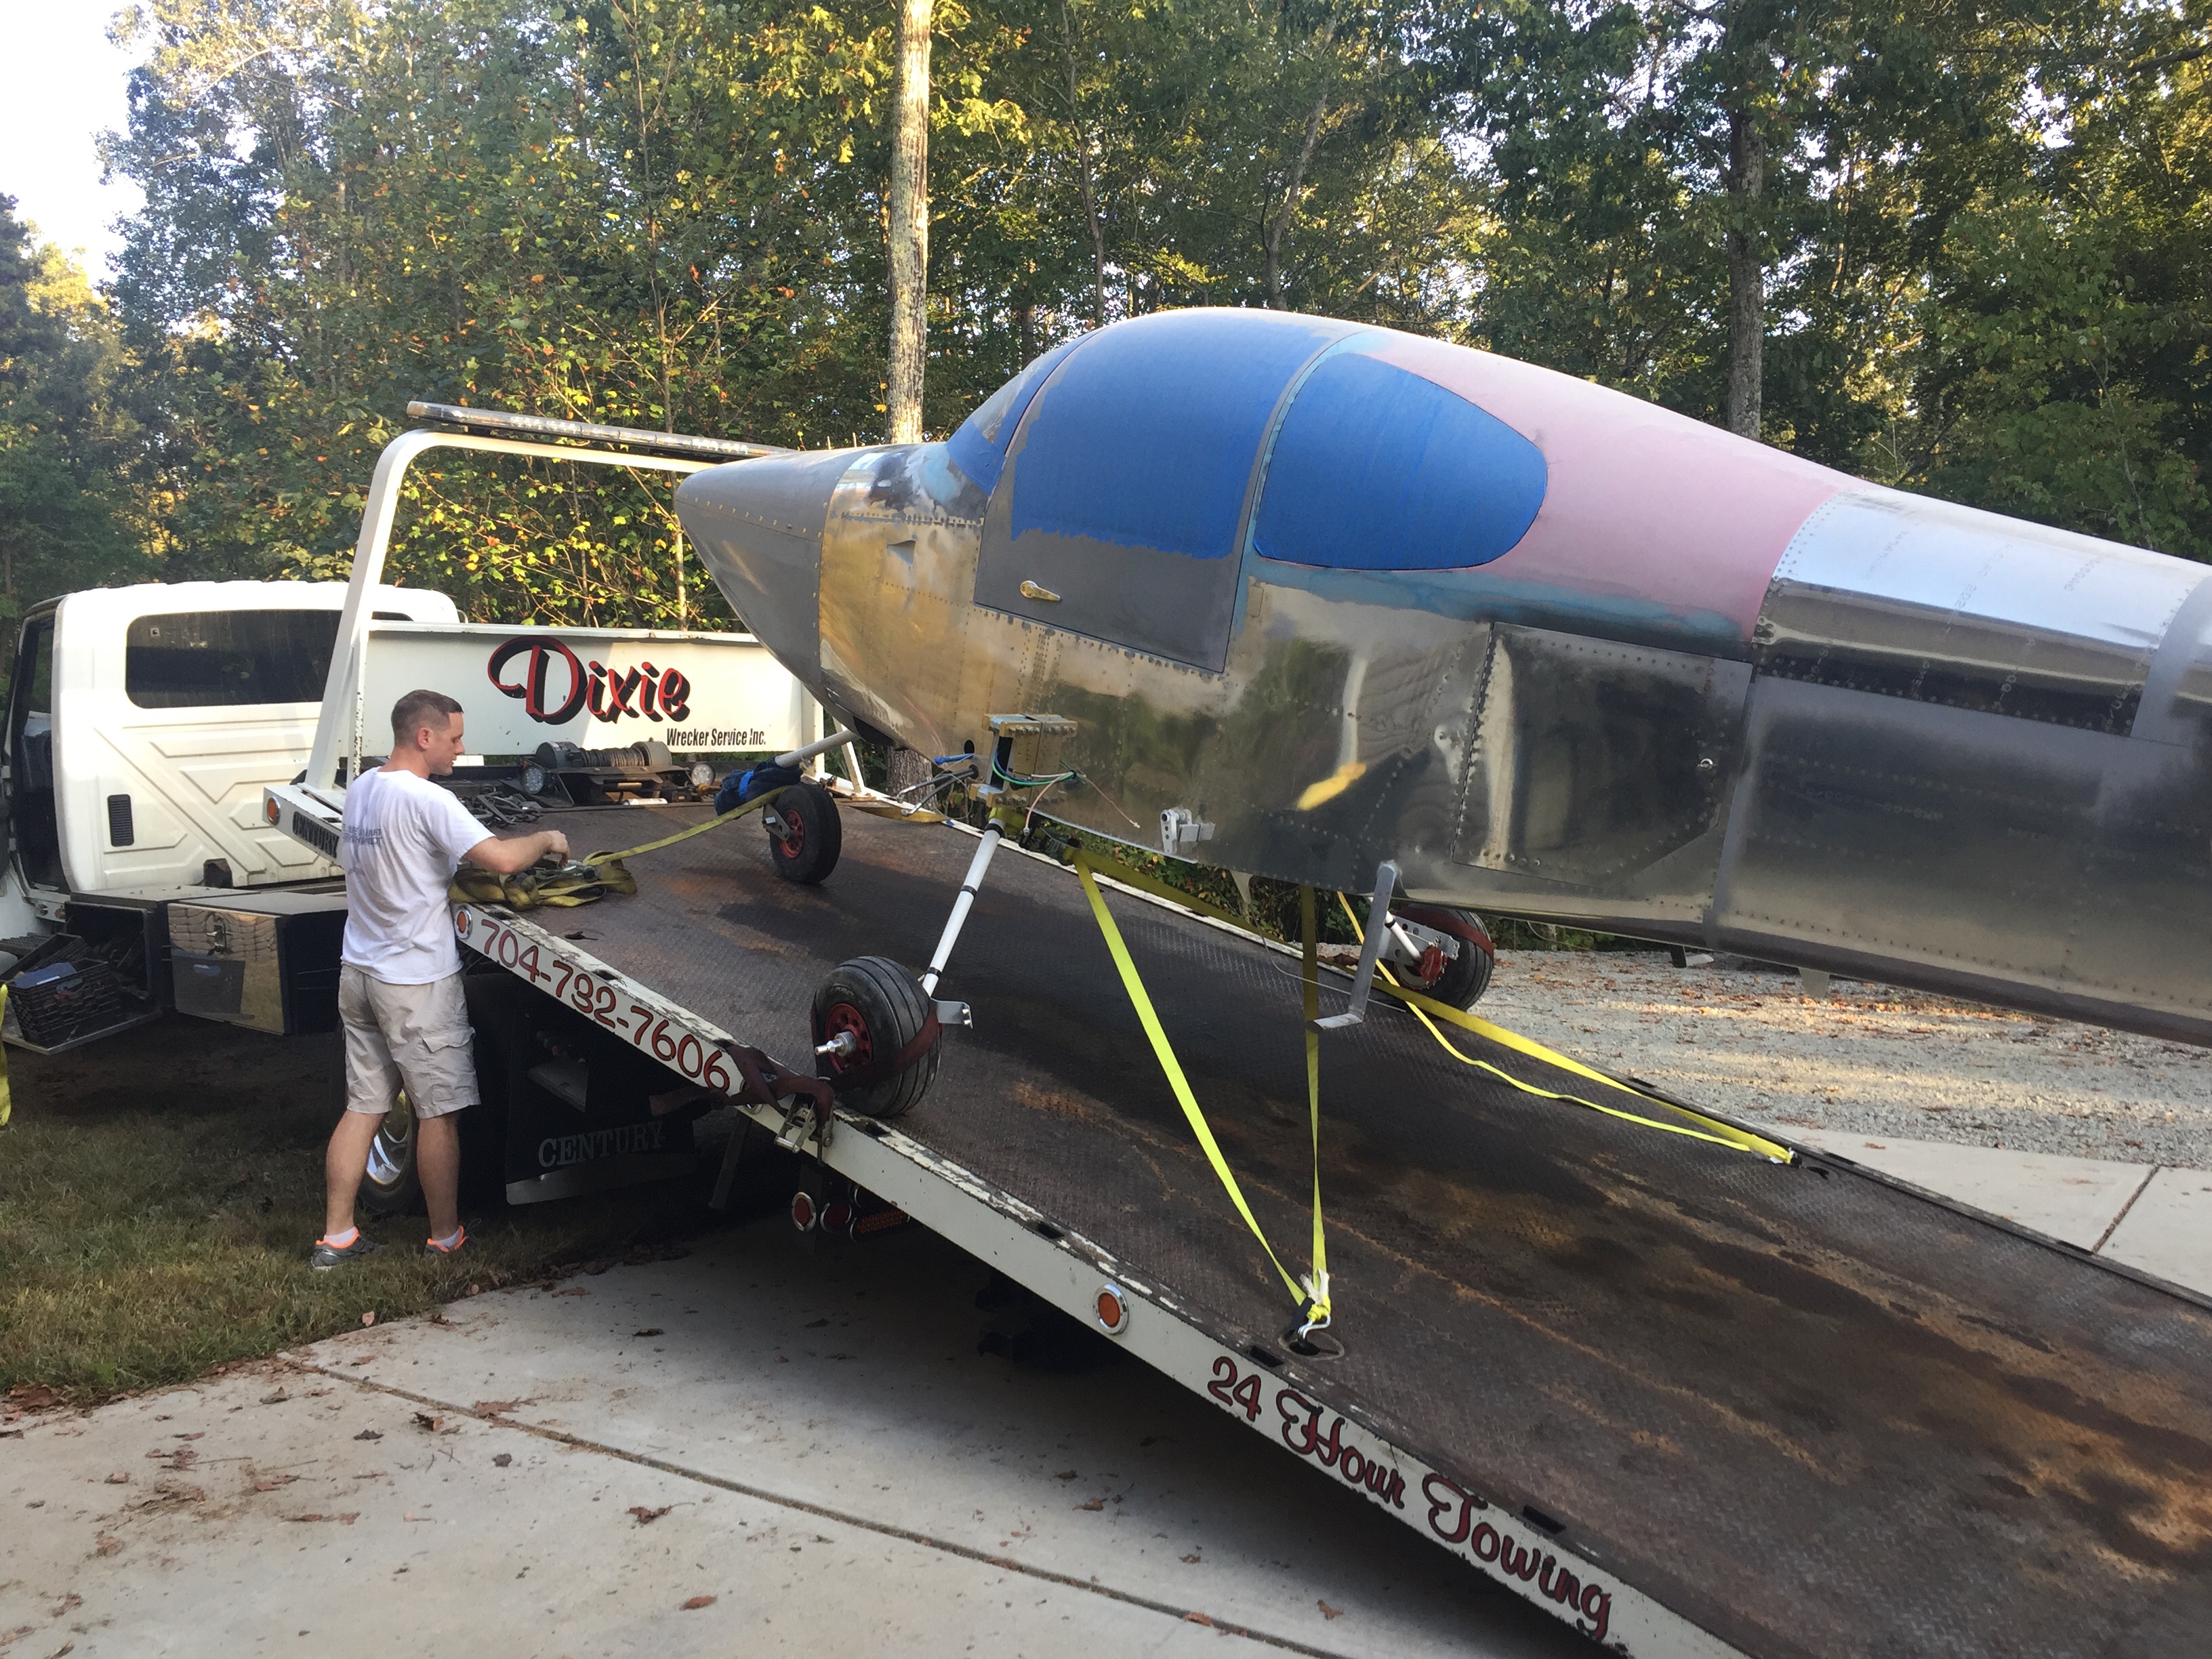
We rolled it off the wrecker onto the ramp and quickly had it tucked away in her forever home at IPJ.  Laura helped me roll the wings still in the wing rack down from the other end of the field (a 20 minute walk with those puppies).  Two guys who I know flying the Diamond were kind enough to let me store the wings for almost a year in their hangar free of charge.  Truly great people makes things like this happen, can’t say enough.

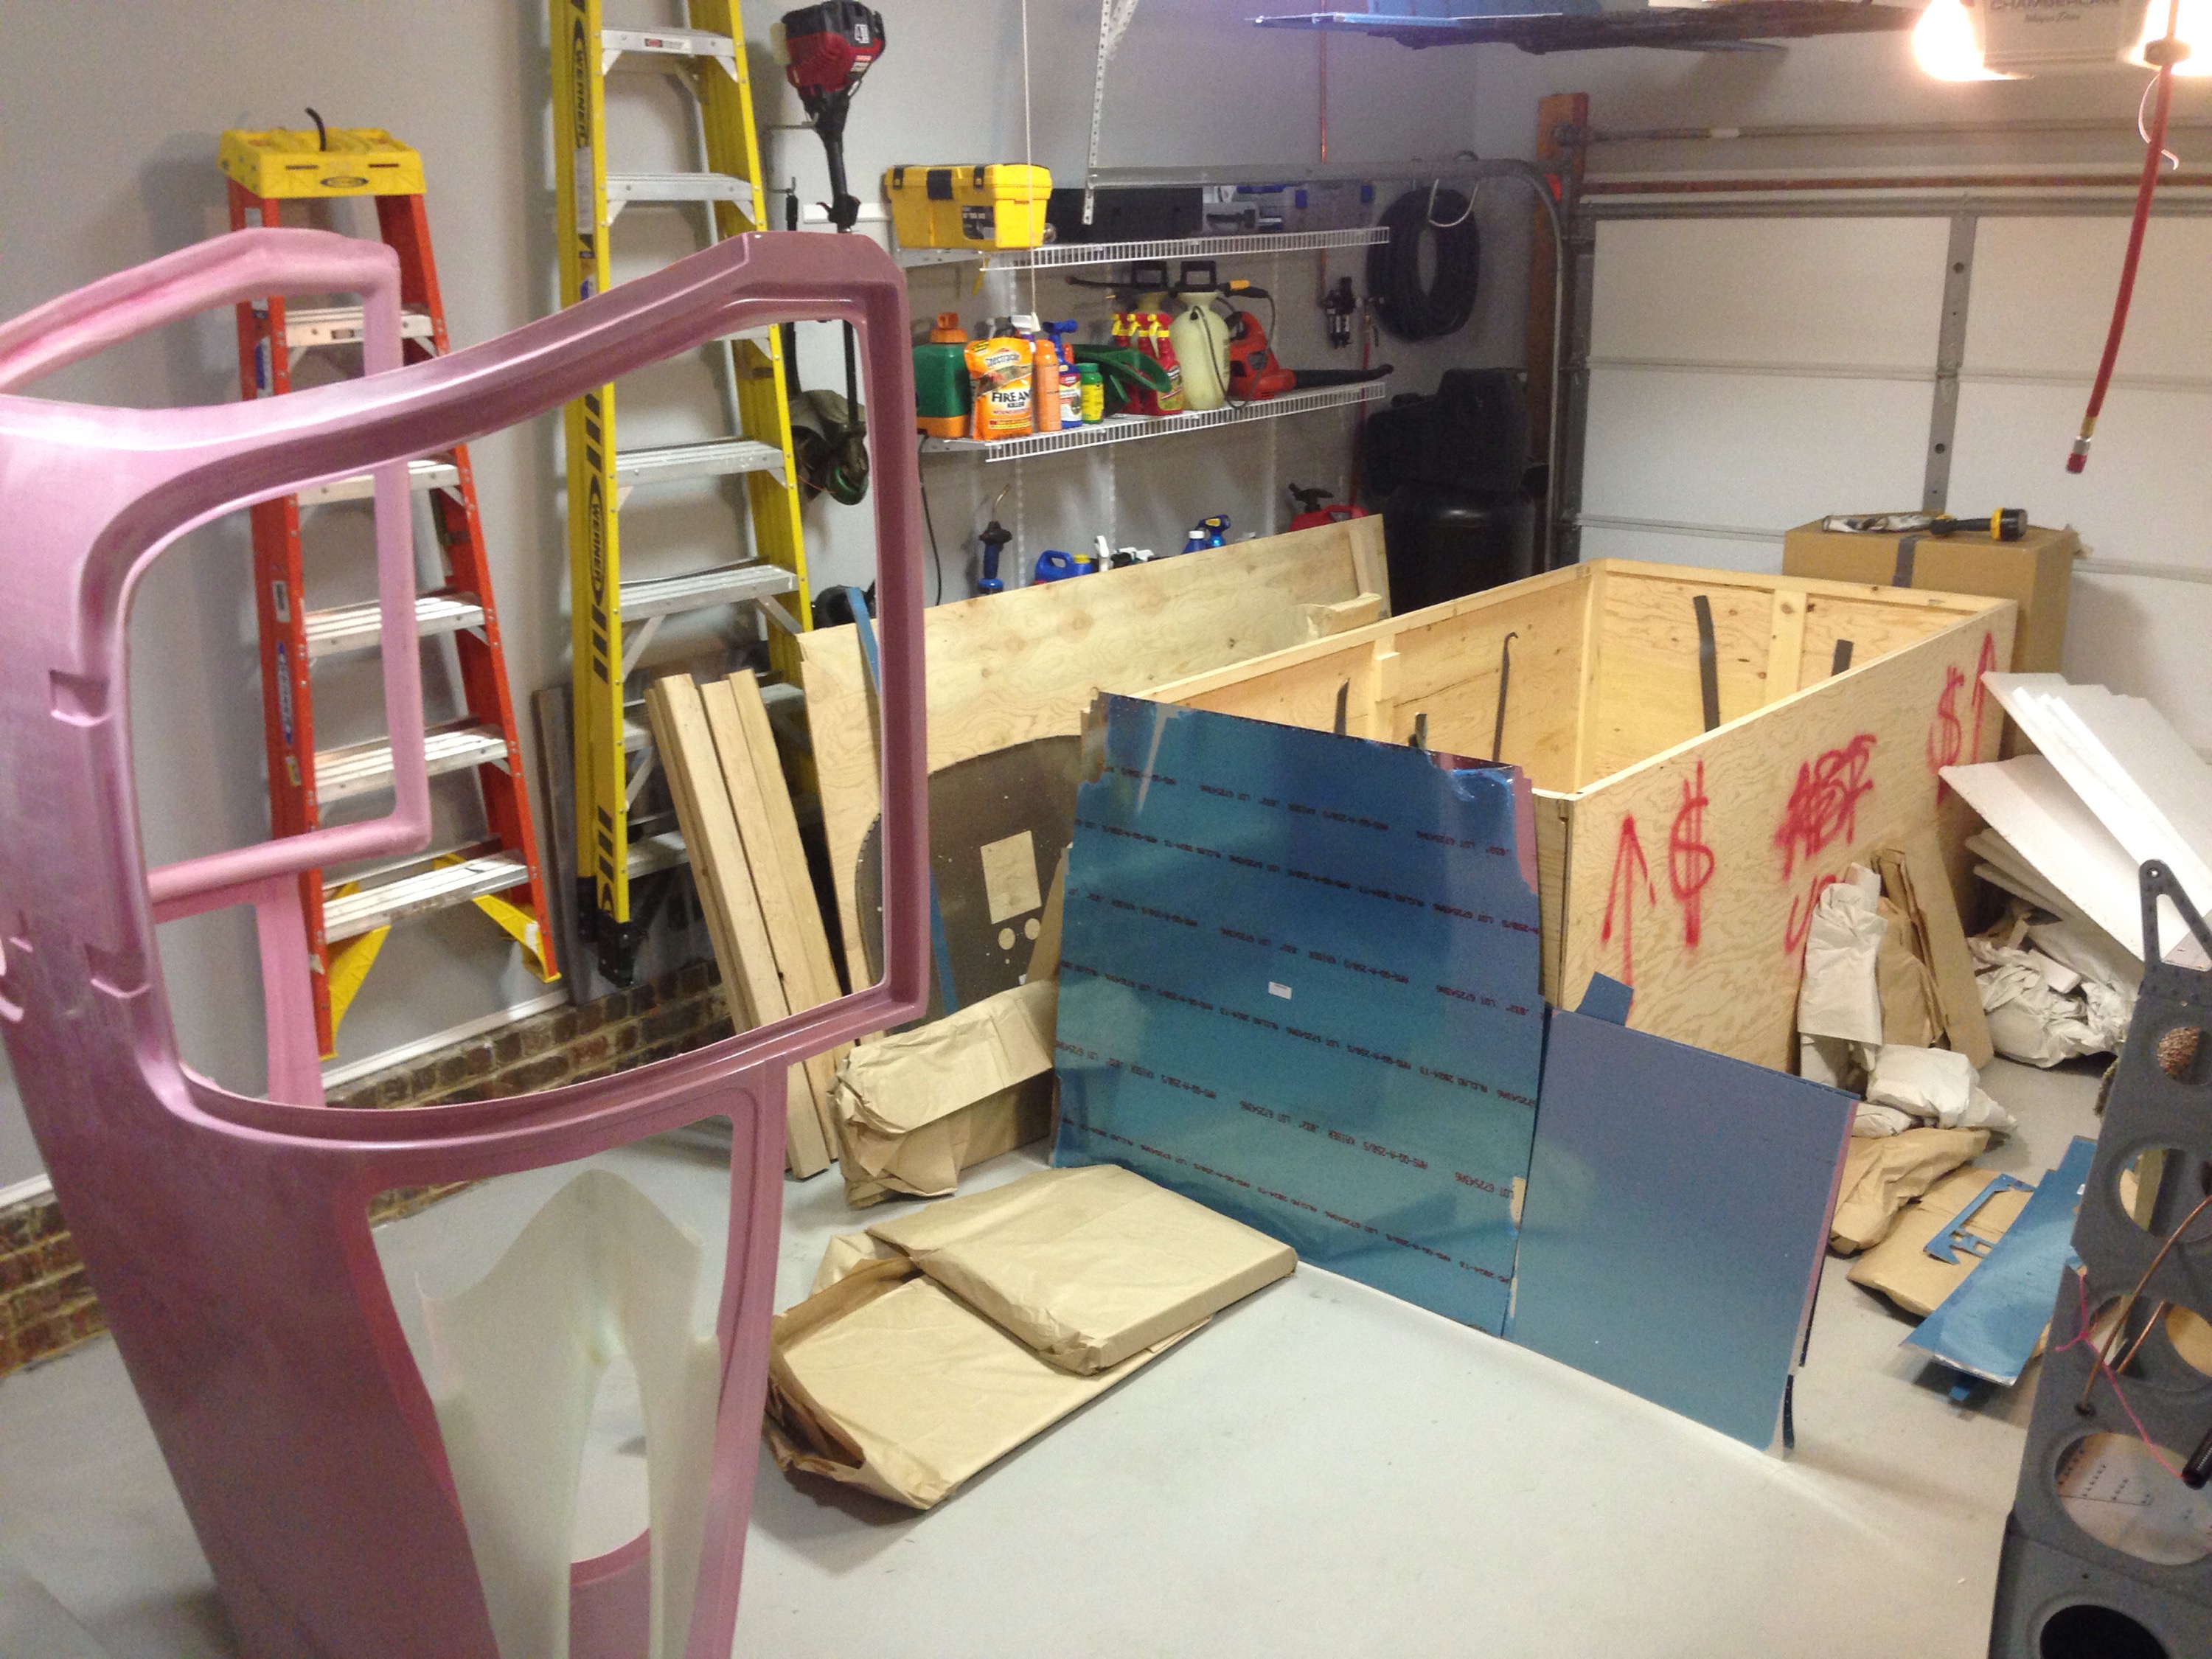
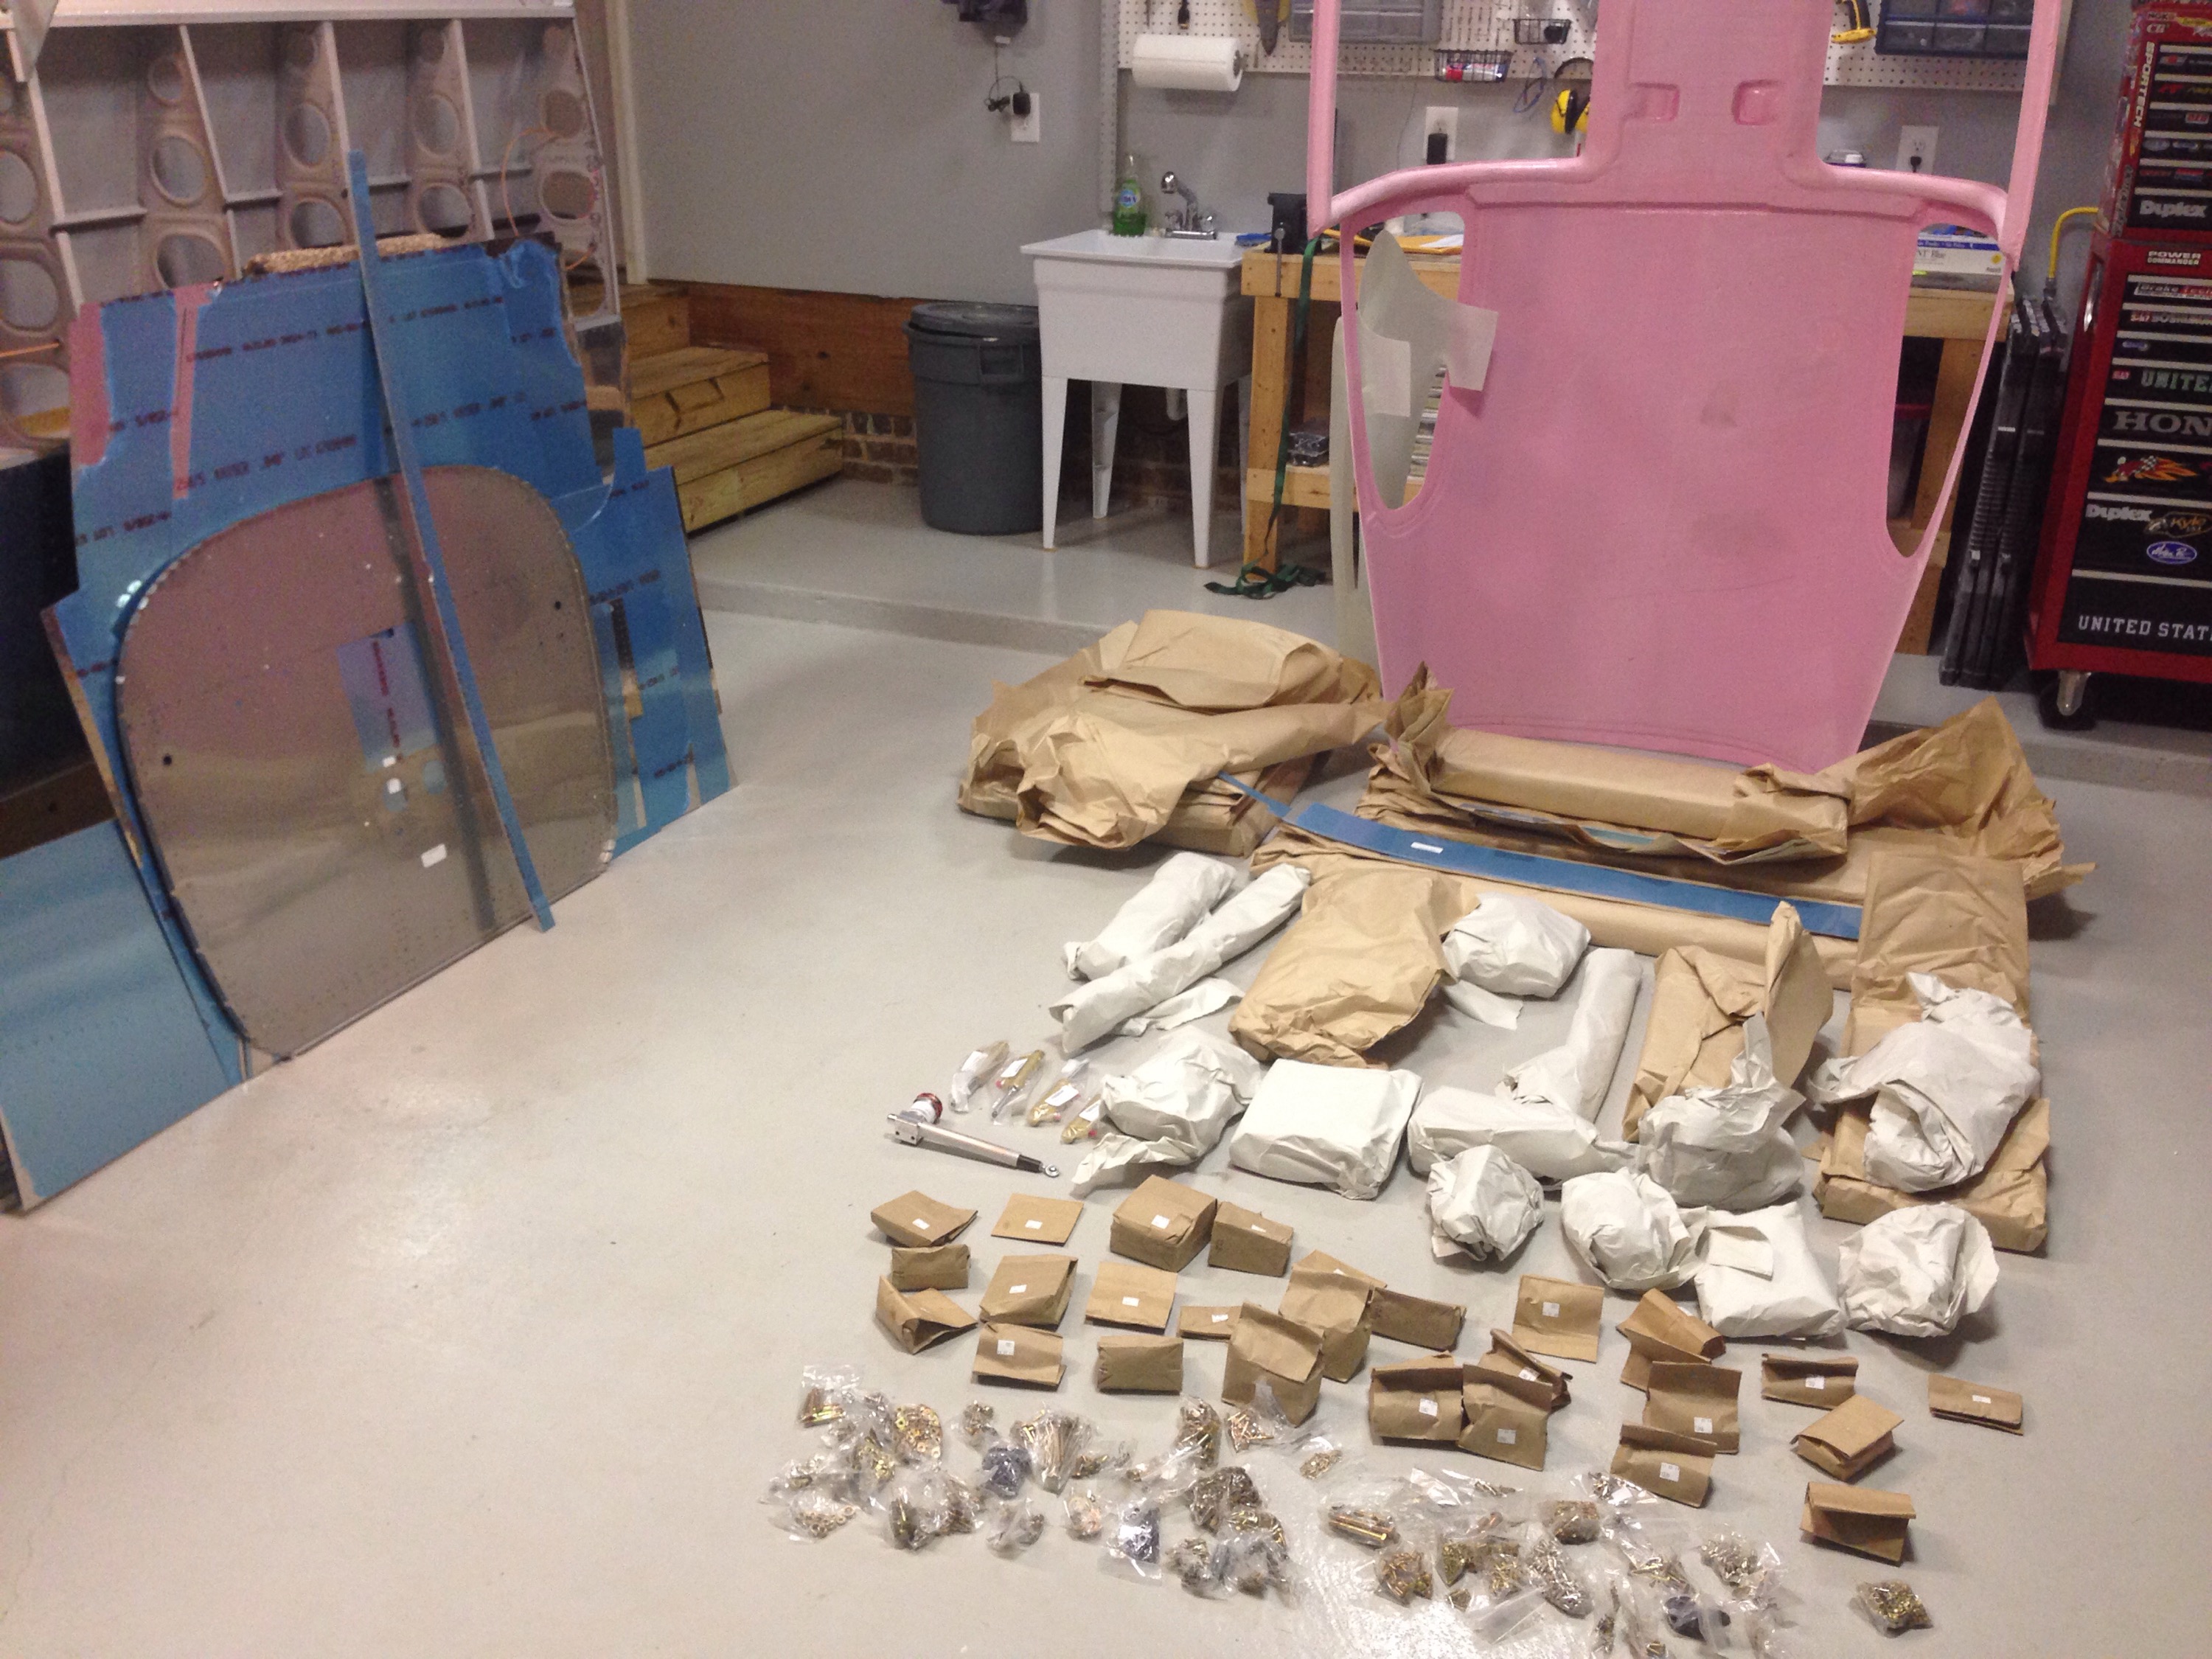
About five trips later, we had all of the tools, parts, pieces, dust, and components all in the hangar.  For the first time, everything is together in one space that will be a flying airplane very shortly!

We have some catching up to do

Time has gotten away from this blog, so I have quite a bit of catching up to do. I also must admit that there were more than a few months that snuck by with no progress made on the project due to work, life, and other priorities. I’m happy to report that I’m back on the project nightly and am really making some exciting progress.

I left off with the tail cone repair and prepping to join the two sub structures. It was very anti-climactic to be honest! One rib worth of rivets required a bit of help from a friend to hit some rivets and boom, it was on for good. It really is starting to look like an airplane, or at least a canoe at this point. I’m very happy about the cradle on wheels, as the shop is getting a bit cramped on space, although I’m confident it will still be a nice workspace for the remainder of the project.

I pressed on with the steps, as you can see above and used the TCW step bushings to prevent the mounting bolts from crushing the tube and creating issues down the road. I attached the antenna doubters and am happy with the results. They are actually under the rear seat pans, not the baggage floor as previously mentioned.

Next up is the baggage floor, rear seat pans, and rear bulkhead. Lots of drilling, deburring, and priming but the work went fairly quickly. One thing that has always impressed me is the size of the cabin in the RV-10 and now that mine is coming together, I had to see how roomy it actually is. First time sitting in the plane! And no, I didn’t make any airplane noises quite yet since I was sitting in the back seat. Plenty of leg room.

Lot’s more to catch up on in the next post.

Taking a new stand

After drilling out all the rivets and removing the two ribs with feared corrosion, my suspicions were confirmed with a somewhat scary sight.


As you can see, there was quite a bit of corrosion between the two surfaces.  I’m very happy I took the time to correct this and avoid potential problems down the road.  I spent more time inspecting other areas of the tail cone and could find no other signs of corrosion, so I’m confident this is the extent of the damage.  It took a few 3M pads to get all of this cleaned up, but after about an hour it was down to shiny smooth metal again.  I was concerned about how much I had to grind away on the bulkhead, but a call to Vans alleviated my fears as they said I should be good to go.  I removed the original primer (which was not applied very well, I admit) and did a thourough wipe down with MEK before properly priming with my SEM.


I did notice a small stress crack in the bulkhead lightning hole flange that I stop drilled upon Vans’ advice.  I was able to move forward after this brief fix delay and was back on track.  However, the next step was to mate the tail cone to the fuselage assembly.  That requires getting rid of the sawhorses and coming up with a long term stand for the fuselage structure.

I checked out a few other build logs and decided to copy Justin Twilbeck and went with a four caster design with pillars for each side of the spar pass through and one each for the firewall and bulkhead near the steps.  Using 2x4s and some OSB, I estimated the deminsions putting the structure at a nice working height, keeping in mind the cabin top and the height of my garage door.  I won’t be able to mount the gear free hanging on this stand, but it will allow easy access and a comfortable working height for the next year or so.  I put a bit of felt on the two bulkhead cross pieces and am pretty pleased with how securely it holds the fuselage.  It also rolls quite easily which is good because the shop is filling up quickly!


Next up is actually mating the tail cone to this subassembly.

Mind the gap

So it may be noticed there was 440 days between posts with little progress made on the build in the past year.  Well, we decided to make a life decision and build a custom home after we realized we were at a point in our lives we could actually make it happen.  I won’t dive into the details on house building, as that’s a whole other blog topic, but it was an adventure to say the least.

IMG_0013(1)IMG_0010(1)IMG_0011(1)
Long story short, we now have a beautiful home custom built on 10 acres of heaven with lots of trees, hills, and a great creek.  Oh, and did I mention it’s a mile from the IPJ runway and on the base leg for the 23 approach?  Yes, I did say heaven!  My wife and I both grin watching the airplanes a few hundred feet above us.

The project has been on hold and in storage throughout the house project, but I am happy to report it is in the new garage.  Unfortunately, I had to go TDY for the military 5 days after we moved in!  So the “shop” has a bit of work to be done when I get home.  Epoxy floors, nice cabinets, AC/heat pump, and parts storage is all on the list.  Then it will be back to building in earnest.

IMG_0014(1)


Let’s unpack

With a big wooden crate in the garage and fewer parts left on the storage racks, it is time to unpack the fuselage and get a bit more organized around the shop.

I was surprised at how well the individual parts were packaged in the crate.  I wound up with a massive pile of duct tape, shrink wrap, and paper!  However, I will say that all the parts arrived without a single damaged item.

There are a lot of hardware bags.  I took the opportunity to rearrange my plastic parts bins and finish labeling everything with my label maker replacing the masking tape and marker from the previous builder of the wing kit. It takes a bit of time, but makes finding parts really quick and easy.  It also helped me inventory all the little things.  After unpacking everything, my only issue was 40 AN3 instead of AN4  bolts.  A quick email to Van’s and they were on the way to me.

I put most of the sheet metal parts up on the racks above our garage door — man are those things earning their keep!   I went ahead and pulled down the last parts for the flaps, as those are the next project to work on.  The cabin top was precariously hoisted up to the ceiling for longterm storage  and some new brackets were put on the wall for the rudder and pedal assembly.   Speaking of, the master cylinders were the last pieces I needed to complete the rudder pedals, so I went ahead and installed them according to plans from Approach Control.    These things are a work of art and now they have a nice home until they get installed in the fuse..

On a wing and a…well, just on a wing

With the recent success of the fuel tanks boosting my spirit, I got to work over a long weekend on the wing and leading edge union. It’s a big step, as it adds a lot of surface area and shape to the wing. It also now takes on the appearance of a wing so hopefully folks can tell what the heck is hanging from some wooden rack in my garage!
I started solo by clecoing the leading edge to the right wing spar. Working on the bottom first, when I got to the top side of the wing (it’s laying upside down) I noticed that the skins overlapped instead of a nice butt joint. Thus, I removed all those clecos and started from the top side (again on the bottom as it’s upside down) first to get the joint smooth.

IMG_1492.JPG

IMG_1490.JPG
It worked like a charm and within no time, I was using my squeezer to rivet the bottom of the skin to the spar. This is when a tool like this comes in handy, as it makes quick work and nice consistent results.

IMG_1503.JPG
Then it was time to figure out how to position the wing so that two of us could rivet the top skin. It worked out for me to use the DRDT2 dimpler as a spar stand and the wooden cradle on the other end. I put a couple of pieces of wood to block it and it provided a very stable stand for the wife and I to team up for some riveting.

IMG_1496.JPG
We made great progress, finishing both leading edges, the rib/spar rivets, and moving on to modifying the wing rack for the final time. With the leading edges on the spar, I had to move to the carpet tactic to form a soft cradle for the leading edge. We had the material and it was a quick fix. Hopefully the last time we’ll need to reconfigure it.

IMG_1505.JPG
I used the good weather to swap the wings from side to side on the rack and finish priming the interior of the left wing. The last project of the day was to blow out both tanks very well and ensure no foreign contaminants were left in them before sealing them up as the next task.

IMG_1506.JPG

Wing Re-Rack

While both fuel tanks cure, I shifted my focus back to the wings. The first problem I wanted to solve was my wing rack. While it’s a nice storage solution to keep the wings safe and out of the way, I quickly saw that it was keeping the spars in a warped state due to the way it was hanging. So I disassembled the frame and decided to shorten it, allowing the spars to sit on top of two cross pieces. This would allow me to better square the wing and secure it a little better while putting it in a better position to work on it. I’m much happier with the result now, as it’s more of a work platform and a storage solution. I’ll also be able to store the wings on it with the leading edges attached with few modifications.

IMG_1415.JPG

IMG_1414.JPG
Then, I completed my wing-walk through. The wing kit was purchased used by me, and being the second builder, I wanted to first understand all the work that went into them and to ensure the work was done correctly and completely. Overall the wings look very good (as I knew at the time of purchase) but there were a few action items.

There were about six places on the rib-rear spar intersections that had pop rivets instead of the usual AN round head solid rivets. I still don’t understand why, as it was random and only one per rib. So I drilled those out, cleaned up the holes and installed the rivets according to plans. I had only one hole that was really buggered up, where I couldn’t get any rivet to hold.

IMG_1374.JPG

IMG_1378.JPG
A quick email to Van’s said to drill it out and replace with an AN3 bolt and locknut. It was a simple fix and I know it’s all done right now. Every step was checked off on the plans and it is up to speed for me to take over.

IMG_1412.JPG

Let’s go cool off

The internet inspired, free from work, modified window air conditioner just wasn’t cutting it in the garage.  It is very similar to a turbine engine.  It turns very expensive fuel/electricity into noise.  Combined with an uninsulated metal garage door facing 265 degrees, the garage is a hot place.

Not anymore!!  I finally found an insulation kit for the door that was reasonable and functional.  It was also way cheaper than paying $1500 for a new door, especially considering ours is only five years old.  These panels are just Styrofoam with a polystyrene backing on them as the exposed face.  They have slits cut so you can bend them a bit and pop them inside the door panels.  Great stuff, installed in about an hour and makes a massive difference.
IMG_1095.JPG
I also broke down and bought a mini-split AC/heat pump system from Amazon.  This one had great reviews and pretty reasonable.  Best of all, it was pre-charged and easy to install.  I ran a dedicated 15 amp circuit, hooked up a disconnect switch, put in some conduit and turned it on.  It’s super quiet, a lot smaller, and cooled the garage from 81 to 74 in under 30 minutes.  It’s also drying the air out a lot which is never a bad thing with the Carolina humidity.  Plus, I got to buy tools (refrigerant gauge set and vacuum pump) which look great in the shop!

IMG_1094.JPG

IMG_1093.JPG
It’s so much nicer to work out in the garage now and I’m keeping it cleaner and bug free with having the door closed.  Plus, this winter will be great with heat!  With a long term project like this, it’s well worth the cost and effort to install to improve working conditions.

Creamy peanut butter

After the epoxy set up on the fiberglass tips, it was time to put on the filler, often referred to as micro, to smooth things out.  I’m using the West epoxy system and the 407 filler.  It’s an extremely fine powder that is a tan color and according to others very easy to work with.  You mix up the epoxy as normal with a 5:1 ratio and then add in the filler to get a consistency of creamy peanut butter.  Then just spread it on and smooth it out as best you can then wait for it to cure.

I’m not a stranger to using Bondo, dry wall mud, and other fillers, but I still have a few lessons learned from my first experience on the plane.  First is when mixing the filler, you want a really think peanut butter mix, not creamy.  My first batch ran and settled a little too much, requring me to position the pieces so it wouldn’t drip.  Keep in mind it takes a few hours for the slow hardener to set up.  If you have a lot to add to build up, make it as dry as you can.  Second, follow Ron Propeil’s advice and set it and forget it.  Just like dryway, the more you mess with it, the worse it gets.  You won’t get a perfectly smooth application so stop trying.  That’s what sand paper is for!  Third, is patience which I do actually have for this.  One coat is seldom enough to smooth out whatever your working on.  Go in stages and don’t try to build Rome in a day.

Thus, my first coat was pretty successful.  I scuffed up the newly laid fiber and made sure the aluminum was scuffed with a Scotchbrite pad.  Then clean everything with thinner and apply the filler.  I filled in a lot on the tips’ leading edge where it didn’t match up with the aluminum well.  I was also excited that it actually set up well!  I have a fear of mixing the epoxy wrong and it just being a goopy mess.  The pump system for the West epoxy is a must have.

20140723-163616-59776751.jpg20140723-163615-59775937.jpg

Next, you get to break out the sand paper.  And a lot of it.  A couple lessons on this too. Have a variety of grits; I used 80 to knock off the big ridges and bumps, then 150 to contour, and 220 to smooth it all out.  I found that the 150 really didn’t work too well as the dust would bond to the paper and clog it up.  The 220 worked great and lasted a long time.  I have a couple of different blocks that are working well.  I’ve read never to use your fingers since they will not sand uniformly, but there are always a few spots that the block can’t get.  Make sure not to sand too much off.  It’s better to get it close and put another thin layer of filler on to really smooth it out.

I put the second coat on a bit dryer than the first and that was good for the big spots, but also harder to get a smooth application.  For the finish coat, it’s better to have it a bit creamier so it will apply smoothly with no pinholes.  The second coat was sanded with 80 and then 220.  You can tell if you have low spots by the different color when sanding which is nice.  Never sand out a low spot.  Add to it then smooth it out.  Blow off the dust, clean with thinner, and repeat the application process.  This is the third coat and I’m pretty sure it will be enough.  The corners are still hard so I gooped it on and will sand it smooth.  I’m hoping the other side will go faster since I’ve got some experience under my belt.  I’ll finish it all with a 440 grit before doing some quick primer and reevaluating.

20140723-163618-59778462.jpg20140723-163617-59777588.jpg20140723-163621-59781023.jpg

And of course, you have to have things organized.  So to keep all this sand paper (I have more than listed), I got a cheap expanding folio at Wal-Mart Aviation Supply and threw some labels on it.  This works perfect and keeps it all in one spot.

20140723-163619-59779322.jpg20140723-163620-59780179.jpg

Wow, Babe, nice rack!

Is what my wife said to me after I finished building the new wing rack.  The wing kit came with an EAA wing rack that was the carpet cradel type but I had seen others suspend the spars that kept the pieces a little higher off the ground.  I like this idea as I don’t want to be bending over any more than I have to and it will hopefully reduce the need to move the wing assemblies around.

I used other’s as a guide, but really just built on the fly for this.  2×6’s for the main uprights (cut down to 6′) and horizontal supports (14′) with 2×4’s for the wheel braces and the spar supports.  The challenge was the tip, as it doesn’t have any structure that sticks out like the spar to fuse joint.  So I came up with a solution that should work well until needing to install the tips further down the road.  There is plenty of room and structure to come up with a different way to support the tips when the time comes.

20140723-154403-56643035.jpg20140723-154400-56640482.jpg

One thing to note, if you didn’t think the spars flex, you’re wrong!  I was surprised how bouncy and sagging the spar on the right wing is without the top skin riveted to it.  The left already has the top skin on and is rock solid.  I’ll be getting the left up to speed shortly so I’m not too worried about letting it hang here for a little while.

20140723-154402-56642138.jpg

20140723-154401-56641288.jpg