It seems like sometimes it takes me five times to do something right. The firewall is no exception. But I am getting ahead of myself. The next section is the forward fuselage from the firewall back to the spar. The firewall is a beautiful piece of stainless steel that protects the cabin from the engine compartment and acts as a fire barrier. There is a lot of structural components on it as well. After the usual process, I set to riveting. Bucking the flush rivets went well until I realized that one of the tunnel walls did not seat correctly and I had to drill out 20 or so rivets to correct it.

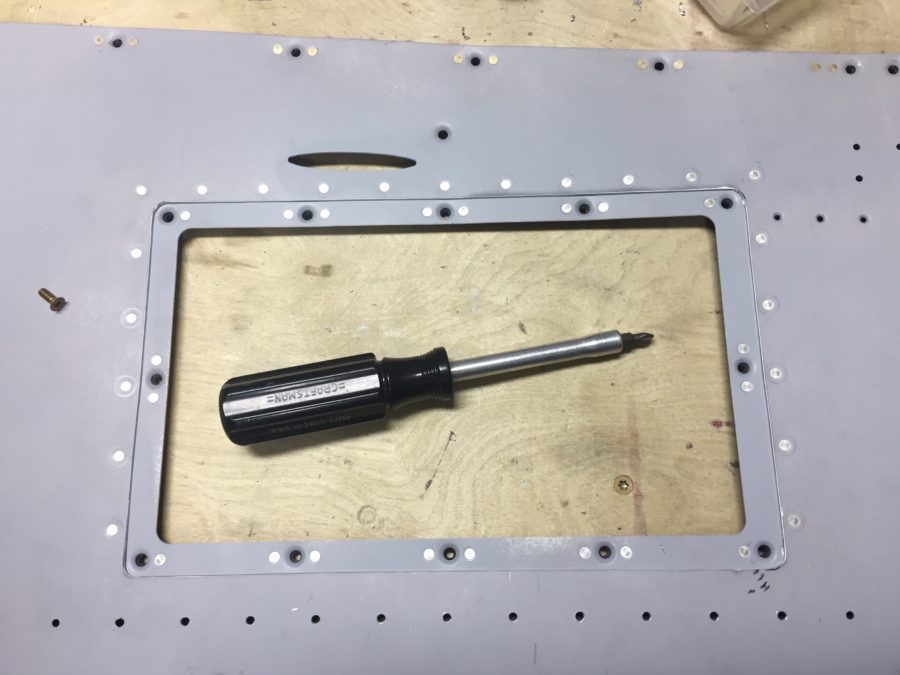
After the correction, I set about sealing up the gaps in the firewall recess and bolting the aftermarket stainless steel heat valves from Aircraft Spruce. I also installed the Airward tunnel access plate before riveting the tunnel wall to the firewall. This will allow easier access to the tunnel and fuel system components once the interior is finished.
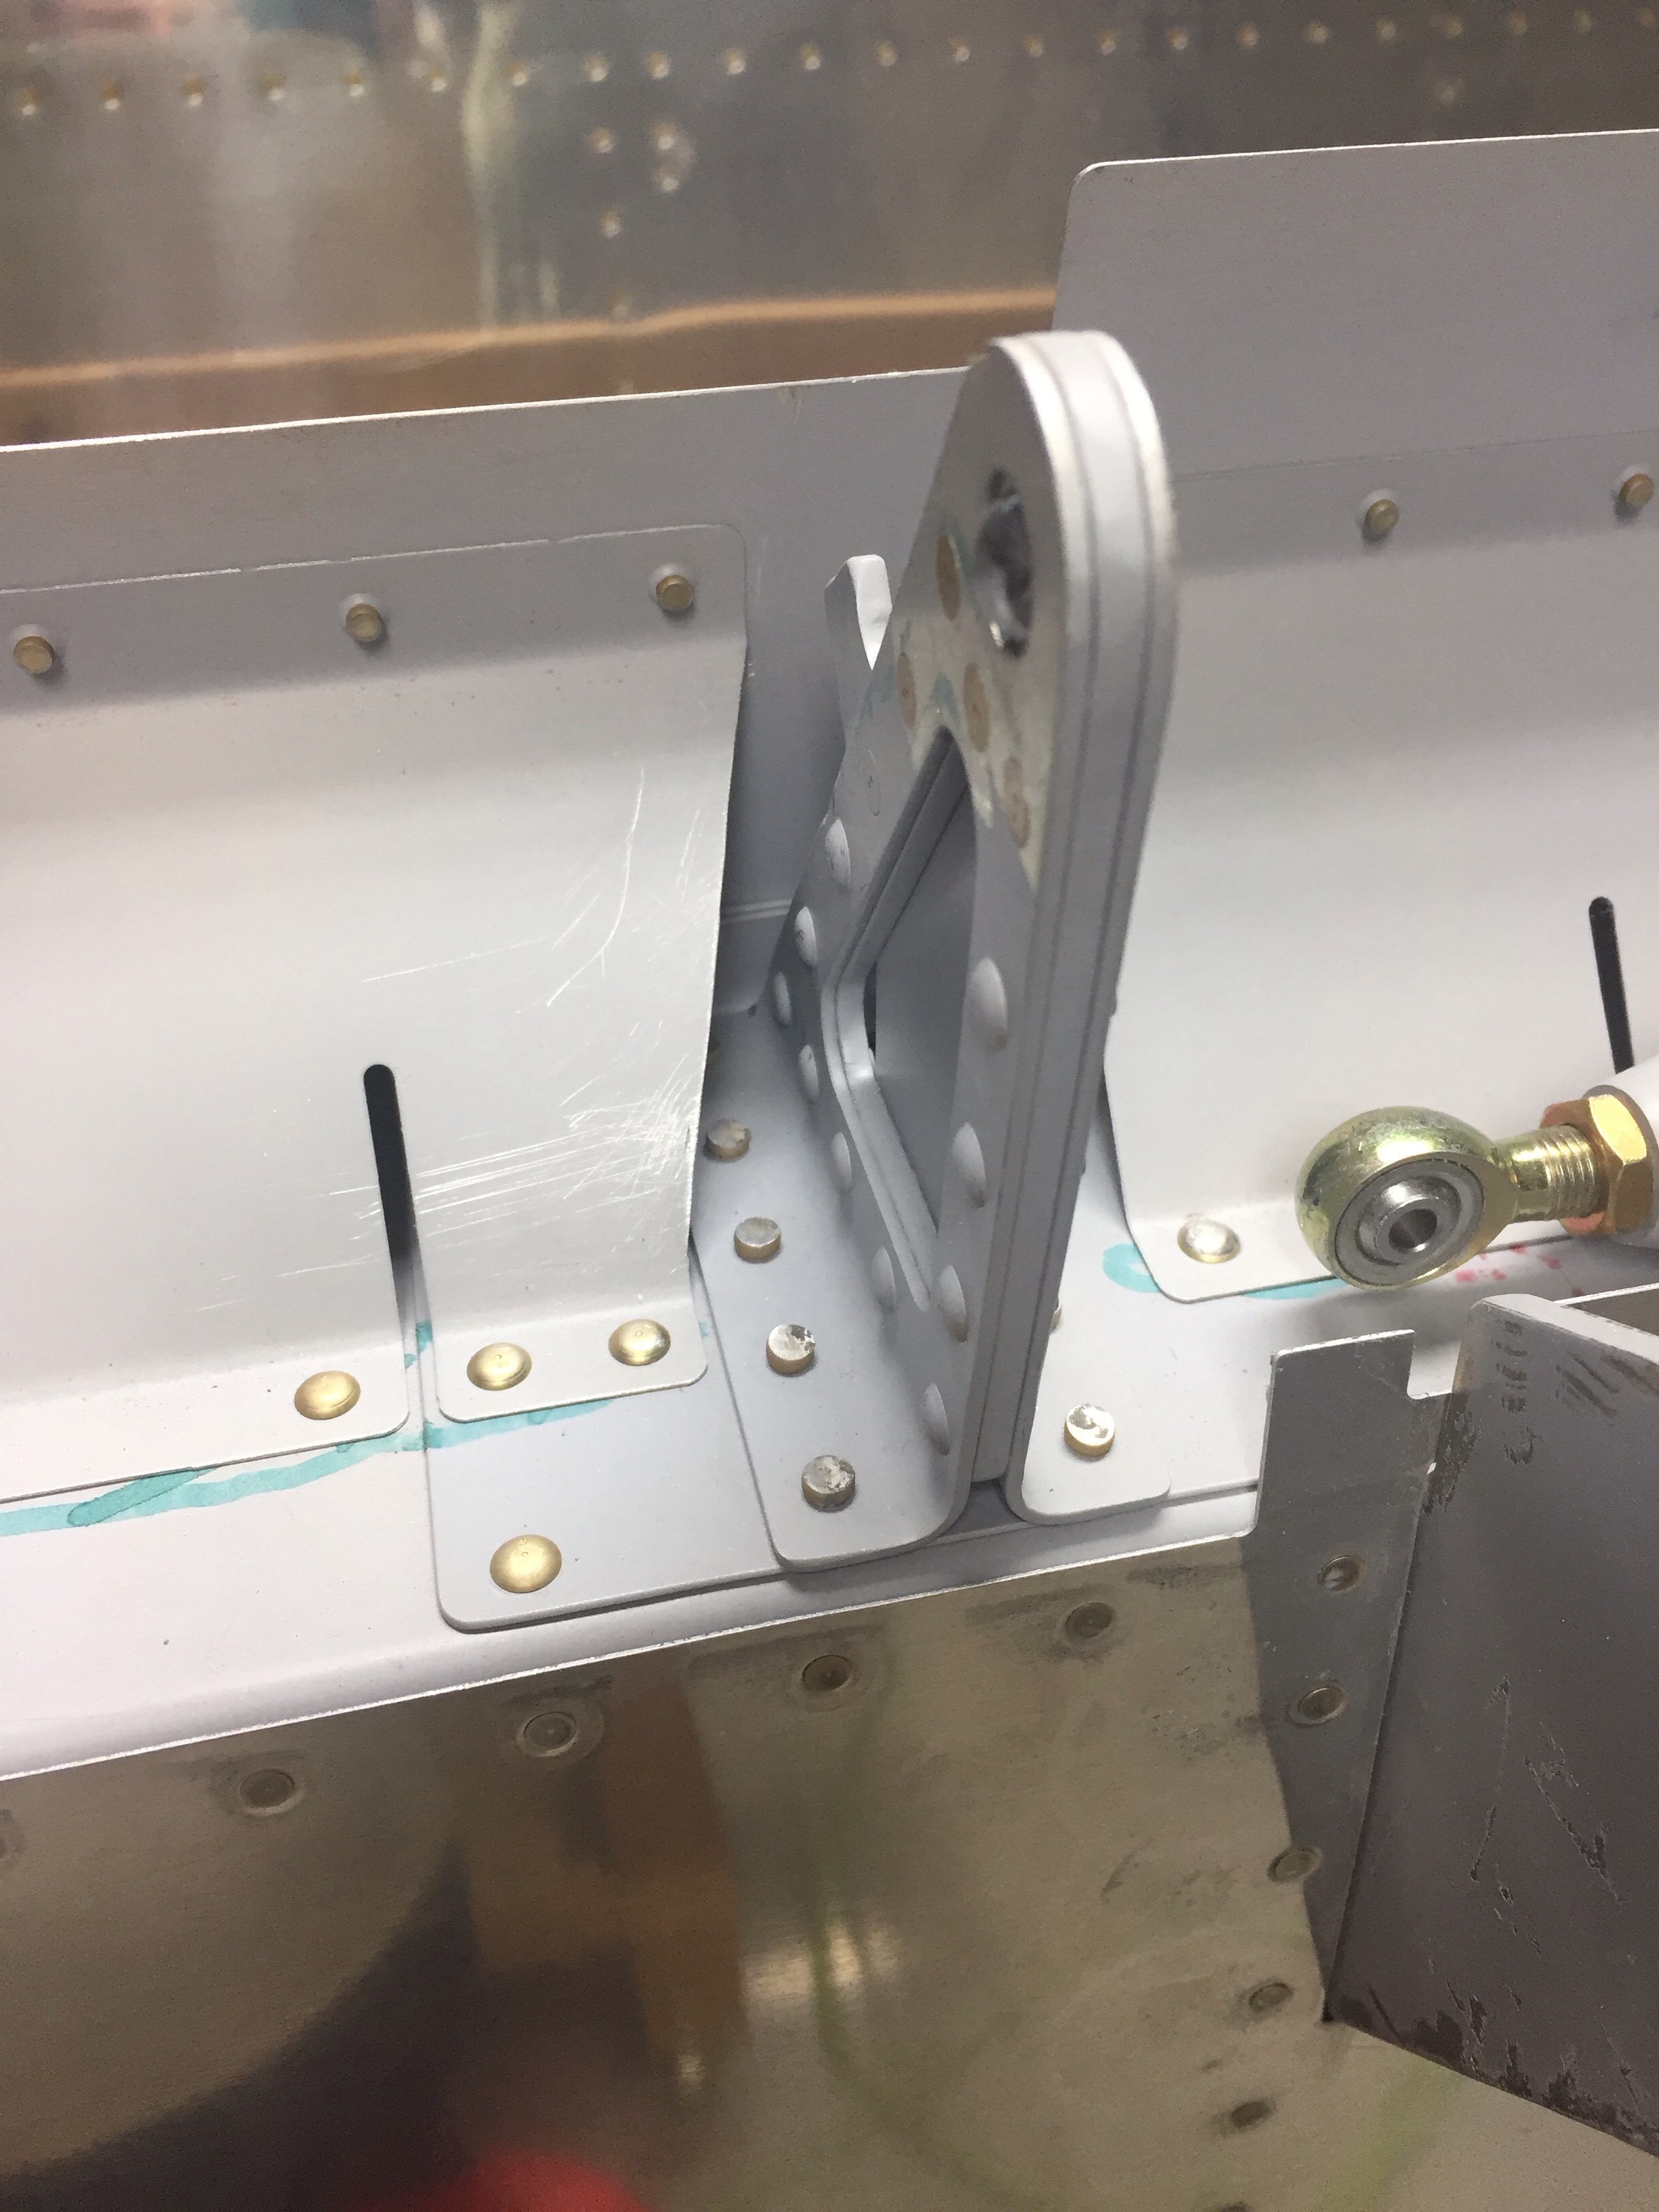
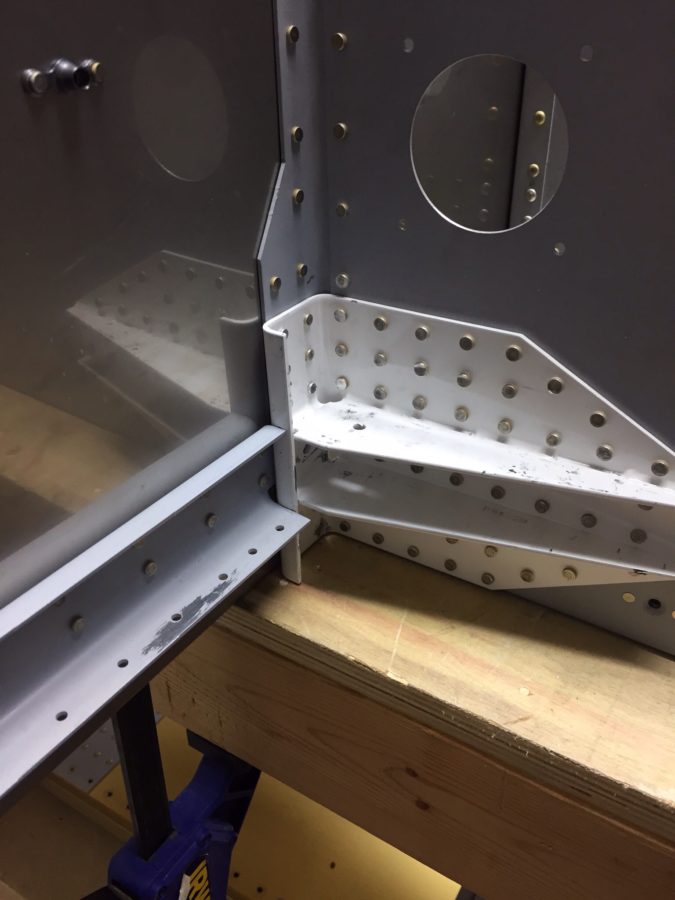
One item I might have messed up on is the landing gear tension plate. The plans stated the shop heads of the rivets needed to be on the outside of the tunnel, but I neglected to read and head on the first wall. Hopefully that doesn’t bite me down the road, but I can’t find any reason other than ease of bucking.
Firewall section is complete now and Laura helped me gather all the parts for the next step tonight so I only had to make 50 trips up and down the ladder. So it seems that sometimes I do things right the first time, and other times it takes a few more tries!