Getting some fresh air

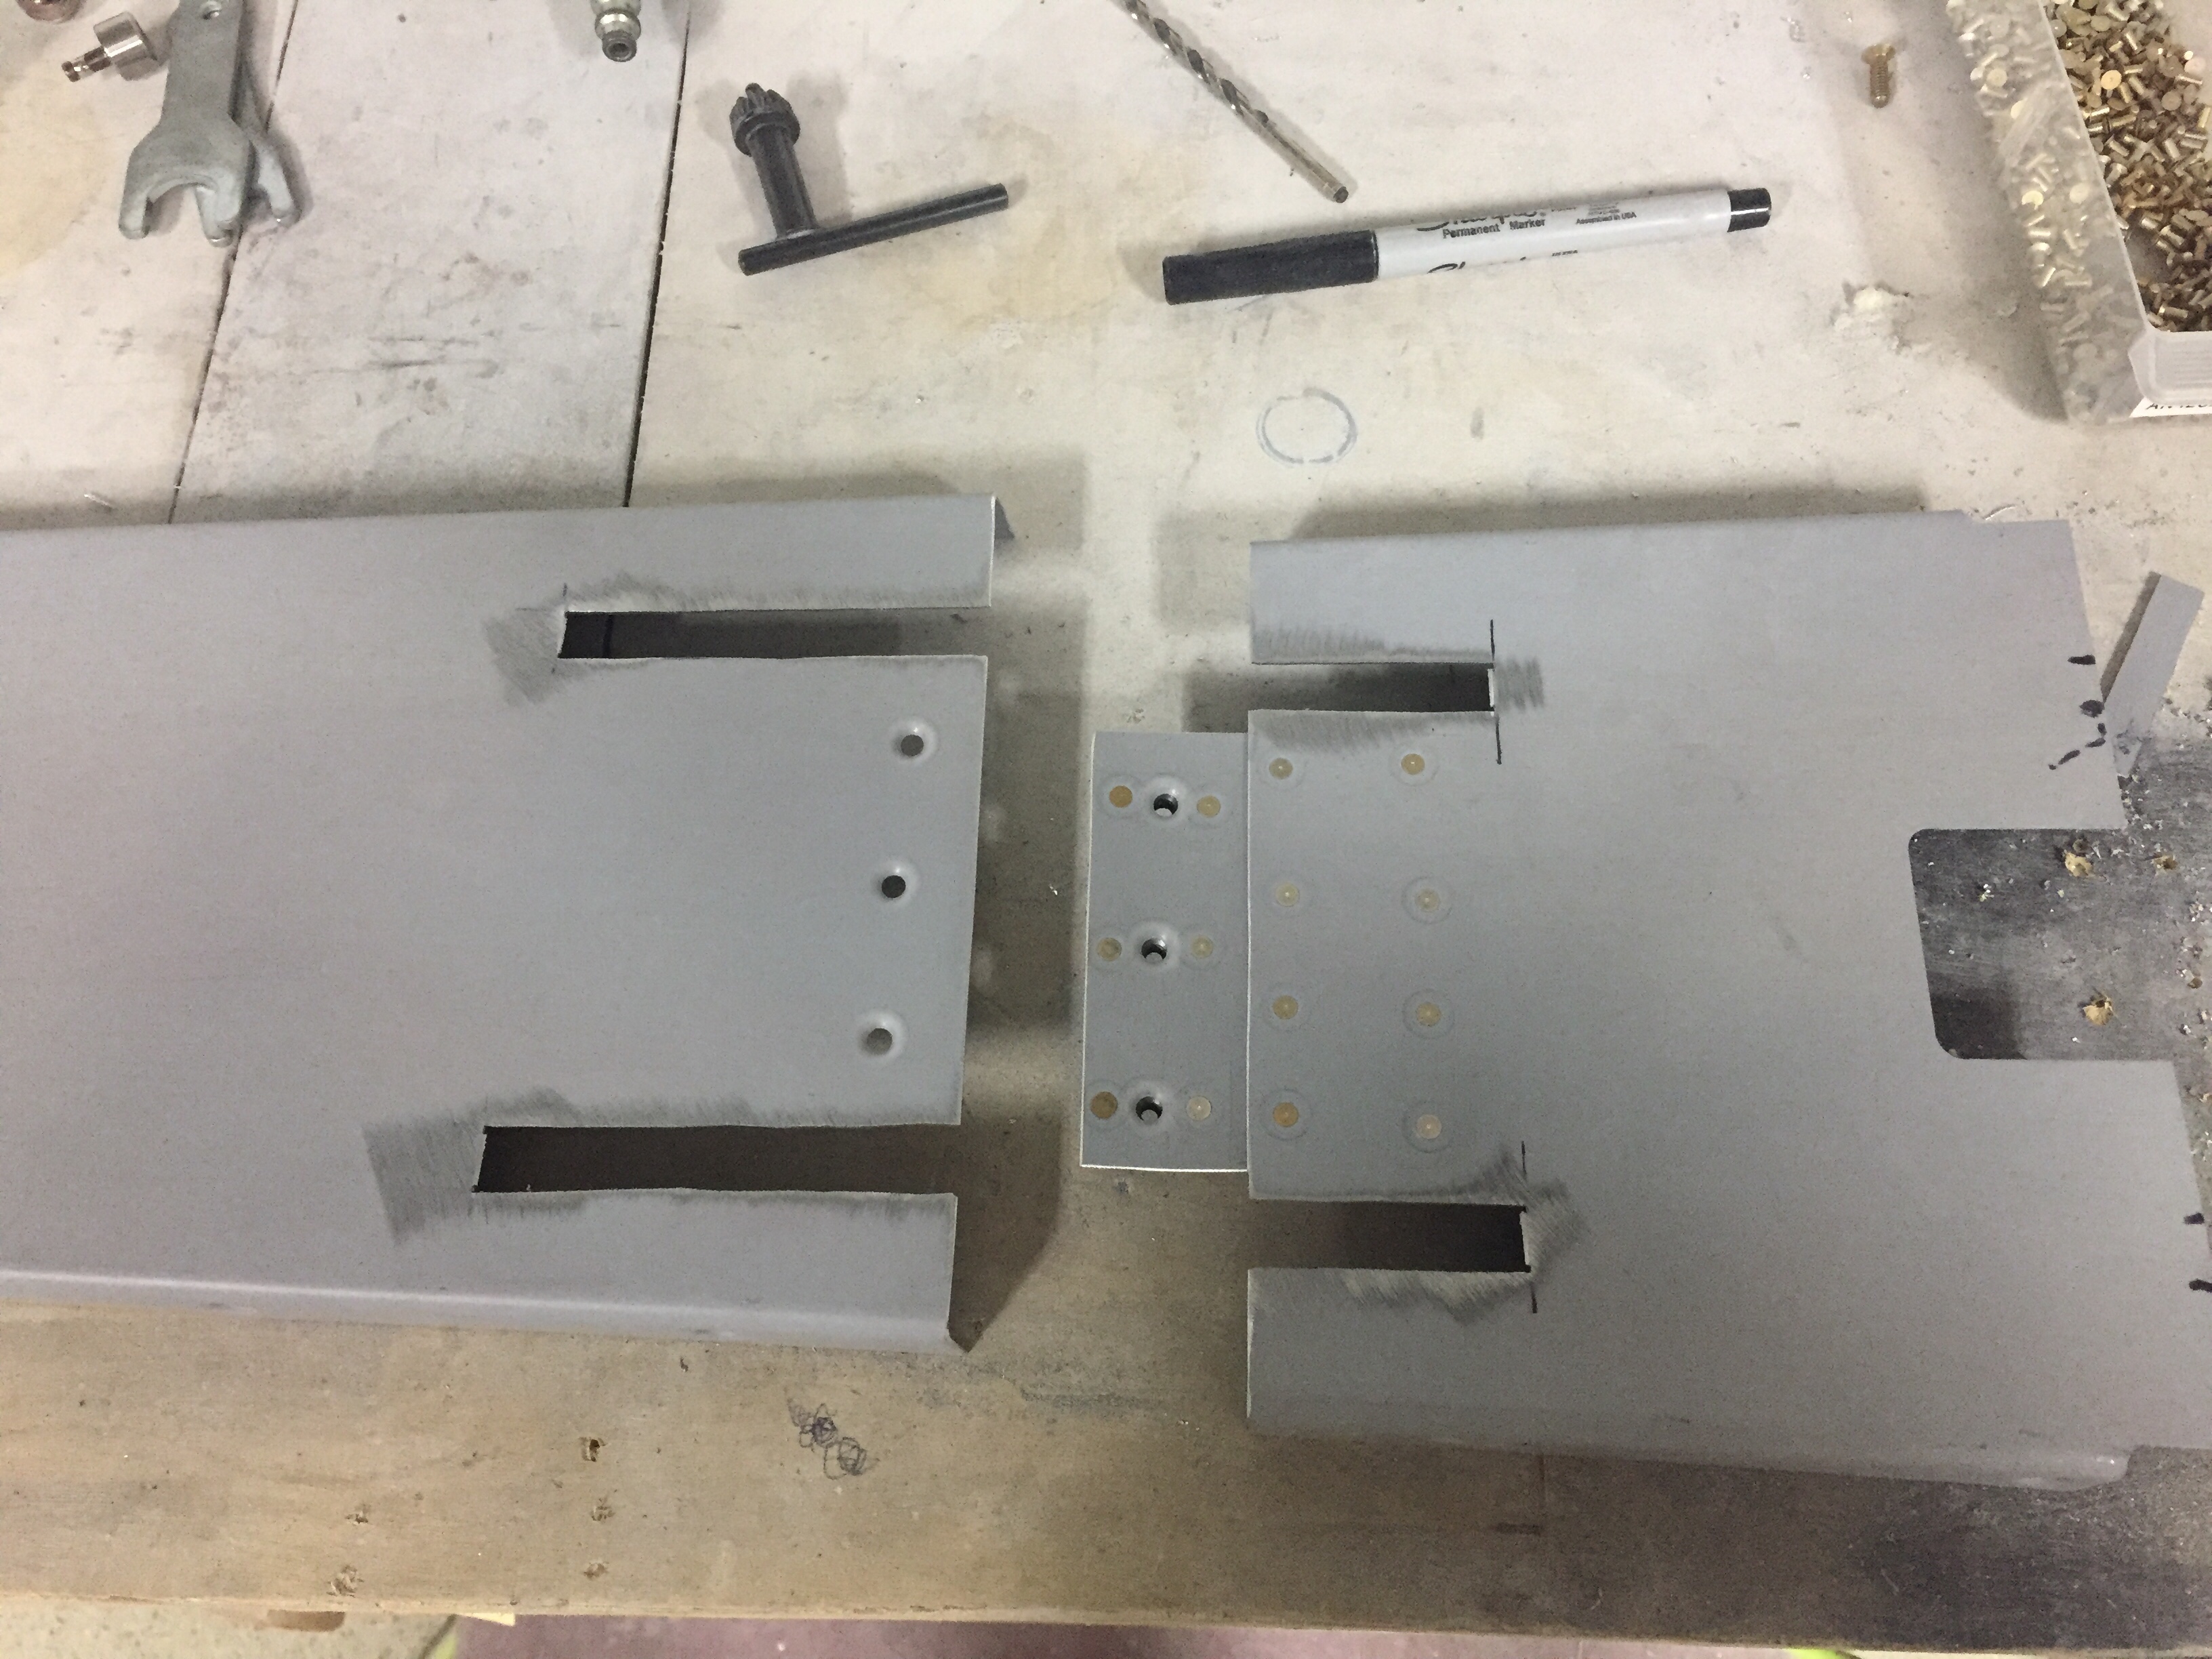
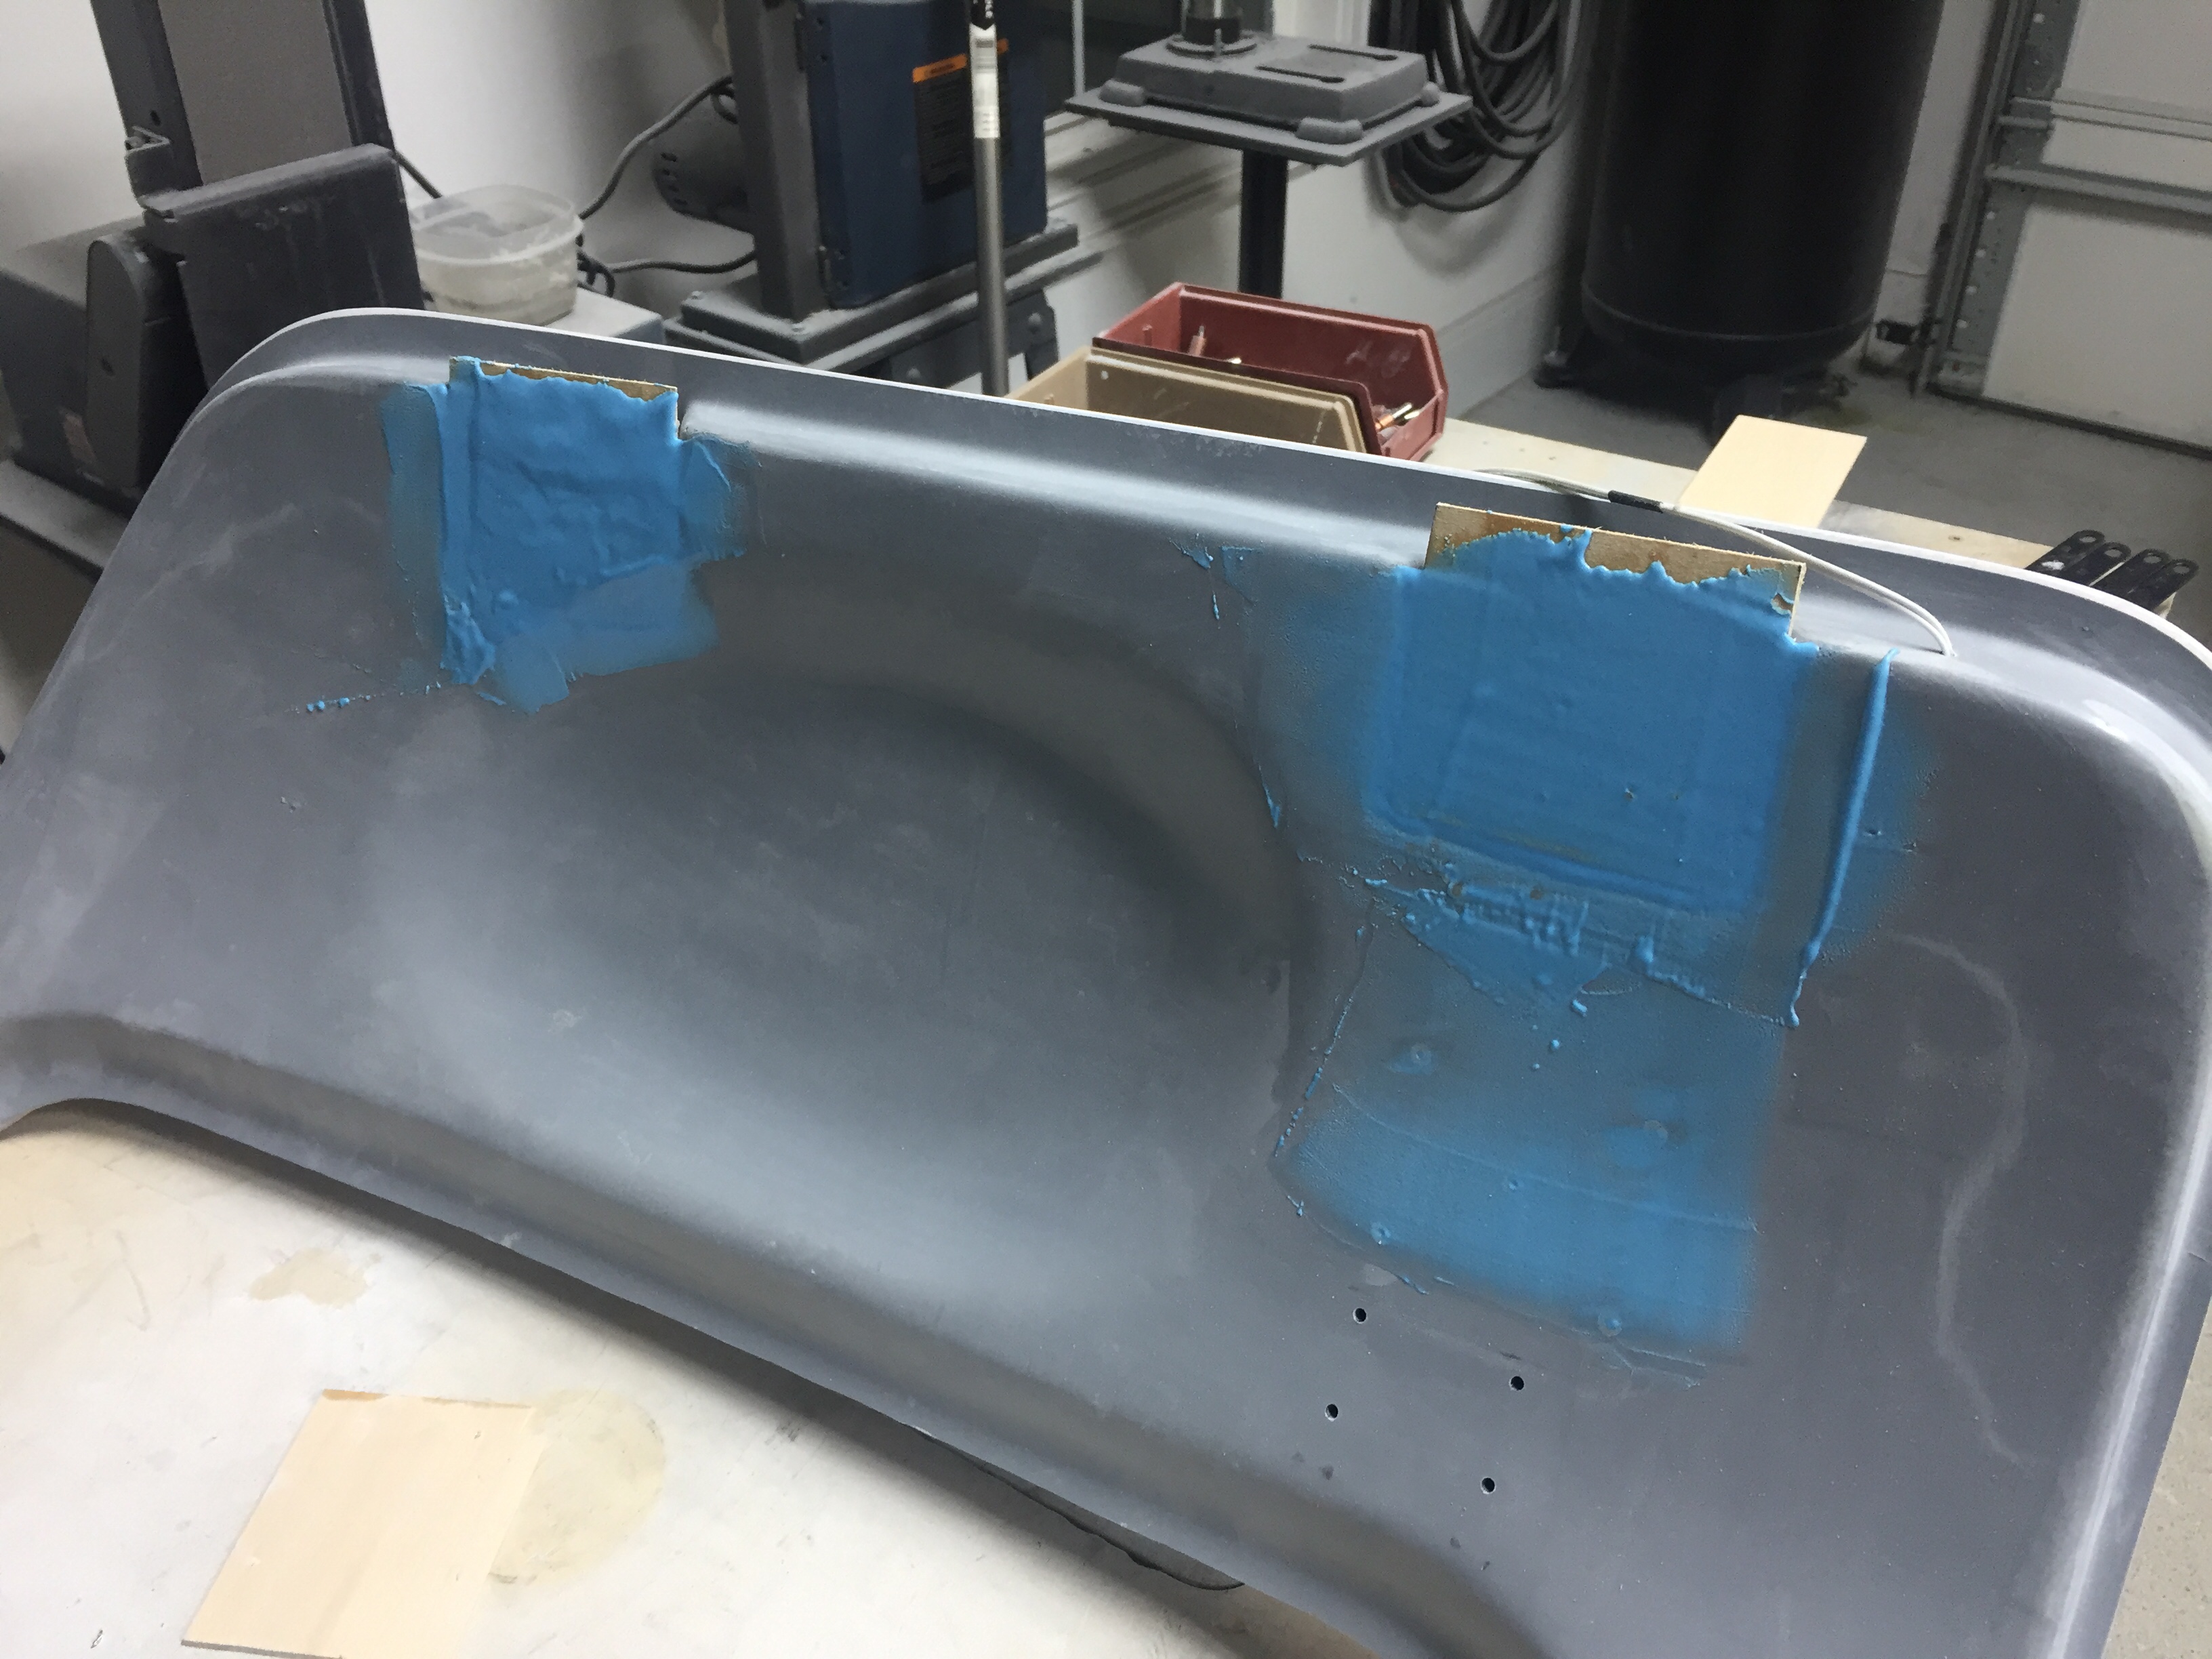
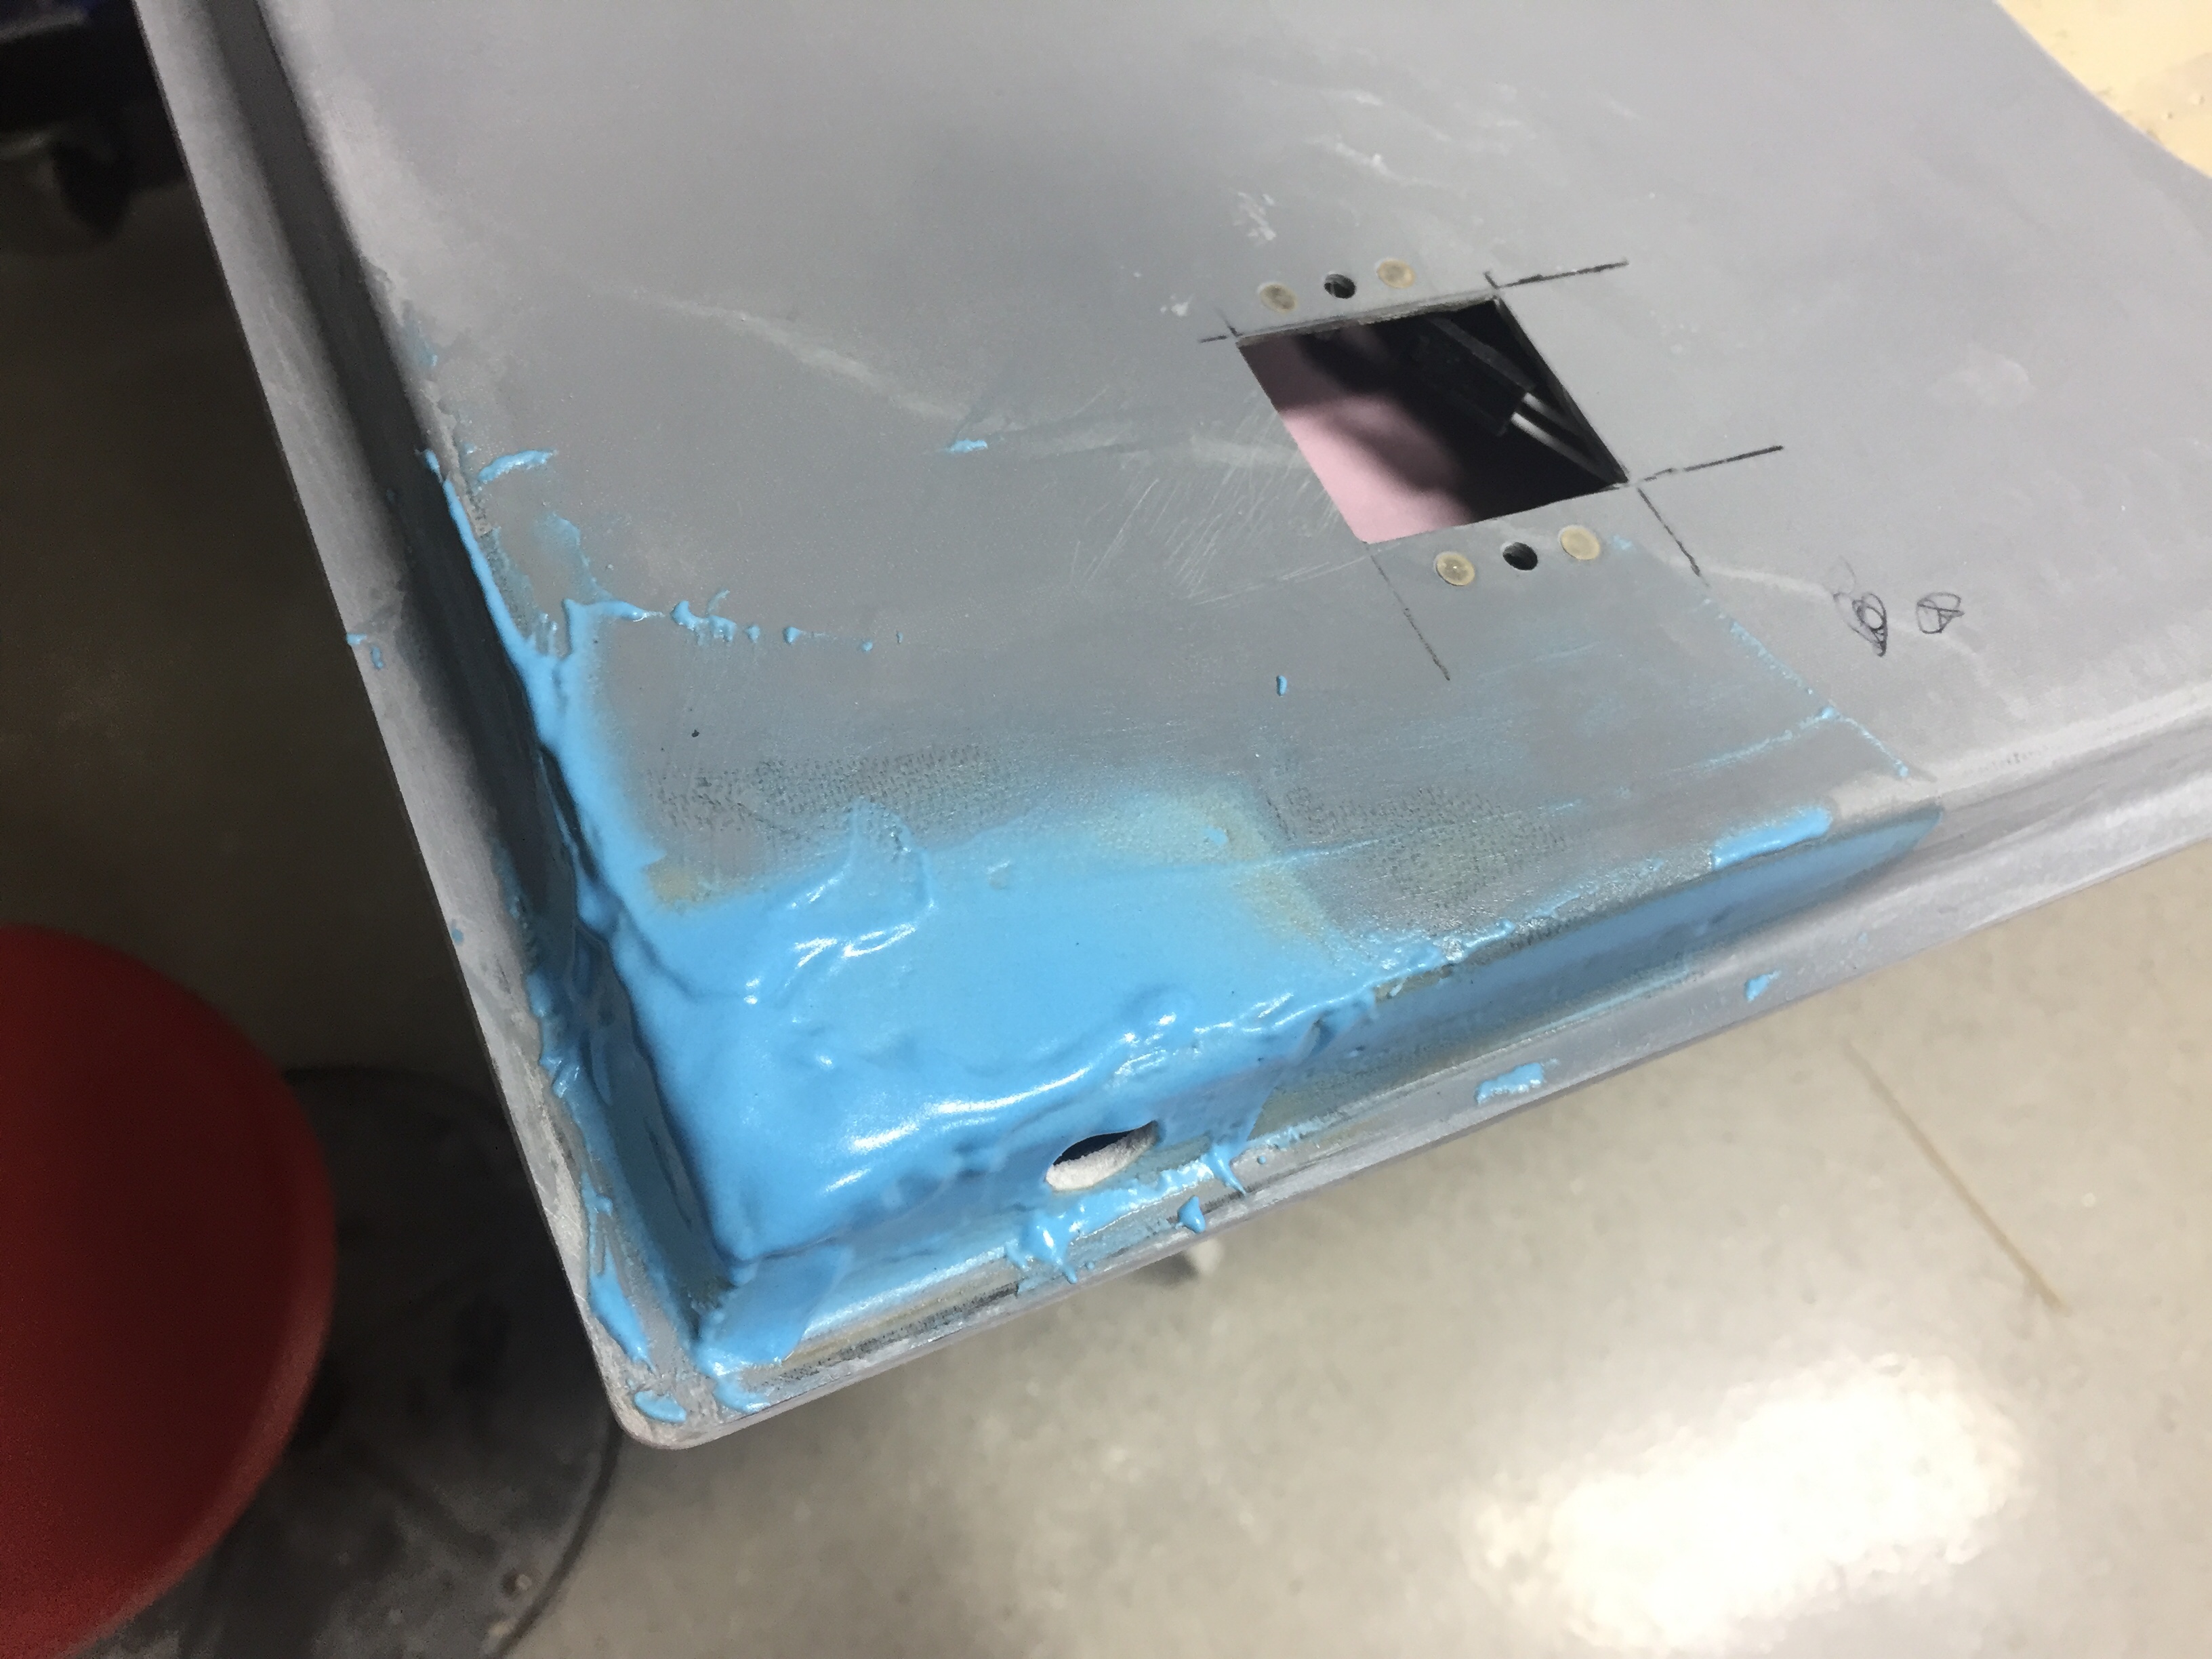
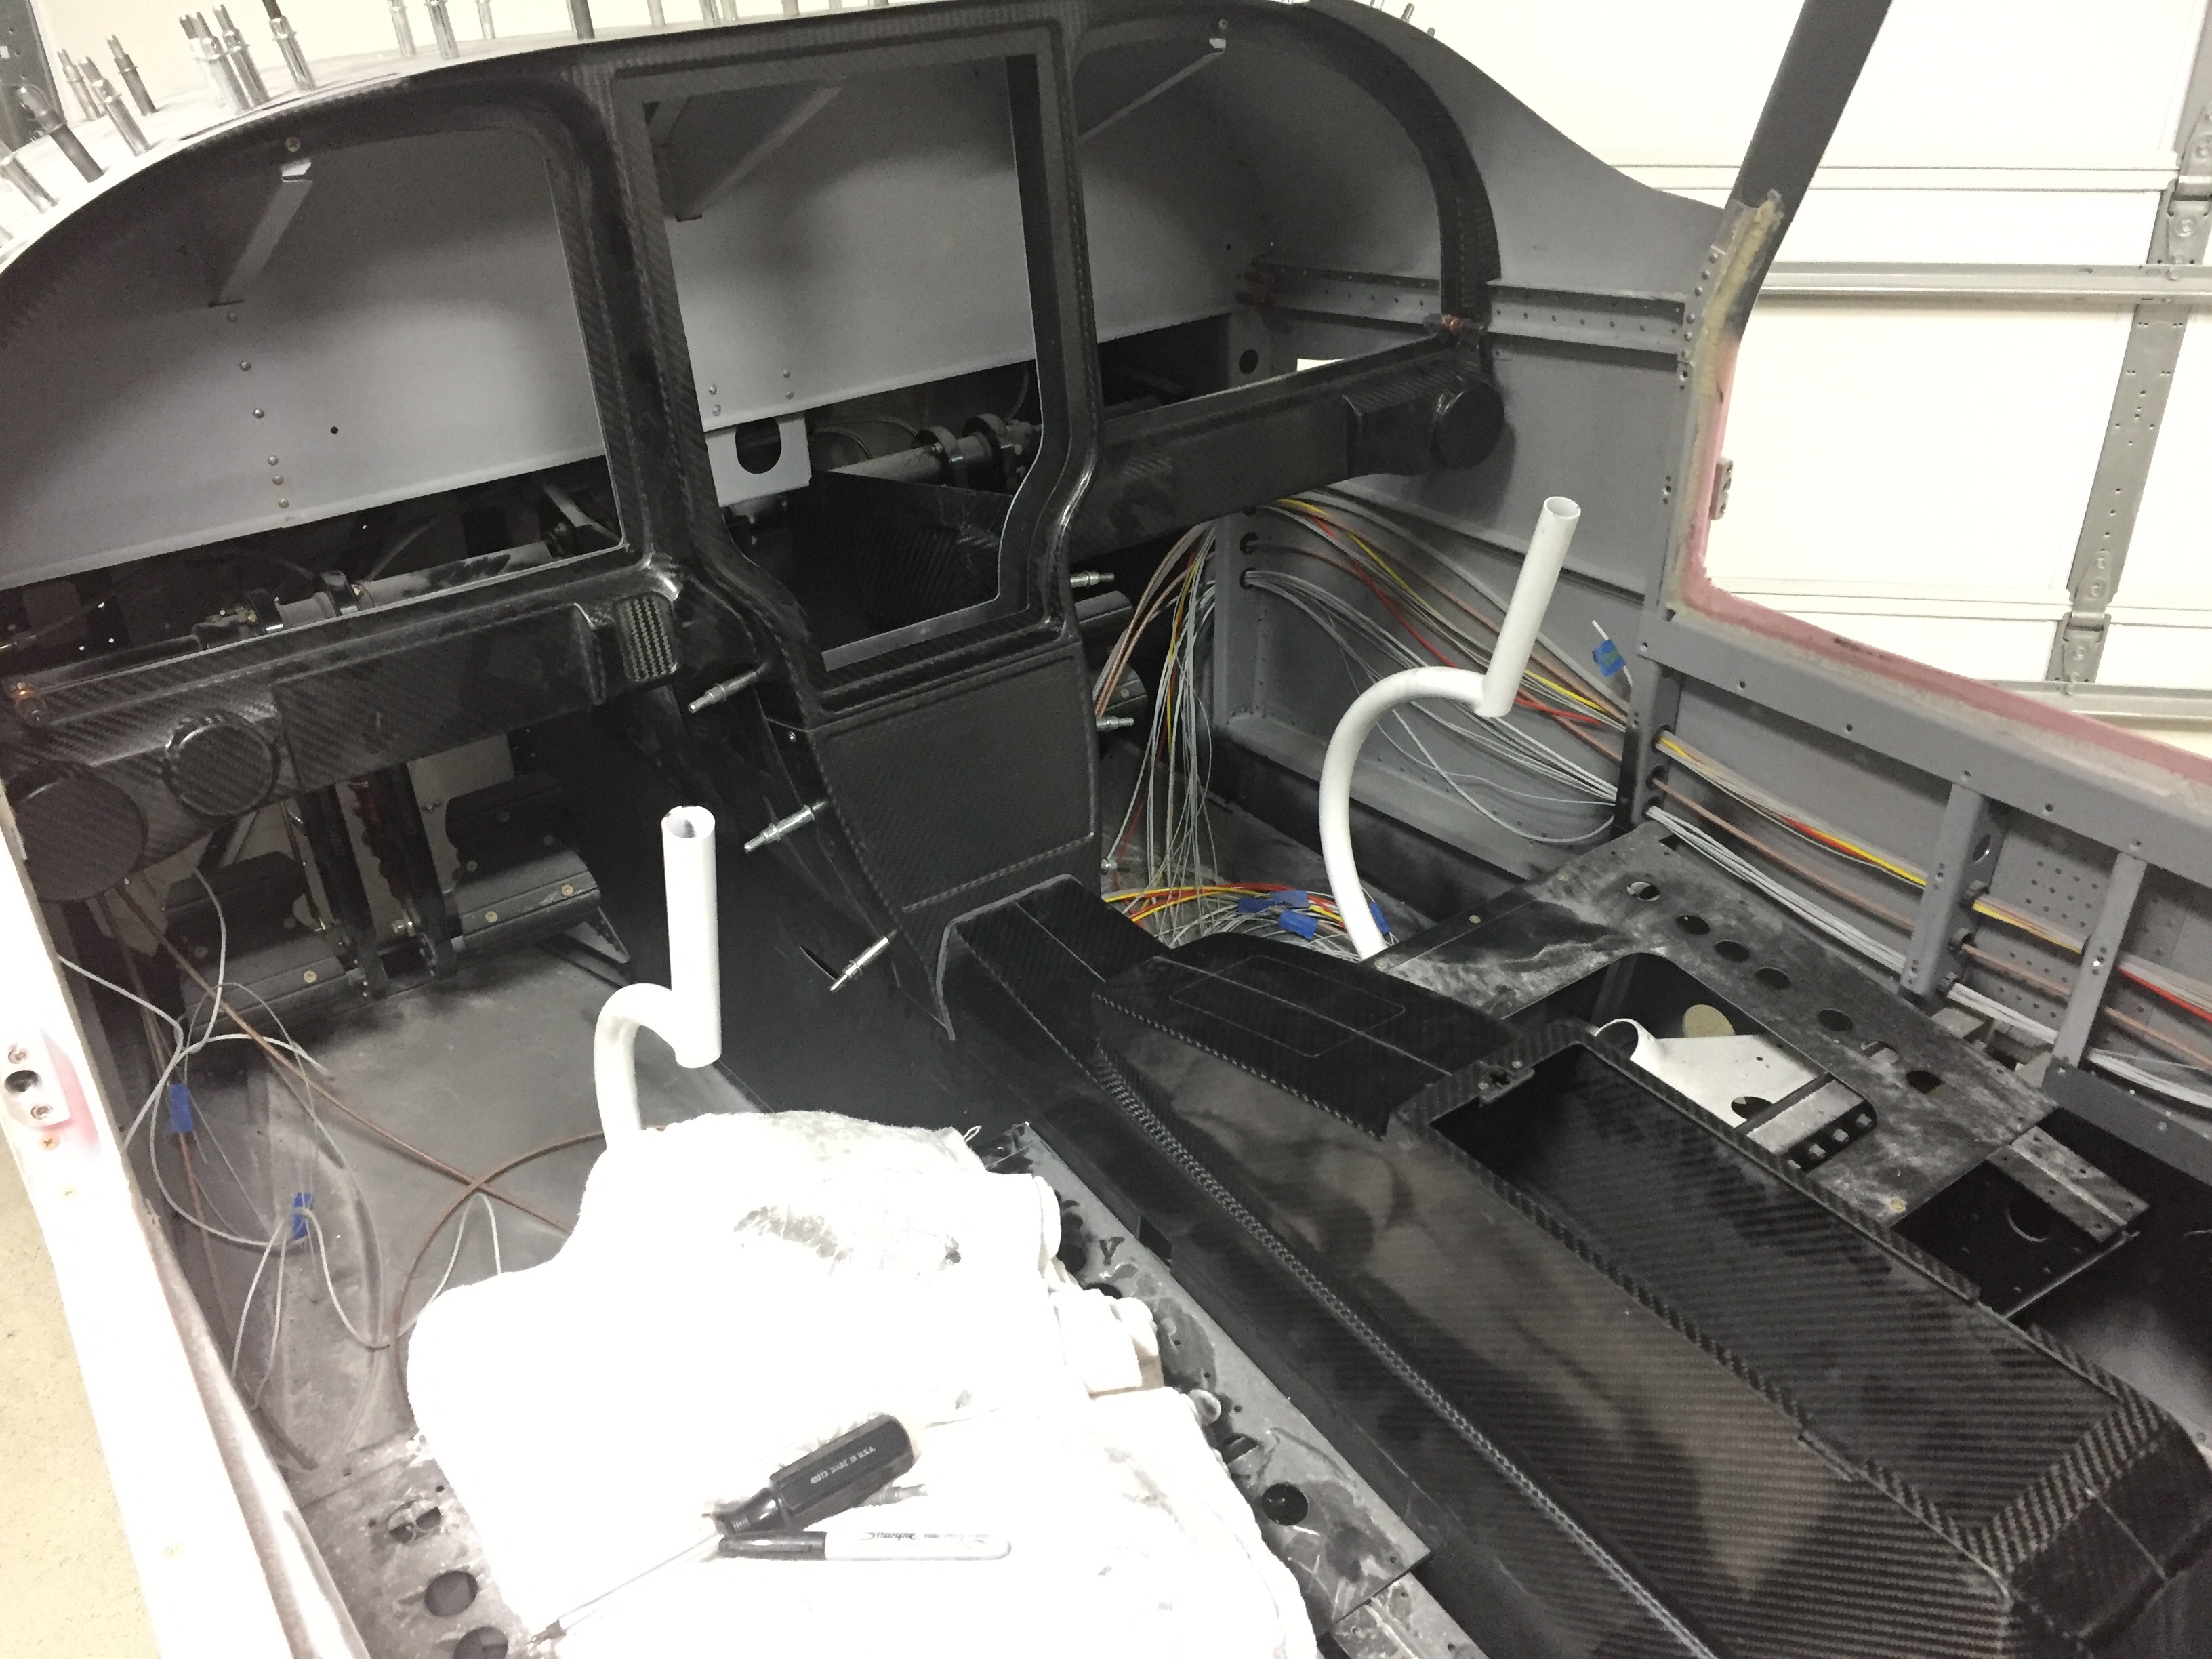
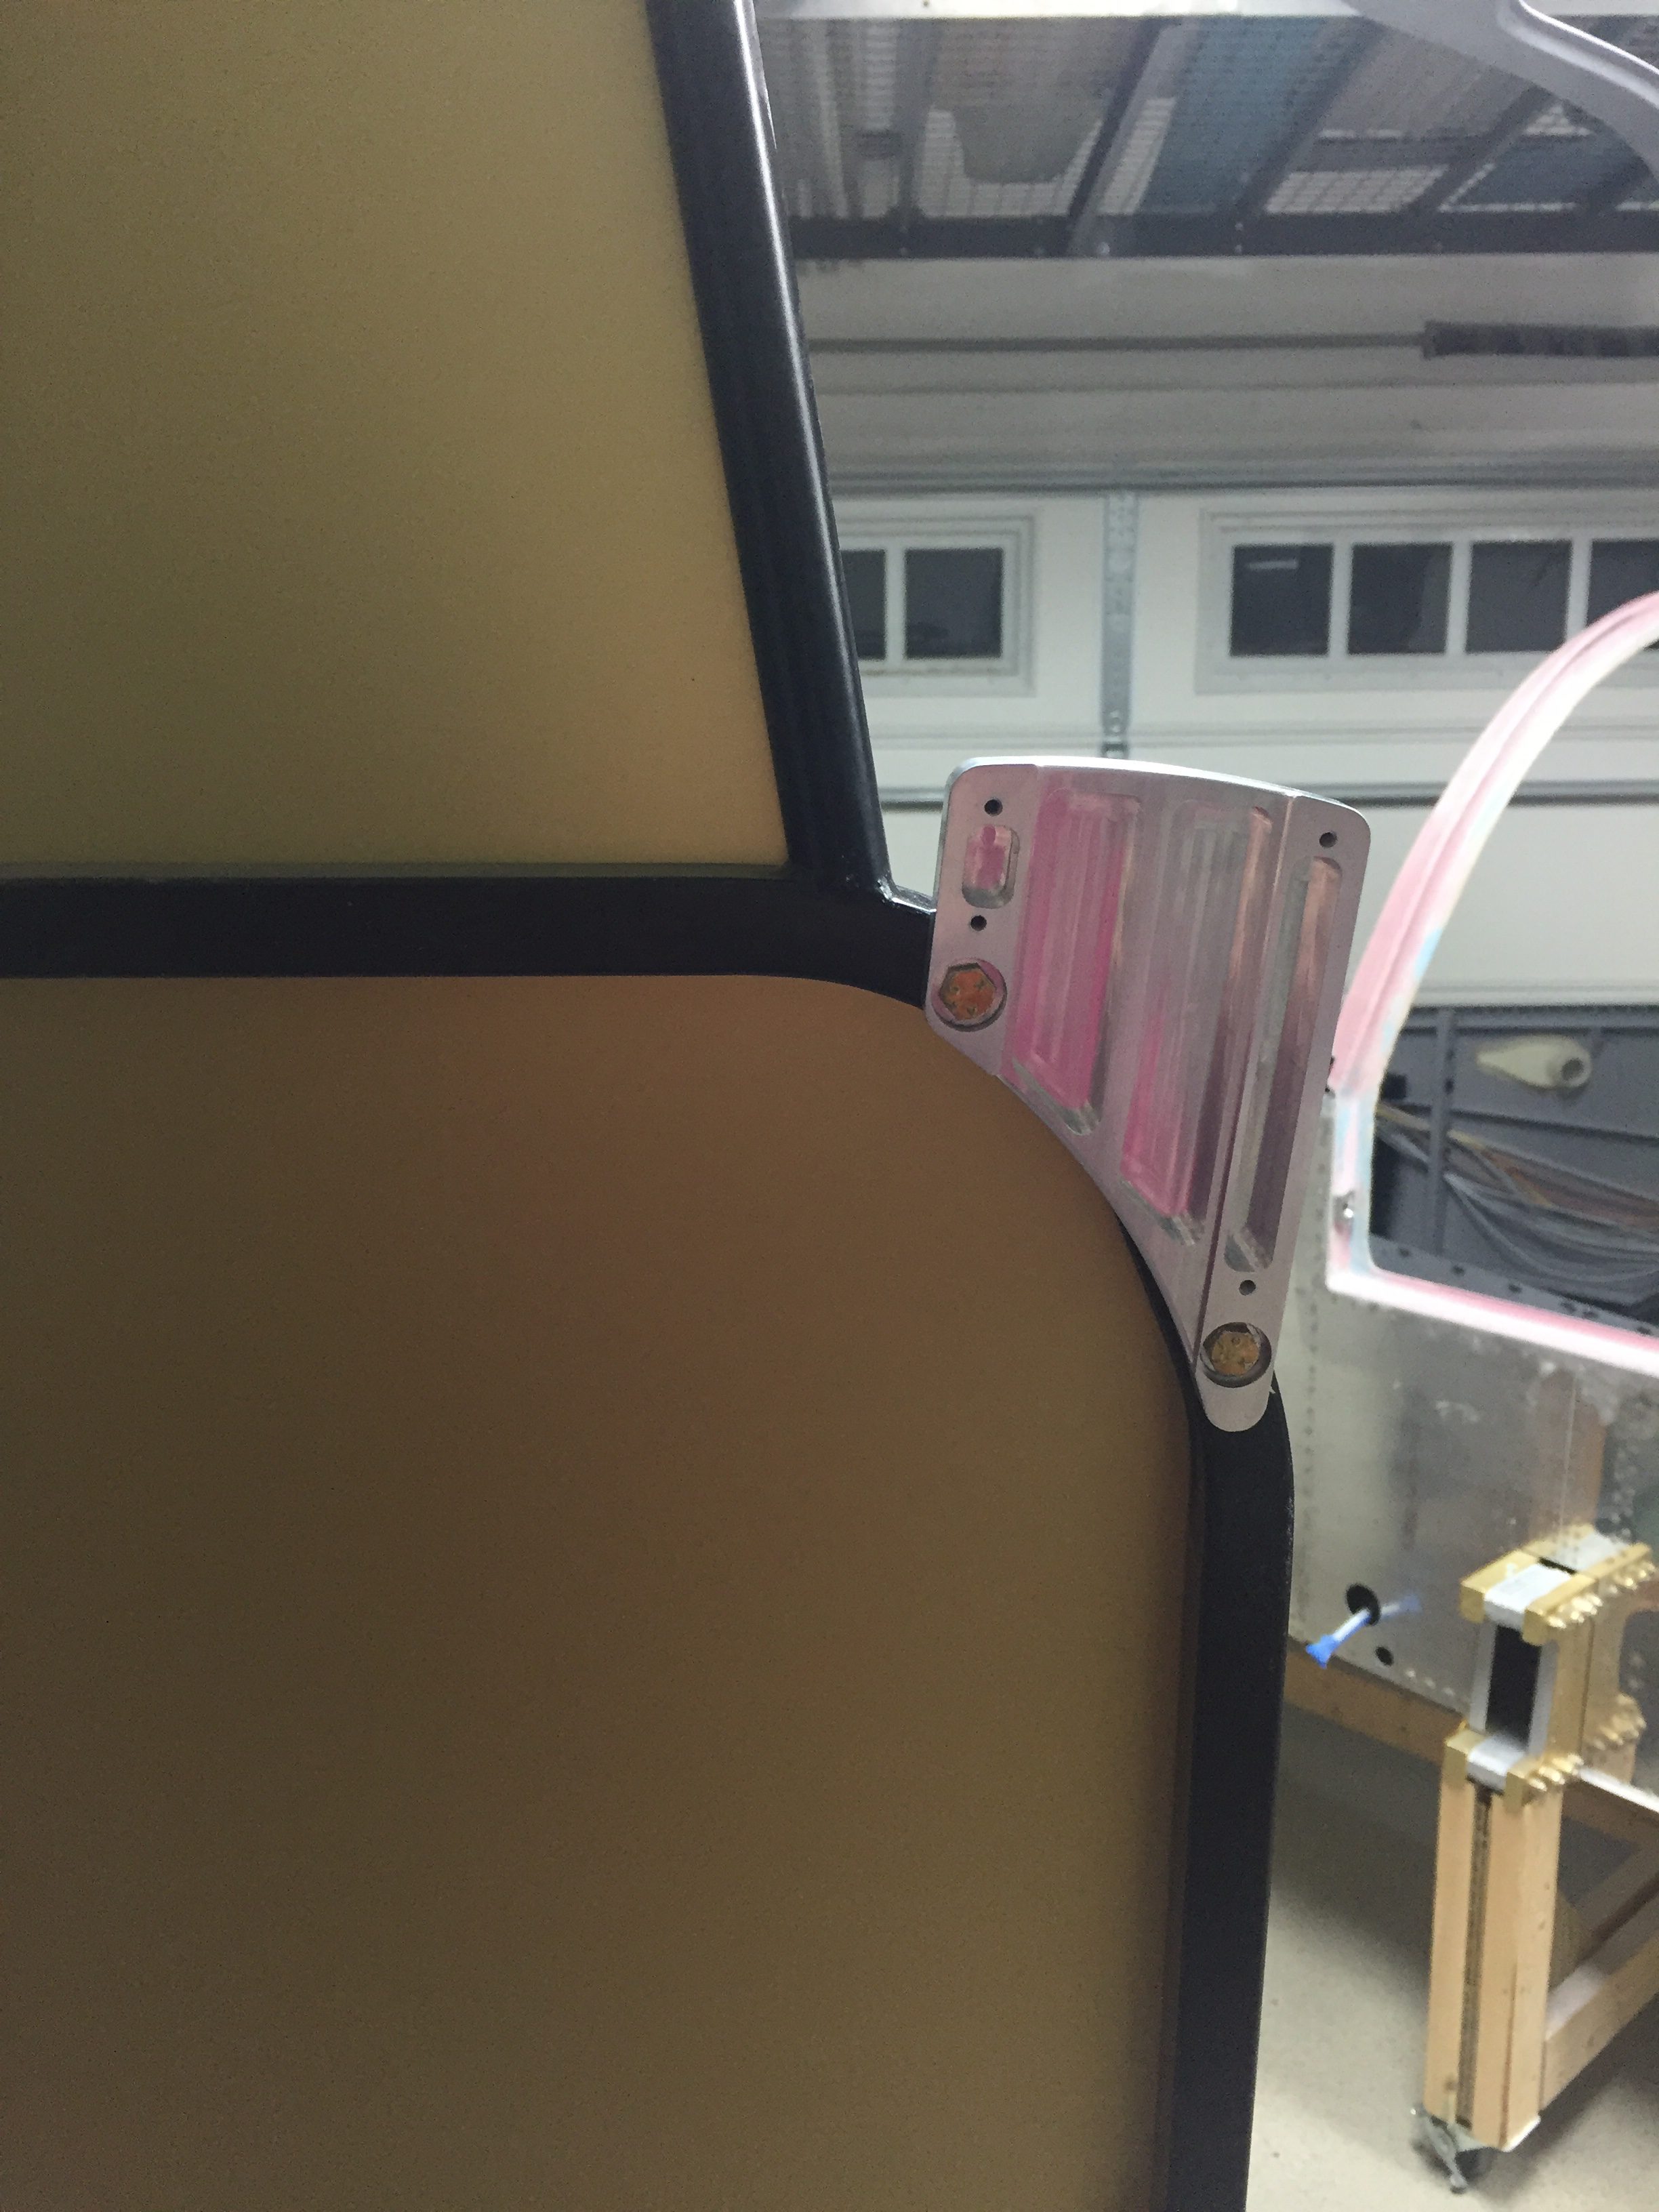
The Aerosport interior panels have been sitting for some time with a little work done but nothing complete.  Now that the inner door frame is all filled in and sanded, it was time to make the final fit fixes to the panels and tidy up the interior.  I had made a mistake on the pilot side front panel so used some scrap from trimming the rear panel to create a patch.  With a little filler, it will be as good as new.  I also followed other’s lead and misdrilled a hole that required a fix, again not a huge issue.  It’s tough to fit all of these, as you don’t really know where they should line up with until you just dive in.  I trimmed them along the molded trim lines and took my time to sculpt a few areas where it meets the fuselage structure.  The hardest part was around the door frame / windshield pillar.  The right side was an easy fit fortunately, but the left side took some work.  I didn’t fill the cabin top in far enough down the pillar so I had to apply a filler block, epoxy, then SuperFil to finish it up.  Once the panels were located properly, I drilled the recommended mounting holes and installed nutplates on the fuselage.  I also drilled the pockets and cup holders onto the front panels.

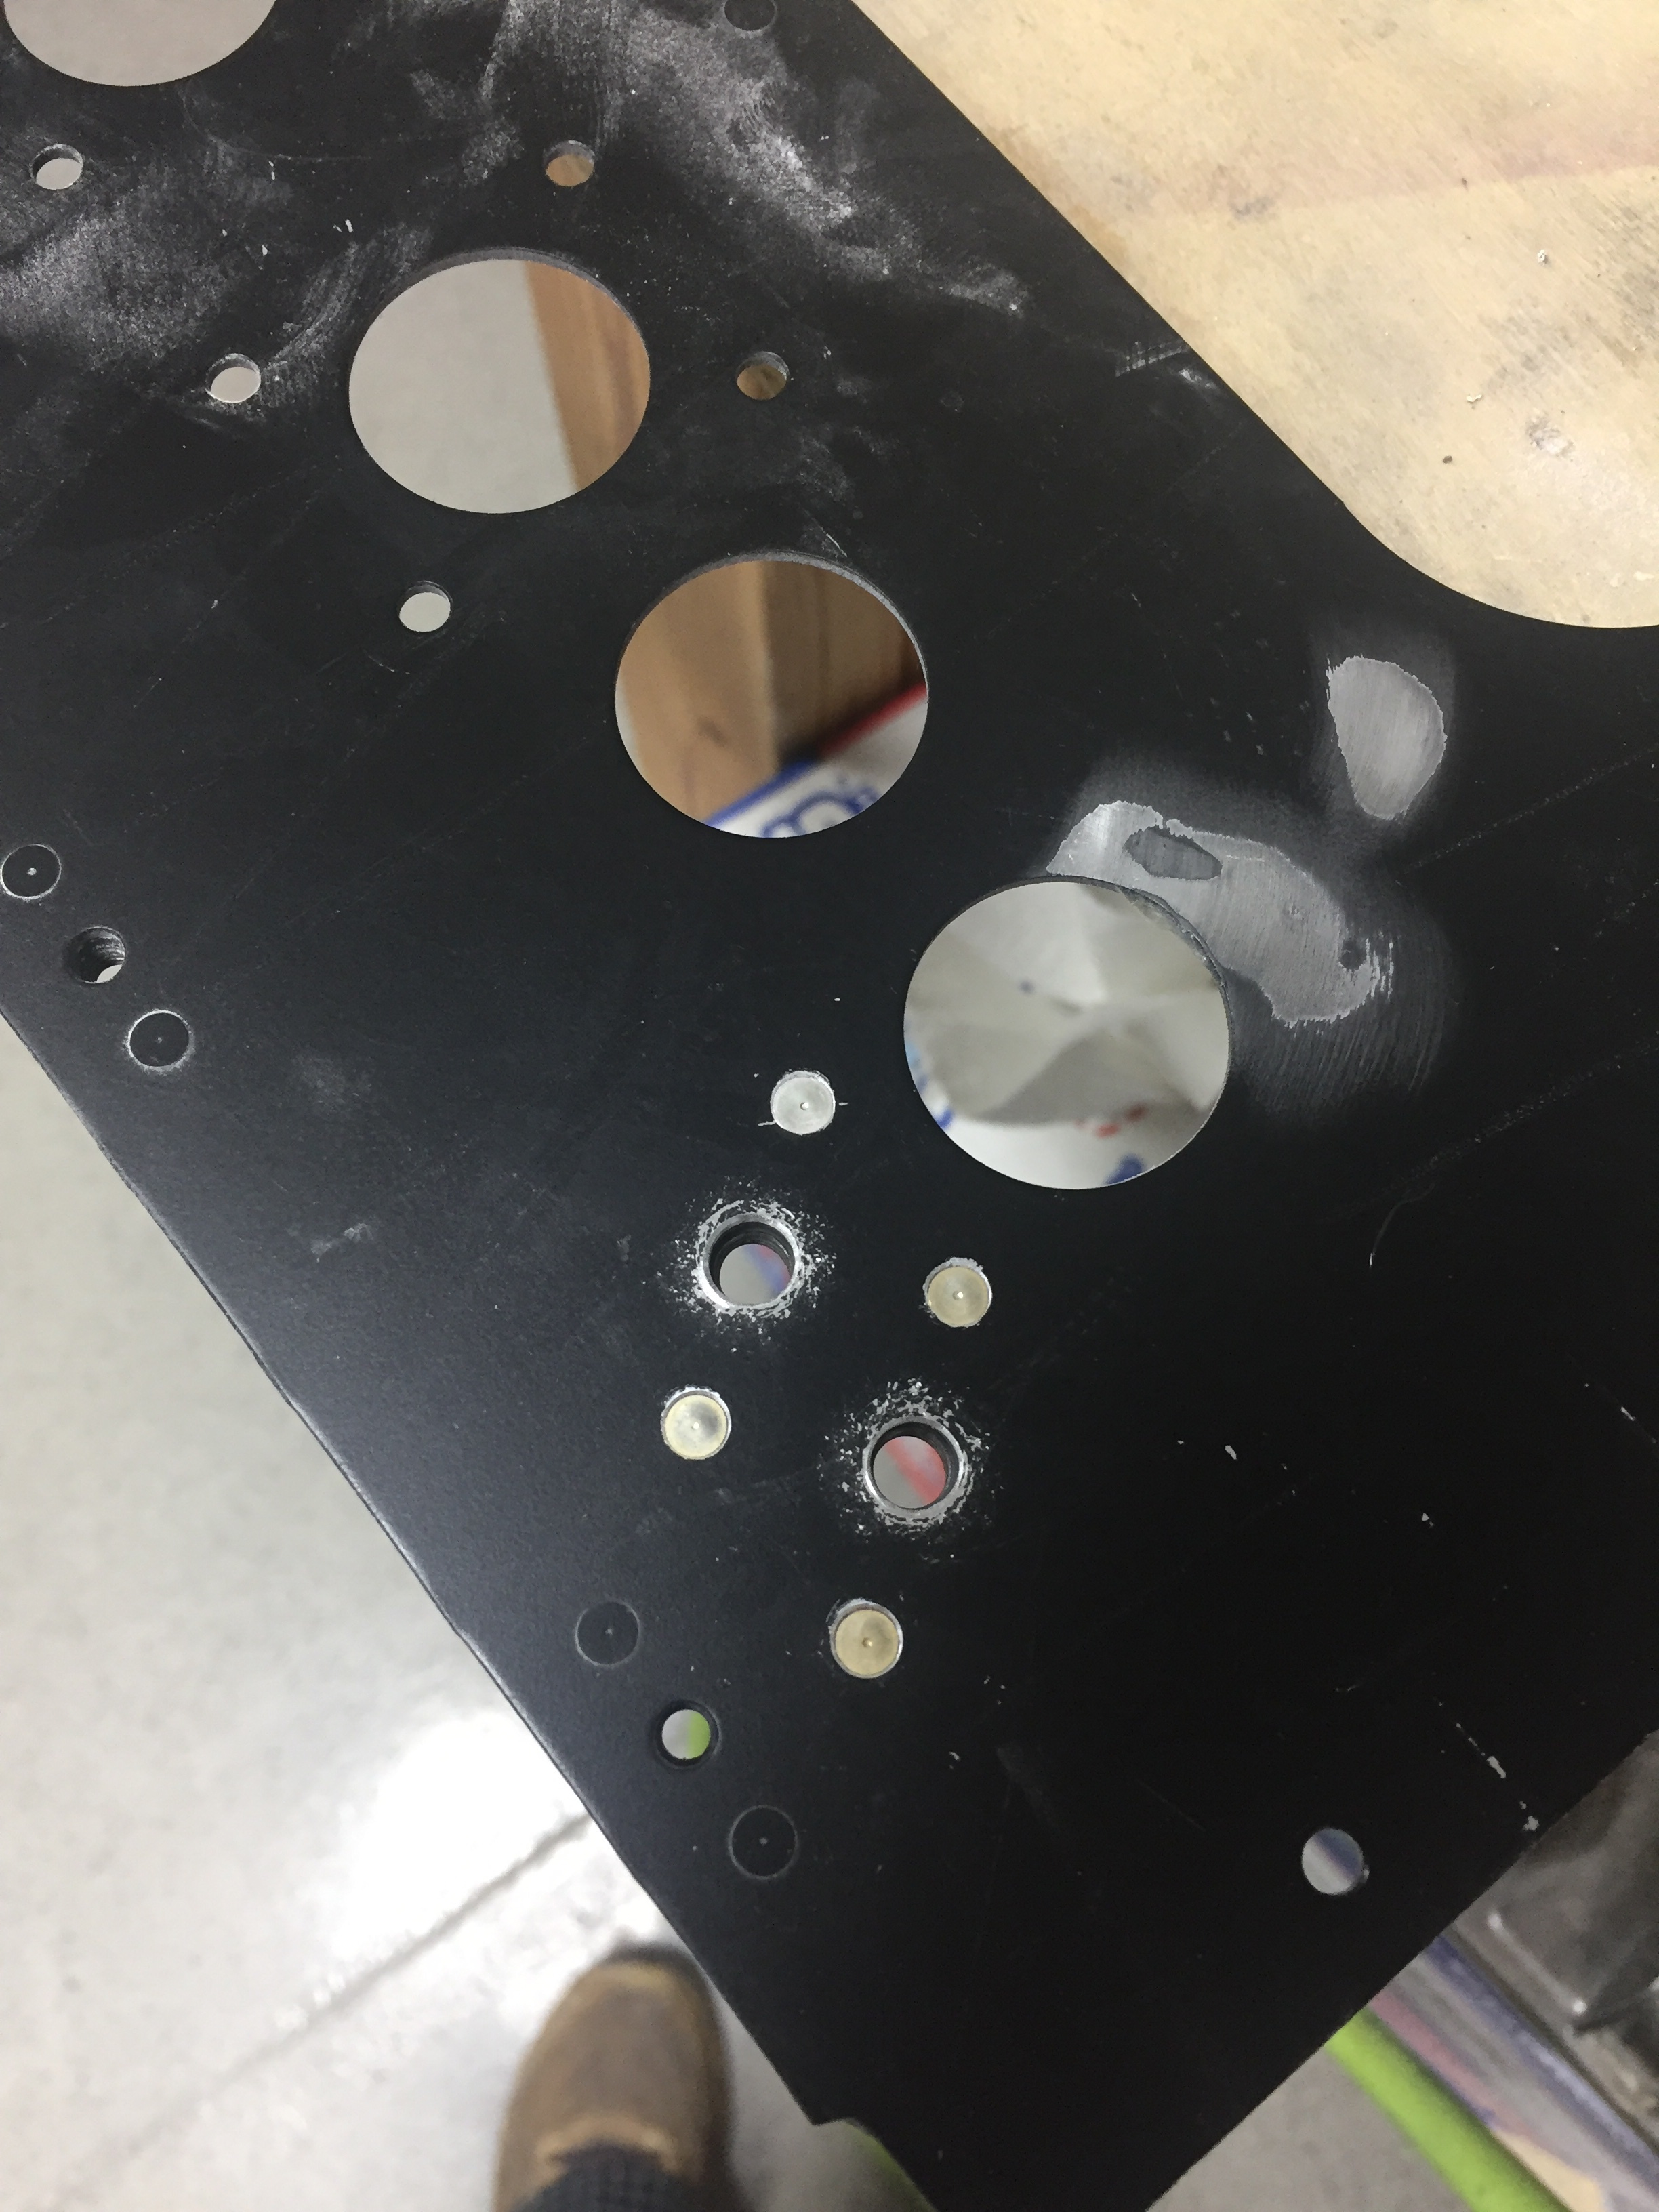
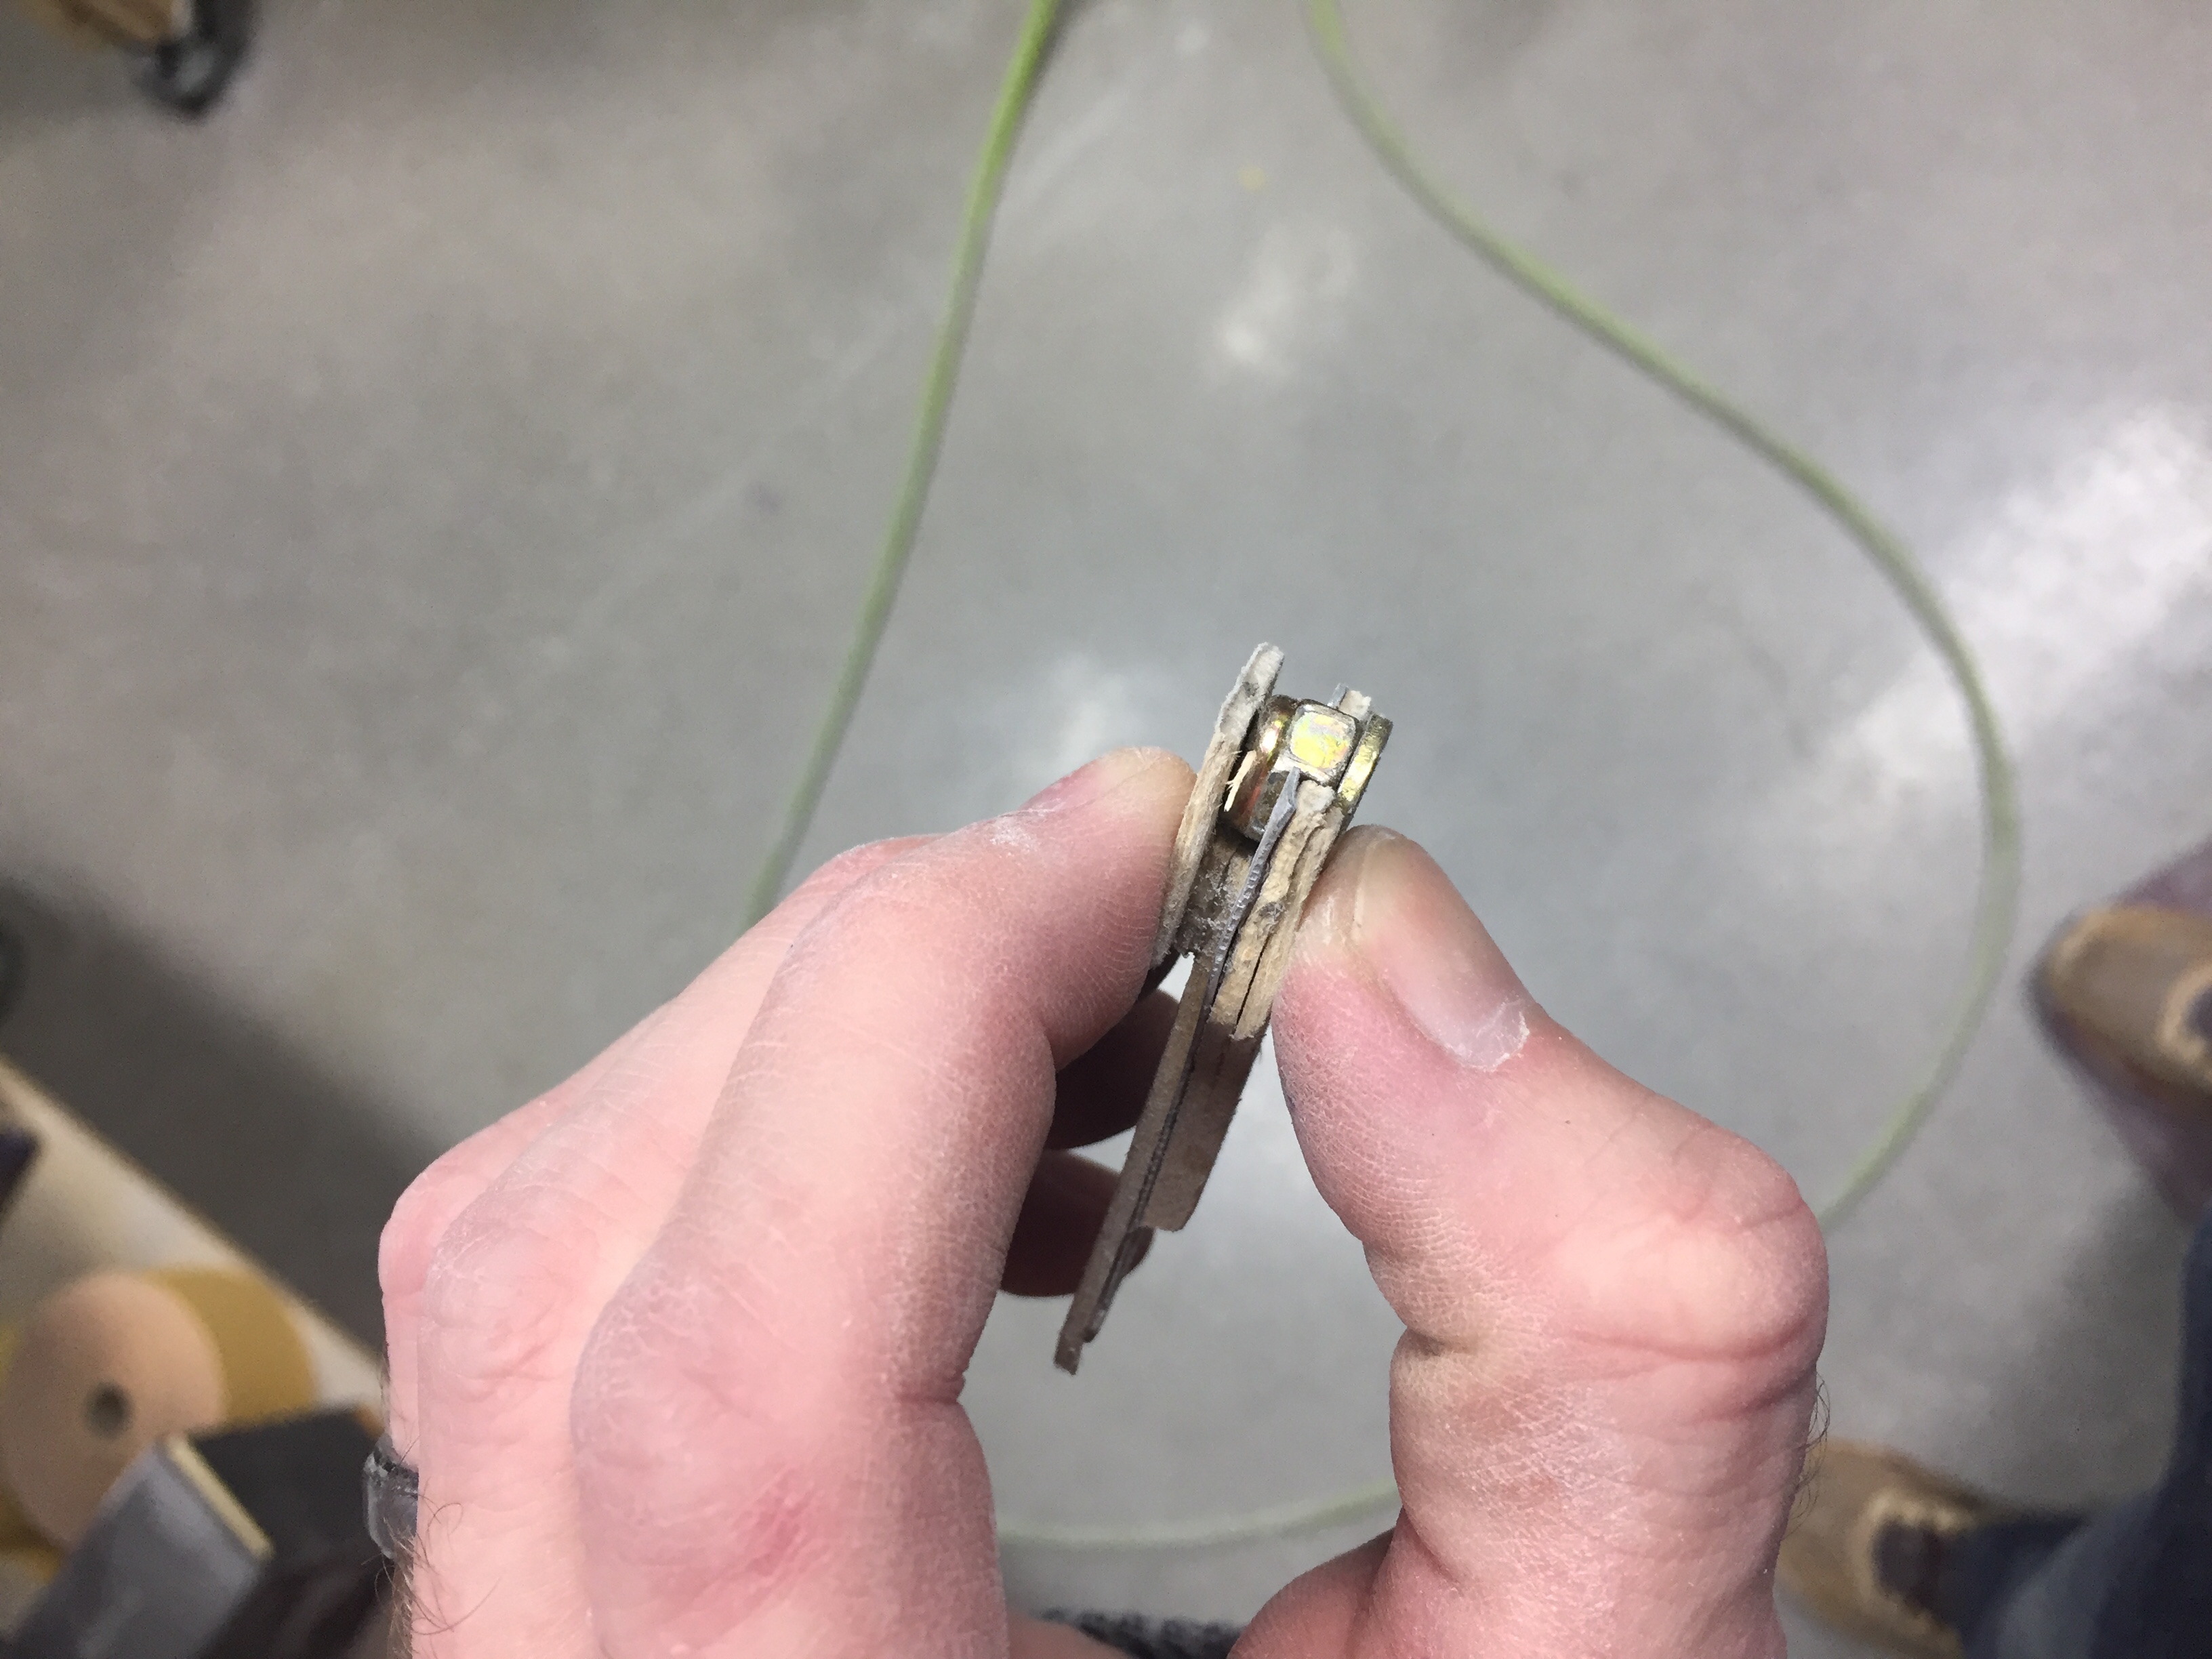
The front Mountain High oxygen ports will be installed in the front panels using the relief in the port to hold them in place.  I measured 54 times and then cut twice, purposely leaving the cut too small the first time.  I did not want to ruin a panel by cutting a gaping hole.  While it’s a snug fit and not something I want to do a lot, the ports pop into the panels and look really clean.  I had to grind the thickness of the panel down a bit as it was too thick for the groove machined into the port case.  Unfortunately, my pace of work has increased and my pace of taking photos has decreased, so stay tuned for final install pics of these.

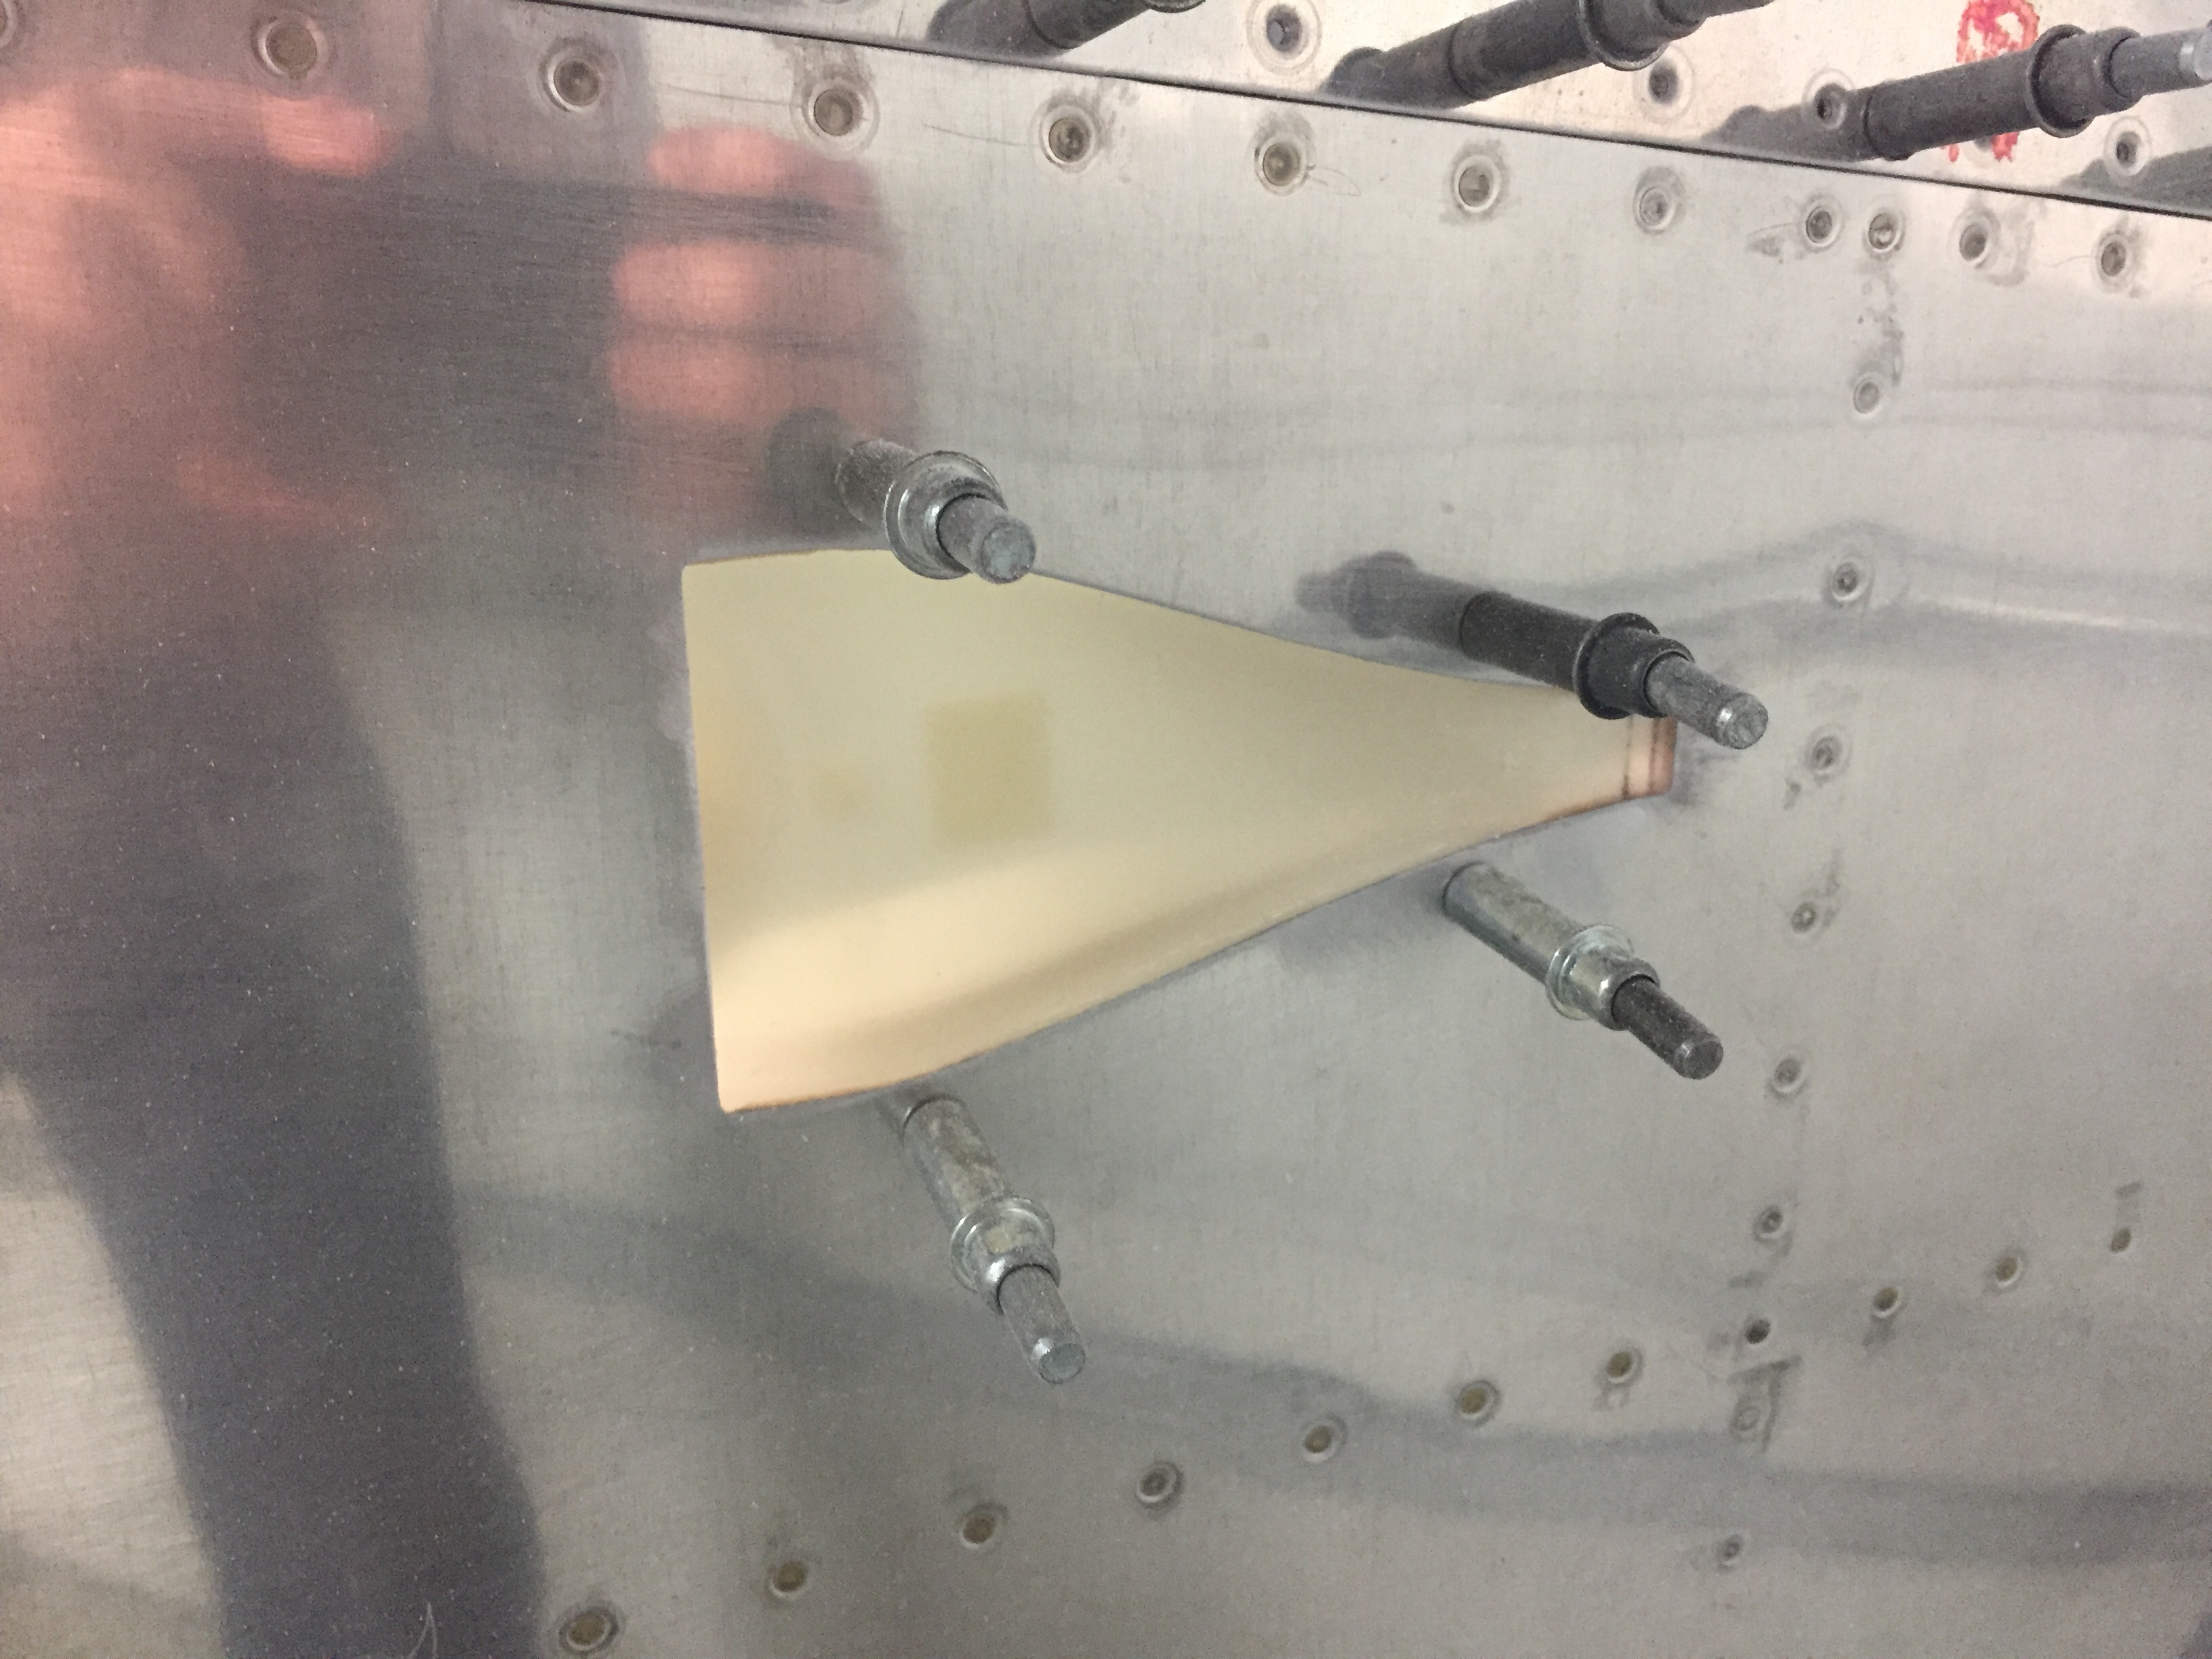
I followed the same method to install the rear seat panels and baggage area panels which went pretty smoothly.  Once I get the headliner all made up, I’ll go back and do some final trimming on the top edge of the rear and baggage panels to fit.  I also fit and drill the baggage door panel, although I won’t rivet it on until later in the finishing stages.  I tackled the rear vent install which was not nearly as difficult as I had feared.  I followed the install guide from Aerosport and got it all done in one evening’s work session.  I wound up using silicone to adhere the ducts to the inside of the fuselage skin since paint won’t hit them and it will allow a bit of flexibility to snap them on to the vent covers in the rear panels.  I also had to put a bit of SuperFil in a few areas to finish off the door frames.  All in all, very happy with the results and the cabin will look very nice once all painted and buttoned up.

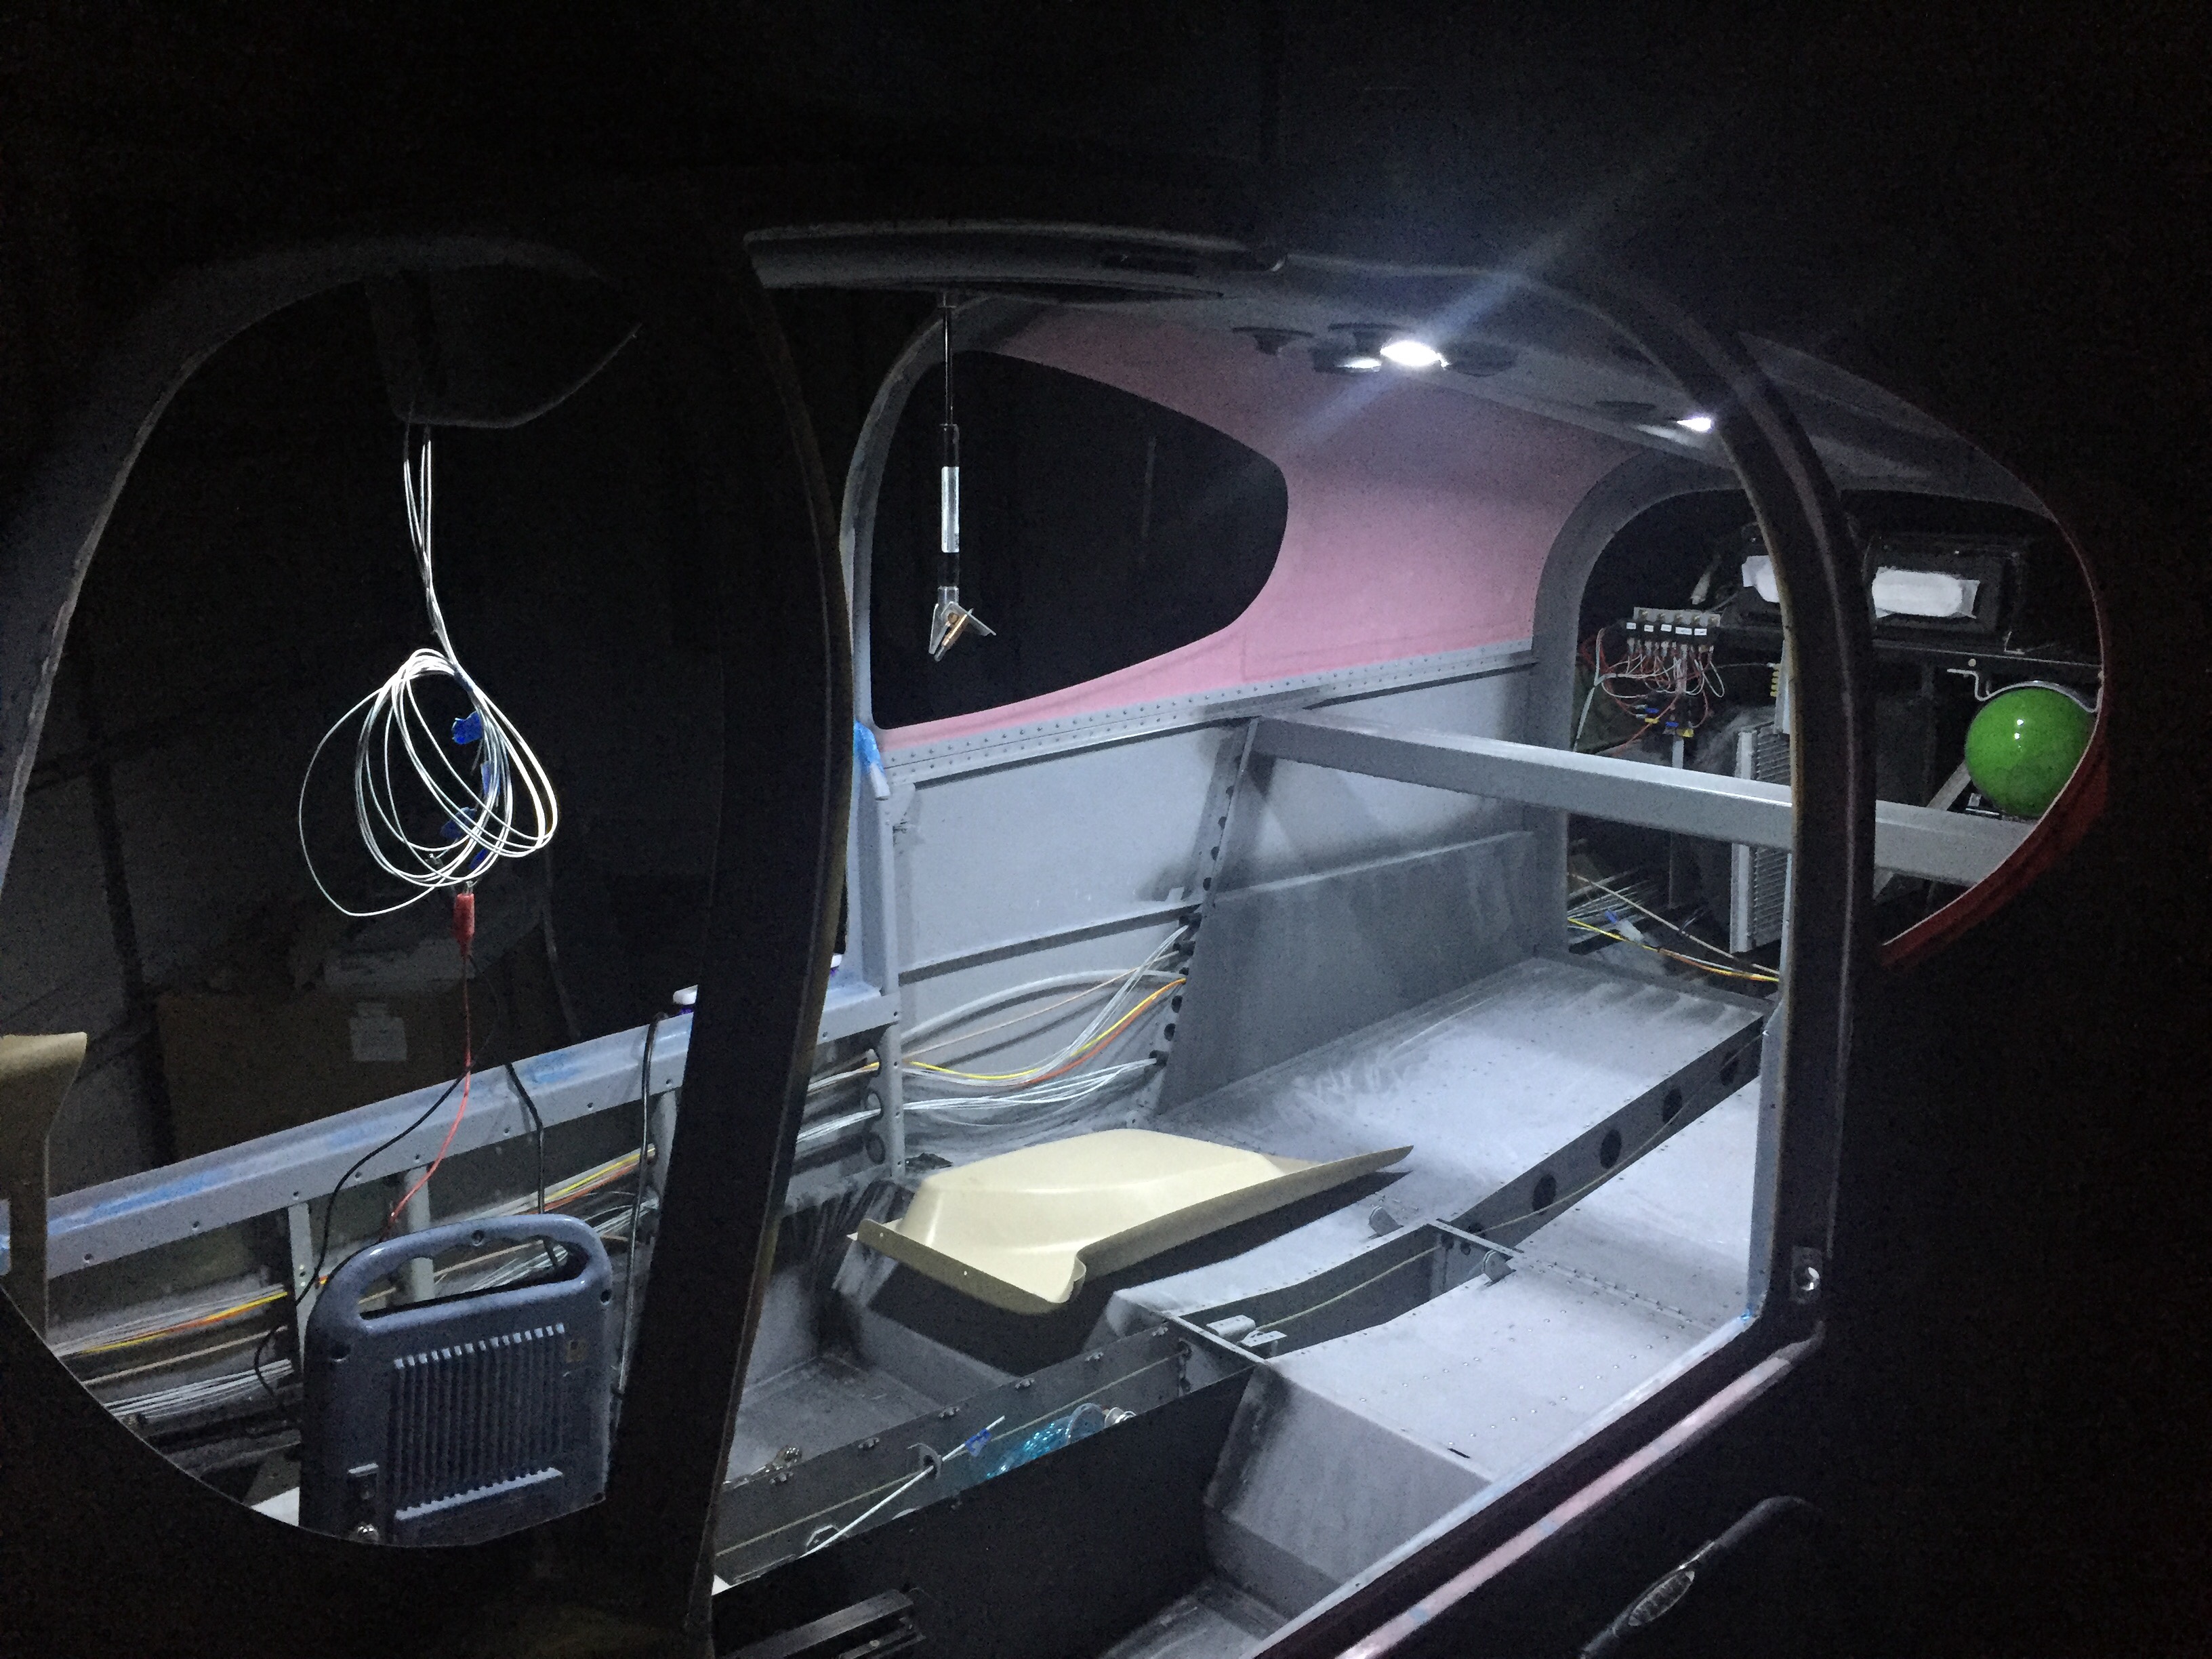
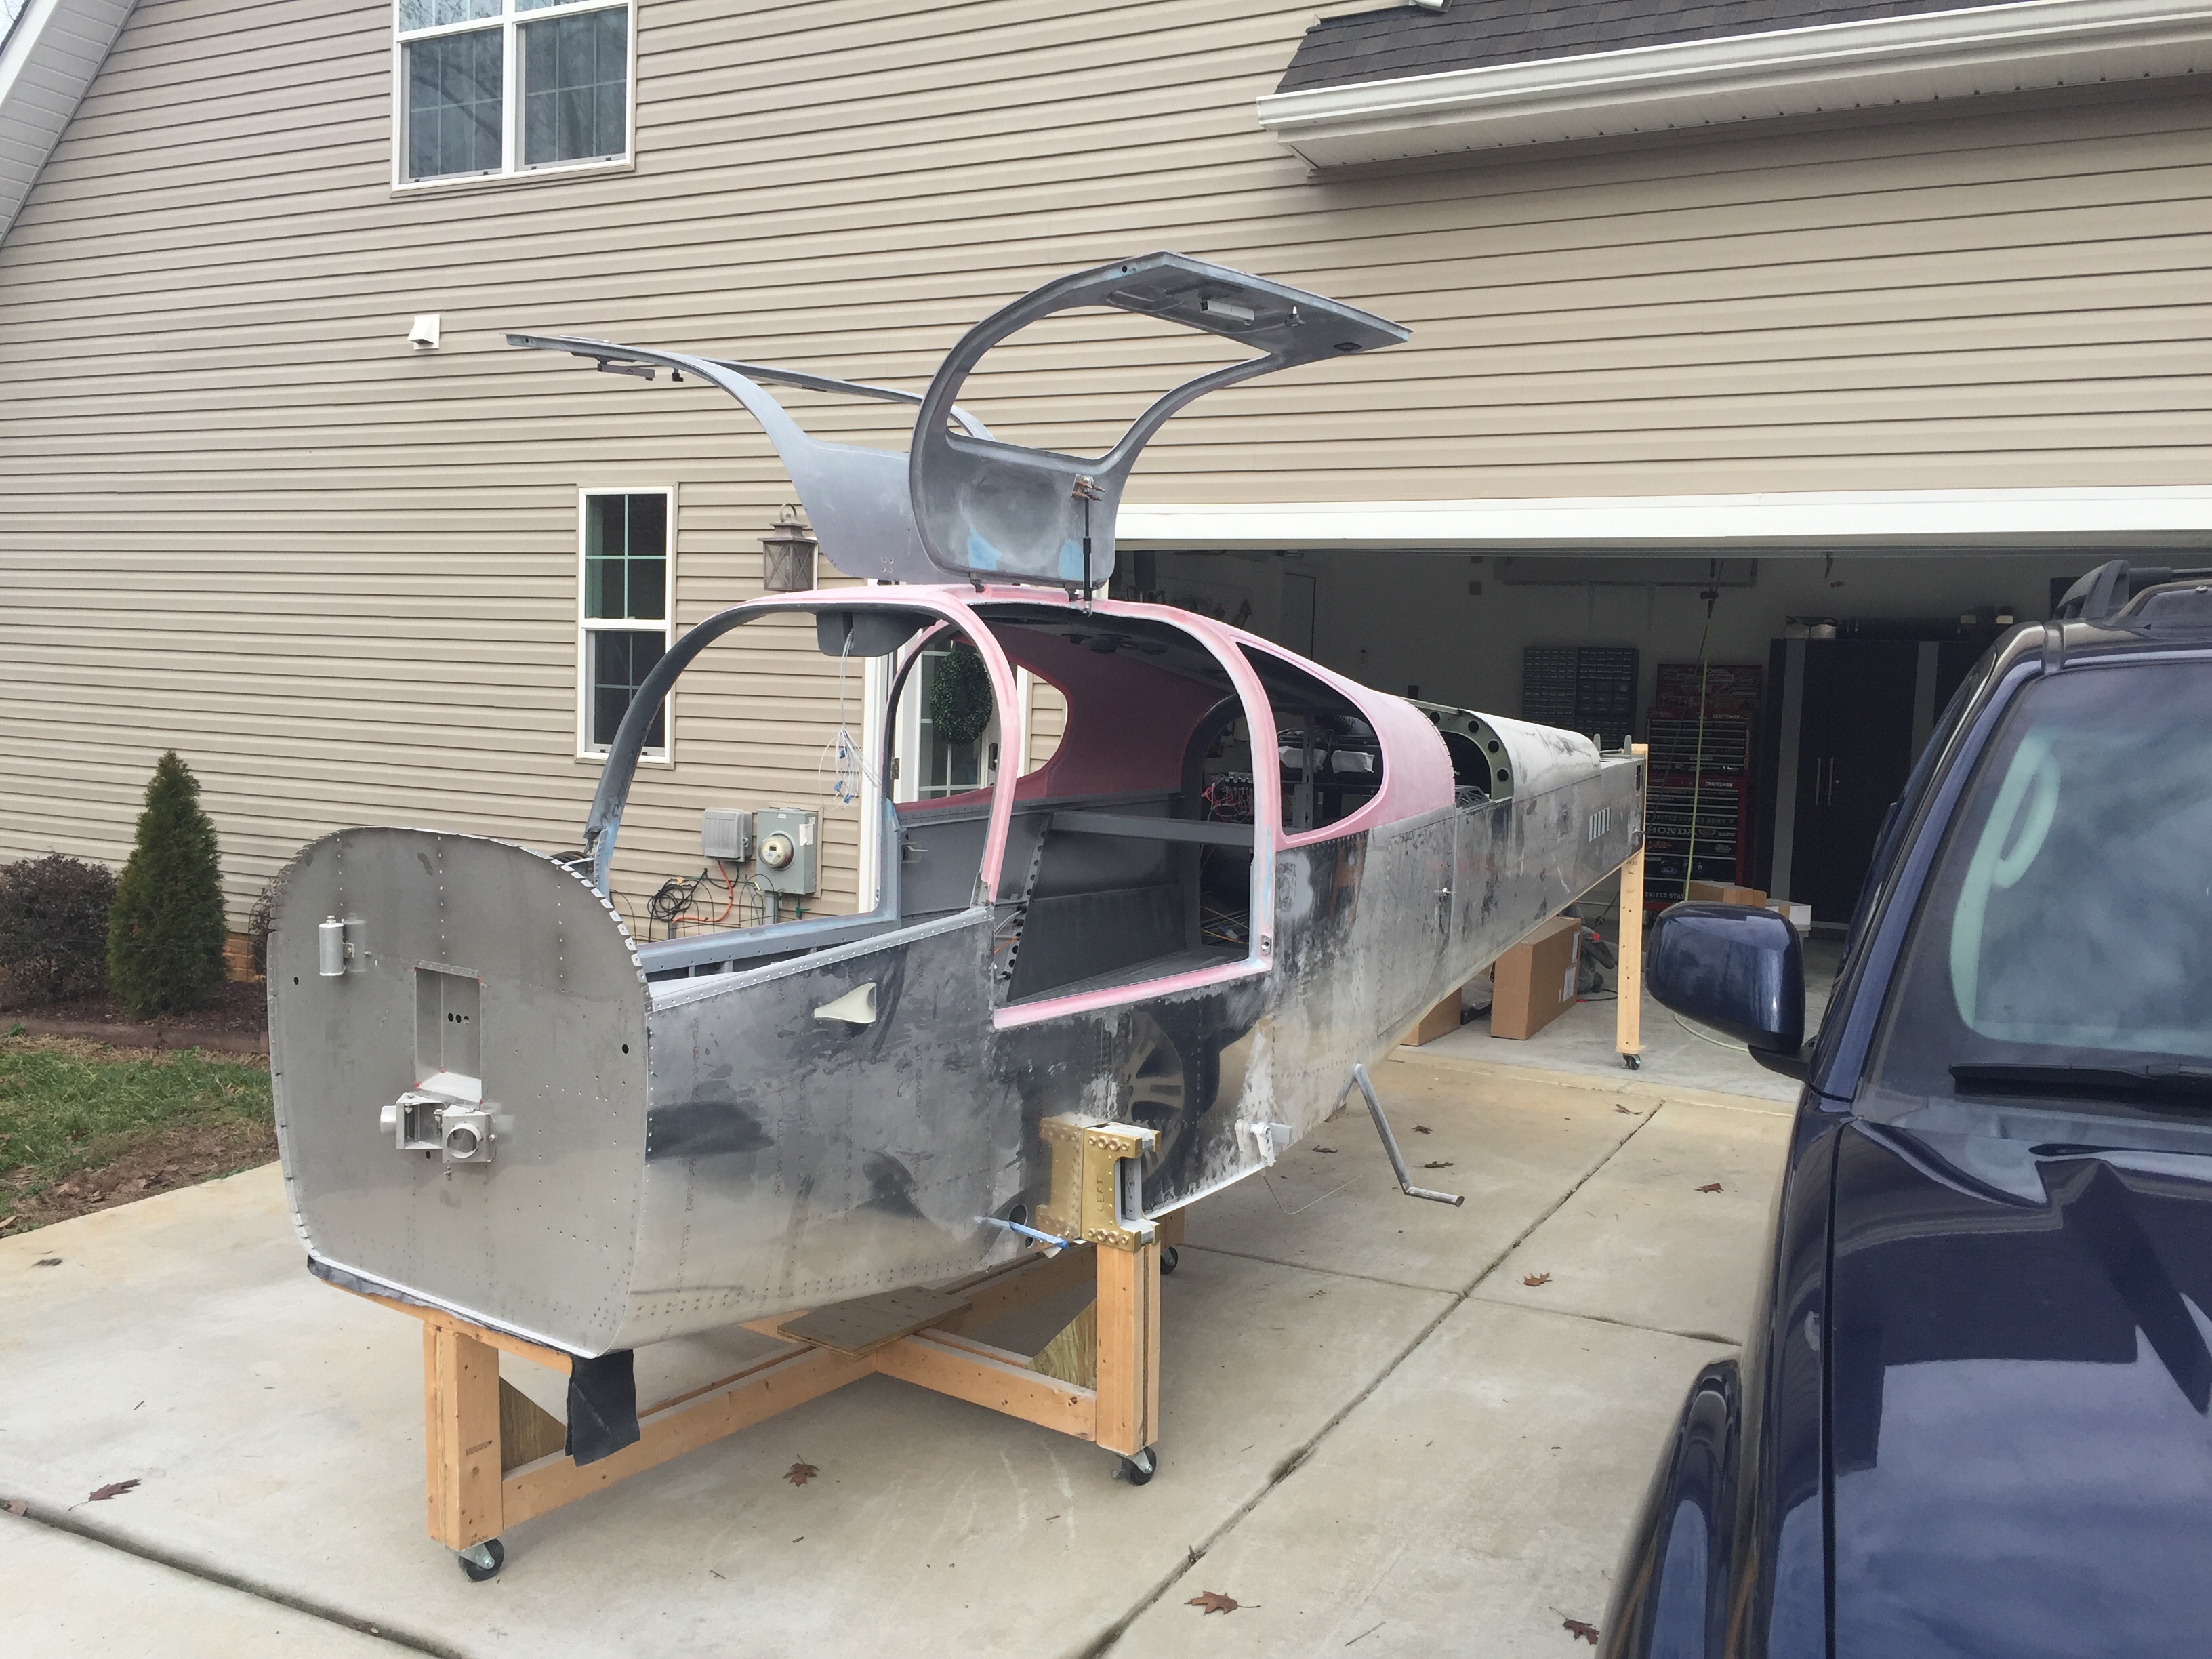
With the sanding done on the inside and door seal area, it is time to get some things cleaned up before pressing on.  The entire shop, fuselage, and parts of the hardwood floors inside are covered in fiberglass dust from the preceding weeks of grinding and sanding.    I want to get it mostly dust free before moving onto the seatbelts and interior.  It was a beautiful day outside, so I took the opportunity to roll the fuse outside and start vacuuming.  I wound up using my air gun to blow most of the hard to reach areas out while simultaneously vacuuming the bulk of the dust out.  What a mess!  I repeated this twice and followed it by a final blow out to get everything I could.  I’ll go back and wipe the wires and everything down before closing anything up.

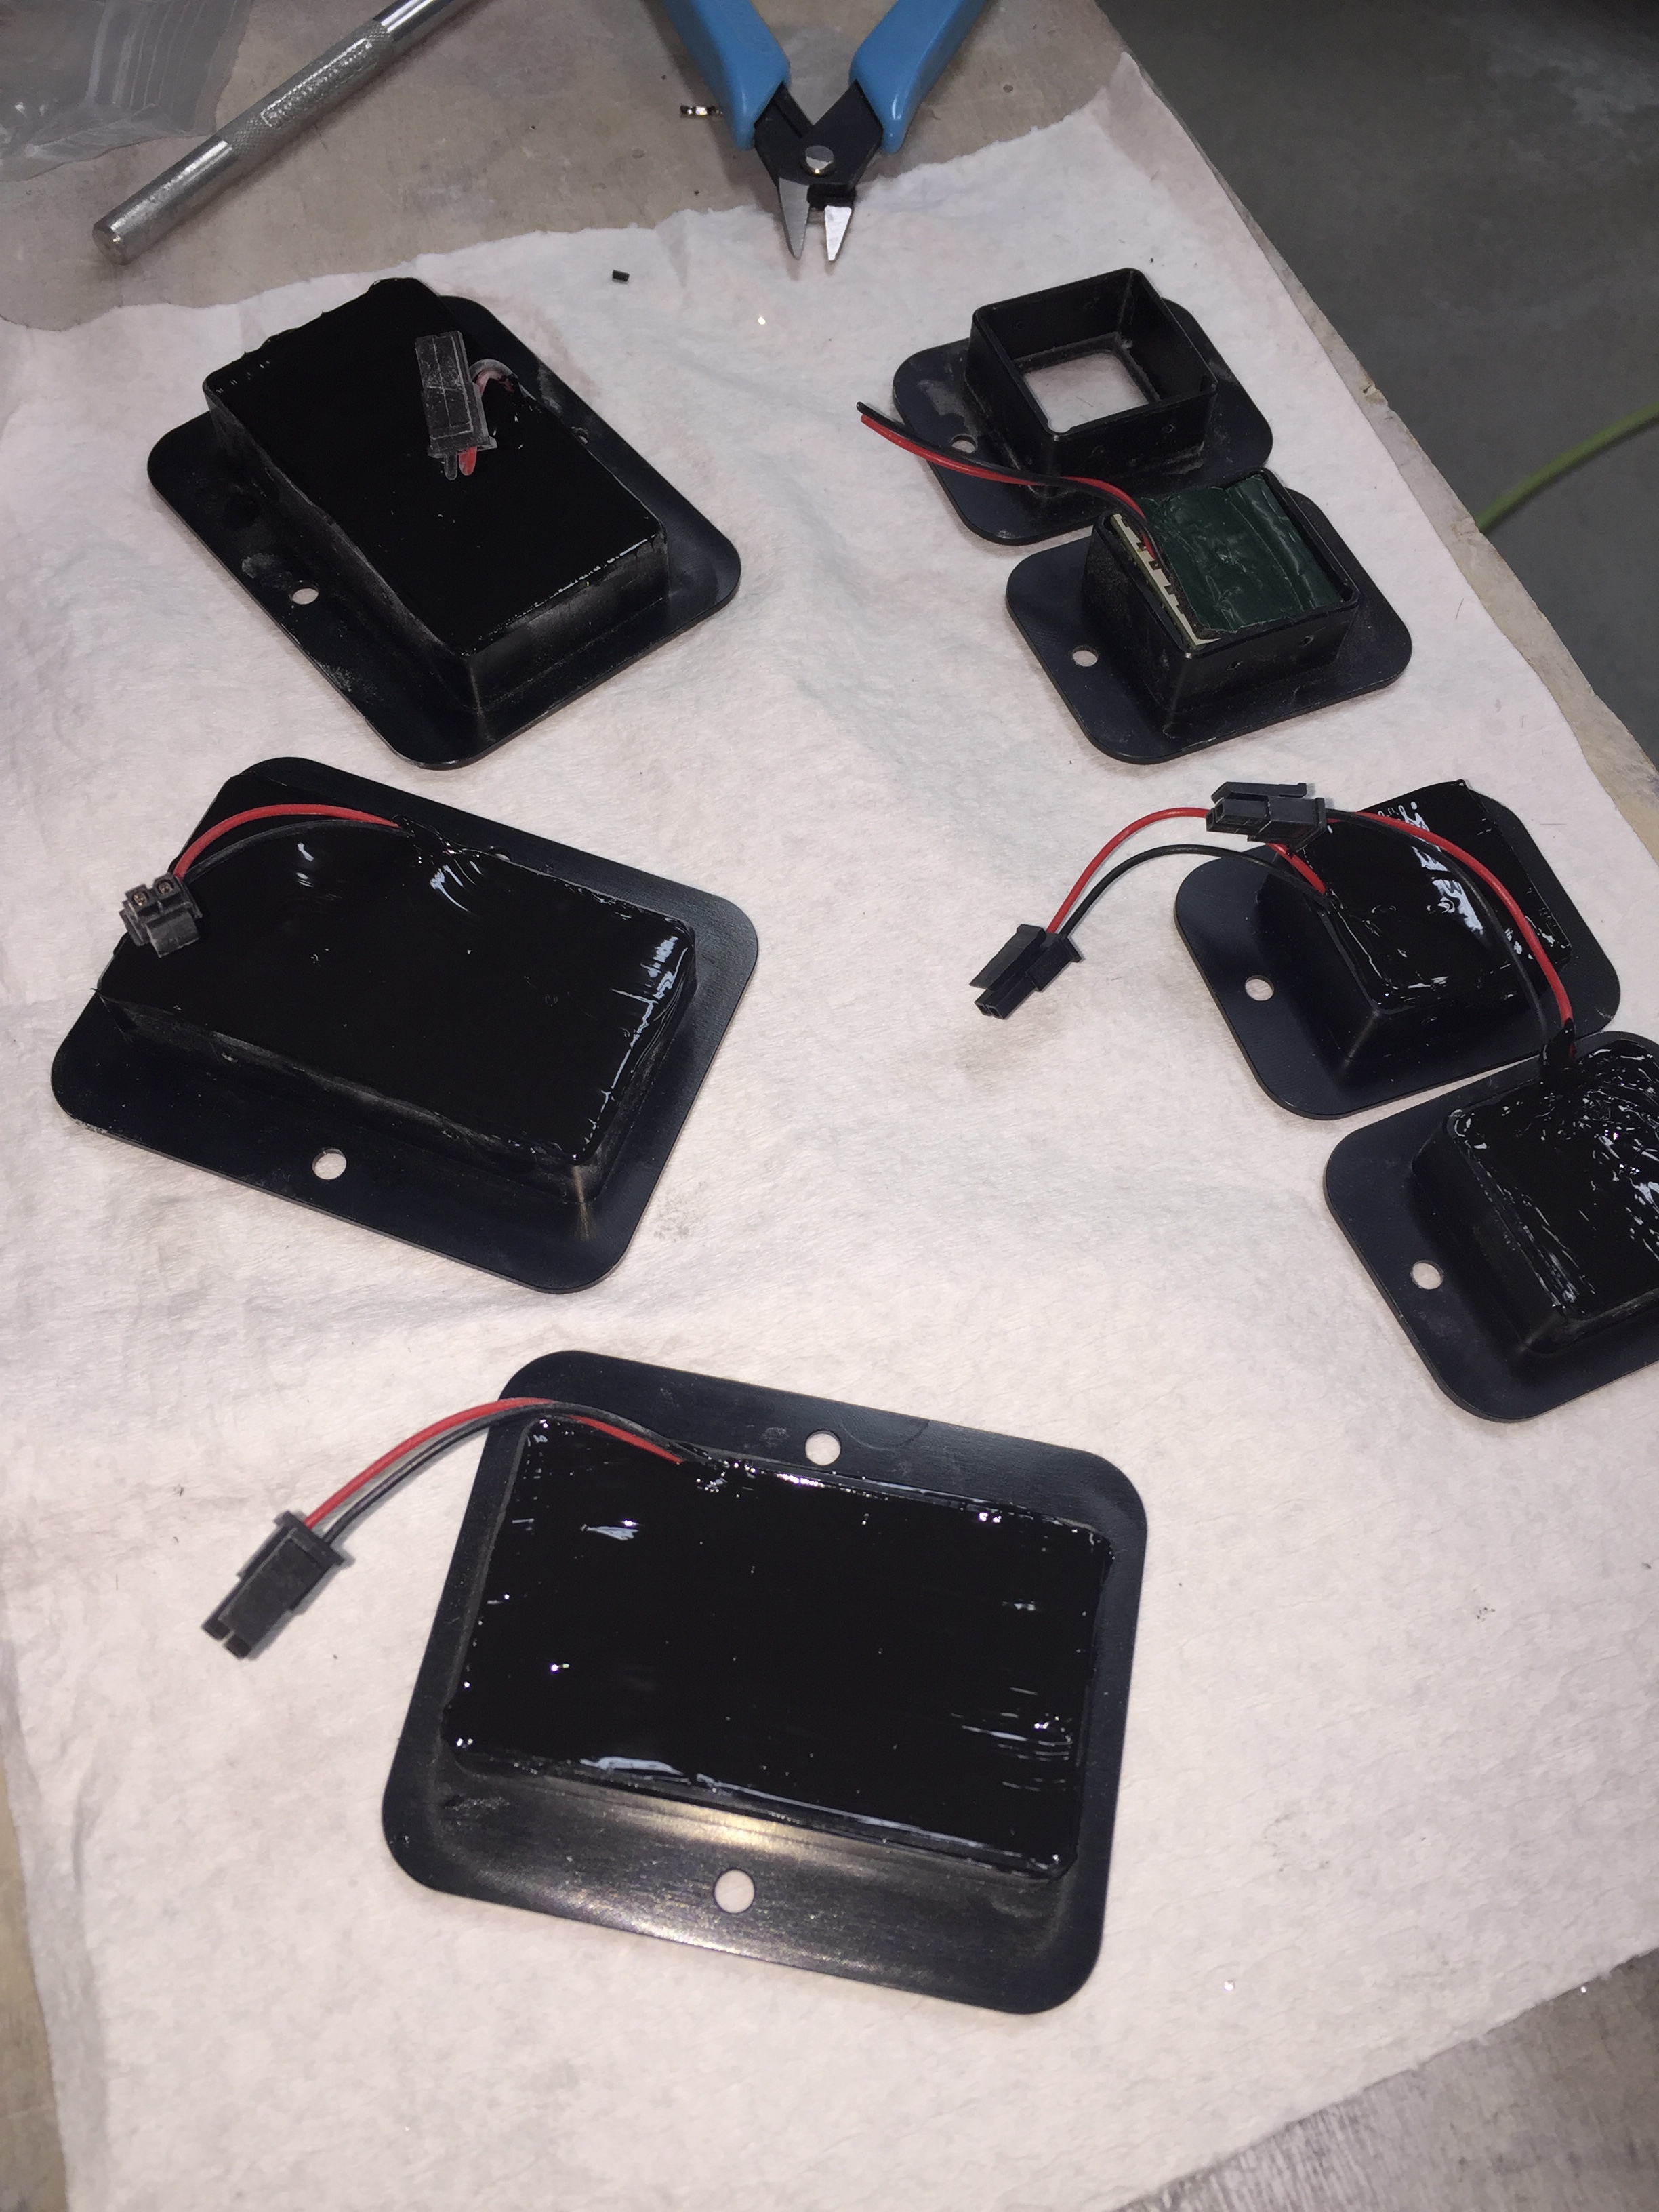
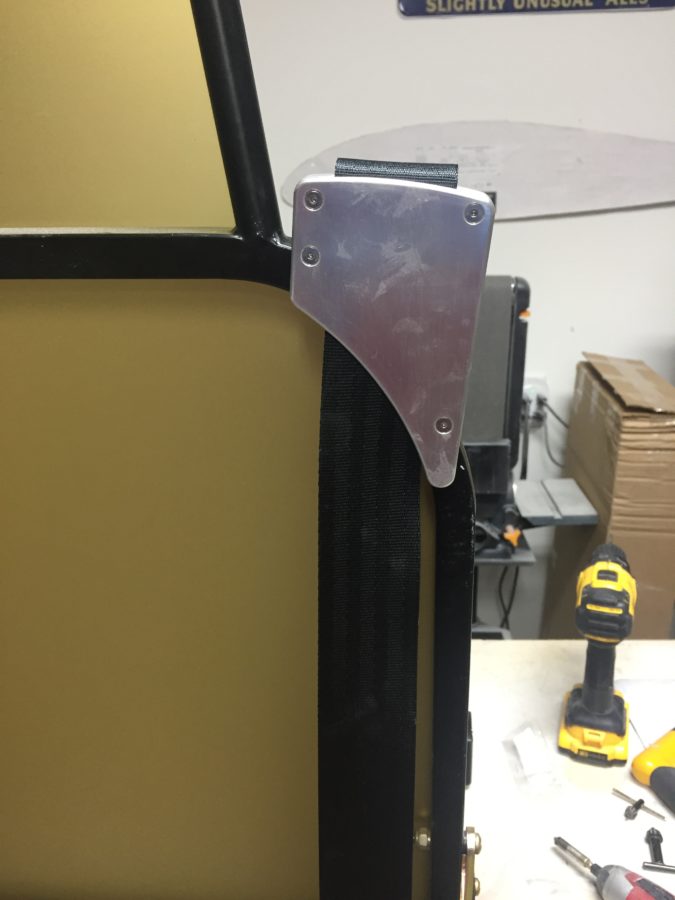
Once back in the “hangar” garage, I went to work on the seat belt brackets that I had machined from Mark Cooper’s design.  These have a long story of trying to convert files and design, but in the end I got a hold of the guy he had machine his and just ordered my own set.  Since I’m using inertial reels and a three point harness on all four seats, I only needed one shoulder bracket for each front seat.  A couple of weeks after placing the order, the brackets arrived and wow, are they nice!  The belts came from Seatbelt Planet after a custom order was placed.  I used the brackets as guides to drill mounting holes into the front seat frames.  I realized then that the bracket sewed onto the belt was sewed on the wrong side, with the offset not fitting into the mounting bracket.  A quick call to Seatbelt Planet and I had an RMA for them to rework the error.  Once back, the reel will mount to the aft spar with a plate and captive nut.  The belt will run behind the seat back through a small bracket to keep it in place and up through the shoulder bracket.  The seat covers will have an opening for the shoulder bracket.  Since I can simply unbolt the reel and webbing at two locations, seat removal will still be quick and easy.

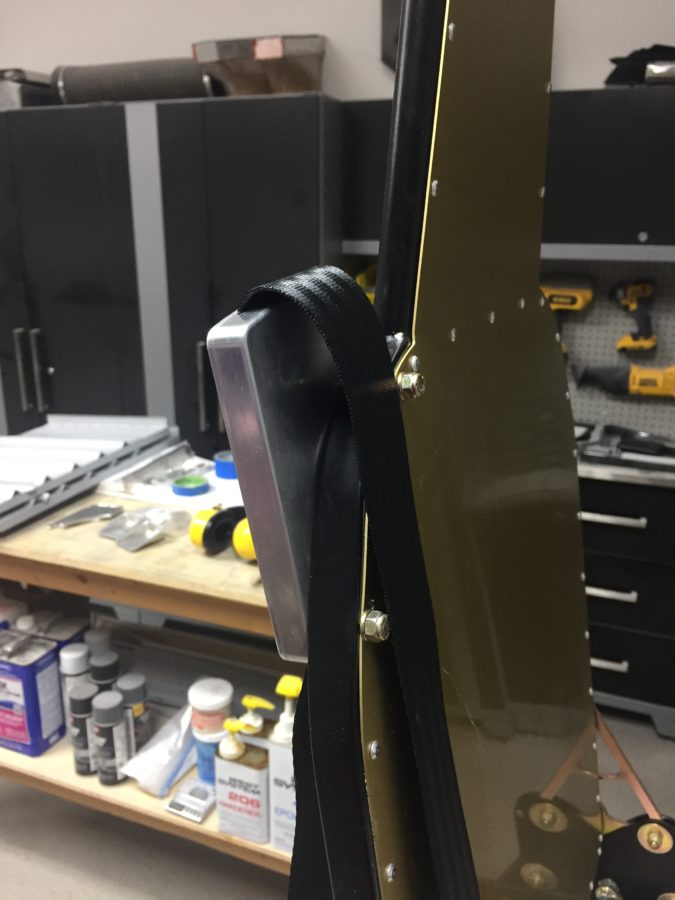
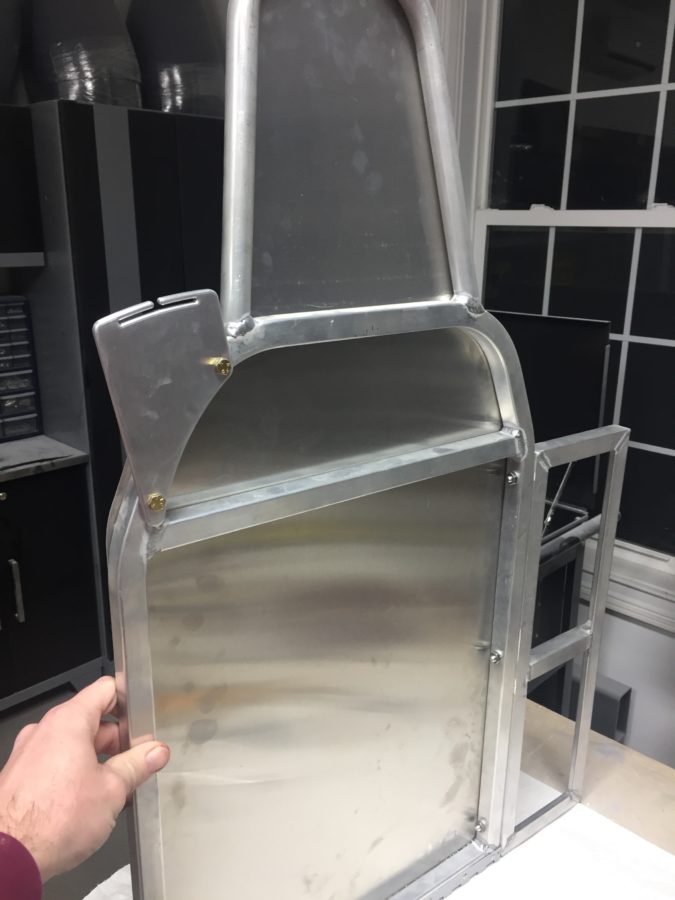
I moved onto mounting the rear seat back frames from Aerosport which required removing the hinge half from the stock seat backs and installing them on the new backs.  Soon enough, I was ready to mount the rear belt brackets which are a bit different in design than the front.  They allow the belt to pass through them and keep it routed properly from the reel mount on the underside of the cross bar.  Since the same error was made on the rear belts, I sent them back as well.  Once I receive the corrected belts, I’ll mount the reels for the front and rear seats.  The seats are now just waiting on the belts to send off to Aerosport for covering.  The front seats will be upholstered with the seatbelts running inside of the seat cover, so I need the belts before I can send them off.

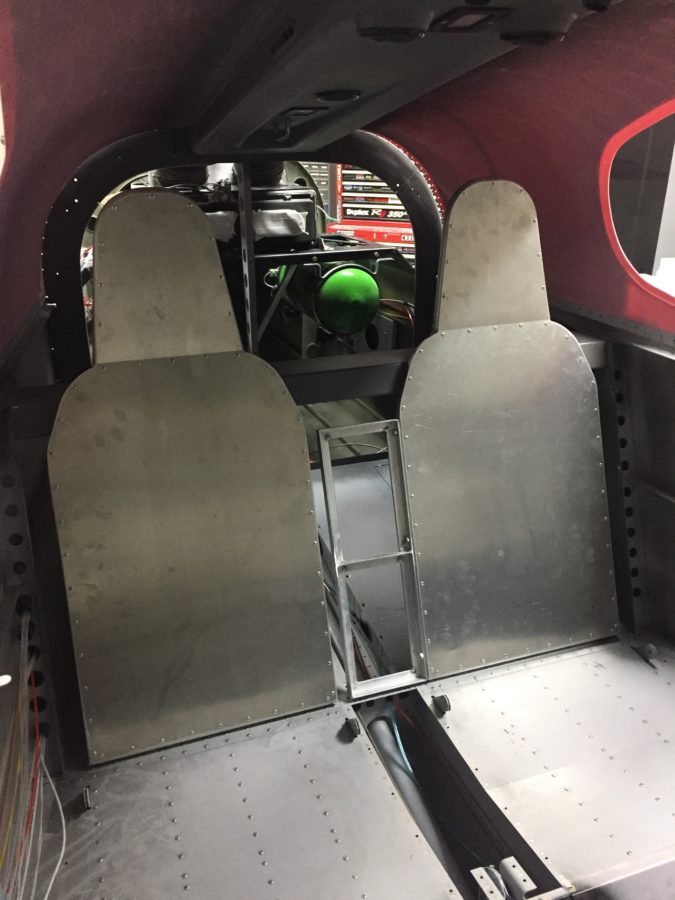
One note is the center section from Aerosport is too short. Andrew is going to replace that when I send in the seats for upholstery. That will cover the gap and hide the cross bar completely.

Back to heavy metal work

One task that I want to document for others I forgot to mention is modifying the tunnel cover around the Control Approach rudder pedals.  The cable attach arms are relocated inside the tunnel so slots need to be cut for them to move freely in the cover.  I measured their arc and marked the tunnel cover where I wanted to split it into two pieces.  Before cutting, I marked and drilled a center plate to hold nut plates which will allow me to screw the two pieces back together.  It was a pretty simple modification as was cutting the slots for the arms in each piece.  Again, I’m trying to consider maintenance and access down the road as much as I can.

I also took the time to modify the seat rails since I got the Aerosport seat levers.  Others have described this mod and it makes removal of the seats a snap.  Step one is to remove the delrin guides from the seat bottoms and trim the first 1 ½” off followed by reinstalling them.  This allows the seat to be slide rearward on the rails and then tilted around the flap tube cover with the necessary clearance.  I then removed the aft rail stop and drilled through the rail into the plate below.  Installing nut plates below the plates lets you put bolts in place of the screw and nut on the stop.  Now, I can get to the bolts from the top down eliminating the need to reach under the seat plate to get the lock off, allowing the seat to slide freely rearward.  It all makes sense when you look at it.

I’m trying to knock out some little side tasks along the way now in the spare time.  I used some excess epoxy from a door filling session to install the front vent NACA scoops.  I drilled a few holes and used clecos to hold them in place while the flox cured overnight.  I don’t have proseal and didn’t want to use any silicone on the area since it will be painted.  With minimal flexing and a good scuffing on both surfaces, I am confident the epoxy will hold these just fine long term.  The scat tube will have a short run from there to the Aerosport vents that I installed in the instrument panel.

I also performed a quasi service bulletin from Sean at Plane Around.  When I received the lights from him for the overhead and doors, several had bad boards which he promptly replaced.  I got a call from him with an interesting finding.  He used a brass wire over a piece of foam to hold the LED boards inside the aluminum and plastic housing.  He found that in a few instances, the wire was touching the board and shorting out LEDs.  Awesome service!  He called and suggested using a different method such as silicone which is an easy solution.  I removed all of the installed lights and completed the rework after ensuring all LEDs checked good.  I took the opportunity to install the micro molex connectors on the remaining few assemblies as well.

Service bulletin complied with in accordance with published guidance, OPS check good!

And finally, another cleanup item to mention was the addition to the hangar family.  While she hasn’t been officially named, our new Best Tugs Alpha 2 arrived!  I ordered this at OSH last year to use on the DA-40 we fly now and for long term with the RV.  It cost a pretty chunk of change (plastic, let’s be honest) but man is it nice.  It will save my twice-operated on back for years to come and is really handy to maneuver the airplane around.  It took a bit of practice one afternoon but now it’s just like pushing a shopping cart!  I requested the smooth cover with the intention of having it painted by Jonathan to match the RV but didn’t realize the red anodizing was going to arrive.  Oh well, not the end of the world.

Dirty Door Details

I want a really finished looking product for the doors which requires covering / filling in a few key spots such as the pin guides, hinges, and install holes for the gear rack and center cam.  Some have laid fiberglass over these areas, others have left them open, and a few folks are using basswood to create cover plates.  Since I’m better at the wood and had some on the shelf, that’s what I chose to do.  The pin guides I just roughed up and applied flox directly on them, roughing the shape in to match the door lines.  I used some scrap pin material to keep the hole clean.


I used the basswood to fill in a hole used to install the center latch and create covers for the hinges.  It was pretty easy to trim and shape the wood for the plates needed and after I coated all sides with epoxy to harden the wood, I epoxied the plates in place.  I then went back with Superfil and did the final contouring and shaping to match all of the door’s surface.  I’m really happy with how it came out and while it was a bit of extra work, I think it’s worth it in the end to not look at exposed hardware.  I’ll be covering the hinges on the cabin top down the road as well.  Finally, I took some time to fill in little surface blemishes and final shapped the interior edge of the window frame.


After all the sanding was done and I was happy with the doors, I wanted to re-mount them for the final time.  Here is where I realized I screwed up.  The hinges are mounted to the cabin top with the hardware essentially epoxied in (see prior post) so I had to slip the door onto the hinges and install the hardware behind the new cover plate I had spent all that time creating.  Bad idea.  It’s impossible to get the washer and nut on each screw on the door side of the hinge.  My fingers are fat and not triple jointed so I spent an hour raising my blood pressure far beyond healthy limits struggling with it.  I decided to walk away, burn the project to the ground, and start over.  Okay, really, I just took the rest of the night off.  The next evening with a calmer approach, I fabed up a handy little tool to hold the washer and nut in the cavity while I installed the screw.  I used some basswood and some aluminum to create a captive wrench so to speak that worked beautifully.  Had both doors installed in about 20 minutes.  Wish I had put the hinges on the door then bolted them onto the fuselage, but oh well.  I installed the last plates to close out the hinge area and applied filler to smooth is all over.  This completely closes out the hinge cavity on the door not only making it look better but allowing the door seal to work properly.


Meanwhile, I set about working on the instrument panel and center console.  The big Aerosport order had arrived a few weeks prior and I was eager to play with all of the cool stuff.  I started with the instrument panel and got the backing plate and the panel itself fitted in their place.  The side skirts on the tunnel attach to the lower instrument panel with the center console mating up to it.  This stuff is top notch quality and is going to be really awesome filled with fancy avionics!  I took my time to fit it all and used nutplates to ease future maintenance and removal.  I chose to countersink the carbon which left it a little thin and brittle, so I coated each screw hole with light epoxy to help strengthen the area.  I also cut out the main areas which will have the metal inserts leaving a 1” flange to be trimmed to final size later.  The center console was positioned and I used a strap duplicator to drill the holes matching the tunnel.


Since my plans include using the ACM from AFS, I want to use a fancy push to start button but couldn’t really find one that I liked.  The Honda S2000 button others have used are hard to find these days so after a few returned orders, a deep Google search turned up exactly what I was looking for.  It’s a simple Apem NO switch that has a LED light actuator.  It’s also the right size to be proportional to the panel location.  I couldn’t help but to drill the hole and mount it up to see how it looked.


The Andair fuel valve is mounted through the tunnel on the center console as well, so I set about locating the screw holes.  I mocked up the valve itself on the stock mount and will need to create a larger mounting plate for the valve housing down the road.  It allowed me to trim the handle extension and locate the plate on top of the console.  Again, had to mock it up and do some airplane noises while turning the valve.  The noises worked perfectly; so did the valve.


Finally, I cut the throttle quadrant area out and worked on installing the quadrant onto the tunnel cover.  Thanks to Ed and Aerosport’s awesome YouTube video, it was pretty painless and I wound up with a very nice fit with the throttles fitting flush with the console when everything is installed.  I cut a large slit on the throttle friction lock area that allows easy removal of the console.  I’ll create a trim plate to cover up the slit for a finished look.  With the main carbon work done, it was time to drop off the instrument panel parts and center console to a paint shop for a clear coat.  I want to leave the carbon look exposed but wasn’t happy with the finish right out of the mold.  I had originally asked Aerosport to clear the items but they quoted over $1500 just for the clear coat.  I almost choked.  I love them to death and they’ve done a lot to help, but I couldn’t swallow that pill.  A few calls around the area and a local custom motorcycle paint shop could perform the work in four days for $250.  We’ll see how they turn out next.