
The forward fuselage has a lot of structure that will support a very important piece of my body: my butt! I am finding that it’s critical to follow the plans step by step and not jump ahead to what you logically know is coming next. Plans are there for a reason, and there’s always a got ya if you don’t follow the steps. Fortunately, I didn’t have any issues with this section and pieces easily came together.

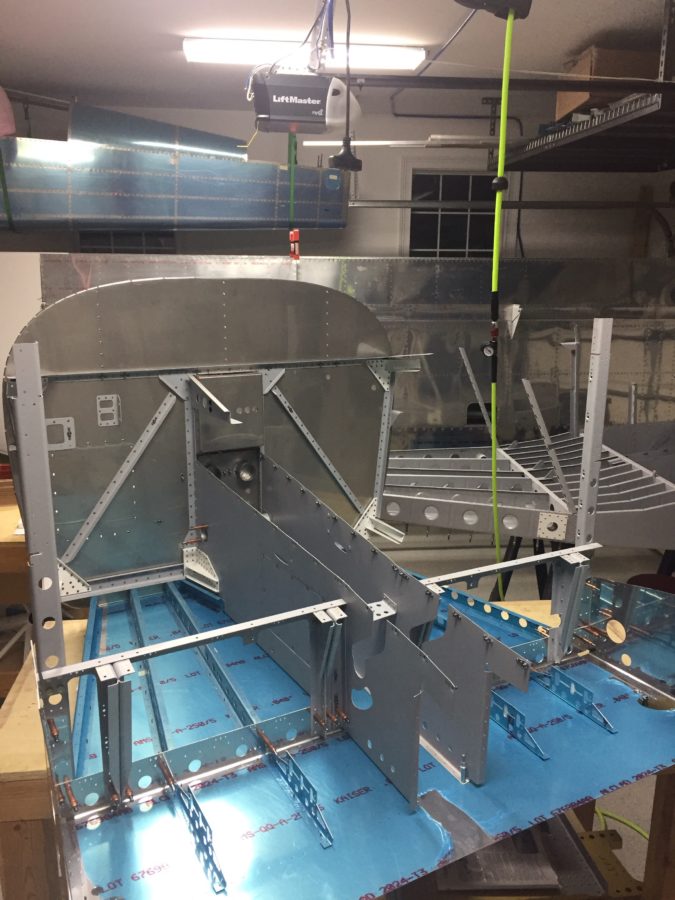
I asked a favor from the sheet metal shop at work and a metal tech went above and beyond letting me use the industrial band saw and cleaned up my cut with the mill on the control stick mount. Really a work of art and now it looks like a professional cut piece. Even though it will never be seen, it makes me feel good knowing it was done right! I finished sealing the firewall with RTV using a pastry bag type applicator and a sandwich bag. Worked like a charm. While fitting the tunnel walls to the bottom skin, I discovered that the three nut plates were installed on the wrong side. So I fixed those as well.
By the end of it, the forward fuselage and mid fuse sections were ready to mate together. I really struggled getting the bolts into the spars as they are an extremely tight fit. This was a case of not using a big enough hammer. I started with a rubber mallet and quickly switched to my traditional hammer. It got the job done and before I knew it, I was standing back admiring a very big assembly!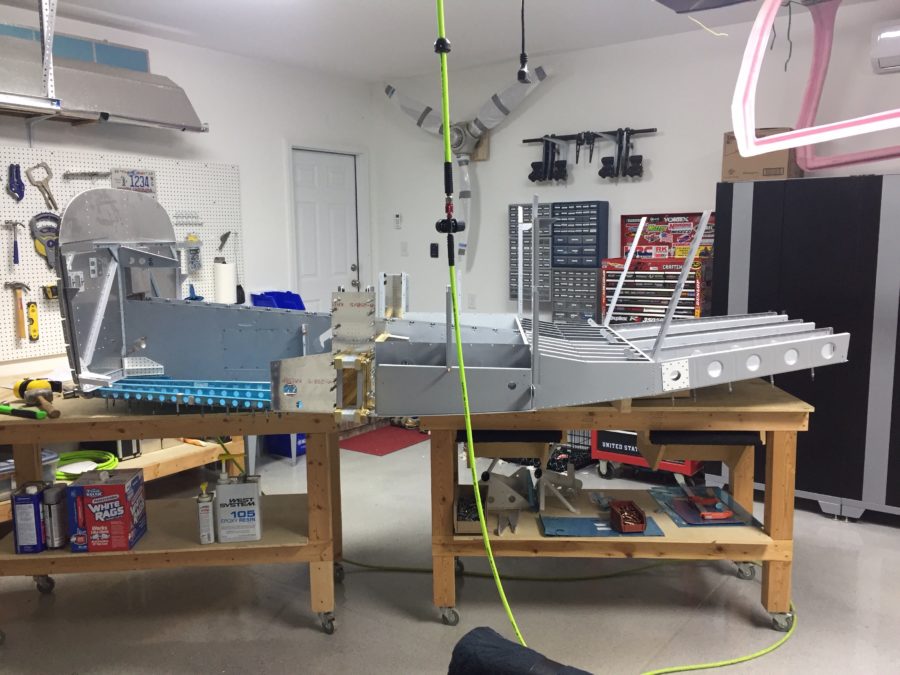 Alas, as everything in building an airplane, this was only a tease since it all had to come apart for the typical deburr and prep for final assembly. It doesn’t look like a lot, but it took most of an evening just to prep all the parts and prime them. It’s certainly my least favorite part of the project, but a necessary evil. Next up will be assembly and clearing off a workbench!