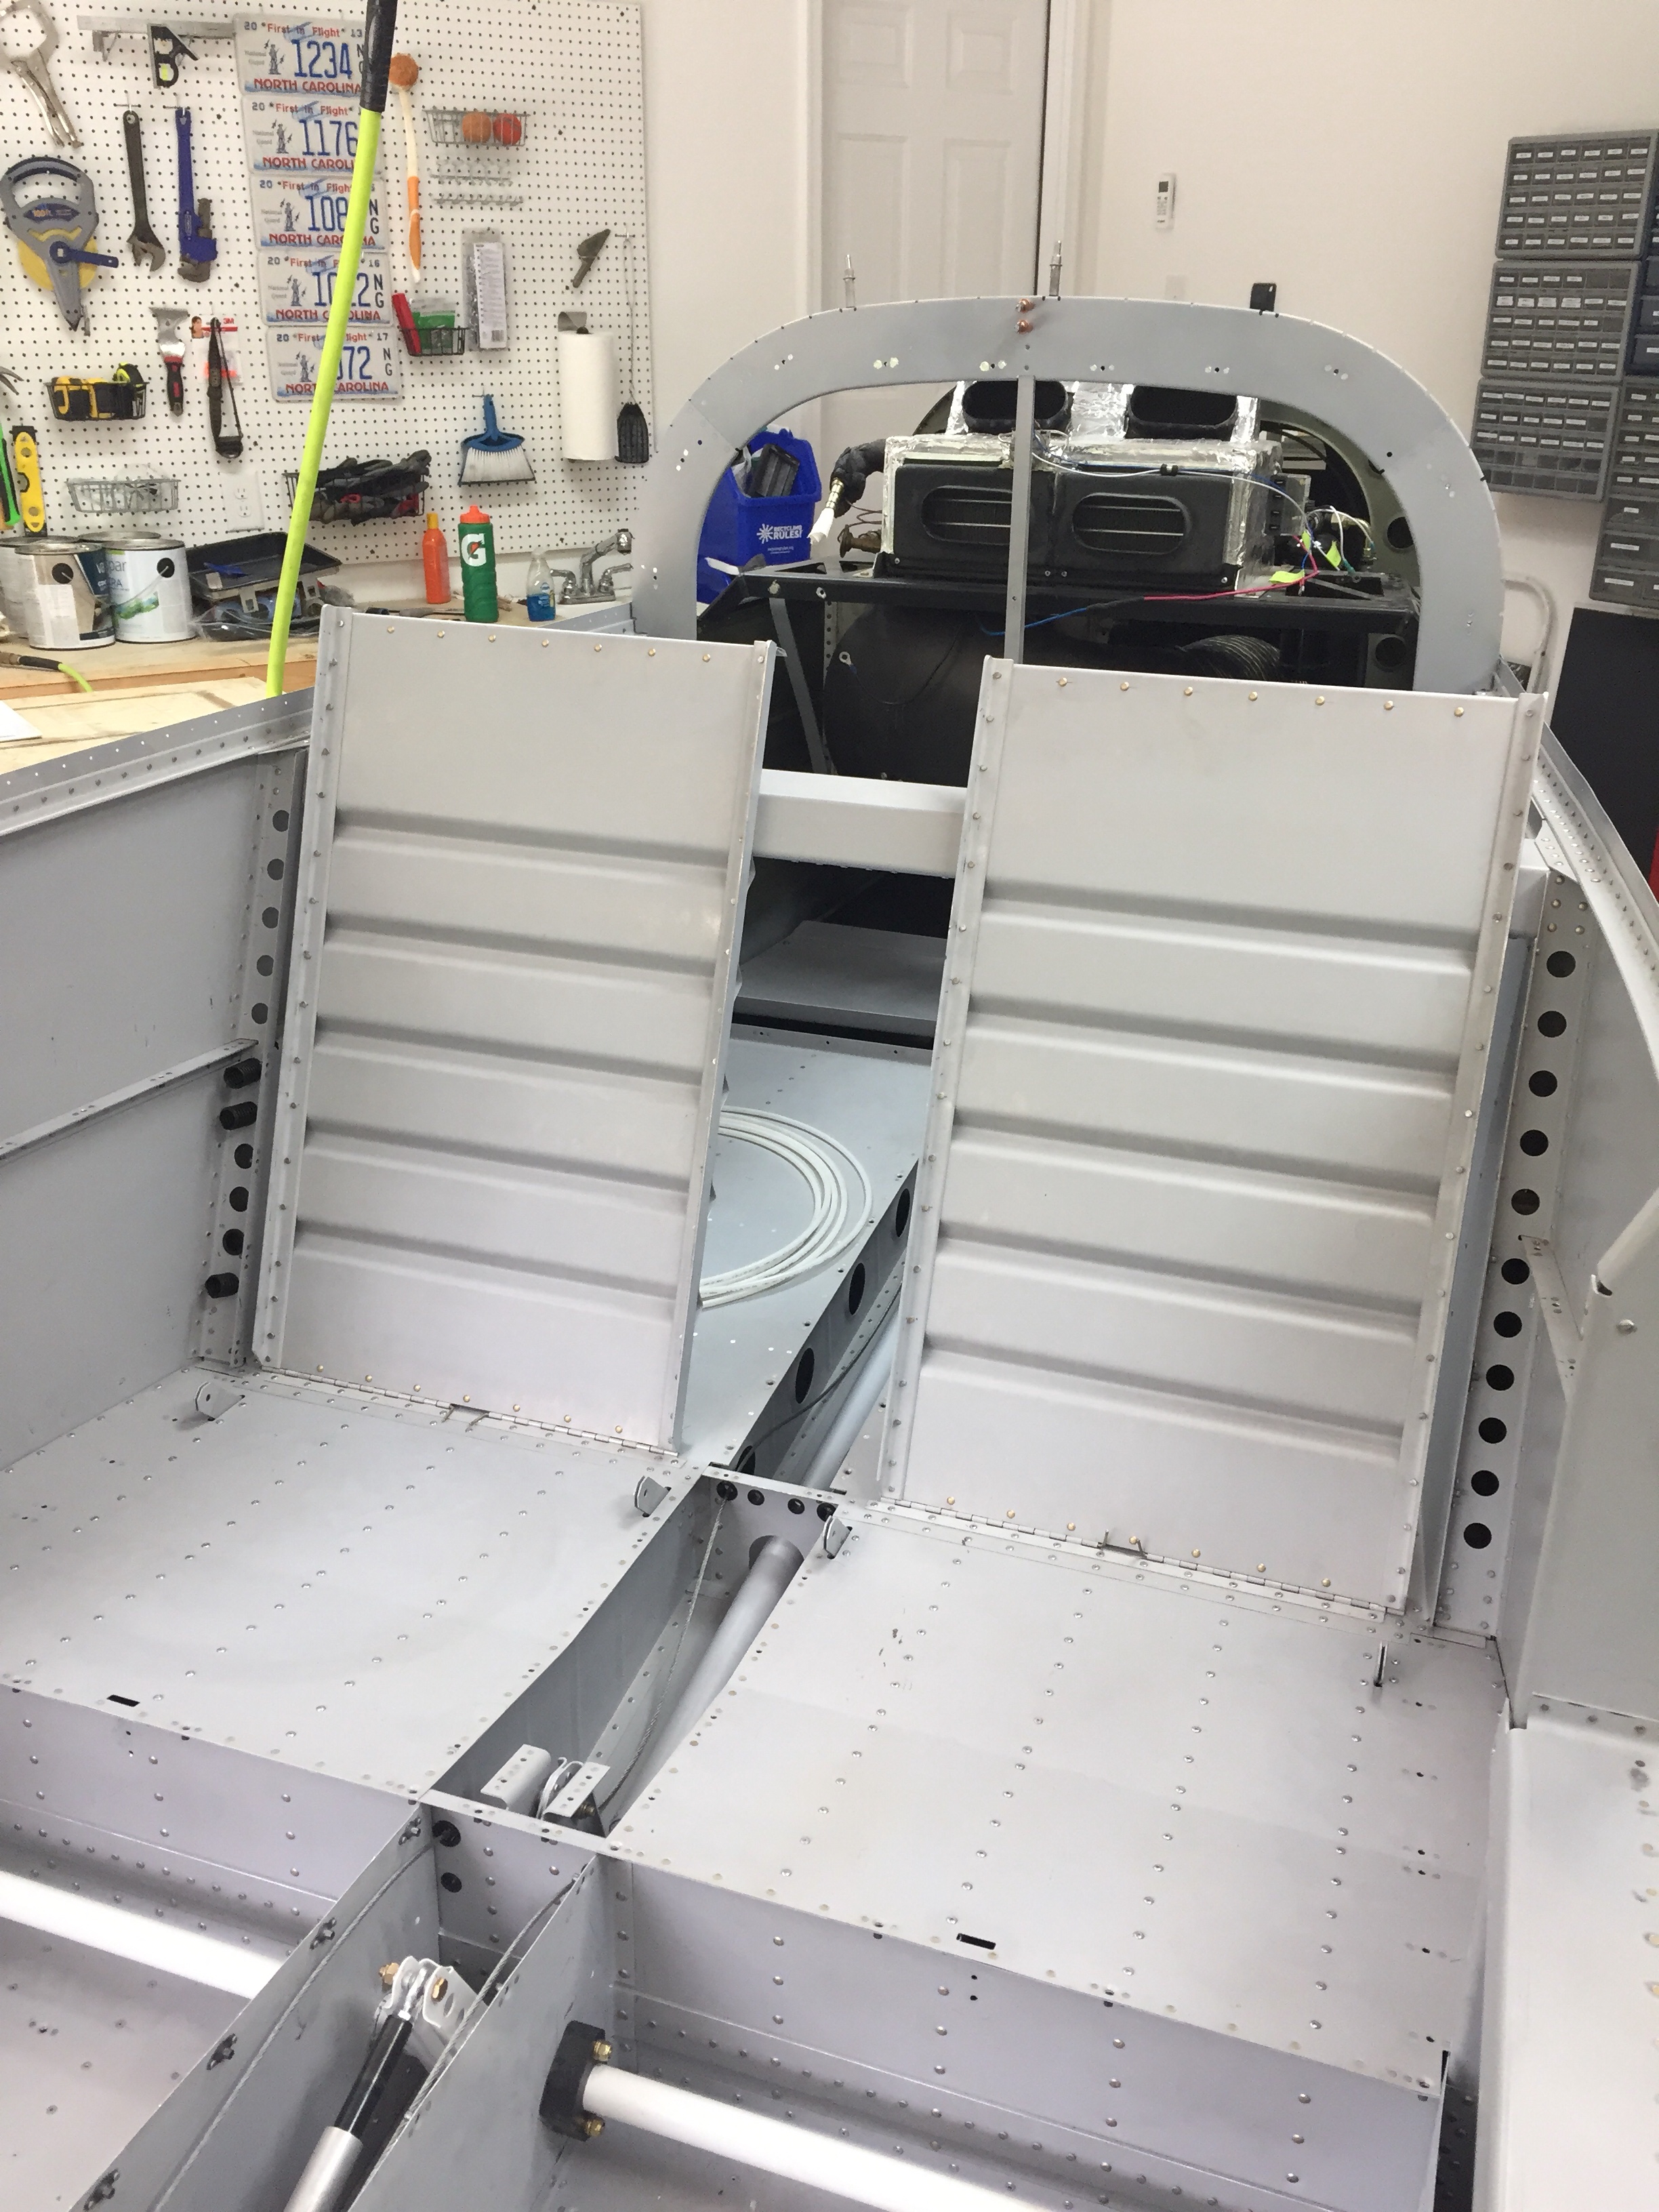
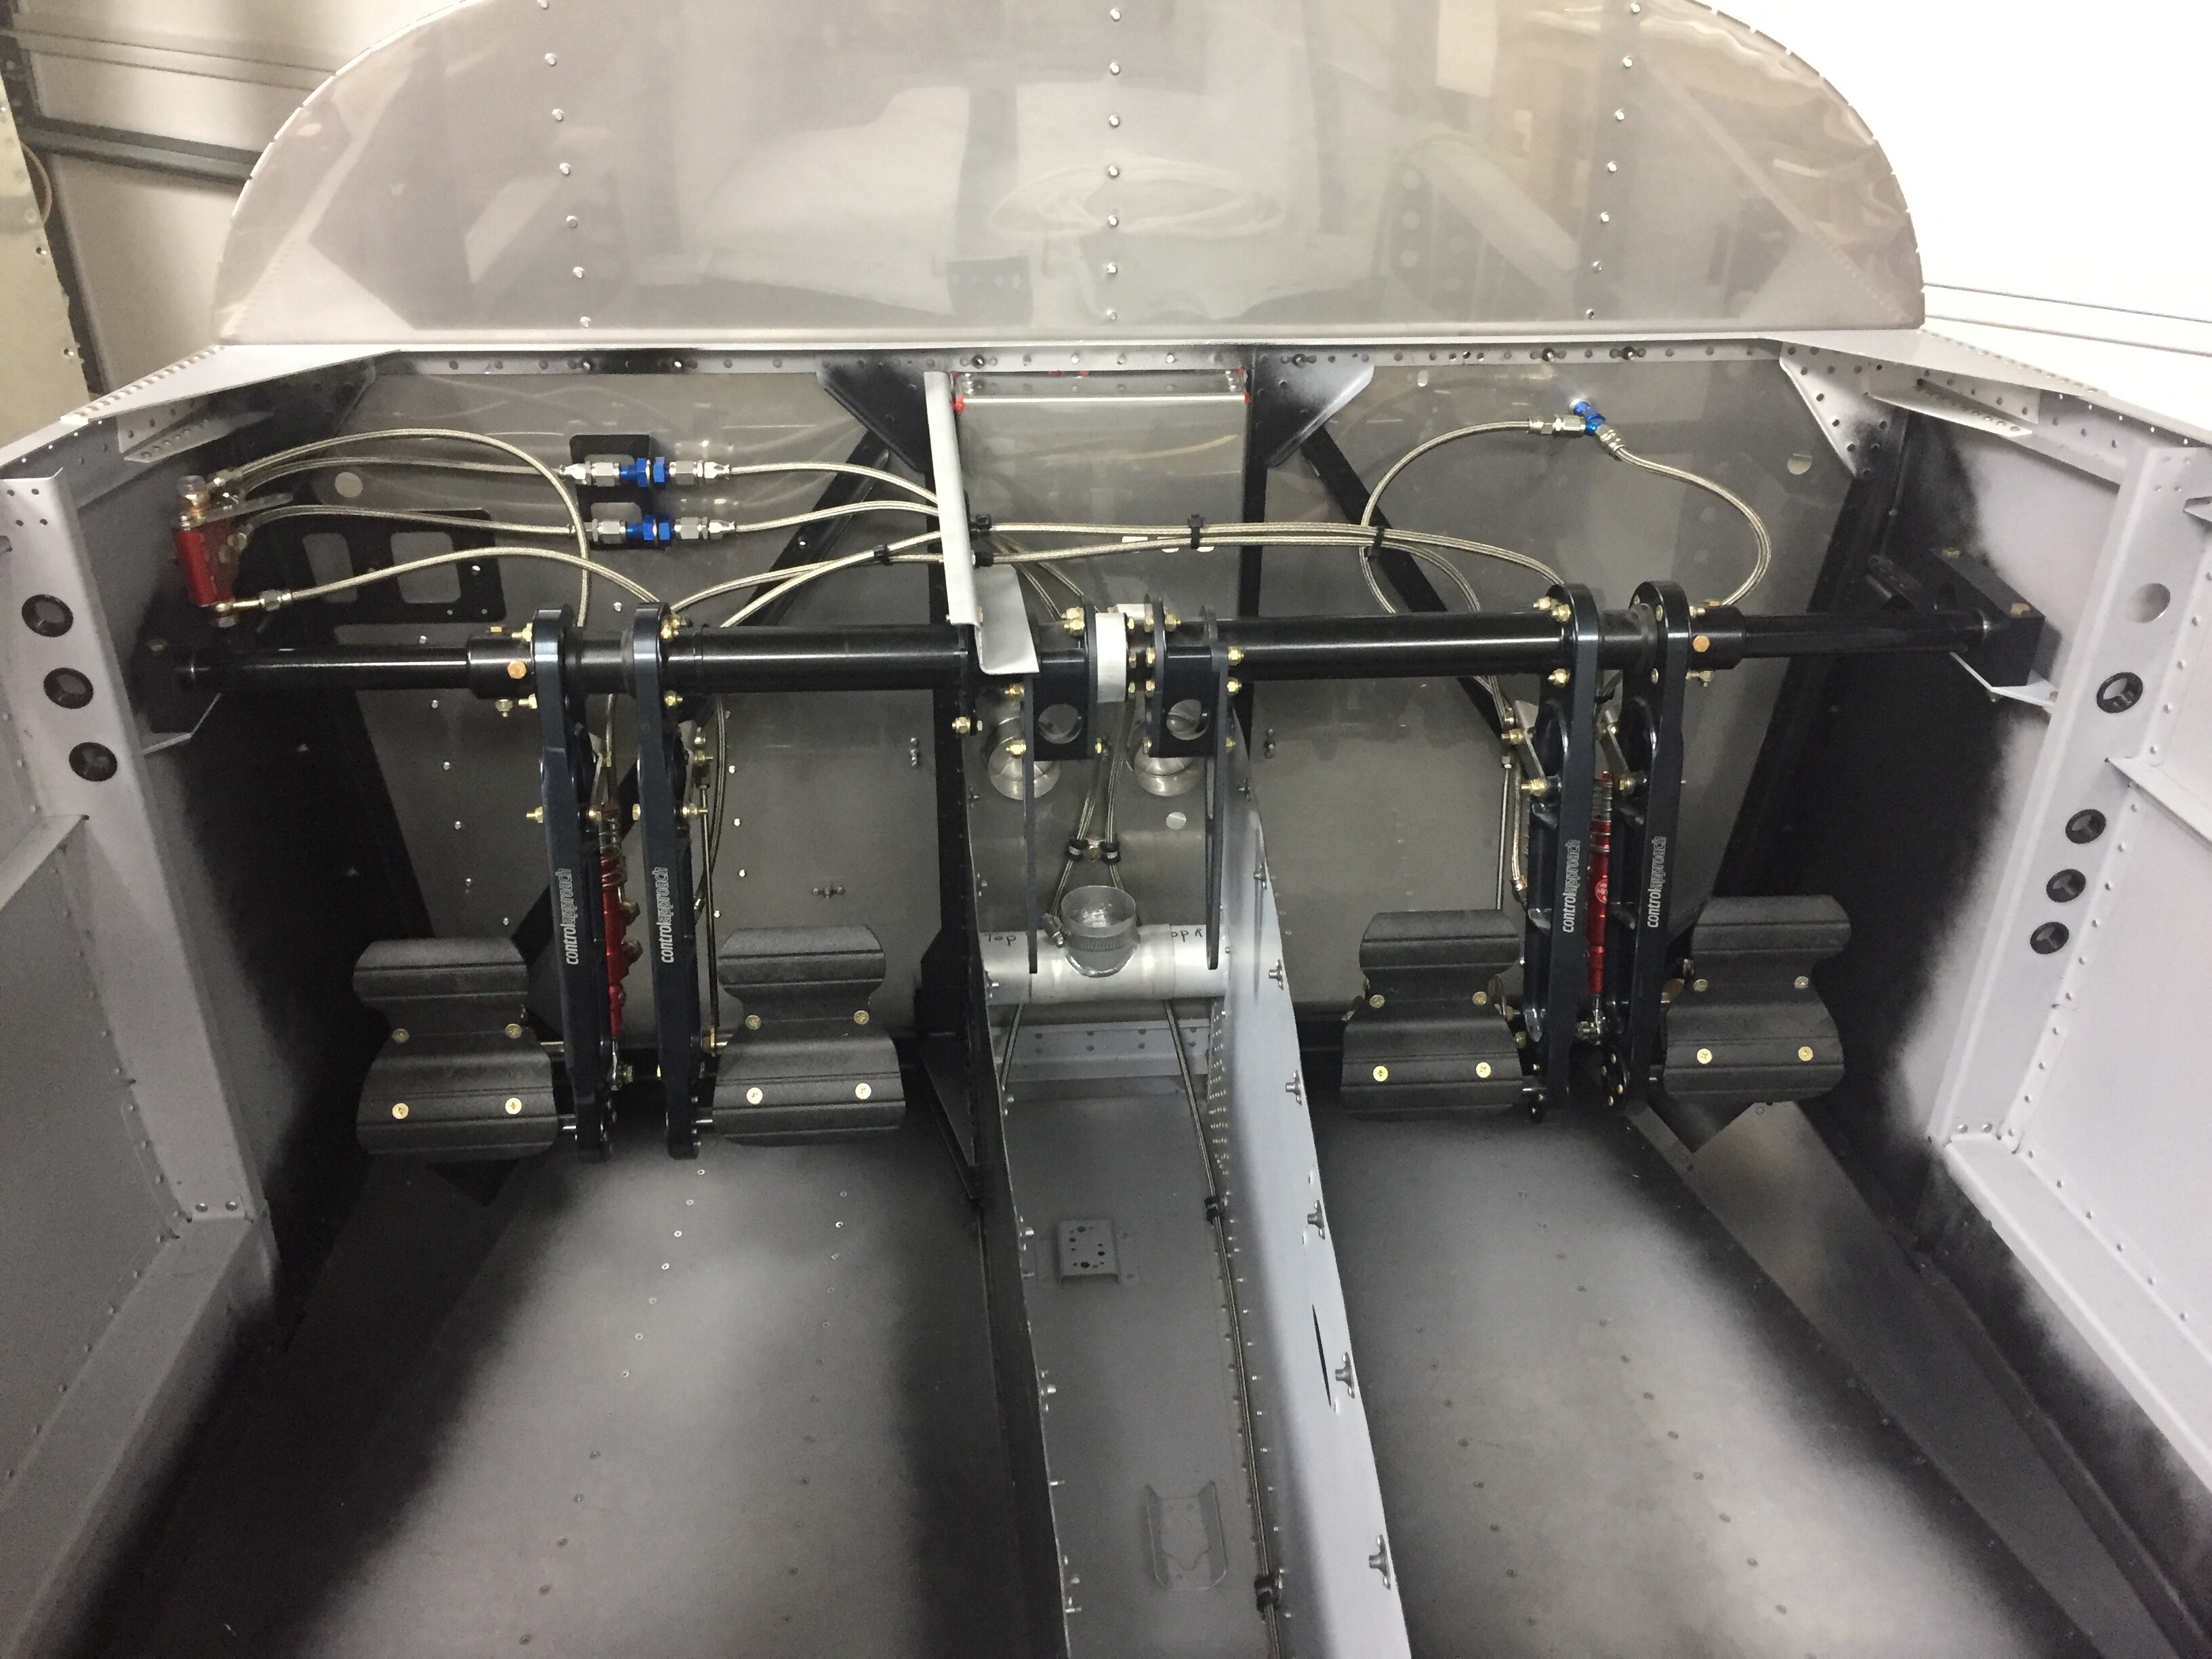
Throughout this progress, I’ve been finishing up the brake lines. I ordered extra line for the run from the firewall to the gear legs and got them all fabricated. The lines weren’t hard to make, but it was a bit tedious. I am happy with the end result, however, and think that it will provide many years of great performance without having to worry about replacing tubes. I do need to get some spiral line wrap to prevent chafing and that will allow the lines to be a bit better secured. Mark Ciglia put his parking break valve in place of the firewall connections, which I’m mad I didn’t think about. It makes it a bit cleaner and eliminates one extra set of lines, but oh well. It’d cost more now to redo it. Note to other builders!
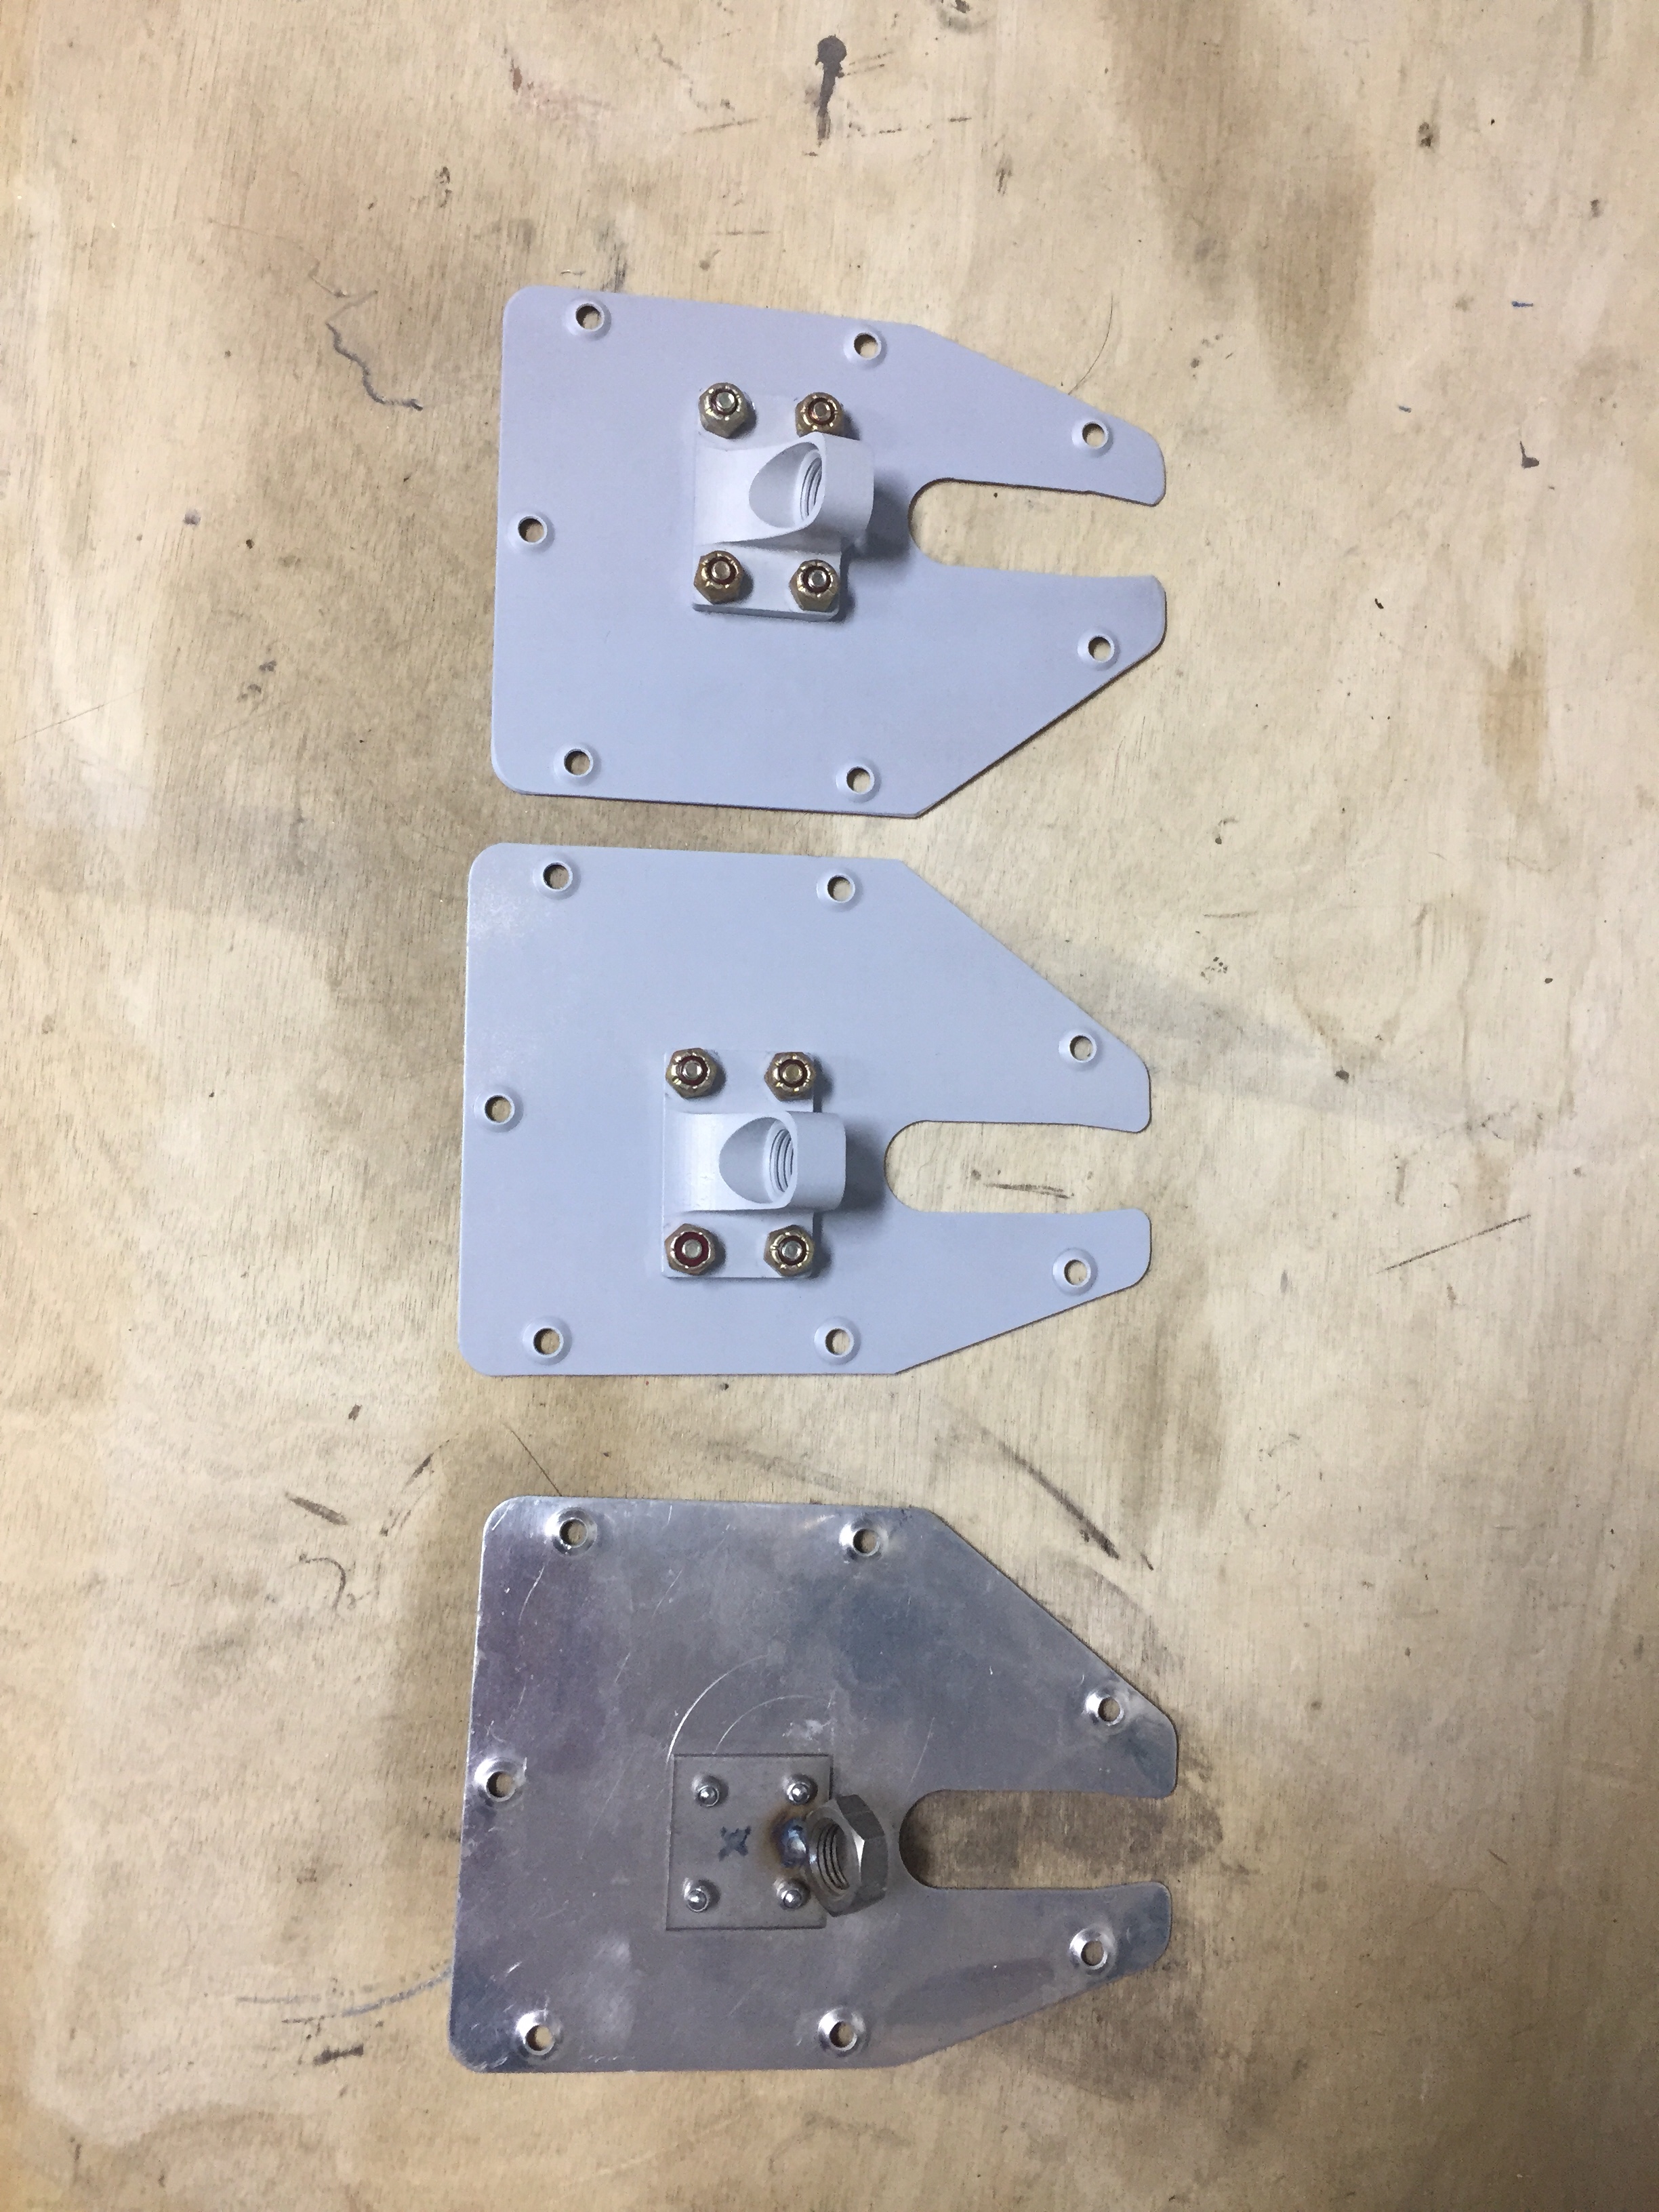
 I also knocked out a few little projects, one being making new elevator trim bracket panels. I had the beefed up fittings sitting in the parts bin and finally ordered the new access panels. After countersinking and priming, the parts are ready to roll and comply with a SB from Van’s from many years ago. This is a common upgrade and an easy one at that.
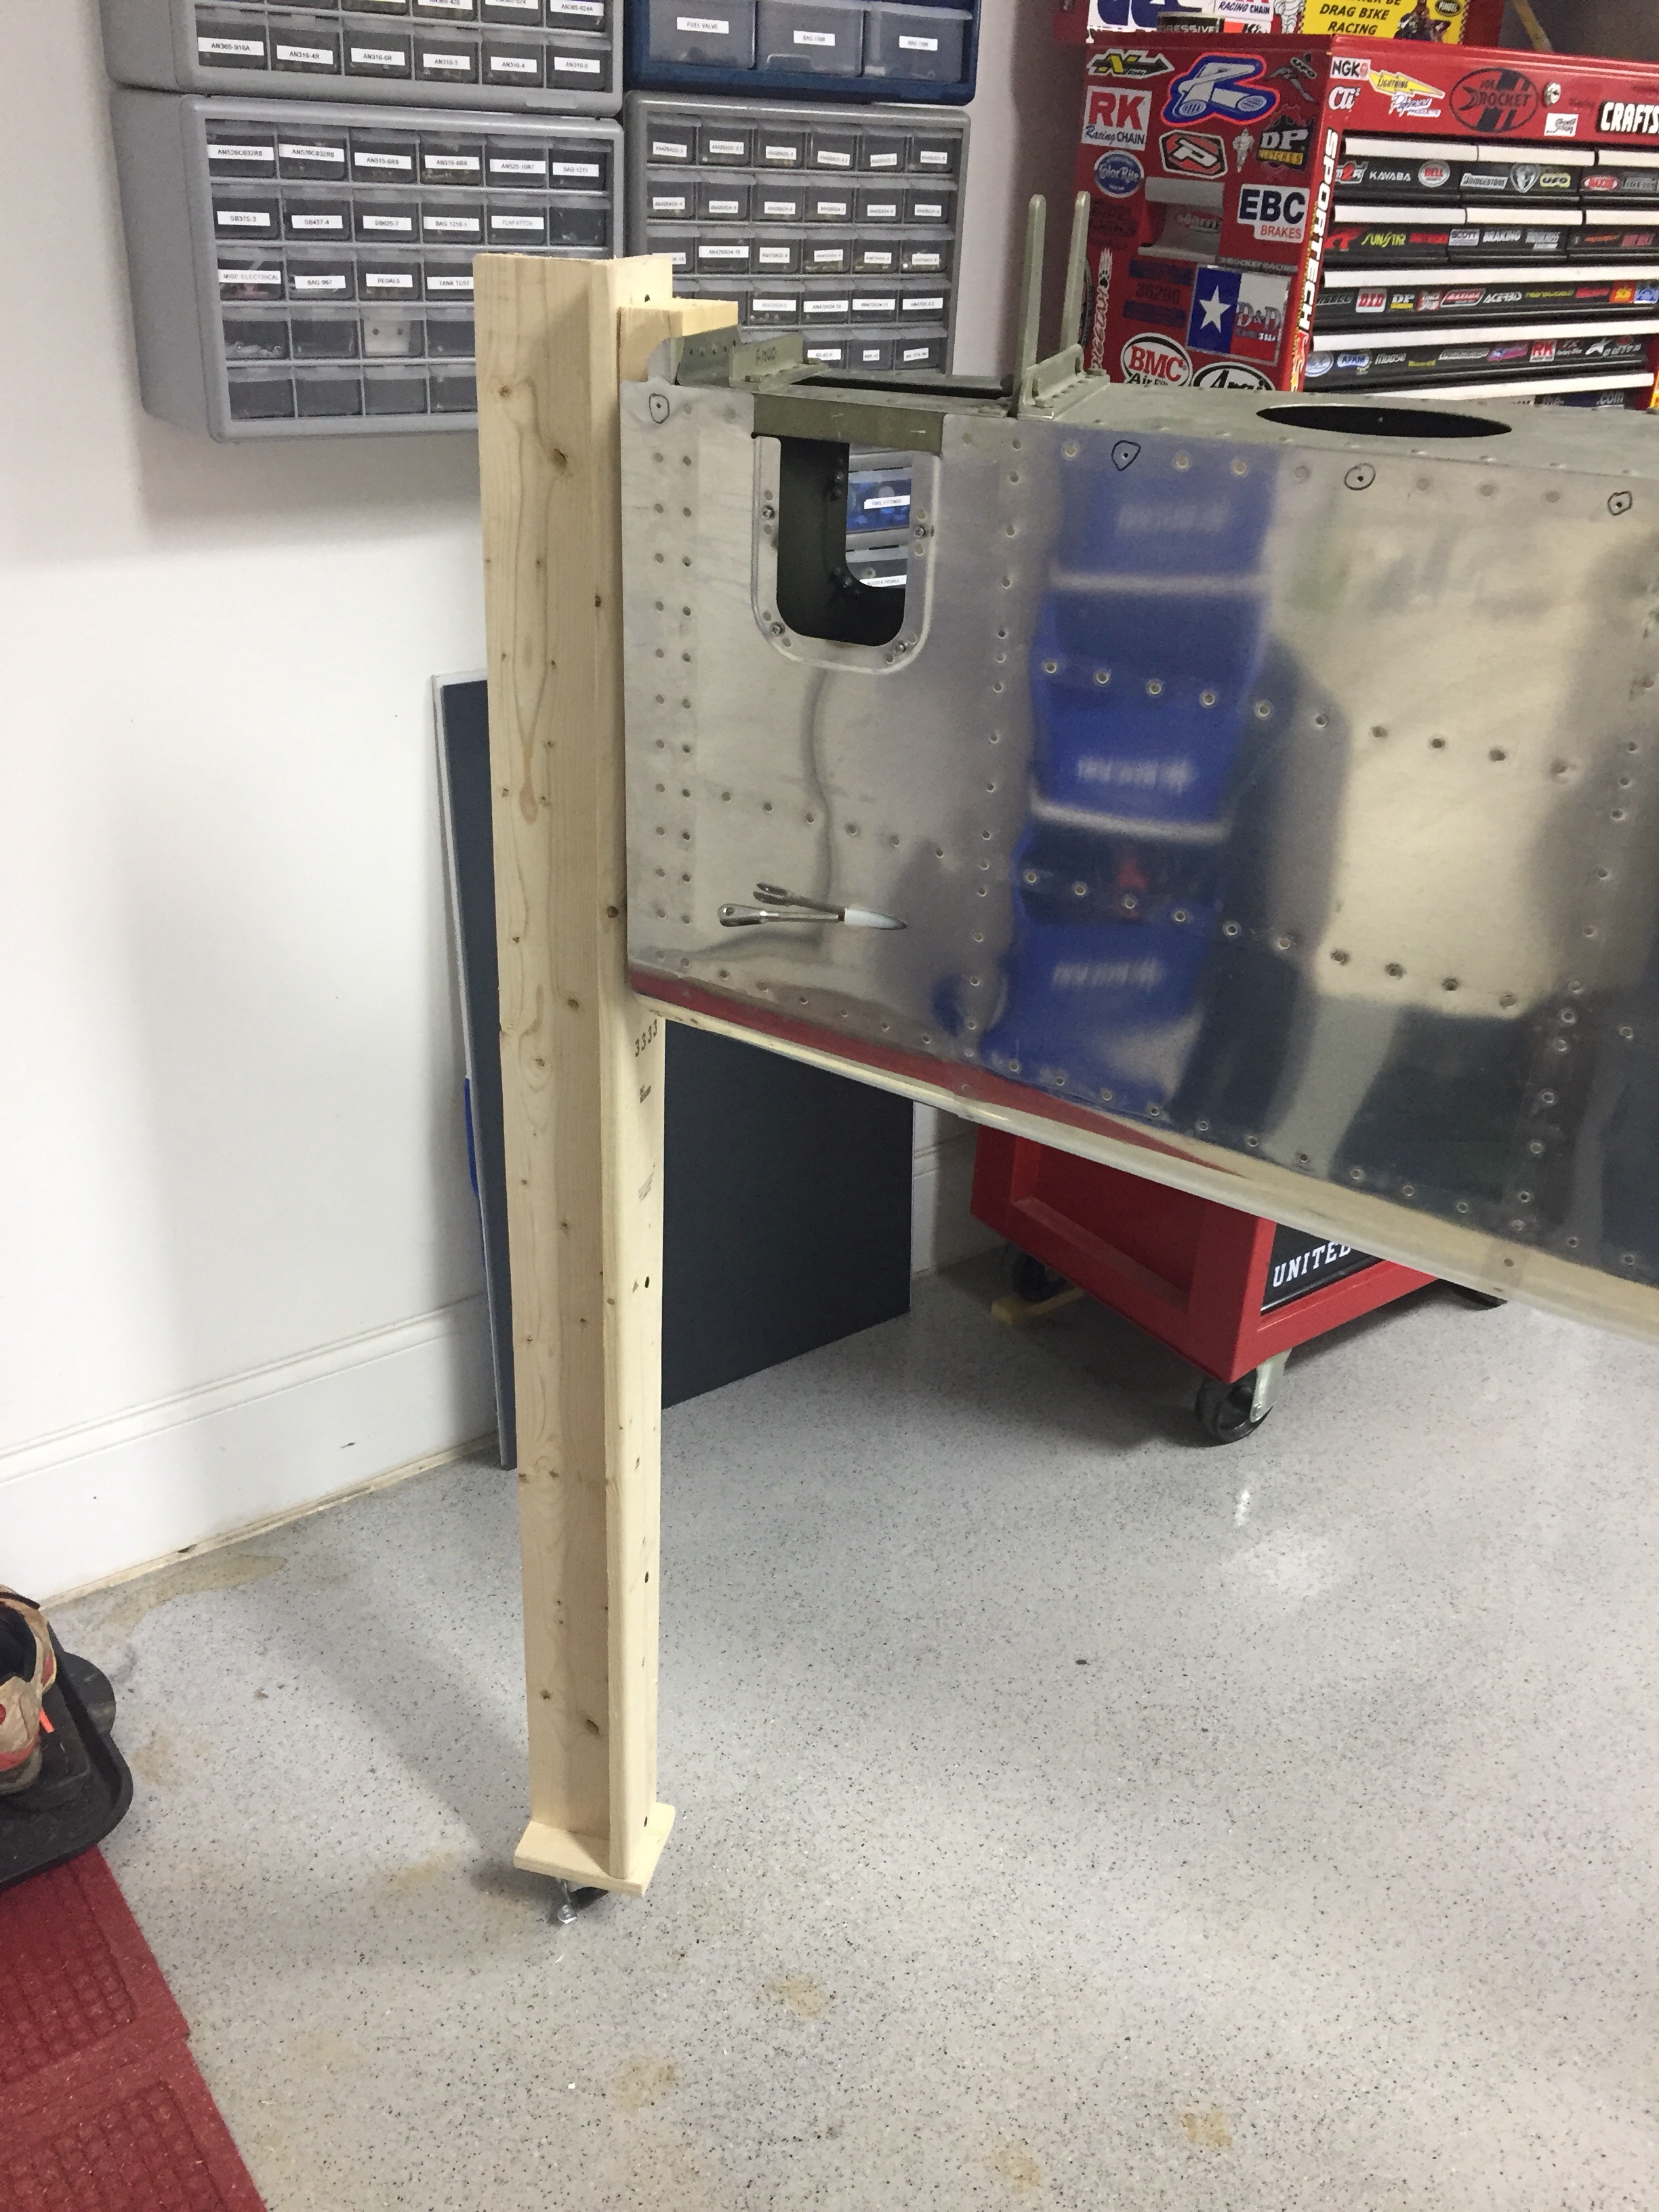
 Another little project wasn’t so little. I saved up a few tasks that needed to be completed inside the tail cone for one evening so I would only be crawling back there once (this time). The first was to support the tail better. I used two 1×4’s to bolt to the horizontal stabilizer mounts and put a caster on the bottom. While the fuselage cradle has been great, the rear support isn’t far enough back to support my weight so far aft without something heavy like an engine hanging off the front. So this was an easy fix and doesn’t take any room up in the shop. It’s still very easy to roll around and reposition as needed.
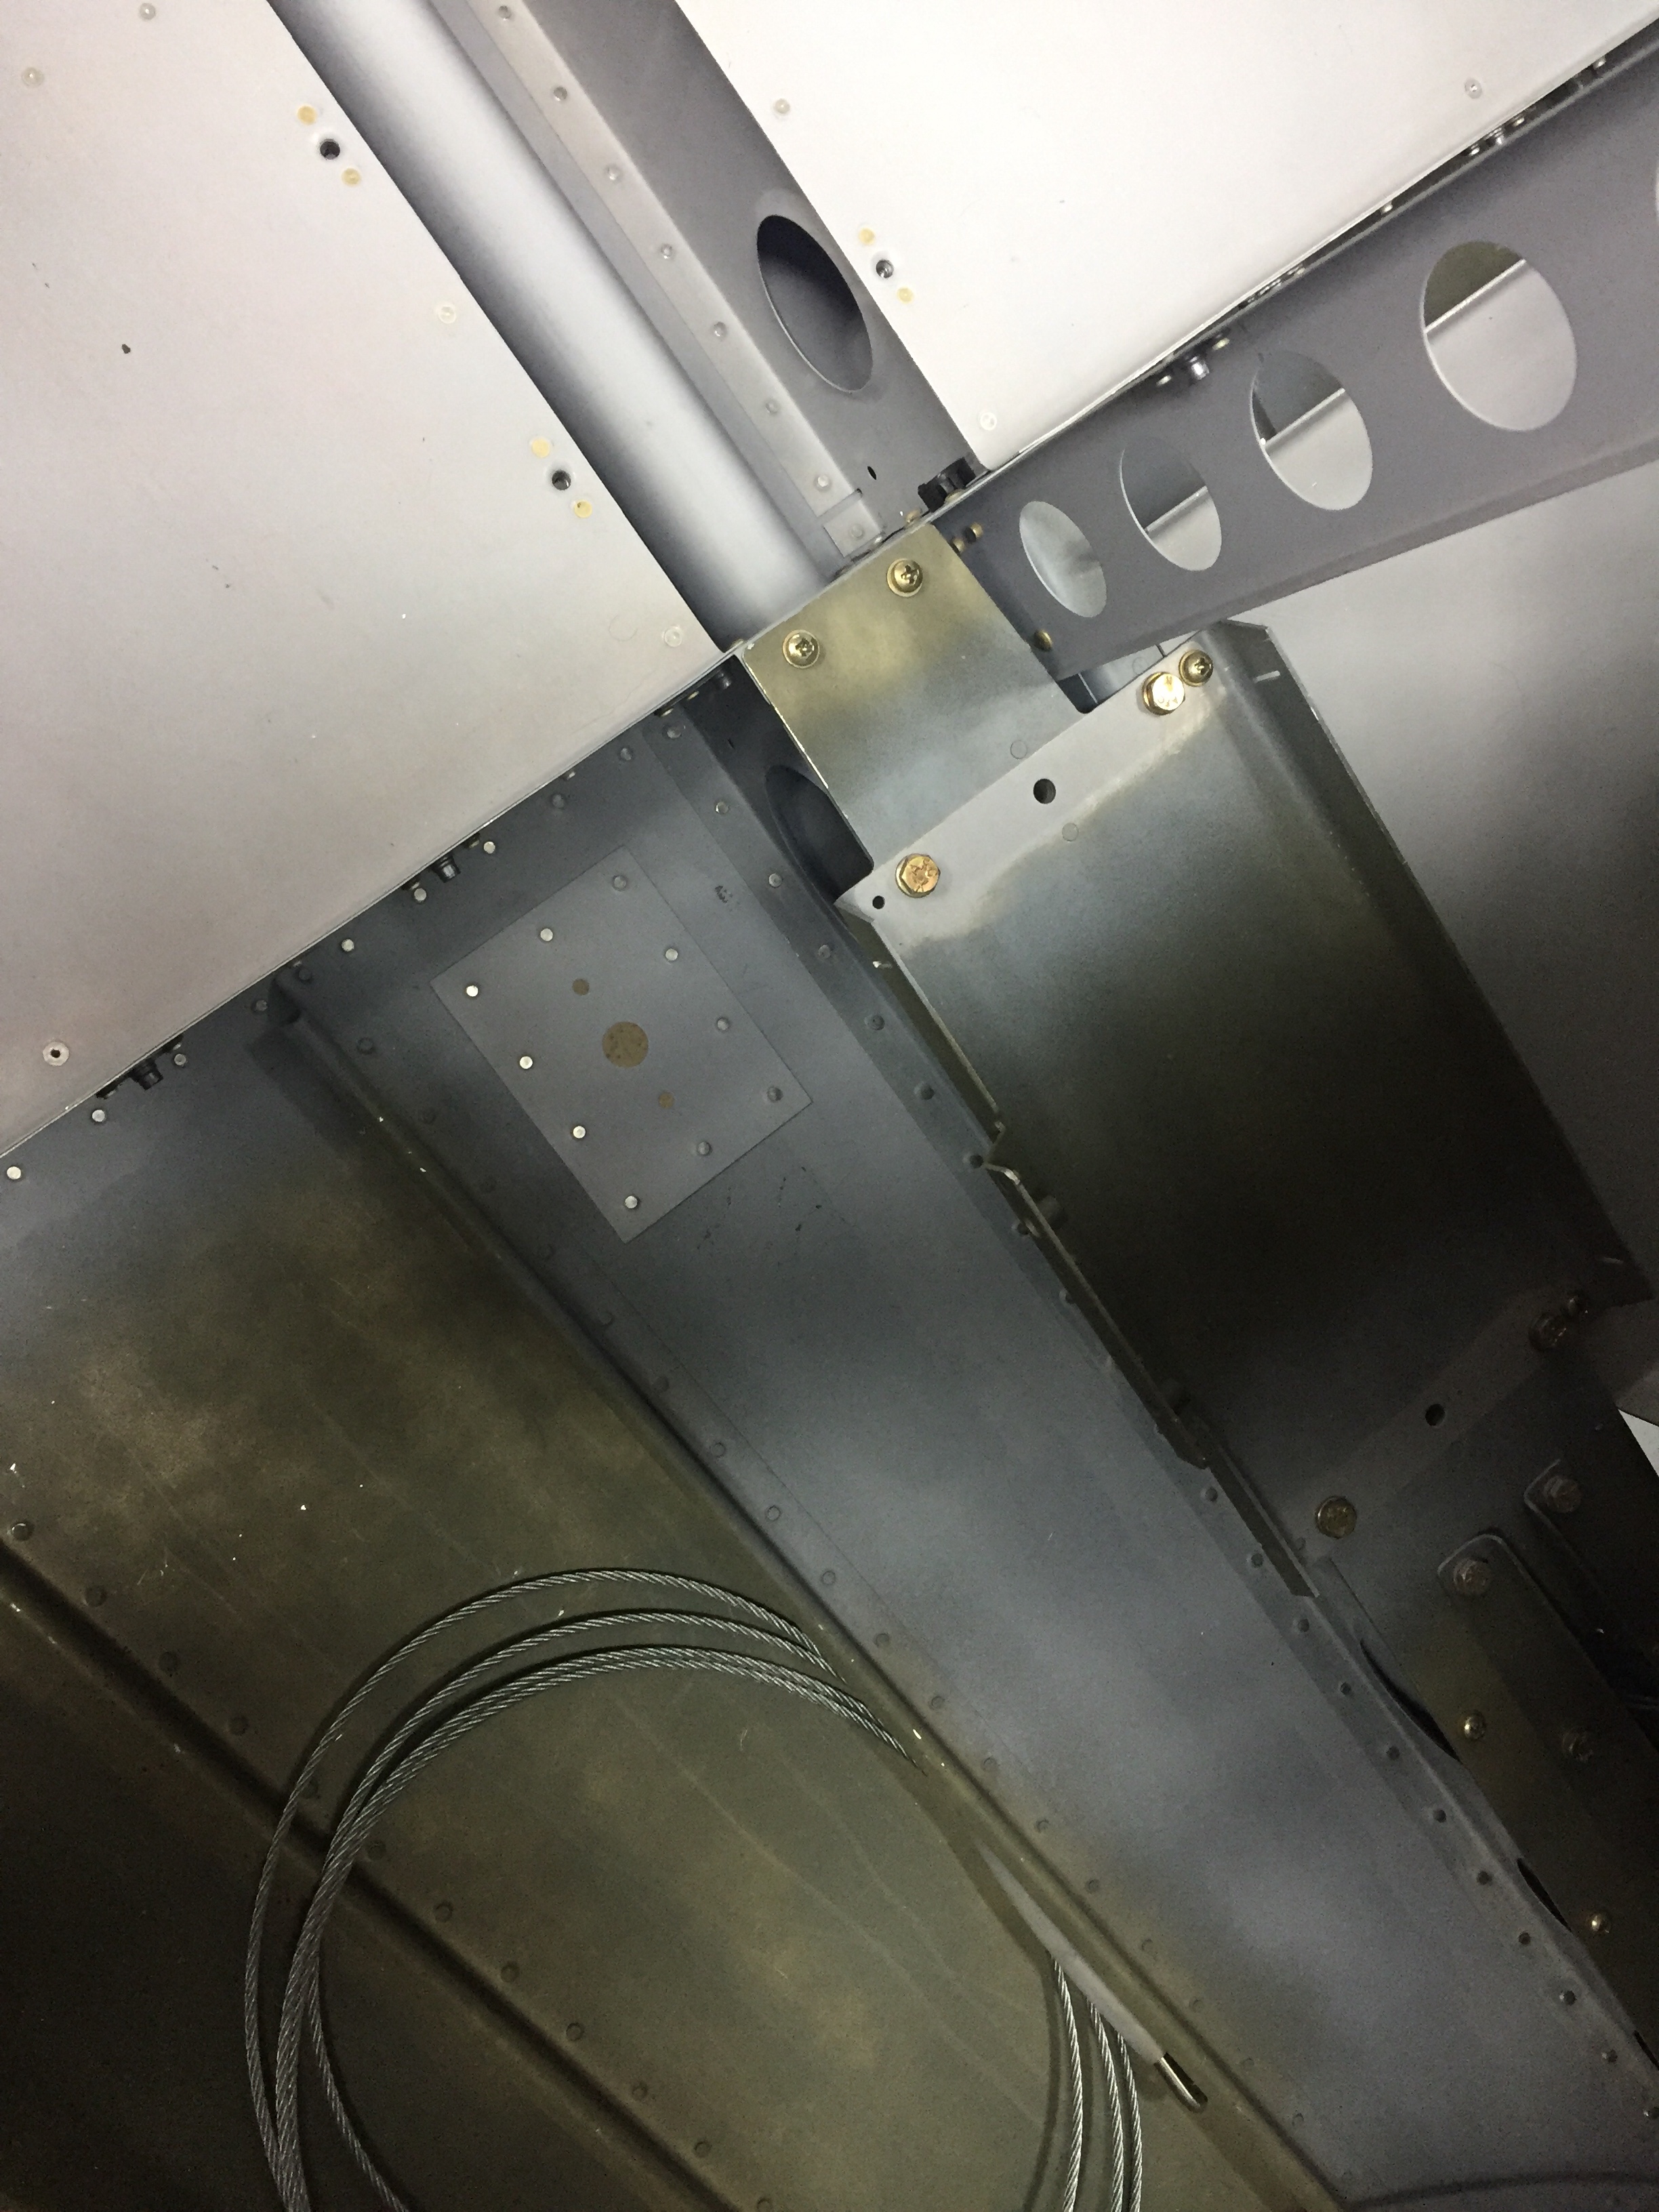
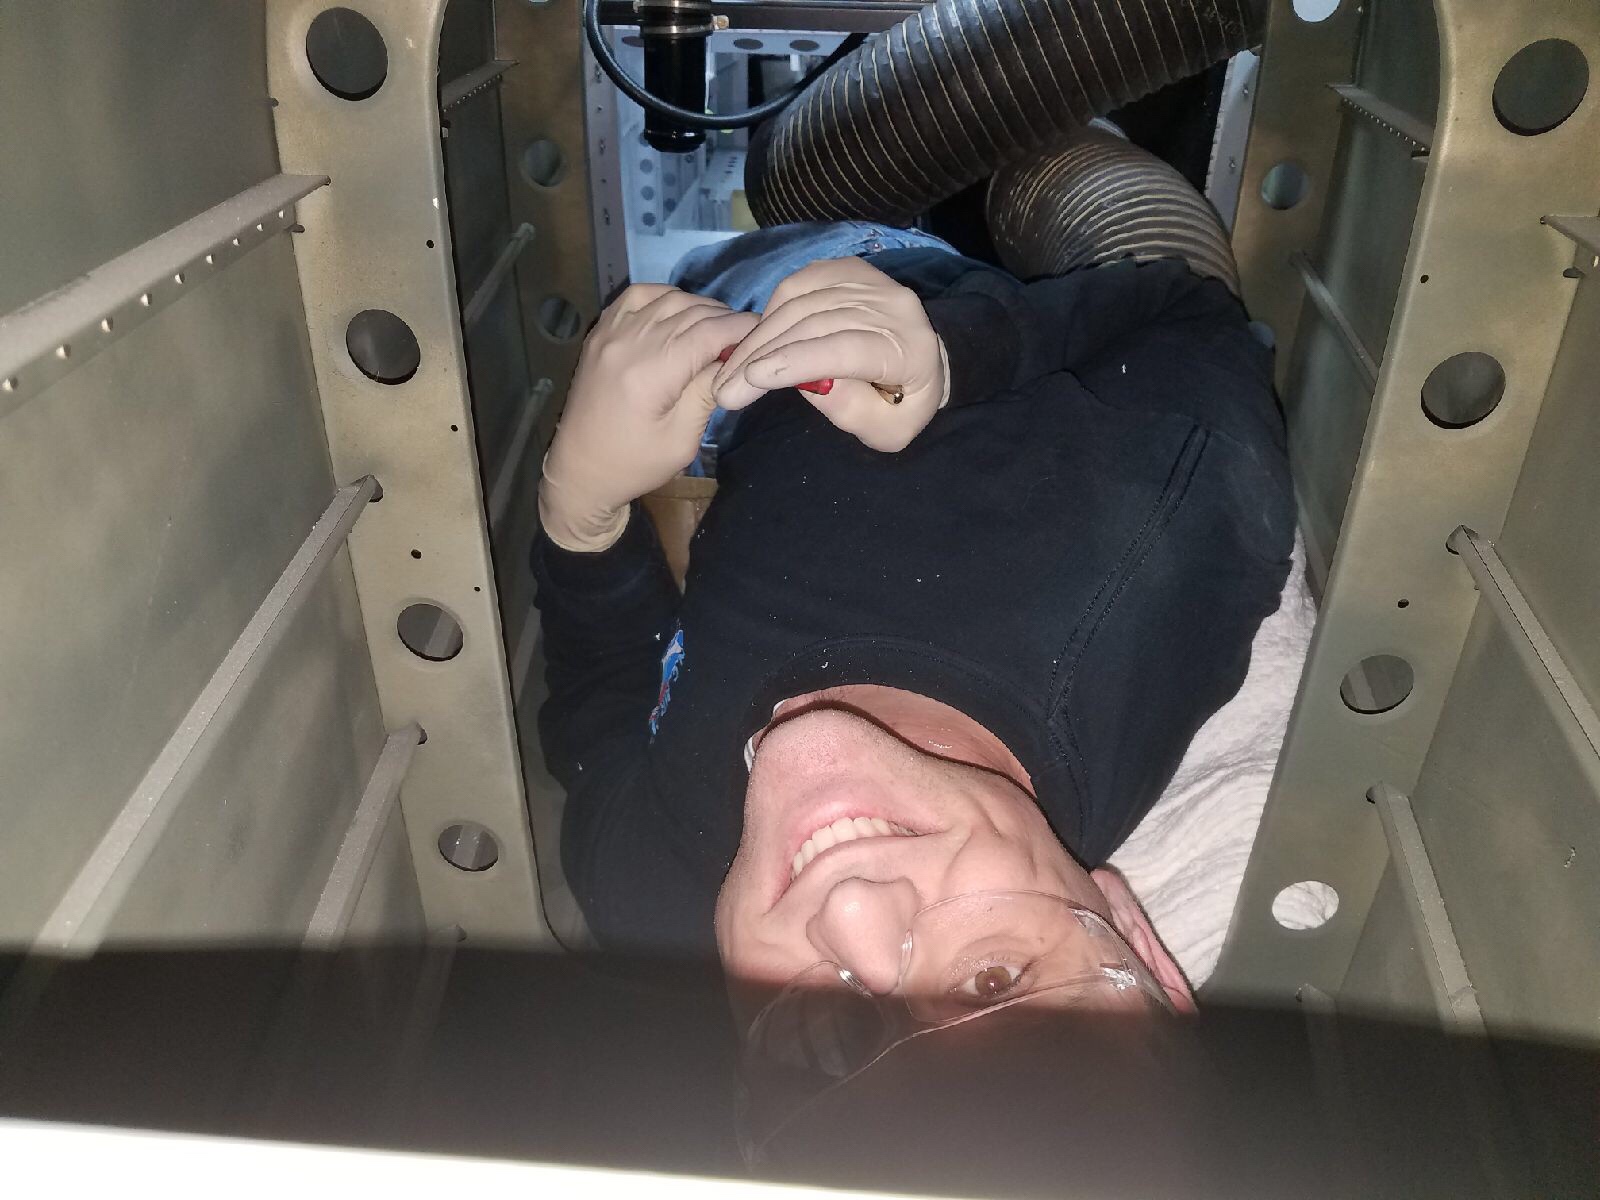
 Inside the tail cone, I mounted the new static ports with pro-seal (no rivets this time) and hooked up static line that runs to where the ADAHRS will be mounted just behind the baggage bulkhead. The new static ports look way better than the original ones and I’m happy I made the change. The Safe Air 1 line kit makes it easy to run the tubing and create a leak free system. I also ran the rudder cables through the bulkheads and snap bushings. Ironically, the heads of the cables wouldn’t fit through the bushings without removing them and squeezing a bit. So basically, the cables were a pain to run instead of a quick two minute job. Lots of those in the build, I guess. I got them hooked to the arms on the rudder pedals which are inside the tunnel with the Control Approach pedals. With the A/C in there, it’s a tight fit for me!
 Lastly, I installed the doublers along the center of the fuselage for the transponder and ADS-B antennas to mount to. These will be Delta Pop blades and mount with two studs, so I need access from the tunnel / fuselage. Easy enough with a second set of hands to man the gun and me bucking.