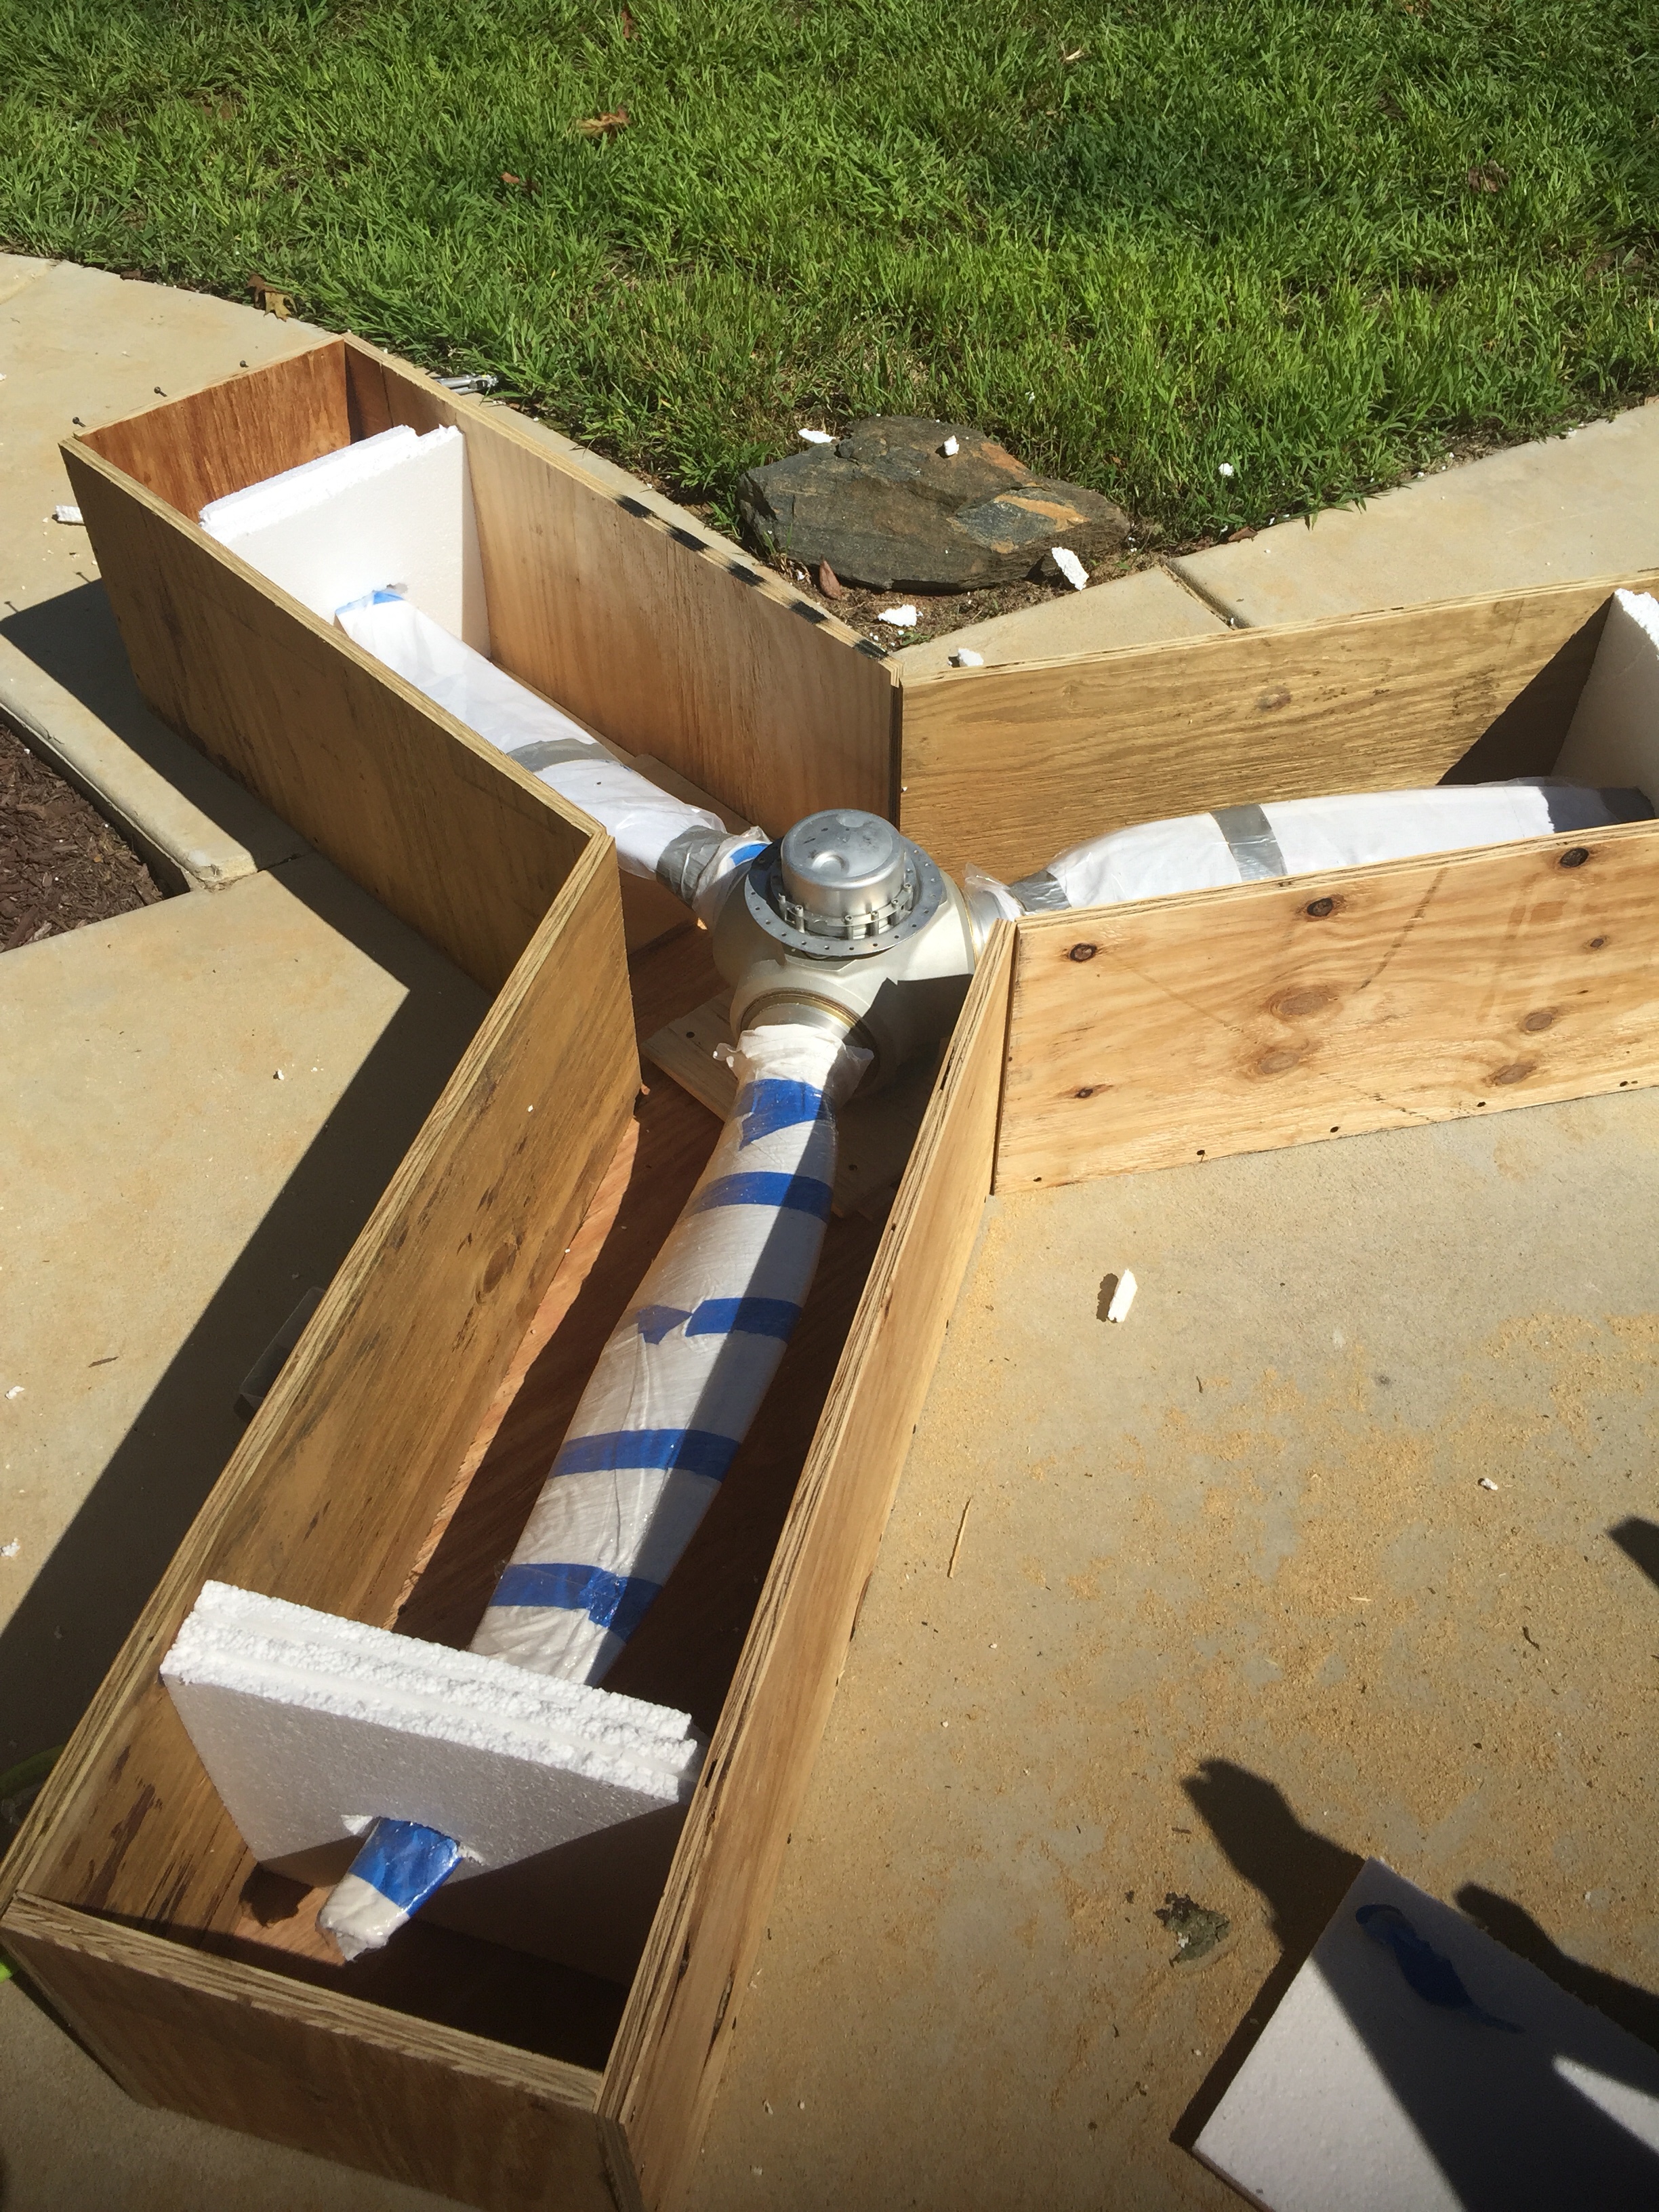
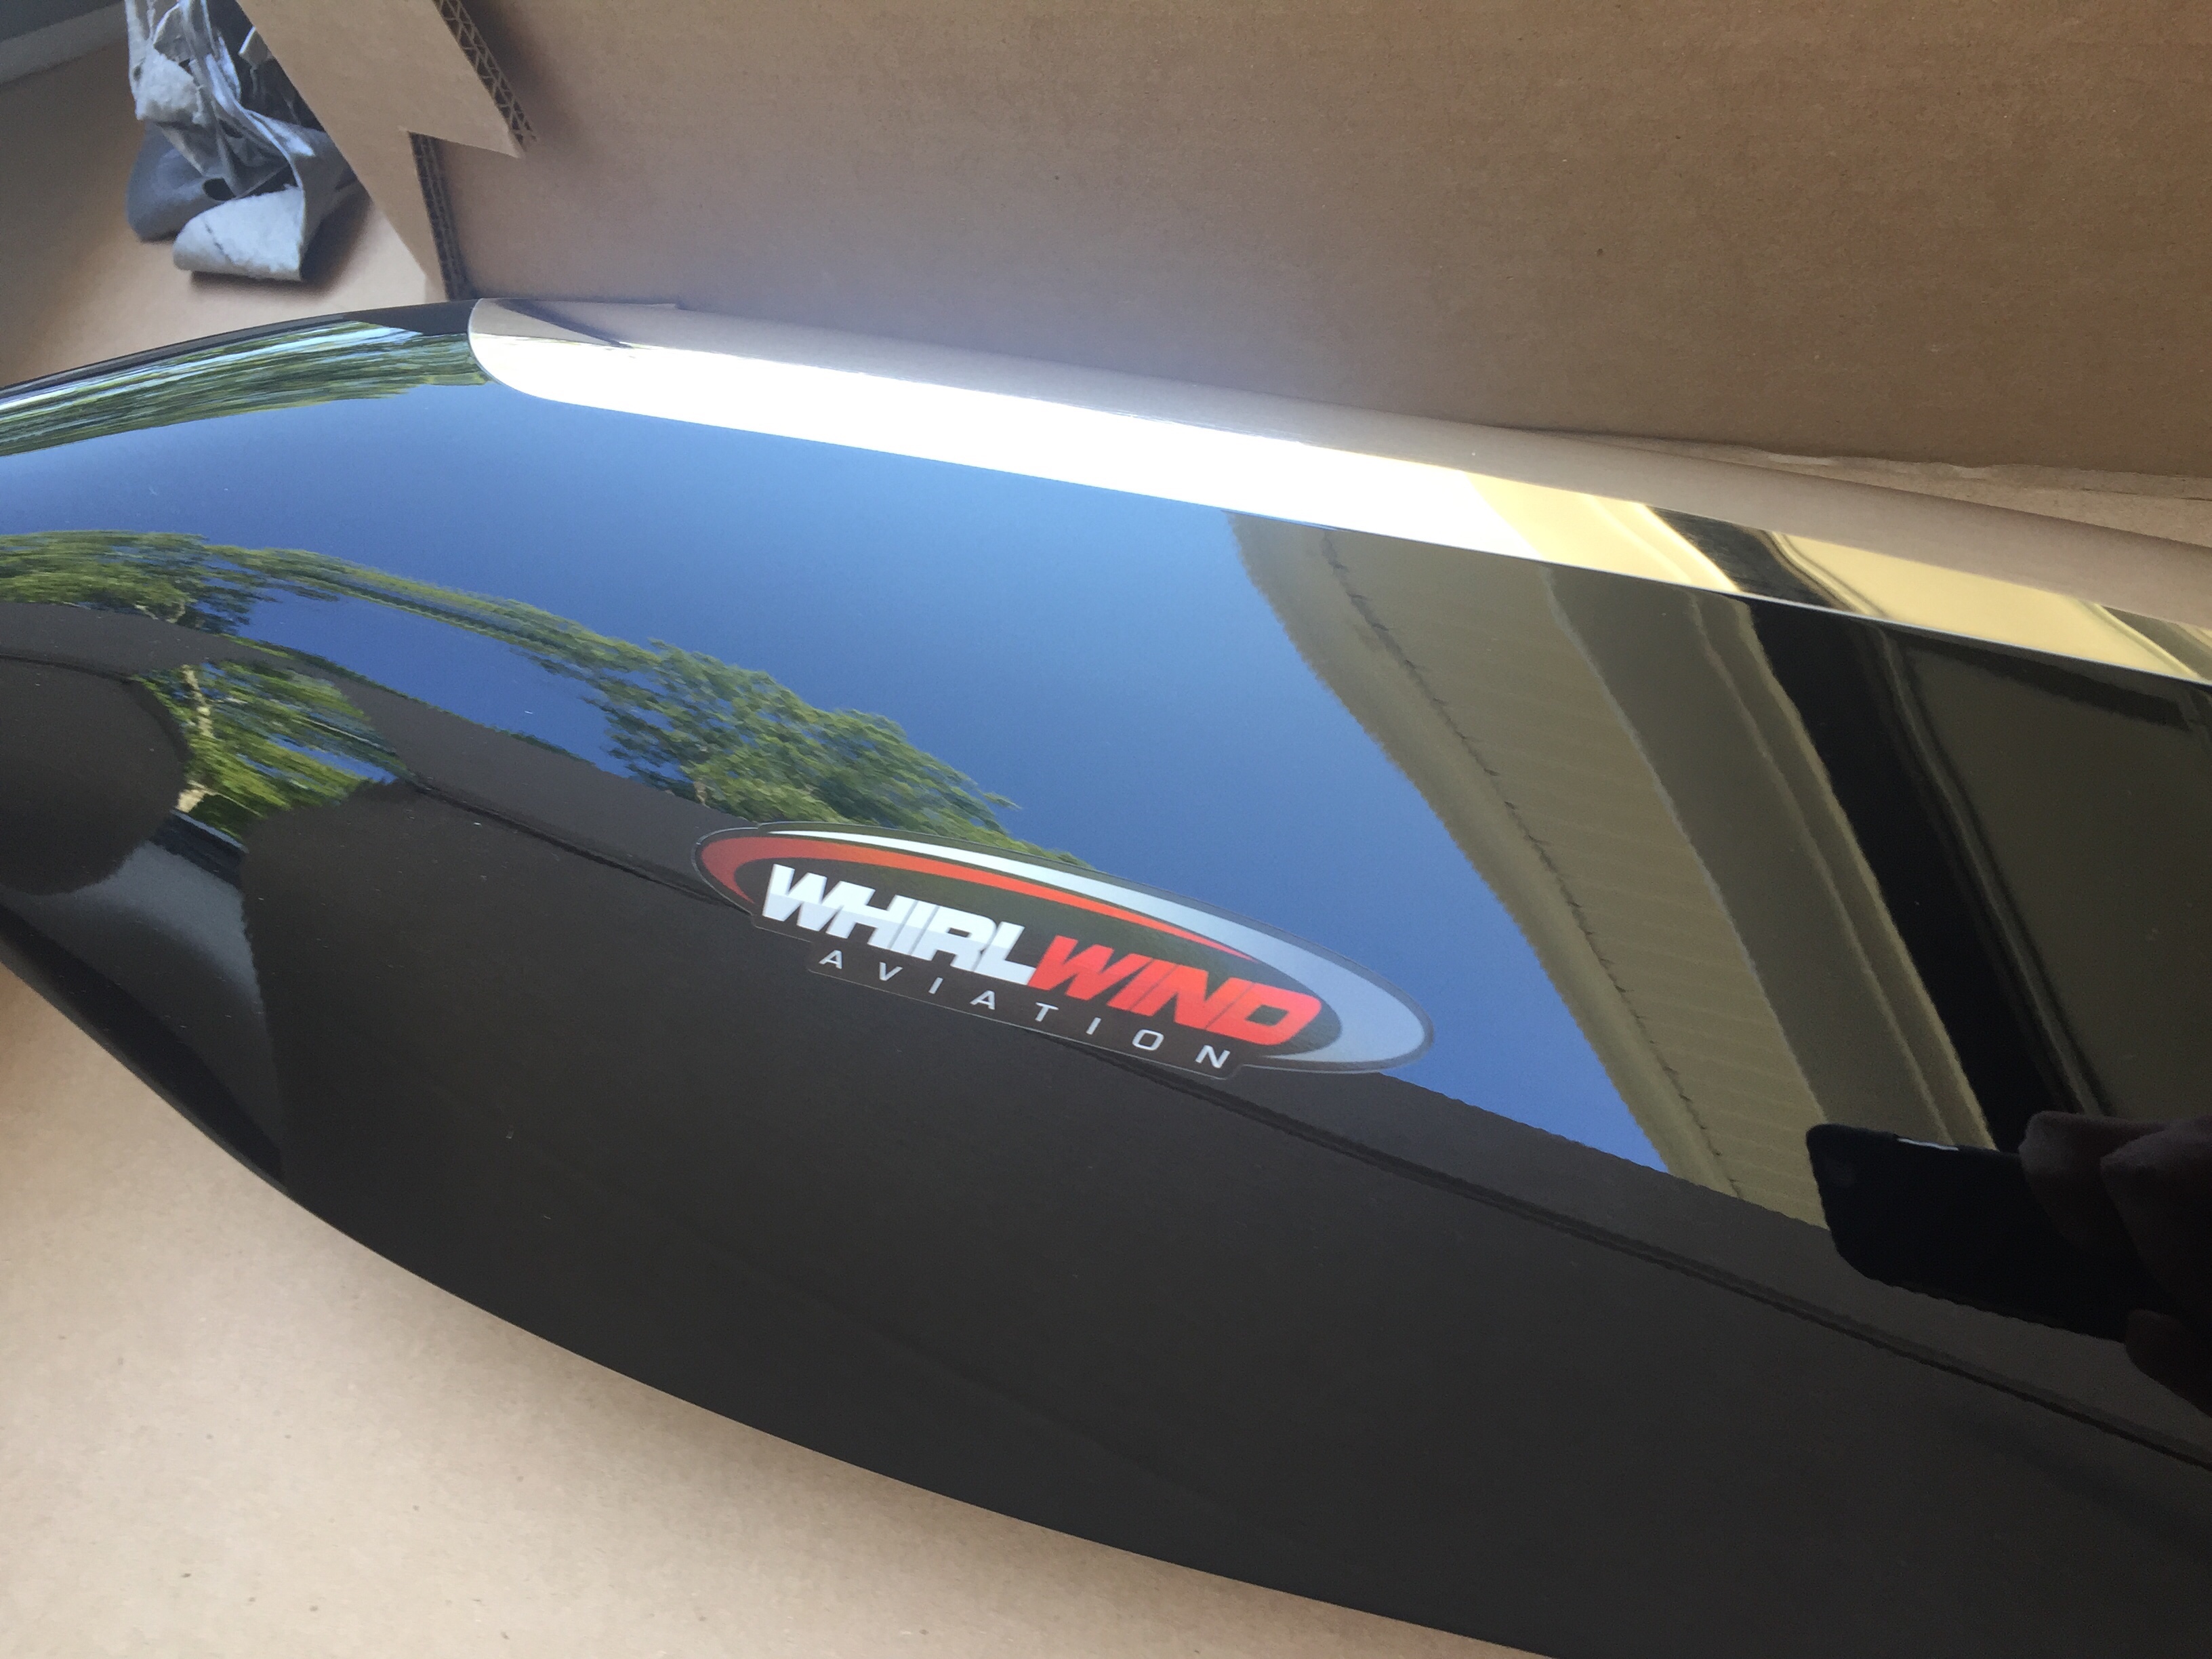
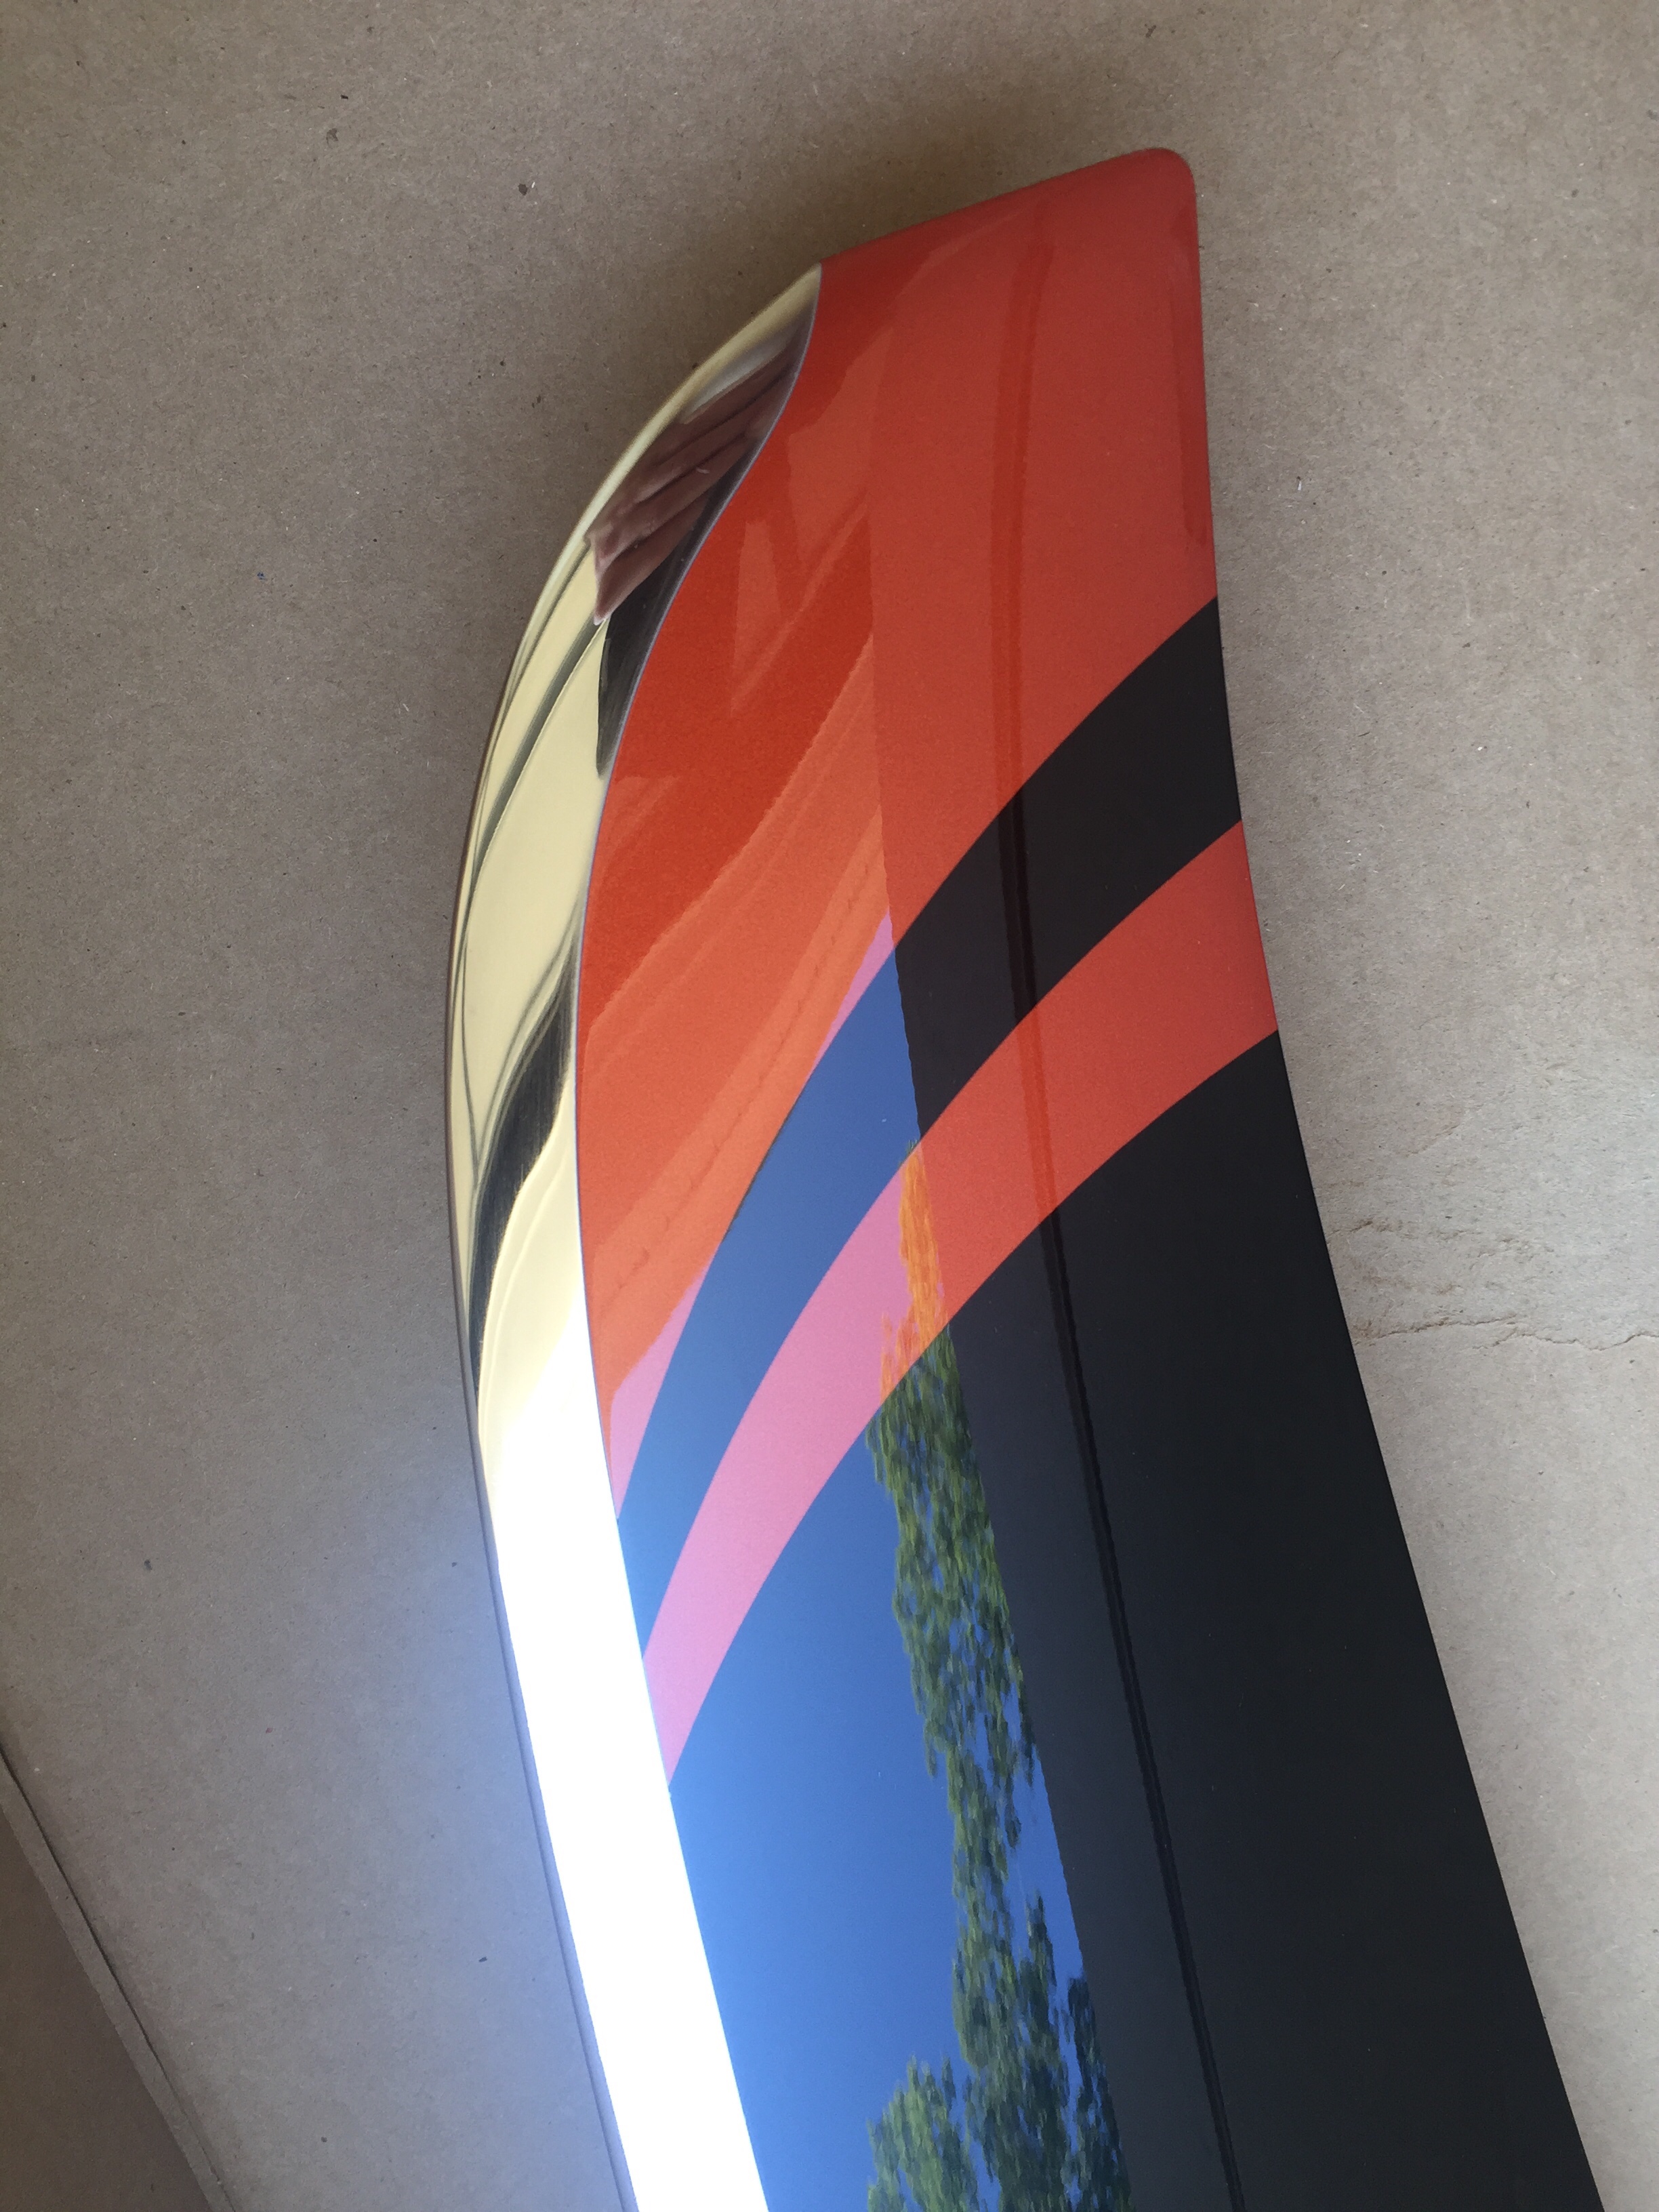
After returning from our trip up north, only a few days passed until we received a big package with a piece of art inside. Our (second) propeller has arrived! Whirl Wind delivered about a week late, but with prior coordination and communication with me so I was super excited to see what it looked like. As chronicled earlier in the build, I purchased a propeller but decided to sell it instead of it hanging on the wall for three years before I was ready for it. Joe Keys, you can’t have this one. I knew I wanted another WW and the HRT blade is now a refined blade profile and is simply stunning. Our orange was color matched and looks great with the black and nickel leading edge. For now, the prop will go to a friend’s hangar to hang out with the wings until we move to the airport.
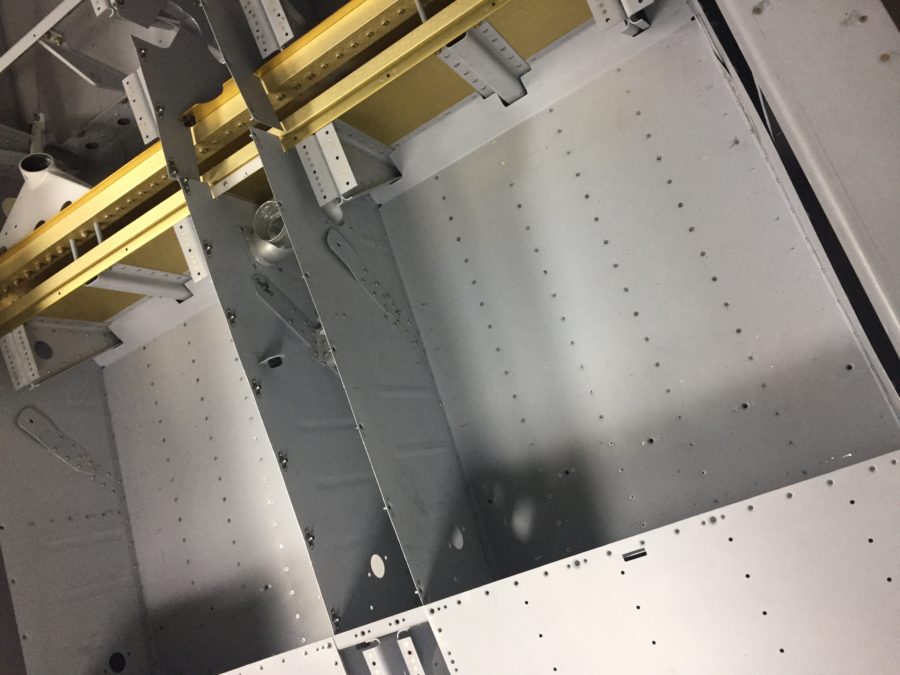
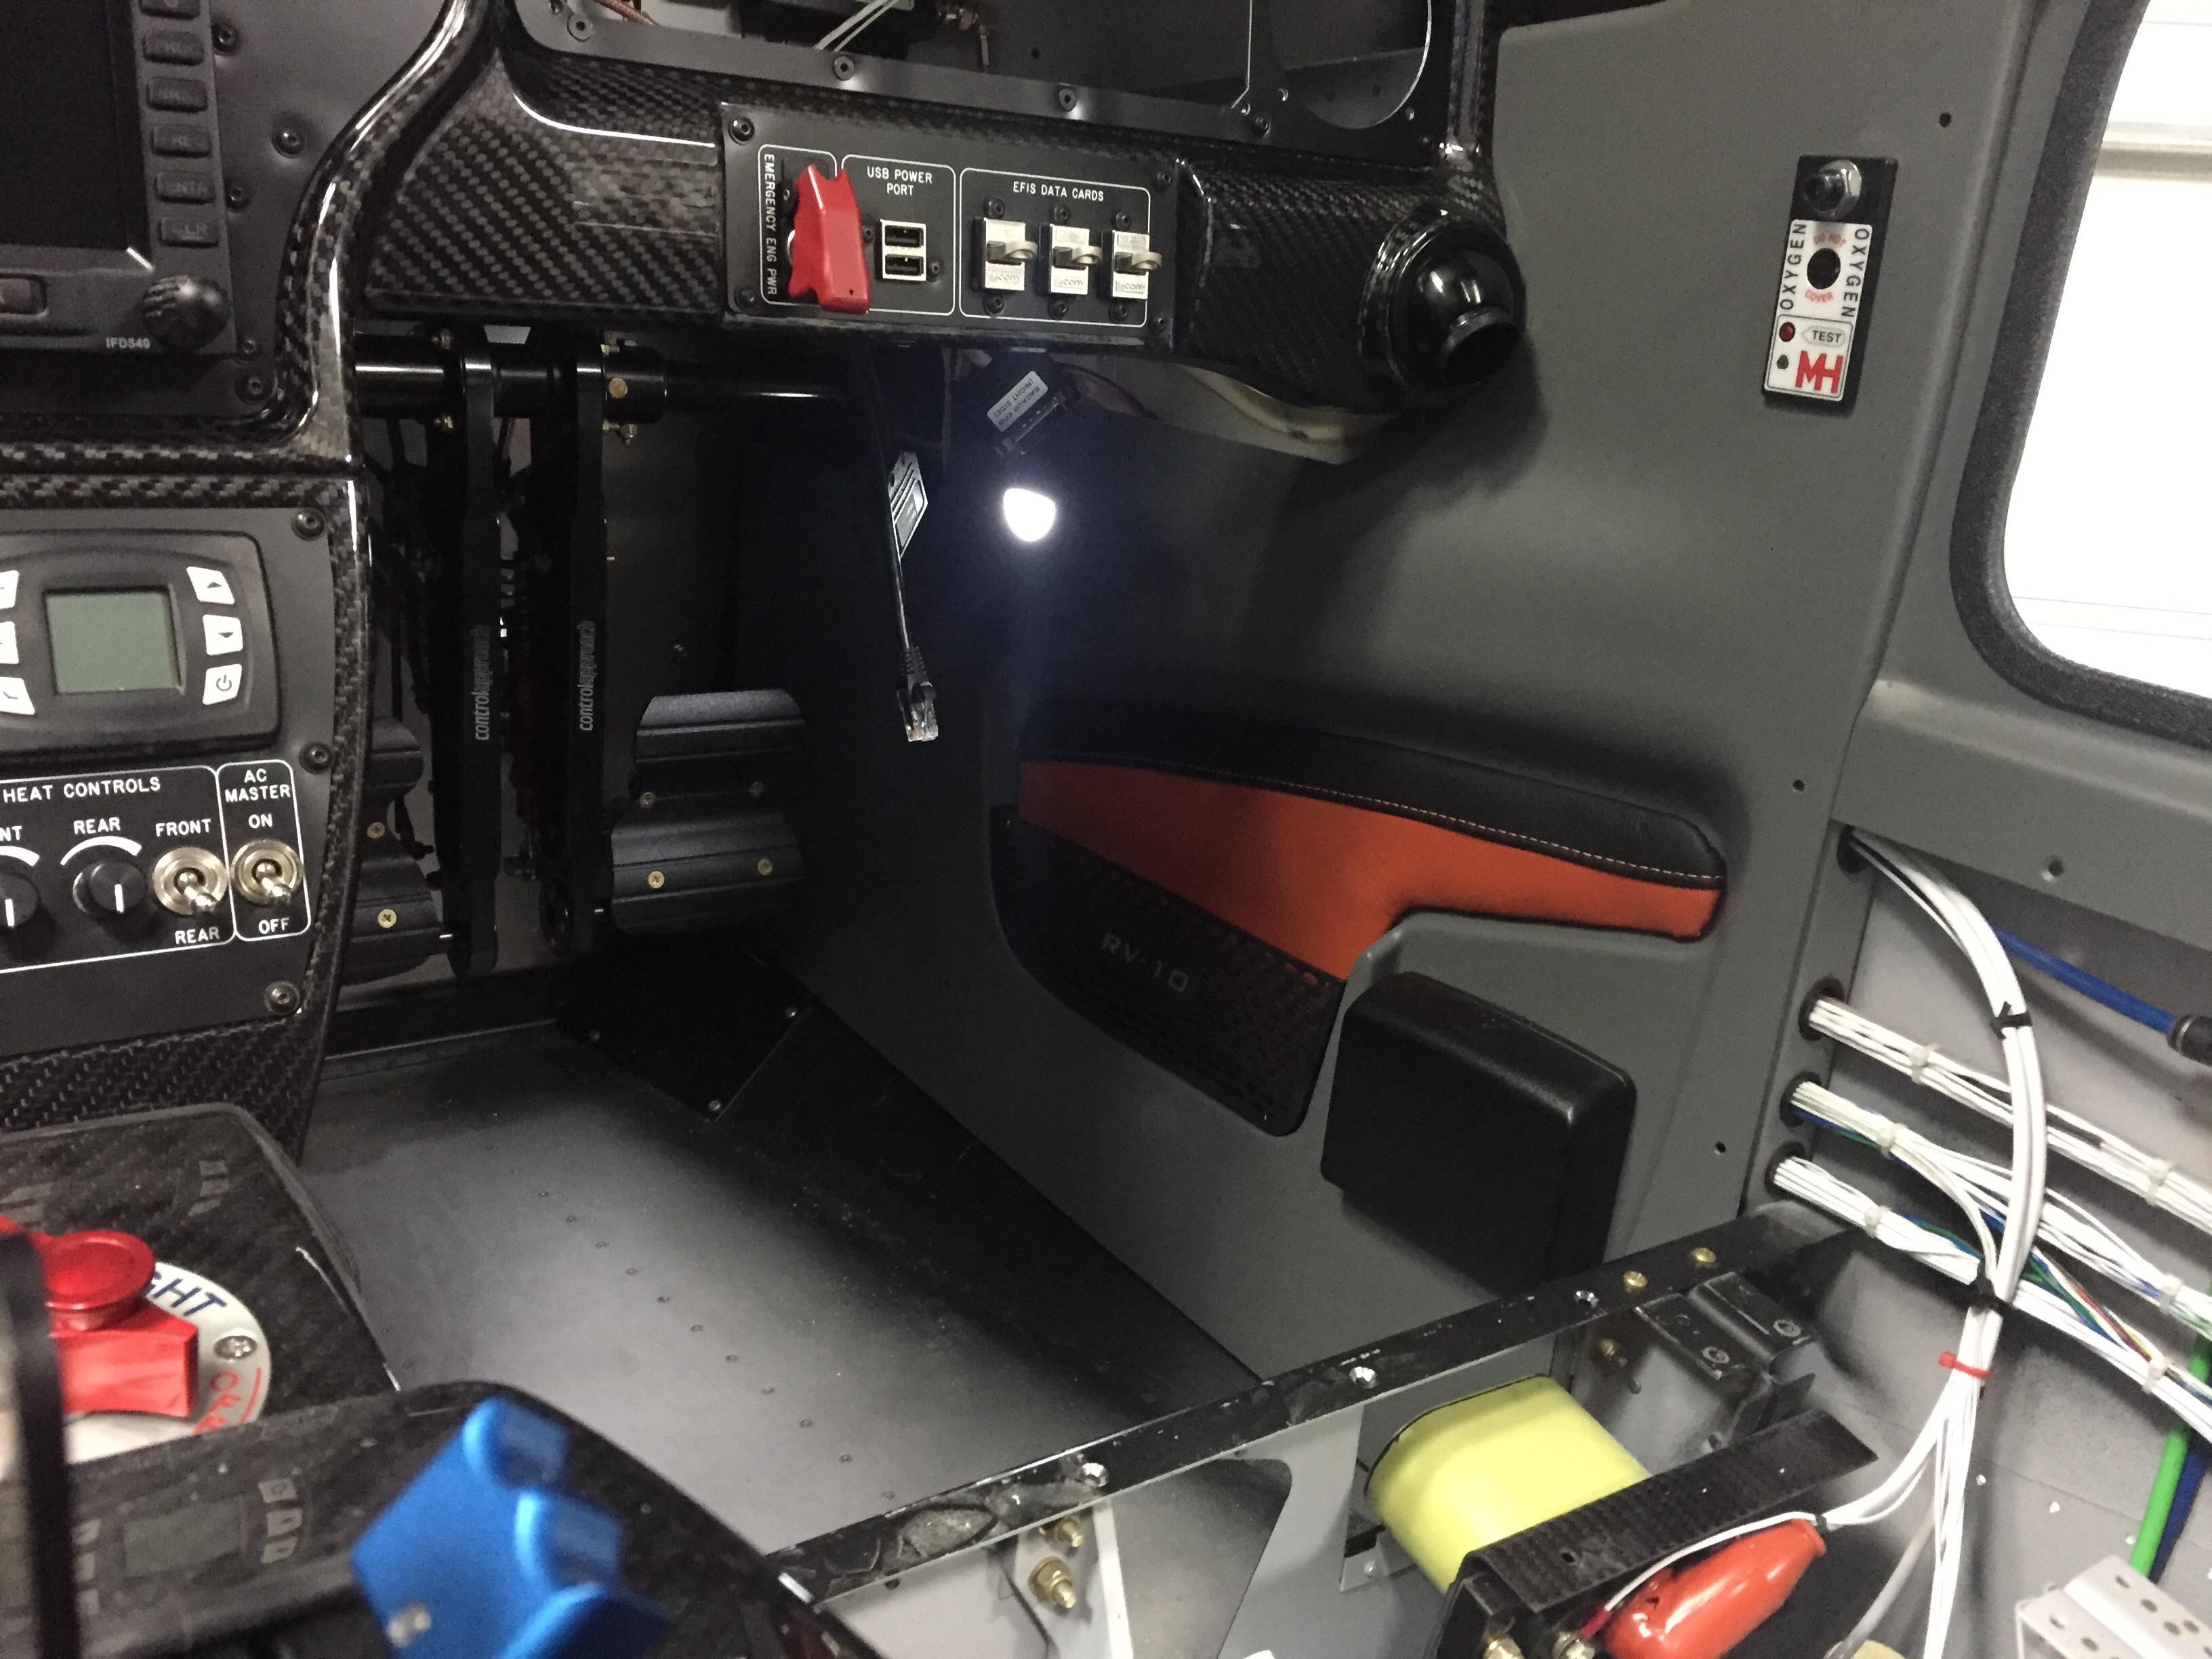
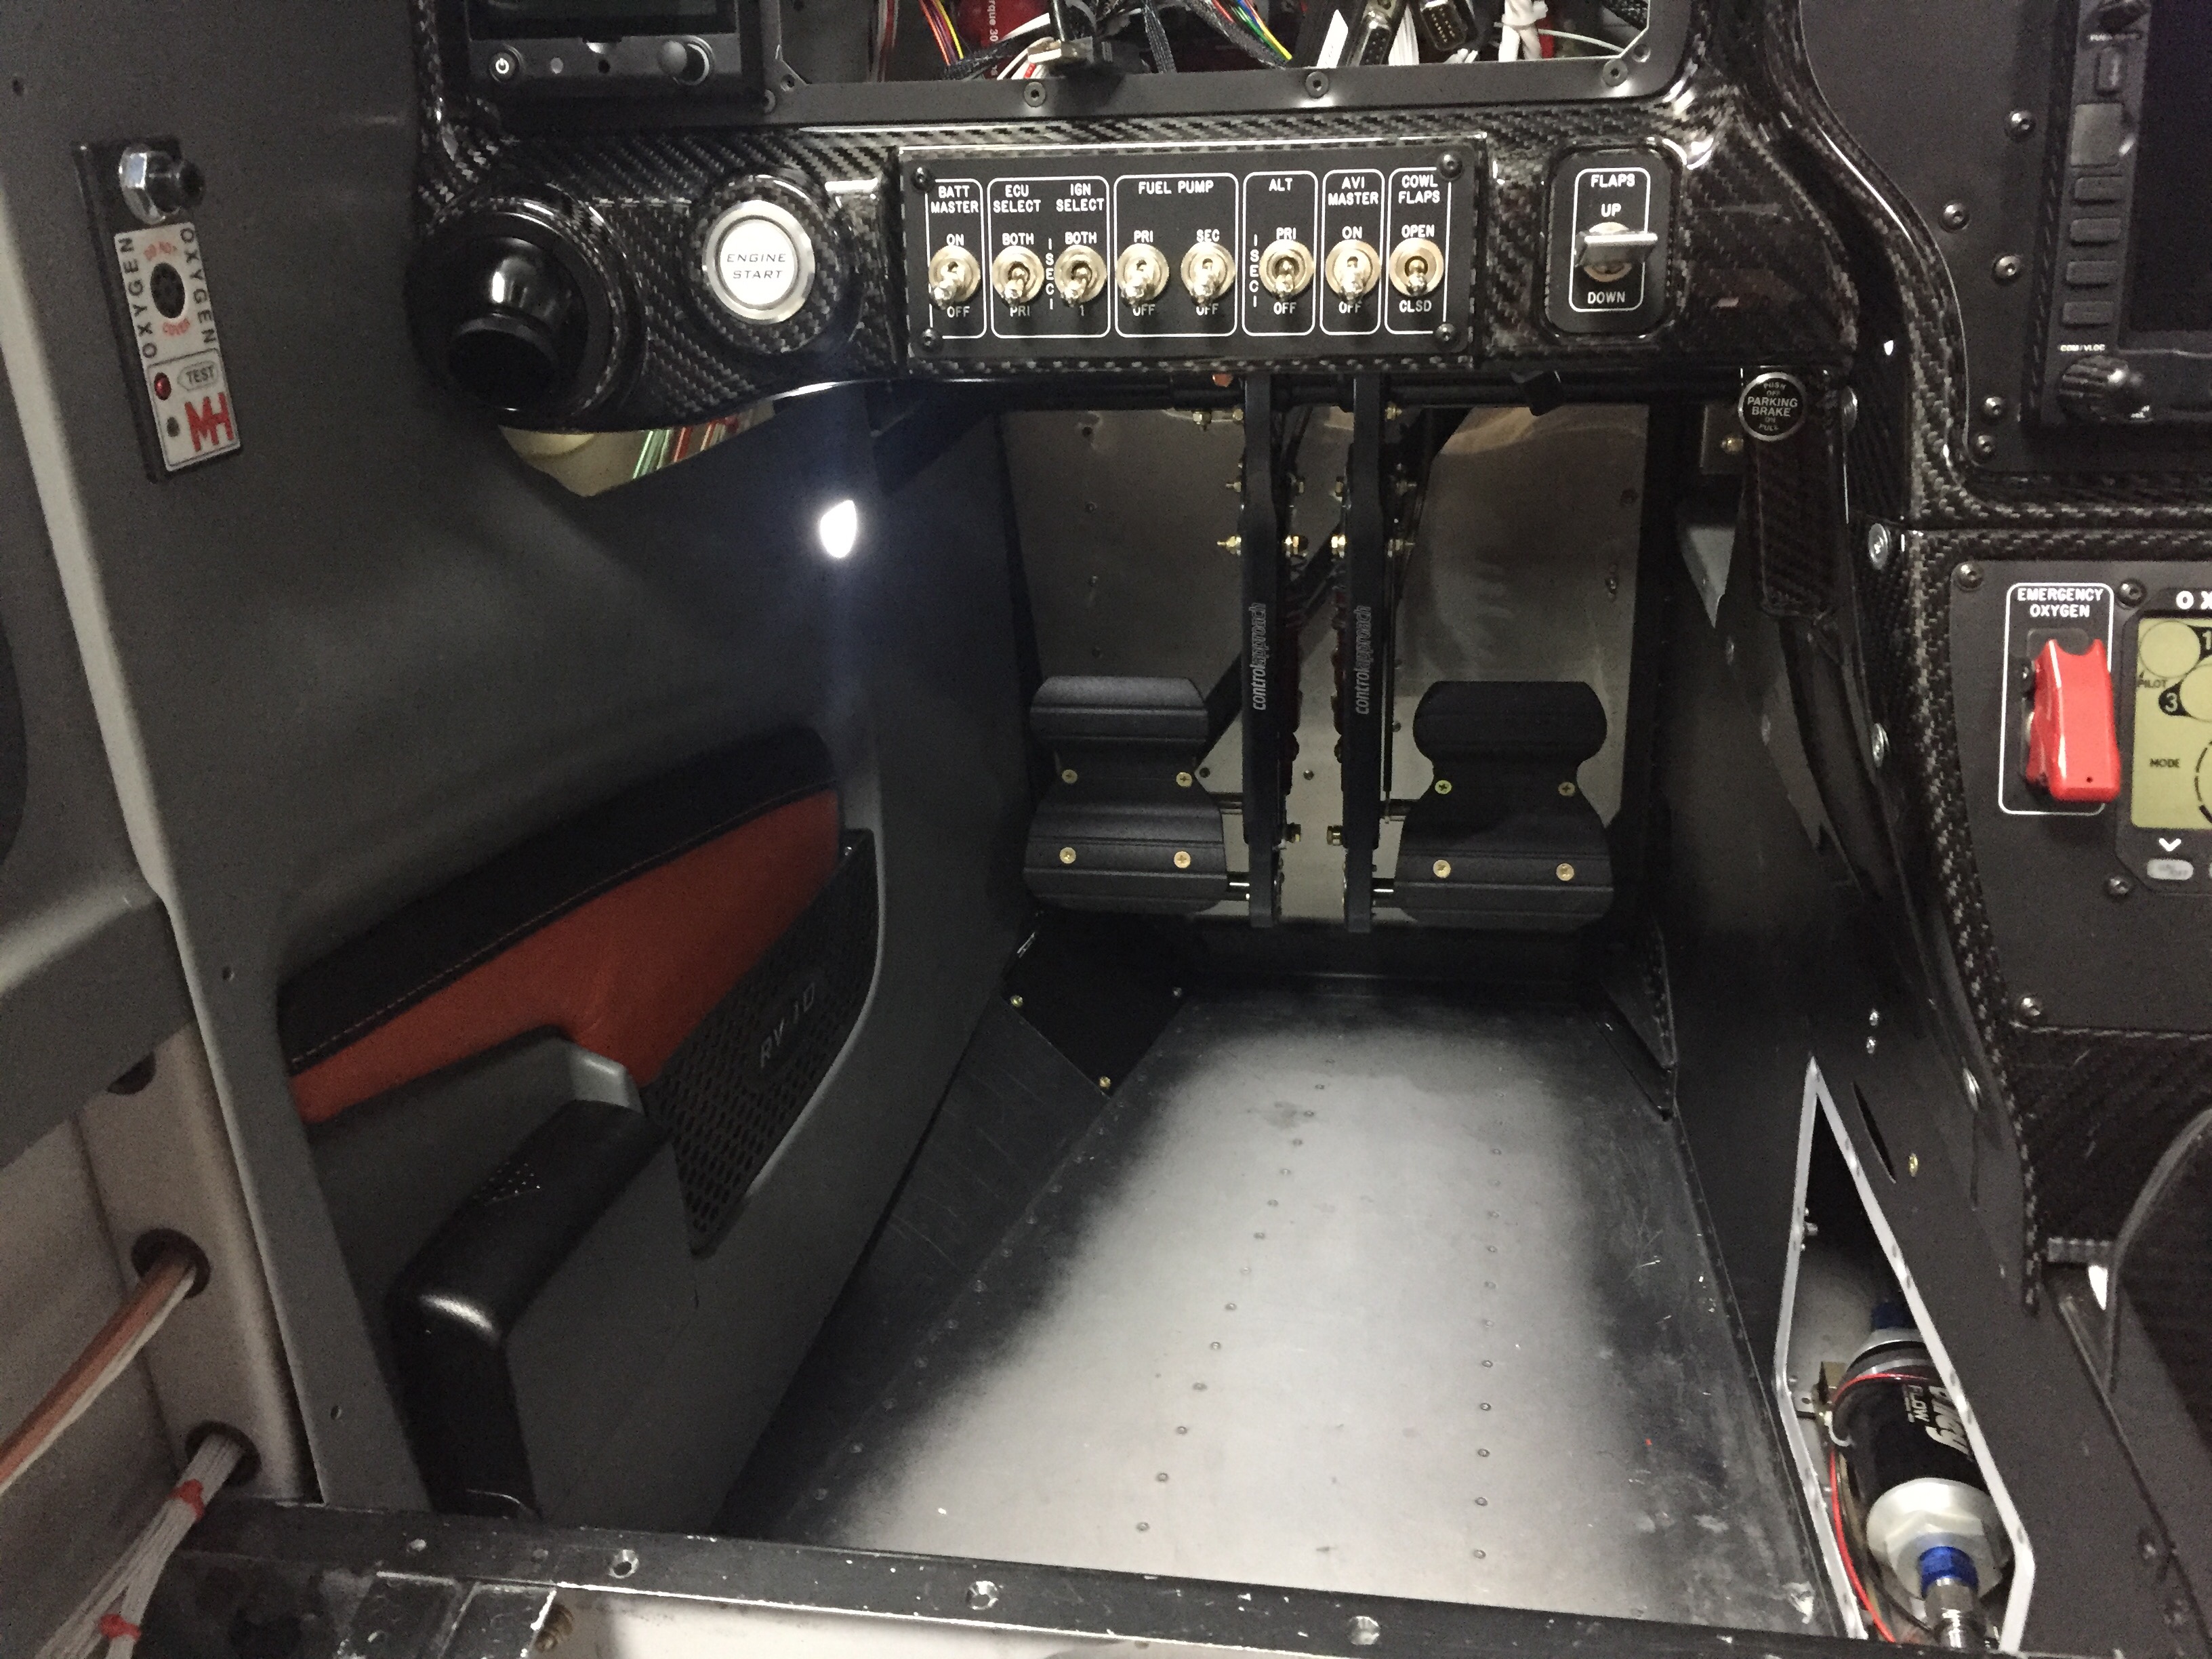
Adding even more color, I finished up the last of the wire bundling on the cabin sidewalls and went ahead installing the side panels with leather inserts. They had been trimmed and painted for some time but I held off pulling them in and out until I knew I was done. I spoke to Vic Syracuse who will be my DAR for airworthiness inspection prior to putting these in, as I wasn’t sure how open he wanted the airplane. He advised to have it essentially flight ready except for rear pax tunnel cover (to inspect the elevator bell crank), cowling, and tunnel access panel. This is the first time I’ve hooked up the foot well lights and I’m really pleased with the amount of light they give off. It’s just enough for convenience while not quite enough to perform surgery on the floorboard.
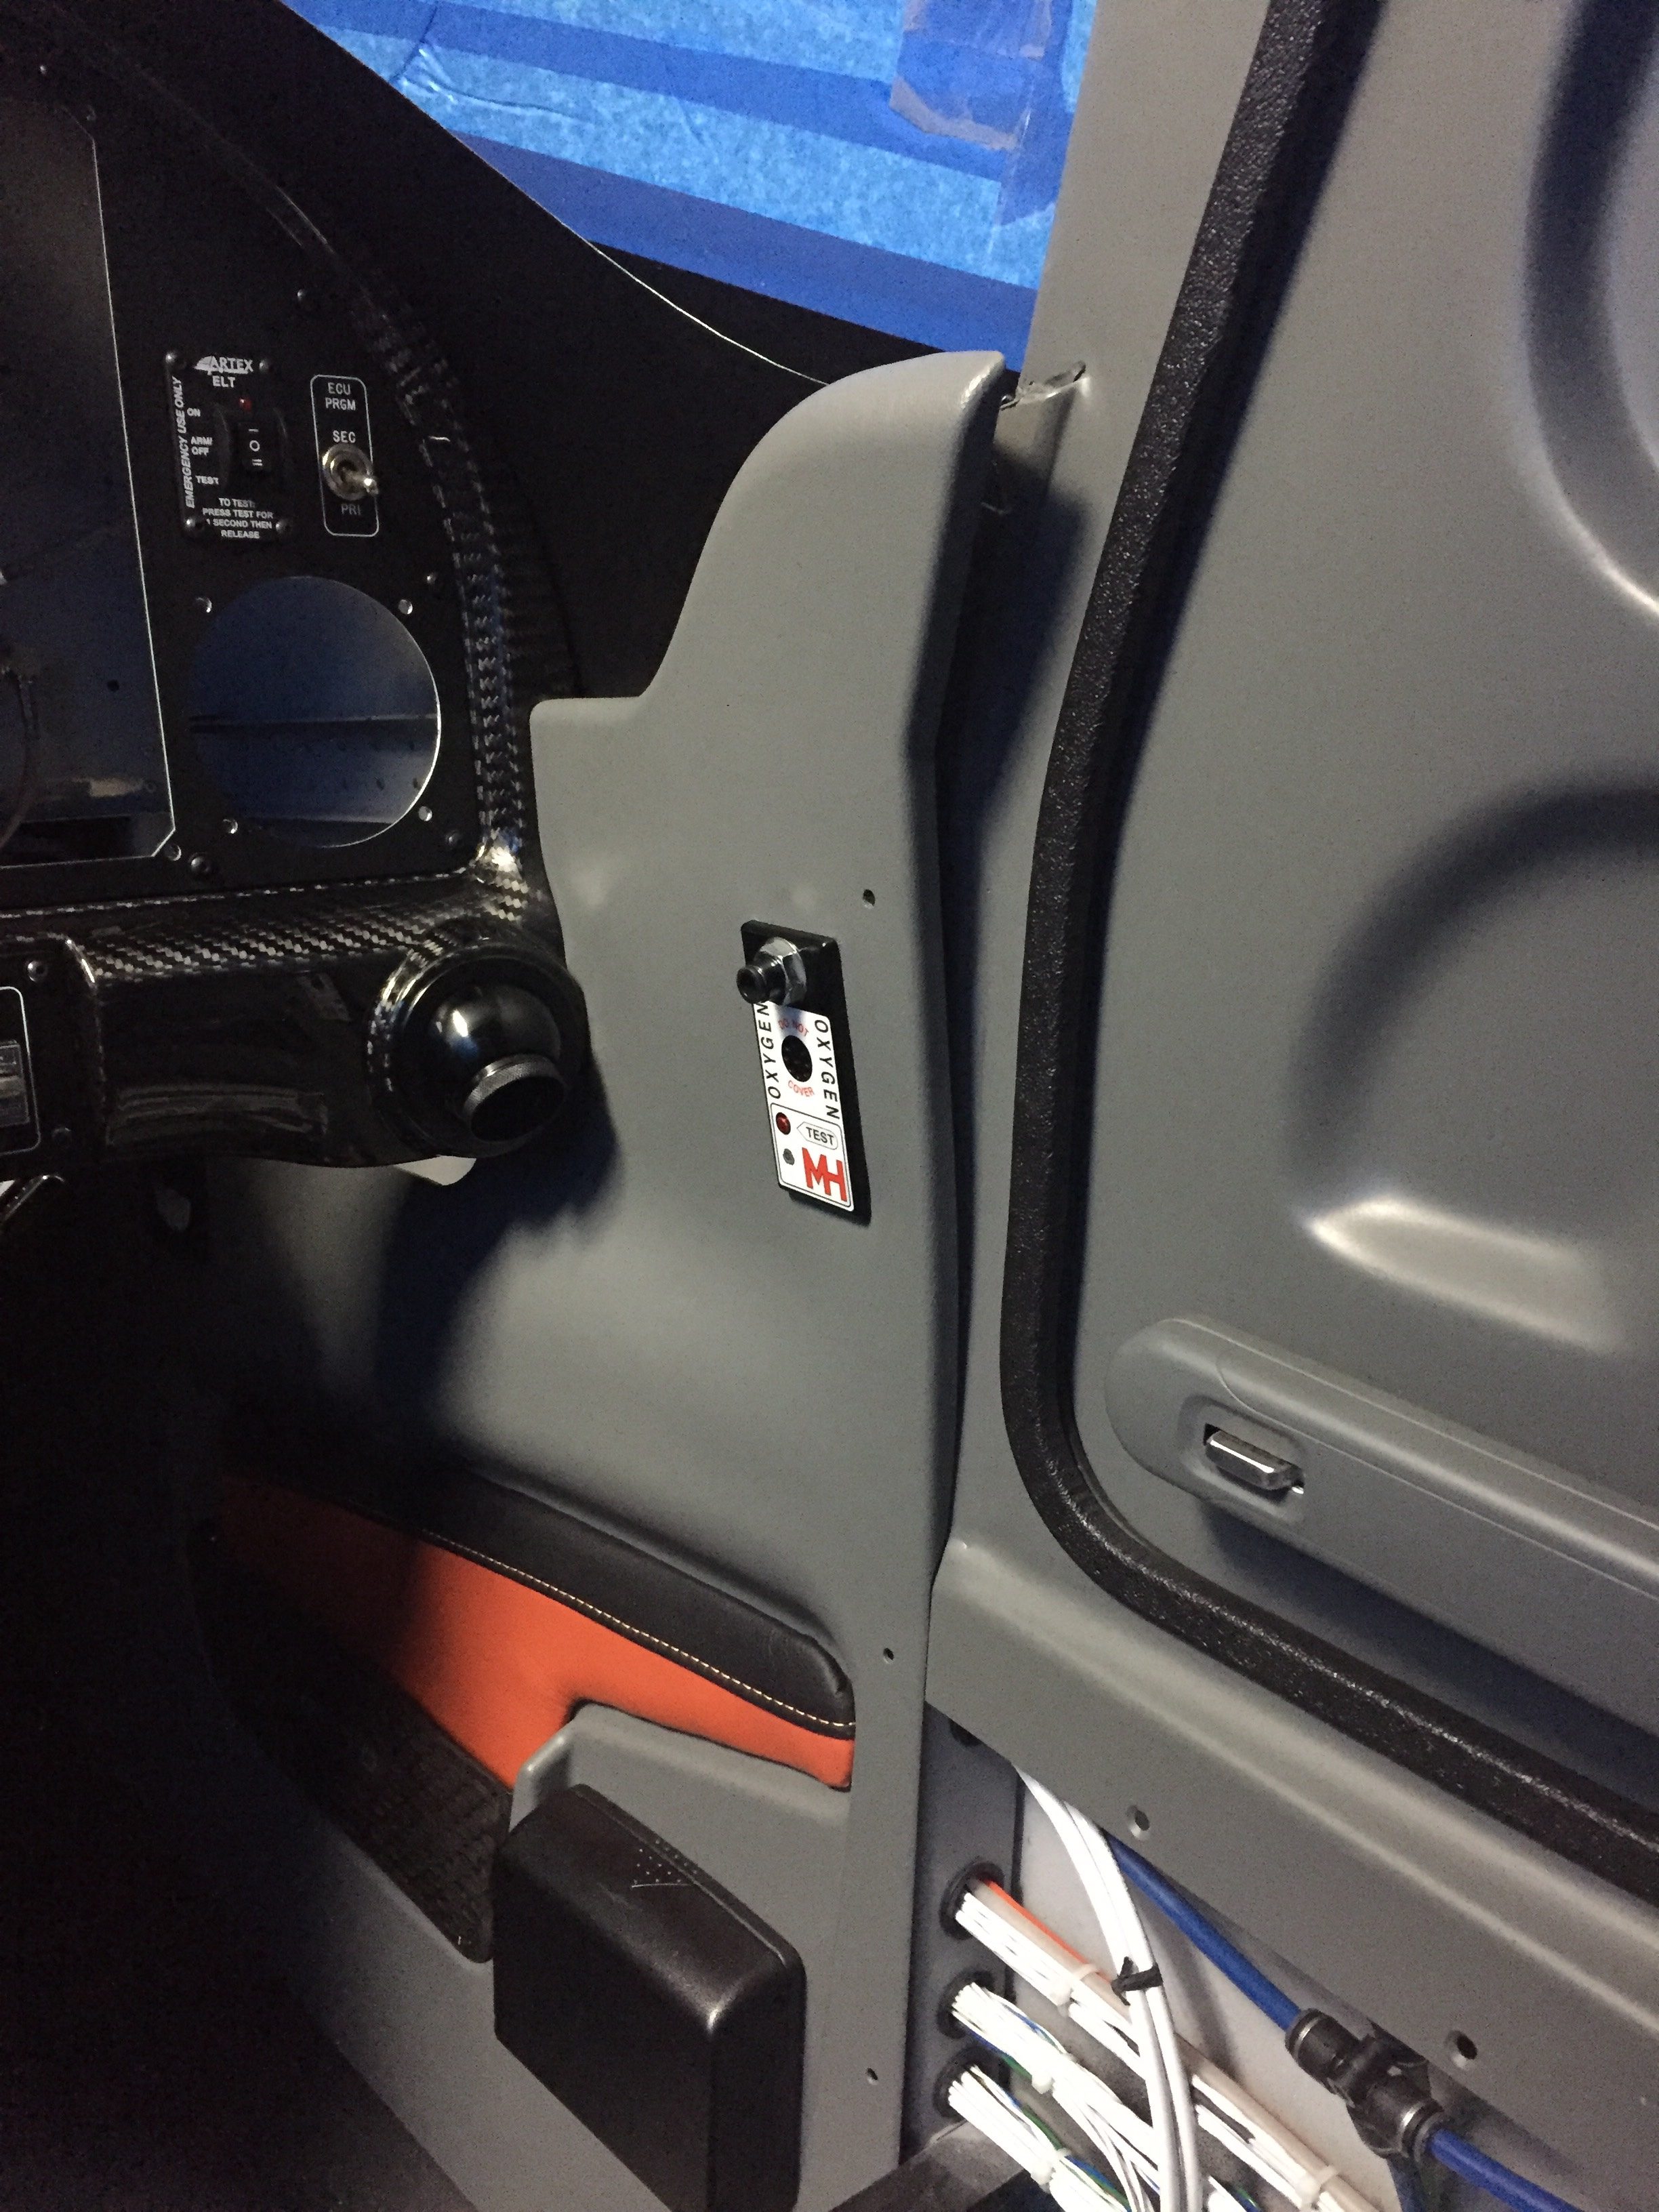
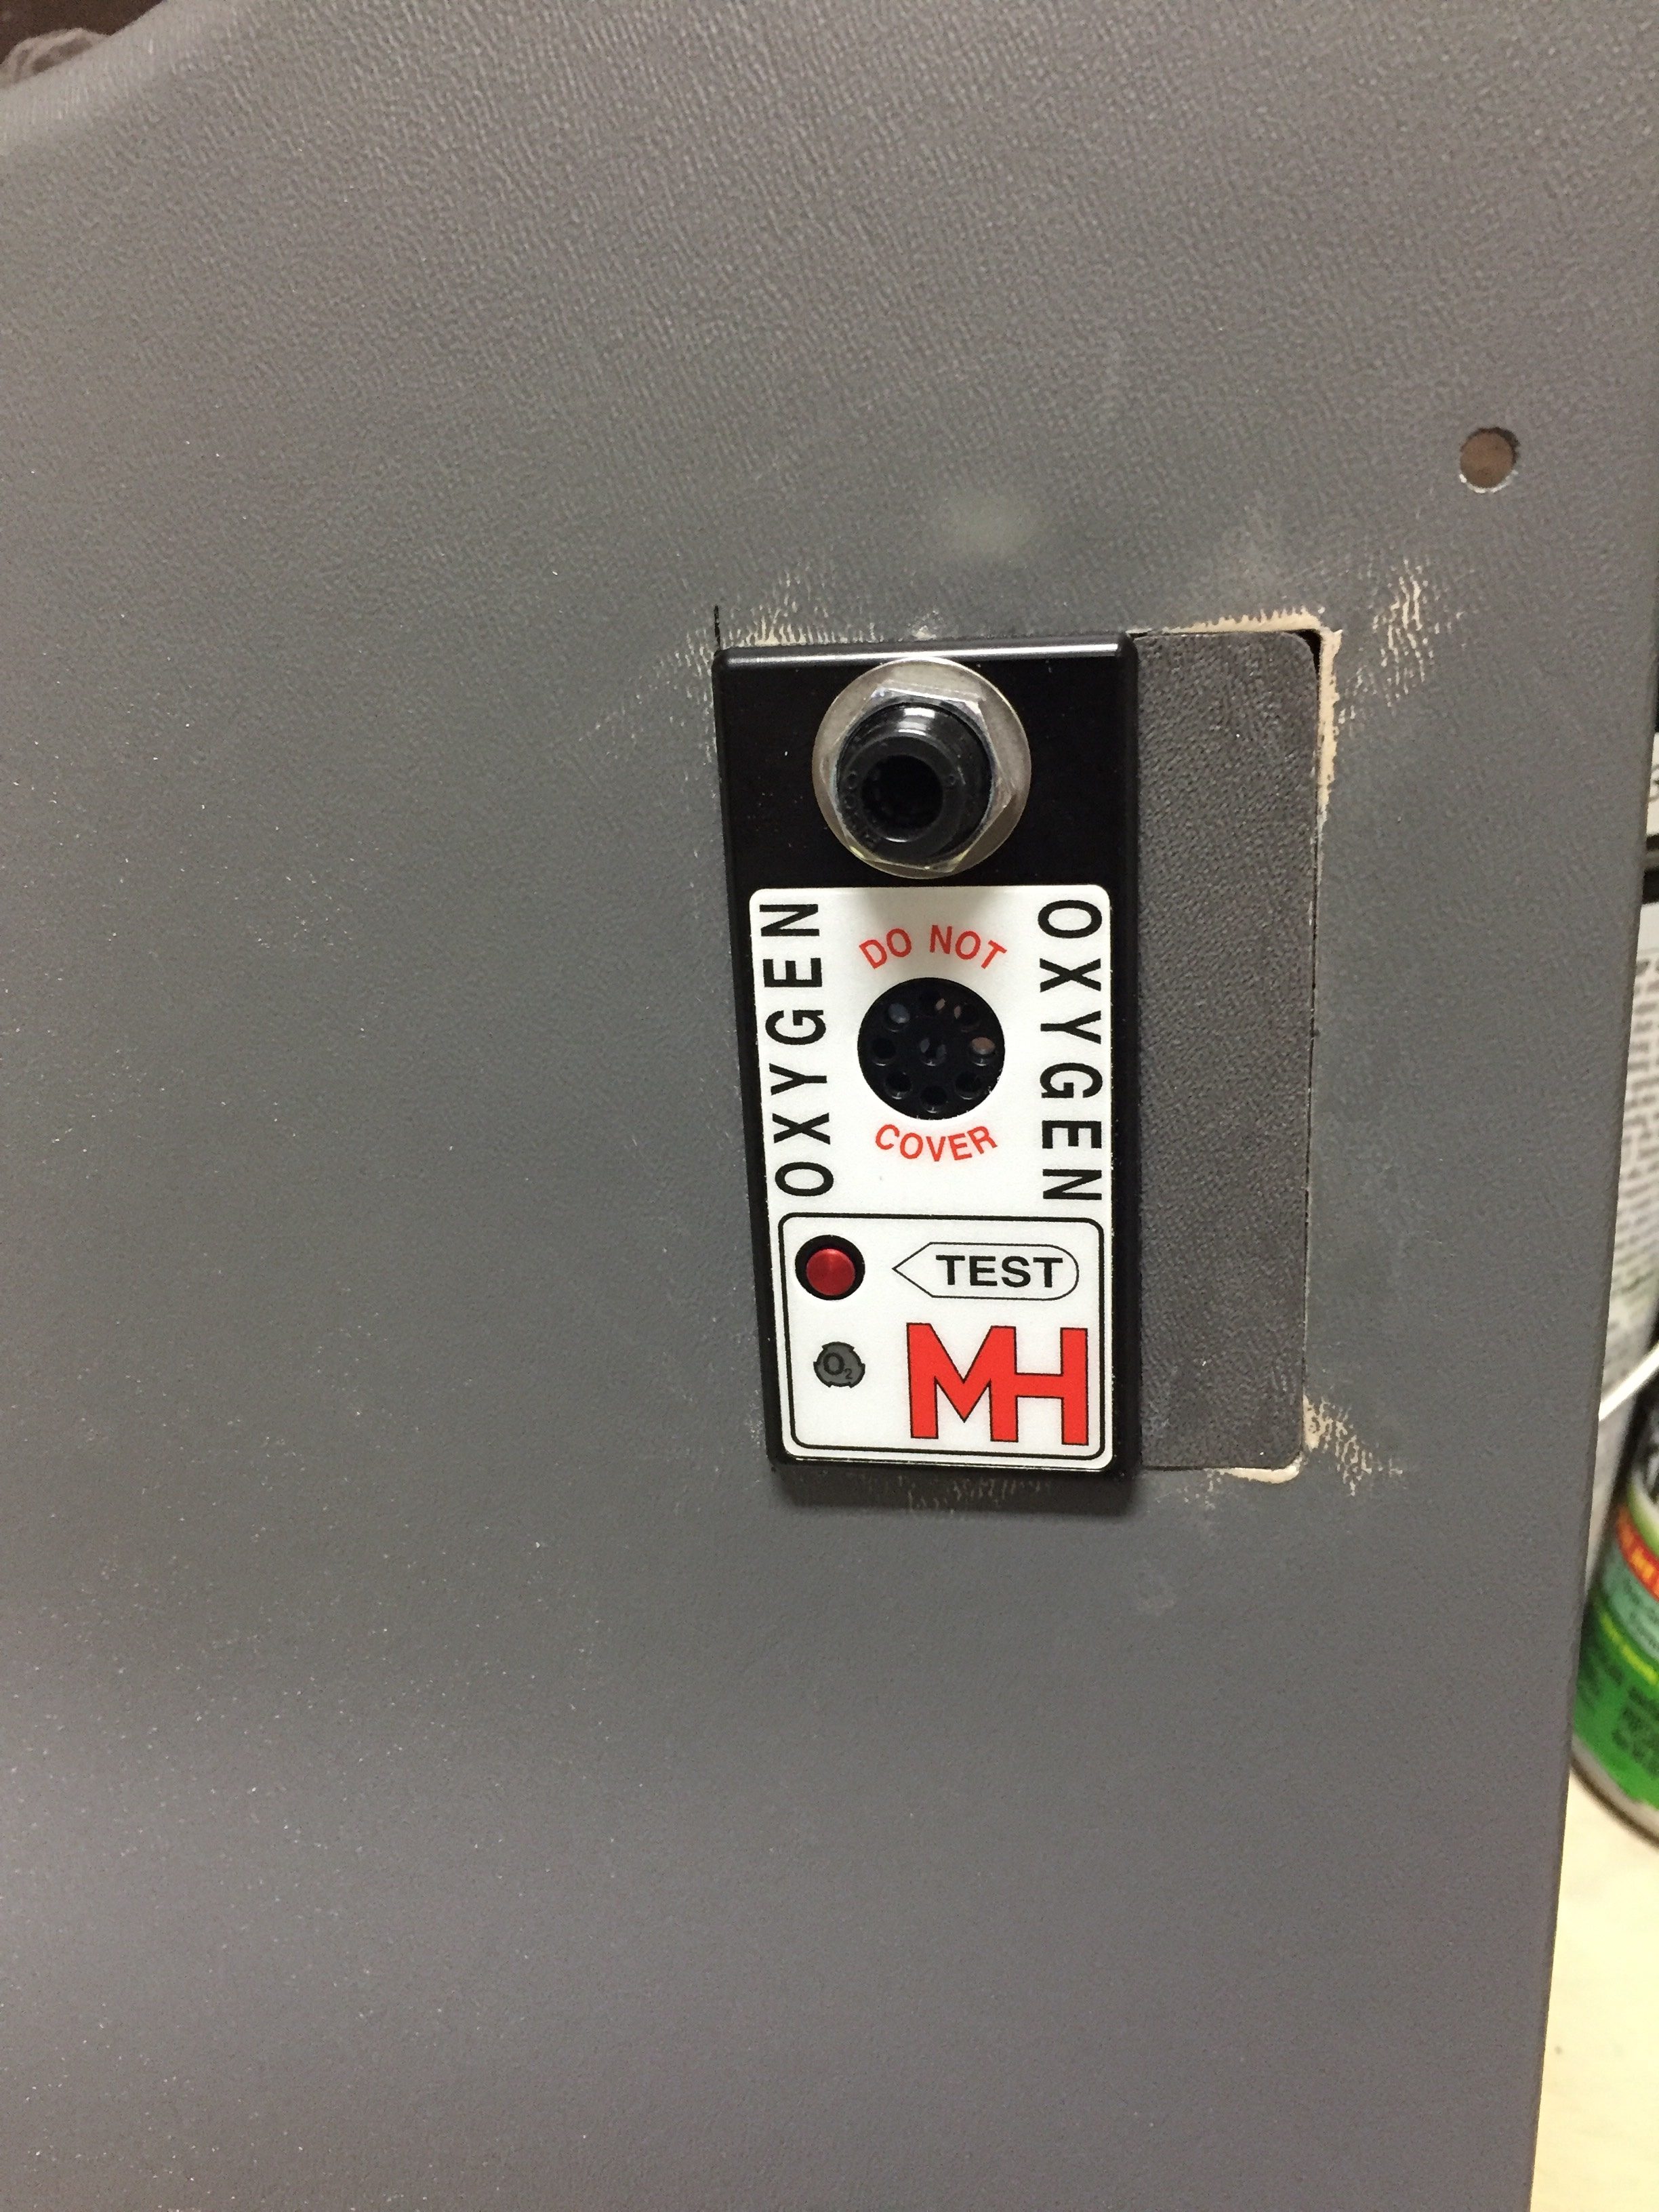
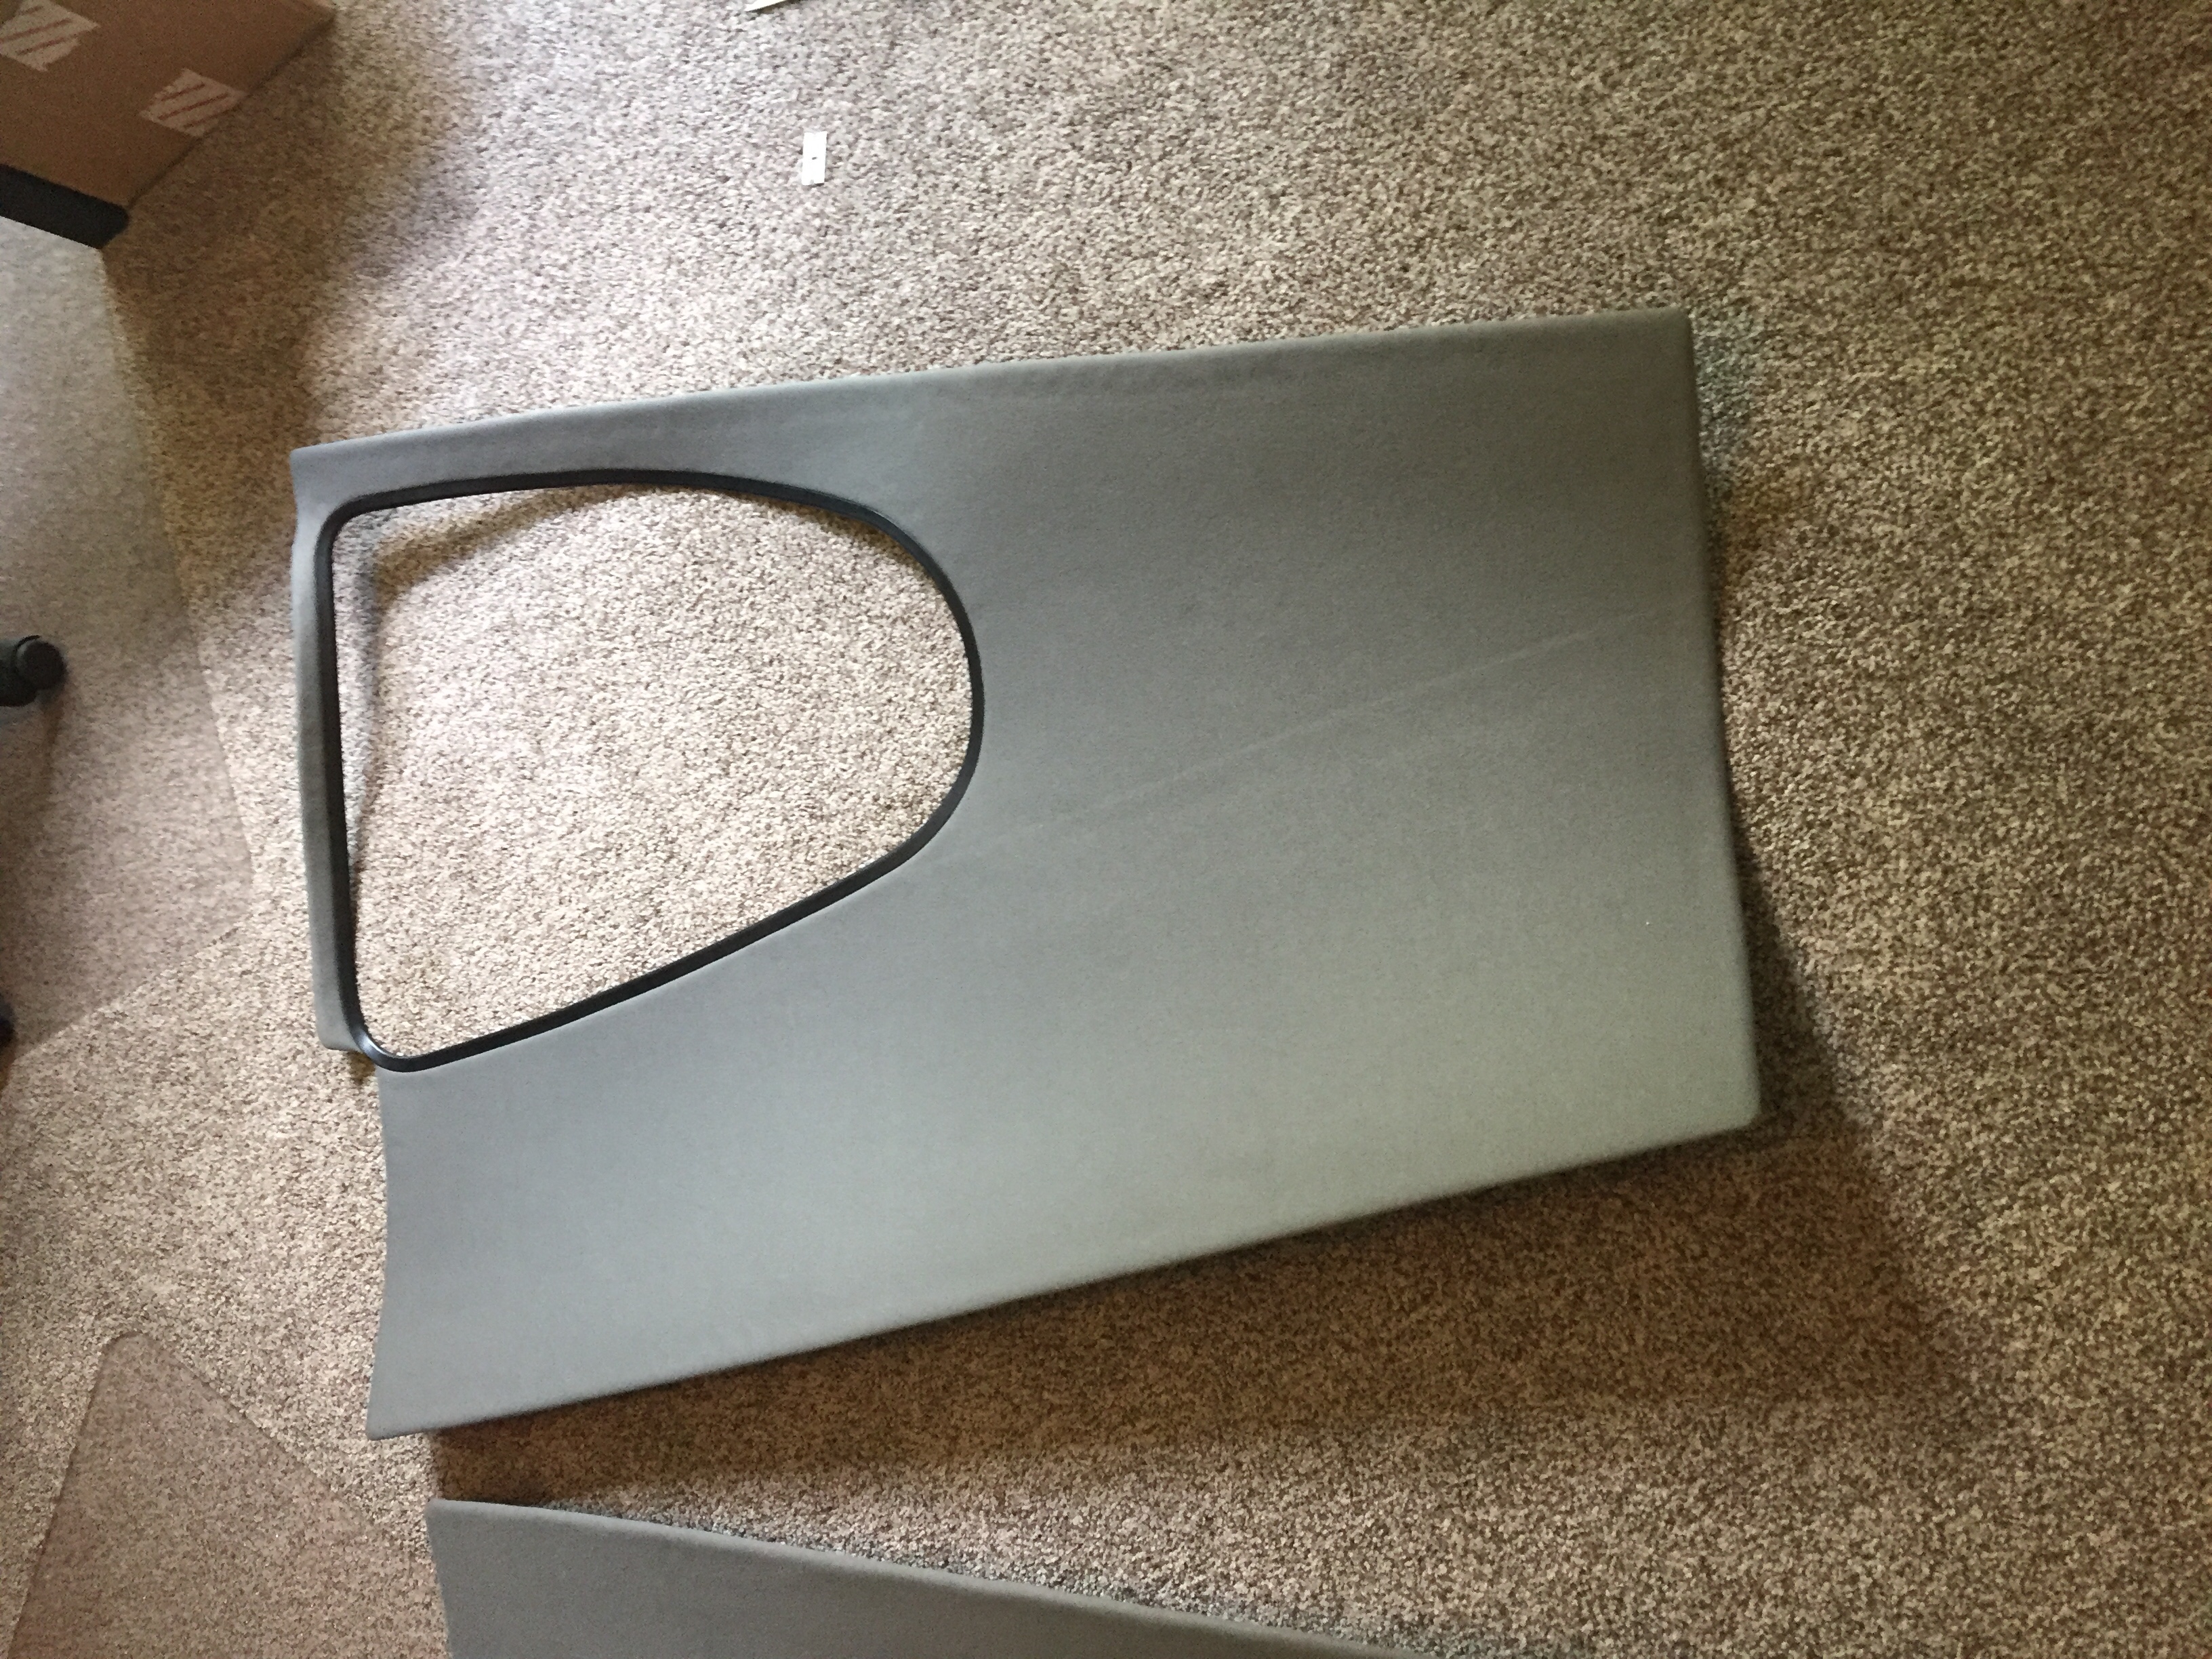
Unfortunately, not all of the gods were looking favorably upon this new addition and when I closed the door, the pins interfered with the oxygen ports, thus not allowing the doors to latch properly. Turns out I have the ports ½” too close to the door frame. Darn. Well, I said, a lot more than that and maybe one or tools took flight across the garage with no lasting damage. My blood pressure through the roof due to my ignorance and stupidity of not being mindful to this interference, I weighed the options of replacing $500 panels or coming up with a patch. I can’t make the pins shorter since they wouldn’t function correctly with the Plane Around latch mechanism. I had already had to glue a piece on the pilot side panel and reinforce it with a bit of epoxy. The seam was easily hidden and paint covered everything, so I was hopeful I could repeat the process. A call to Will at Aerosport Products equaled a few scrap pieces of plastic heading my way. An evening of creating two patches and a bit of filler, and I’m back on track. If you look close enough to tell the patch is there, you probably won’t be flying in my airplane again; kindly go away and take your judgement with you.
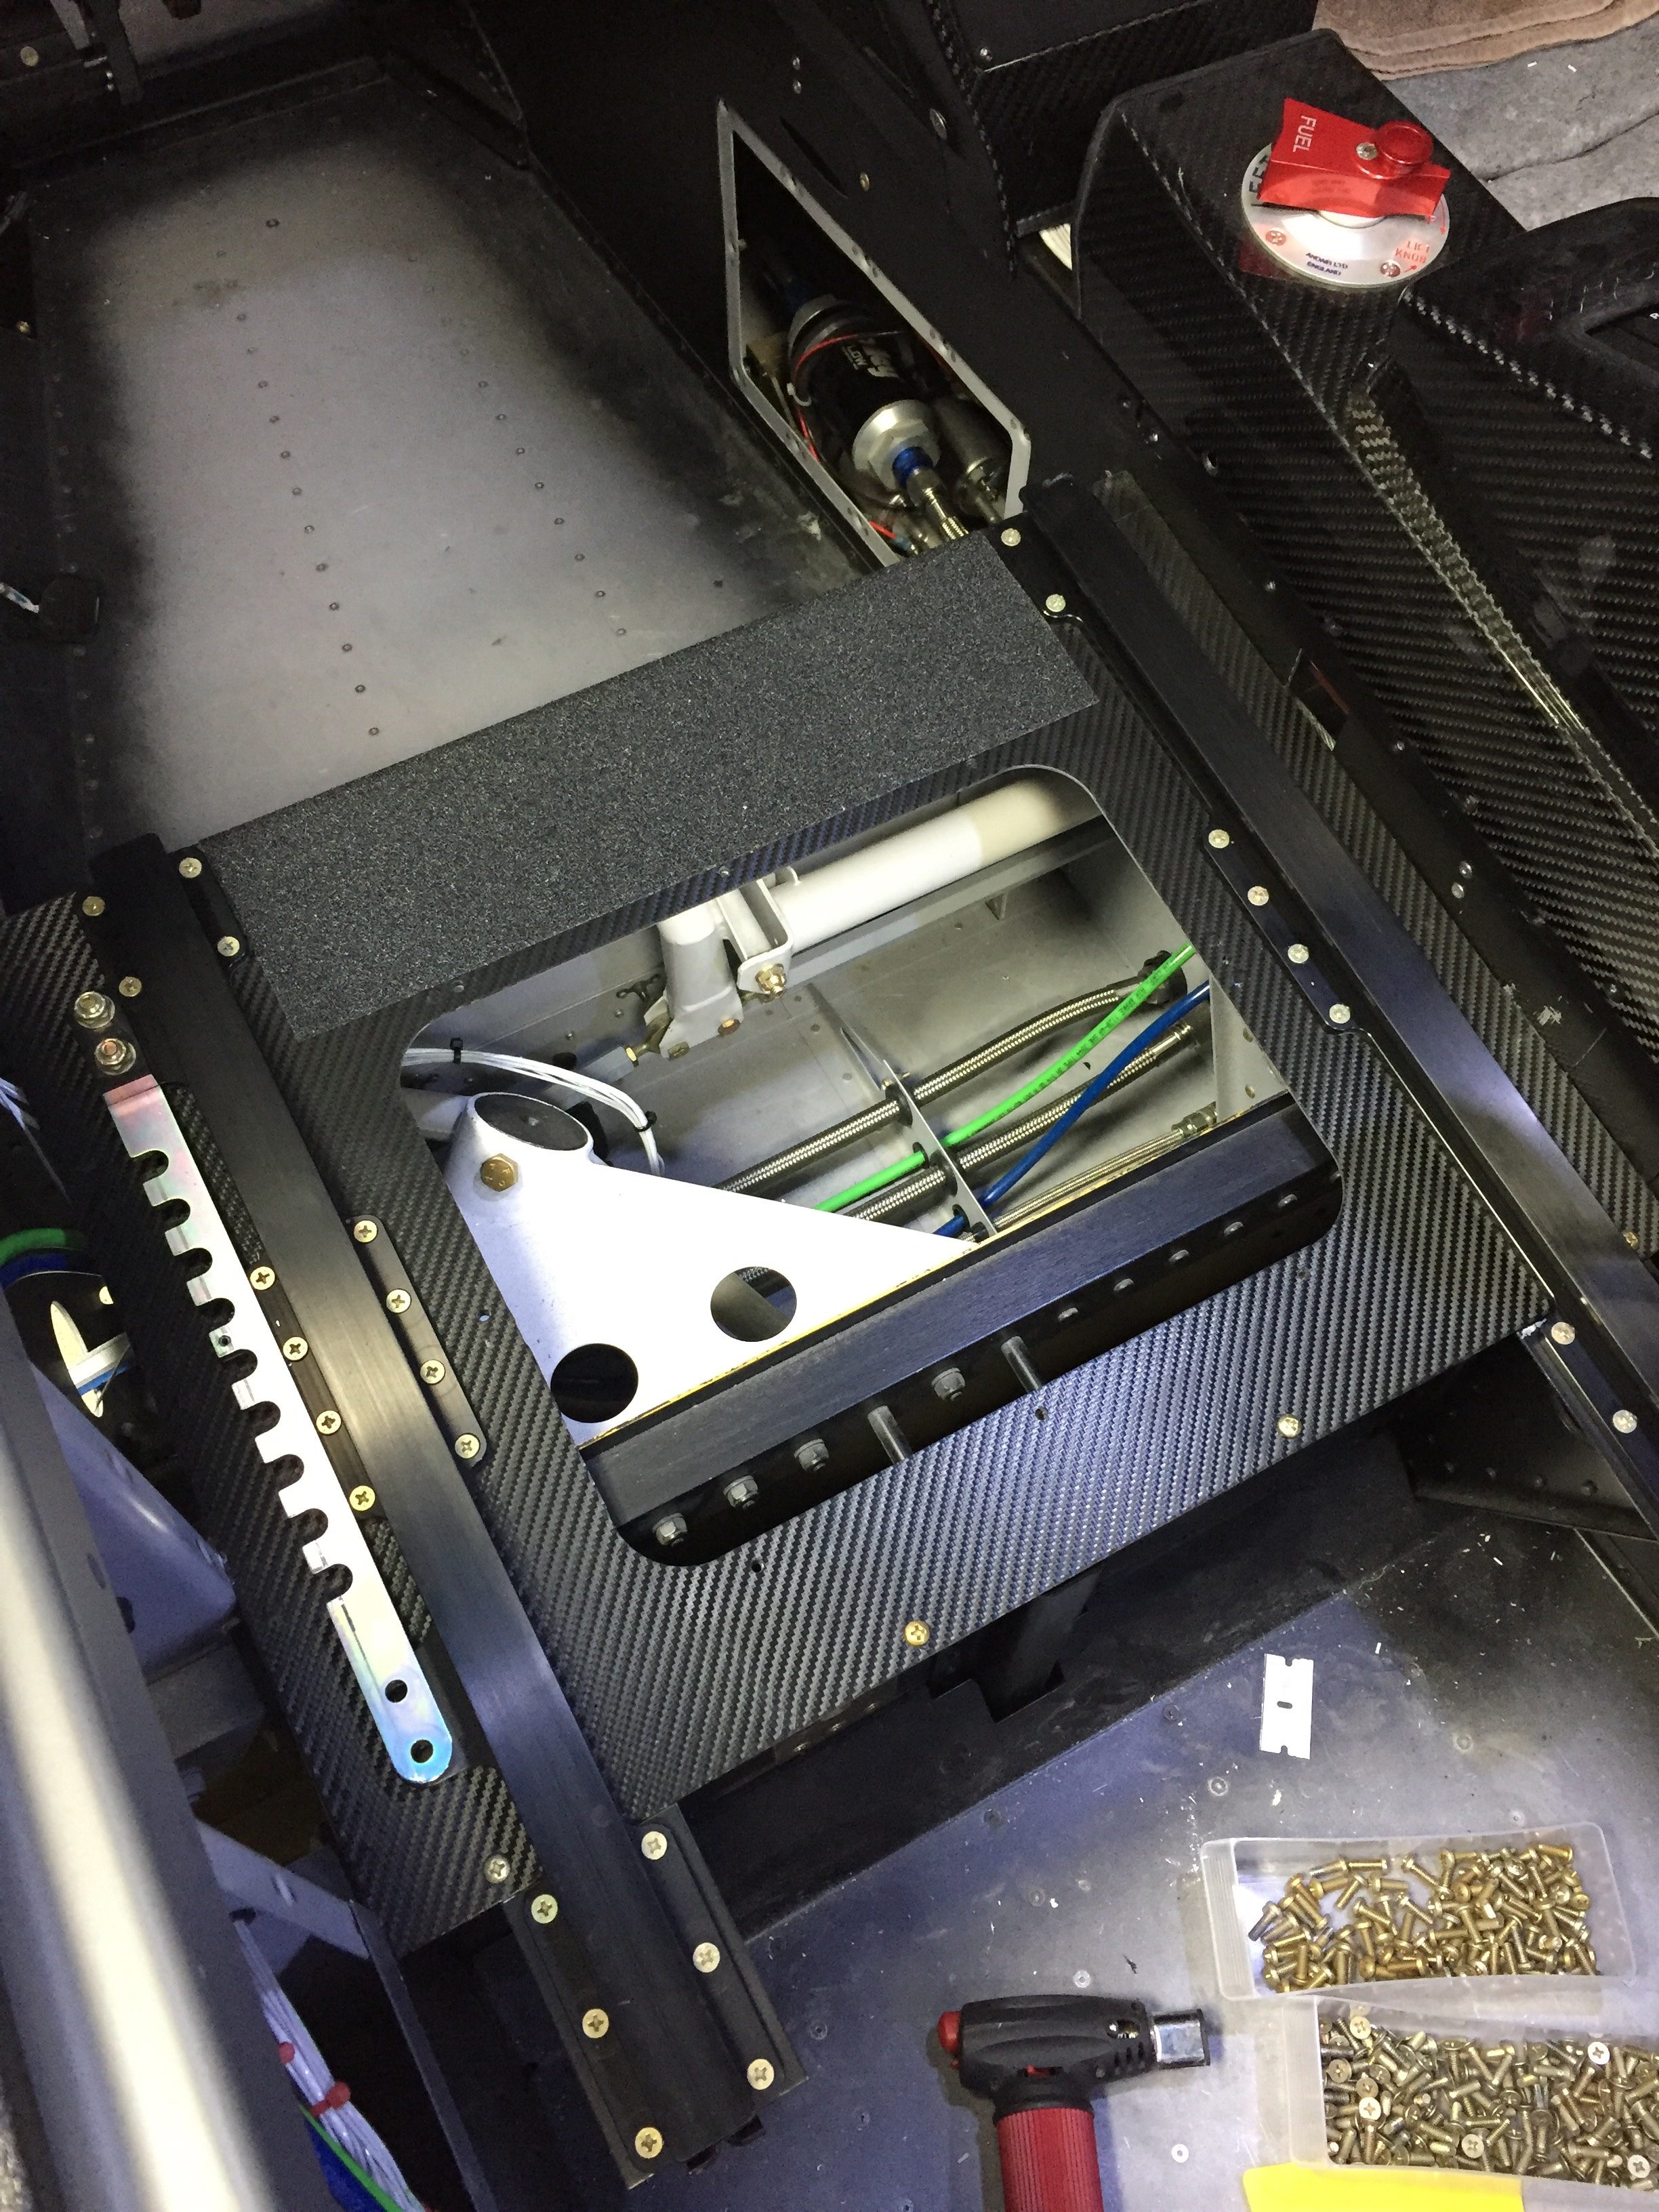
Meanwhile, I applied the 3M carbon vinyl wrap on the seat pans to clean those up. I figured out quickly paint was not going to hold up there. Brian and Brandi had great results with the wrap material, so I figured it’s worth a shot. I then put a strip of anti-skid tape to facilitate stepping on the seat ledge while getting in and out. It really cleaned up the area nicely. I also shimmed the outboard pilot seat rail, as the bracket above the gear mount was a 1/8” proud causing the rail to bend when screwed in. Not sure what happened there, but with a few washers underneath it’s nice and straight and secure.
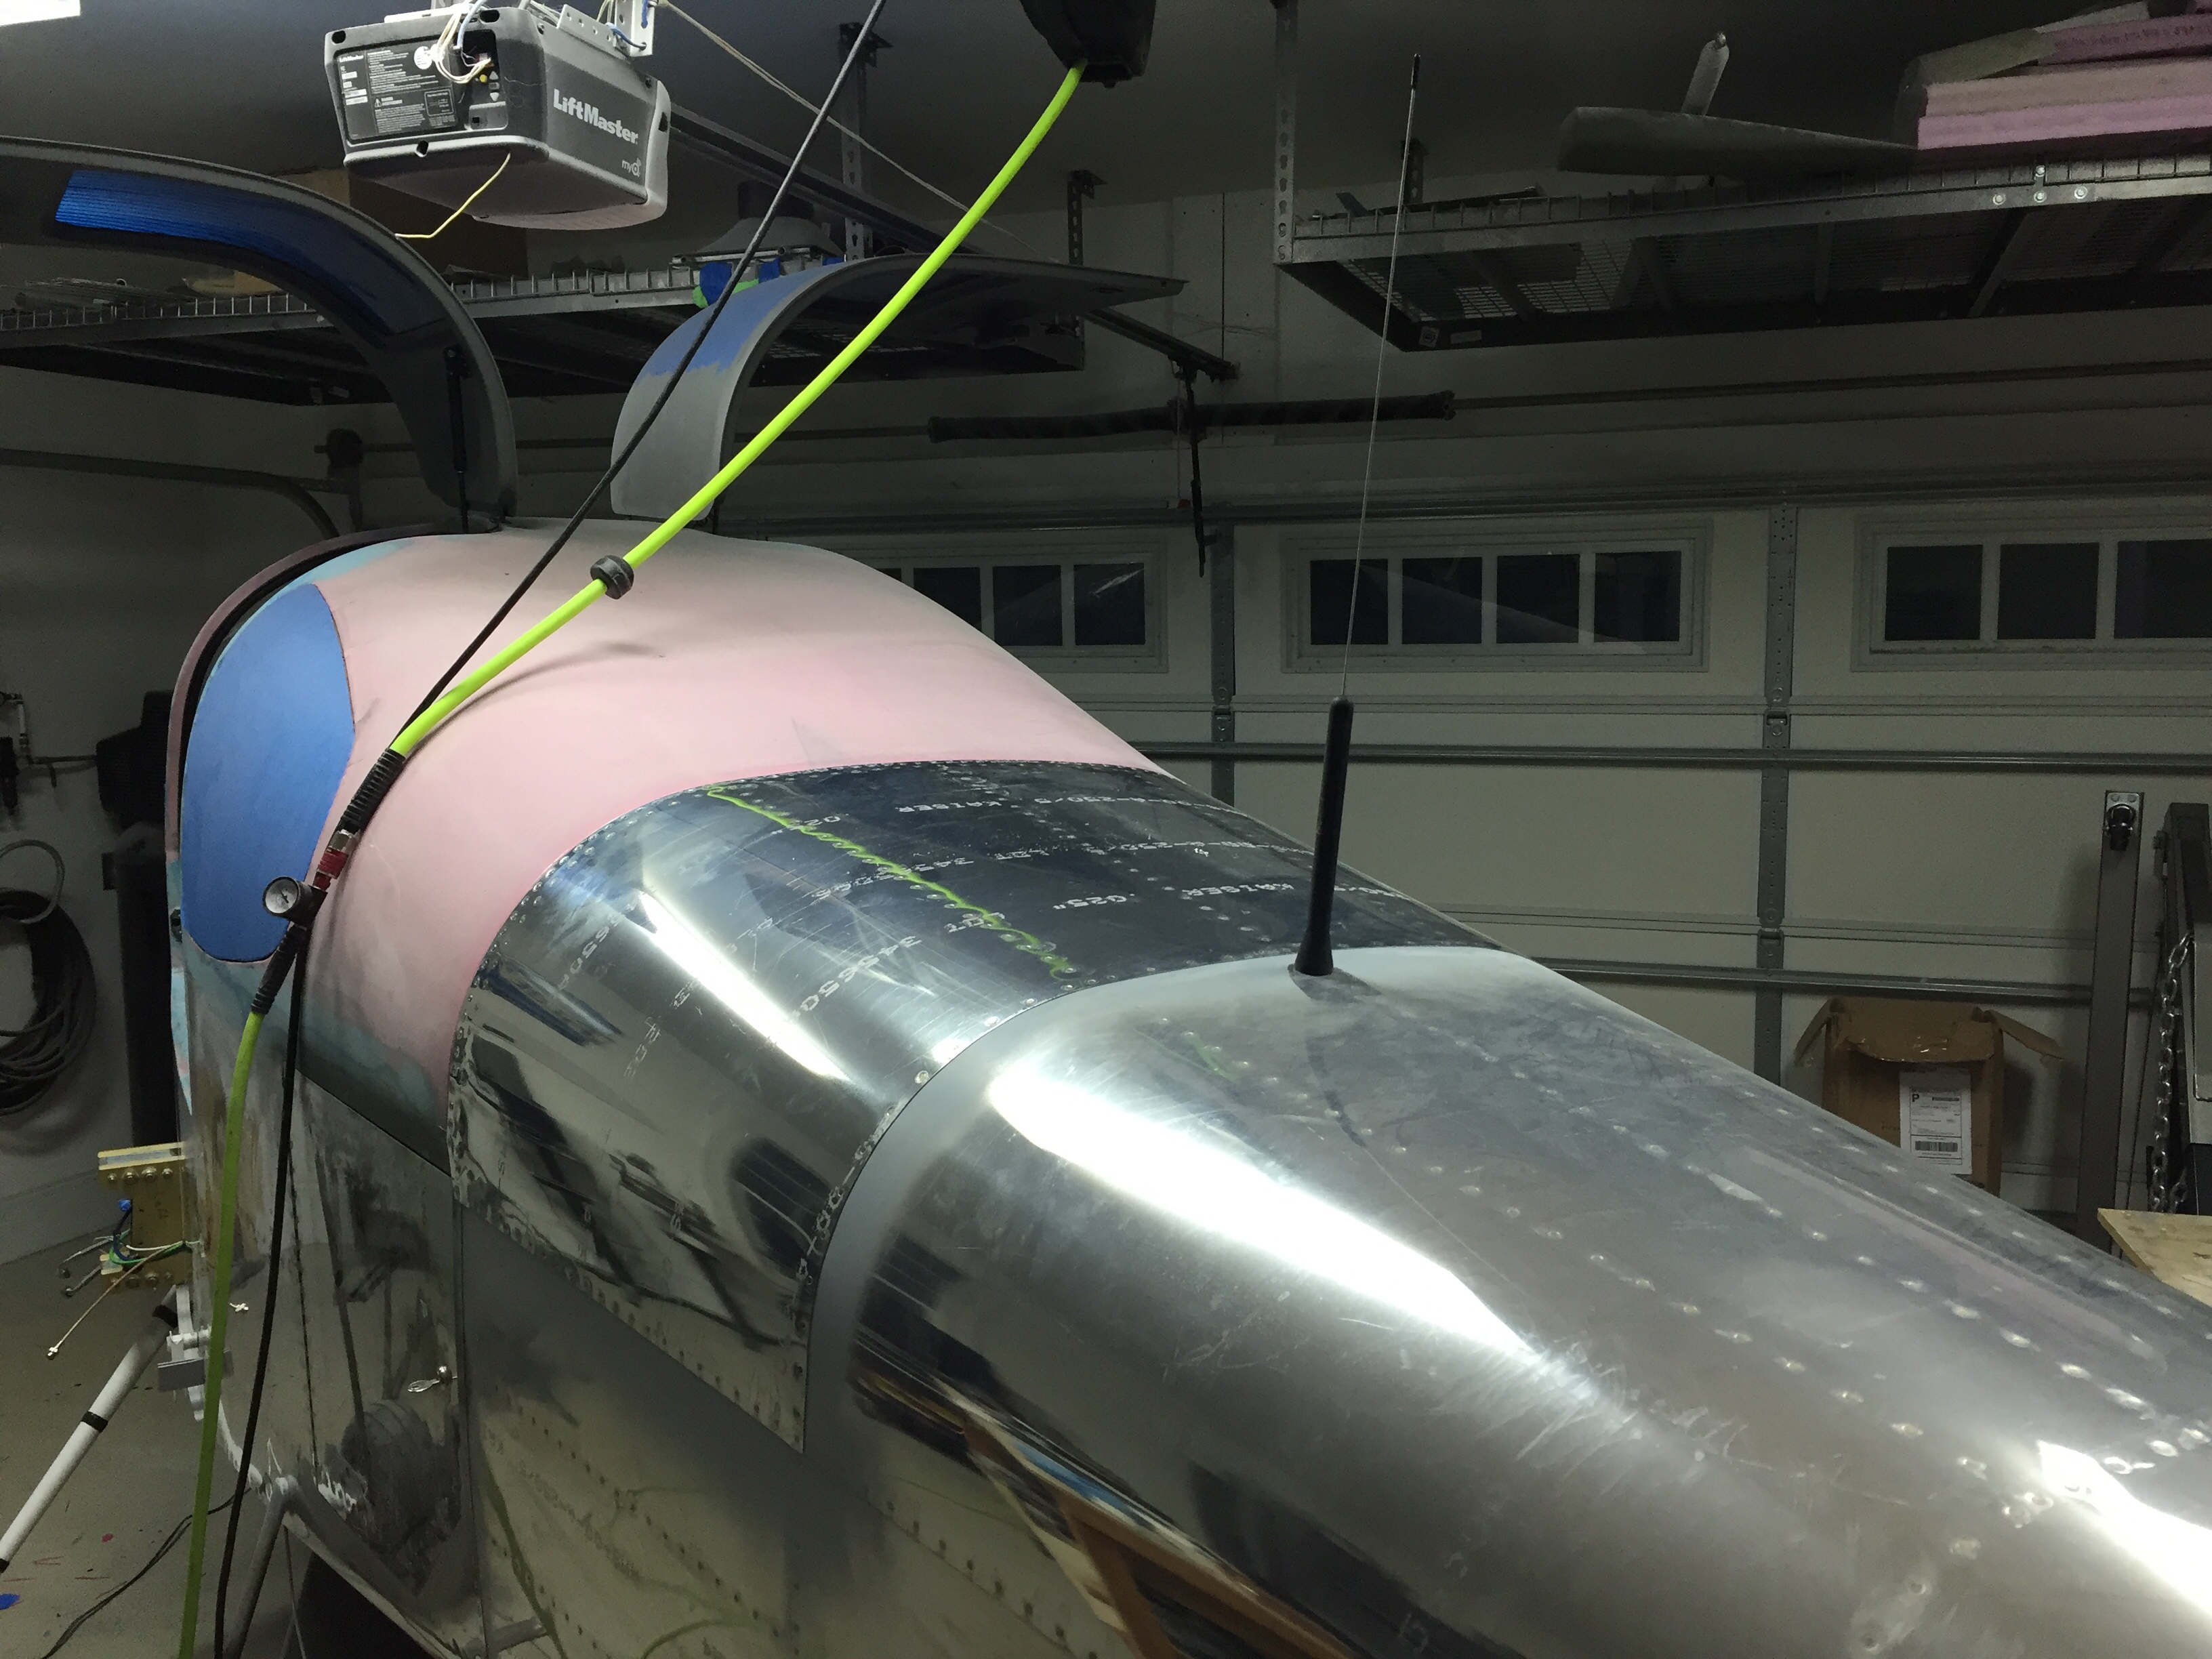
I quit trying to cheat the system and installed the ELT antenna on the top of the tail cone. I tried every which way to hid that hideous monstrosity of an antenna but my conscious told me that it is probably the most important antenna on the airplane thus deserved its place per the install manual. I’m sure it will grow on me. The idea of burying it in the tail cone or tail fairing was tempting, but a talk with my DAR convinced me otherwise.
Continuing in the cabin, I spent an afternoon applying the headliner material to the fiberglass shells from Aerosport that had been trimmed for quite a while now. It was a bit of a messy job with the spray adhesive, but not difficult at all. I took my time and kept my fingers clean which resulted in a darn near perfect result. After putting enough Velcro to hold a car upside down, the headliners slid into place and really dress up the cabin cover now. The color matches great and was overall a lot easier than trying to smooth and paint the cabin top itself.
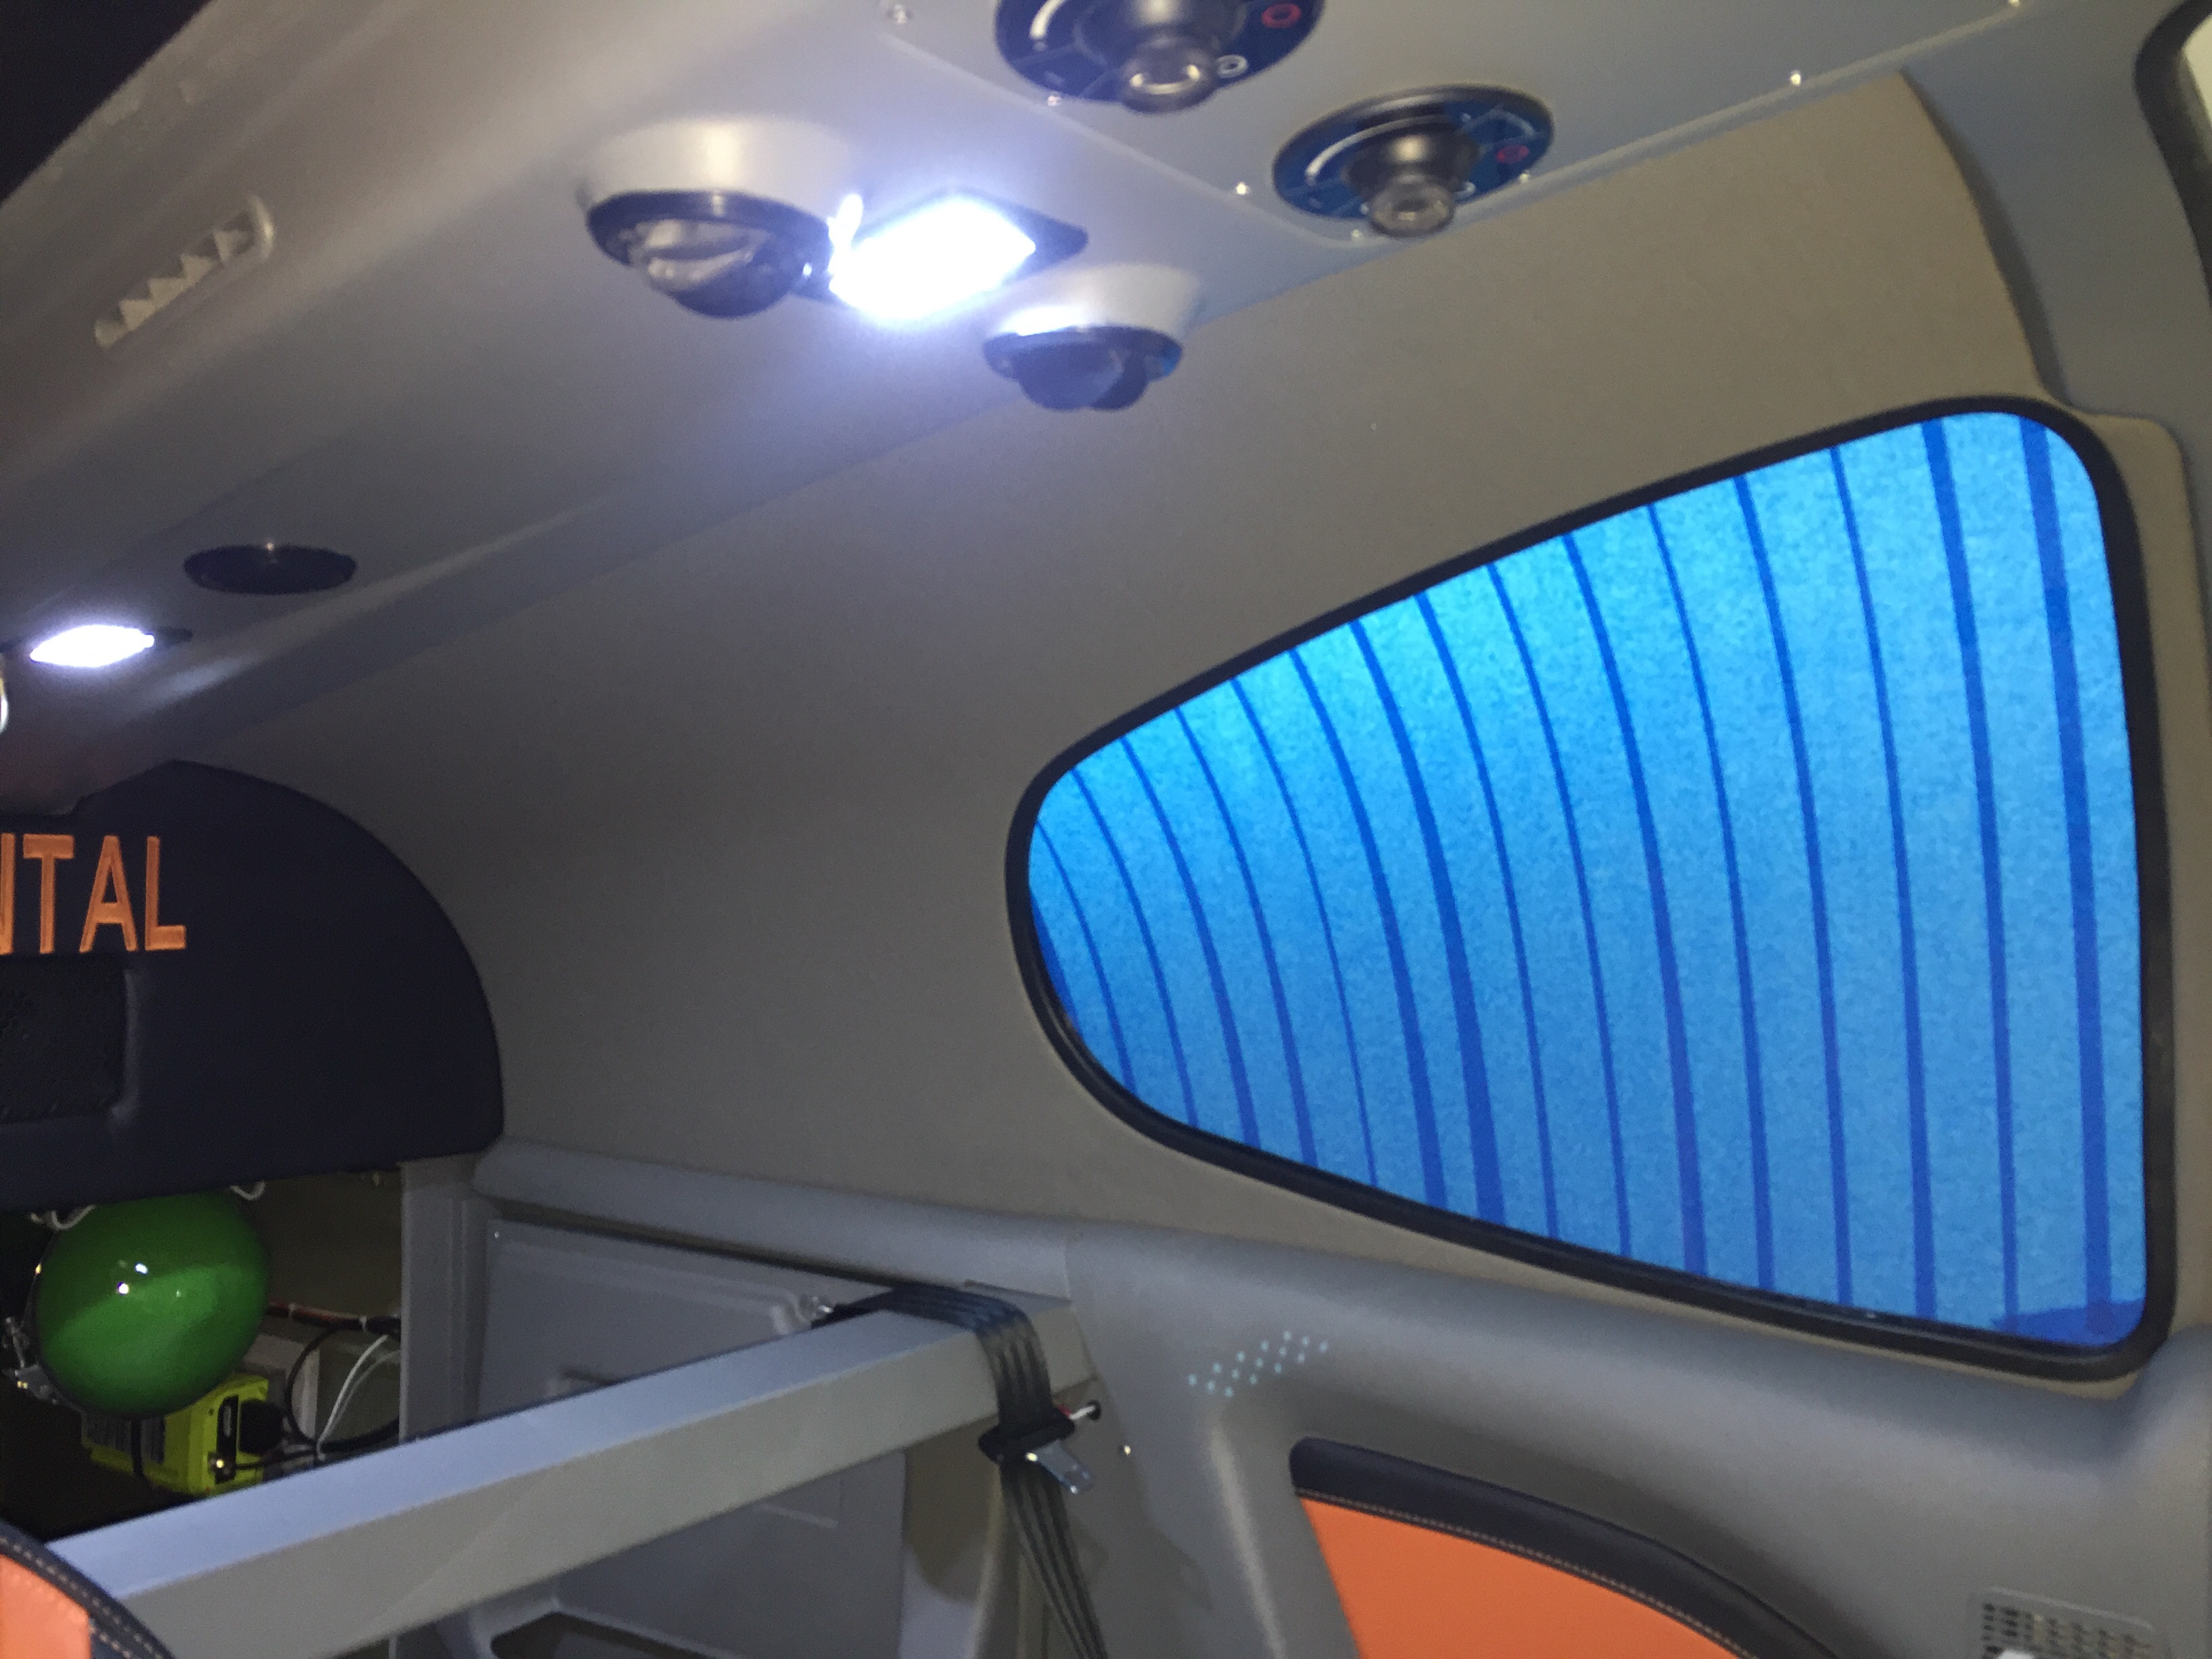
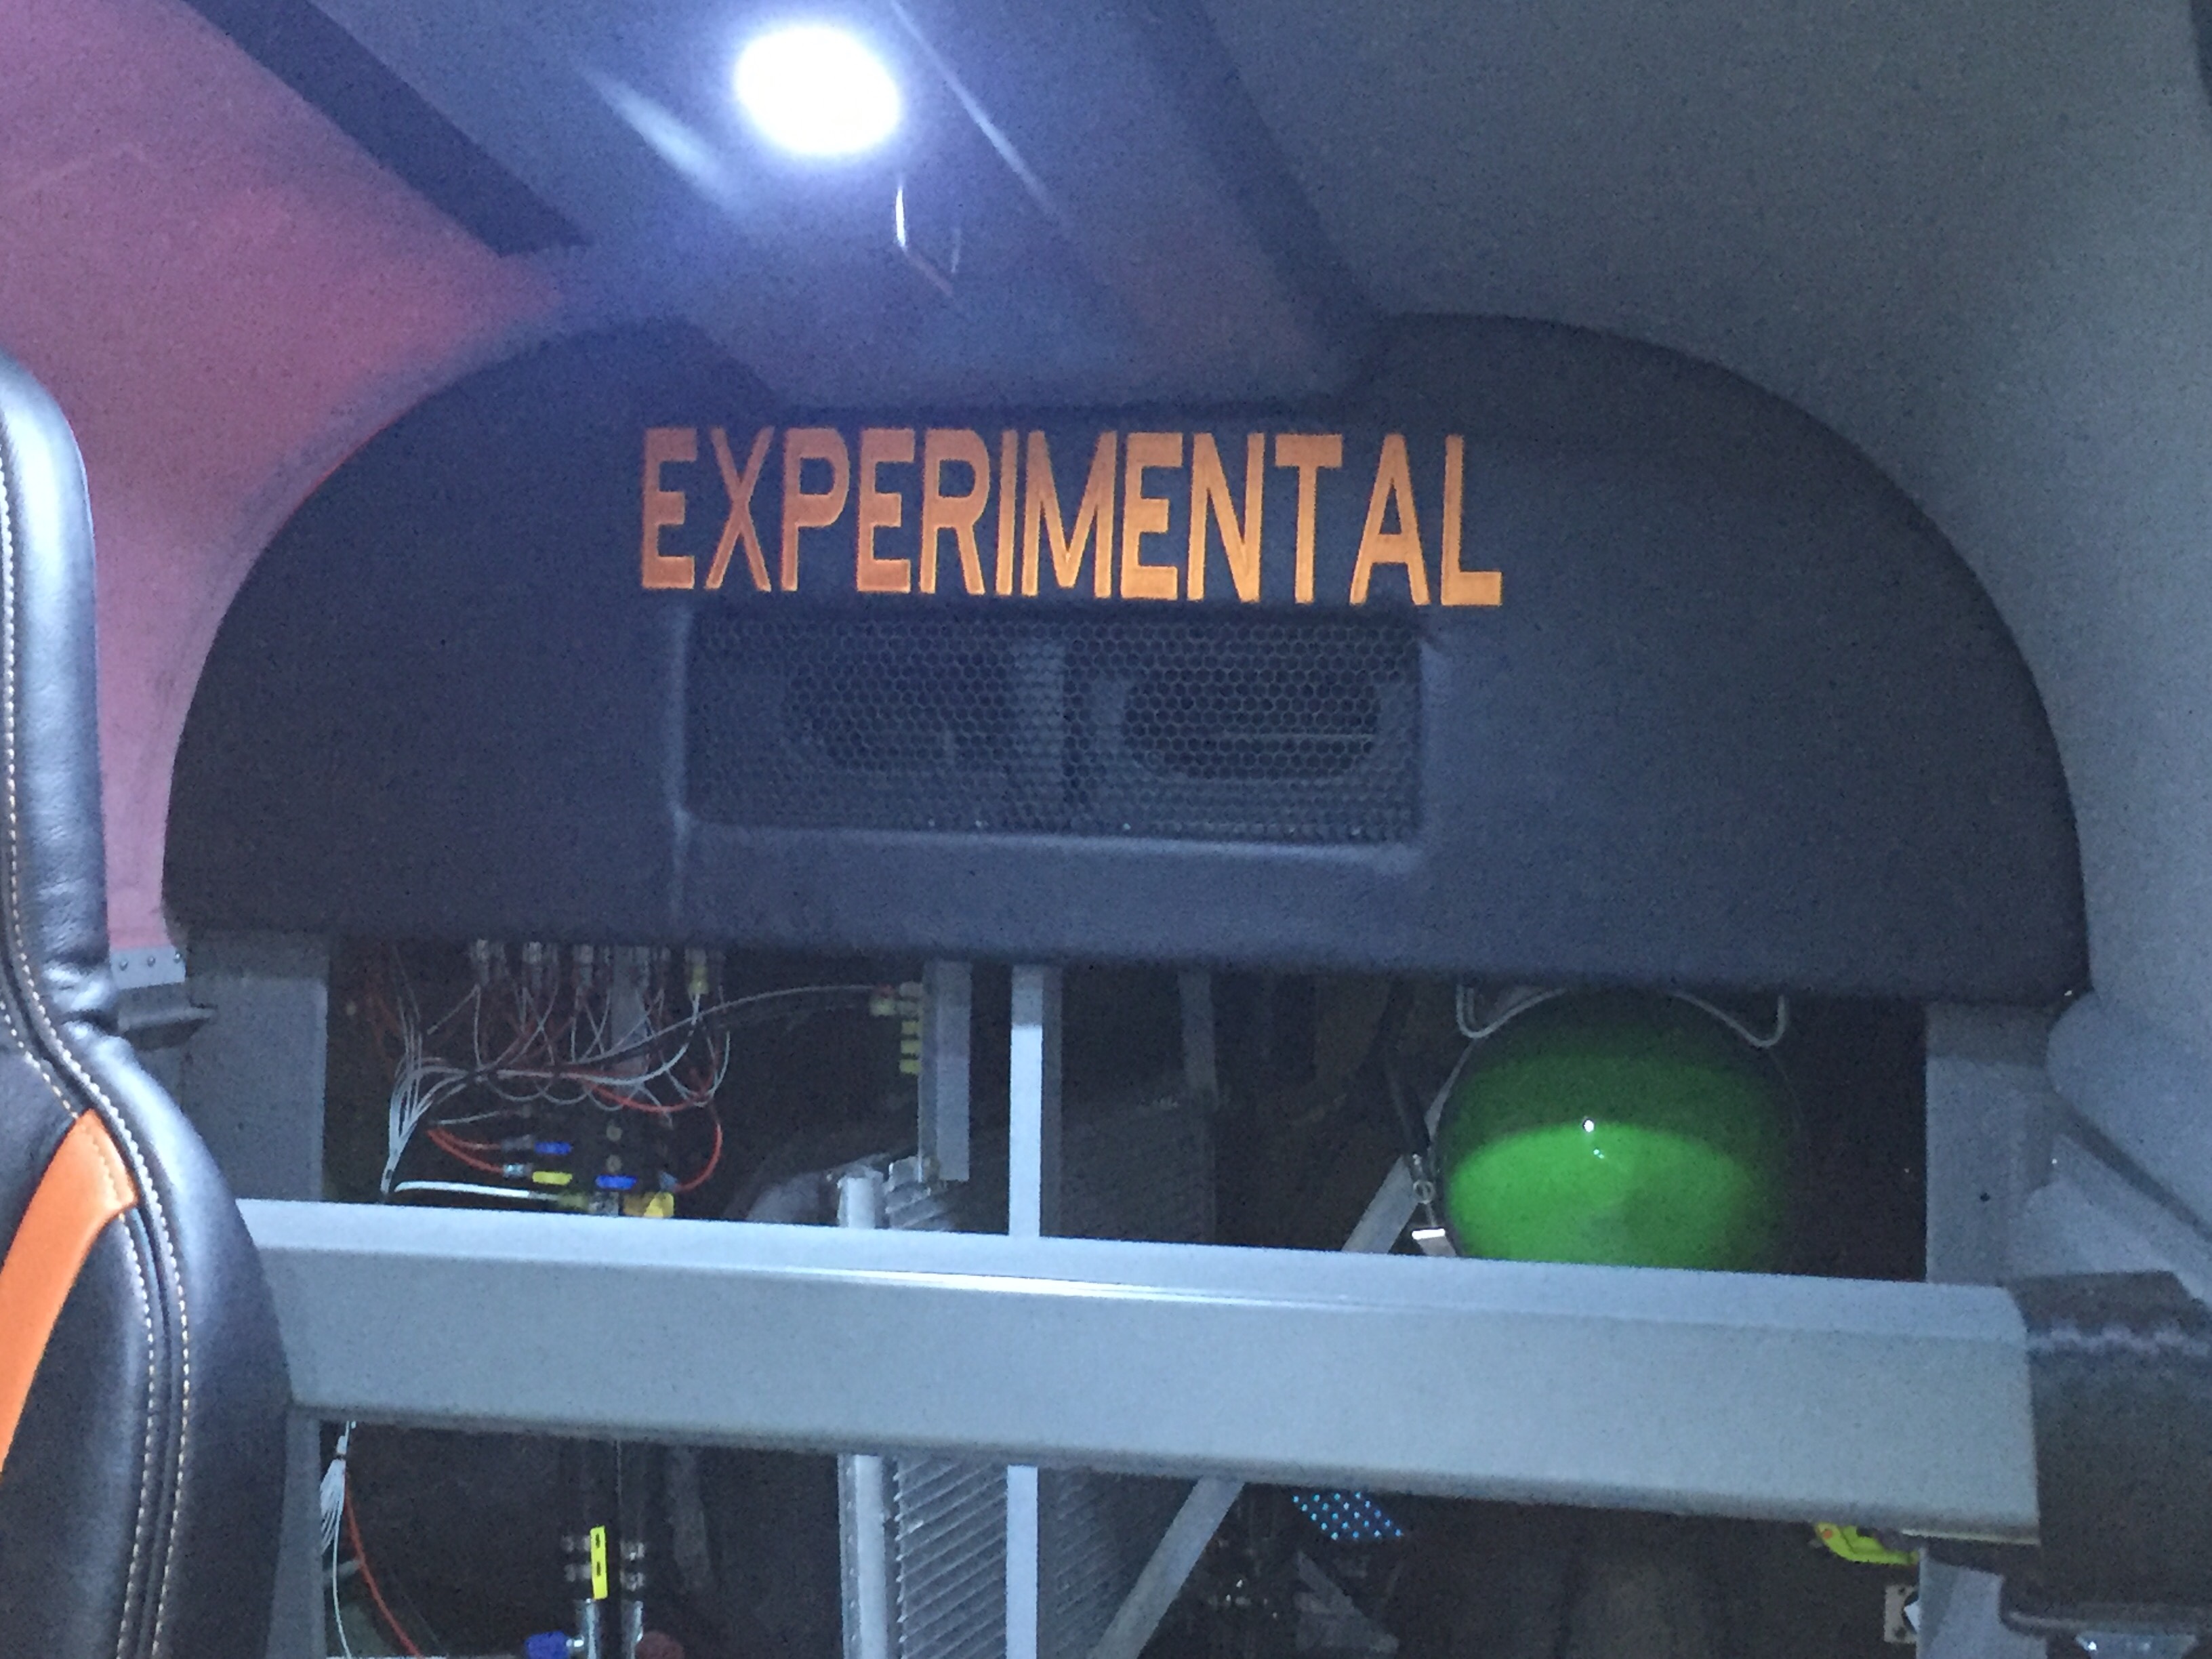
Finally, the rear bulkhead cover was back from Aerosport with the matching leather and embroidery. I used Velcro to mount it to the bulkhead panel after installing a grill for the air conditioning return. It turned out great and I’m really pleased with the fit and finish once it was all installed. The cabin is really coming together with the rest of the rear side panels installed and inserts in place. It’s tempting to put the carpet and seats in, but I’m holding off to keep them in good shape and clean while I finish building.
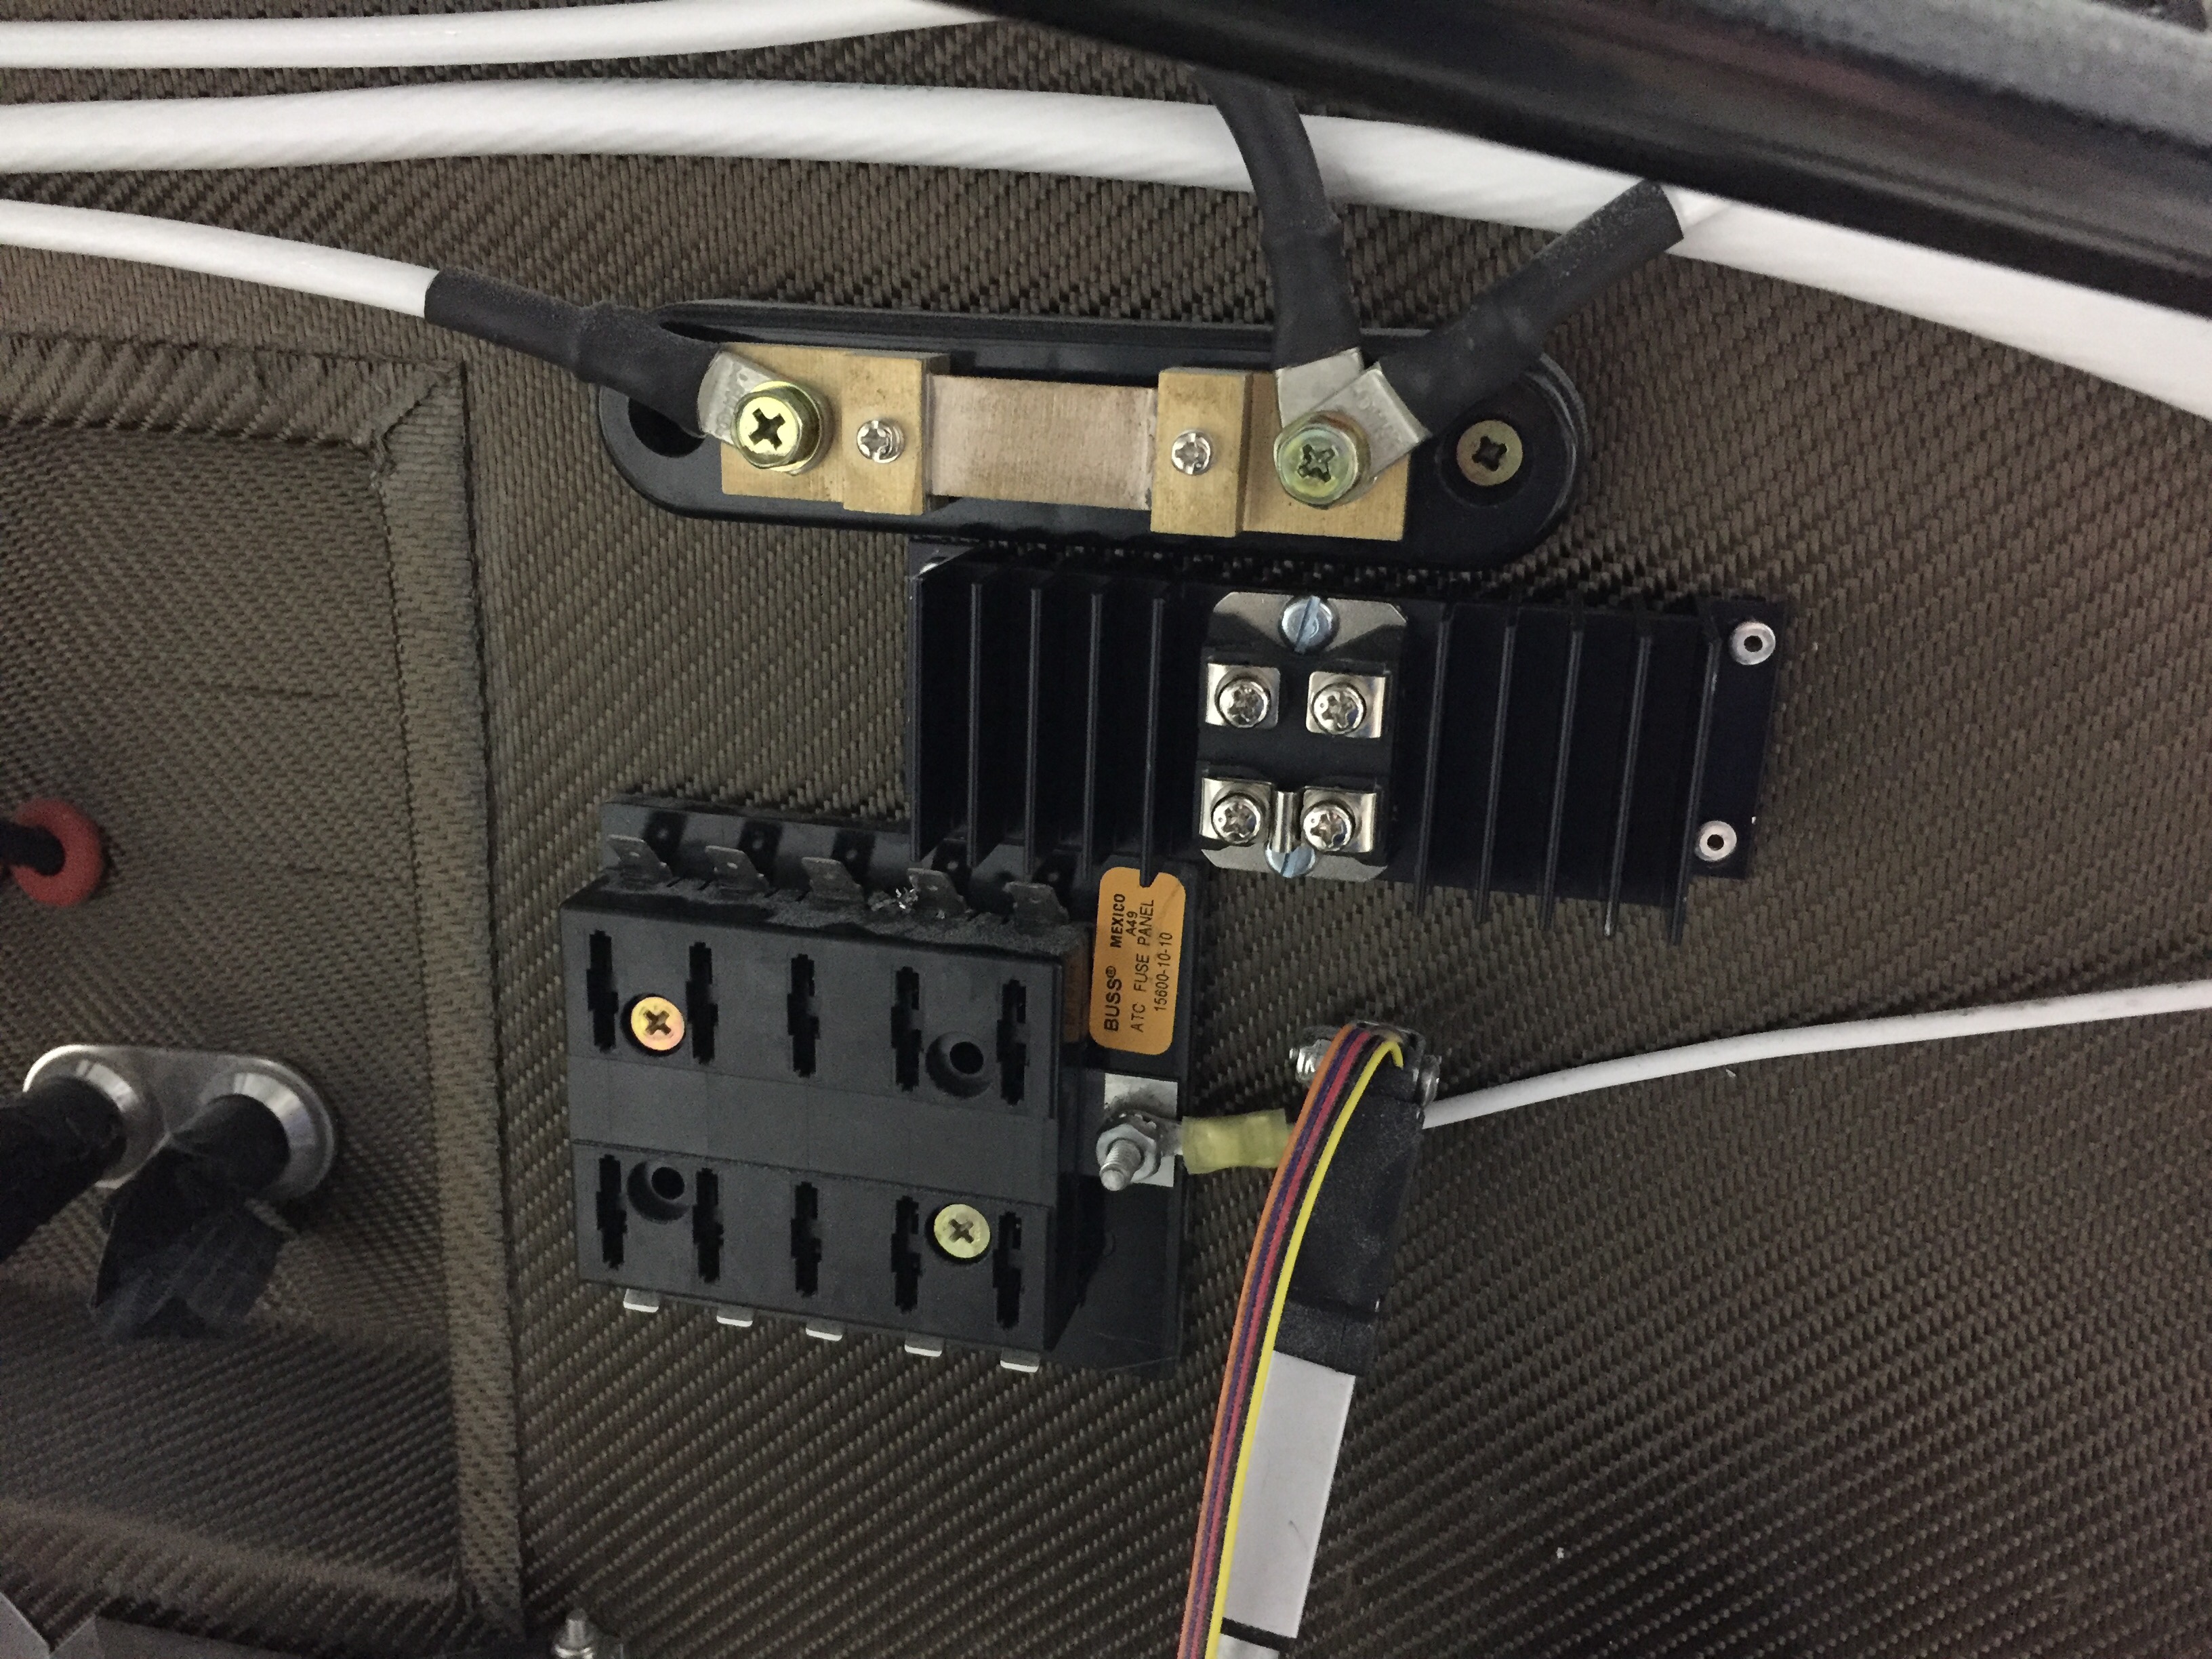
Upfront, I had an epiphany about my shotky diode and how it should be used to protect my engine bus. The goal was to isolate the engine bus from the rest of the system such that I can turn the emergency power switch on (direct connection from battery to engine bus) and not have the electrons go to the man bus. This essentially covers a short somewhere in the system or electrical fire behind the panel and gives me a bit of redundancy on keeping the electrically dependent engine going. I wasn’t placing it on the proper power lead on the schematic, so it finally dawned on me it should go from the main power supply instead of the backup lead. So, I installed it on the firewall and will work on a solid copper bar to hook everything up.
