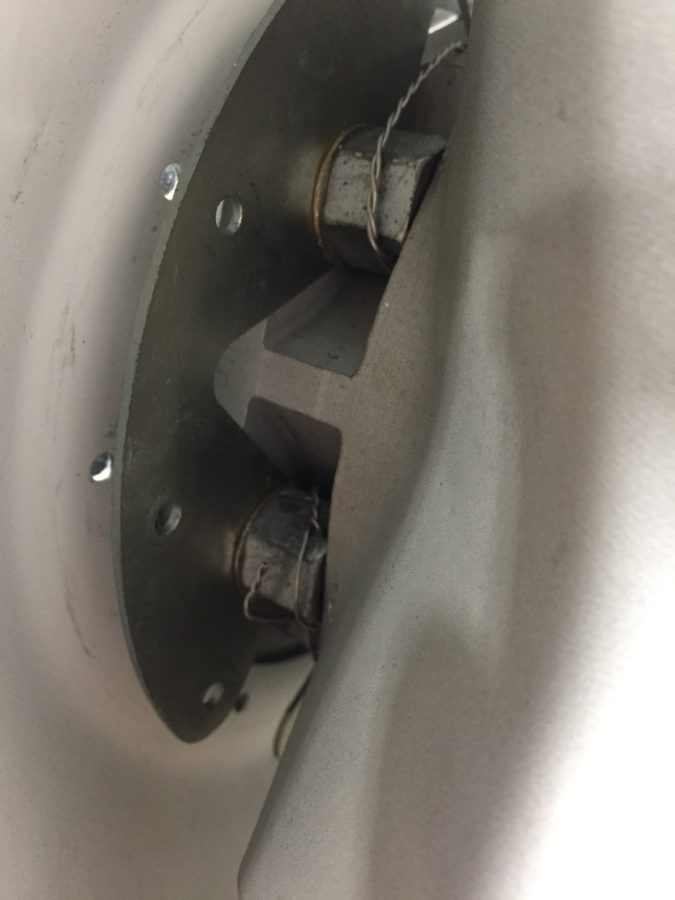
There is a lot of little projects yet to be completed on the firewall forward section, so I set about tackling them. First off was safety wiring the prop bolts. I thought torquing them were hard. Well safety wiring them is even worse. Because of the limited space, you actually have to loosen them a bit, thread the wire through the hole, then re-torque them. Ugh. Anyway, it’s not pretty but it’s done. I’m convinced this flange design negates the need to safety wire since they’d all have to unscrew in perfect unison for the damn thing to fall off anyway.
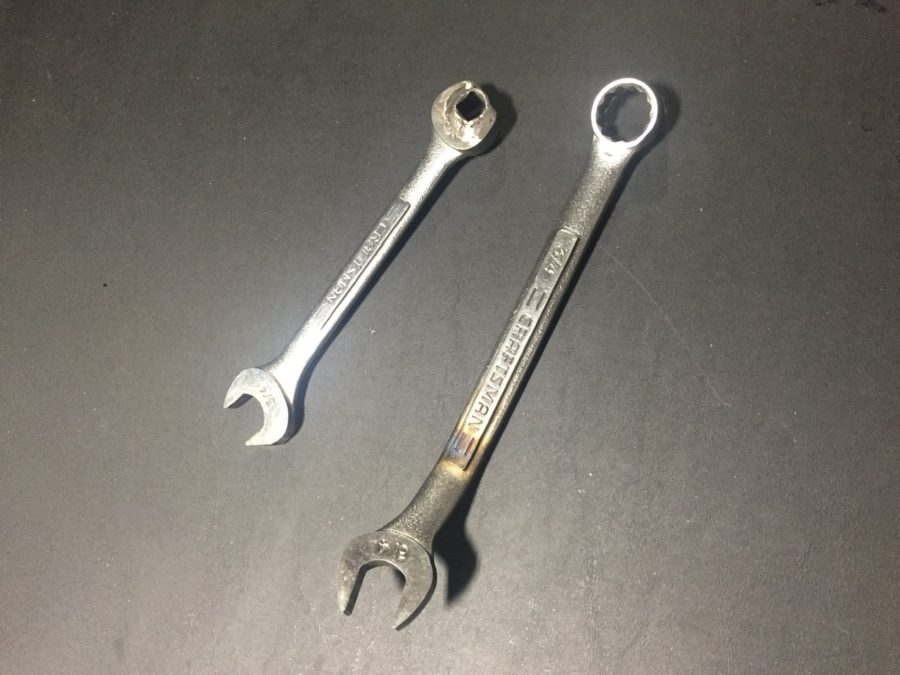
Here is a picture of the custom wrenches I had made up using Joe Key’s templates.
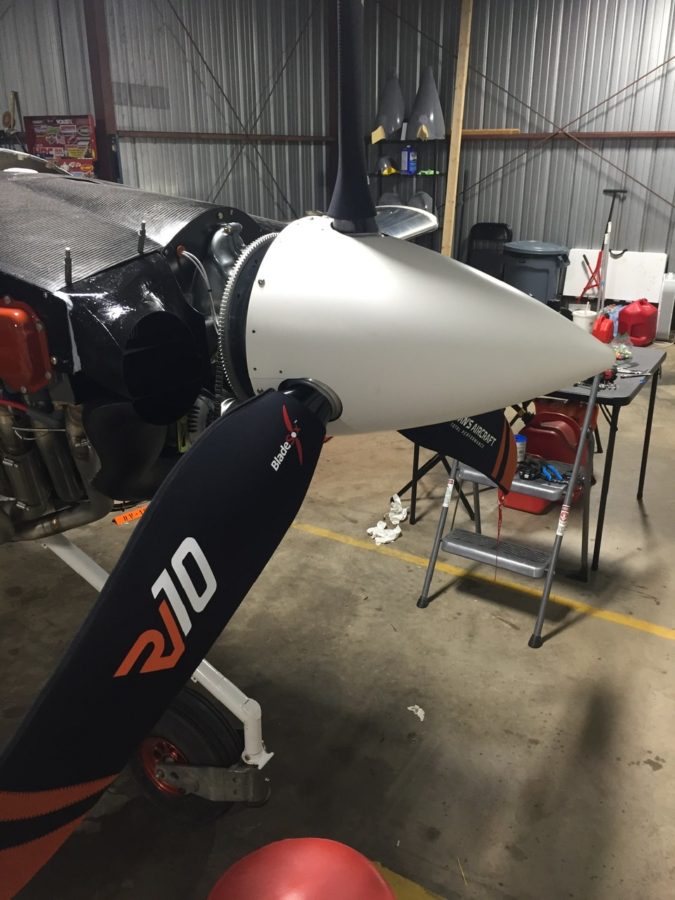
Since I was at the front end, I went ahead and finished up the spinner installation. The back plate takes some time to bolt on as well with 1300 bolts used to hold it to the prop hub. The spinner has three plates behind the blades to fill the gaps and it took a bit of dry fitting to figure out where each one goes. WW had labeled them by number and I was wrongly lining them up with blade numbers not just the reference number on the spinner and back plate. The front of the prop hub fits into a bulkhead in the spinner and it took a few iterations of Teflon tape and sanding to get a nice snug fit with no wobble of the spinner.
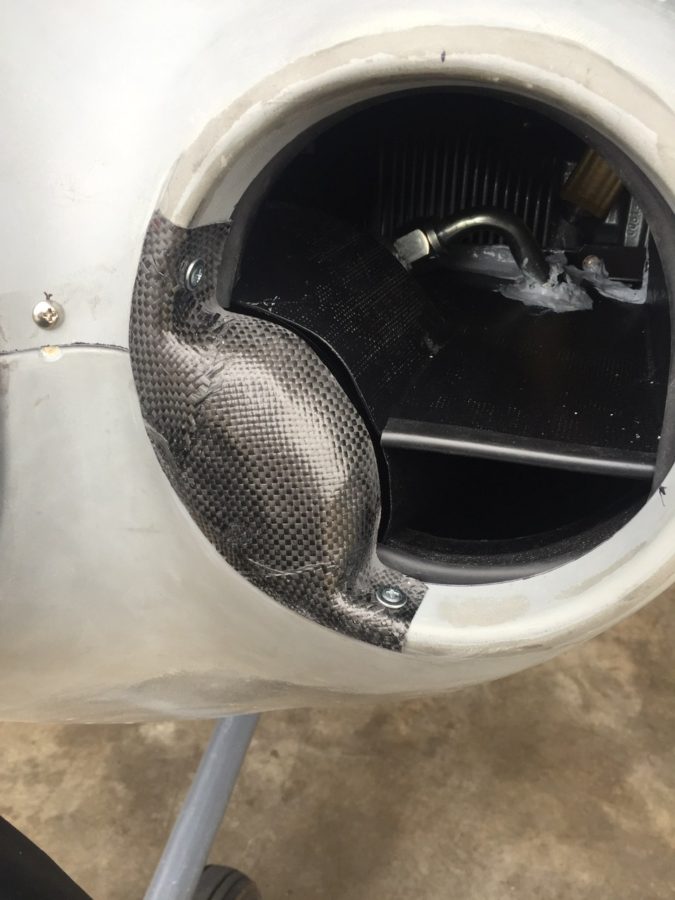
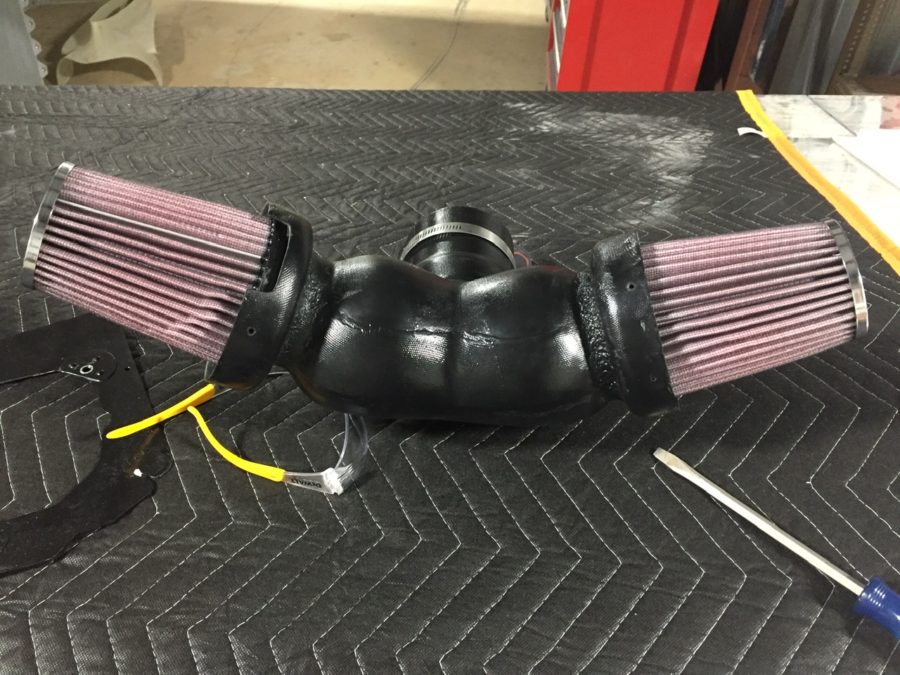
The air filters were the last step for the intakes and I had been waiting on a different filter with a tilted base, allowing clearance of the tube to the filter assembly itself. This was required because of the blister I had to glass in for the air conditioning compressor. Fortunately a 10* tilt made just enough clearance and it all fit together nicely. I oiled the filters and got them put on for good or at least until the first annual.
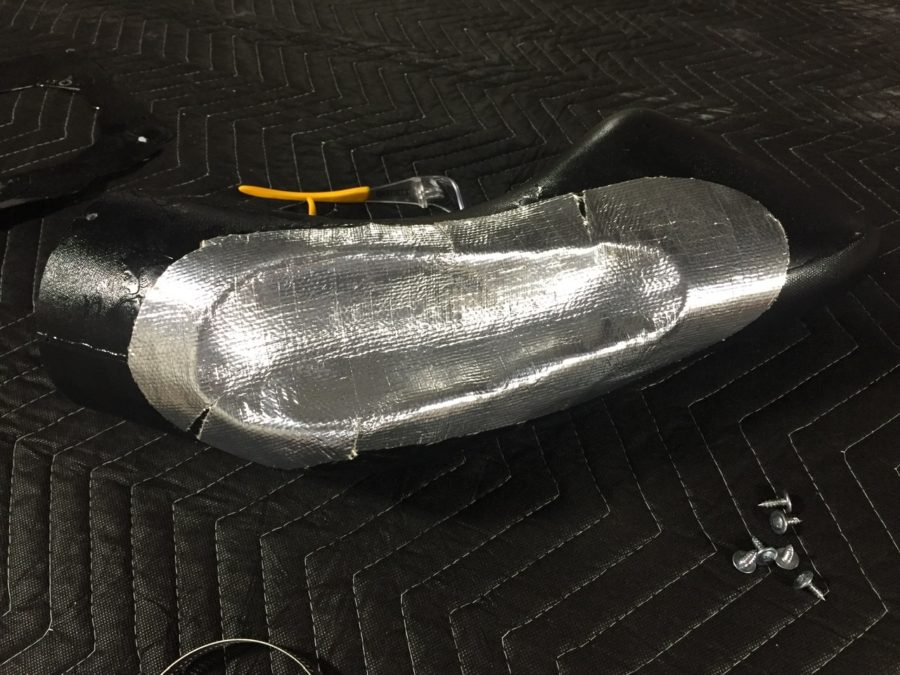
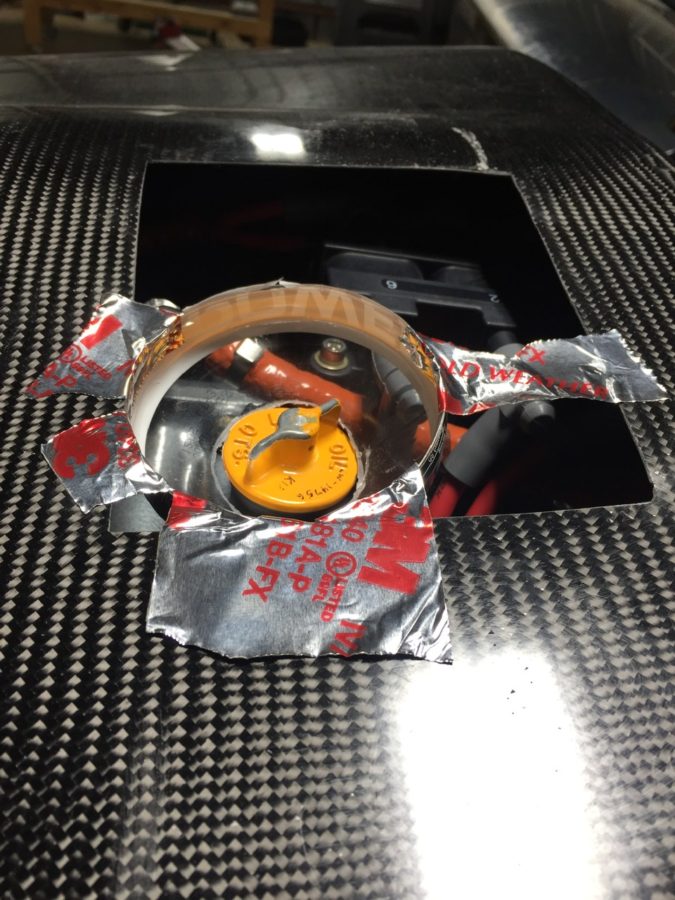
The right intake tube is close to the exhaust, so I used some heat shielding that has an adhesive back to protect the tube. I went back and covered this with 3M foil tape and then applied RTV around the edges to secure it. I’ll monitor this during ground runs to ensure enough protection from the exhaust header.
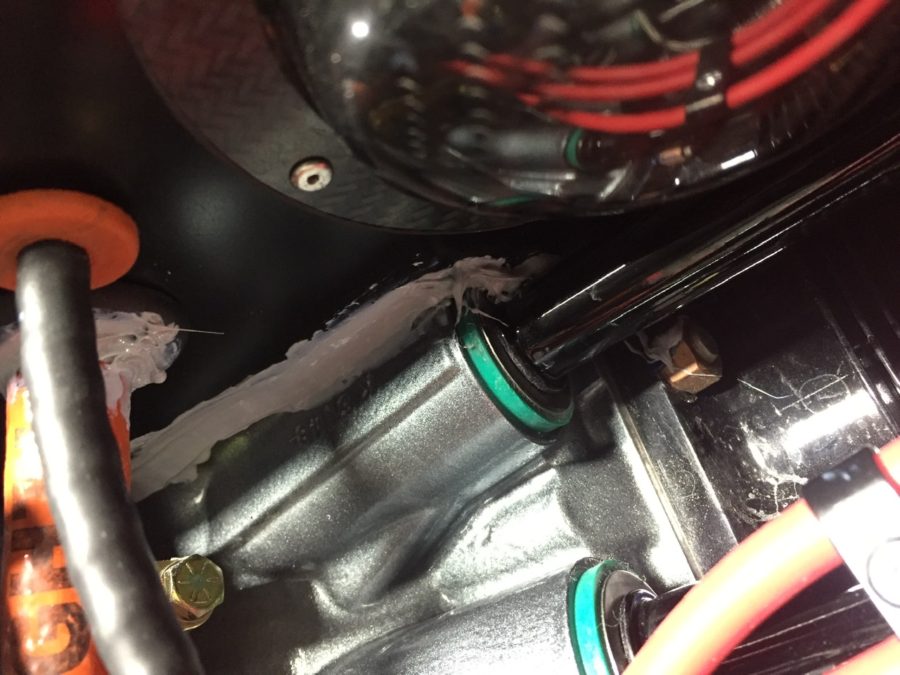
Since I had RTV all over me anyway, I took the opportunity to finish seal up a few spots around the engine and firewall. I have spent a TON of time trying to find any little spot air could leak out of the baffles that it shouldn’t be leaking. Since the hangar is dark with the lights off, I again used a flashlight on top of the engine to highlight any little spots. It worked great and I’m hoping it pays off with adequate cooling once flying. It’s impossible to be super clean and fancy with this stuff, but I kept most of the mess on me instead of on the engine.

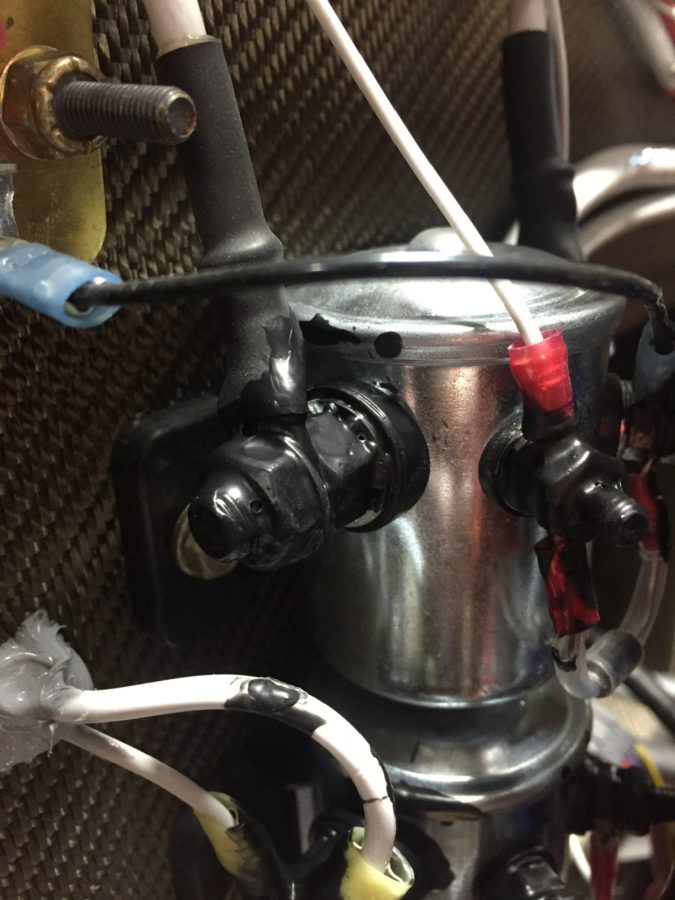
So many of my electrical connections are oddly shaped so getting a boot to fit hasn’t been easy or even possible. I used a 3M product to paint electrical tape onto the hot studs just to keep a surprise shock chance low. Not quite as good as boots, but better than nothing.
Lots of zipties up front still being added as I just see spots here or there that could use some extra security. I may add wire wrap that is rated for high heat to clean it up, but not sure if I care or want to spend the time on that quite yet.
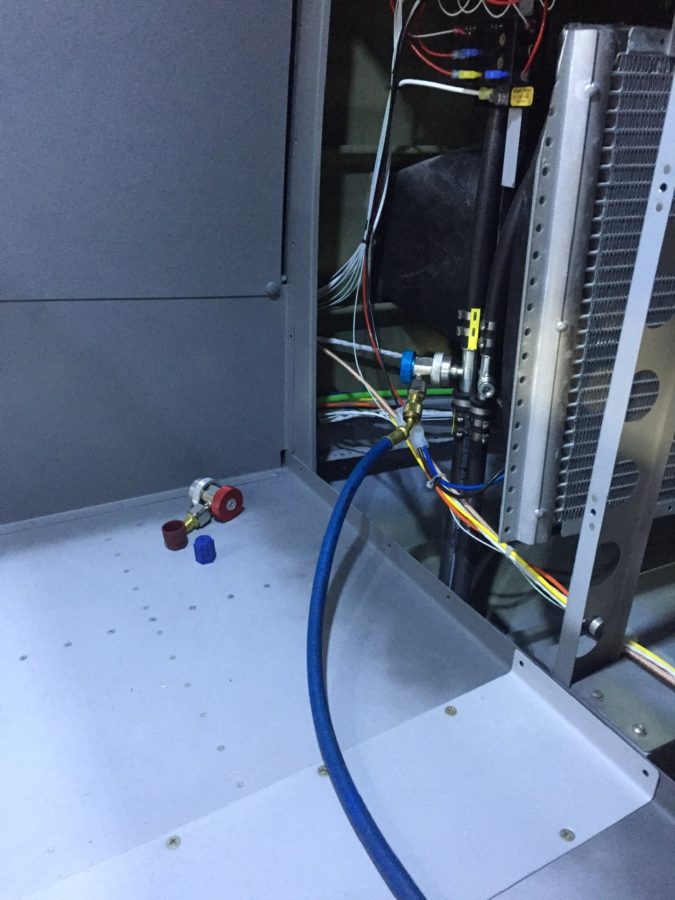
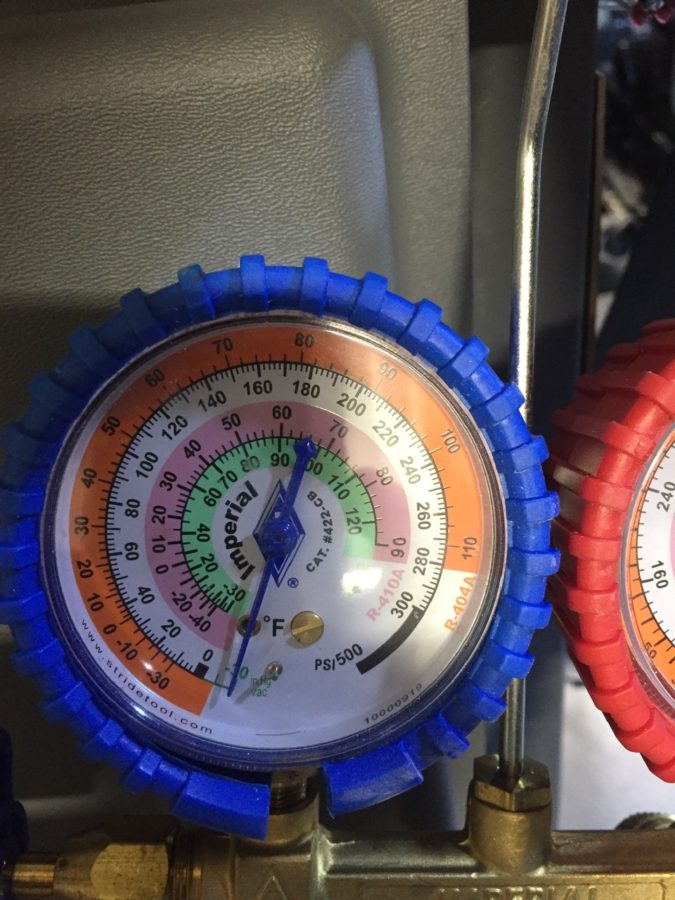
Multi-tasking is key at this point so I setup the vacuum pump on the aircon system while RTV was setting up. All of the lines and connections are secured so I could finally vacuum the system to perform a leak test and evacuate moisture from the system. The ports are just behind the baggage bulkhead and pretty easy to get to. I set up the pump and let it run for about an hour and a half to get moisture out then closed the pump off and let the gauges sit all night long. The next day I returned to see a perfect vacuum still holding, so that is a huge win!
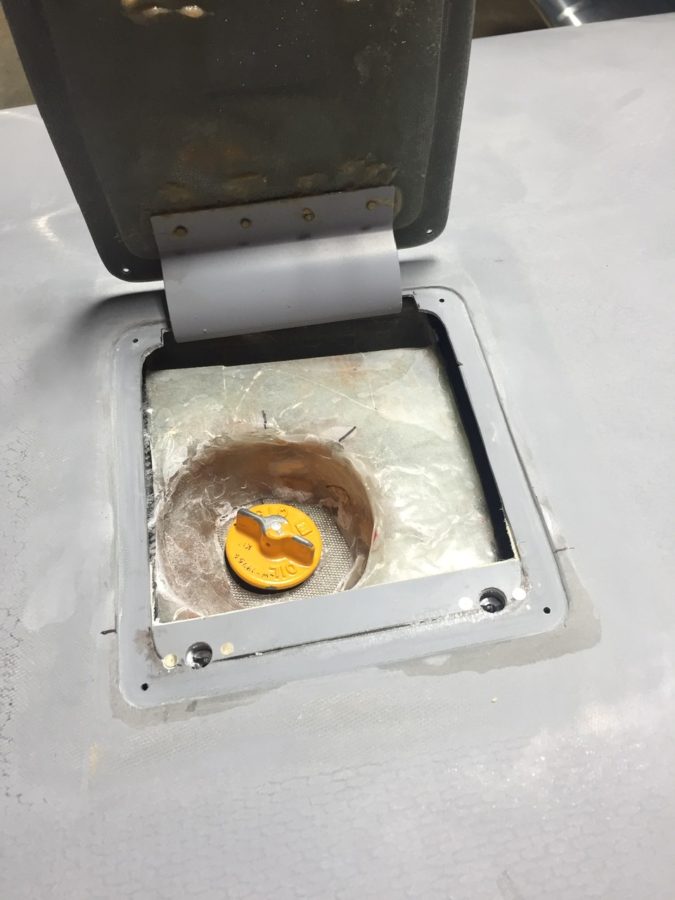
The last two projects up front were some additional glass work on the plenum and a ramp for the aircon compressor. The plenum was designed to be sealed to the cowl around the oil dipstick, but I didn’t like the idea of air potentially leaking out of the plenum through the oil door or into the engine area. I cut up a sports drink bottle as a mold and roughed up a little funnel to fit over the dipstick. The dipstick will have some foam tape sealing the bottom of the funnel. It didn’t come out as pretty as I wanted, but it’s functional and I can always clean that up a little down the road.
The air ramp was a little easier than I expected. On the left side intake, the aircon compressor causes the cooling ramp and induction intake to need a cutout and I wanted to create a little blister to help direct all the air possible into the cooling and intake ducts. I shaped a foam block and used packing tape to secure it to the cowl. I used some carbon fiber to lay up a rough fairing then cleaned up the edges after it set up. This is attached via two screws and should provide a nice air flow deflection that is simple to use. I plan to create a final piece of bulb seal to fully seal the cowl to the engine portion helping minimize air pressure loss while providing flexibility for engine movement.