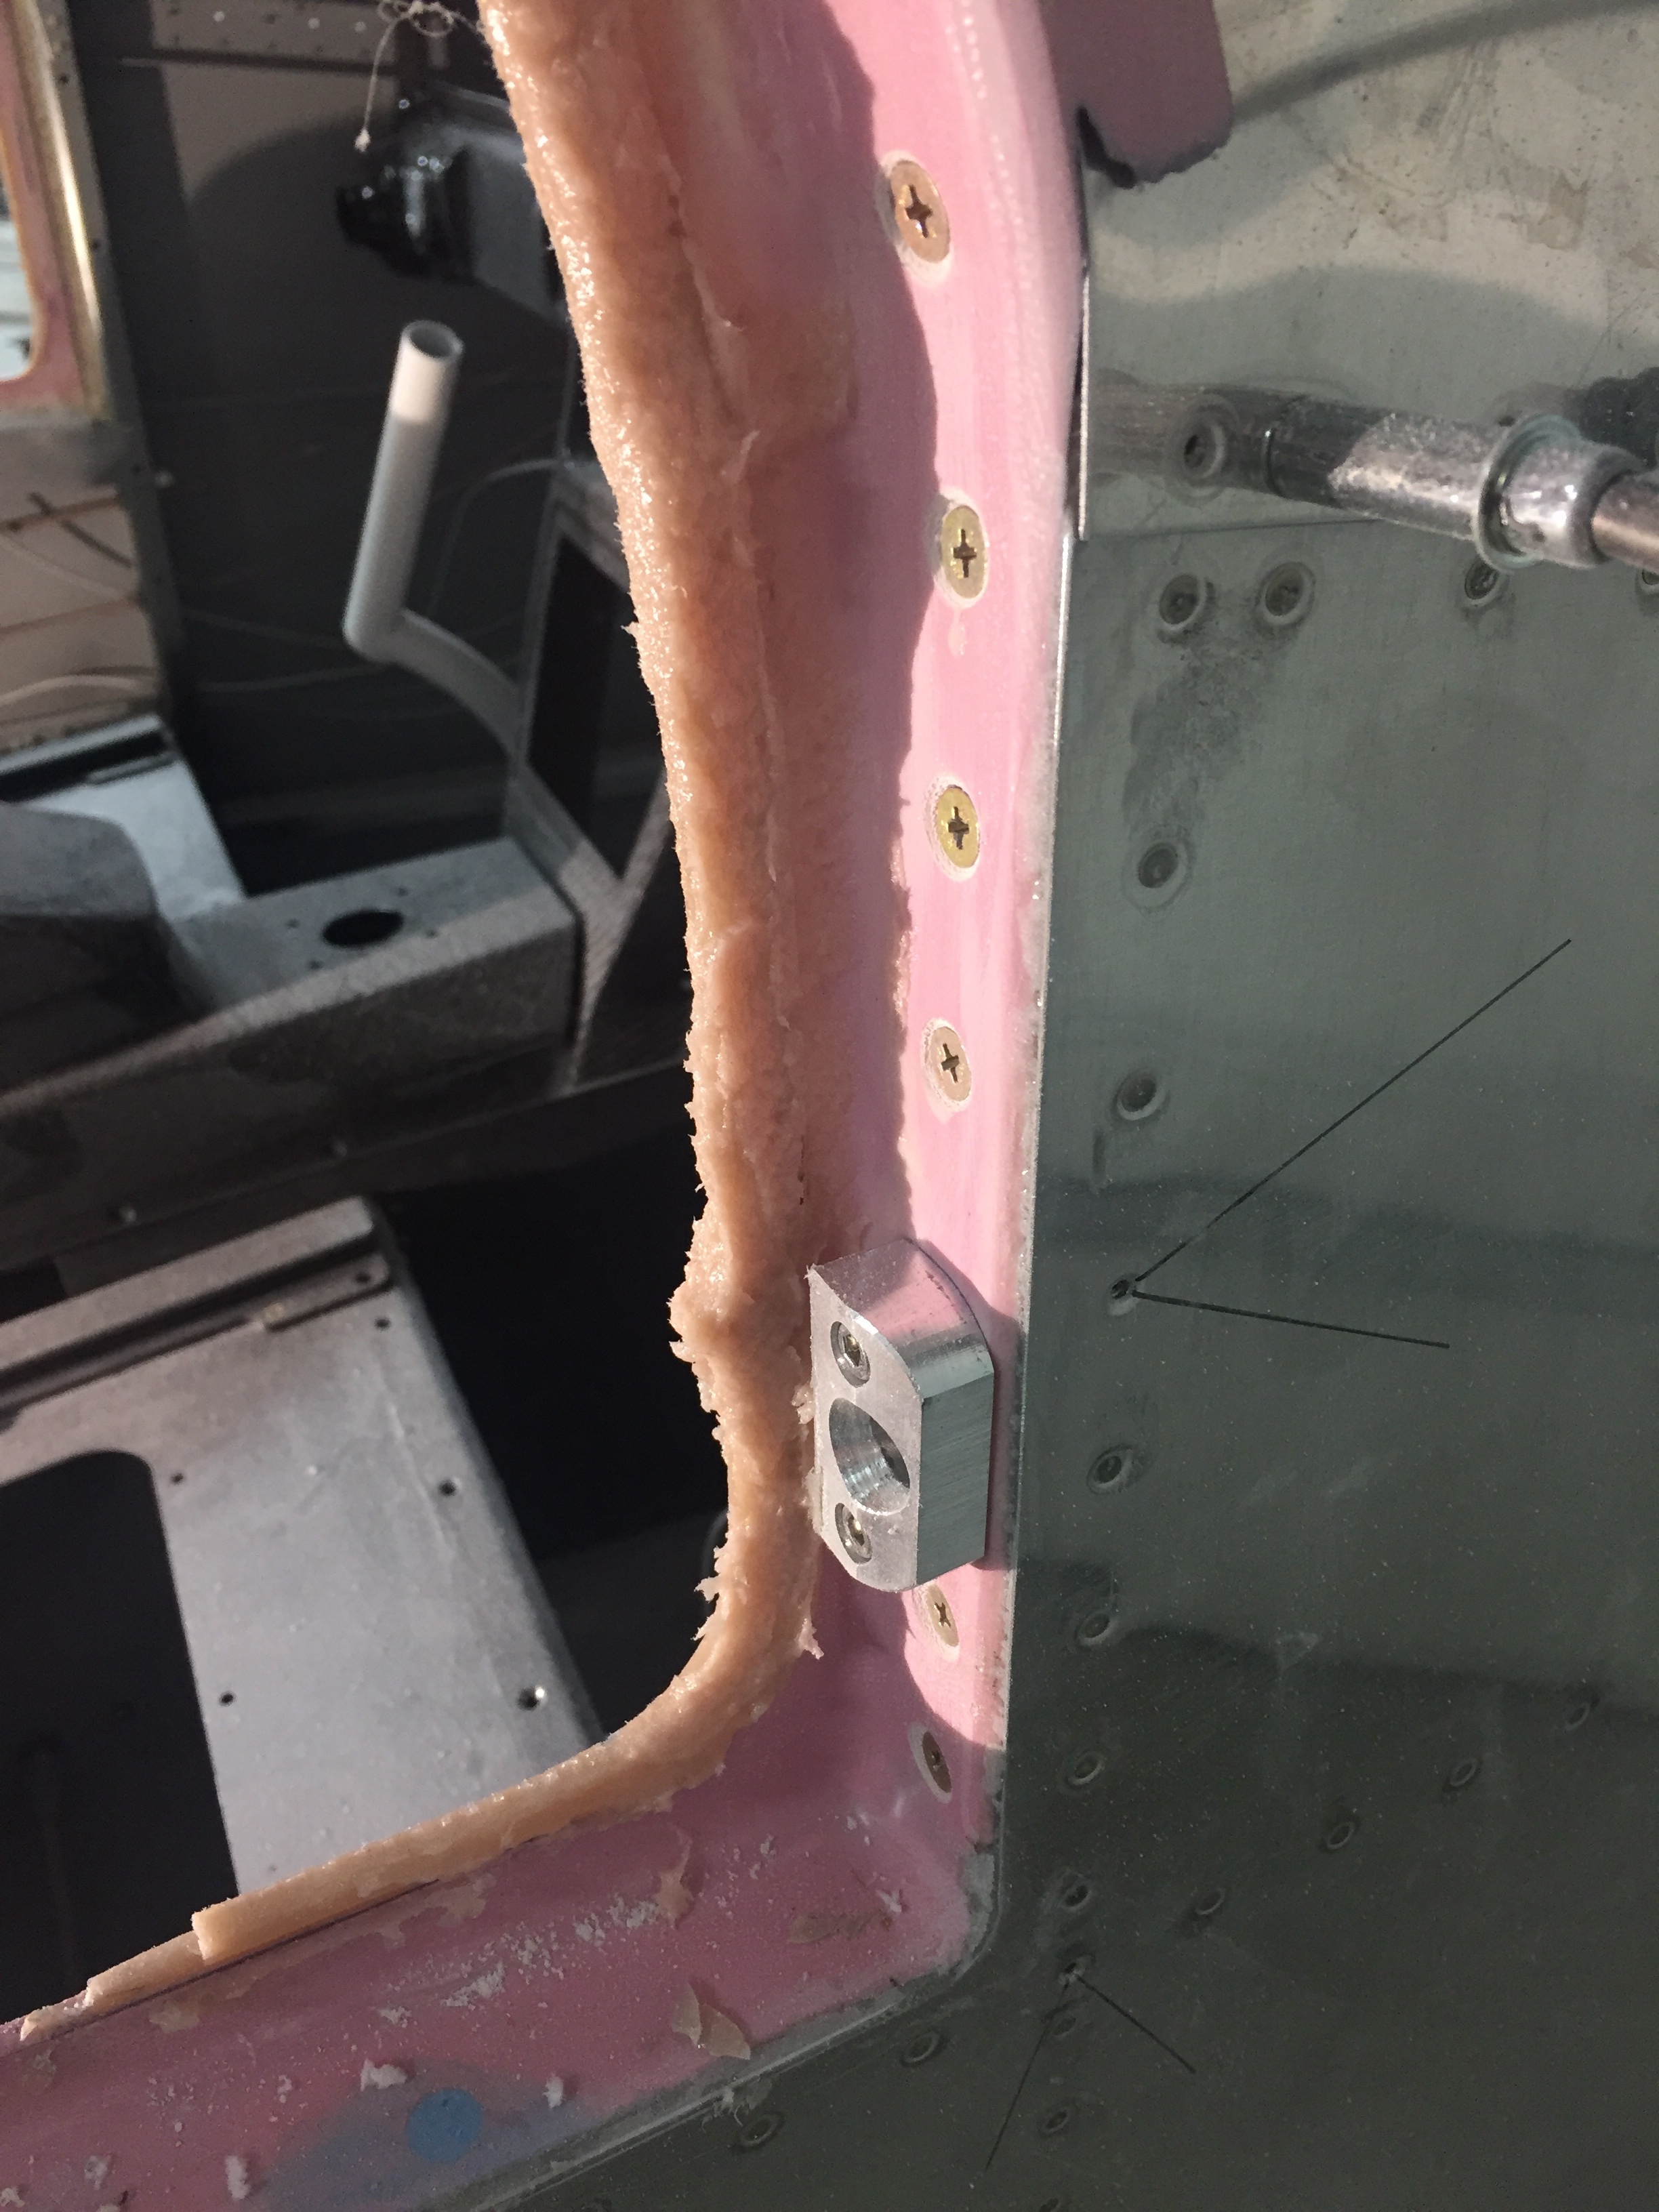
Any big cut or drilling job comes with some anxiety and the door pin hole is no exception. Now that the door handles and pins are all installed and working like a fine oiled machine, they need a home to rest in. I removed the magnetic tipped pin inserts and used two ground down bolts threaded into the rods to locate the exact spot to drill into the door frame and fuselage bulkheads. This worked really well as I was able to position the door flush with the fuselage and locate the drill placement without worrying about future misalignments.
I have some fancy aluminum pin guide/blocks from IFlyRV10 that go along with the magnetic pin inserts. These help guide the pins in and just make closing the door that much easier and smoother in coordination with the PlaneAround center cam. I polished the holes with some light sandpaper to get a smooth action and am really stoked to say all four holes are in the perfect position the first time!

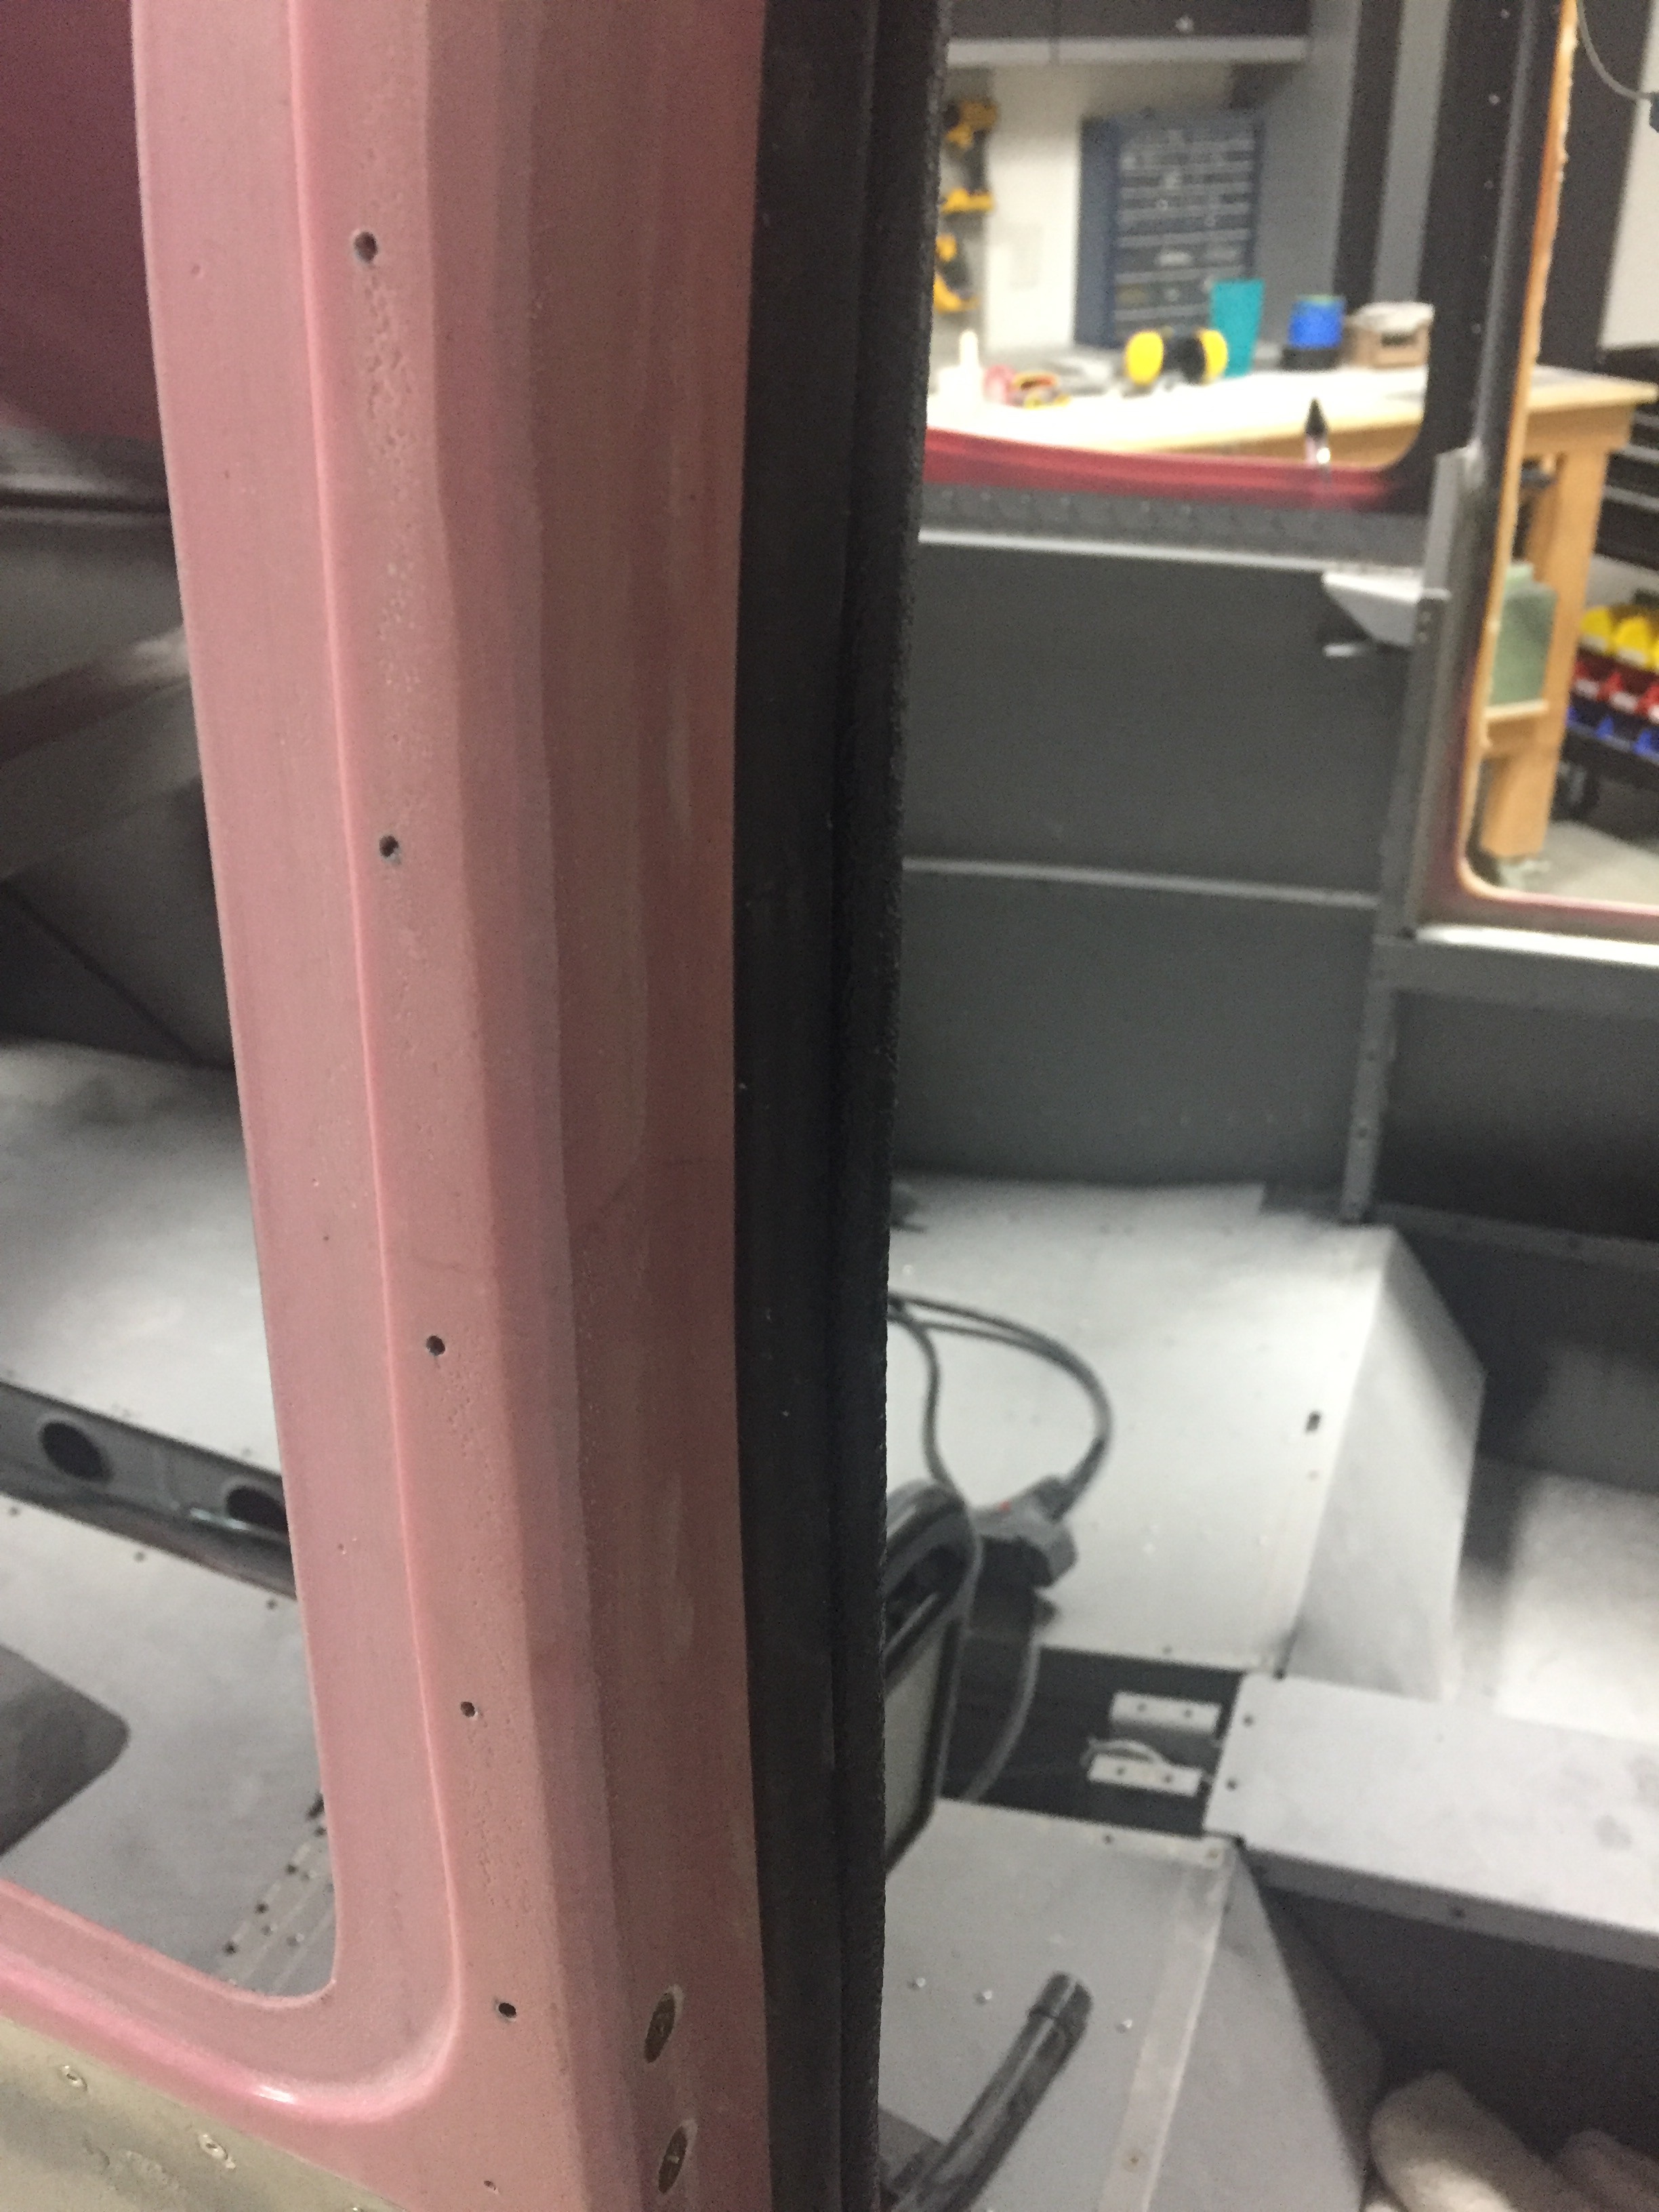
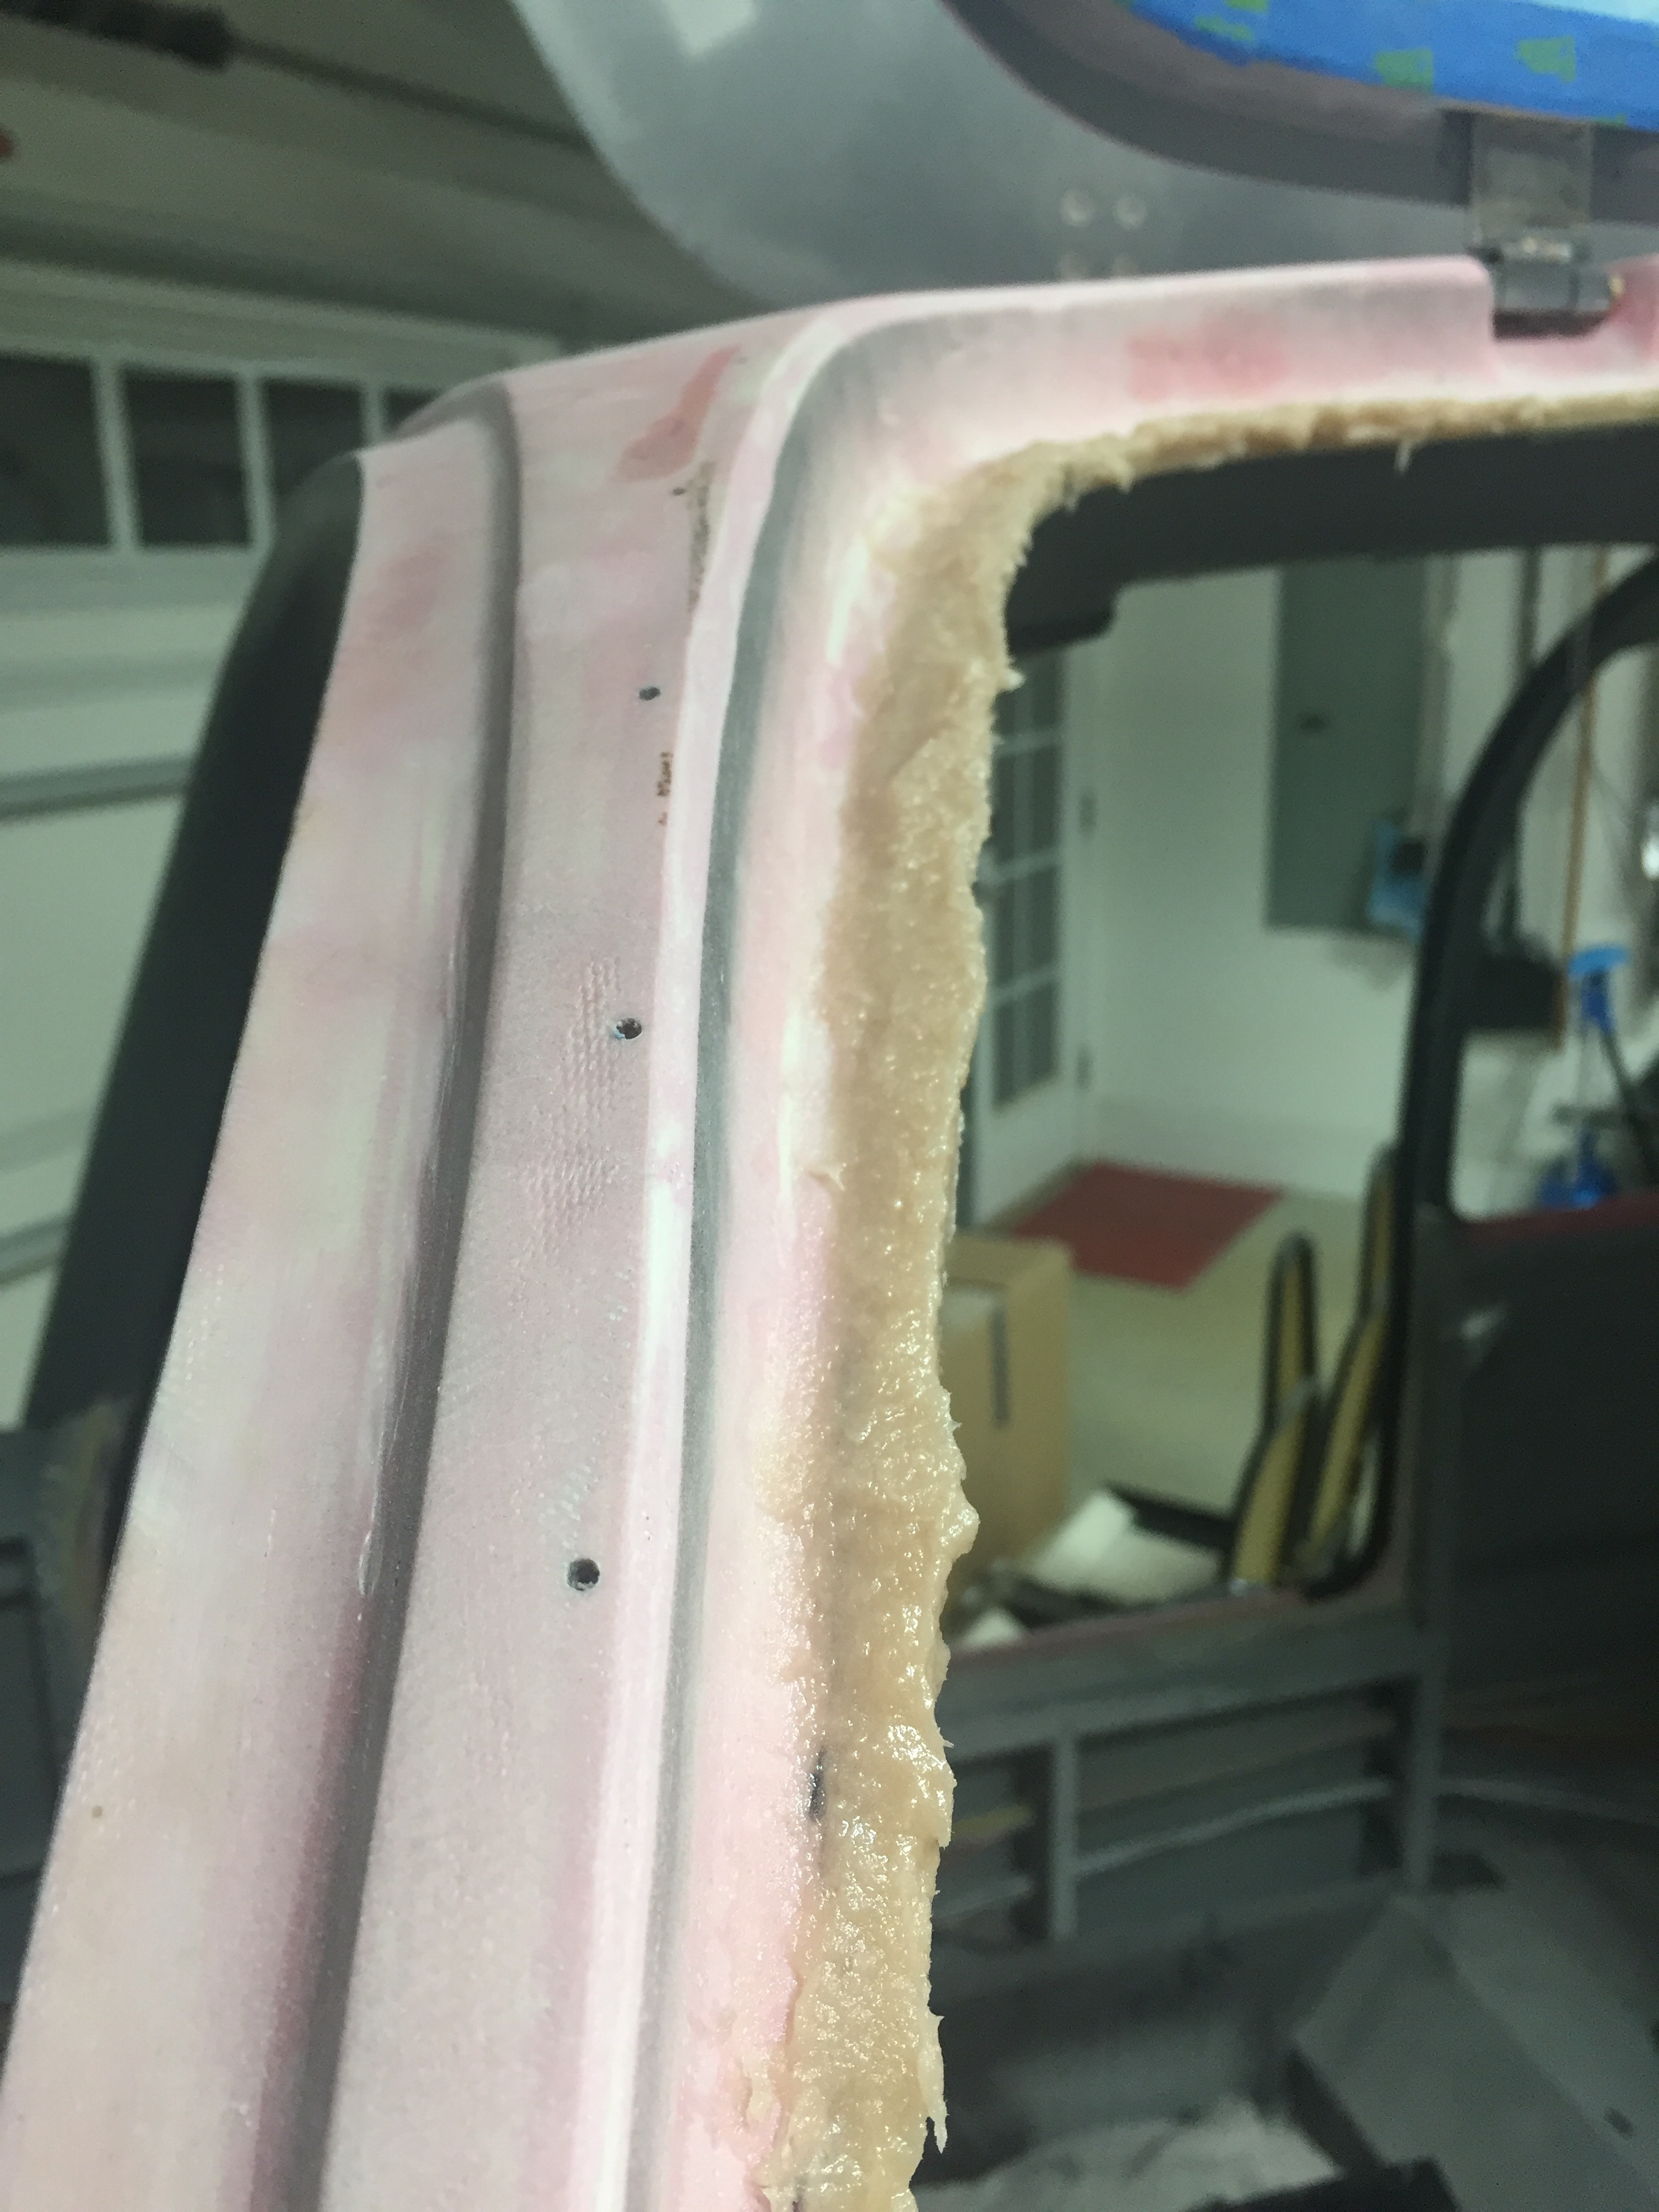
The next project is to prep for the door seal. As most have done prior, I am going with an aftermarket seal that affixes to the door frame rather than the door itself. Since the frame isn’t designed for it, a little prep work is required. I needed to build back material for the seal to mount on that will put the bulb nicely against the door. I purchased twice as much seal as needed so I could use half of it sacrificially to form the new lip. I mixed up a big batch of epoxy and flox and used a baggy to fill the seal. Then I took my time to press on just enough to hold onto the frame. Once dried, I pulled the seal off which left a nice new structure all around the door opening.


With the door on, I marked the areas that needed to be sanded down or built up a bit with filler to get a nice consistant gap all along the door lip. Despite all the dust, it was a pretty easy task and soon enough I was ready to put on filler to smooth things out. I did both the inside and outside. I’m a little bummed that I’ll have to re-shoot some paint on the inside, but I can mask of the overhead console so that will make it a bit easier to blend.
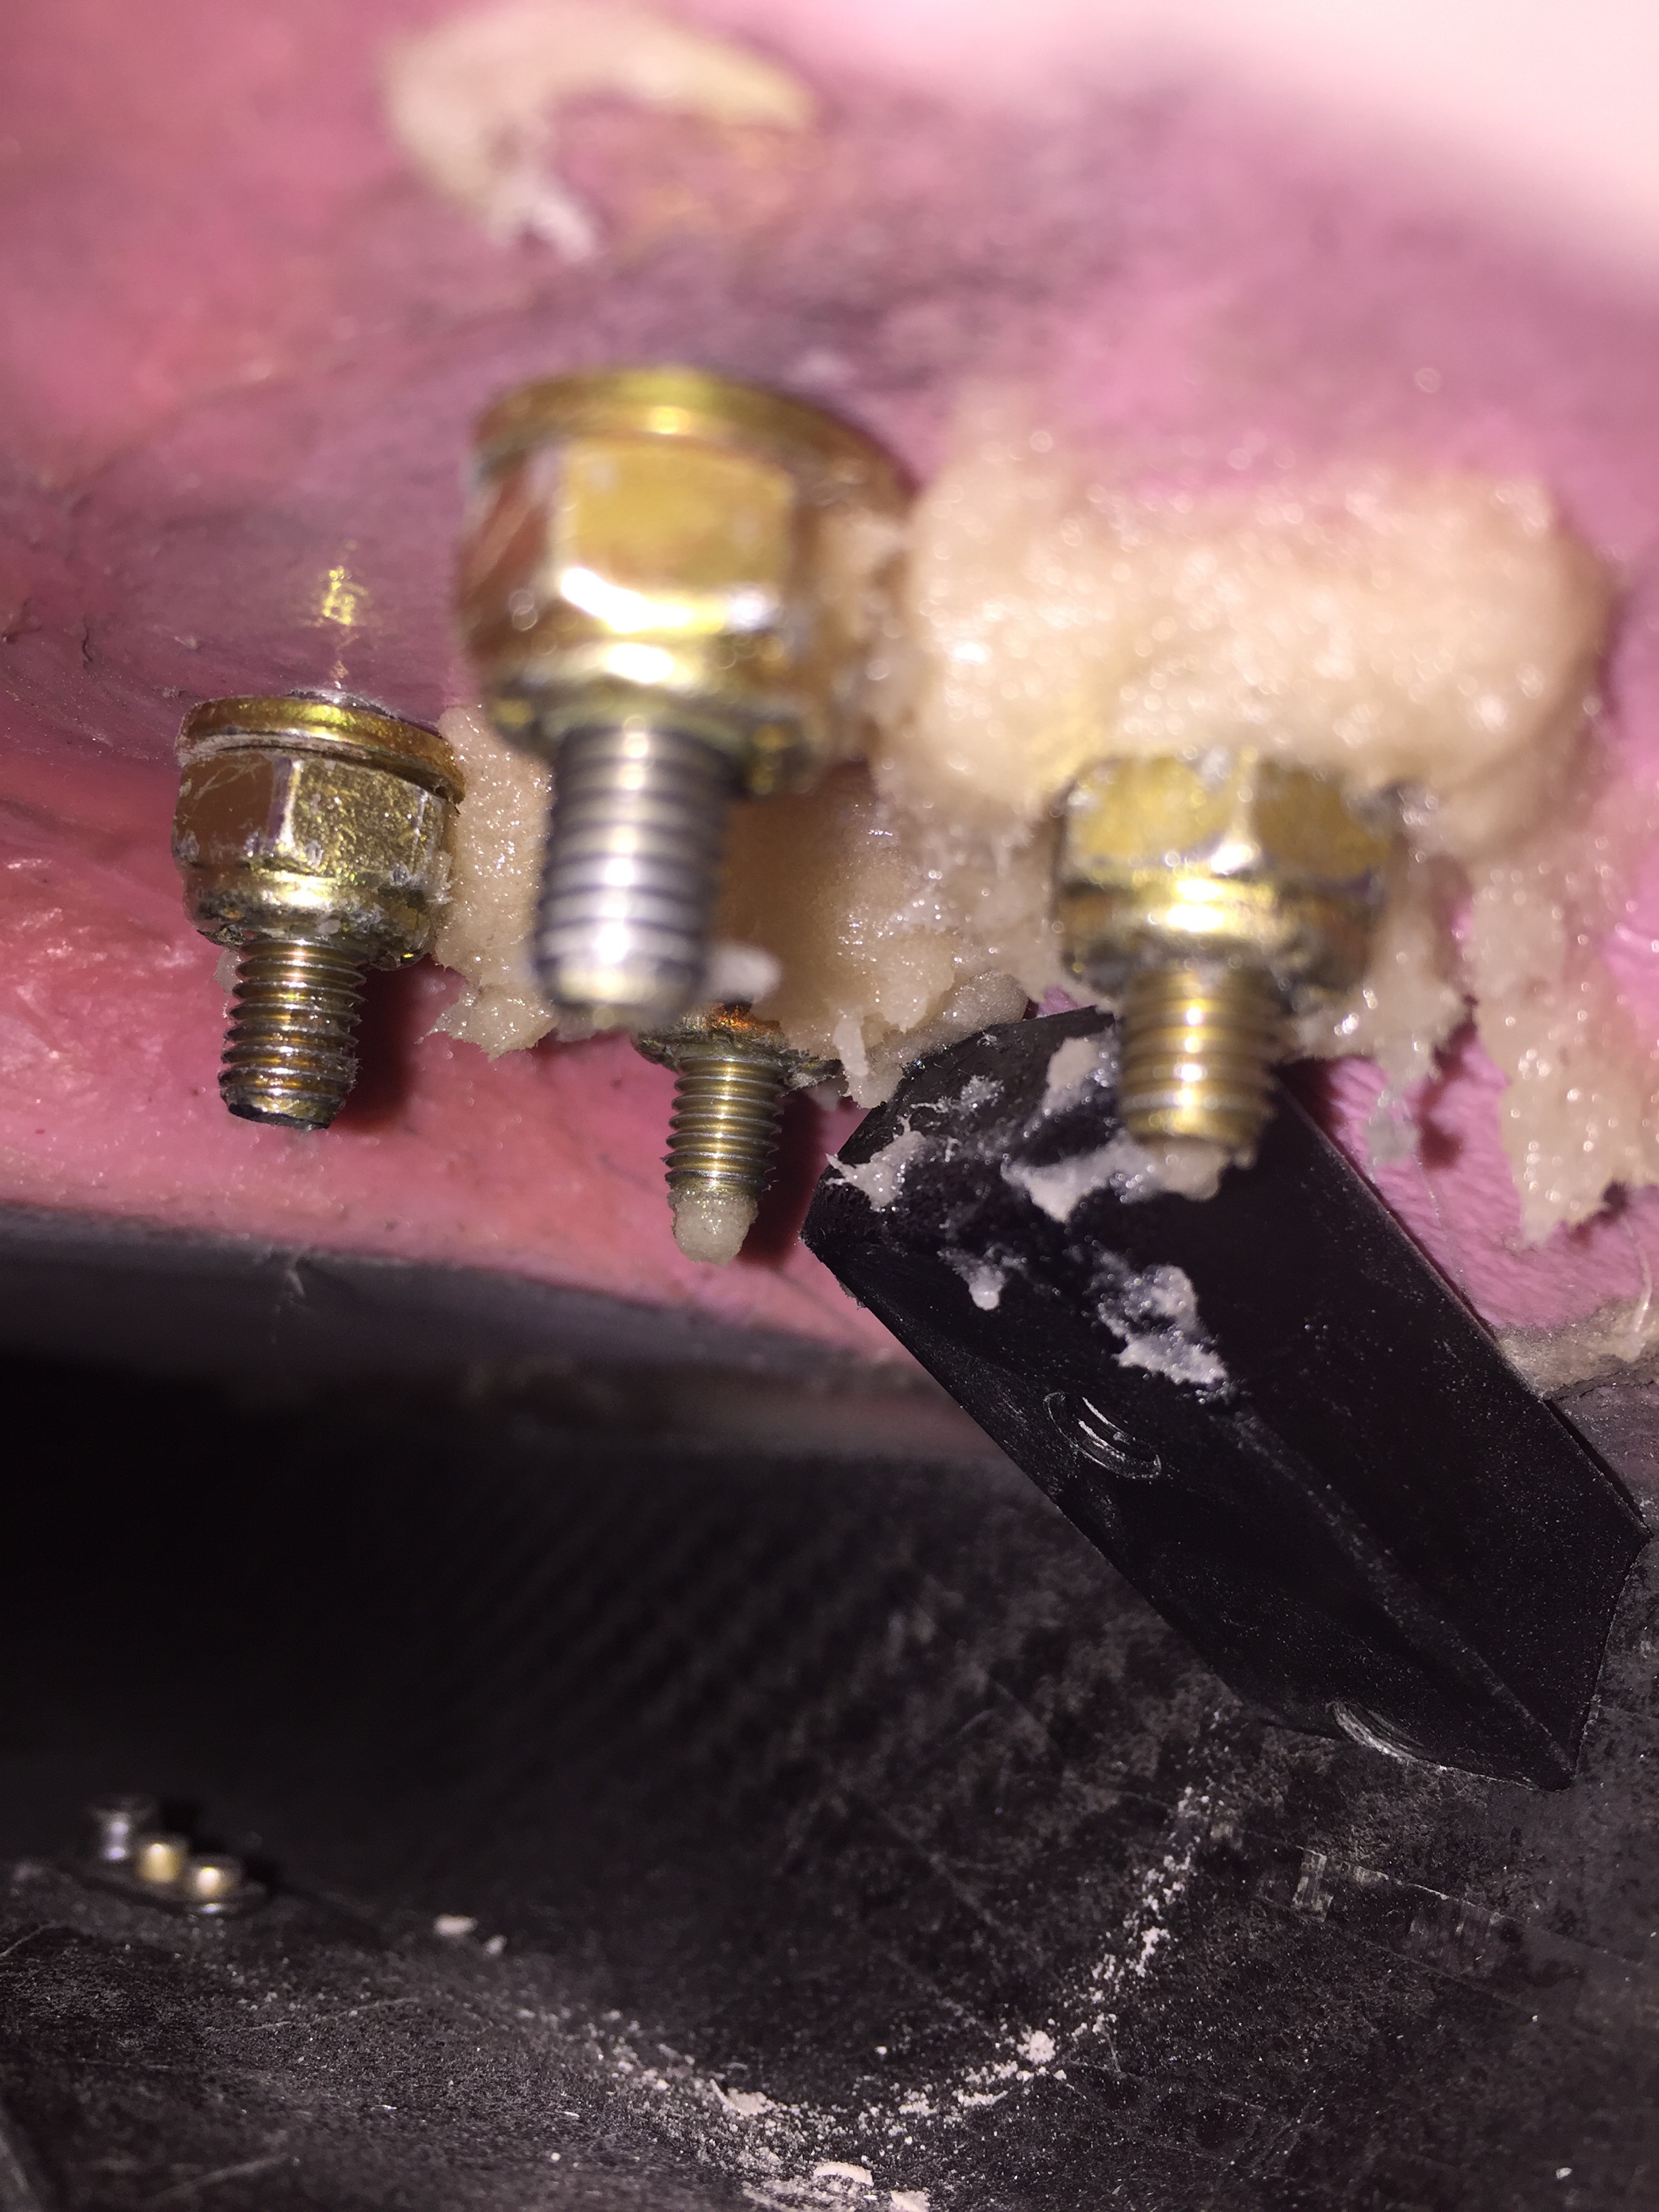
Meanwhile I built a bed up of epoxy and flox on the hinge mounts since a few of the washers and nuts didn’t sit flush with the cabin top due to the contour of the inside surface. This allows the torque to be spread properly over the newly built up area. I let the epoxy cure about 75% then put the washer and nut on so it compressed the fill into place. After it cured I finally torqued them to spec.

A few evenings of sanding and filling later, the left door frame is ready for paint on the inside and the seal to be installed. The right door is coming along with initial sanding and filling happening now. Once the windows are in, I’ll fill the final door gap and finish the rest of the door frames.
