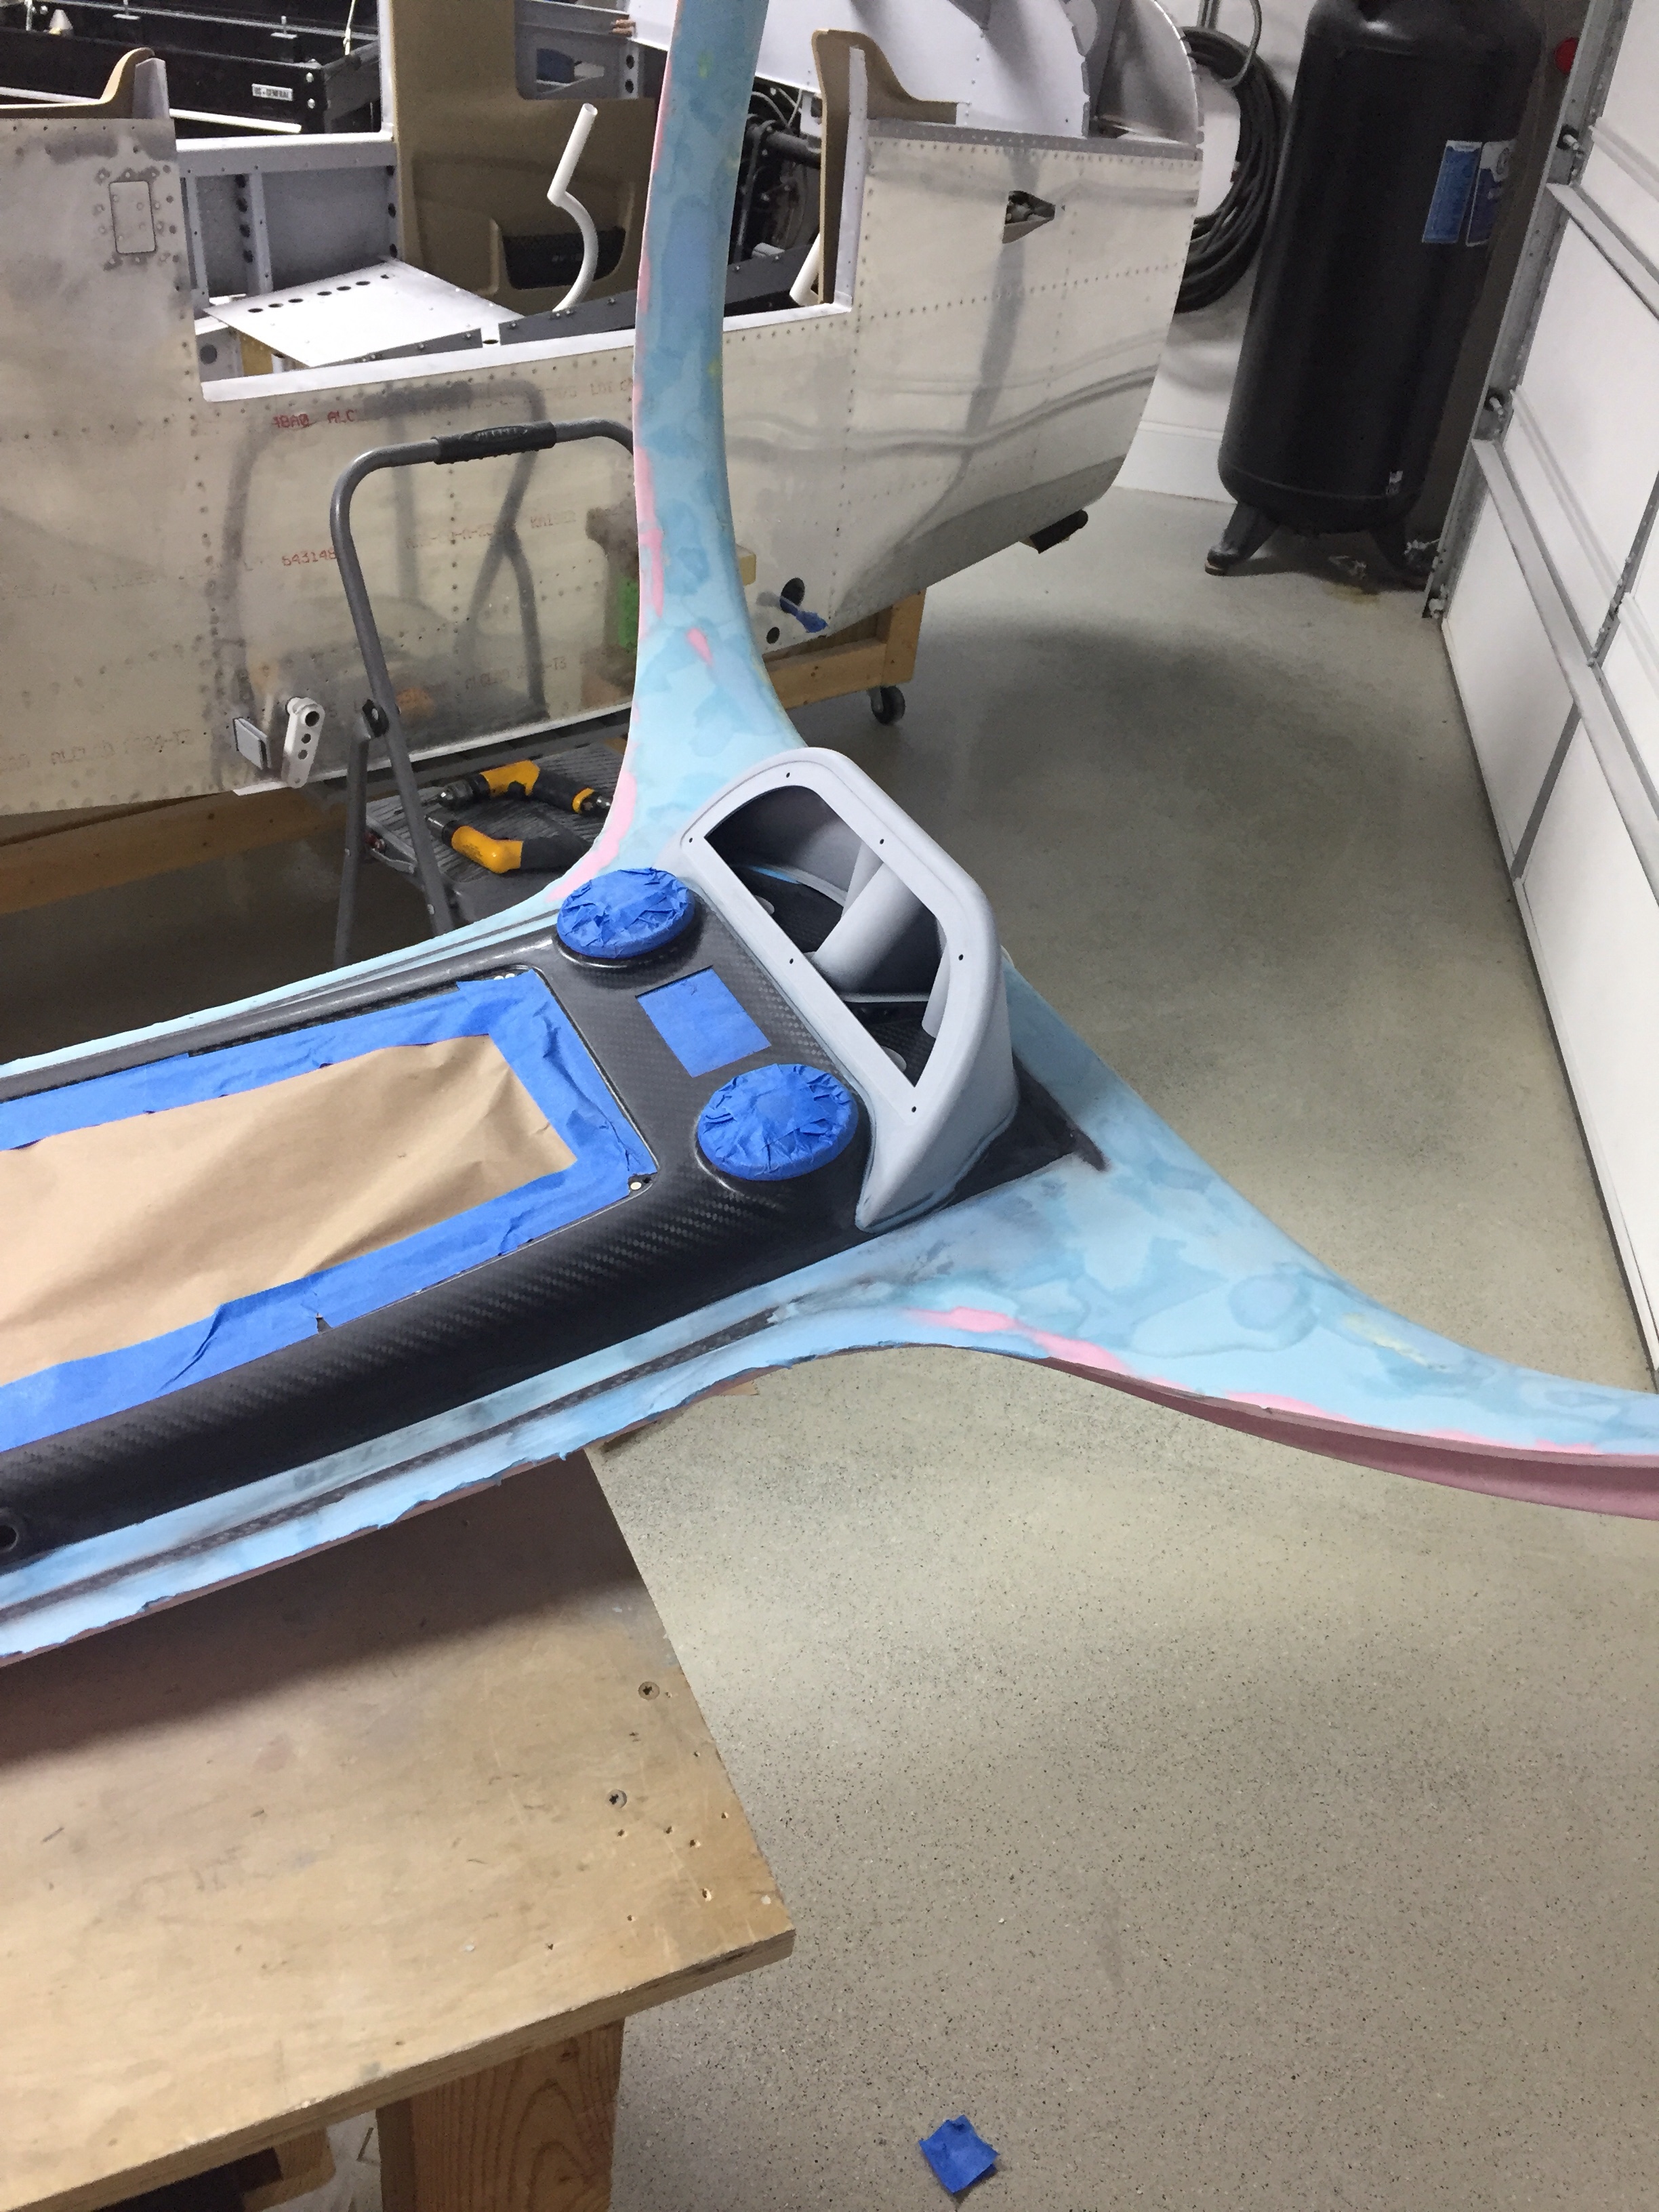
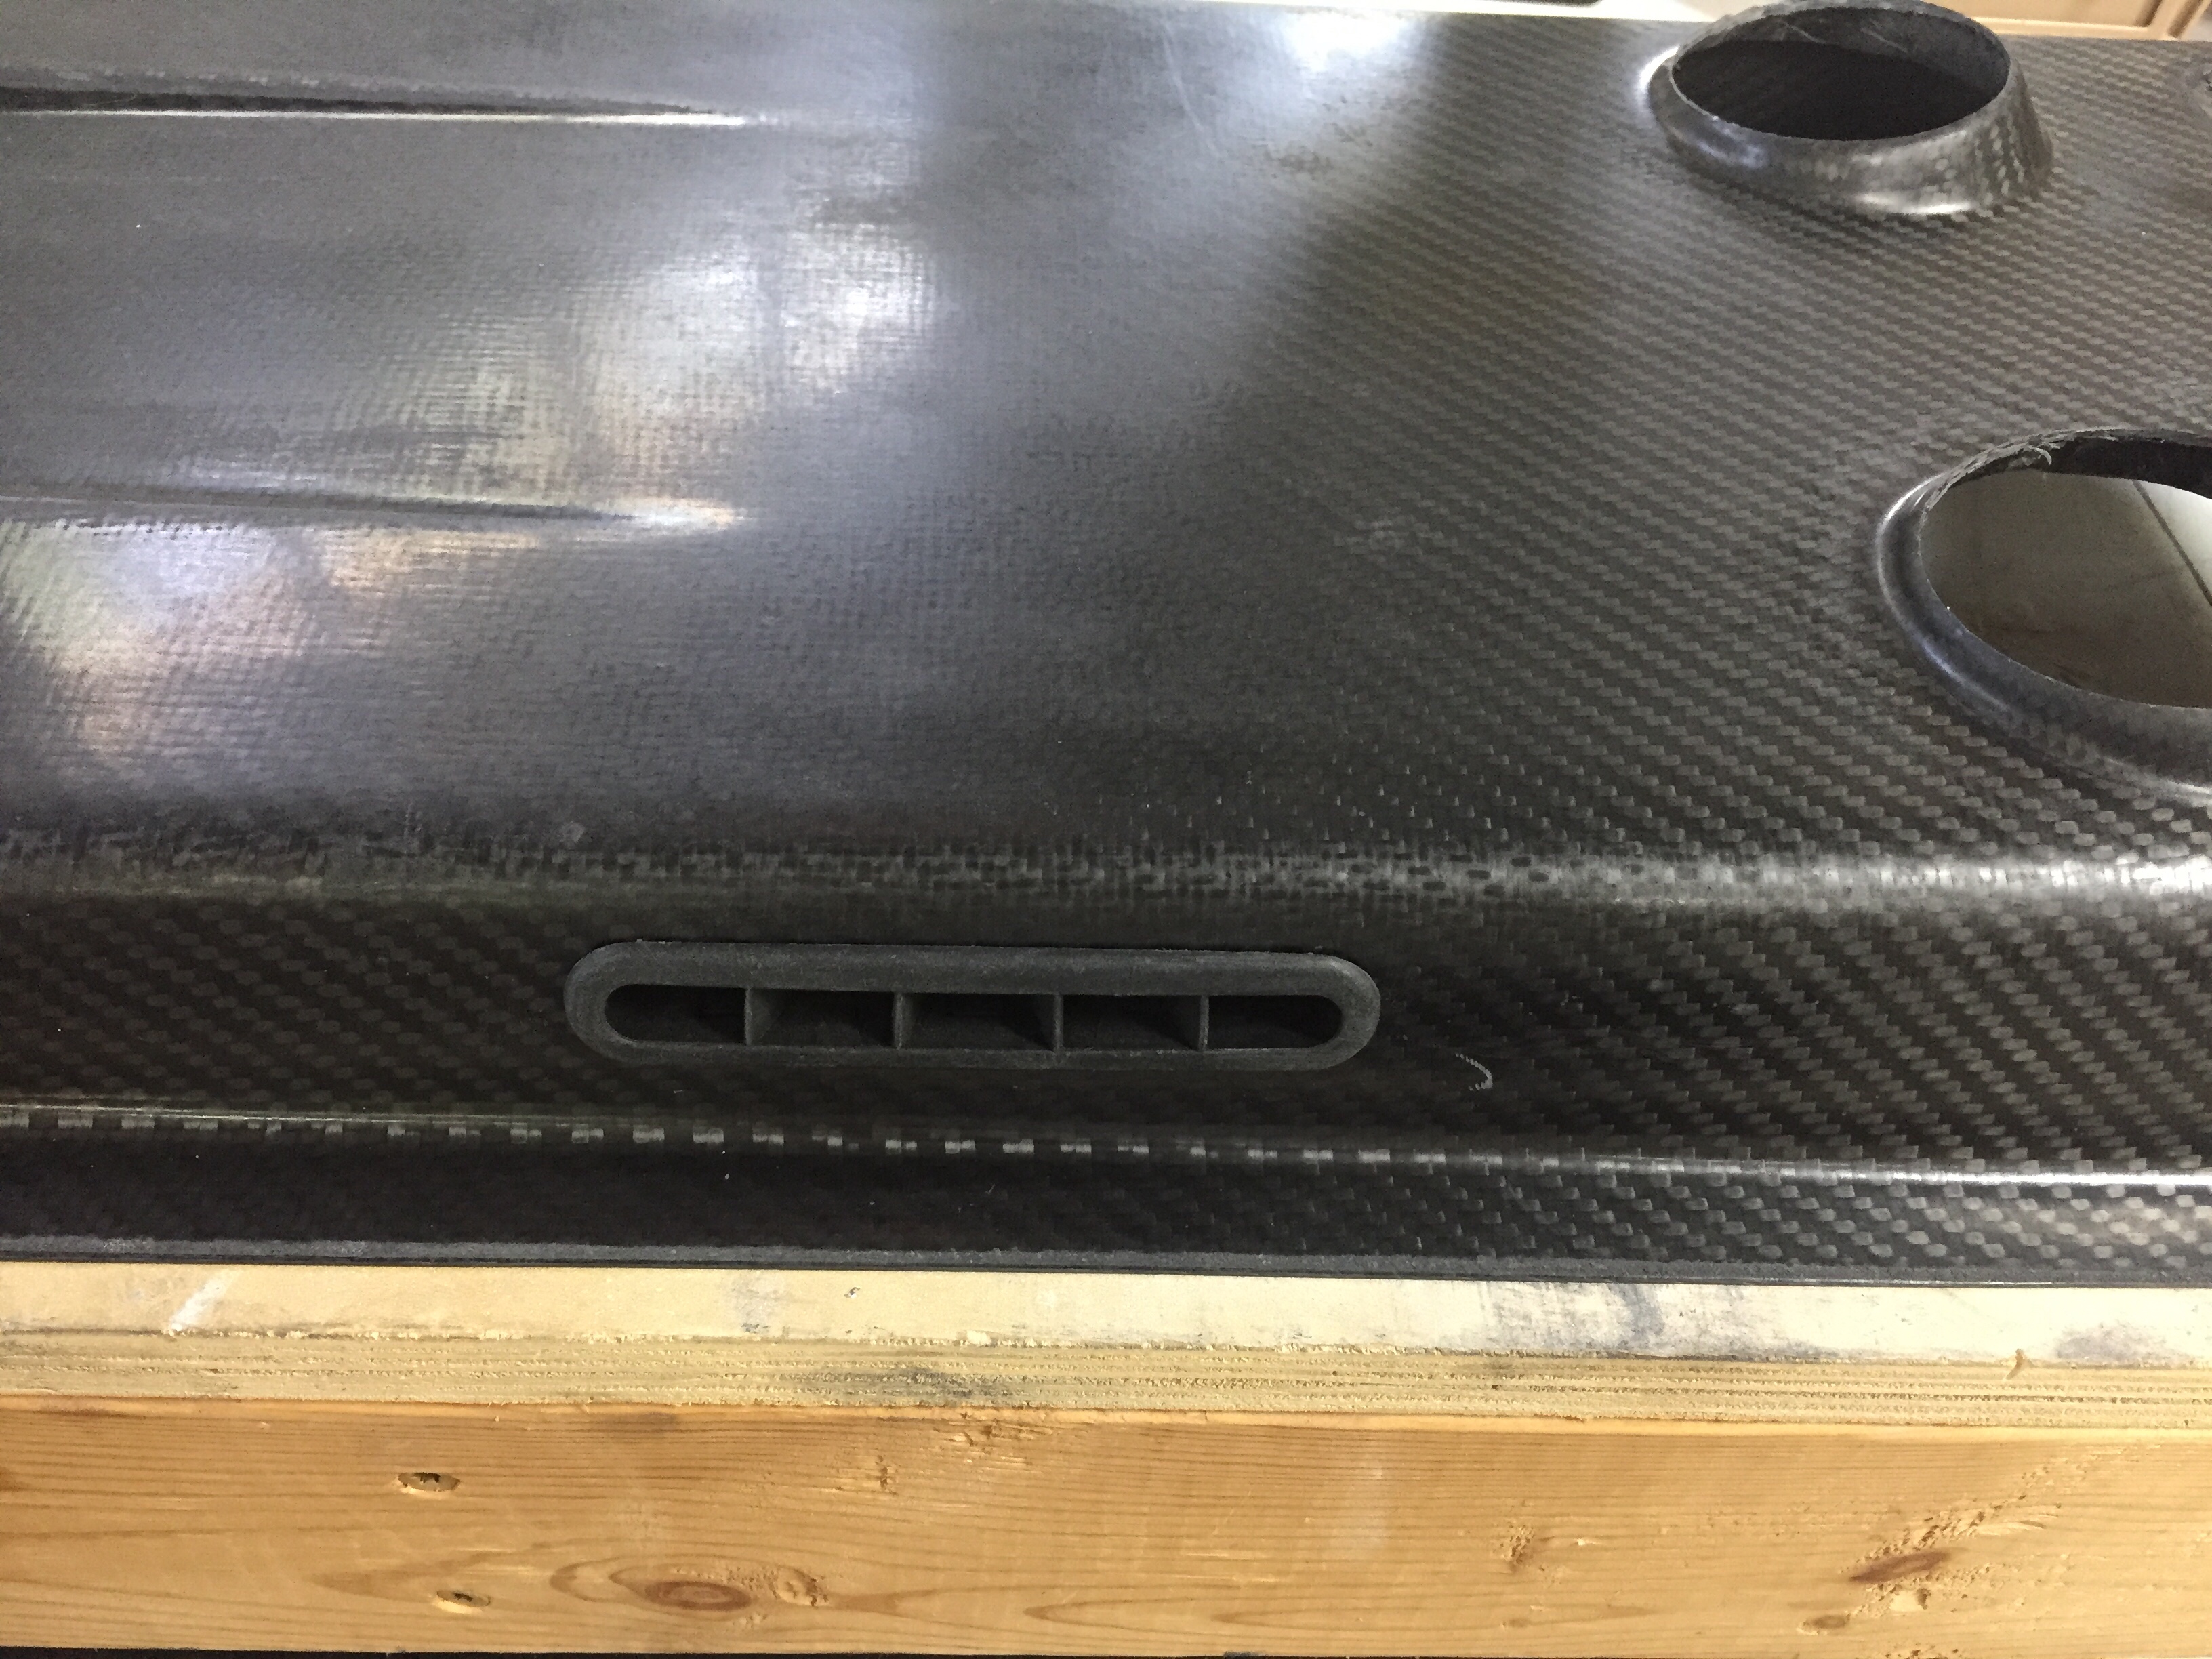
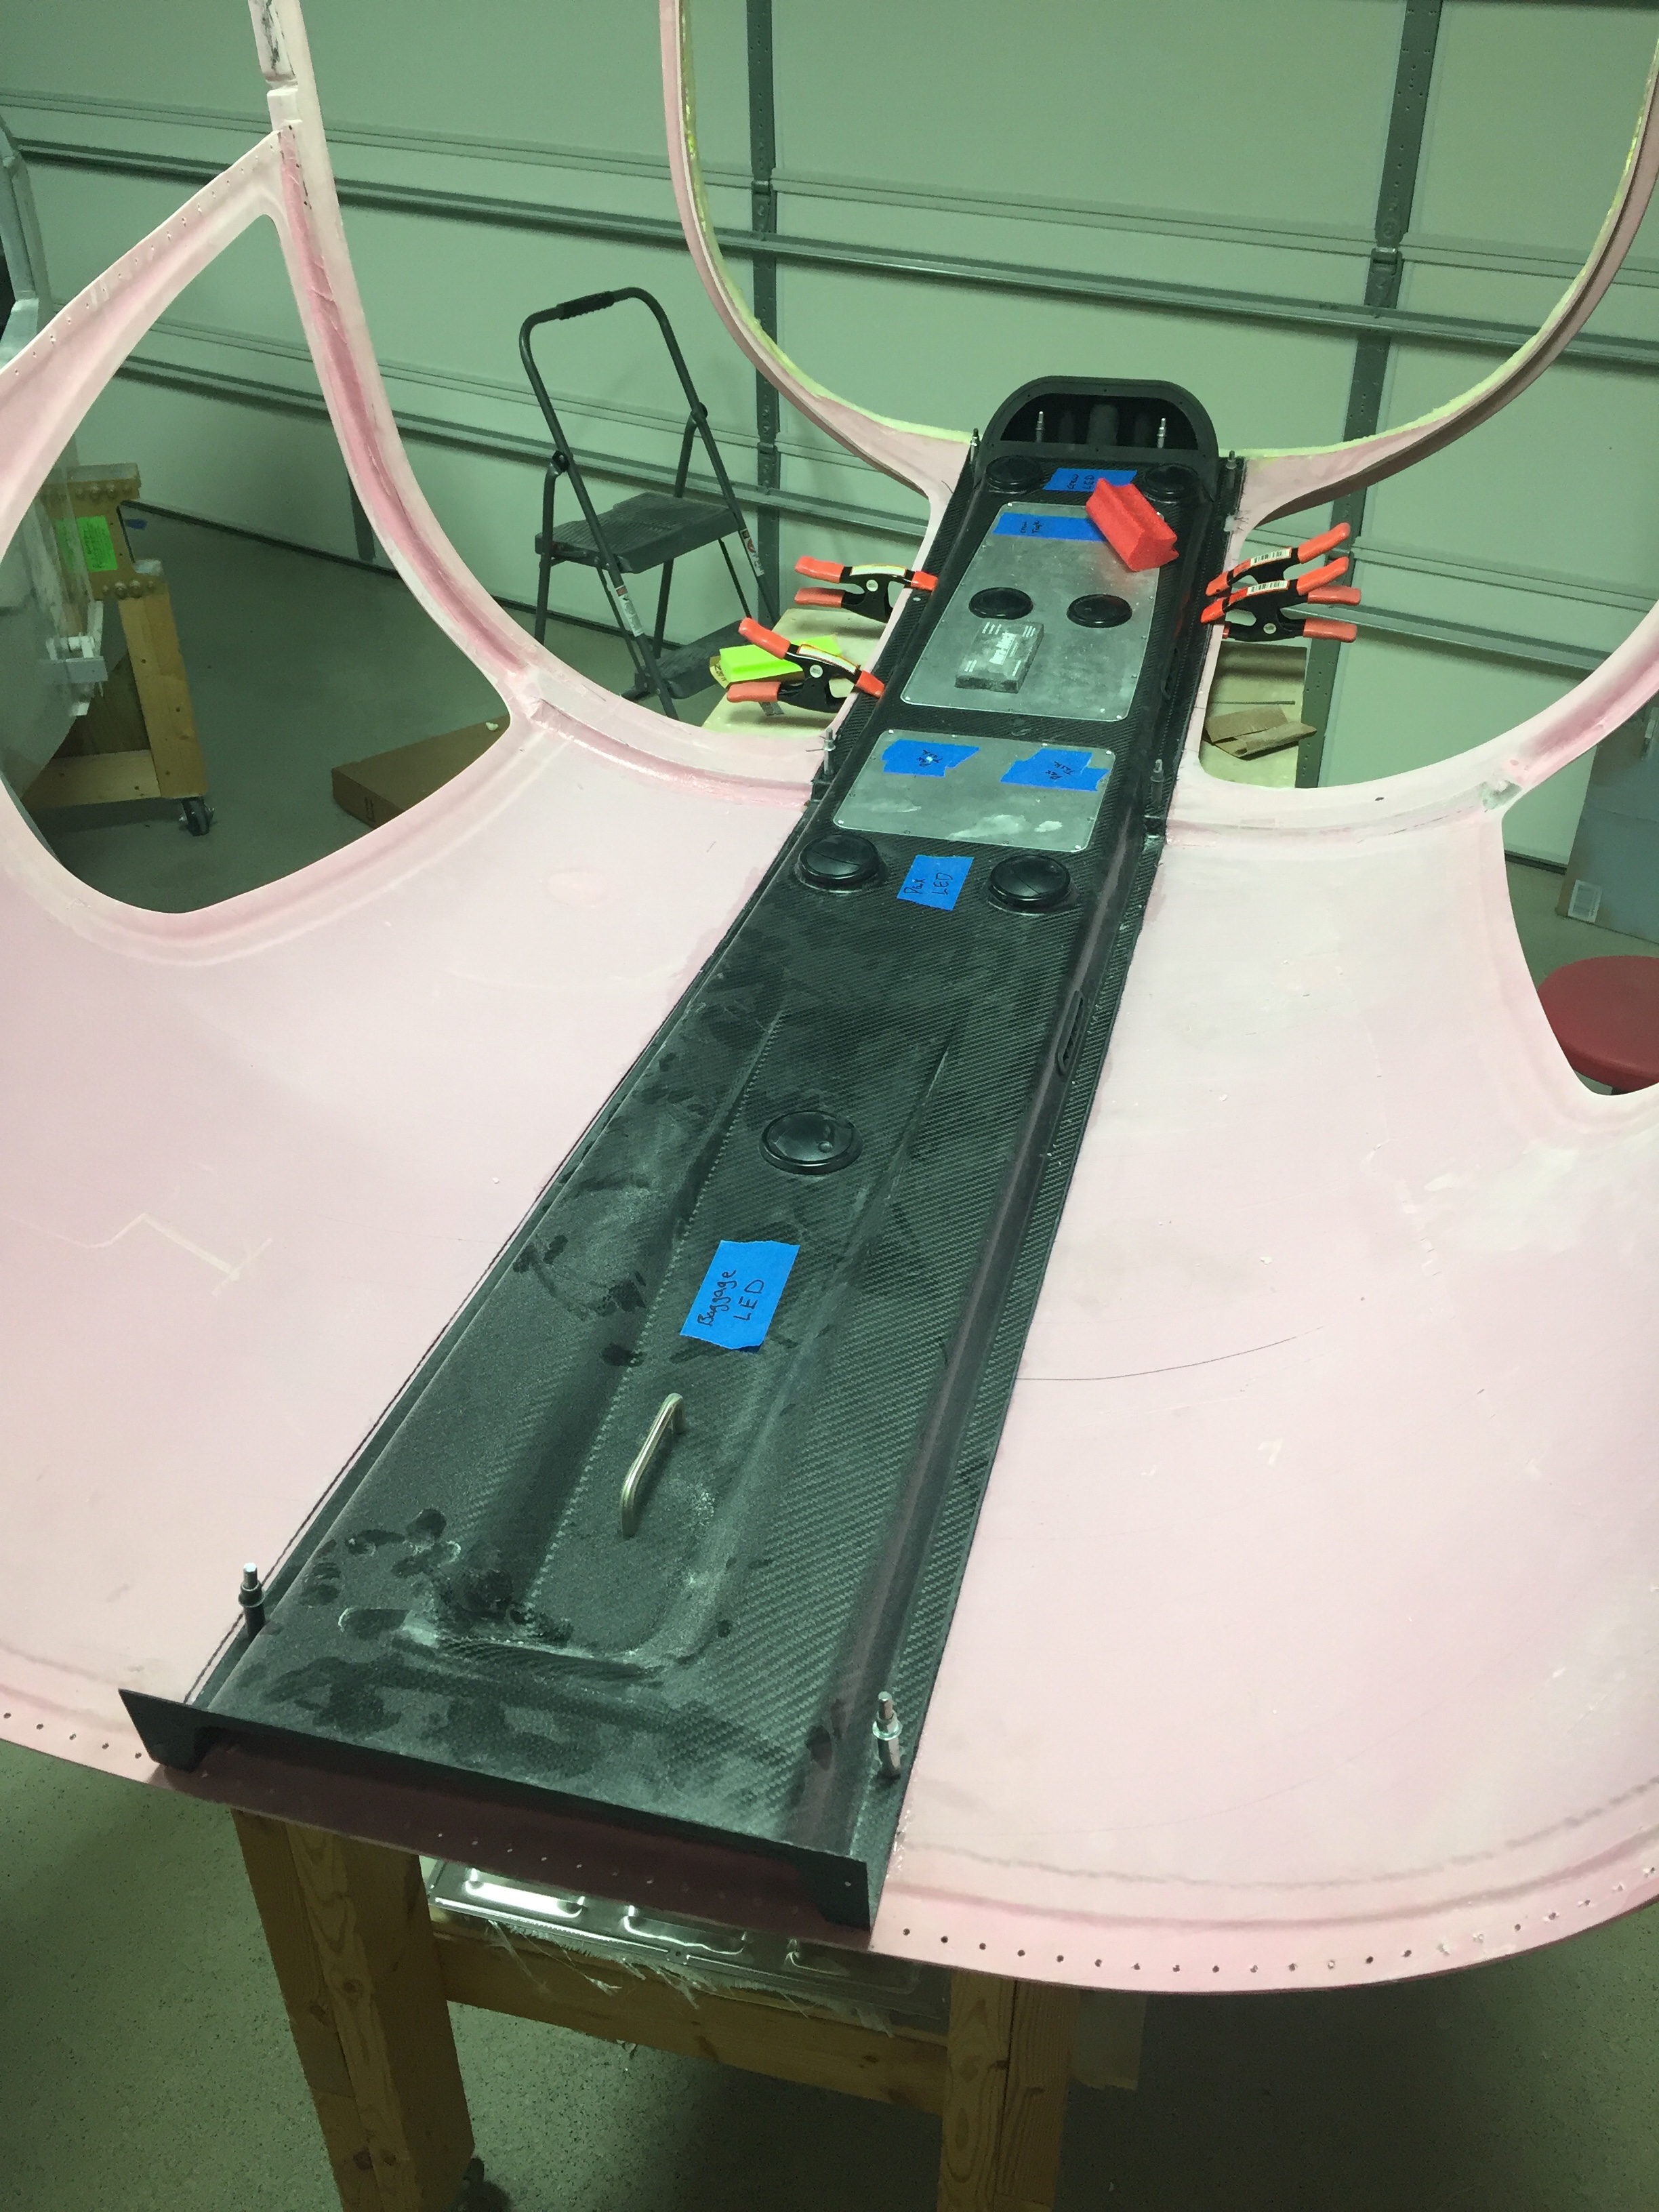
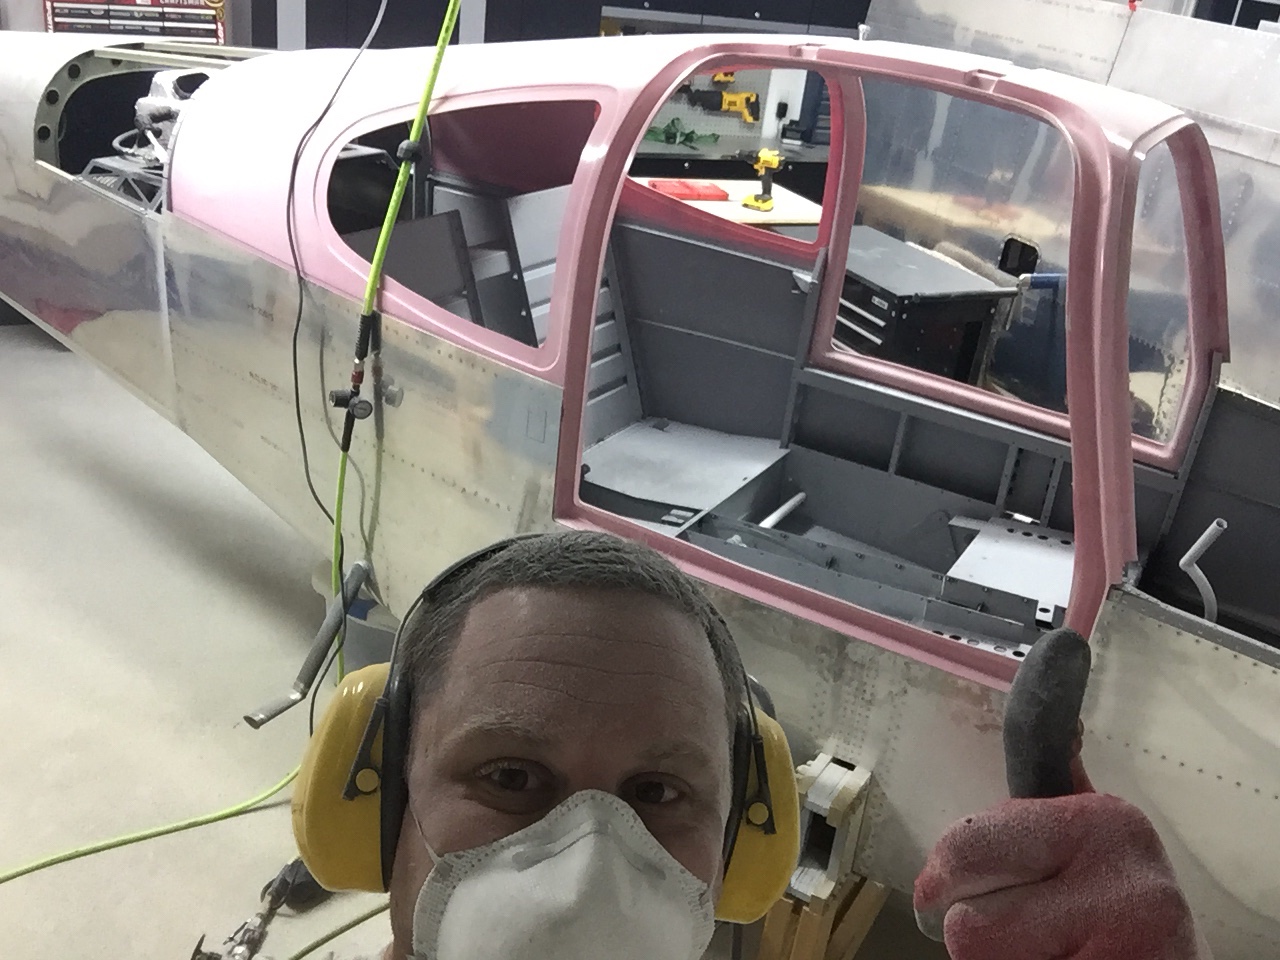
While the air con project was underway, my time was split between it and the cabin cover. After rough fitting the overhead and wiring it for the lights, I had to start the cosmetic work. My first task was to contour the forward door / windshield supports. Others have left these and just cleaned them up while some have filled it in to make it look just a bit cleaner. A few folks will run conduit in the jog and then fill over it to route wiring to the overhead. I chose the middle option, just wanting to fill them in for a fuller, more finished look. My wiring will be going through the center post so no need for conduit.
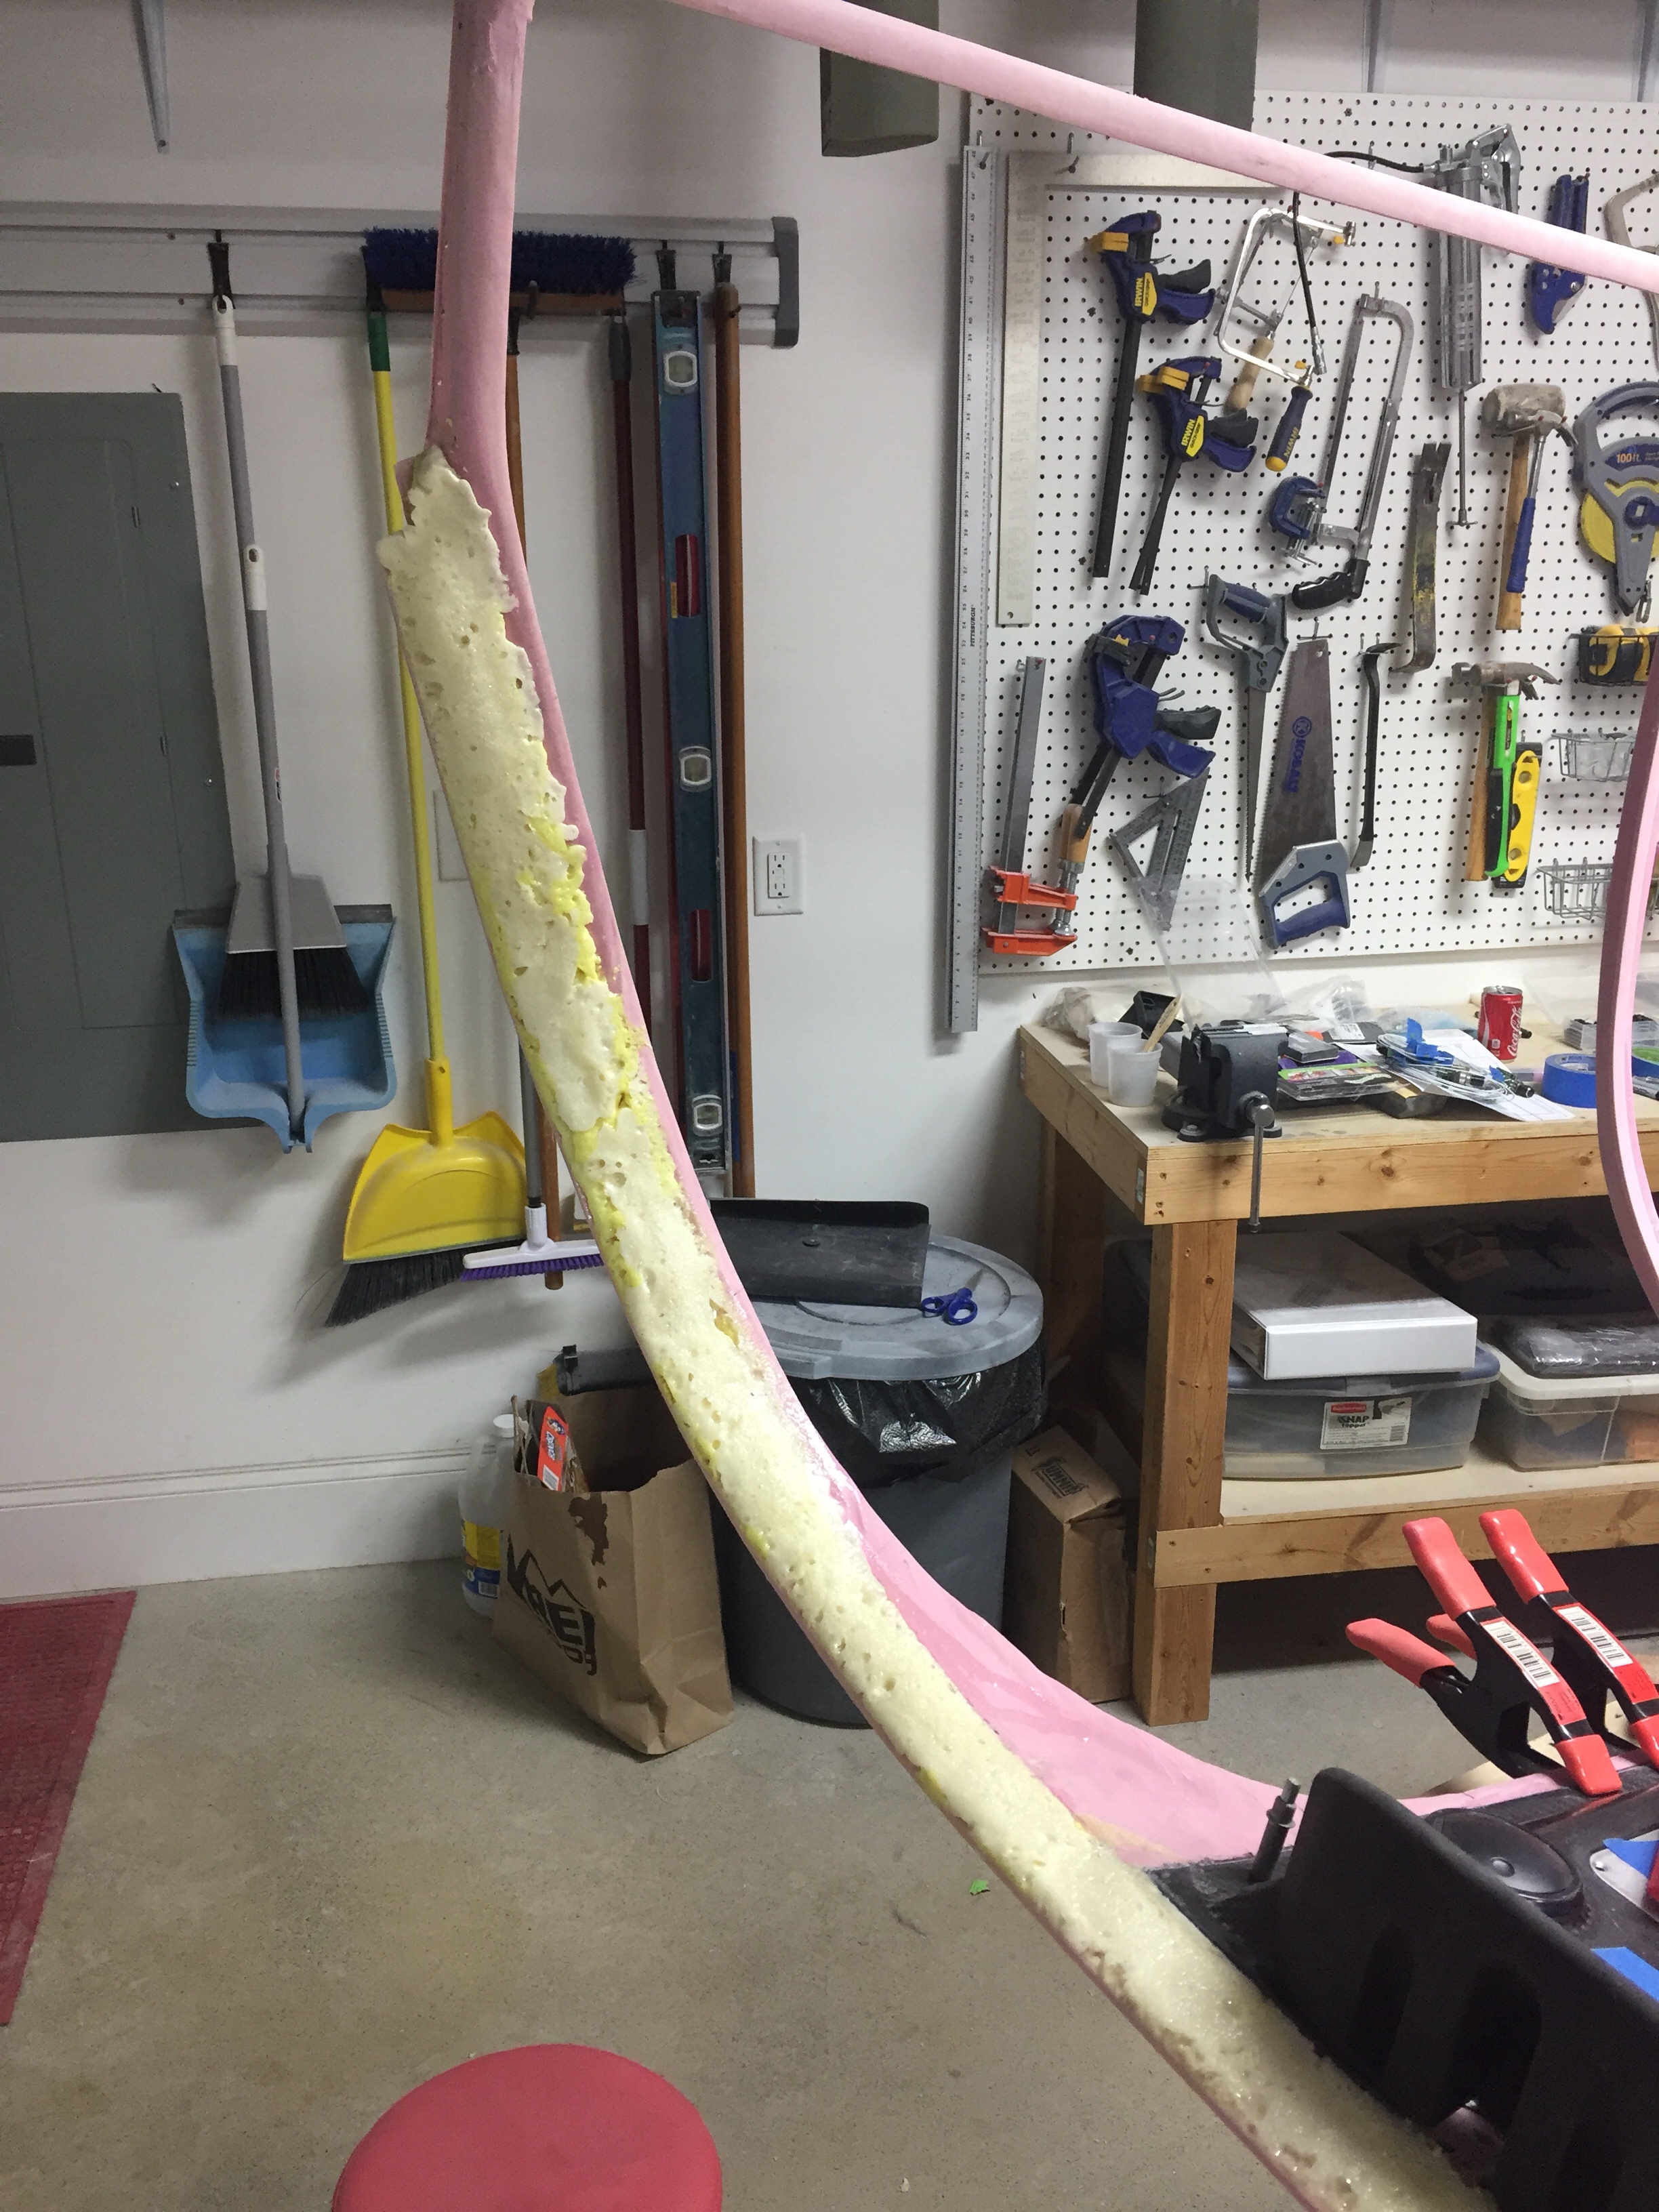
I used the closed cell spray foam insulation and piled the stuff on. It’s a messy job and I had to use quite a bit since it’s not exactly sticky and wanted to run off on the more vertical surfaces. After it cured for a day, I used a flexible saw blade to do a rough cut. There were a few low spots and a lot of holes that needed filler. I also floxed on the overhead console after a good pause to make sure I’m not getting ahead of myself. It was a straight forward process and is super solid now.
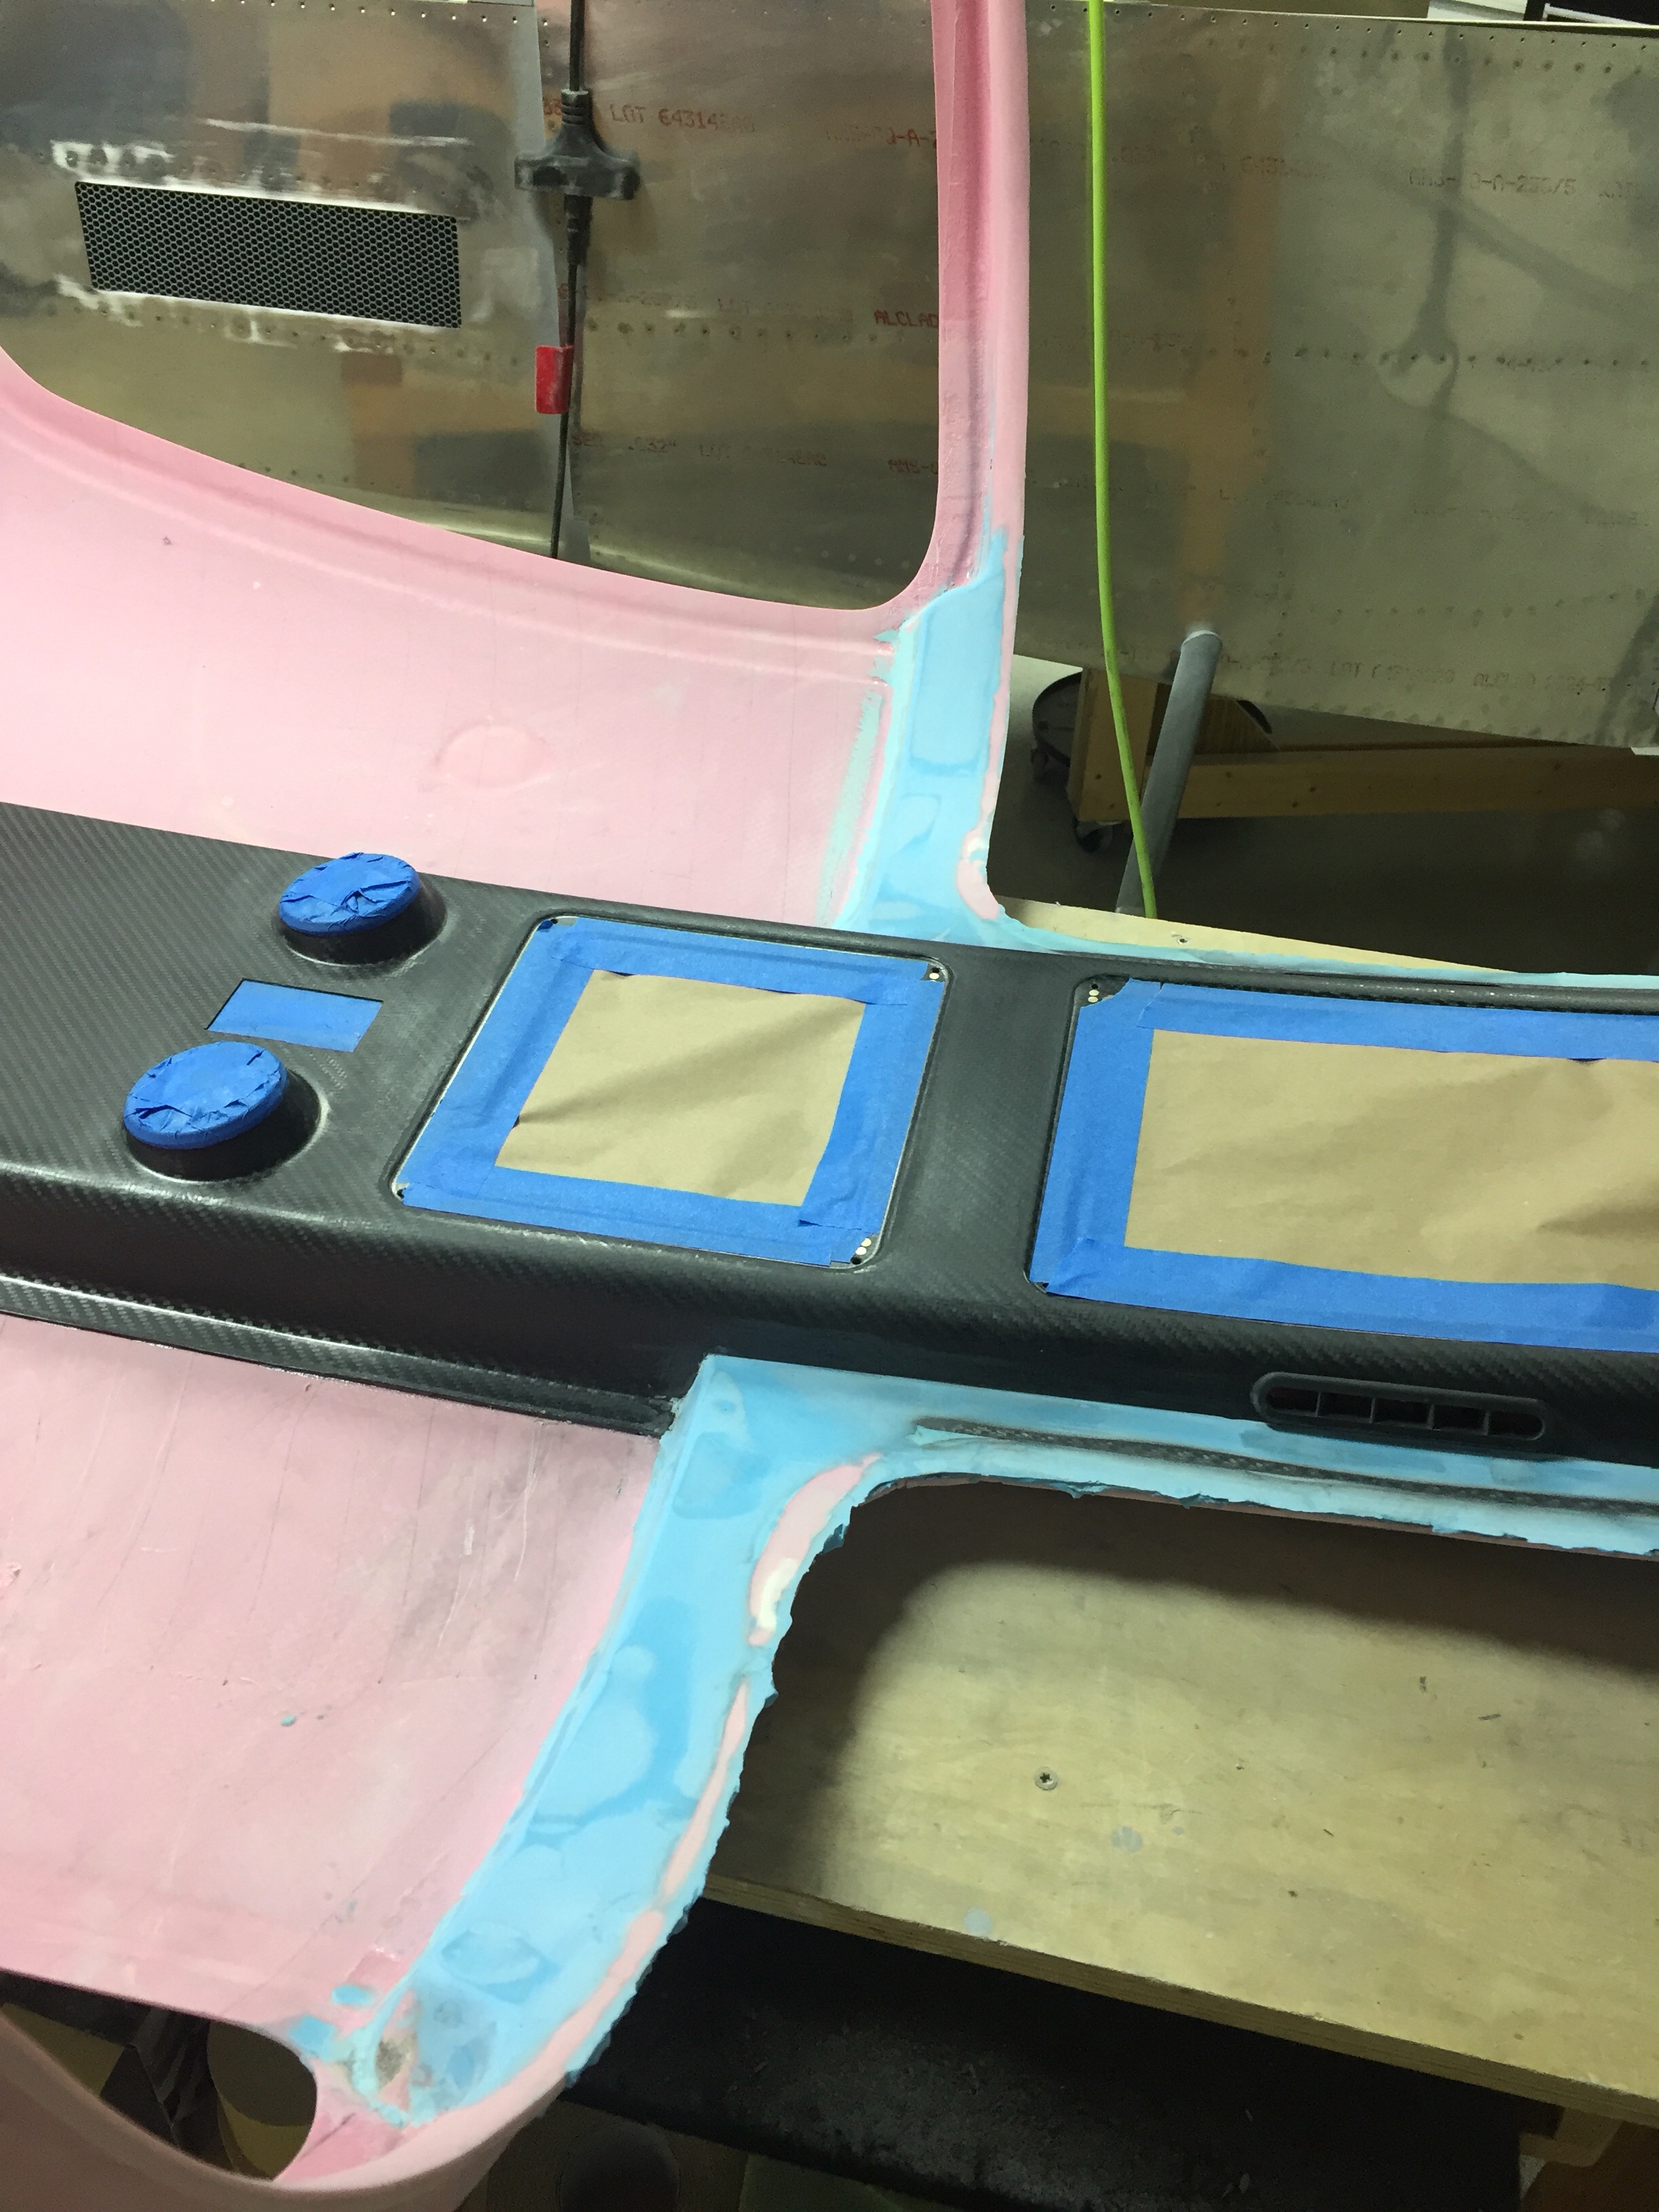
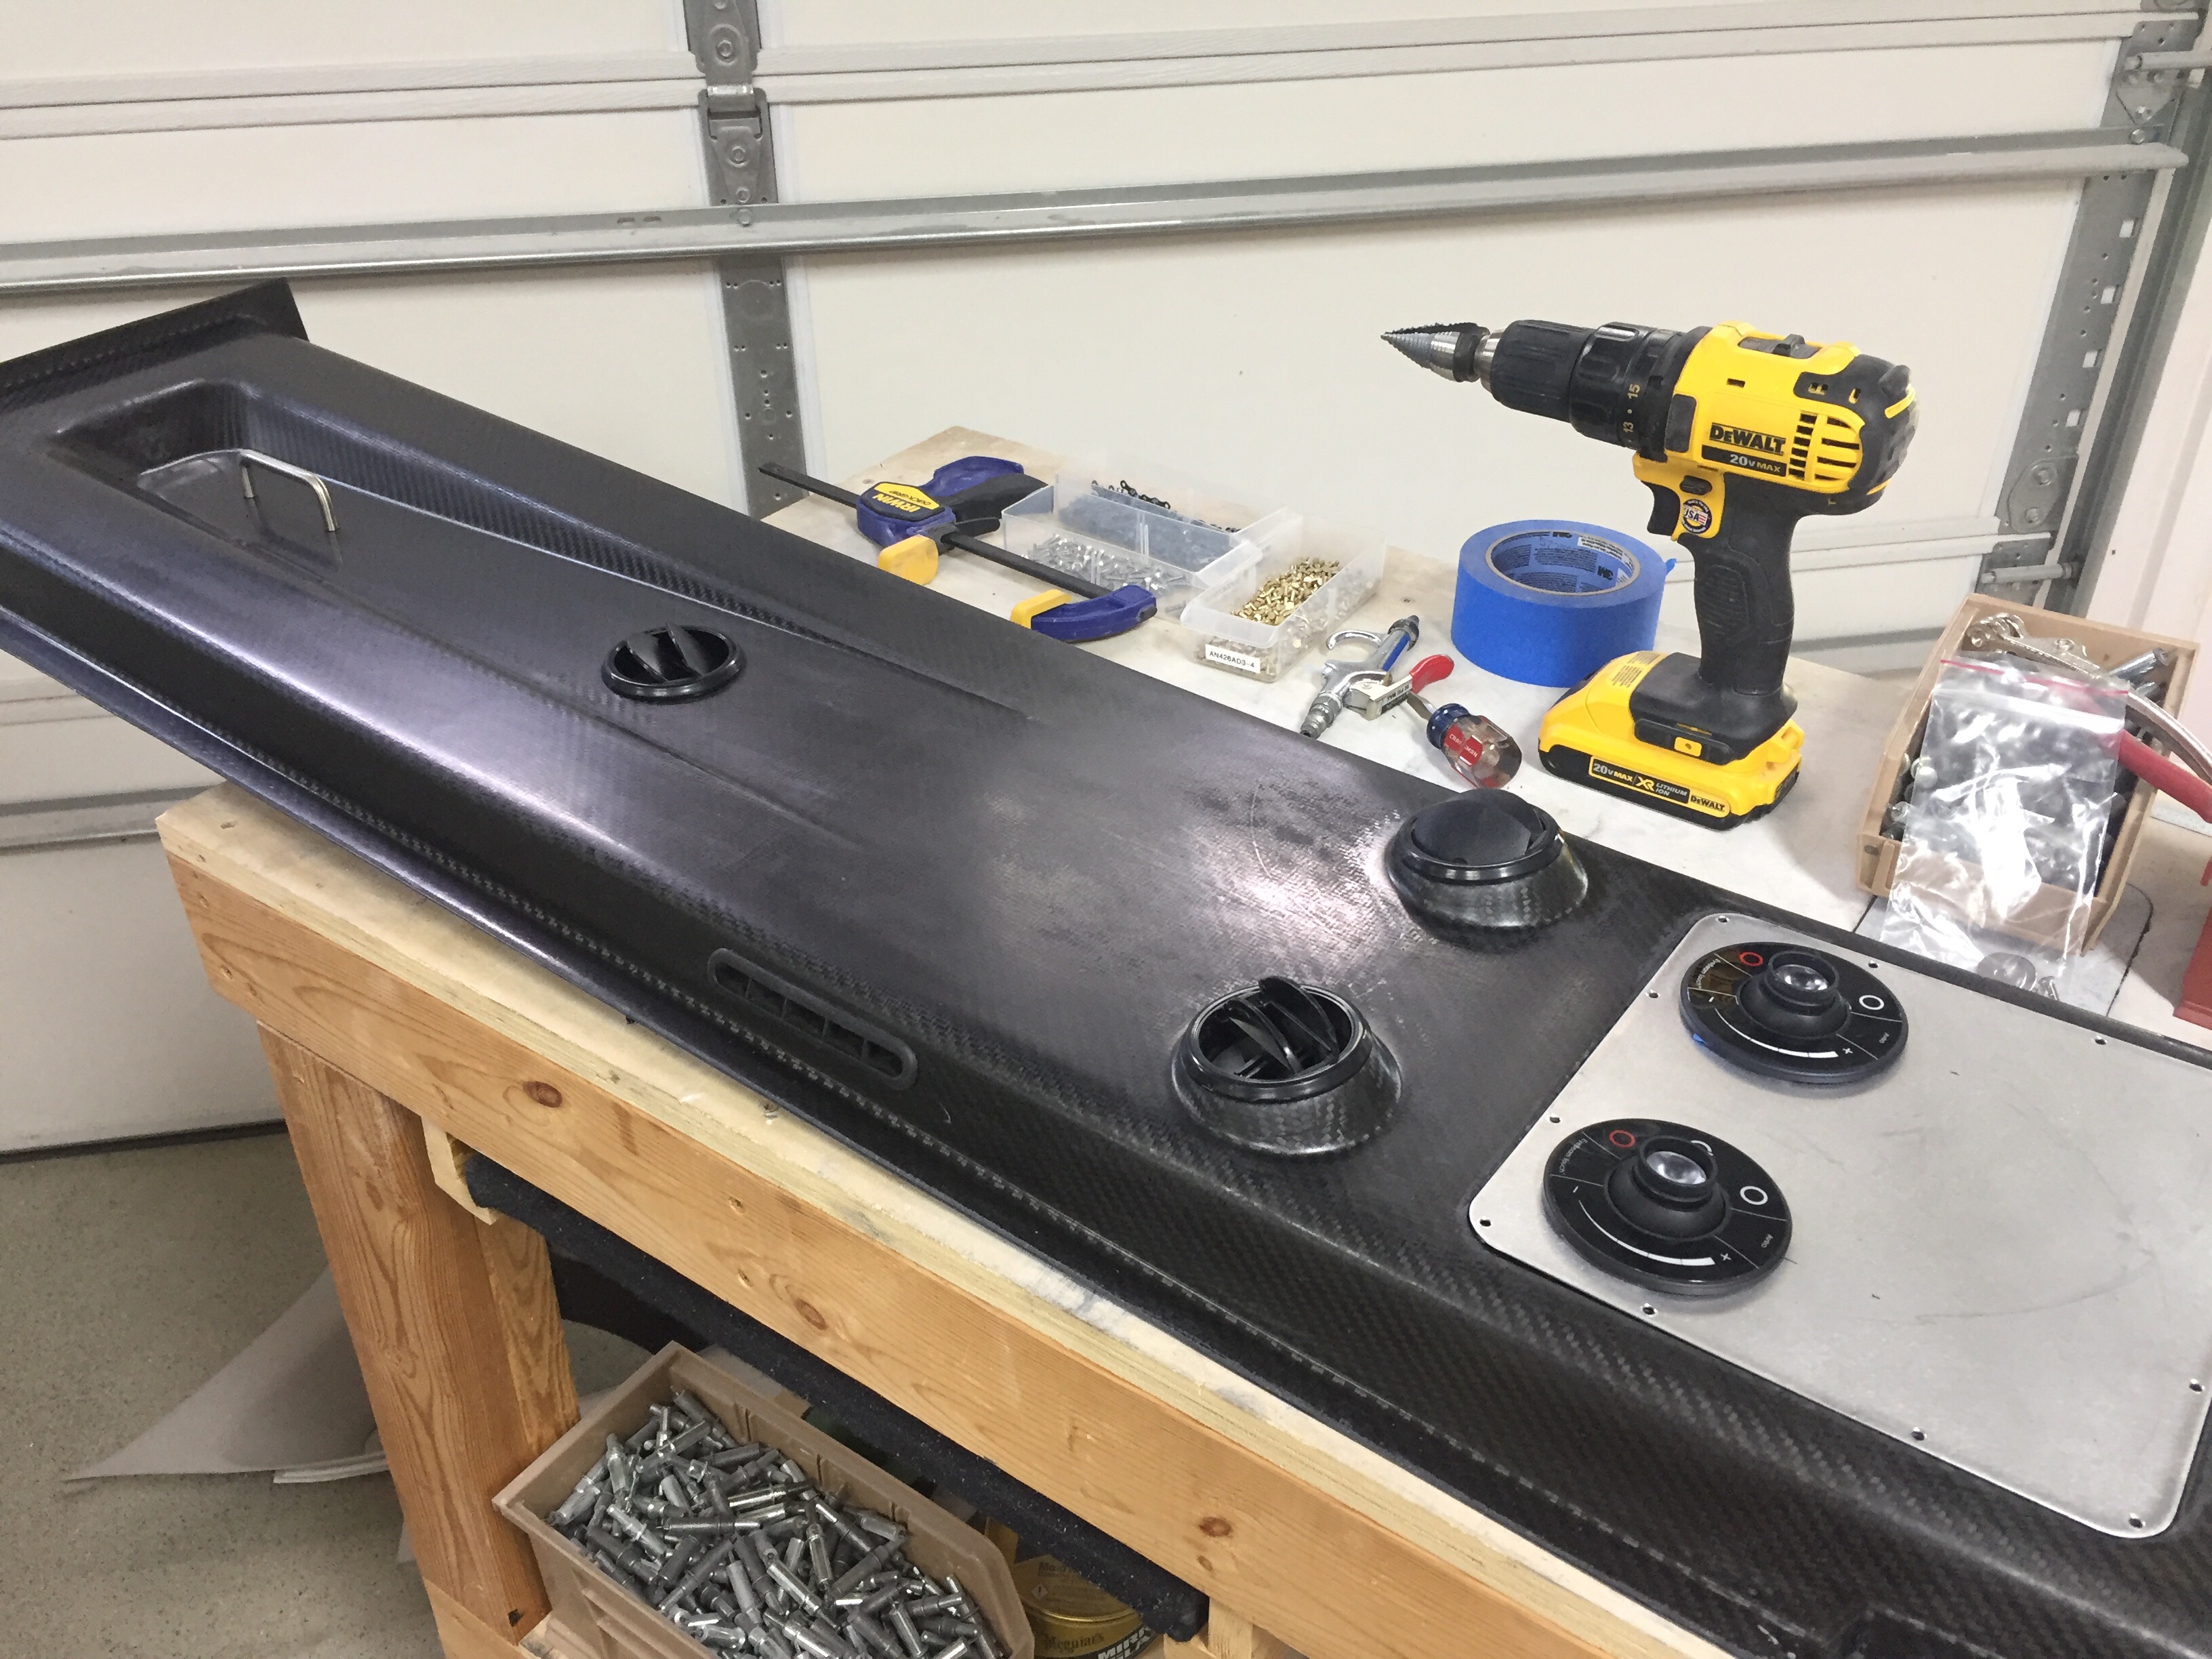
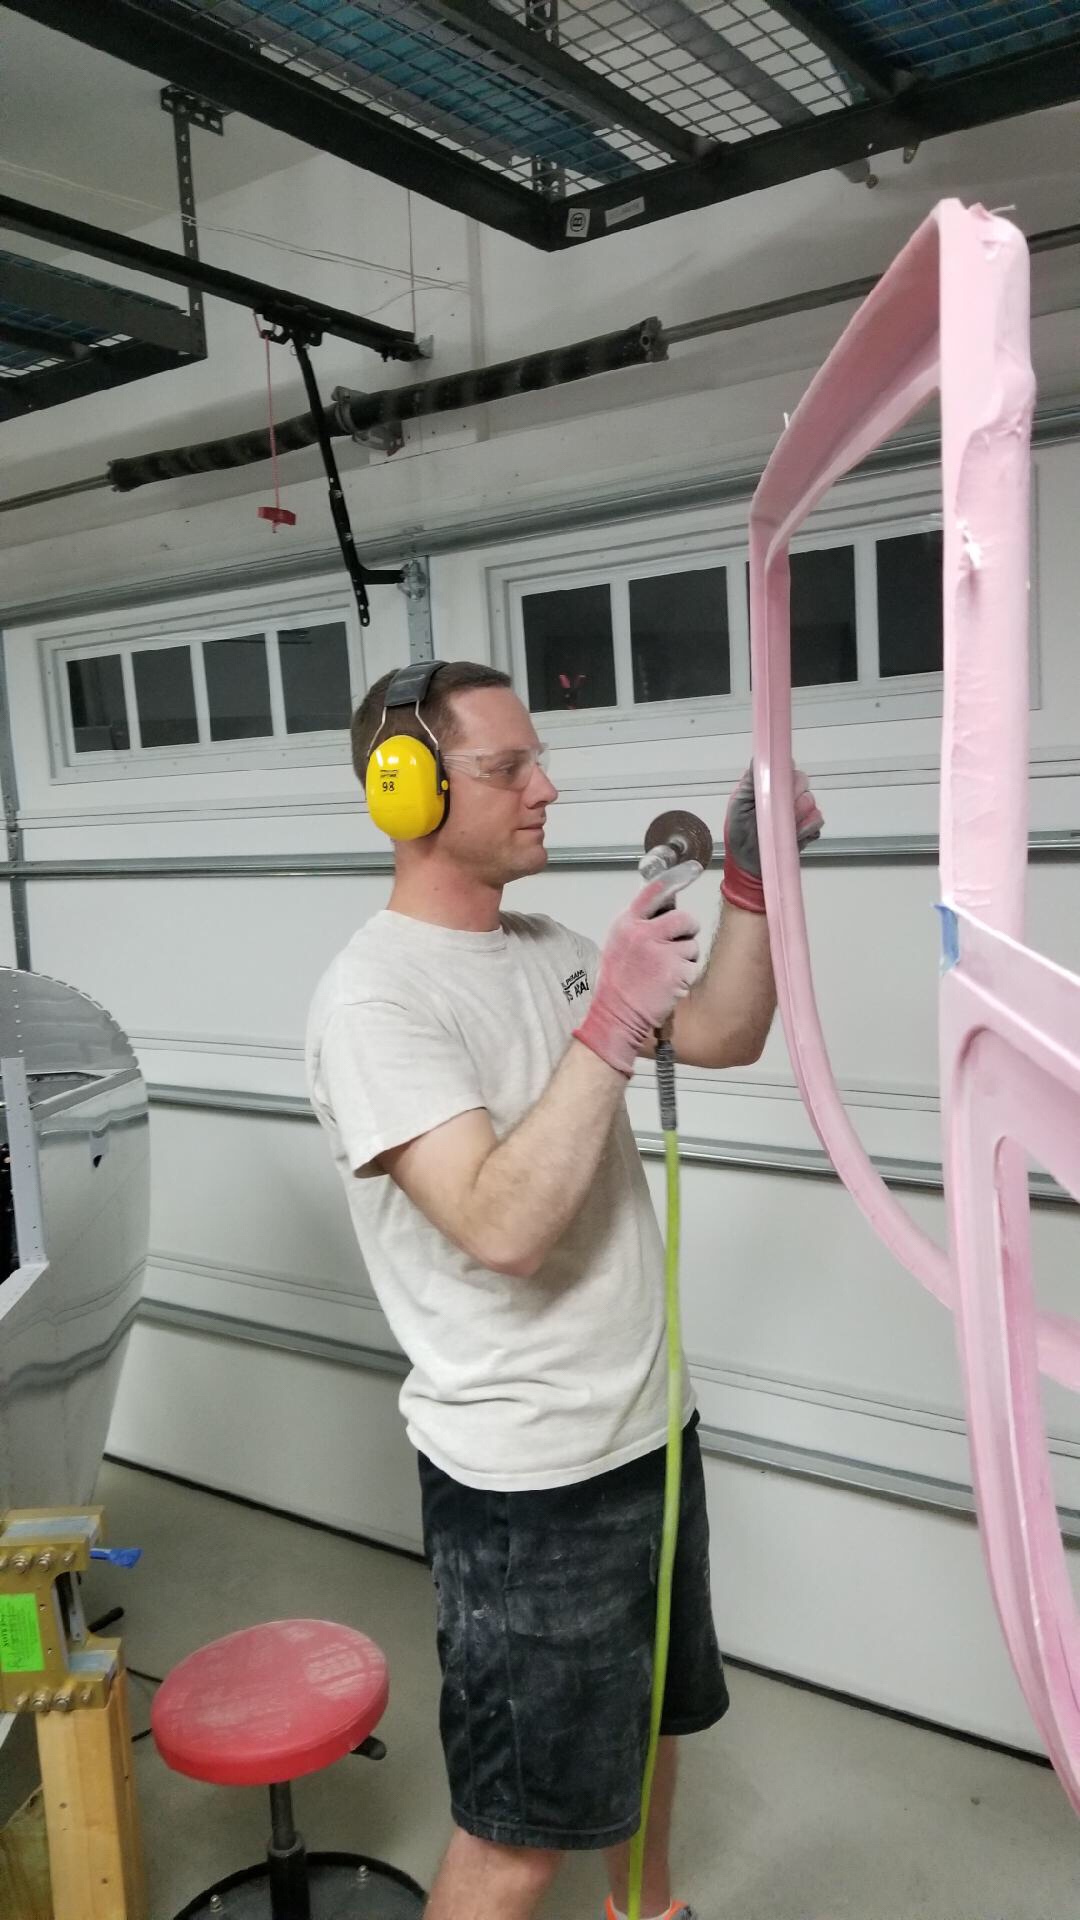
Now that the overhead is in, it’s time to start making it all look good. Out comes the Super Fill and the mixing board. I really like this stuff, it’s easy to measure (2:1) and easy to mix up. Best of all, it’s simple and easy to apply and pretty forgiving. The sanding is trouble free as well and it’s very light. Really, it’s just the best and I regret not using it before on the fiberglass tips, etc.
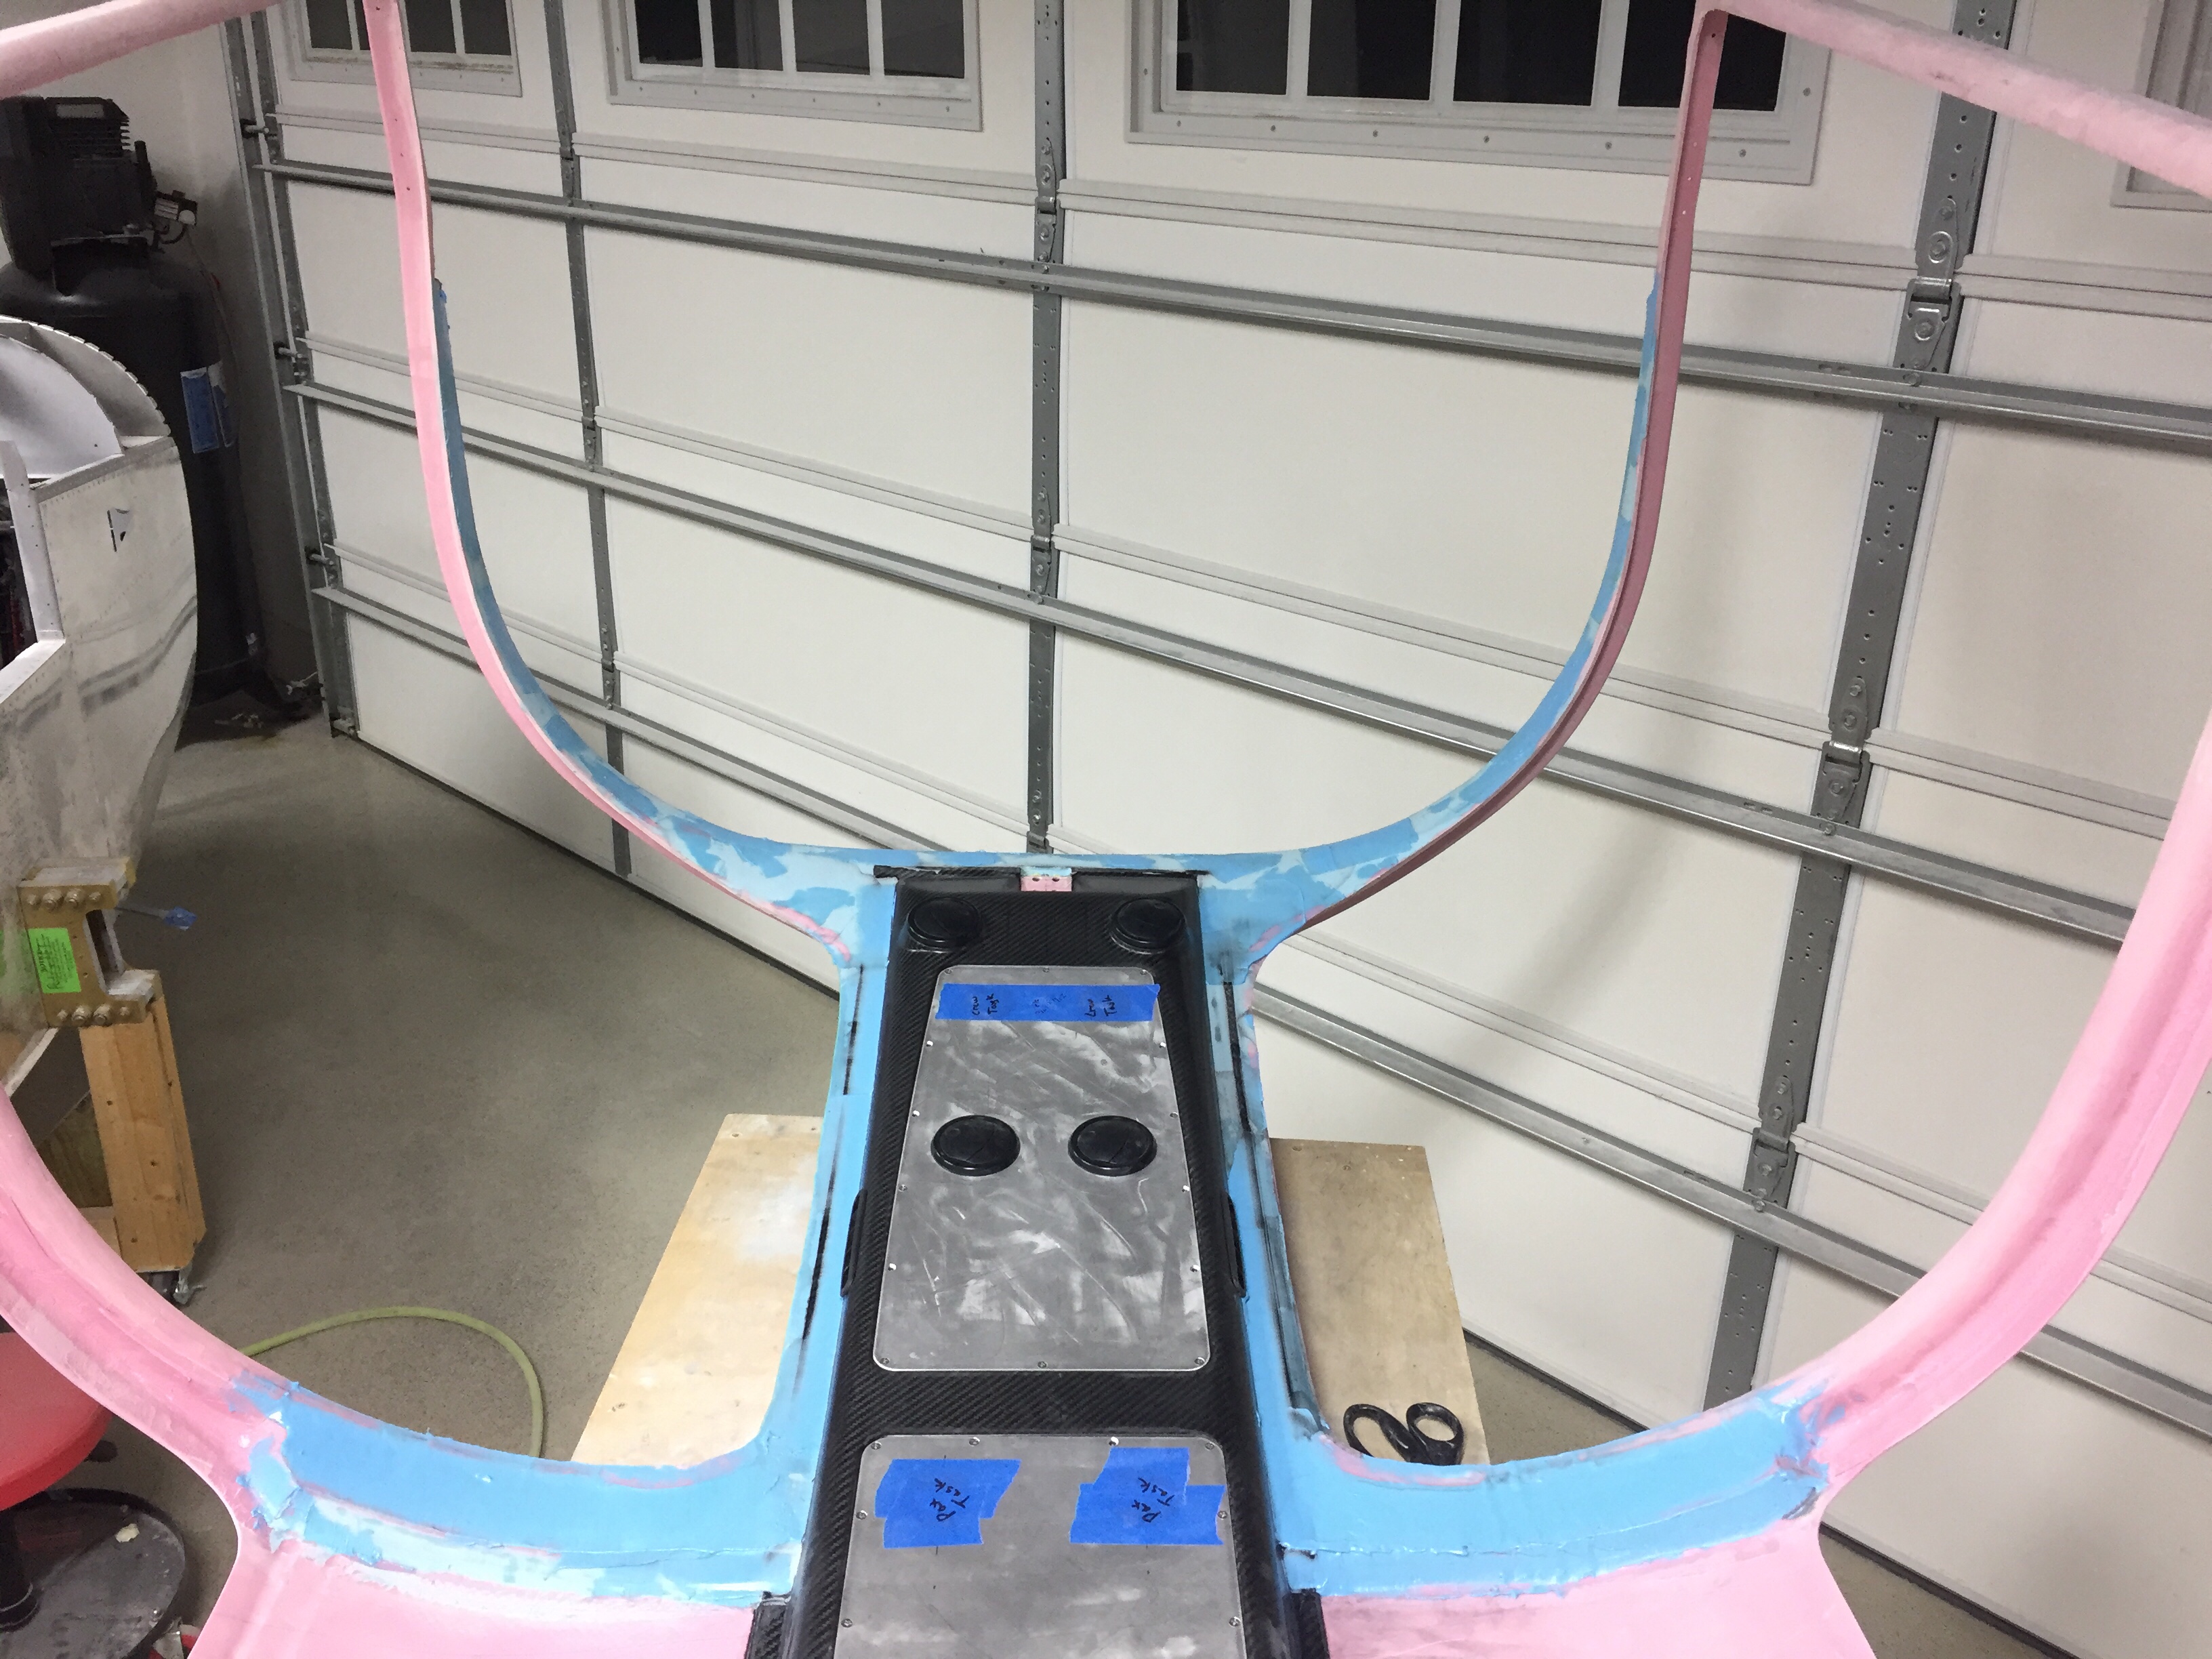
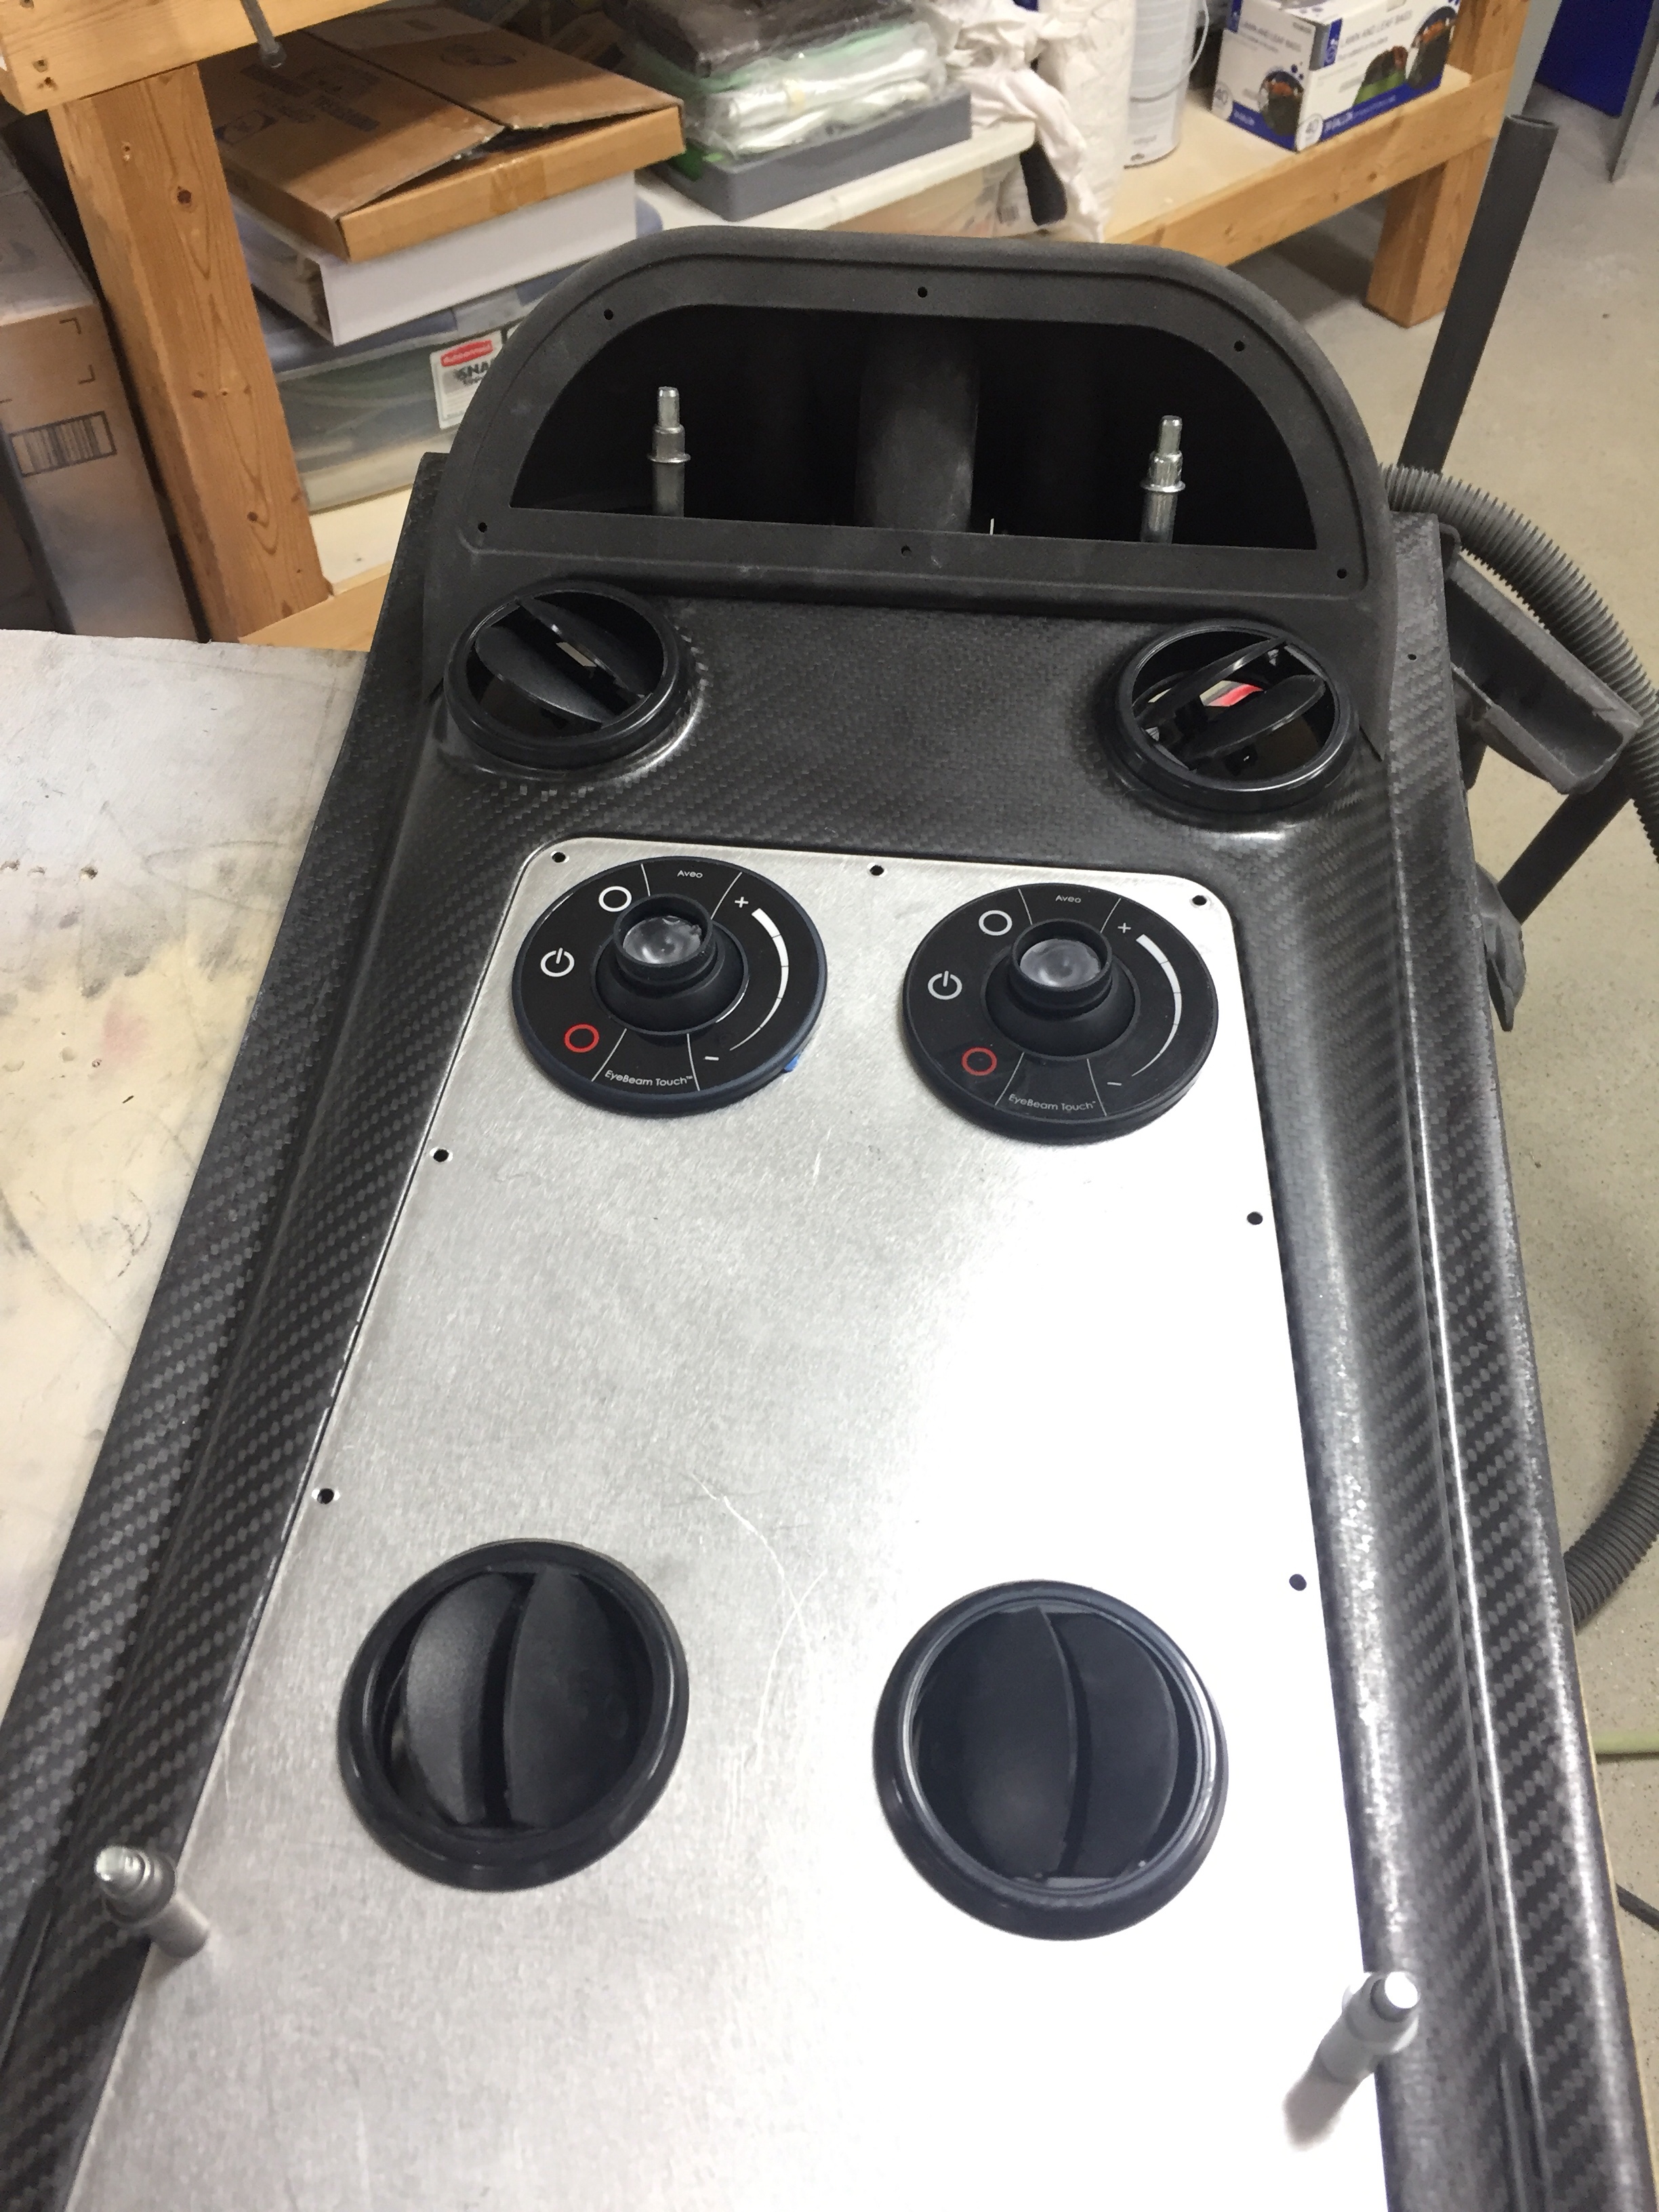
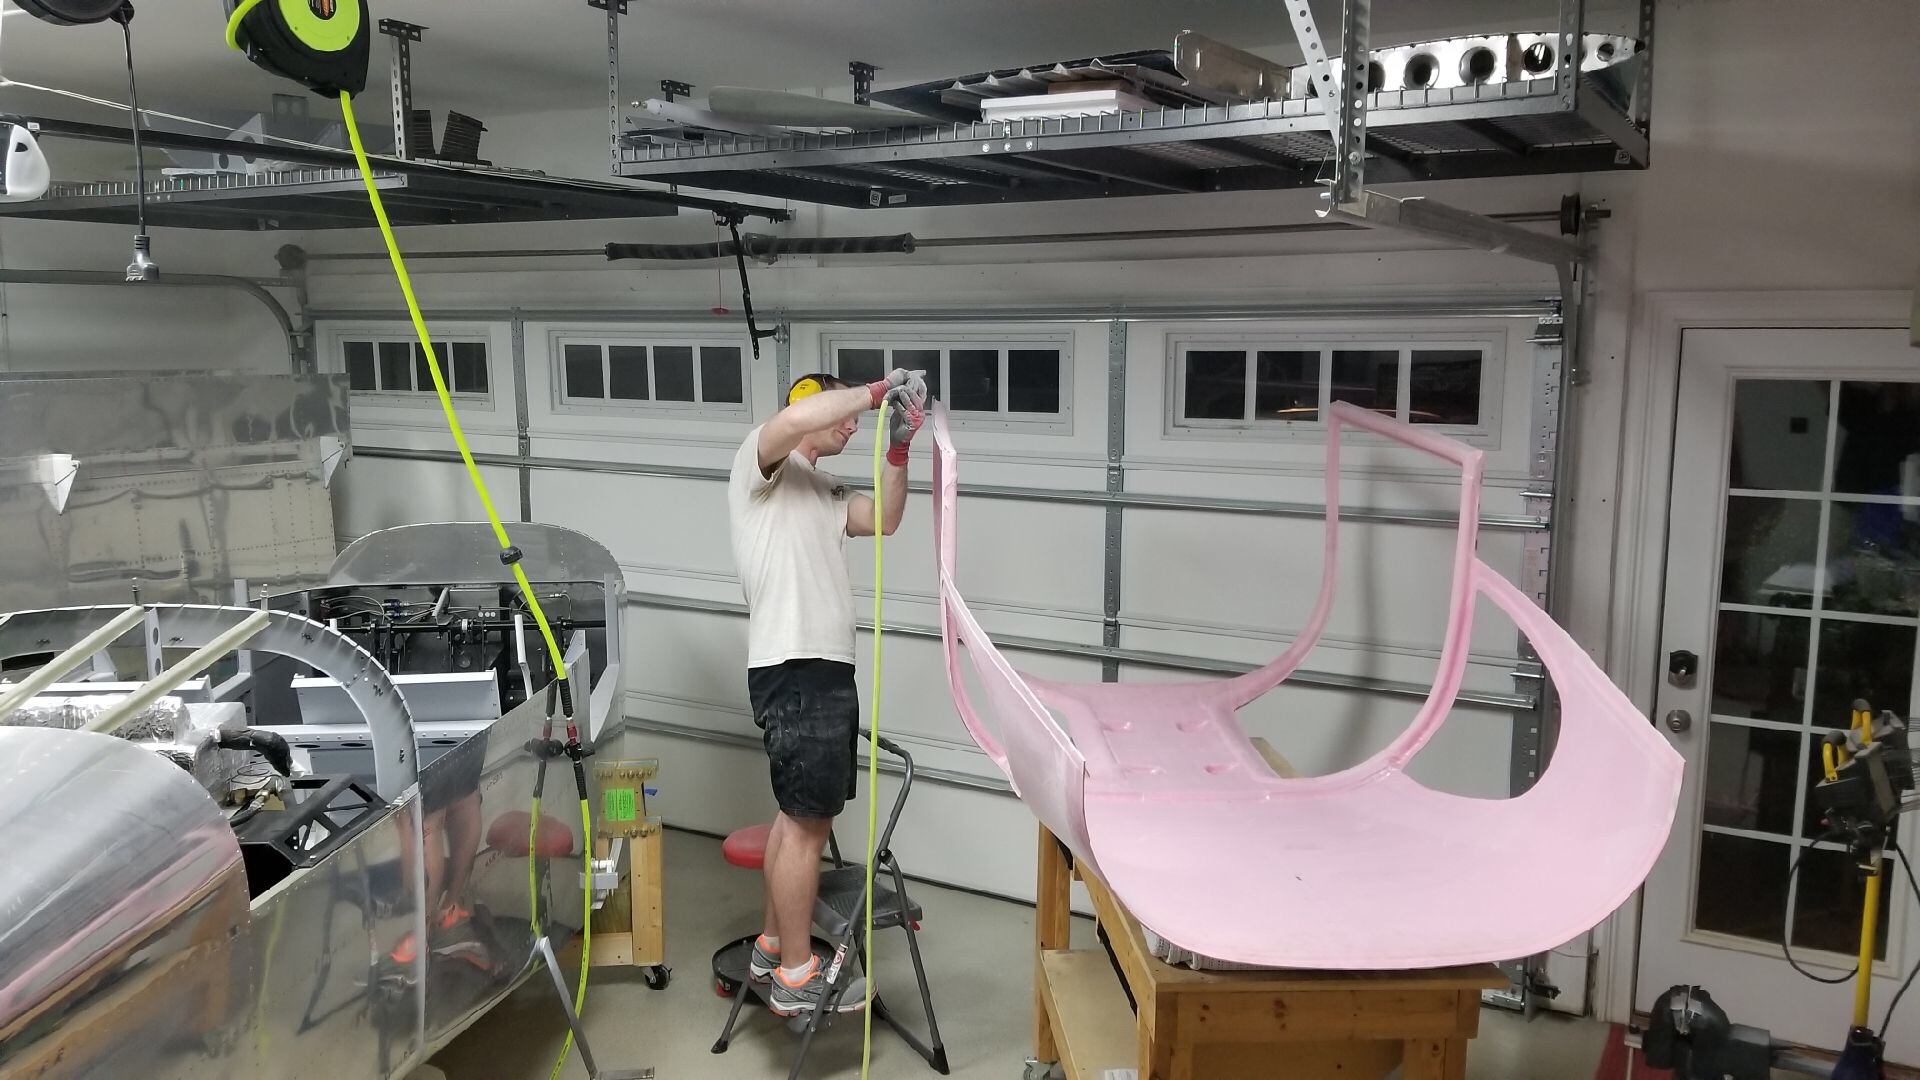
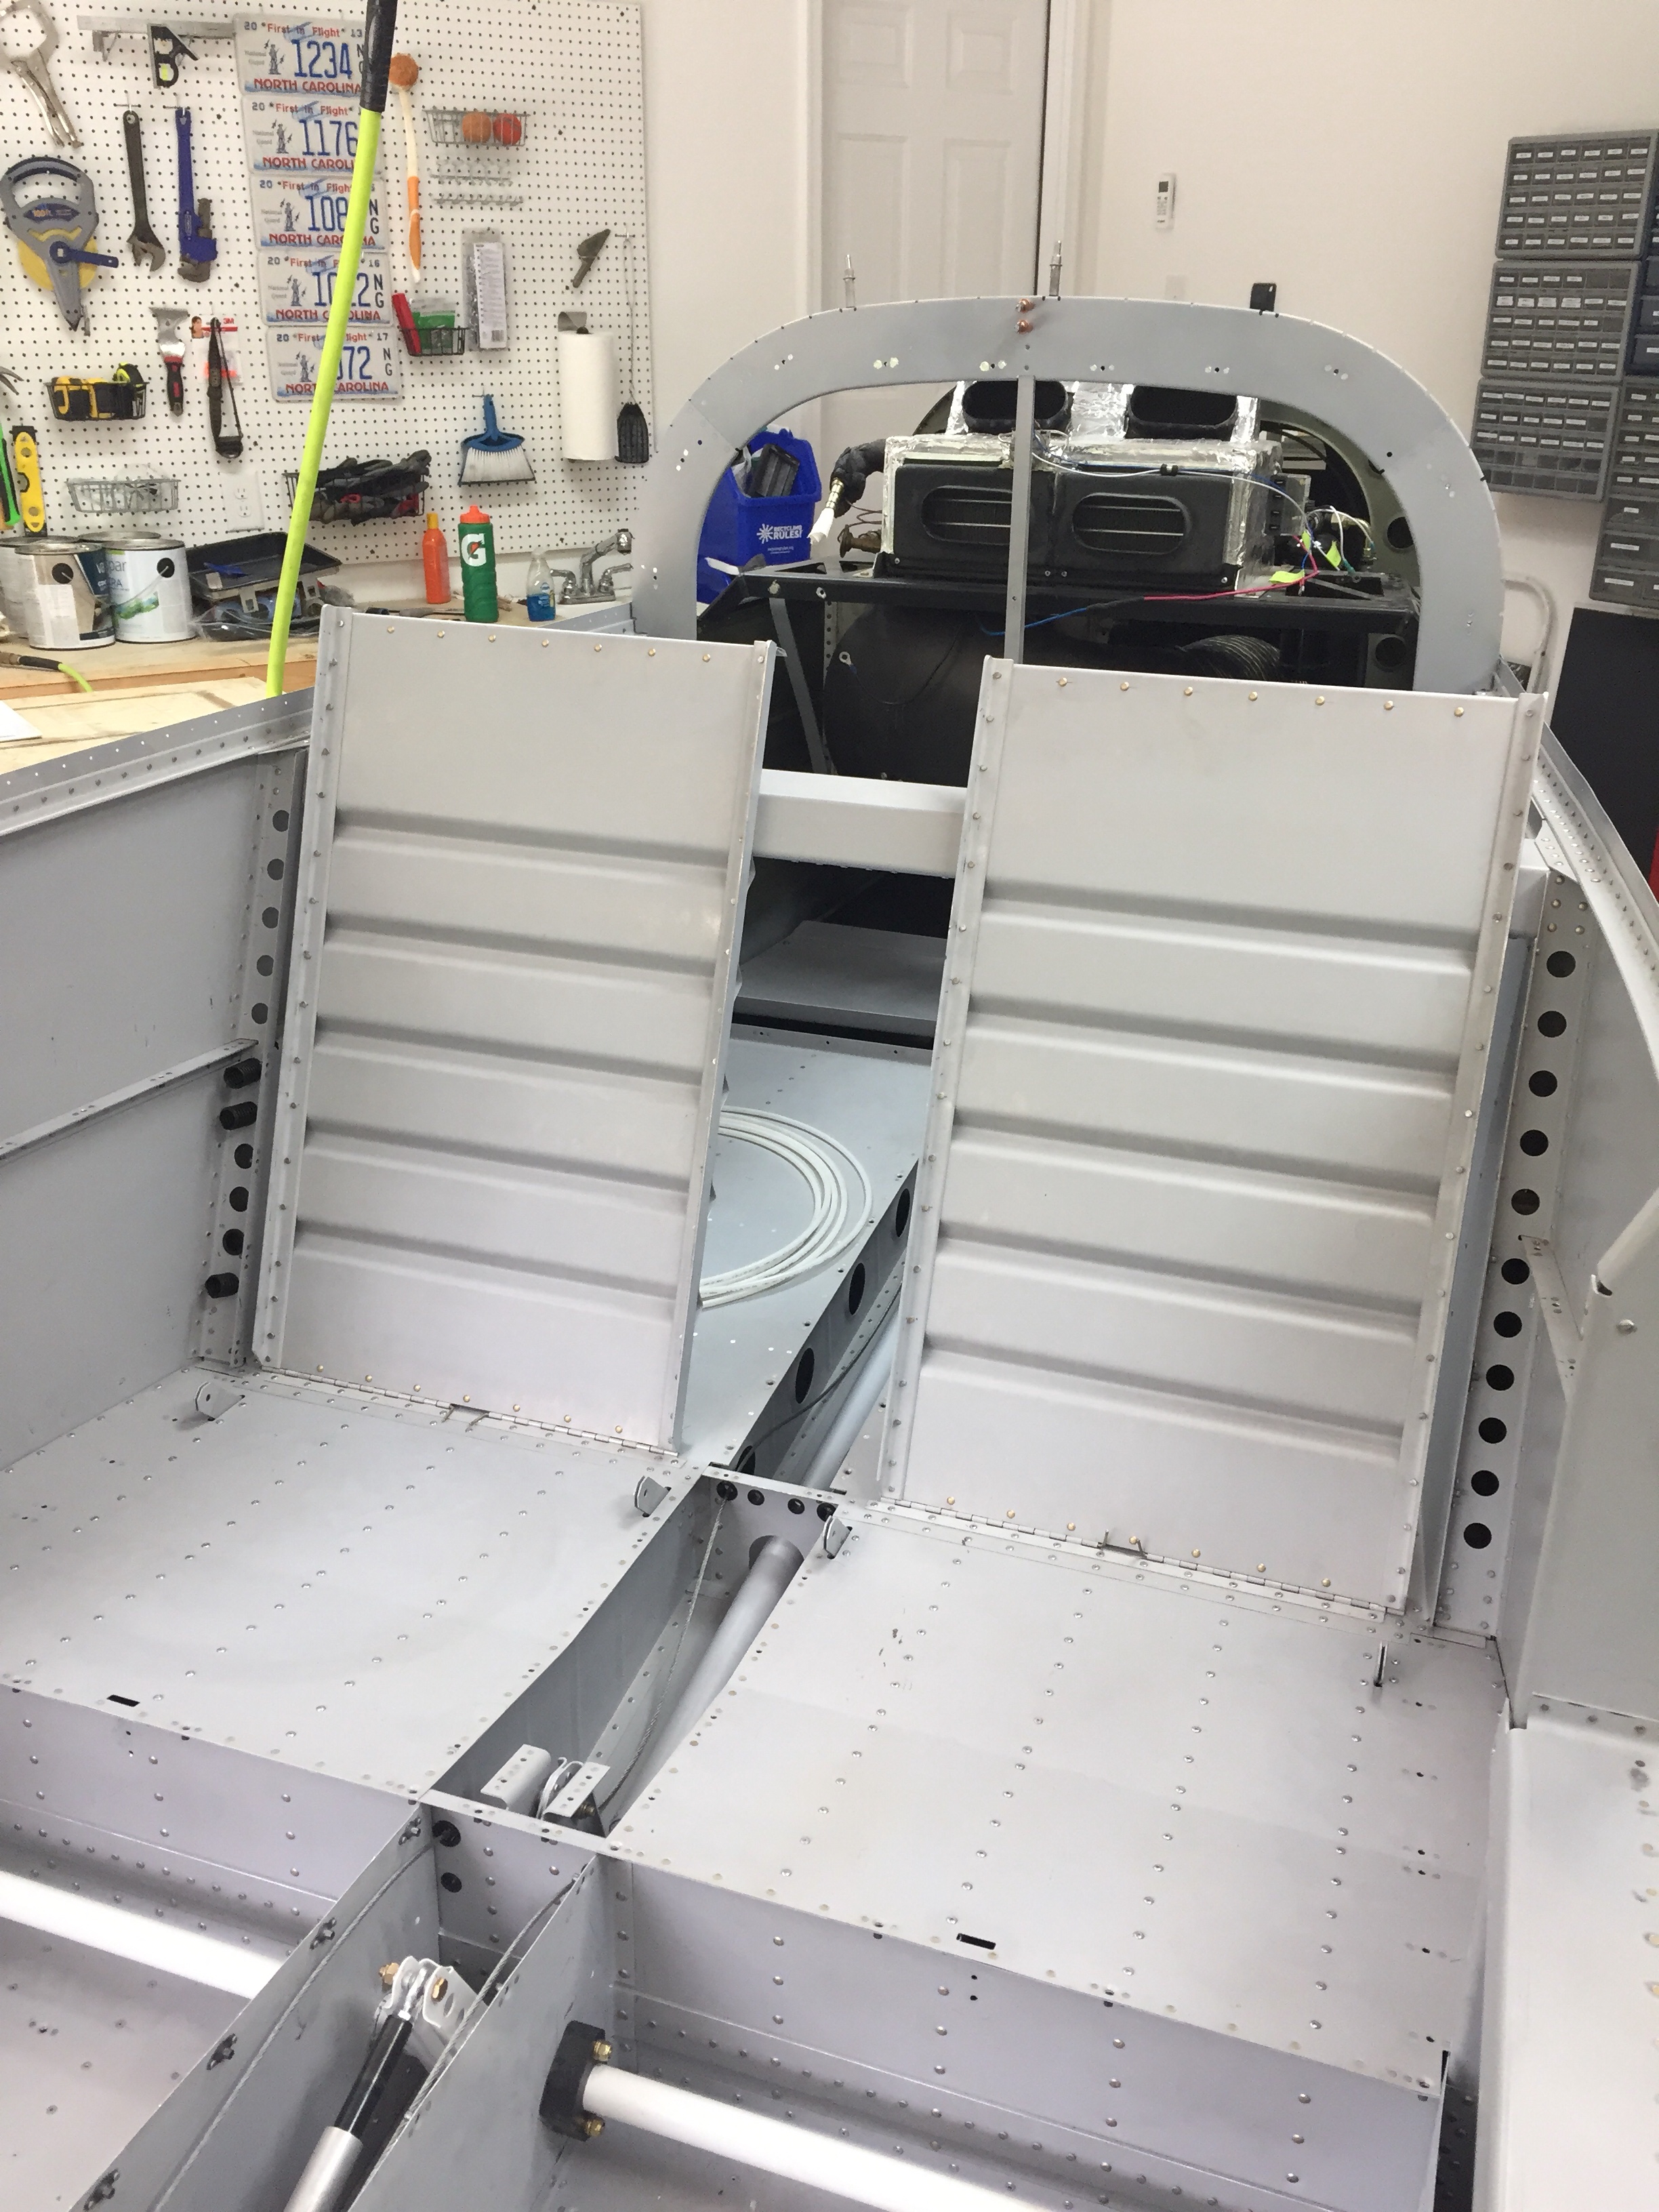
I mixed and applied for a good hour the first night and got the overall shape done along with filling in the overhead. I’m not worried about the areas covered by the headliner so that saves a lot of surface area that I can essentially ignore. I cleaned up the aft door supports as those will stay as is. I also installed the switch console and filleted the seam between it and the overhead. This seam won’t be perfect but it just makes it look a little cleaner, albeit not one solid piece.
And so it went for four or five evenings. I start by using my sanding blocks to clean up the now cured filler. After it’s all smoothed out and I can tell where additional filler is needed, I mix it up and apply. Then I moved onto the A/C or whatever other project of the evening is. It really hasn’t been a bad project and it’s rewarding seeing it take shape.
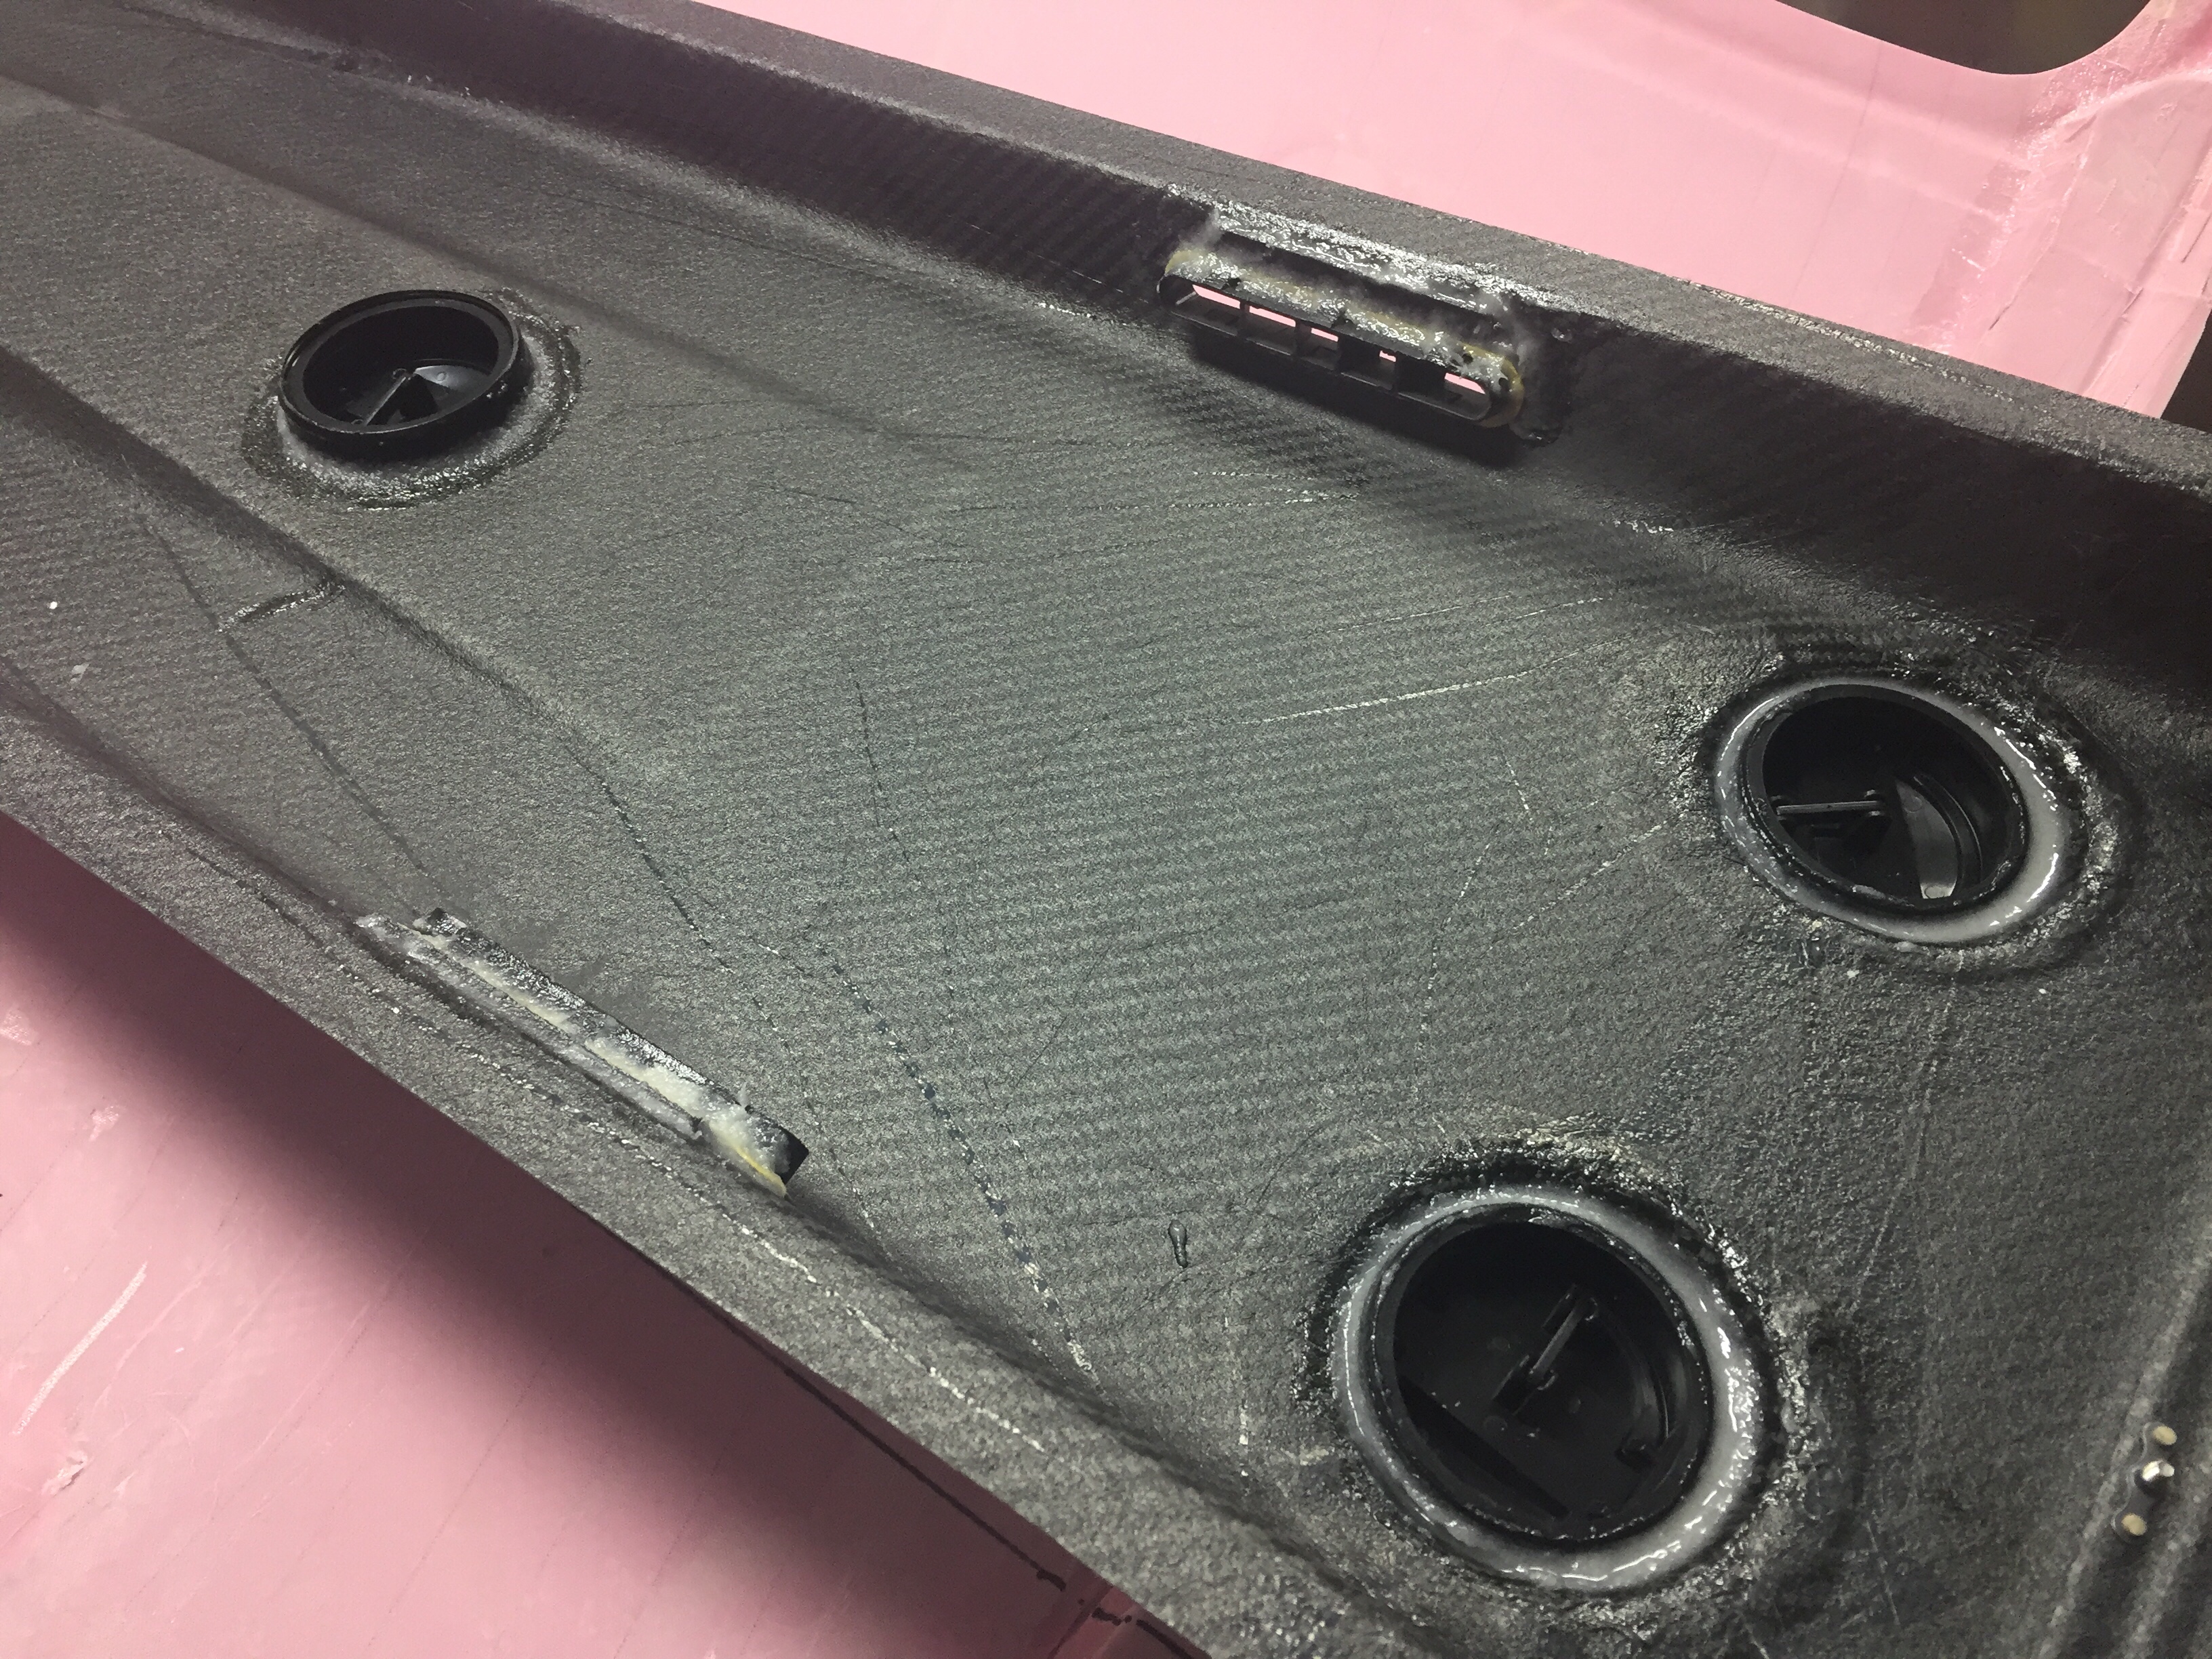
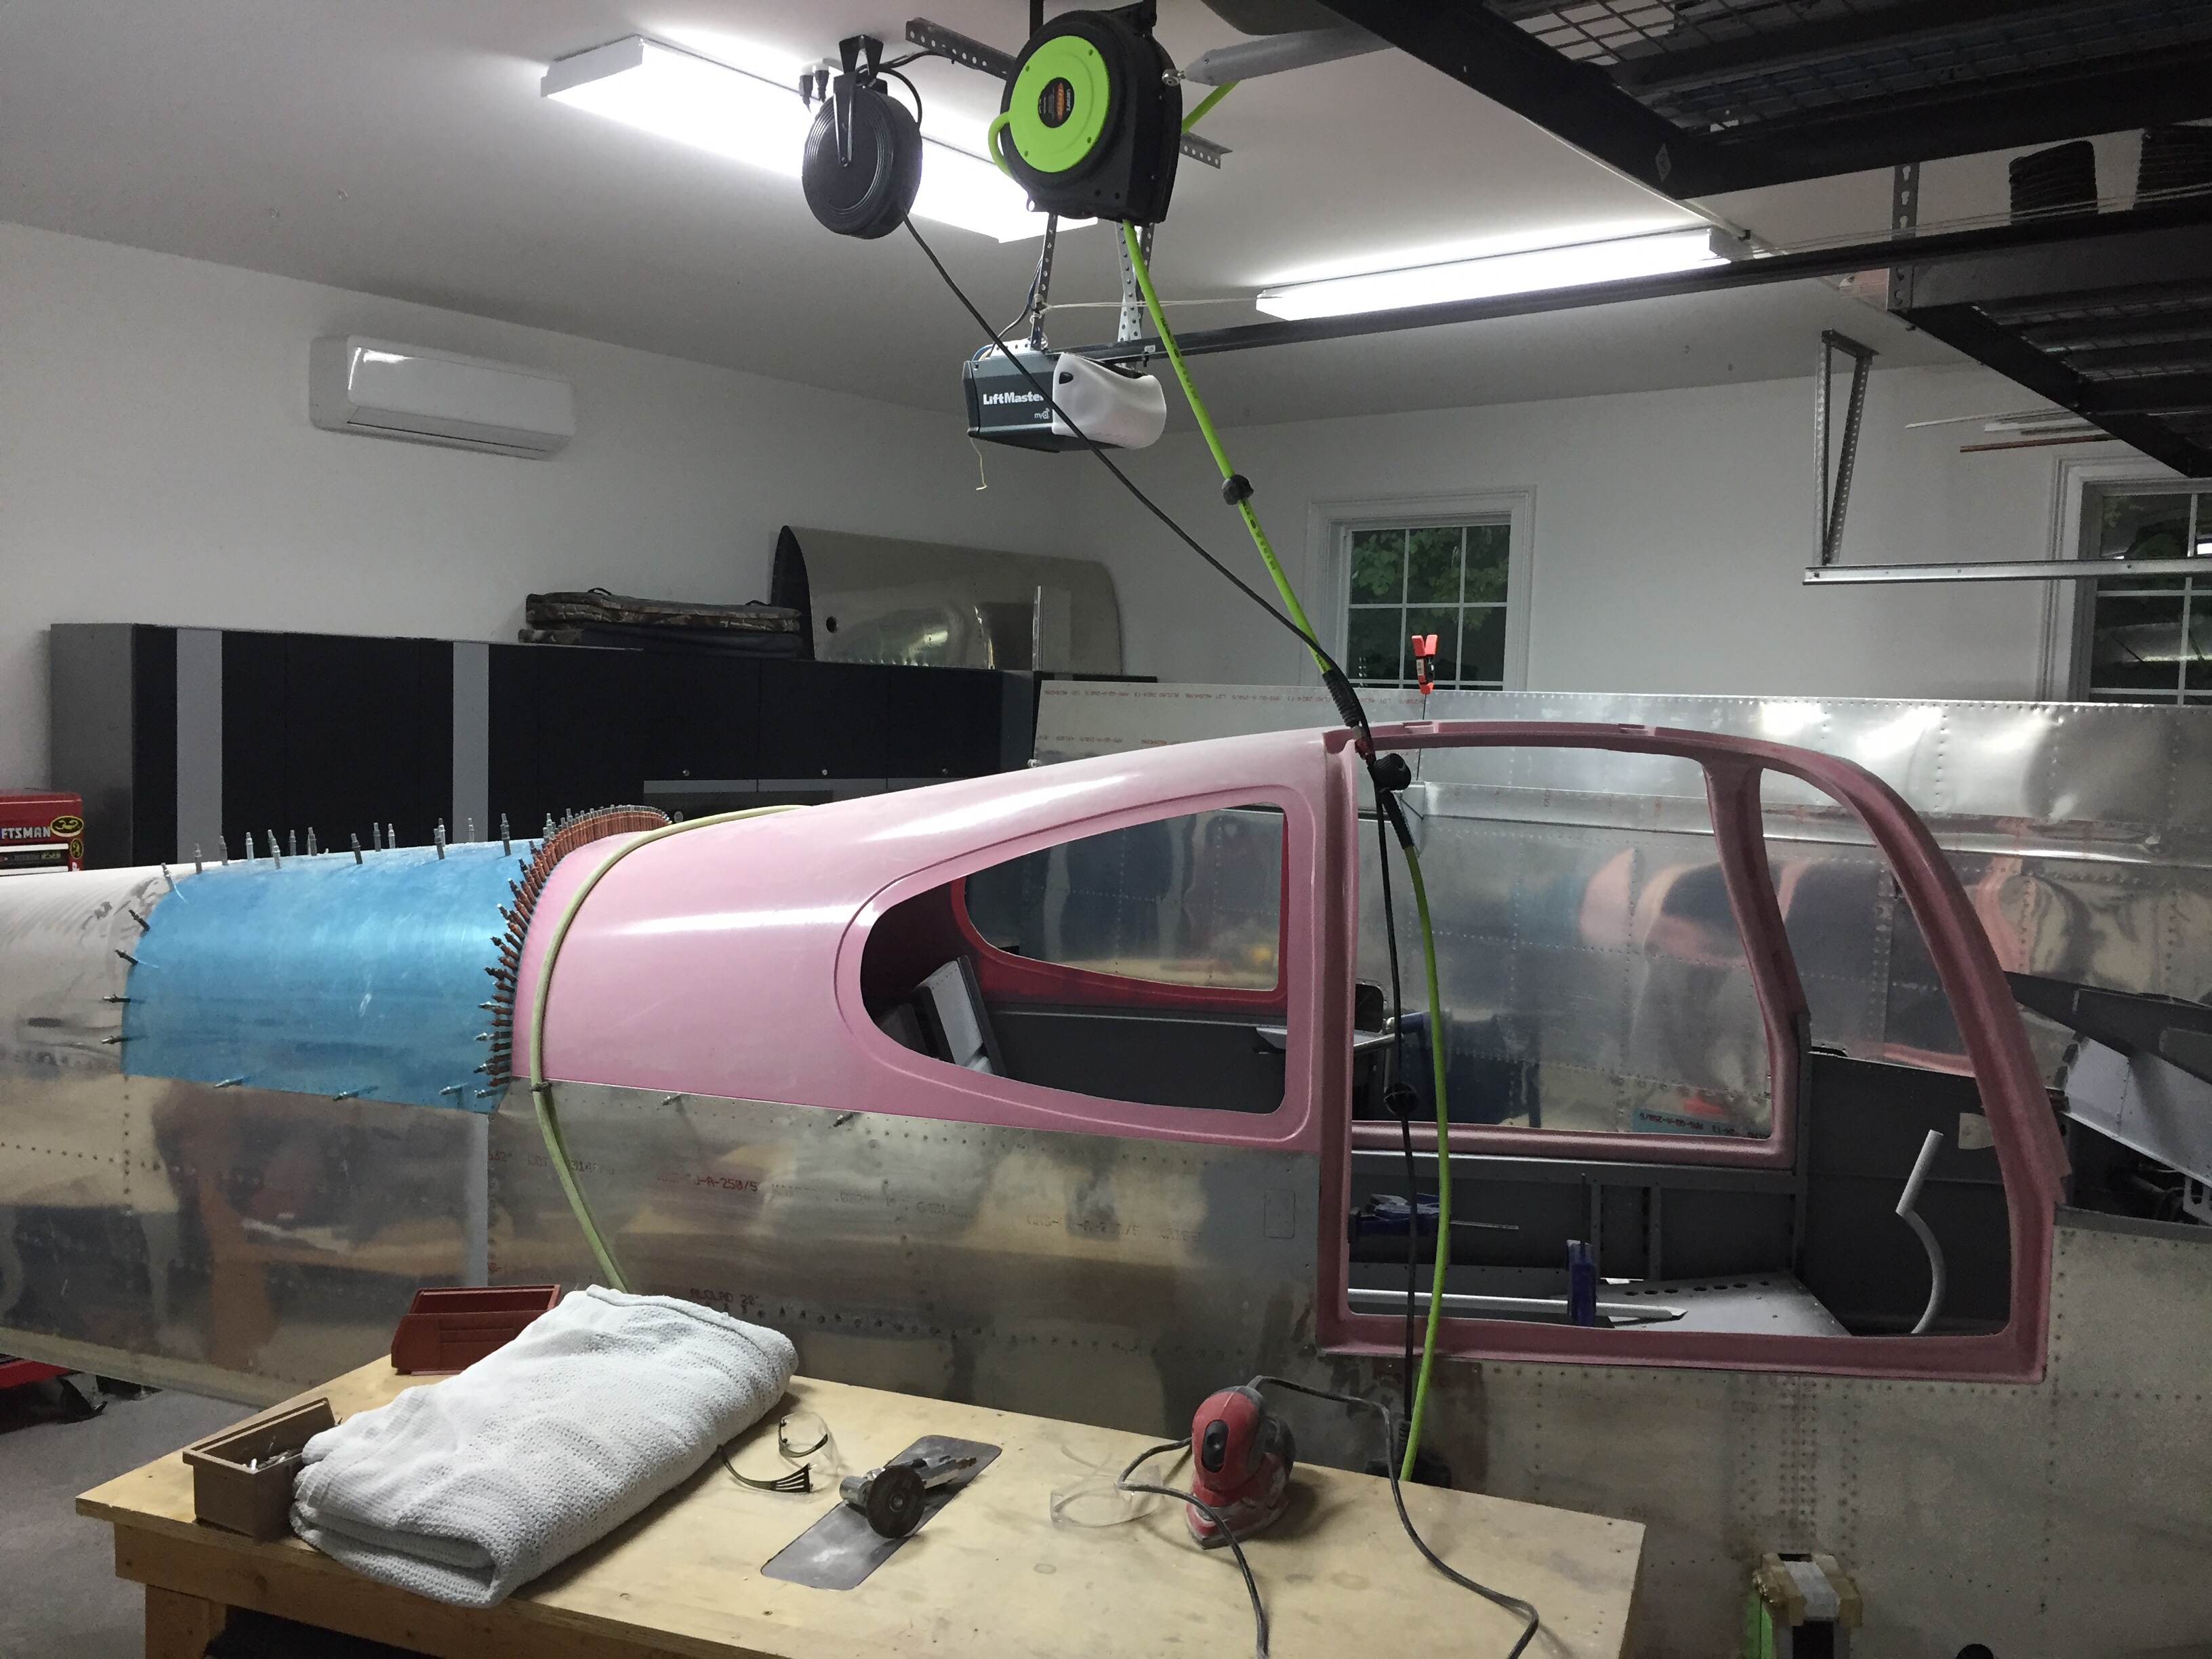
Finally, it was about as good as it is going to get, so I used the SEM high build primer to highlight any pins holes still hanging around. I few touch ups with some glazing compound made it all ready for the first coat of paint.

I sprayed a few coats allowing each one to flash and as always, the Color Coat provided good coverage. I am somewhat concerned that I’ll have some adhesion issues, as a few spots that will be covered by the headliner chipped pretty easily. The carbon has a very hard epoxy and even though I scuffed it, I’m not sure I did it enough. I should have also used an adhesion promoter looking back. I’ll use that for the rest of the carbon and the panels. Overall, I’m pretty happy with how it turned out and while it is not perfect, it is more than good enough for me.
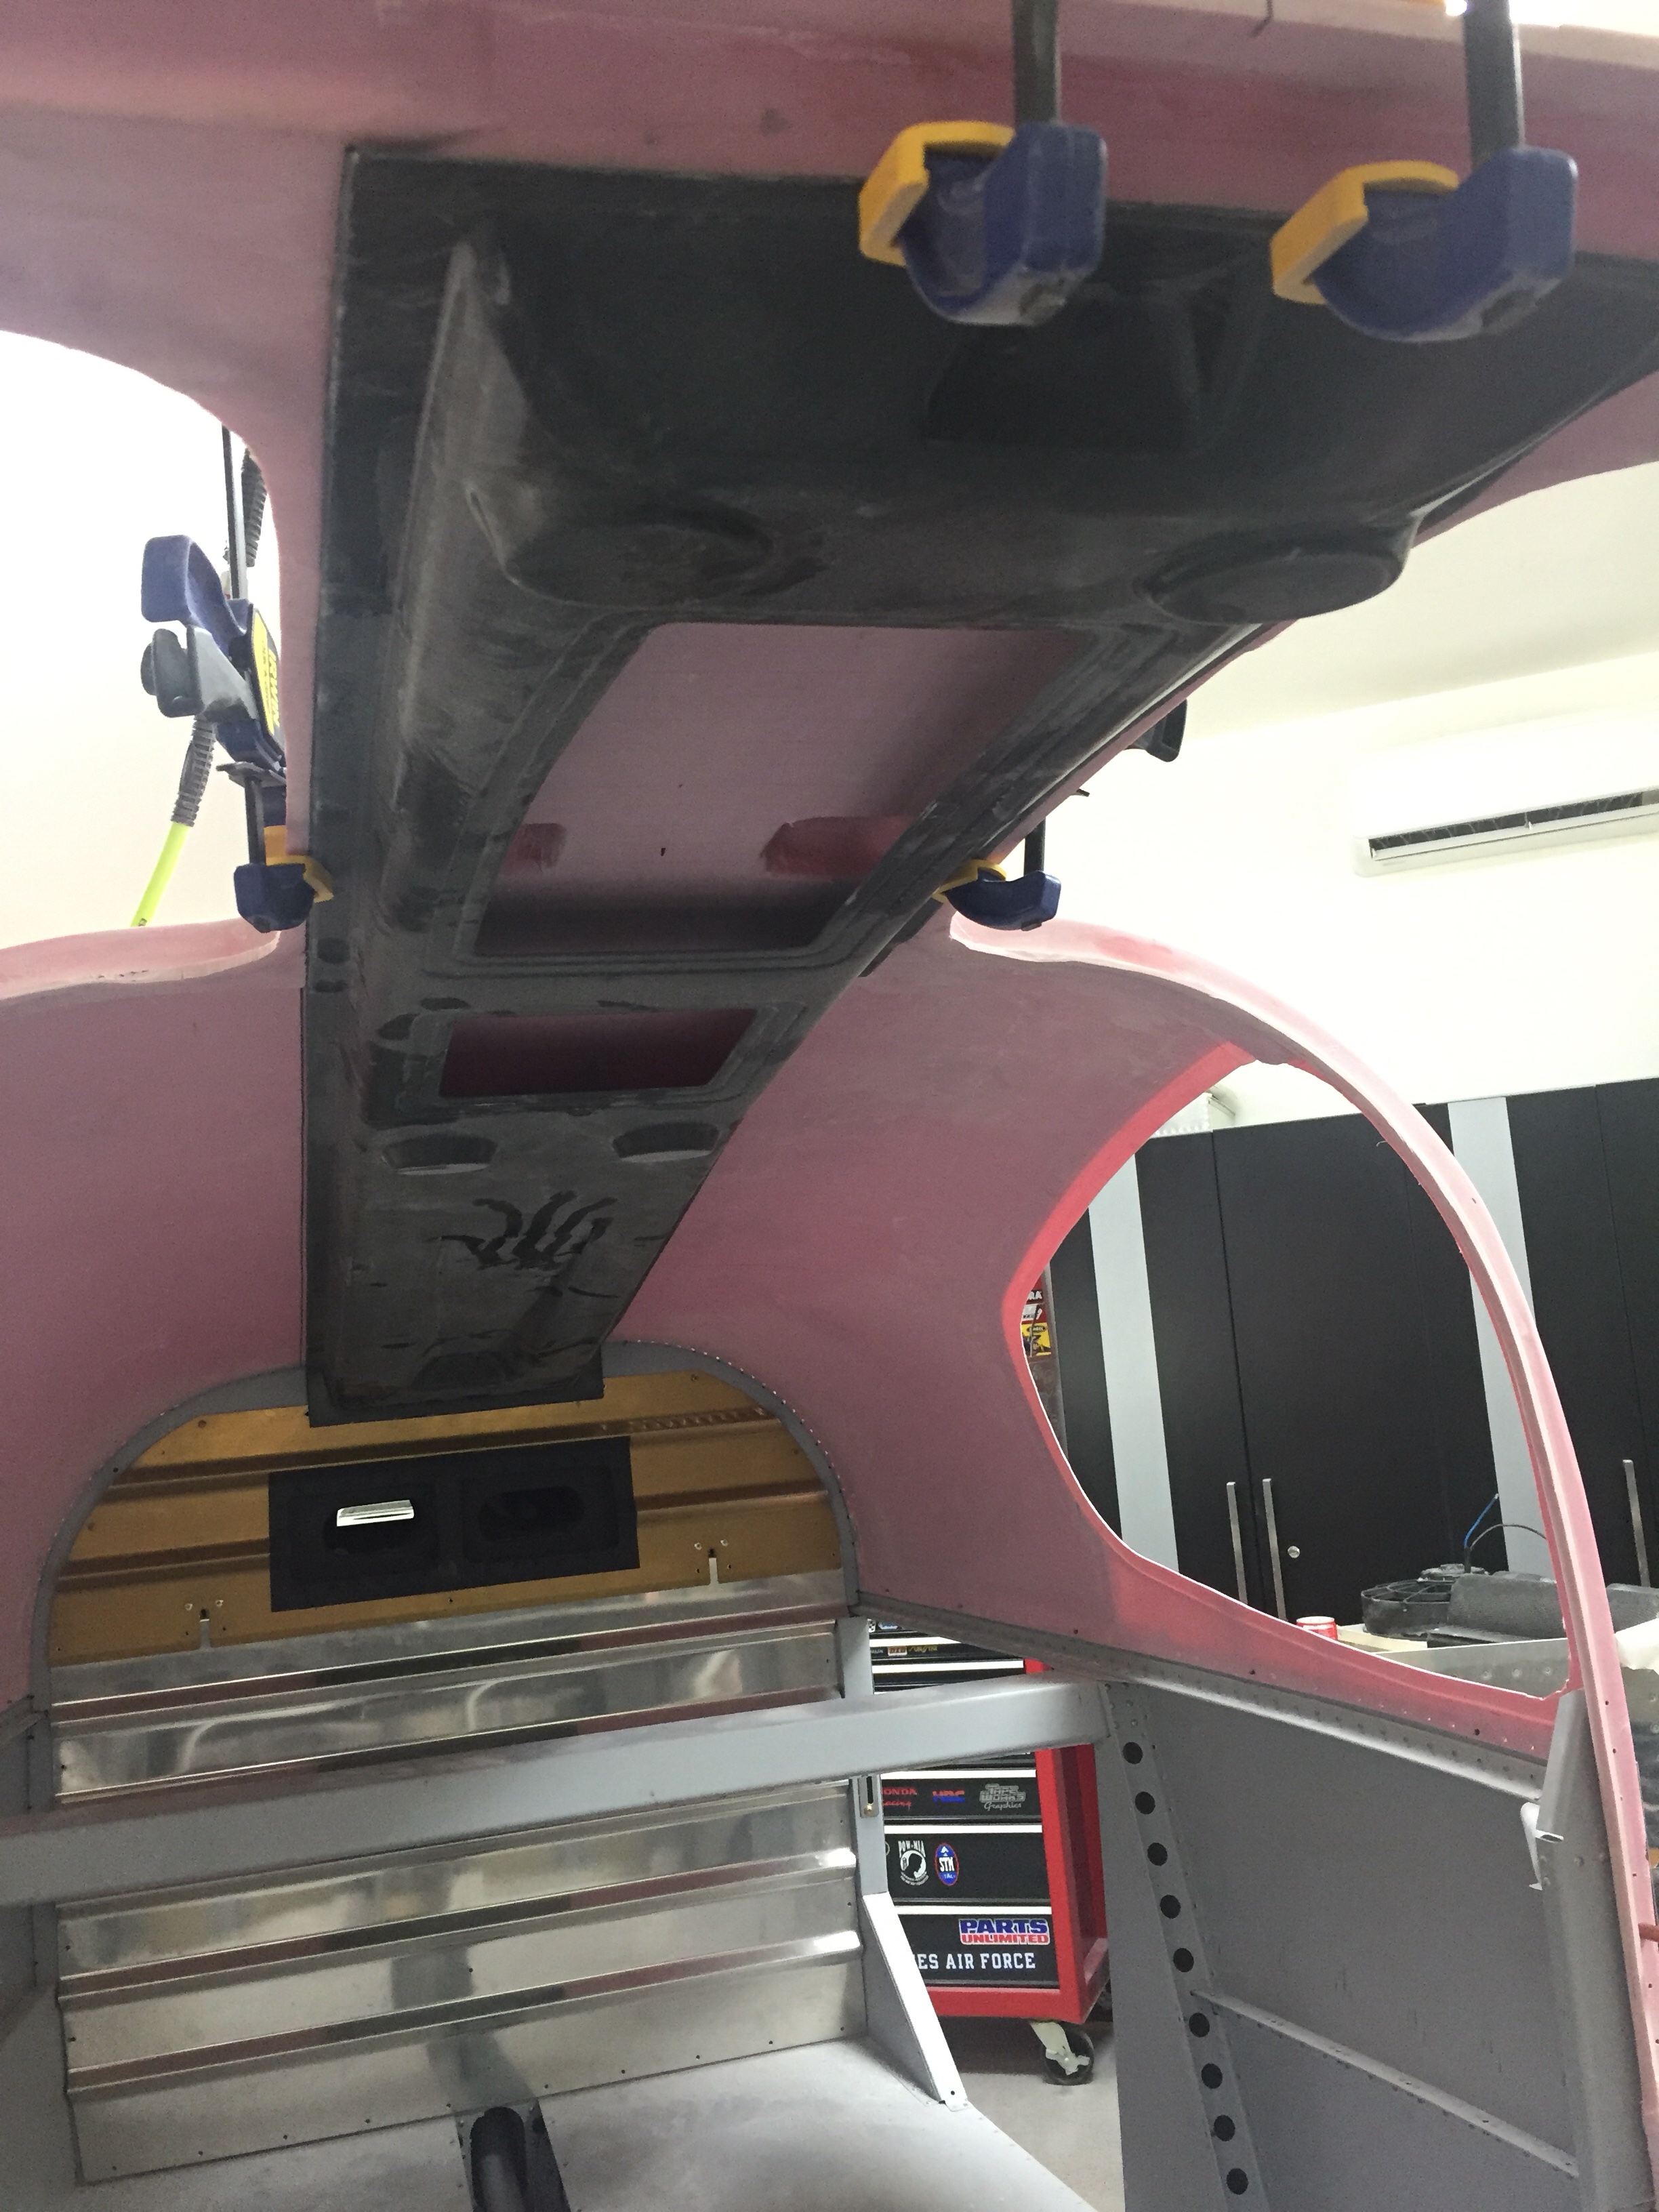

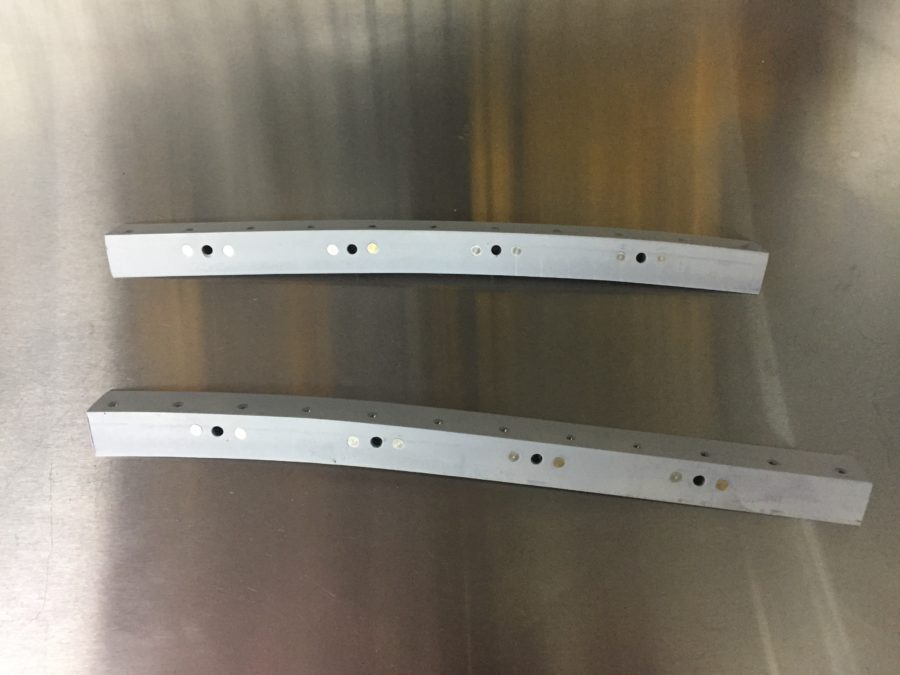
 I also knocked out a few little projects, one being making new elevator trim bracket panels. I had the beefed up fittings sitting in the parts bin and finally ordered the new access panels. After countersinking and priming, the parts are ready to roll and comply with a SB from Van’s from many years ago. This is a common upgrade and an easy one at that.
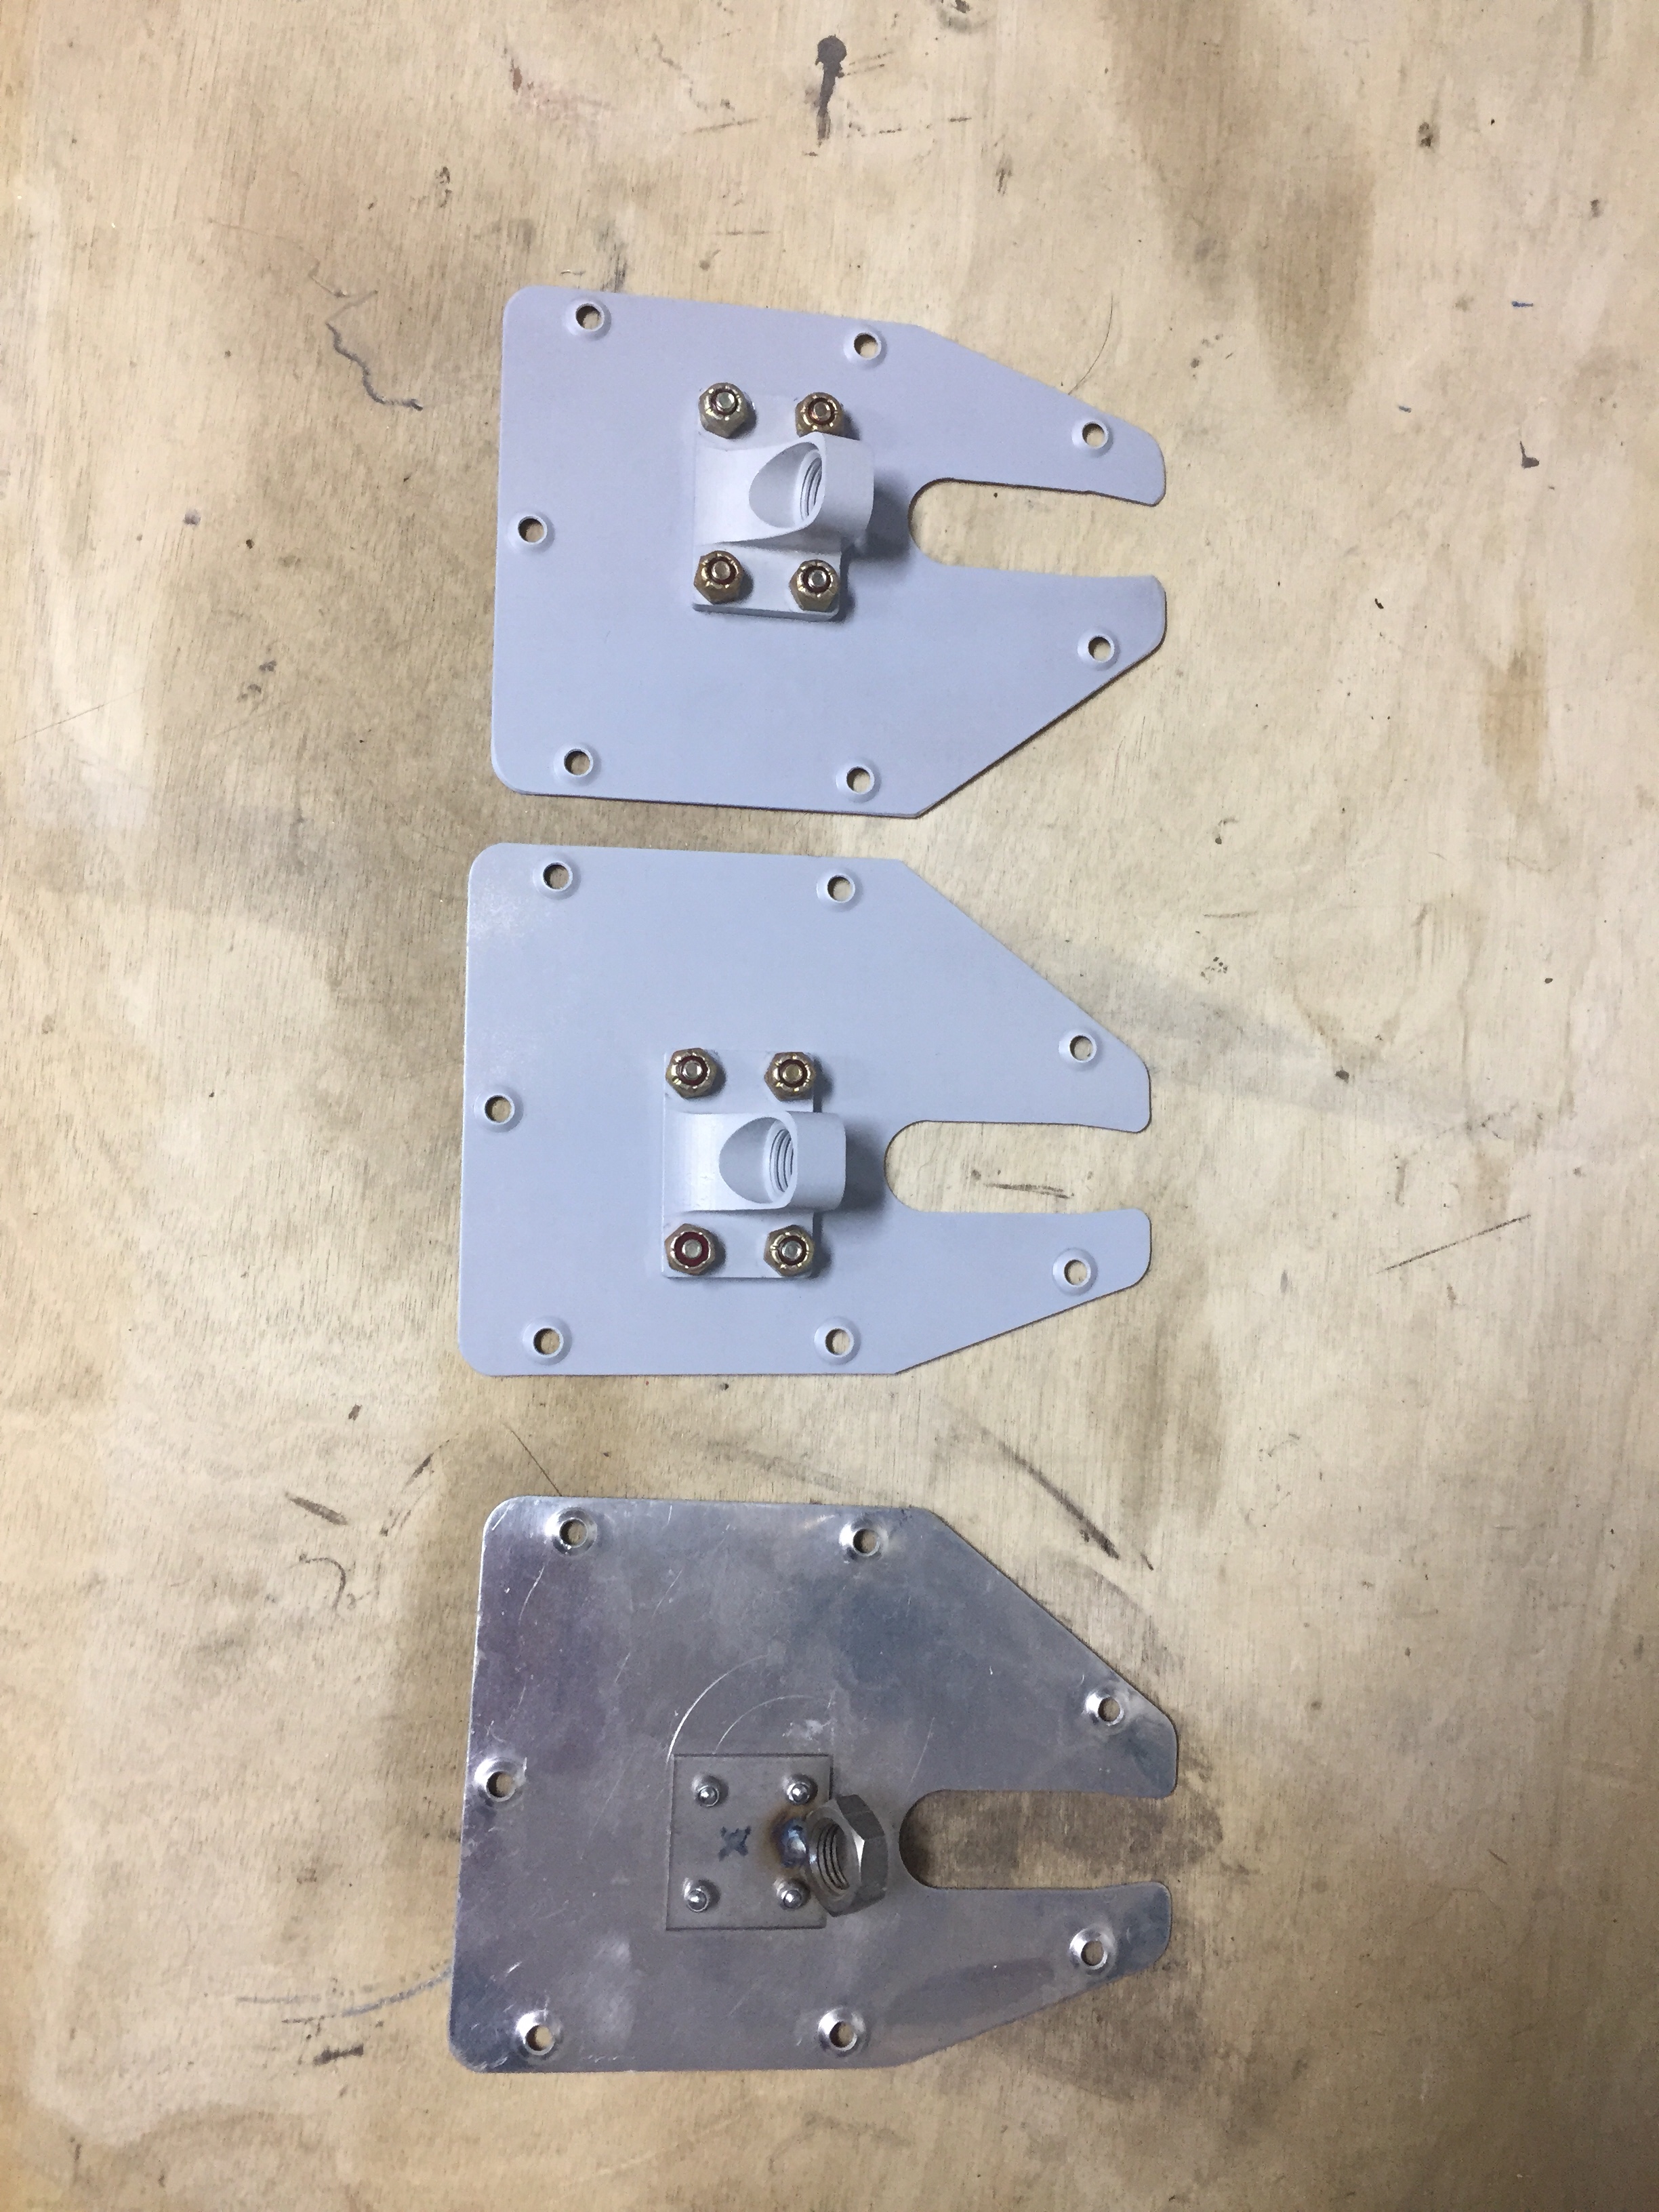 Another little project wasn’t so little. I saved up a few tasks that needed to be completed inside the tail cone for one evening so I would only be crawling back there once (this time). The first was to support the tail better. I used two 1×4’s to bolt to the horizontal stabilizer mounts and put a caster on the bottom. While the fuselage cradle has been great, the rear support isn’t far enough back to support my weight so far aft without something heavy like an engine hanging off the front. So this was an easy fix and doesn’t take any room up in the shop. It’s still very easy to roll around and reposition as needed.
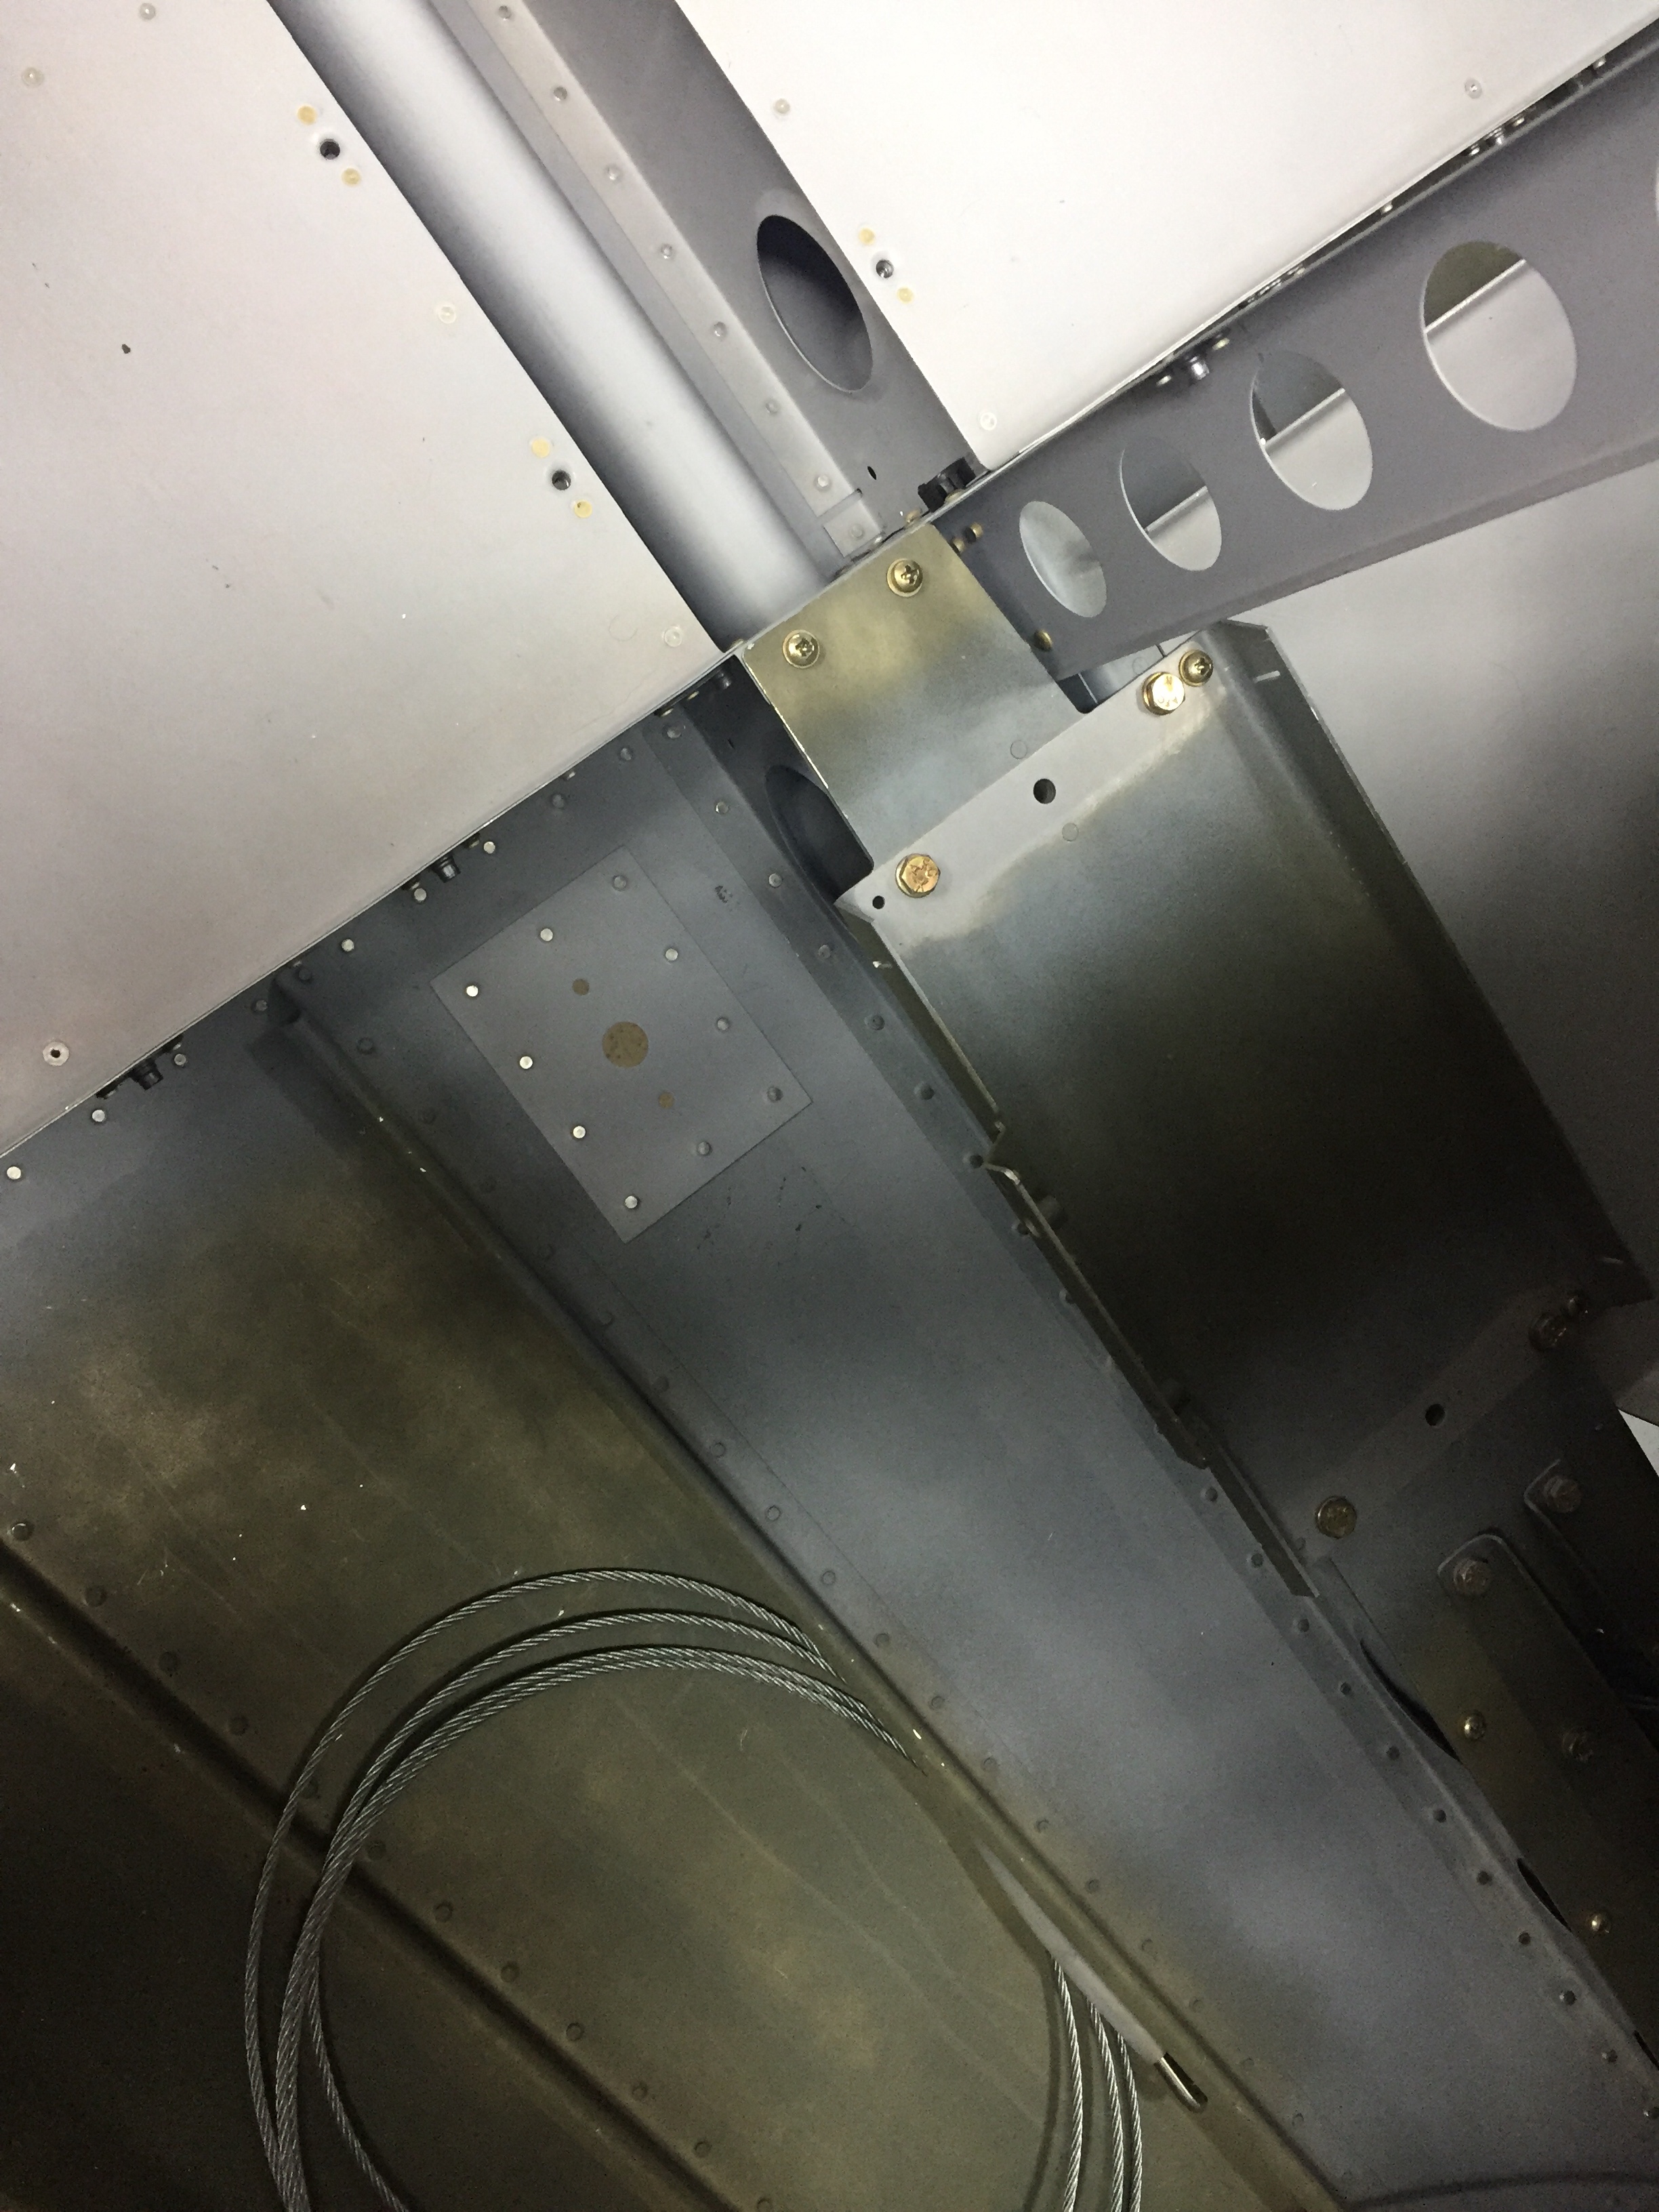
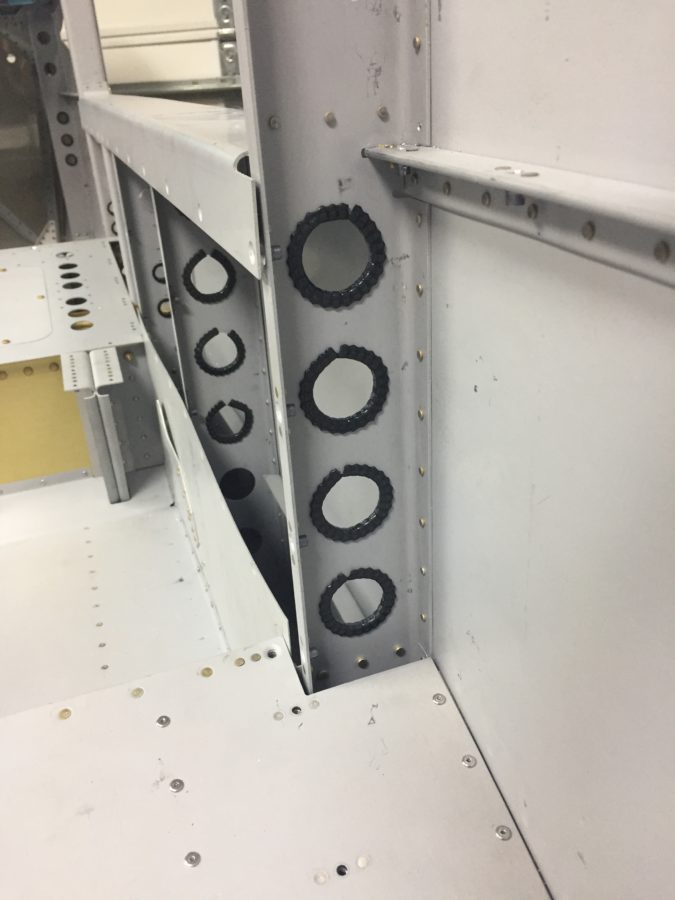
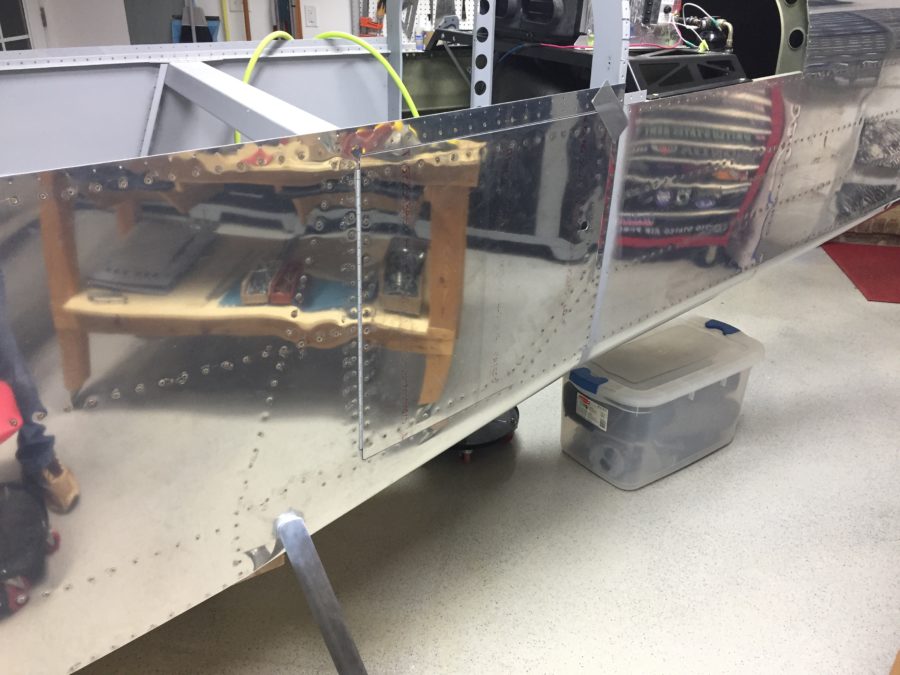
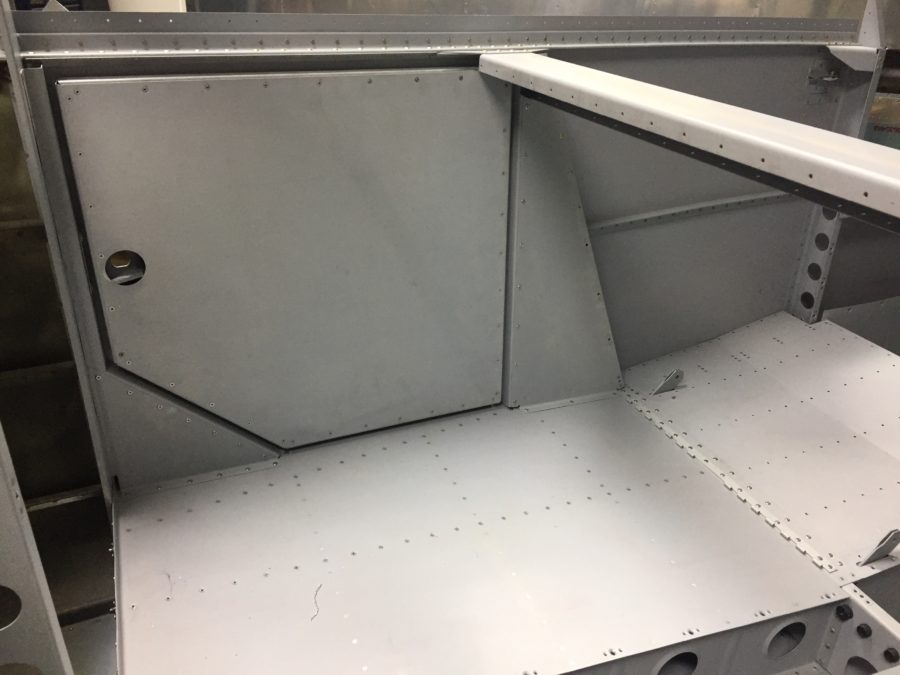
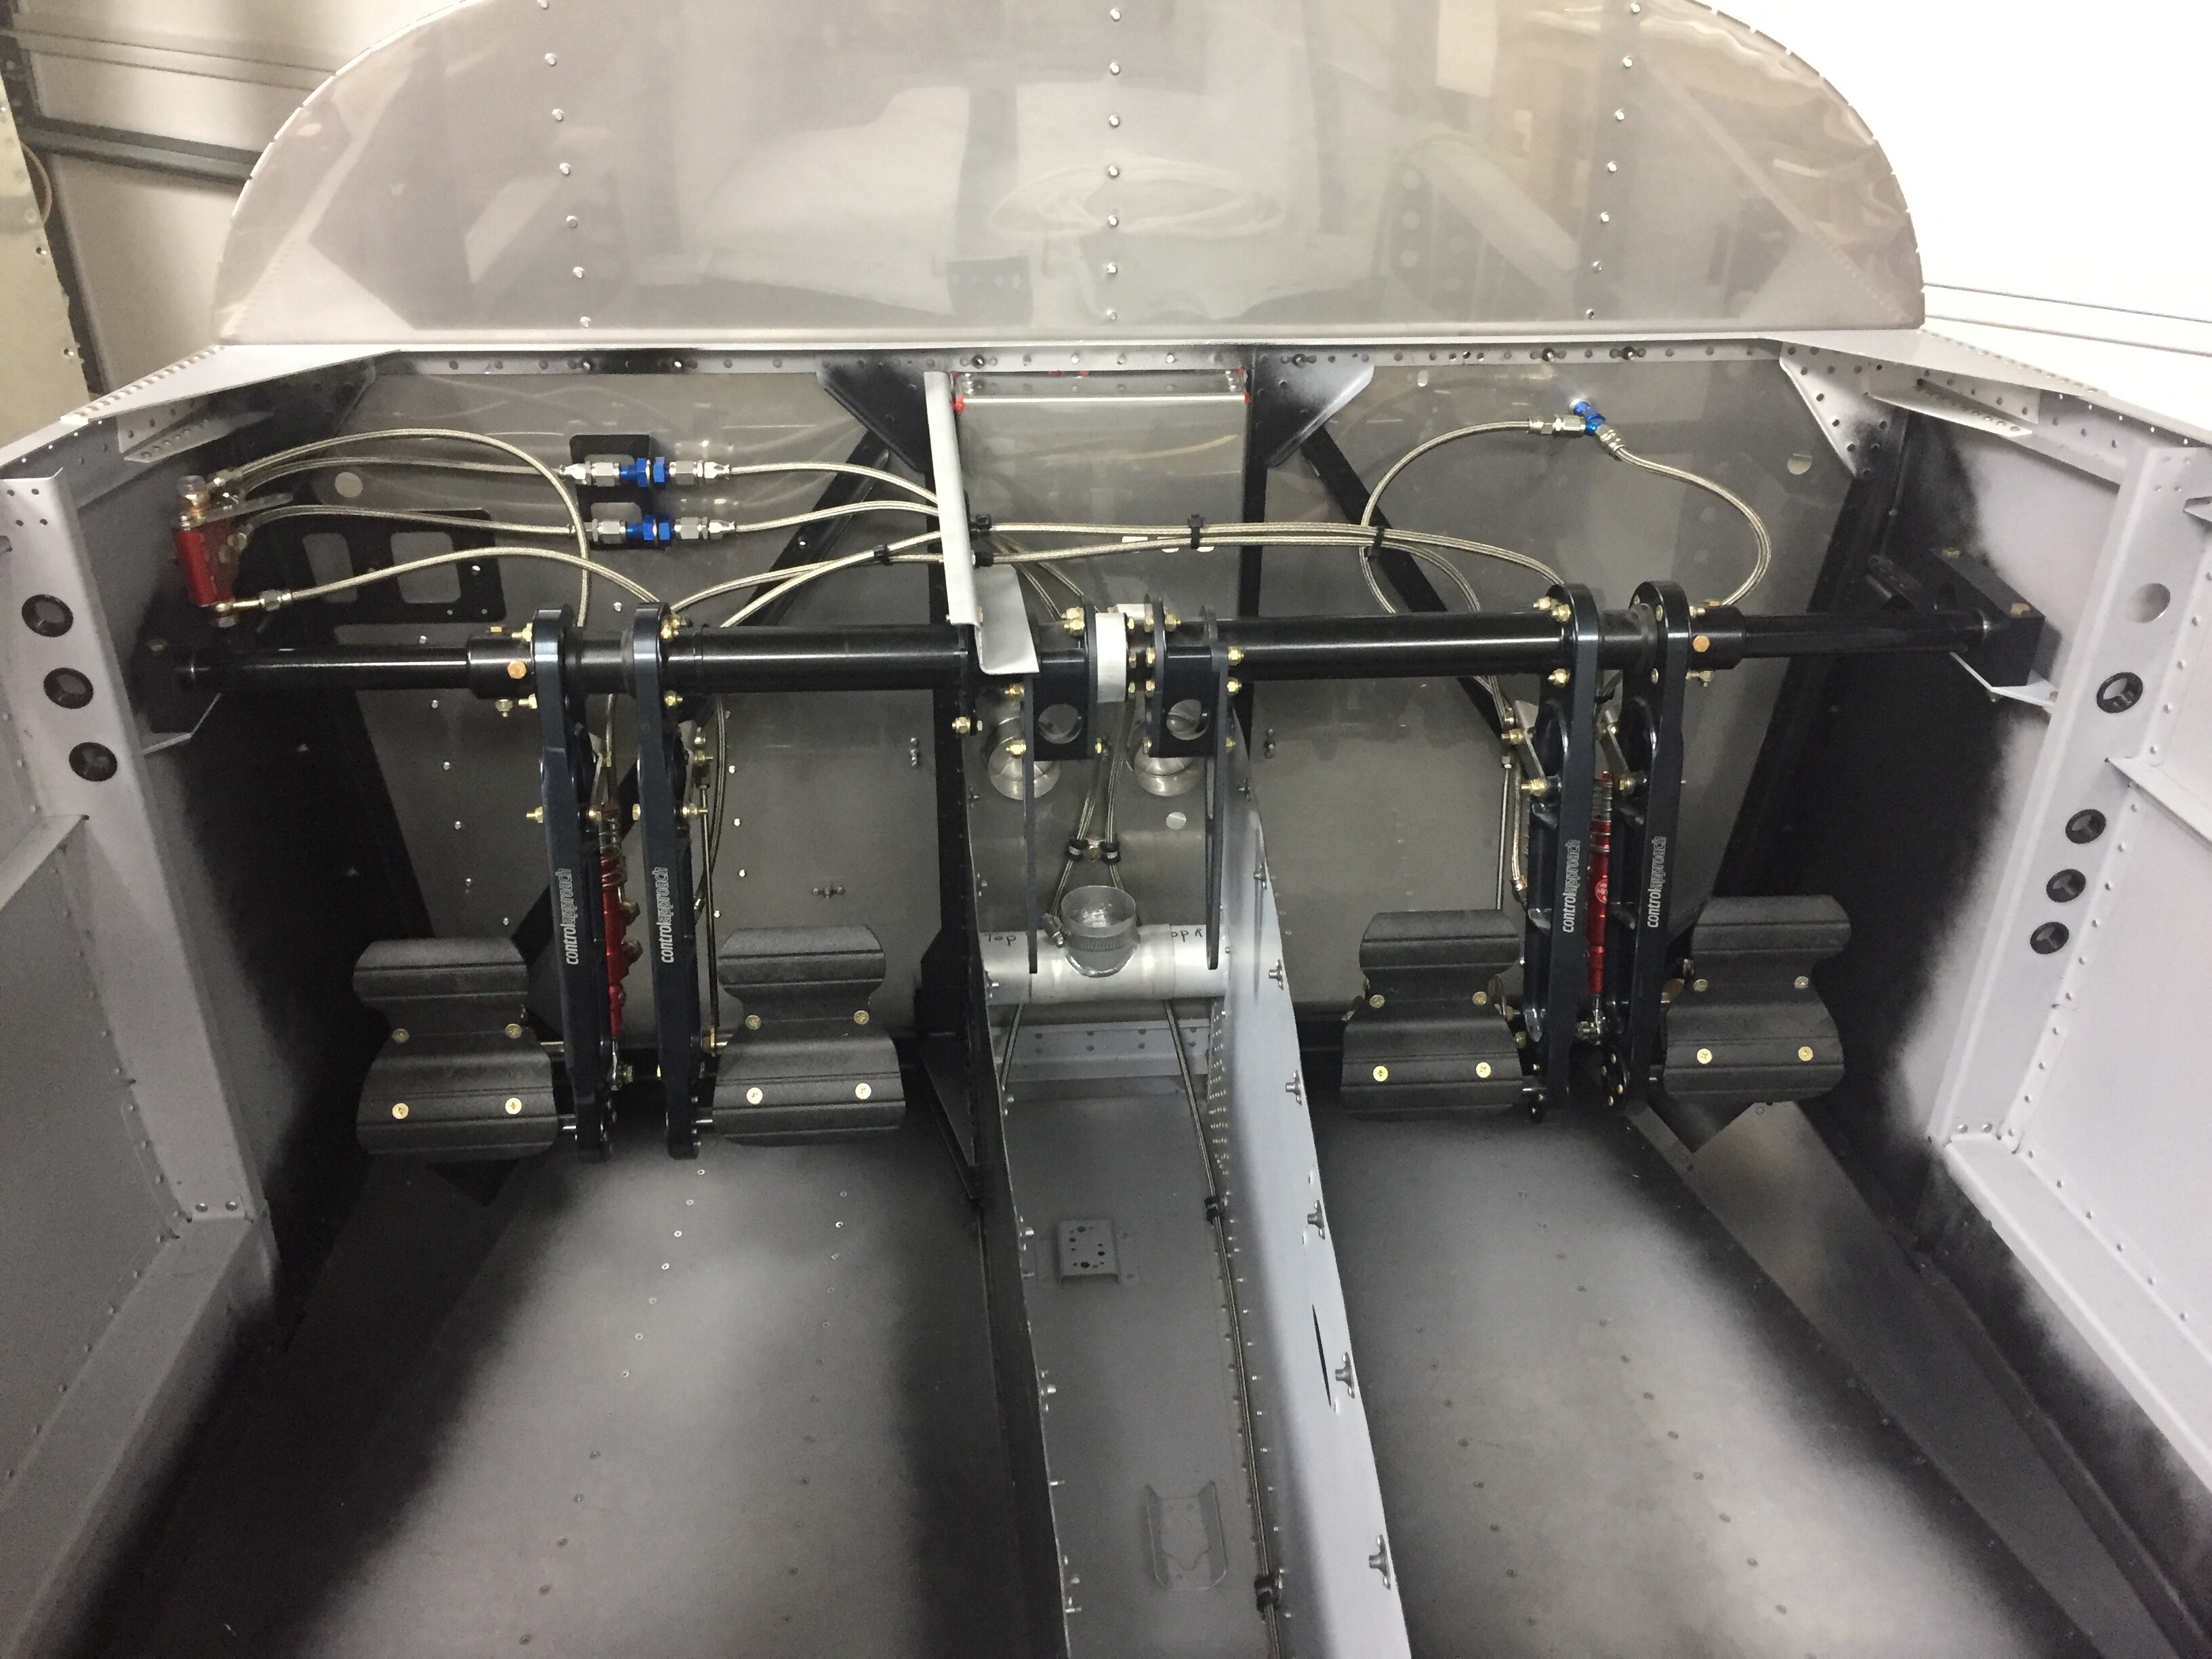
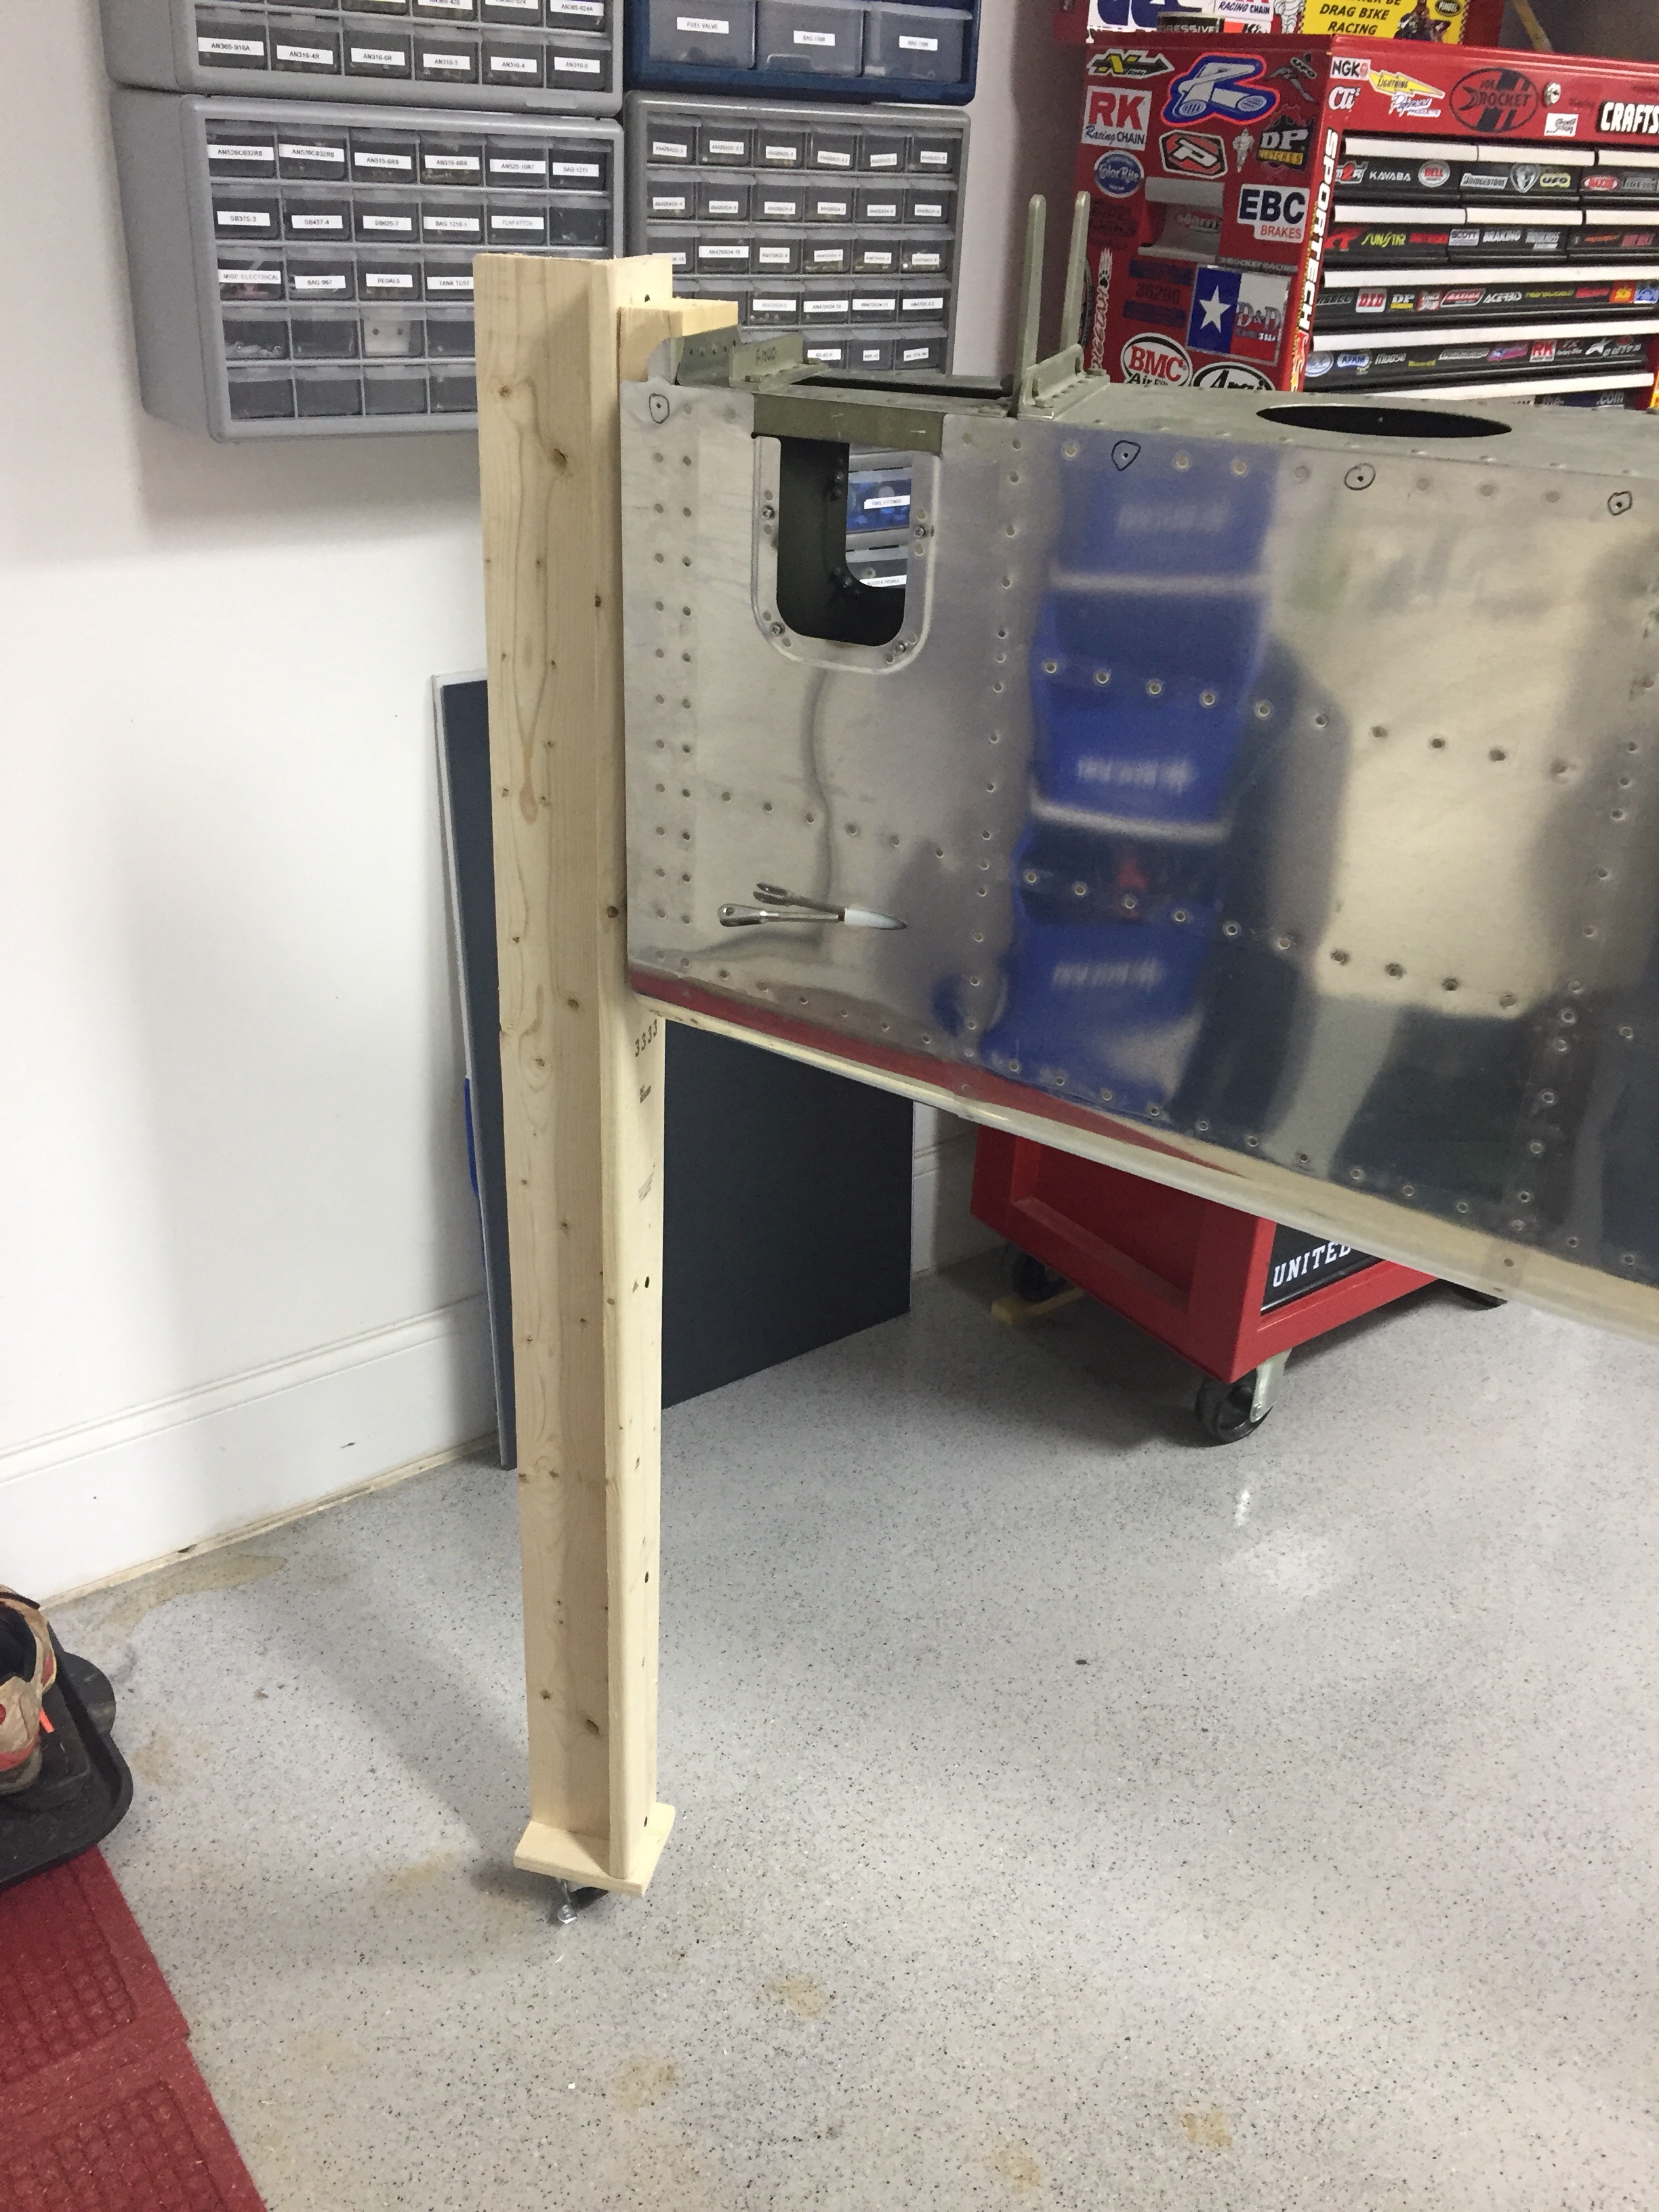 Inside the tail cone, I mounted the new static ports with pro-seal (no rivets this time) and hooked up static line that runs to where the ADAHRS will be mounted just behind the baggage bulkhead. The new static ports look way better than the original ones and I’m happy I made the change. The Safe Air 1 line kit makes it easy to run the tubing and create a leak free system. I also ran the rudder cables through the bulkheads and snap bushings. Ironically, the heads of the cables wouldn’t fit through the bushings without removing them and squeezing a bit. So basically, the cables were a pain to run instead of a quick two minute job. Lots of those in the build, I guess. I got them hooked to the arms on the rudder pedals which are inside the tunnel with the Control Approach pedals. With the A/C in there, it’s a tight fit for me!
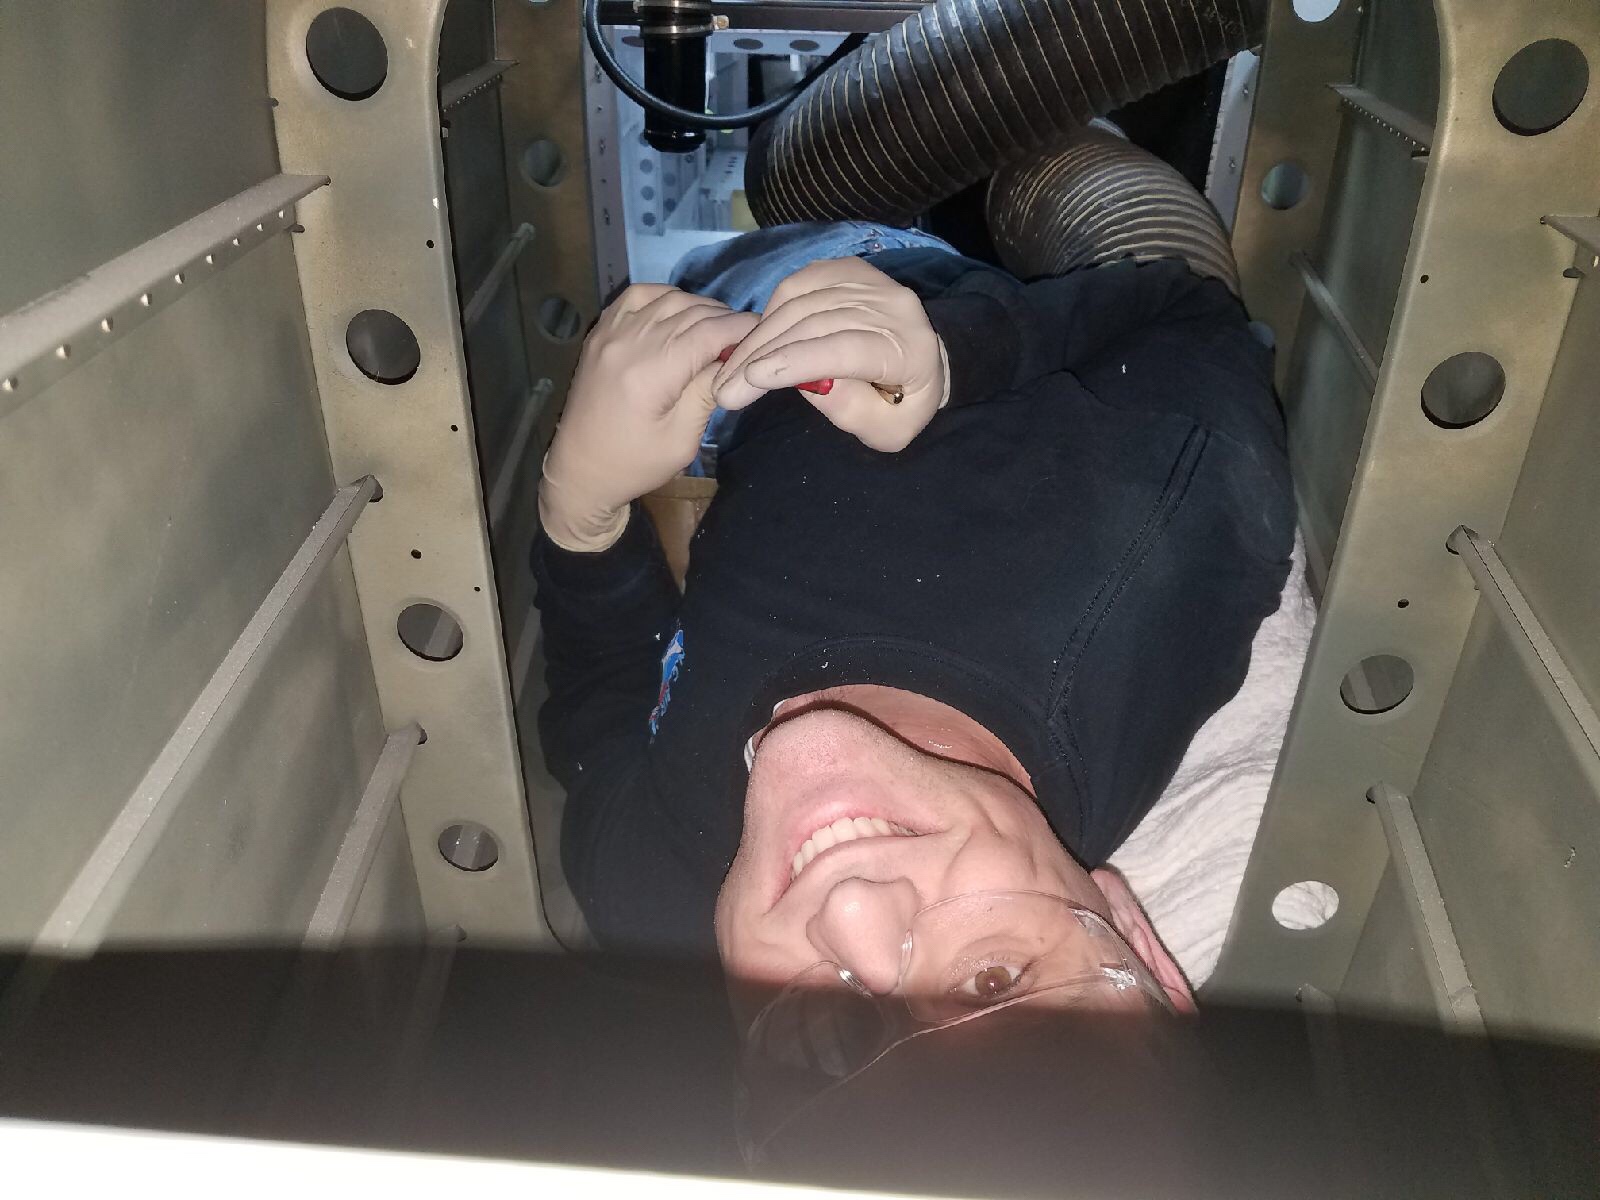 Lastly, I installed the doublers along the center of the fuselage for the transponder and ADS-B antennas to mount to. These will be Delta Pop blades and mount with two studs, so I need access from the tunnel / fuselage. Easy enough with a second set of hands to man the gun and me bucking.
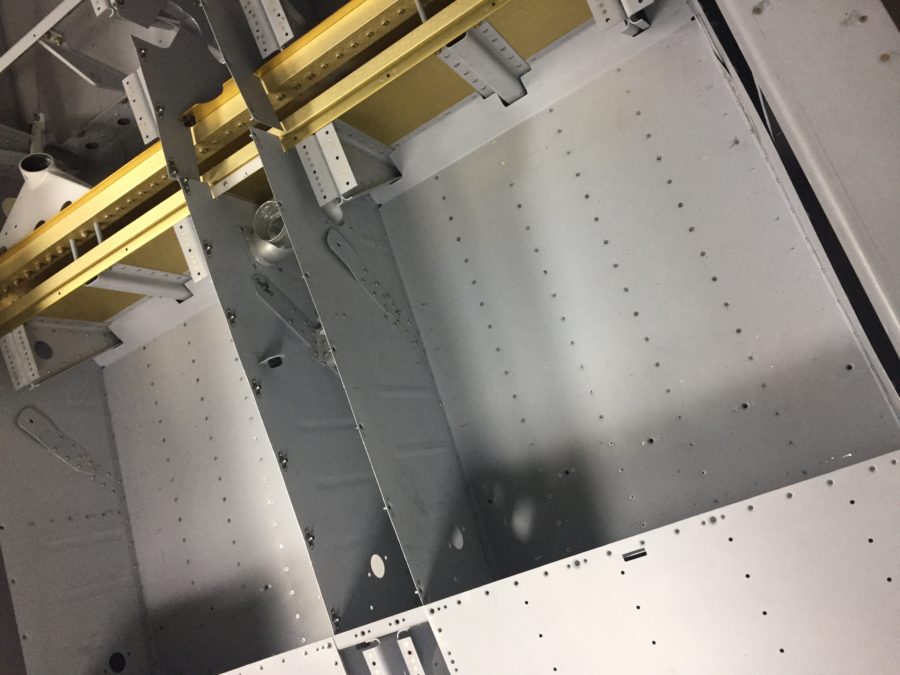