The airworthiness inspection is rapidly approaching and it’s crunch time now. This post is about as fast and deep as all the stuff I had to do.
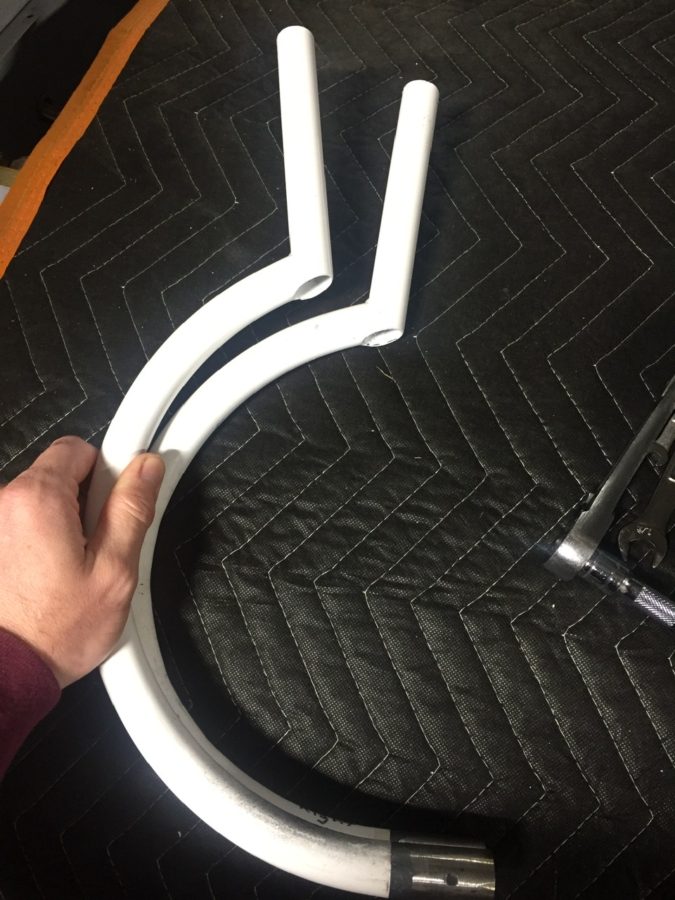
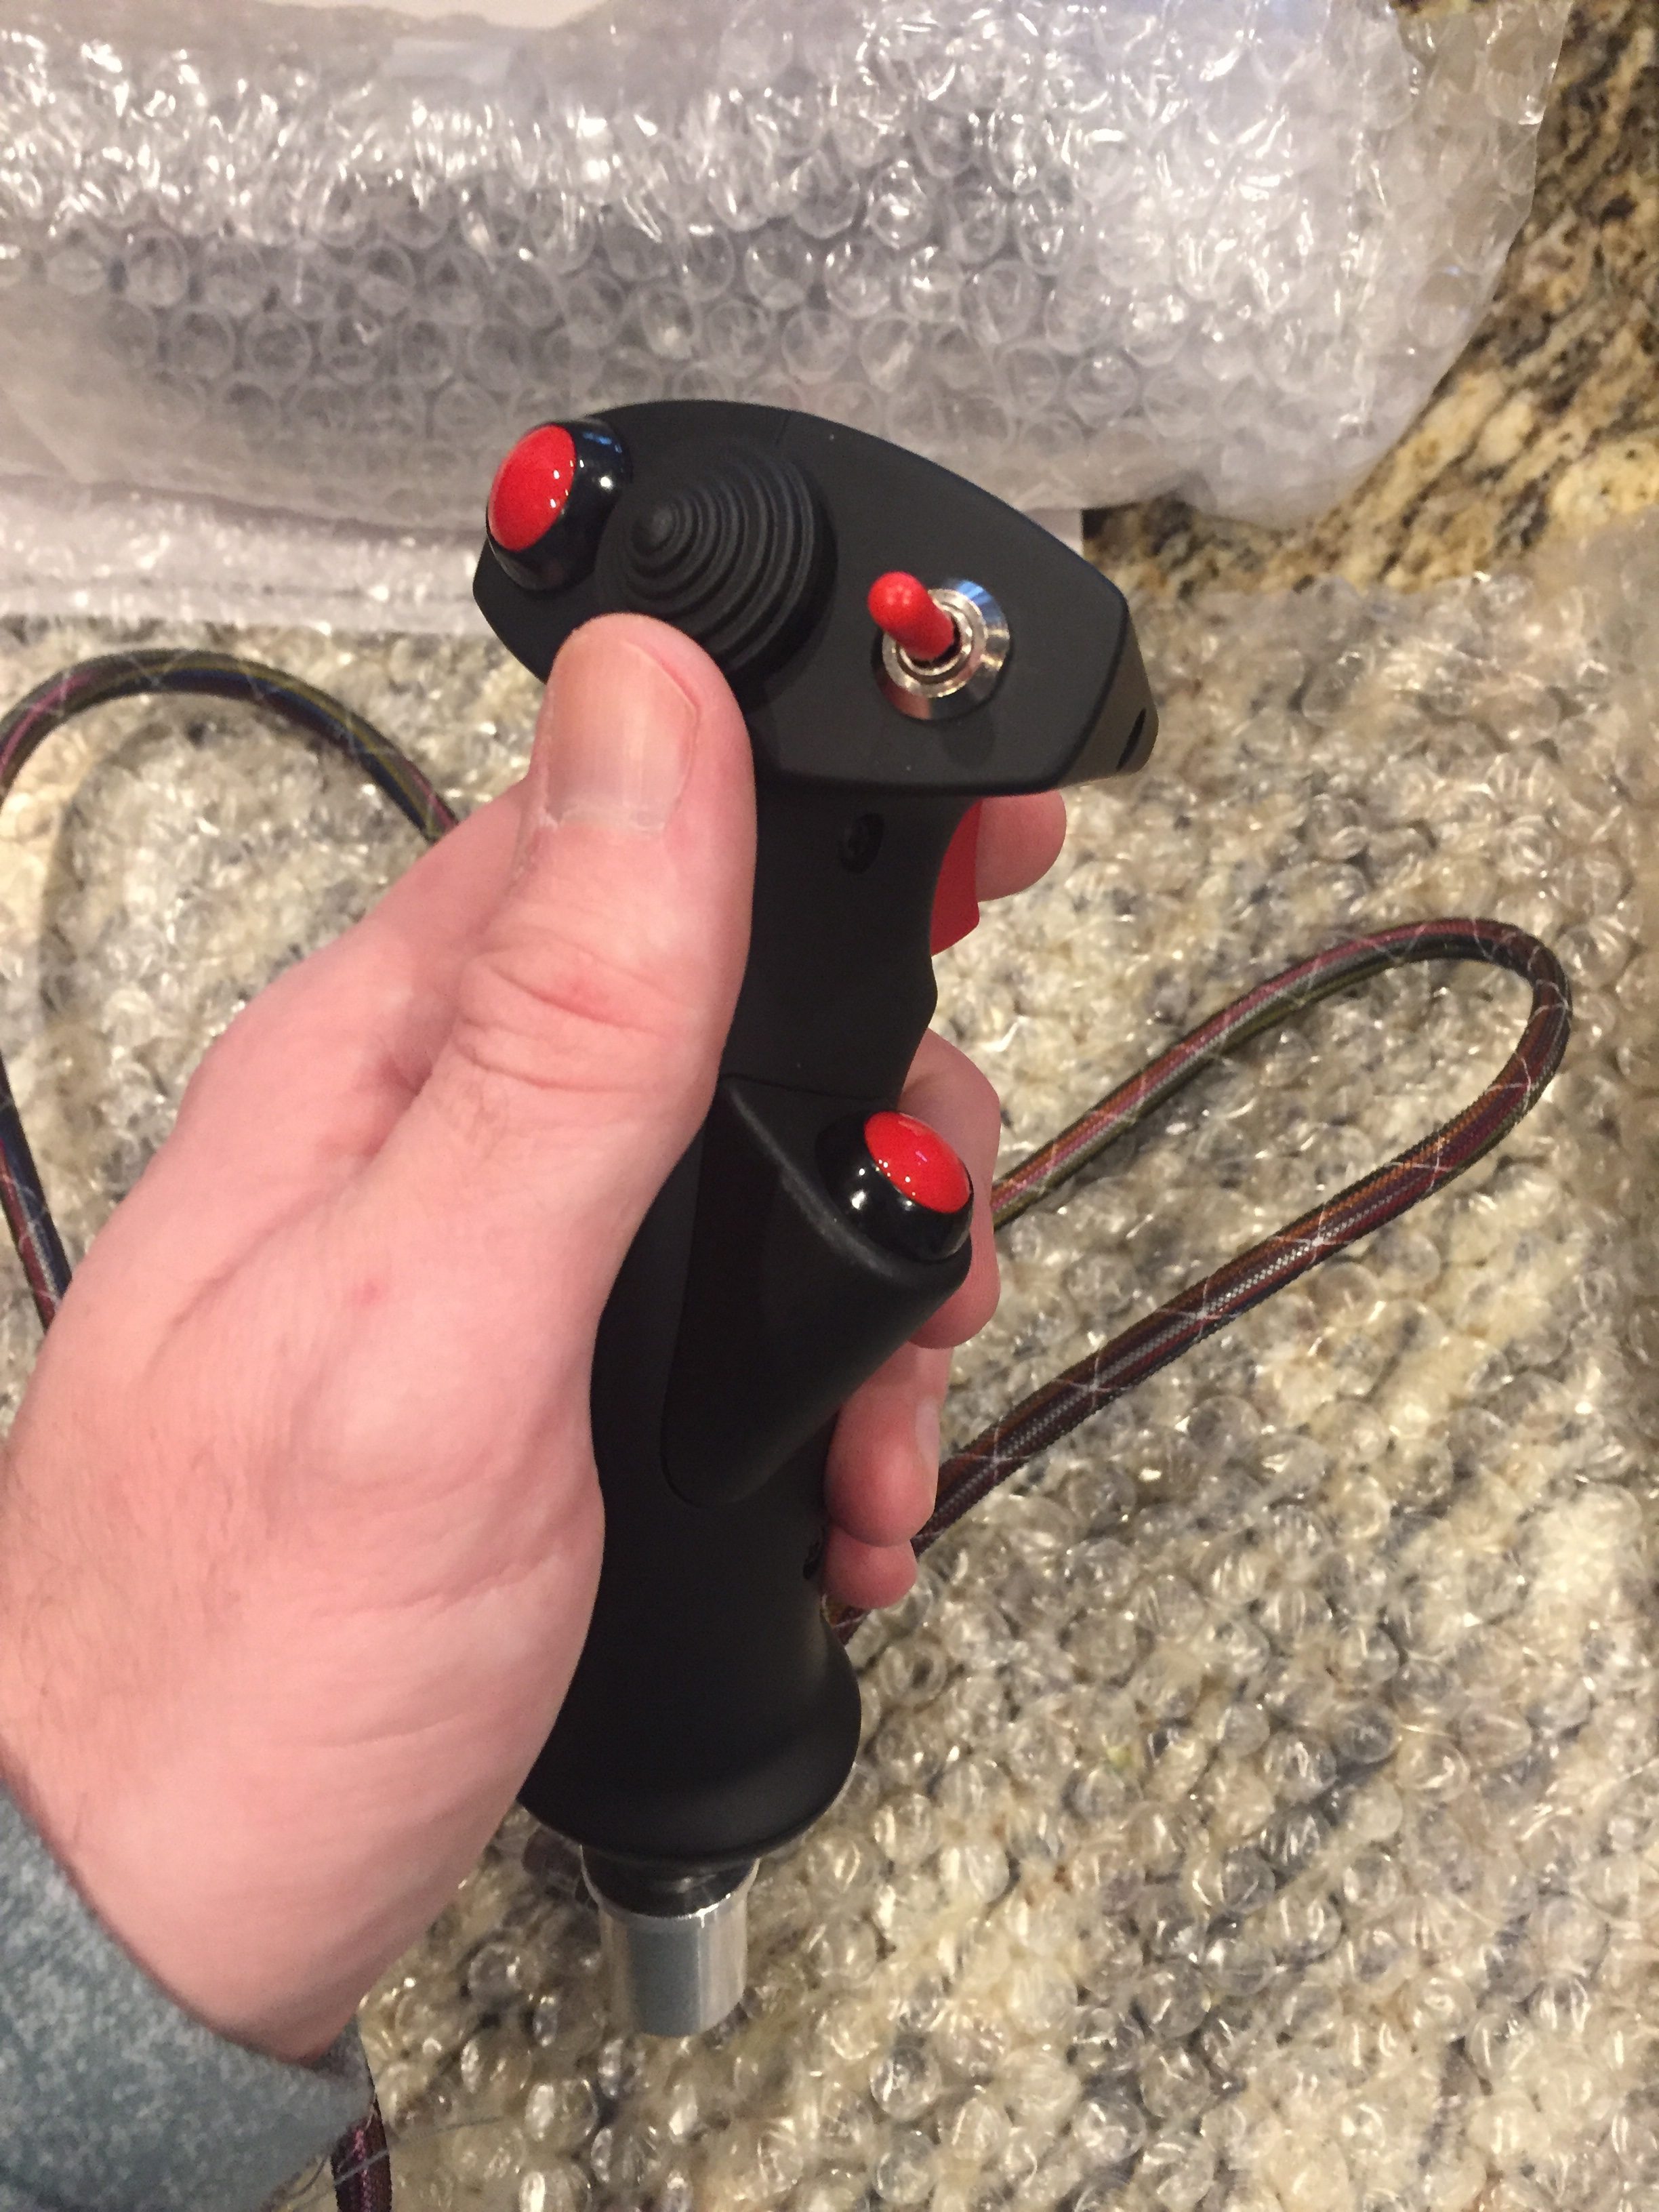
The awesome guys on based helped me bend my control sticks to provide plenty of clearance to the instrument panel. I still hit the flap switch in the full nose down, right roll position, but if I ever have to use that stick input, I have way more concerns about dying.
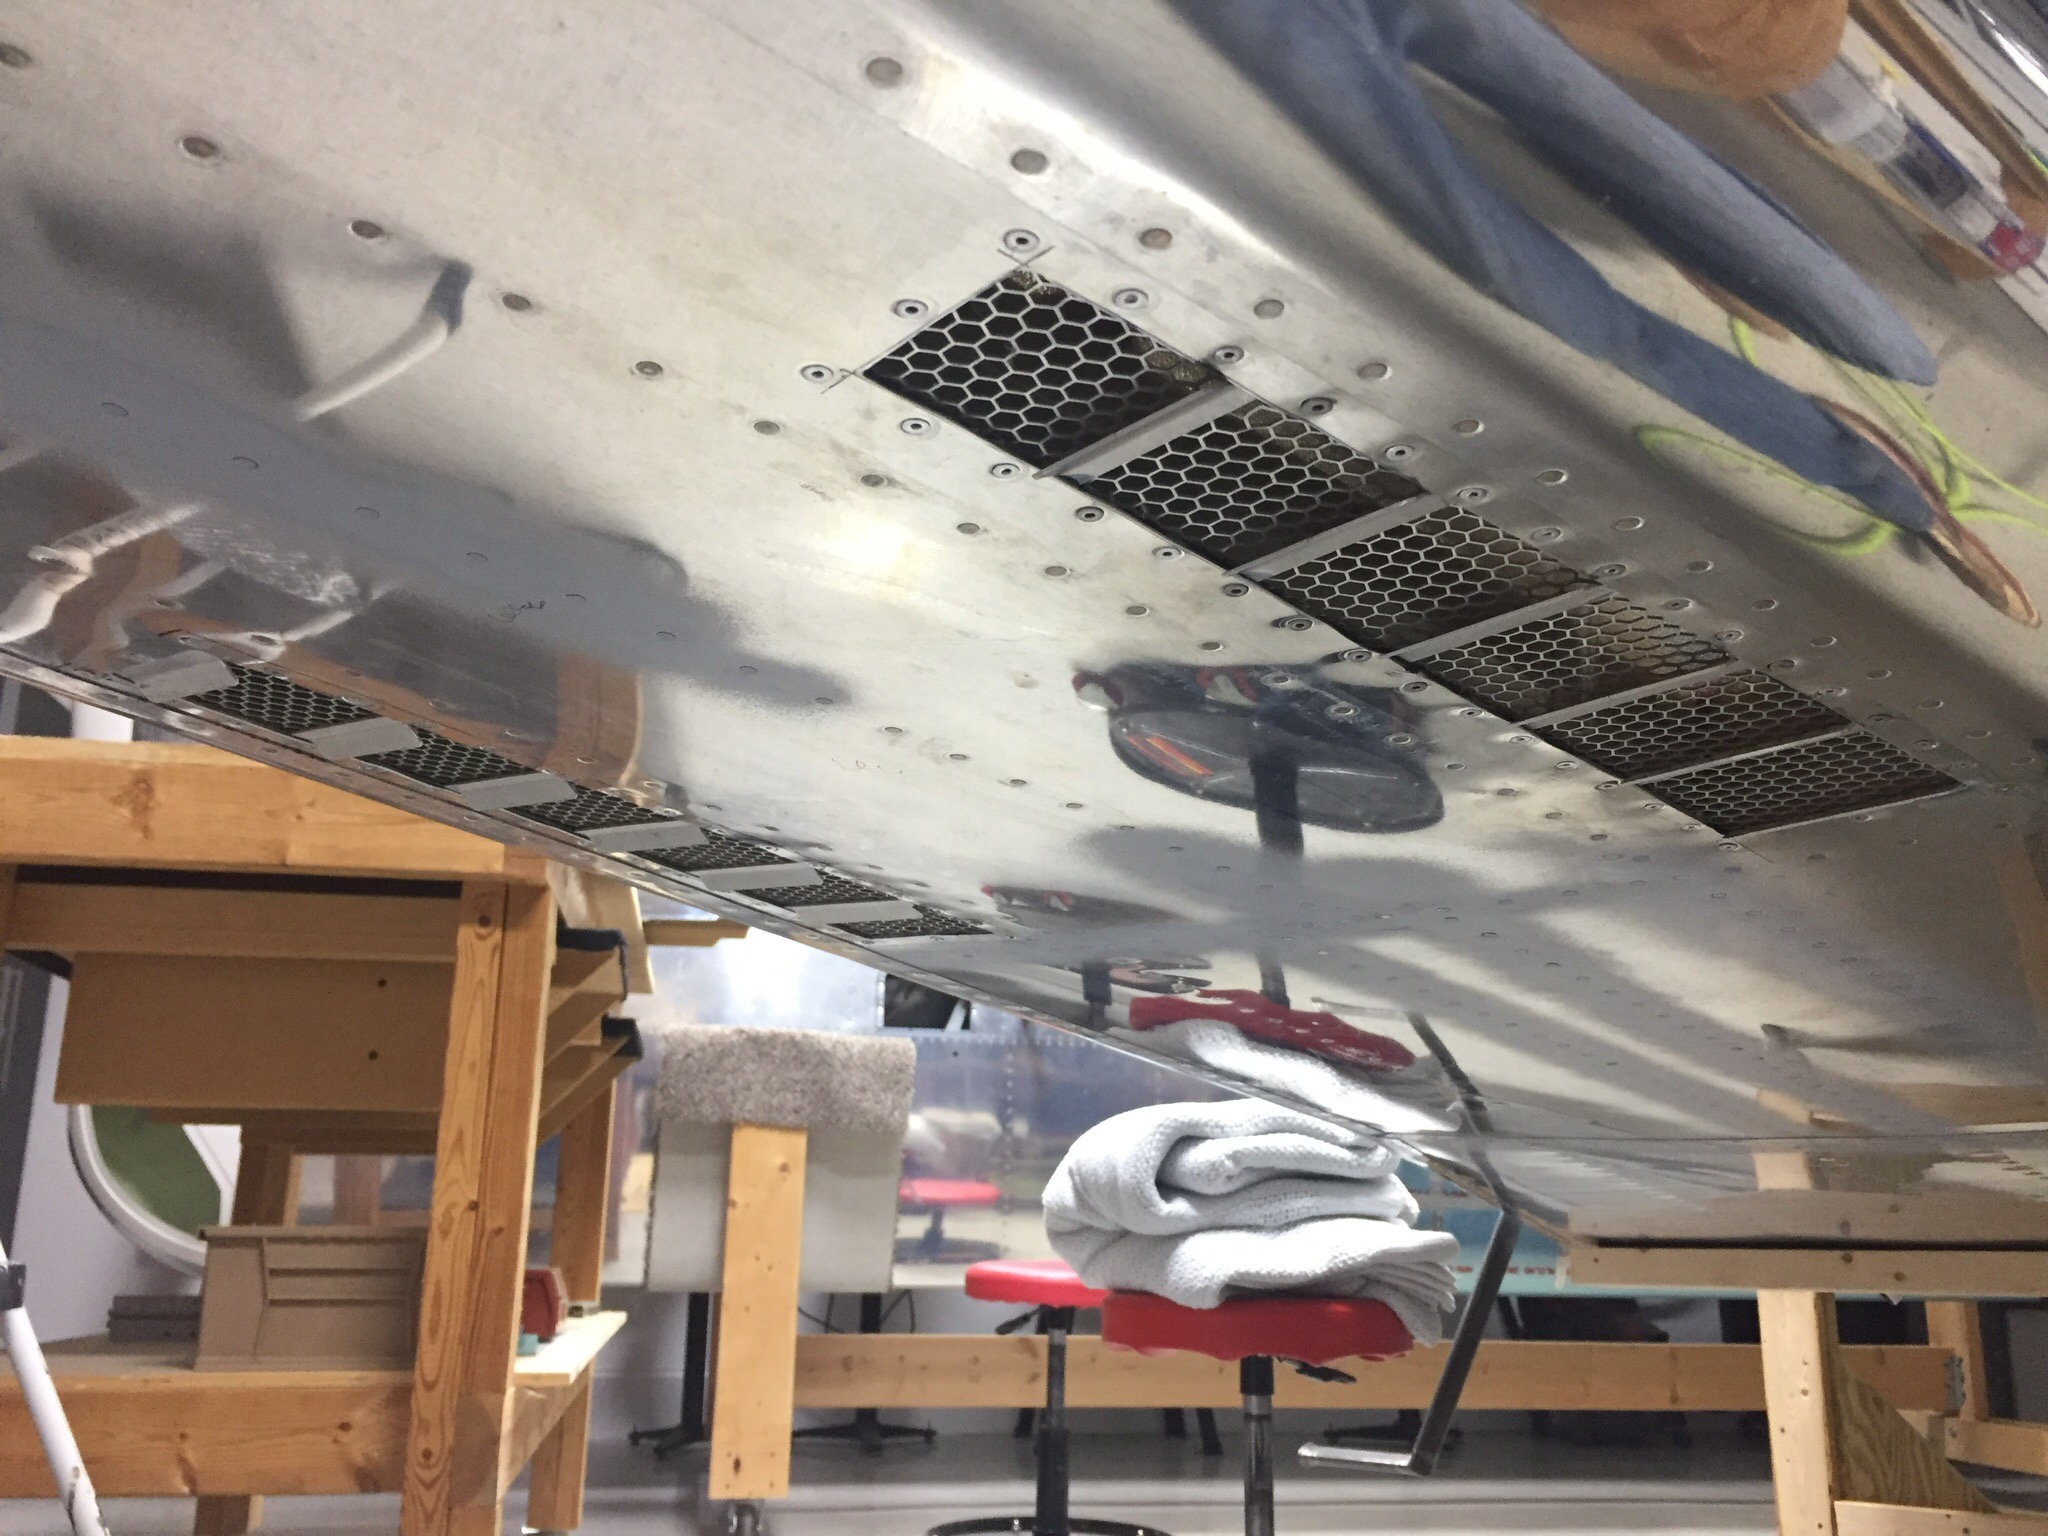
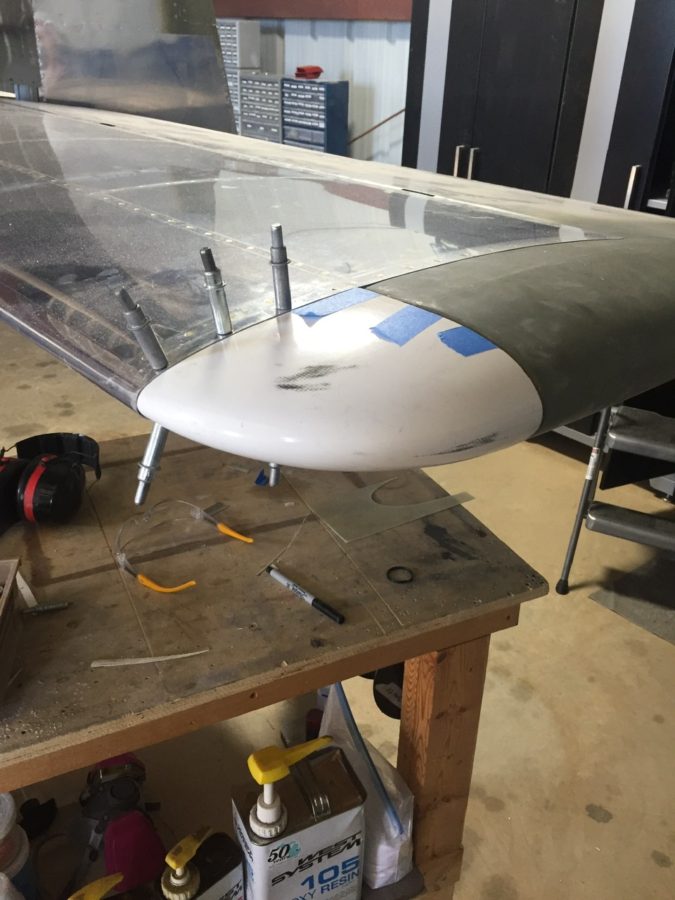
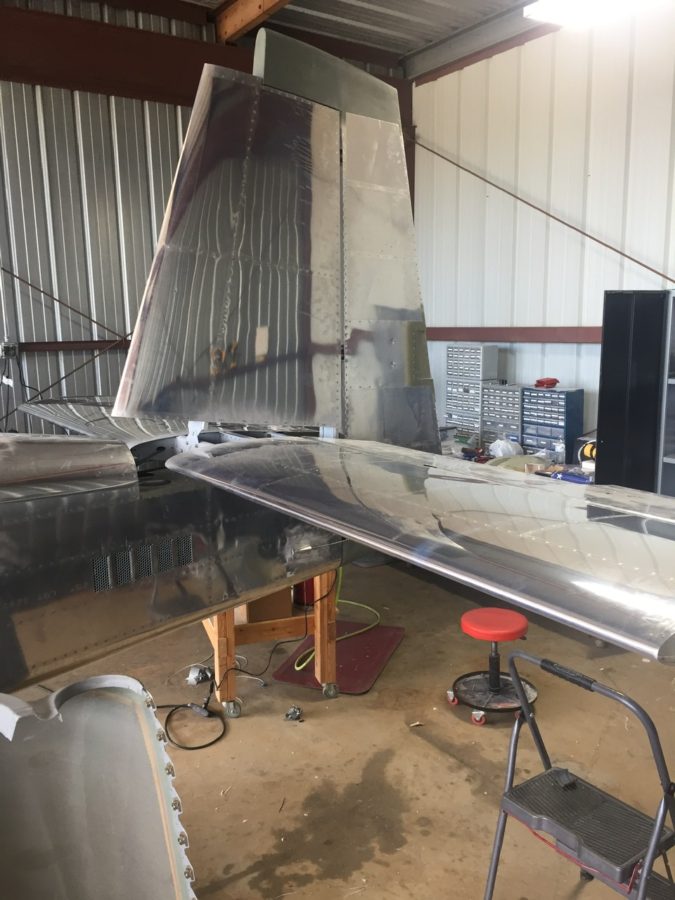
I never installed the tips on the stabilizers, so I wiped the decade old dust off of those and riveted them on then laid up some glass to enclose them. Some tweaking with the heat gun was enough to get them adequate clearance and I’ll let Jonathan do the rest of beautifying them during paint.
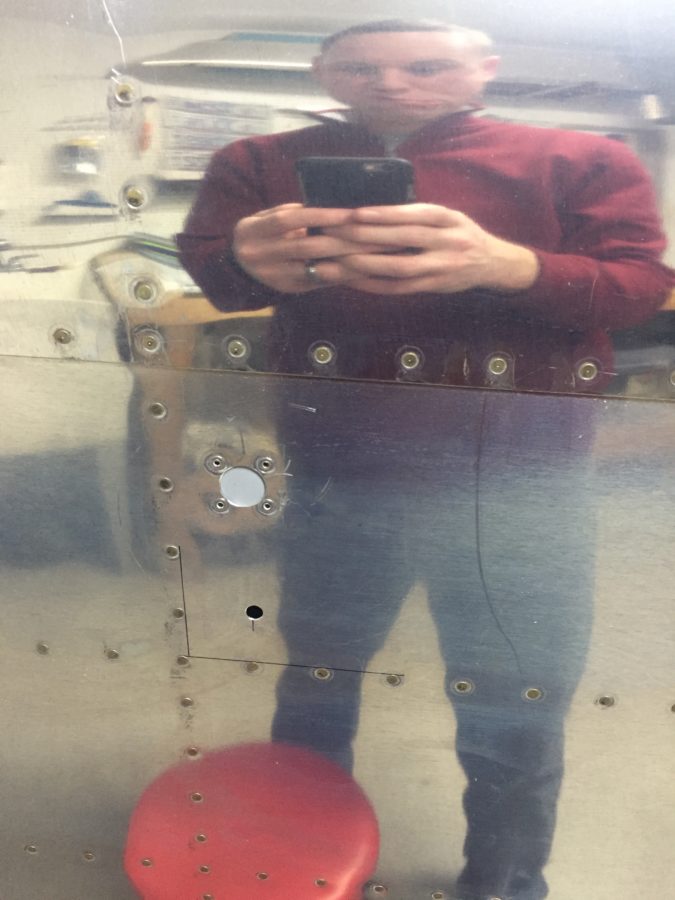
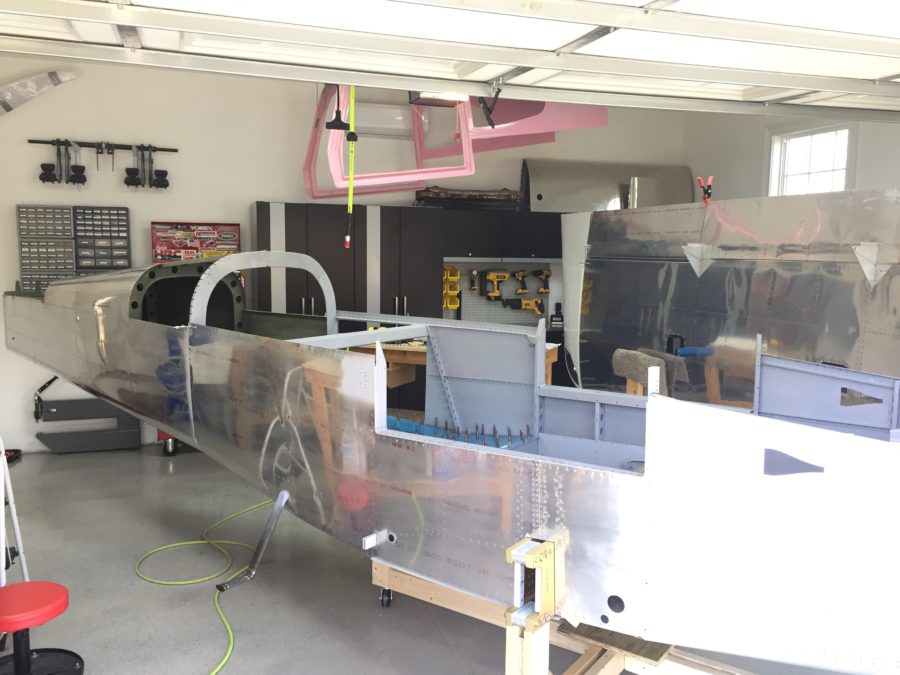
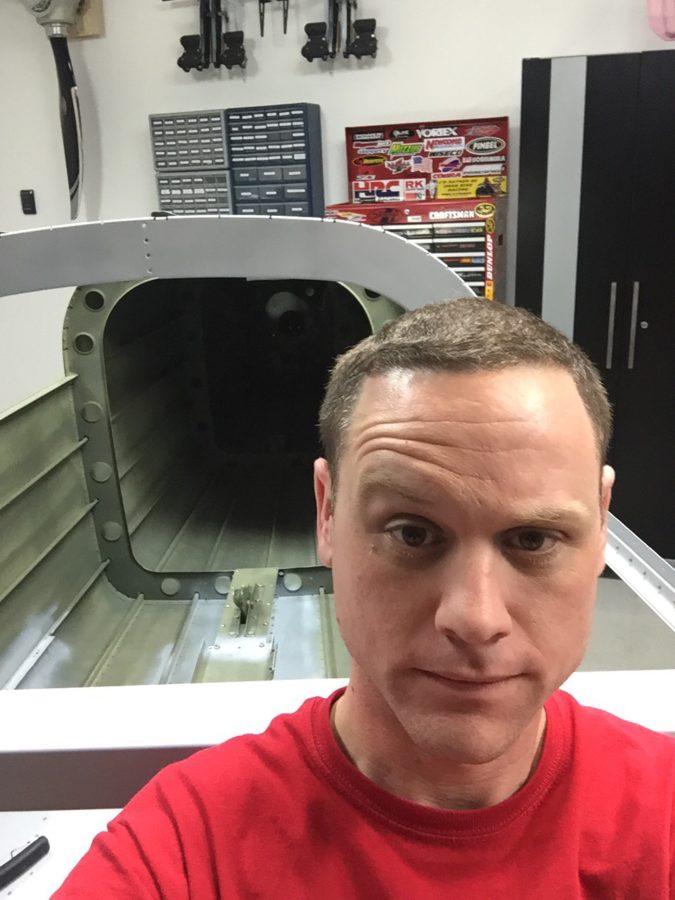
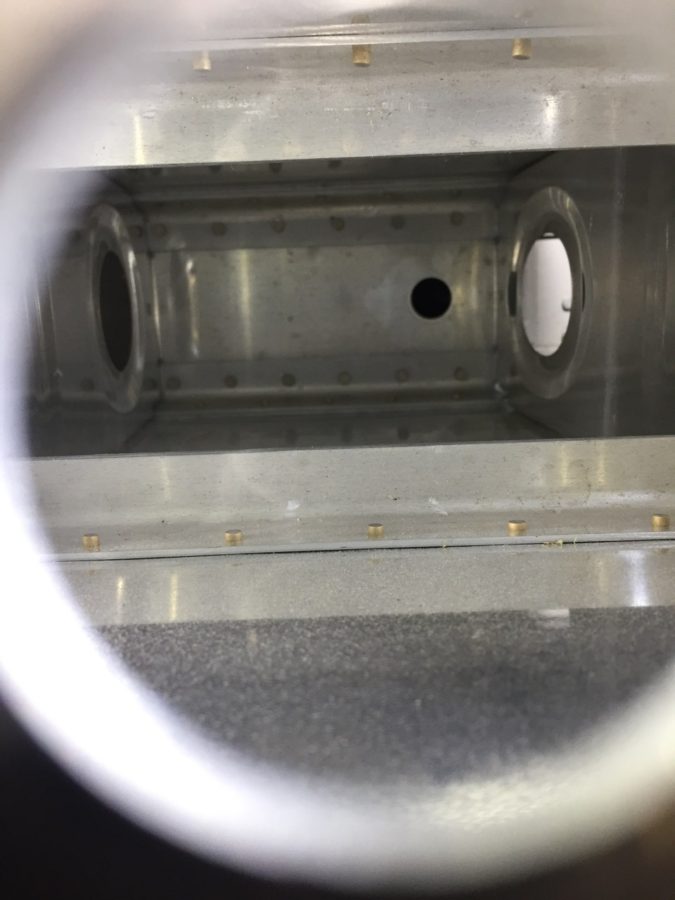
I crawled in the tail cone. Again. After I said, “Oh, I’m done back there, I won’t need to get back there.” Hell, at this point I can’t even remember why I had to go back there. I’ll flash forward and tell you that still wasn’t the last time. Either way, here’s how I feel about doing that little shit job.

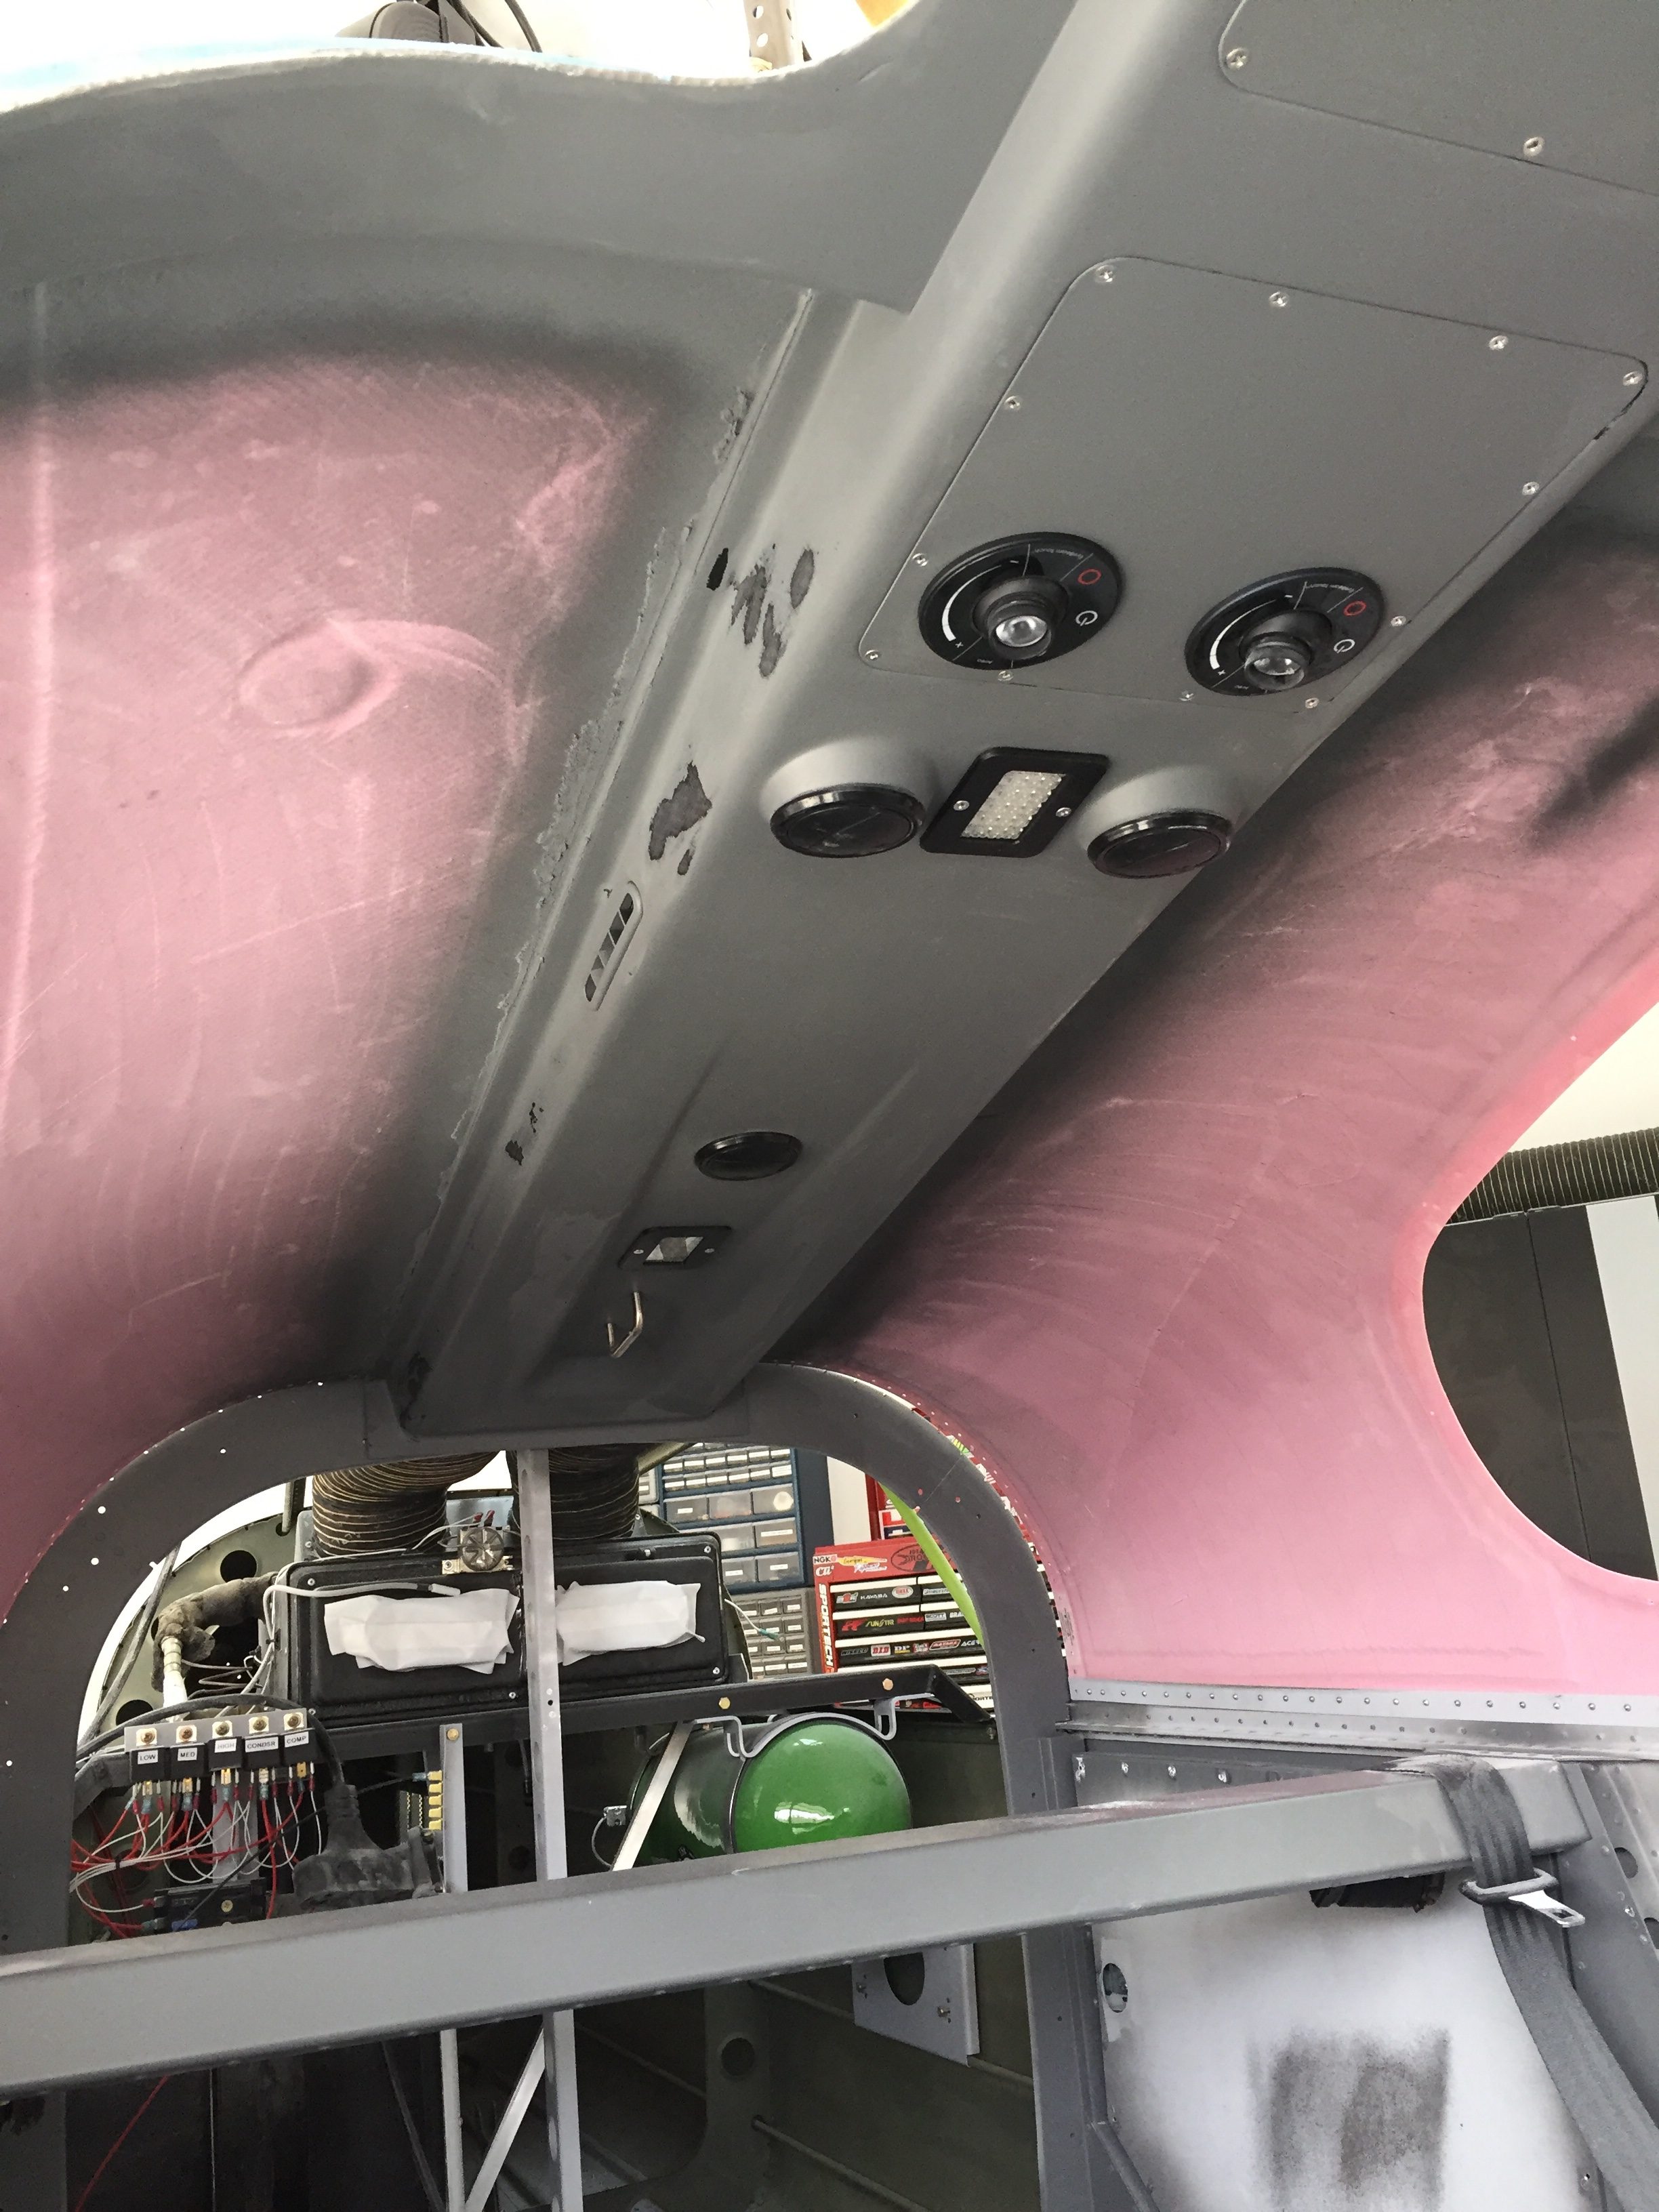
The rest of the interior went in and lights hooked up. These side panels are pretty tricky to slide in without destroying the paint. I’m happy with how they turned out. The stainless screws also look really nice.

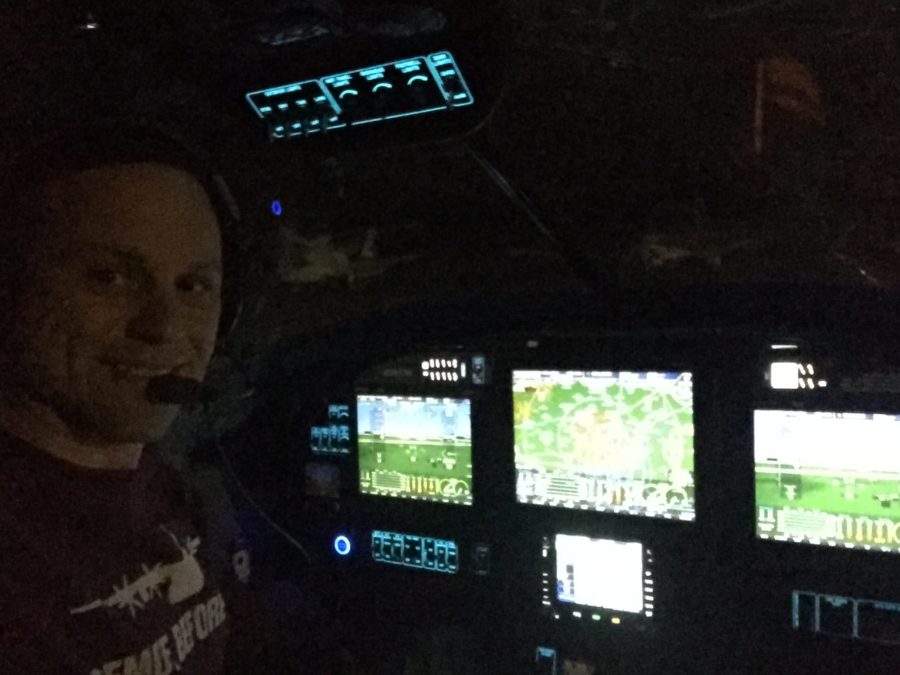
I pulled the plane out for a good GPS and comm check. I’ll have another post about the details, but while everything worked, I have some serious interference with the ZipTip lights and my radios. For now, though, no night flying means I’m safe and legal to fly.
The back seats and carpet are all in now. I had to put a lot of velcro down but man, this Aerosport stuff is amazing. The seats are comfortable, the carpet looks great, and I’m really excited about taking folks flying in this plane!


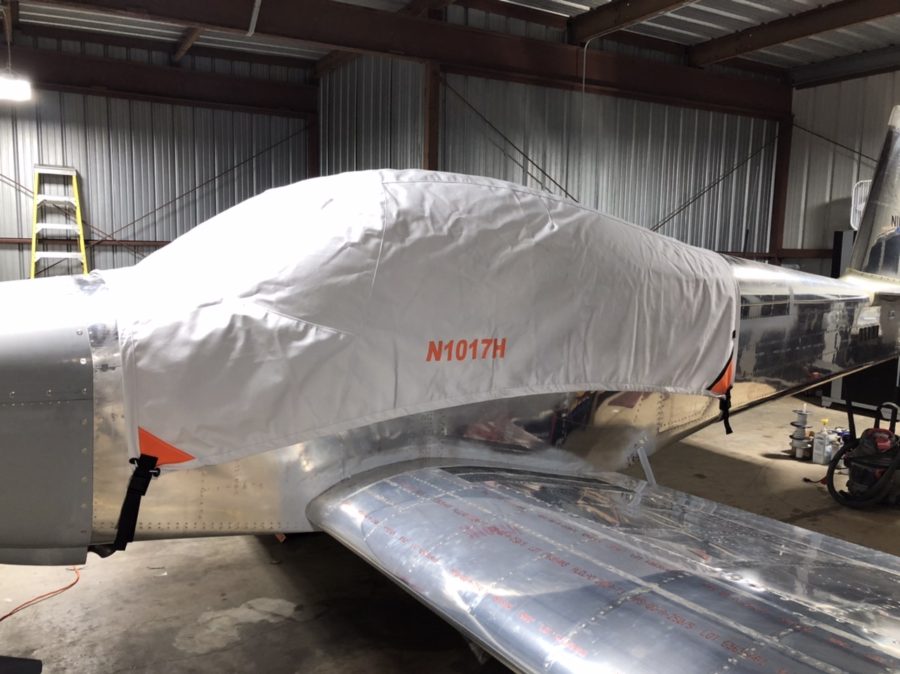
My cover from Bruce’s came in and is freaking sweet. Fits very nicely, has orange, and the tail number embroidered on it makes it so no one can steal it and use it on their plane without me chasing them down.
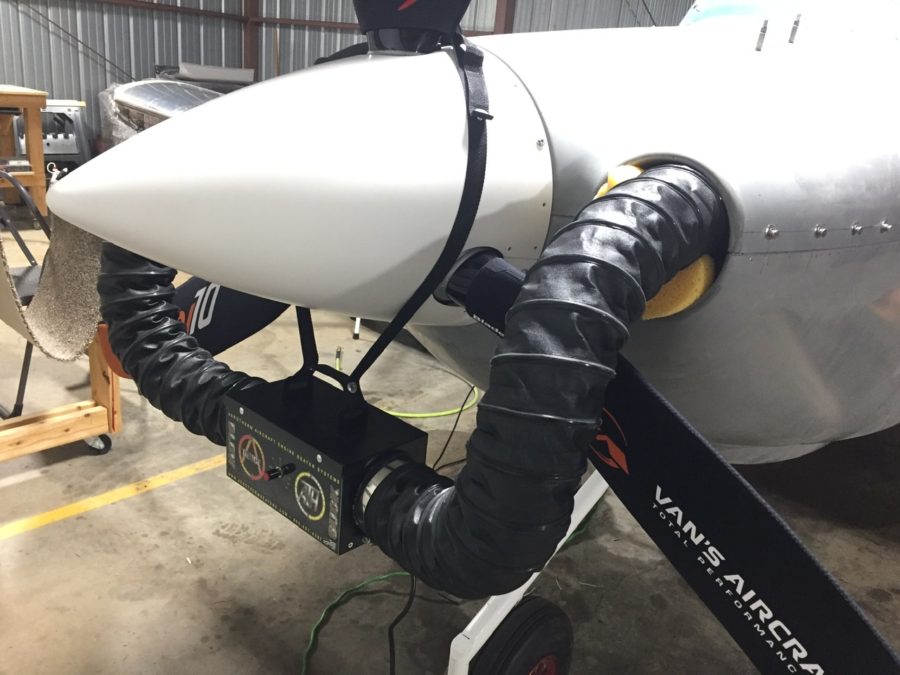
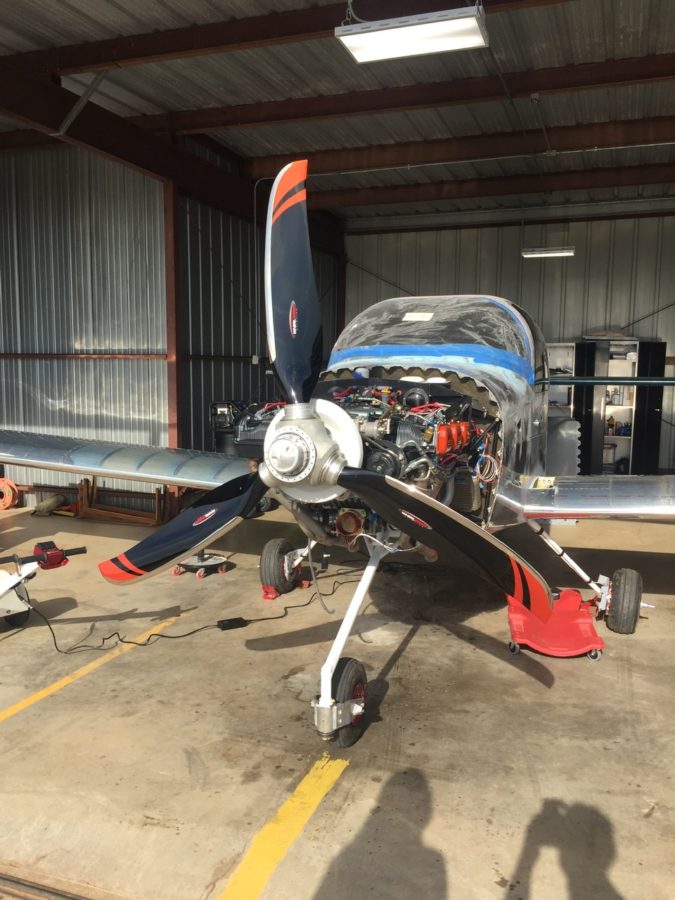
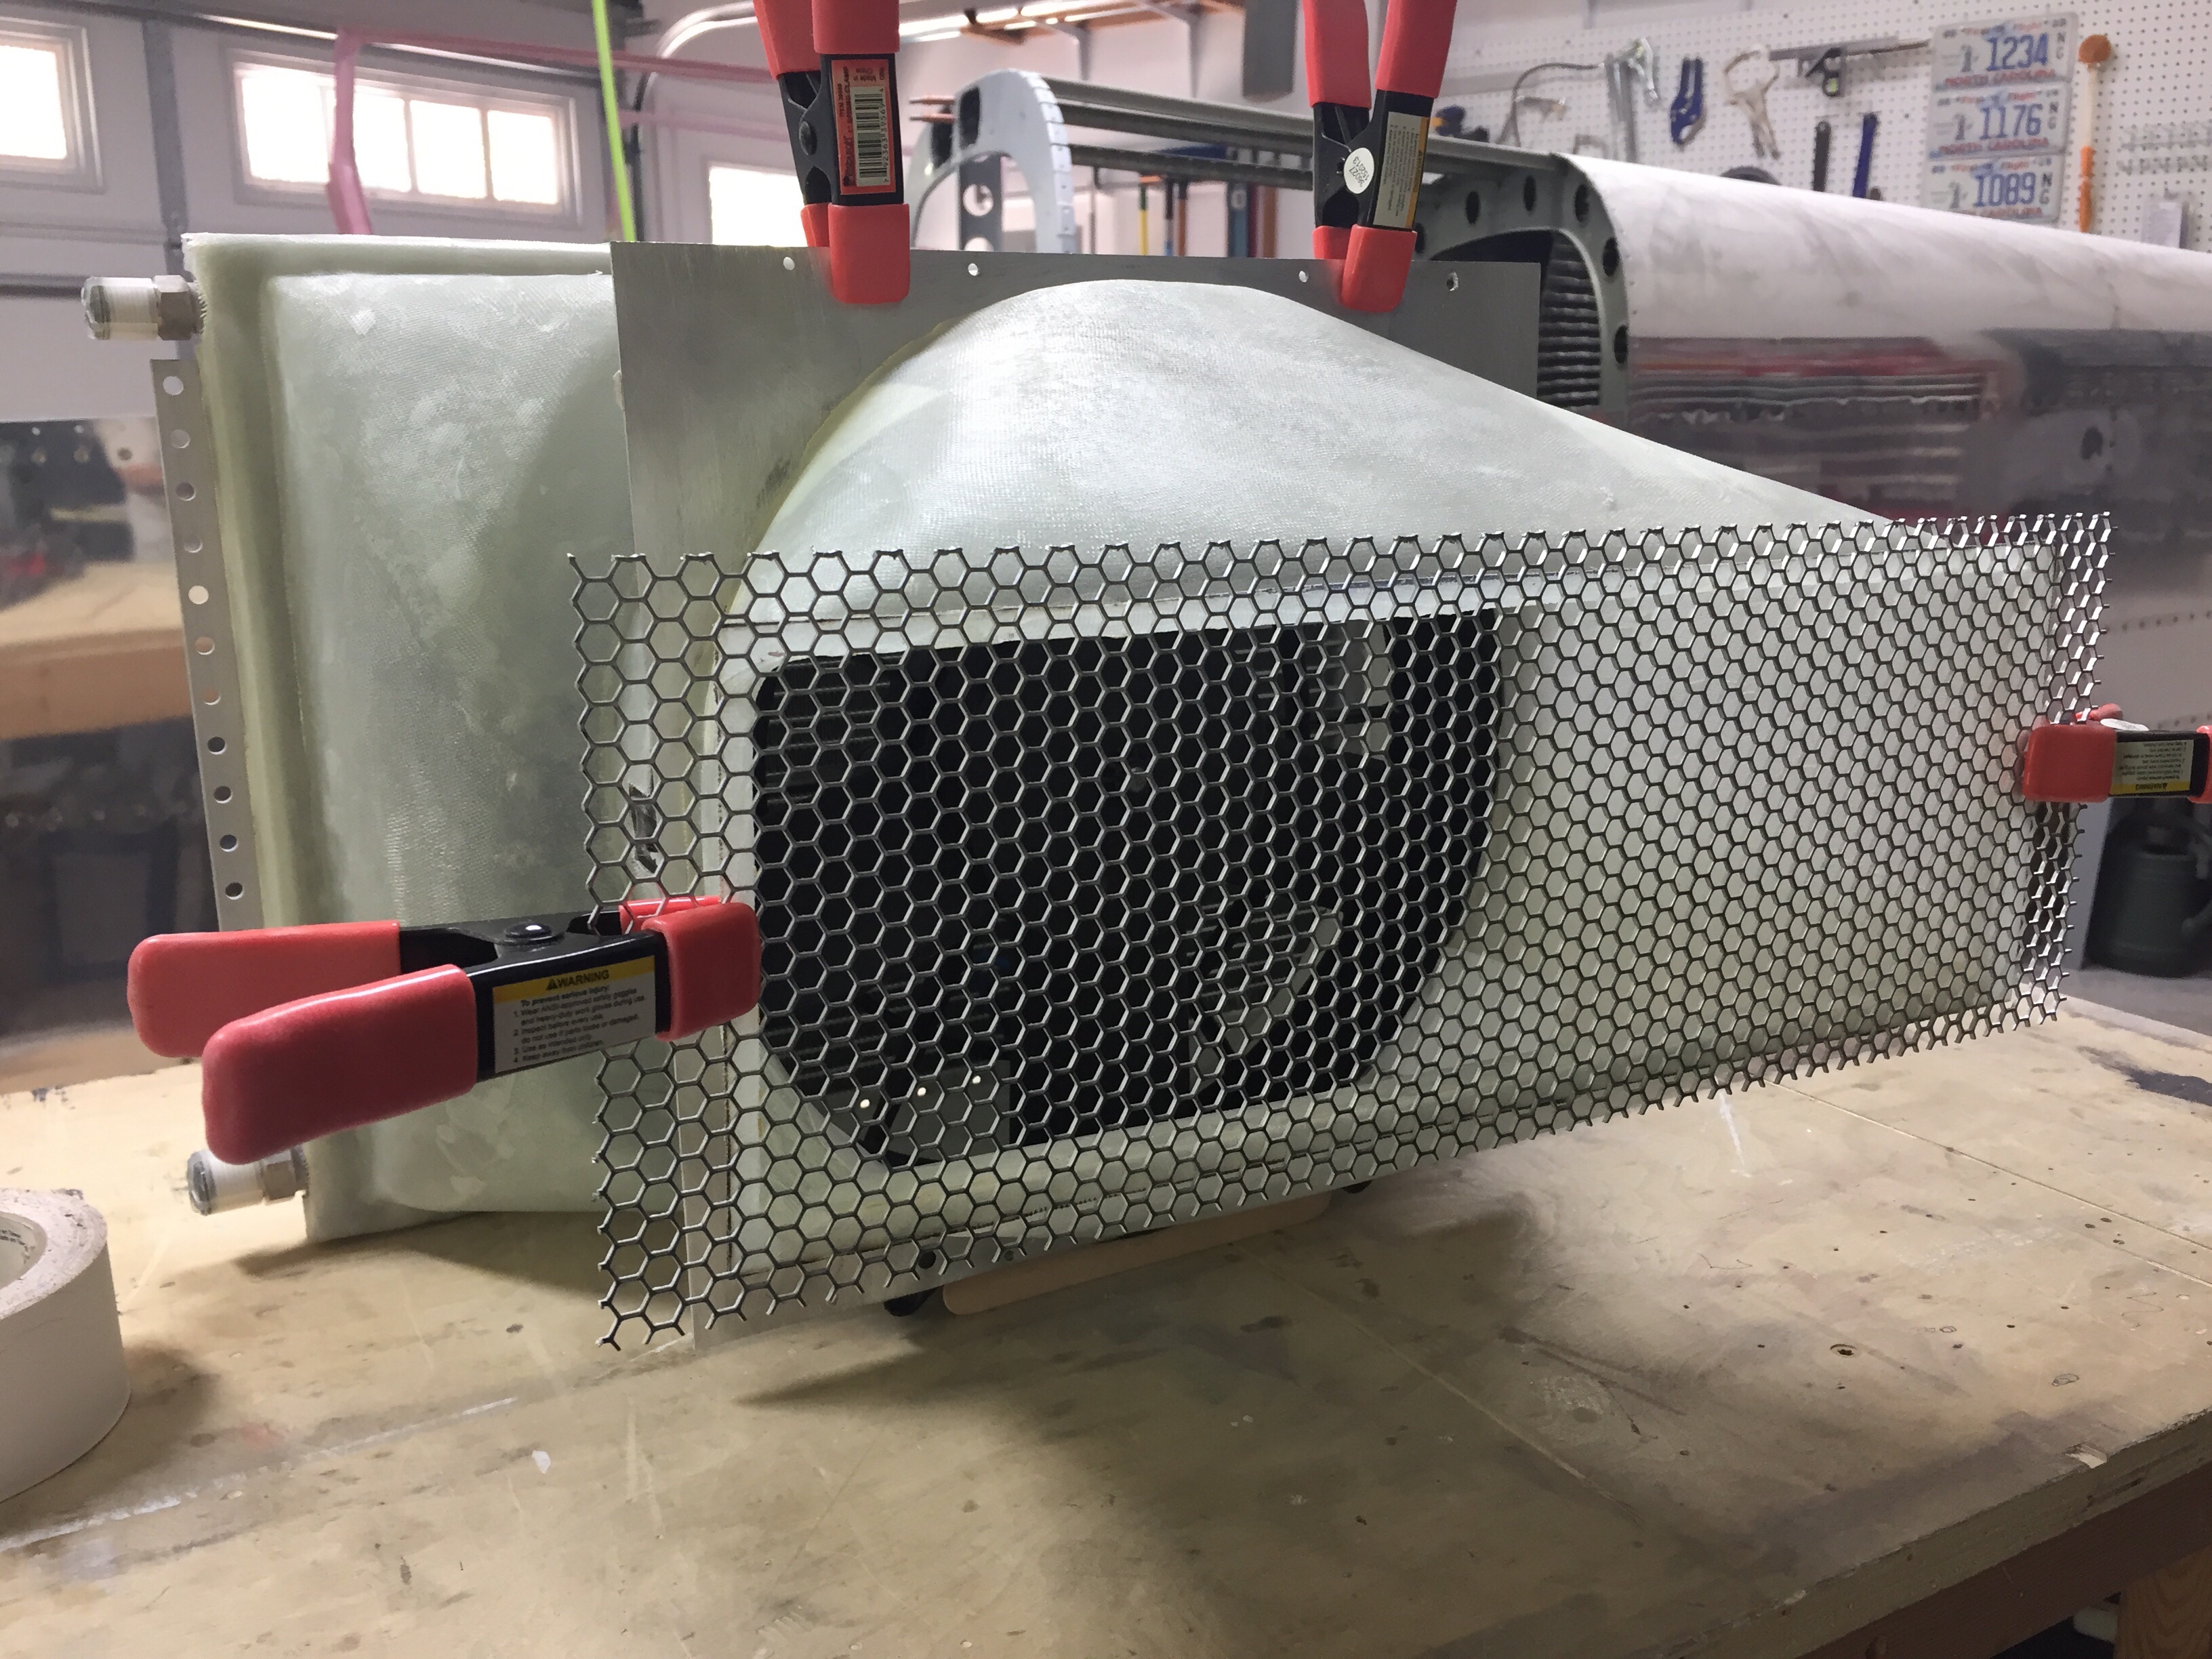
I put the cowling on for a final fit check and hooked up the new AeroTherm engine heater. I’ve used these on the Diamond we fly and really like it. I didn’t like the idea of cylinder heaters and want to keep the engine heated during the winter to avoid cold starts. I know this isn’t as portable, but I’m happy with it thus far. I did have to get a very thick extension cord so it would keep tripping its internal breaker with my crappy 15 amp service in the hangar.
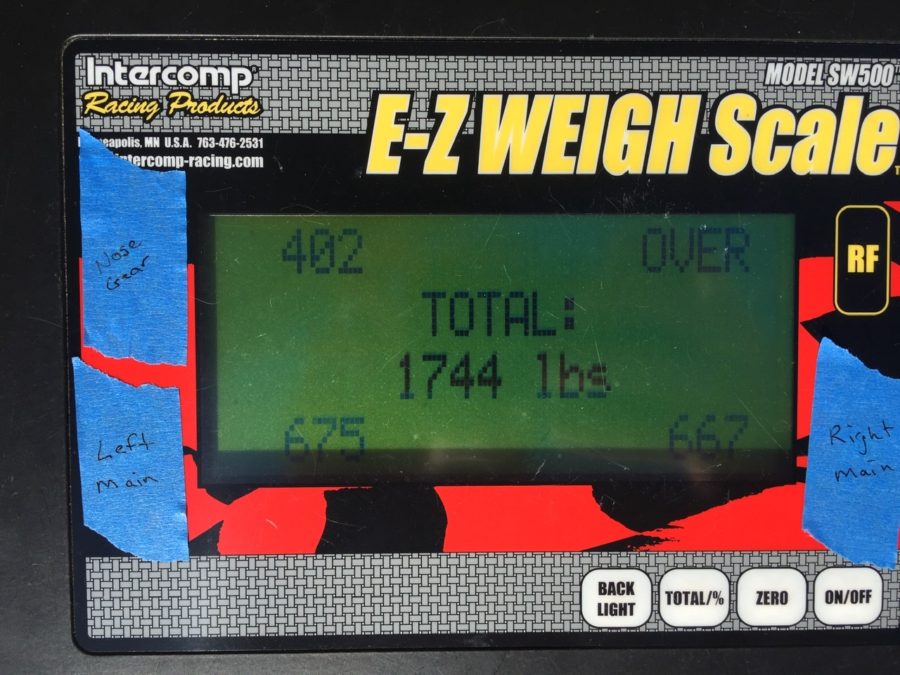
Finally, I weighed the fat little piggy with all of the pants and random stuff not yet on for good in their approximate place. Folks, with full interior, oxygen, air conditioning, three screens up front, and all the extras my credit rating could buy, I’m pretty happy with her girlish figure. This let me sit down and compute weight and CG figures as well. Everything turned out nicely with an empty CG of 106.4 inches.

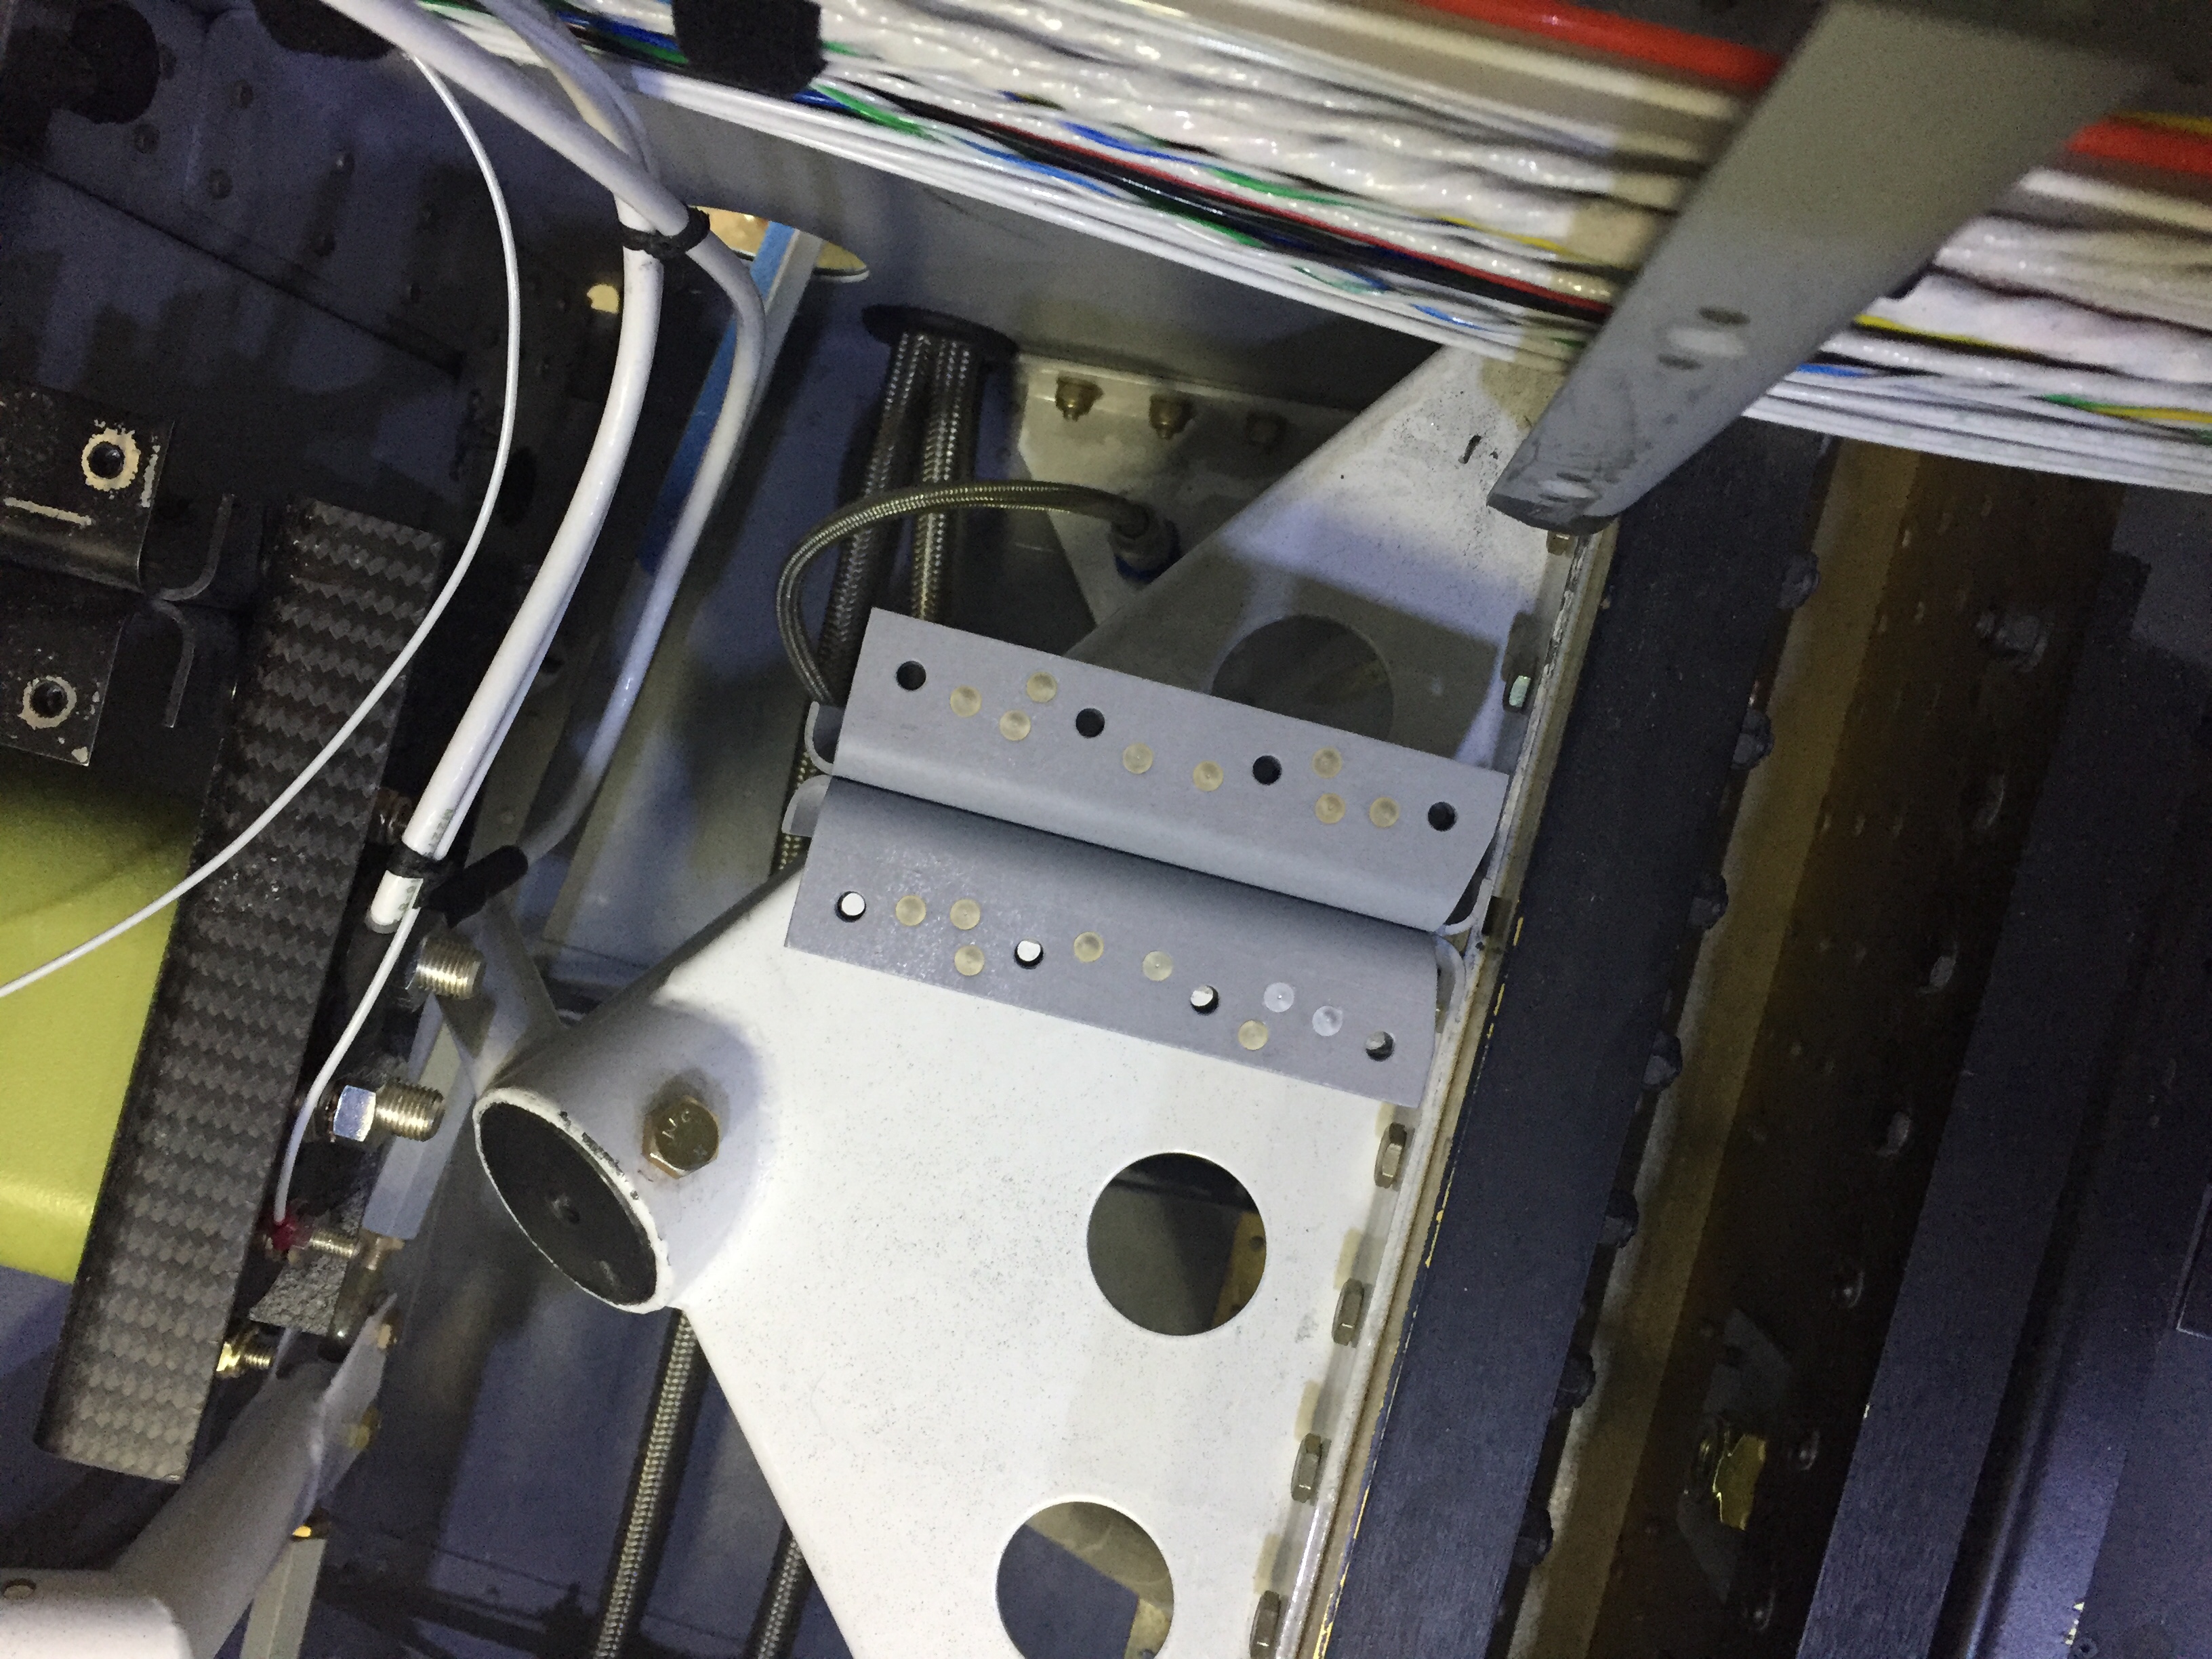

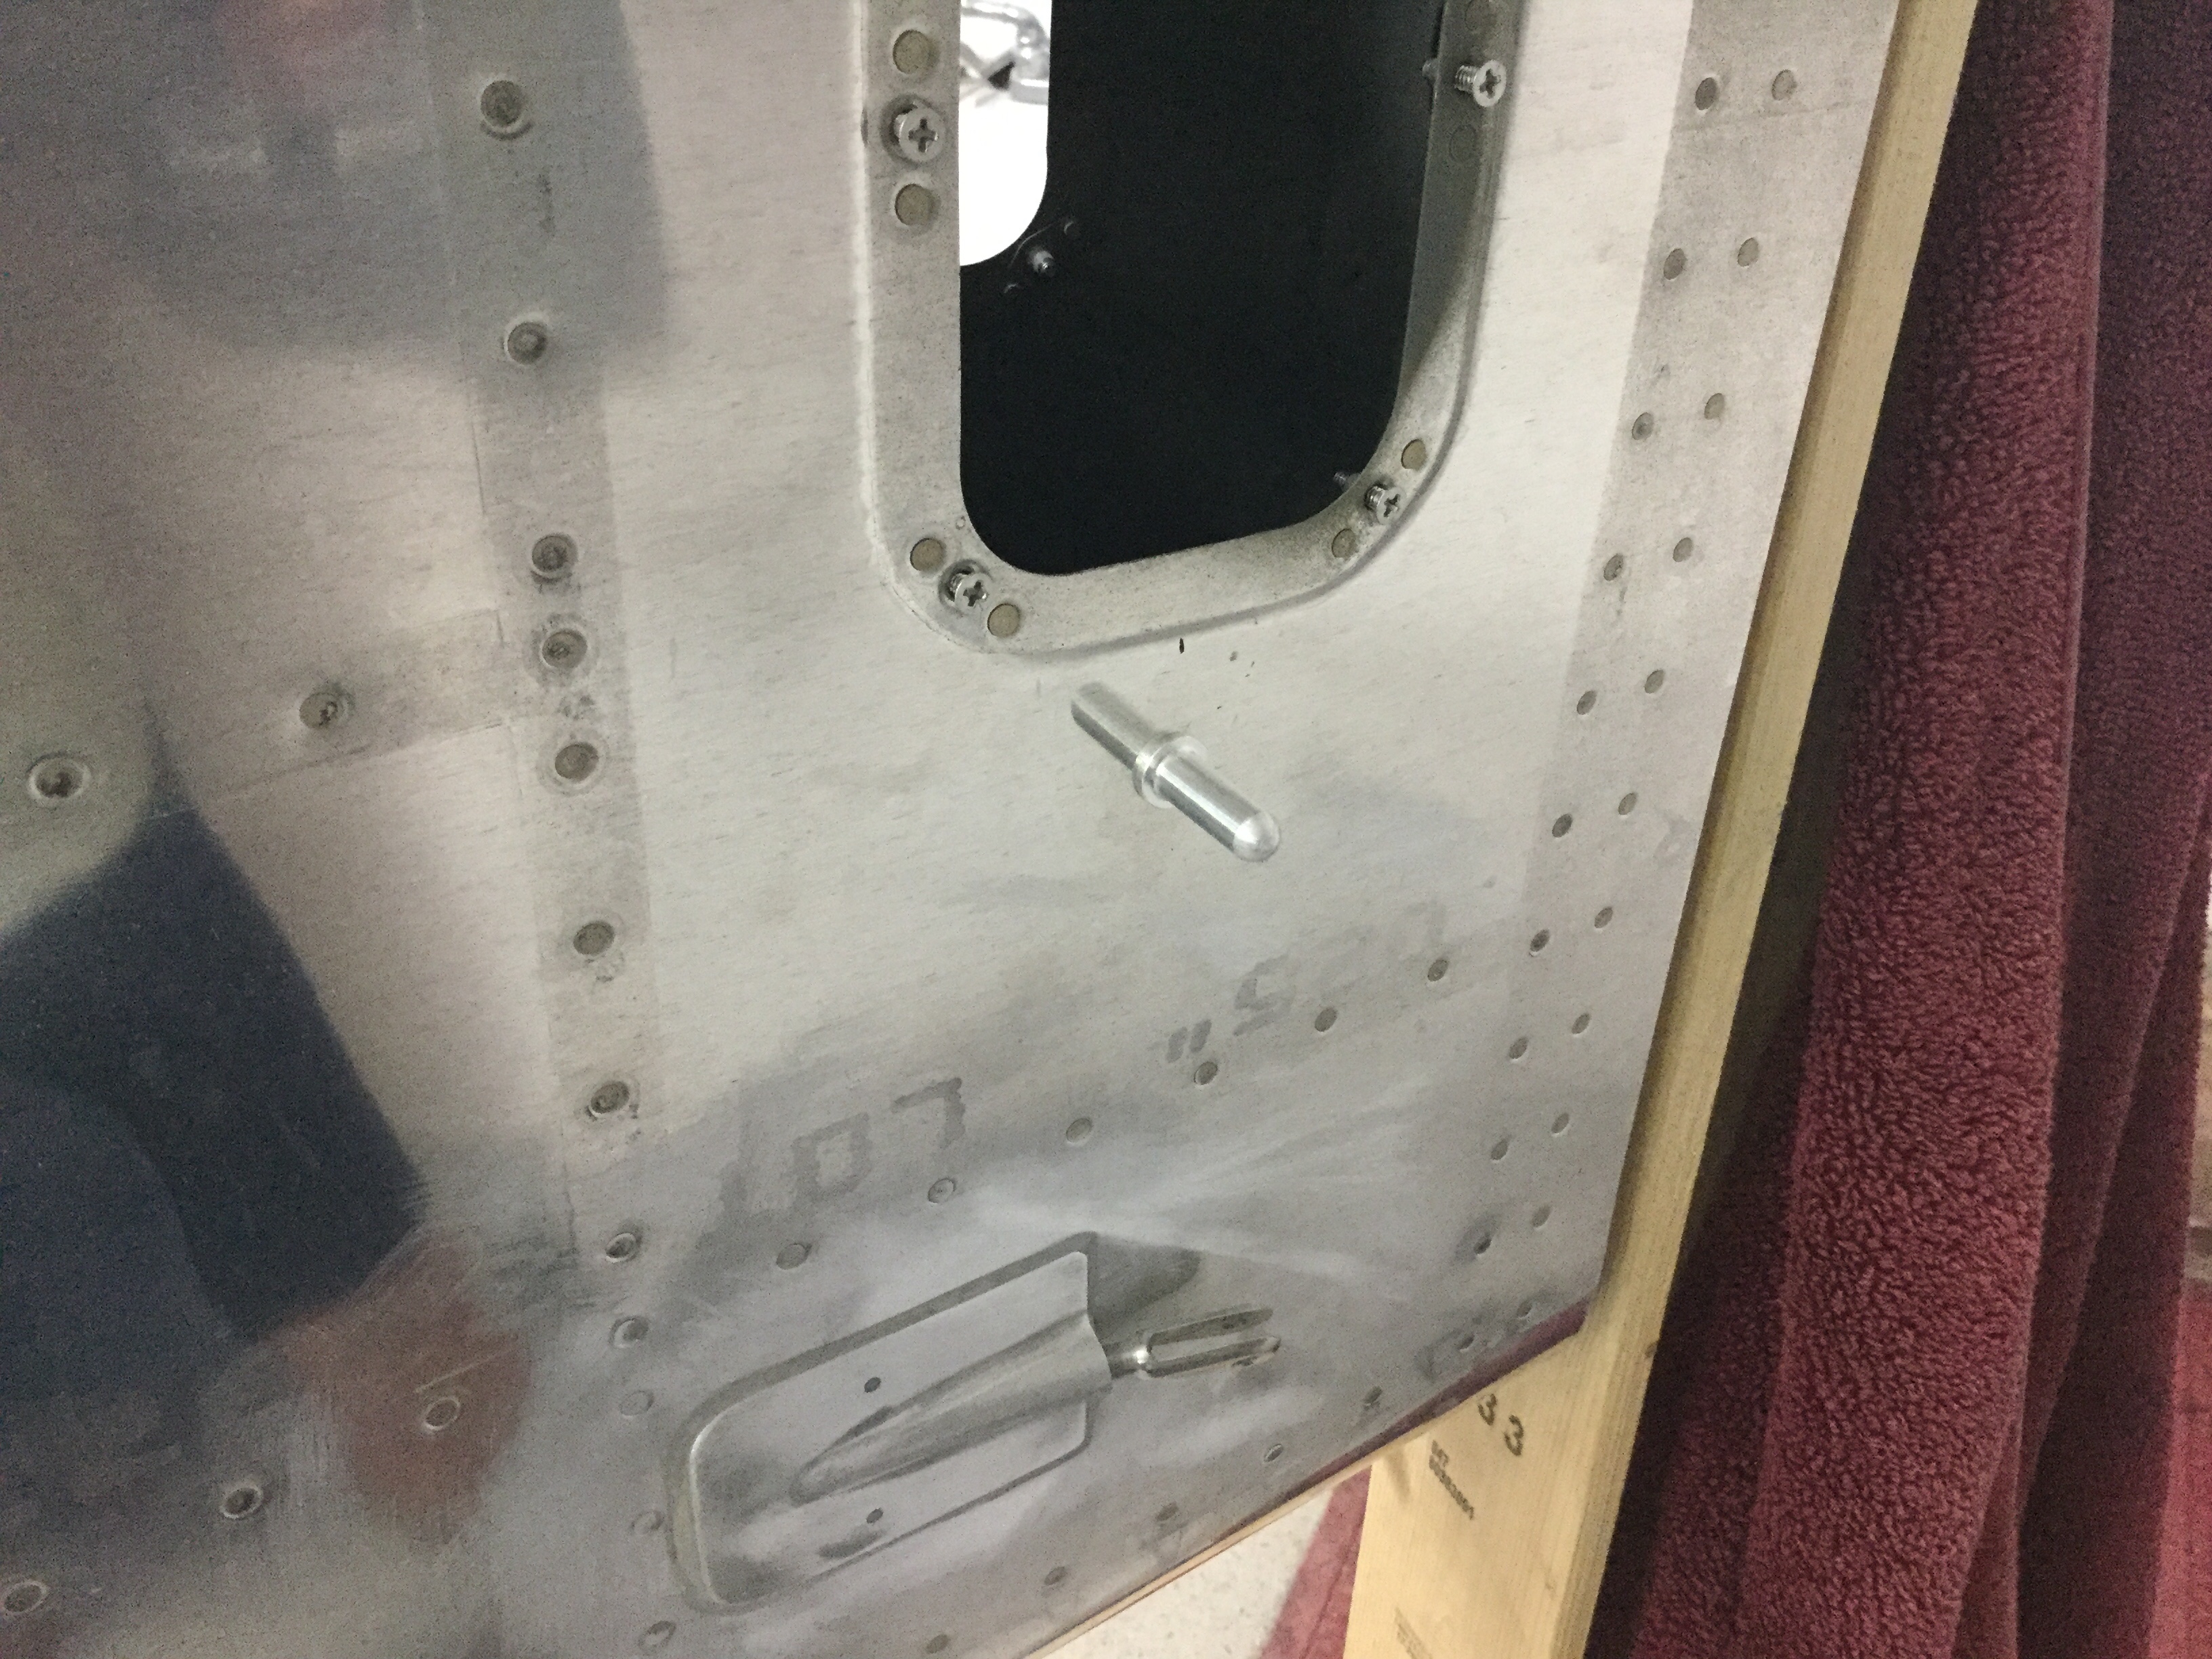


 I also knocked out a few little projects, one being making new elevator trim bracket panels. I had the beefed up fittings sitting in the parts bin and finally ordered the new access panels. After countersinking and priming, the parts are ready to roll and comply with a SB from Van’s from many years ago. This is a common upgrade and an easy one at that.
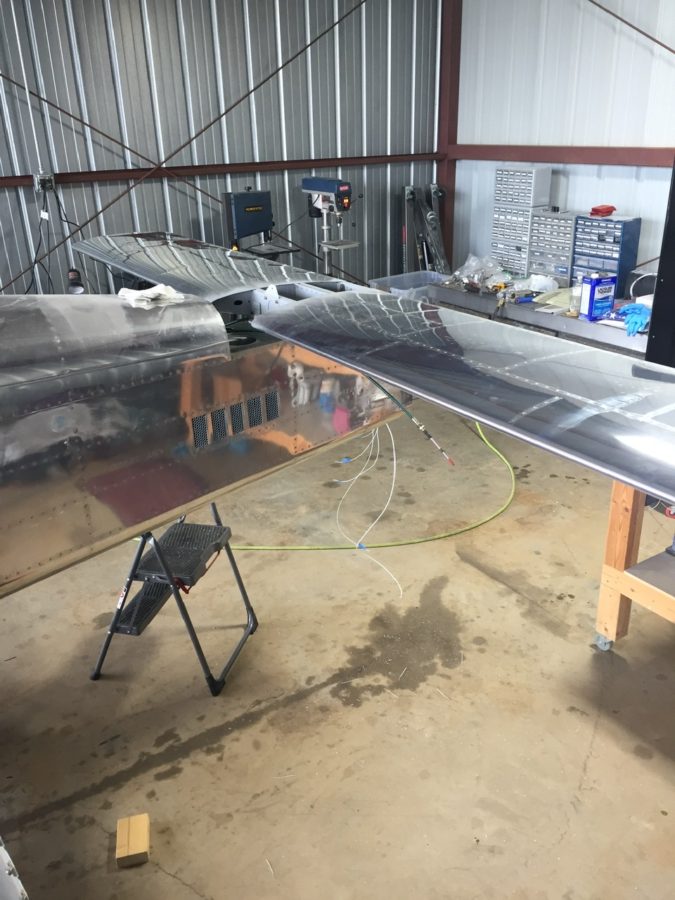
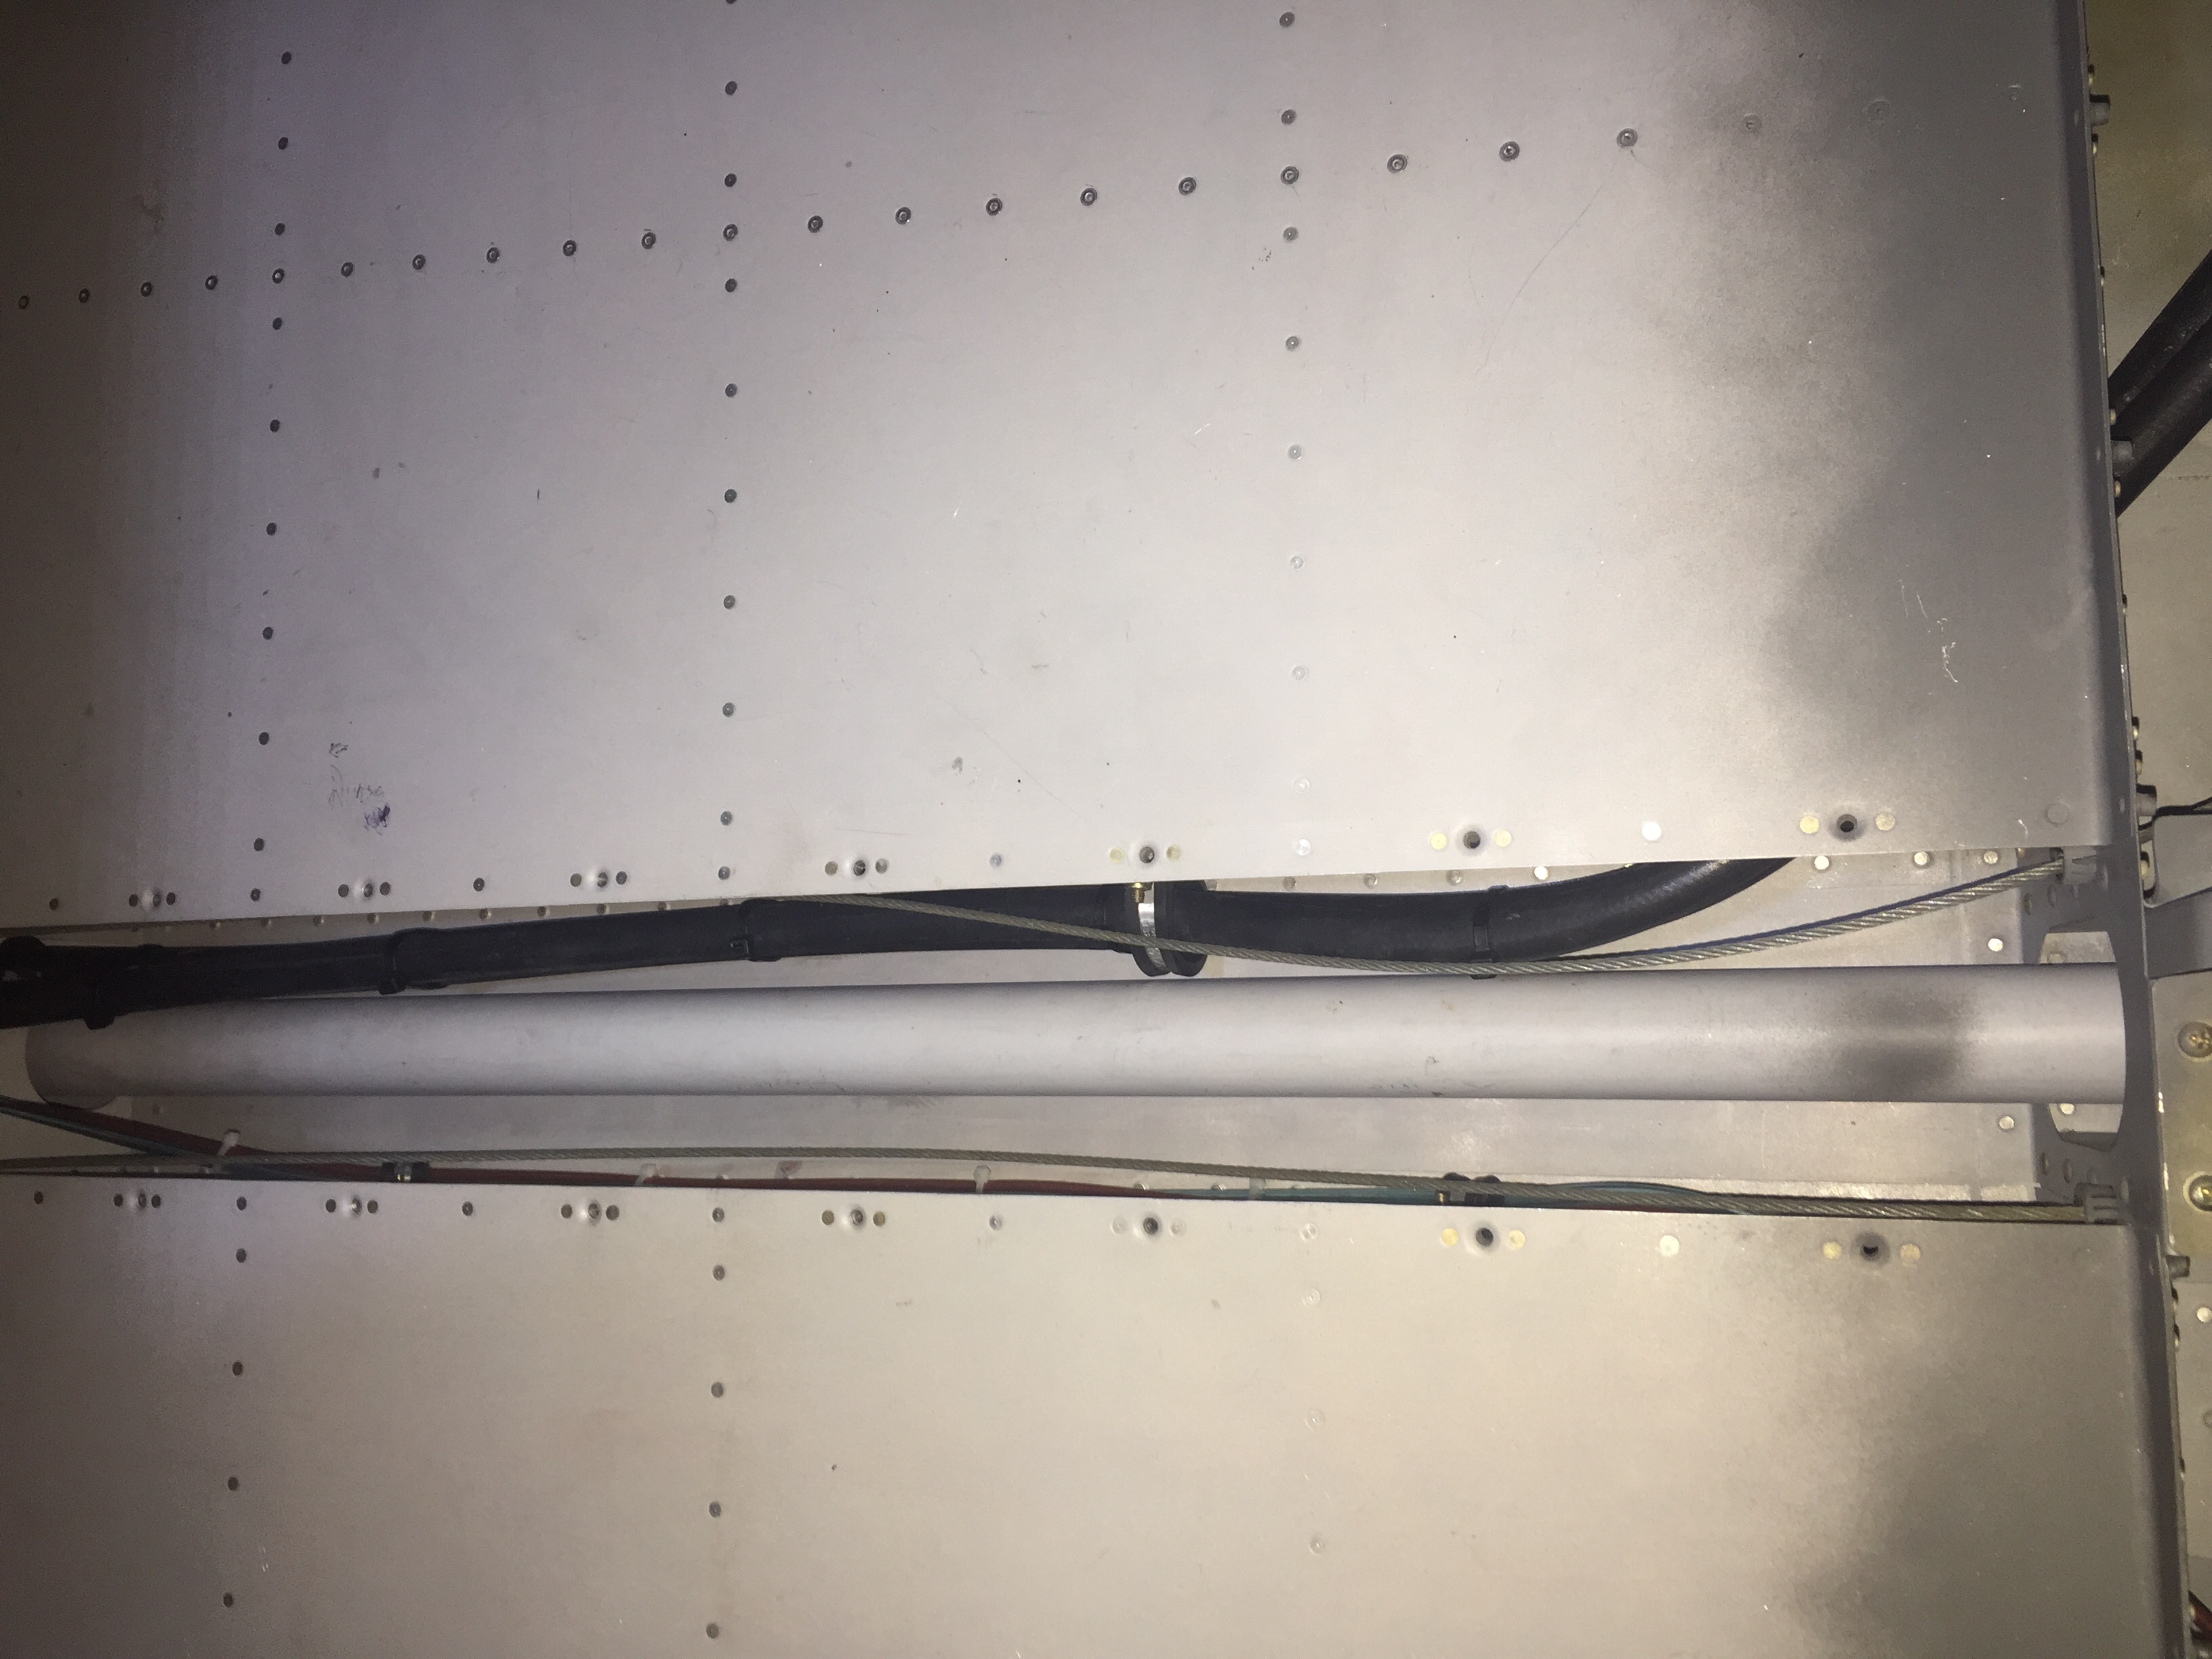
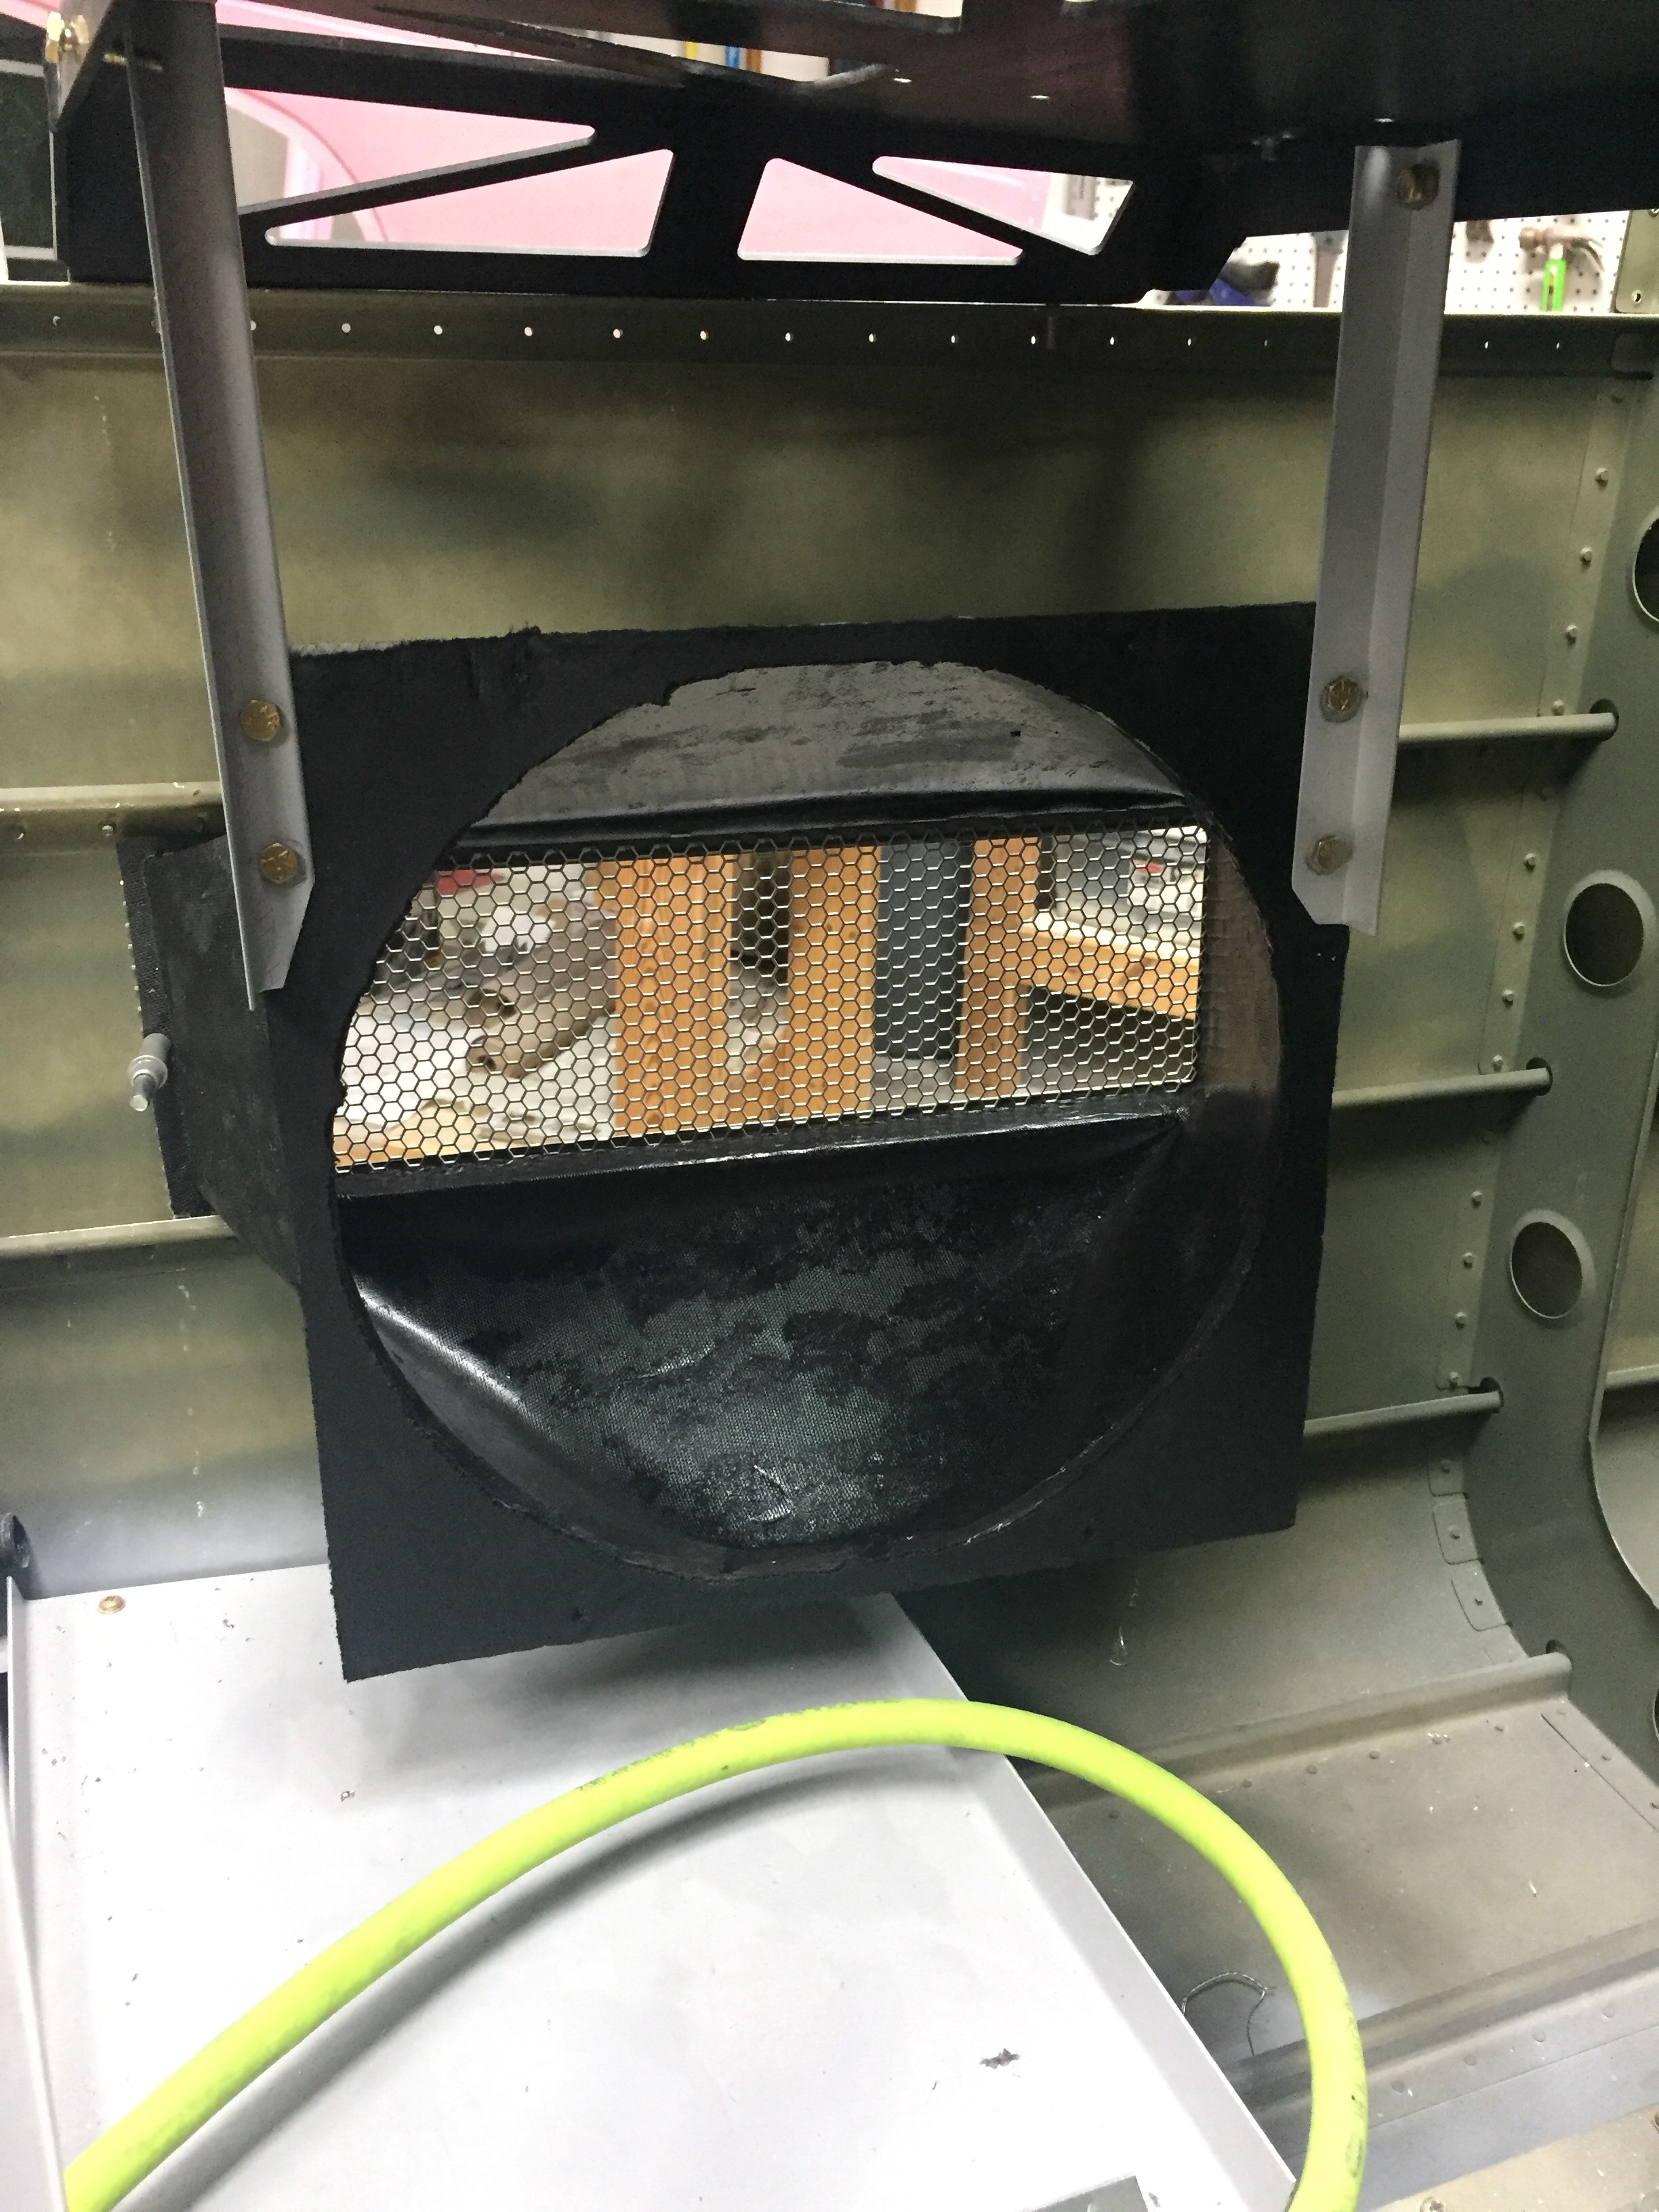
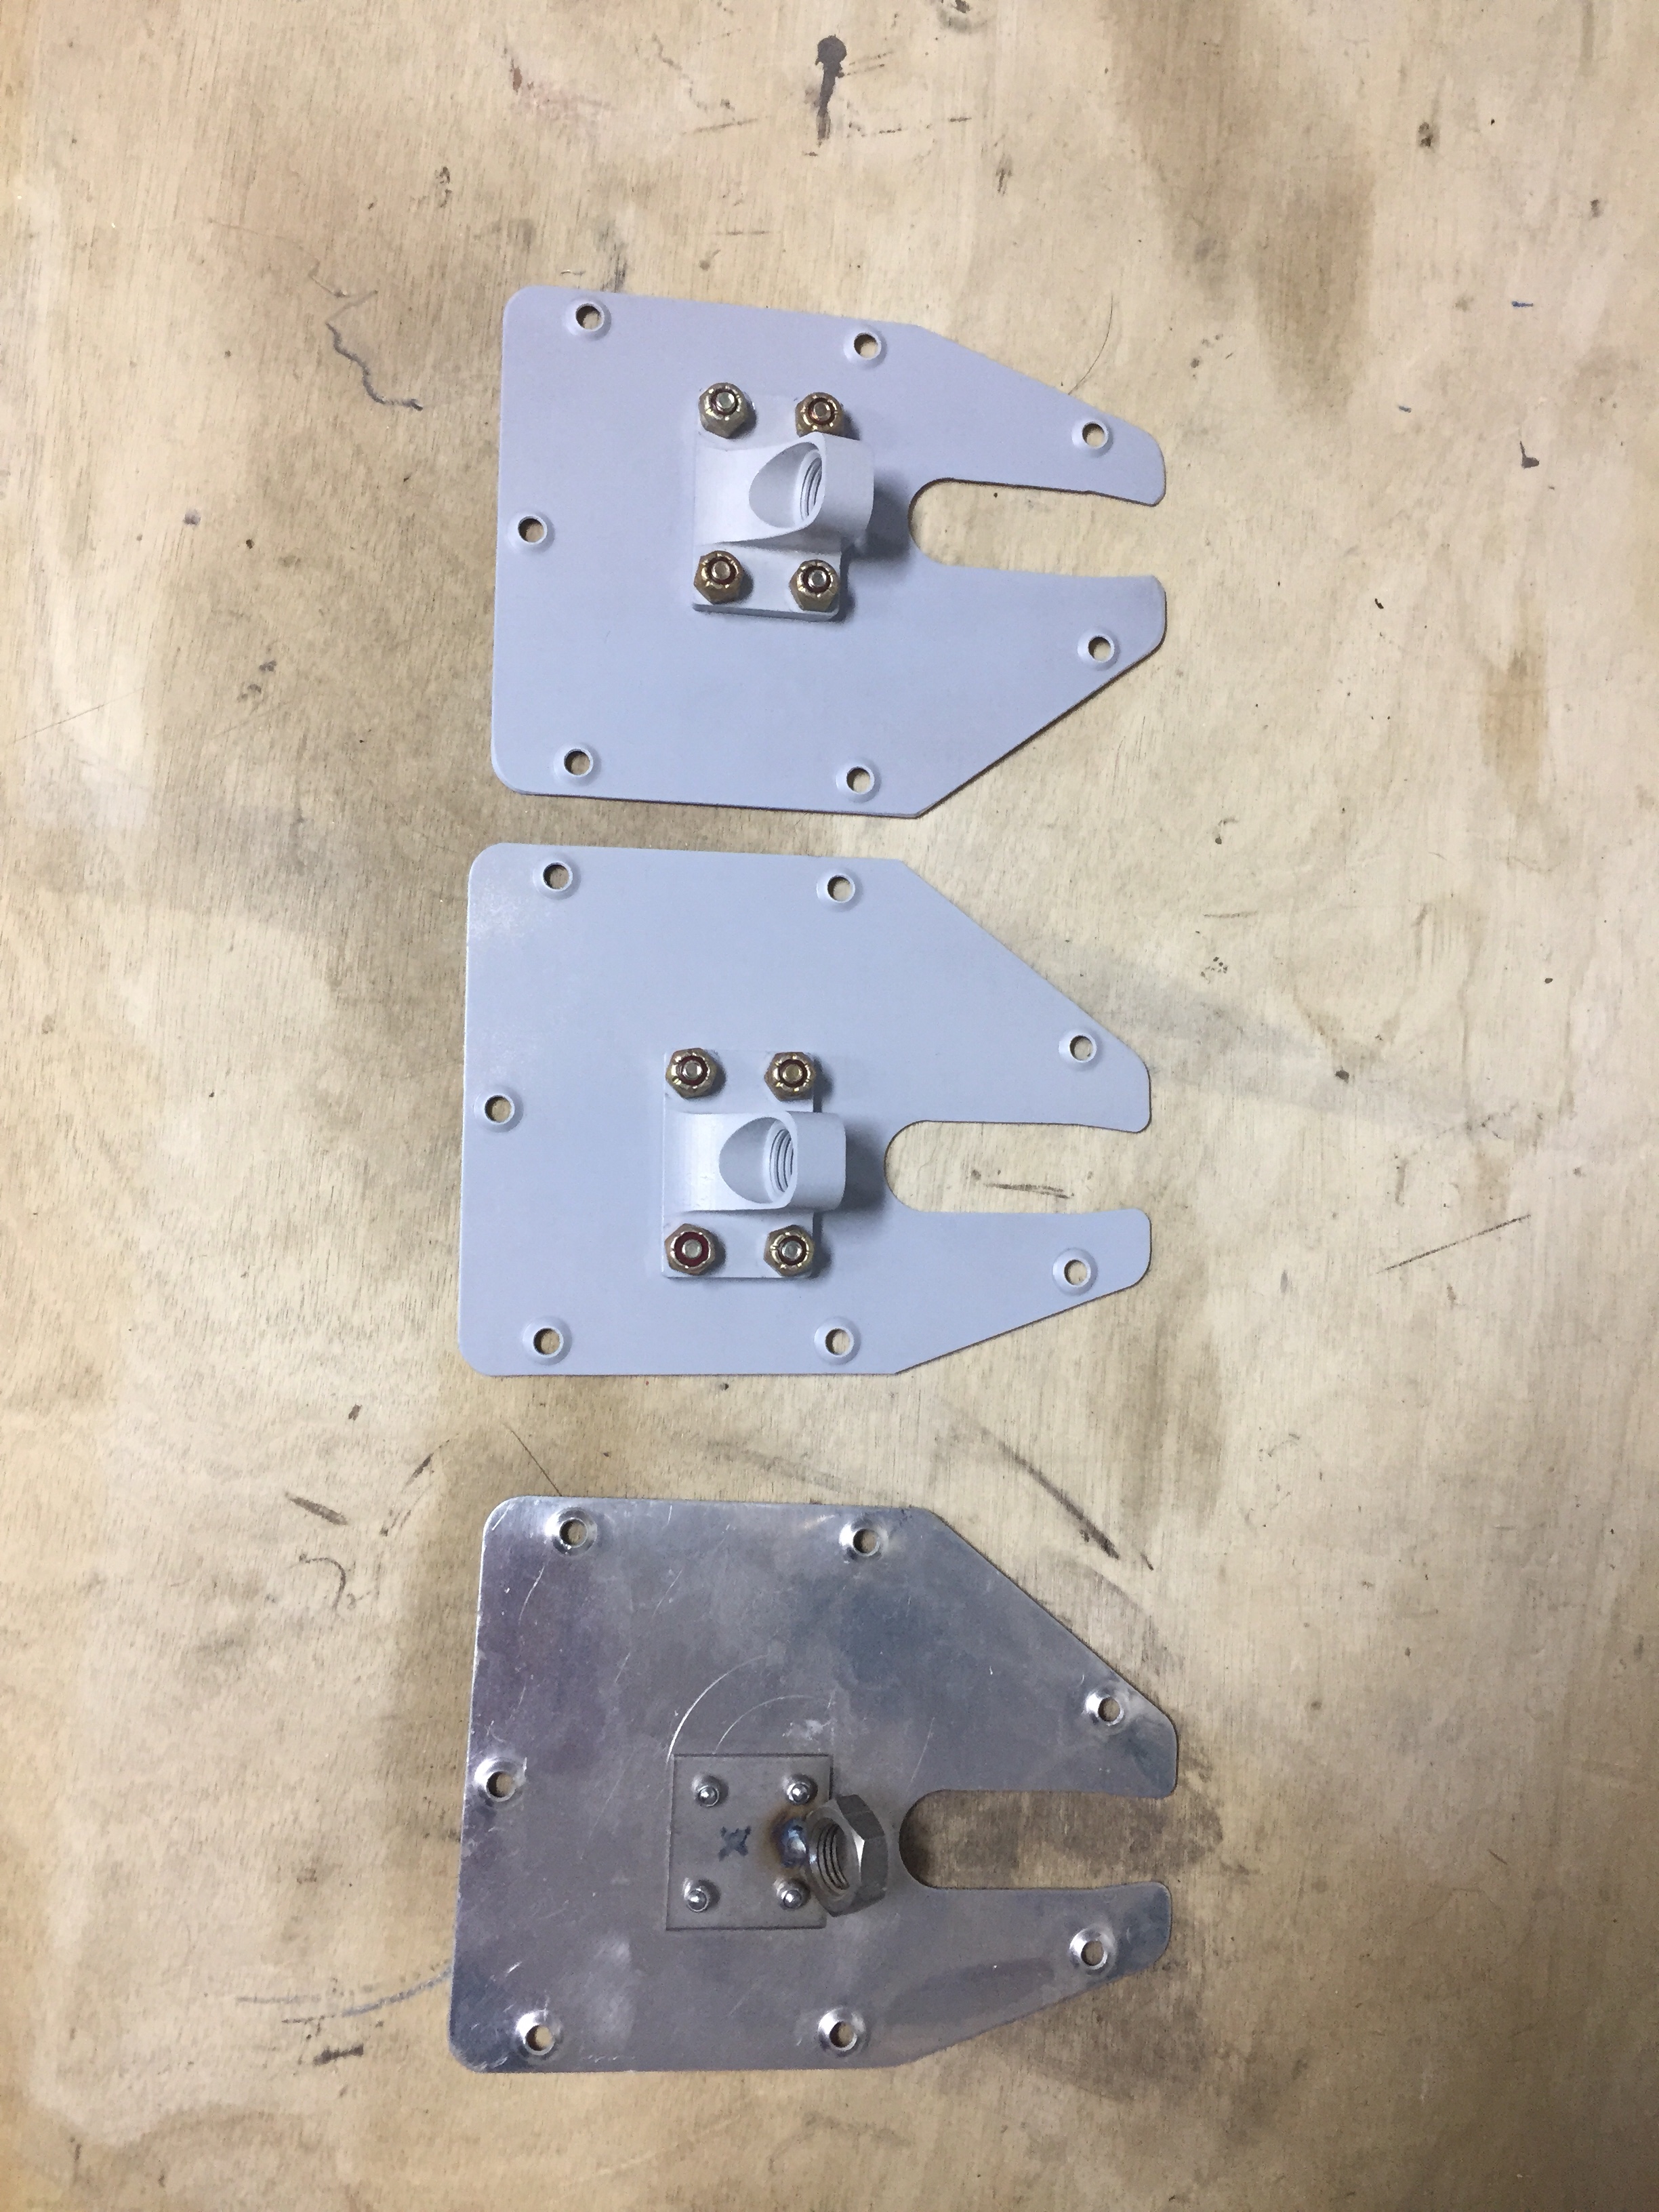 Another little project wasn’t so little. I saved up a few tasks that needed to be completed inside the tail cone for one evening so I would only be crawling back there once (this time). The first was to support the tail better. I used two 1×4’s to bolt to the horizontal stabilizer mounts and put a caster on the bottom. While the fuselage cradle has been great, the rear support isn’t far enough back to support my weight so far aft without something heavy like an engine hanging off the front. So this was an easy fix and doesn’t take any room up in the shop. It’s still very easy to roll around and reposition as needed.
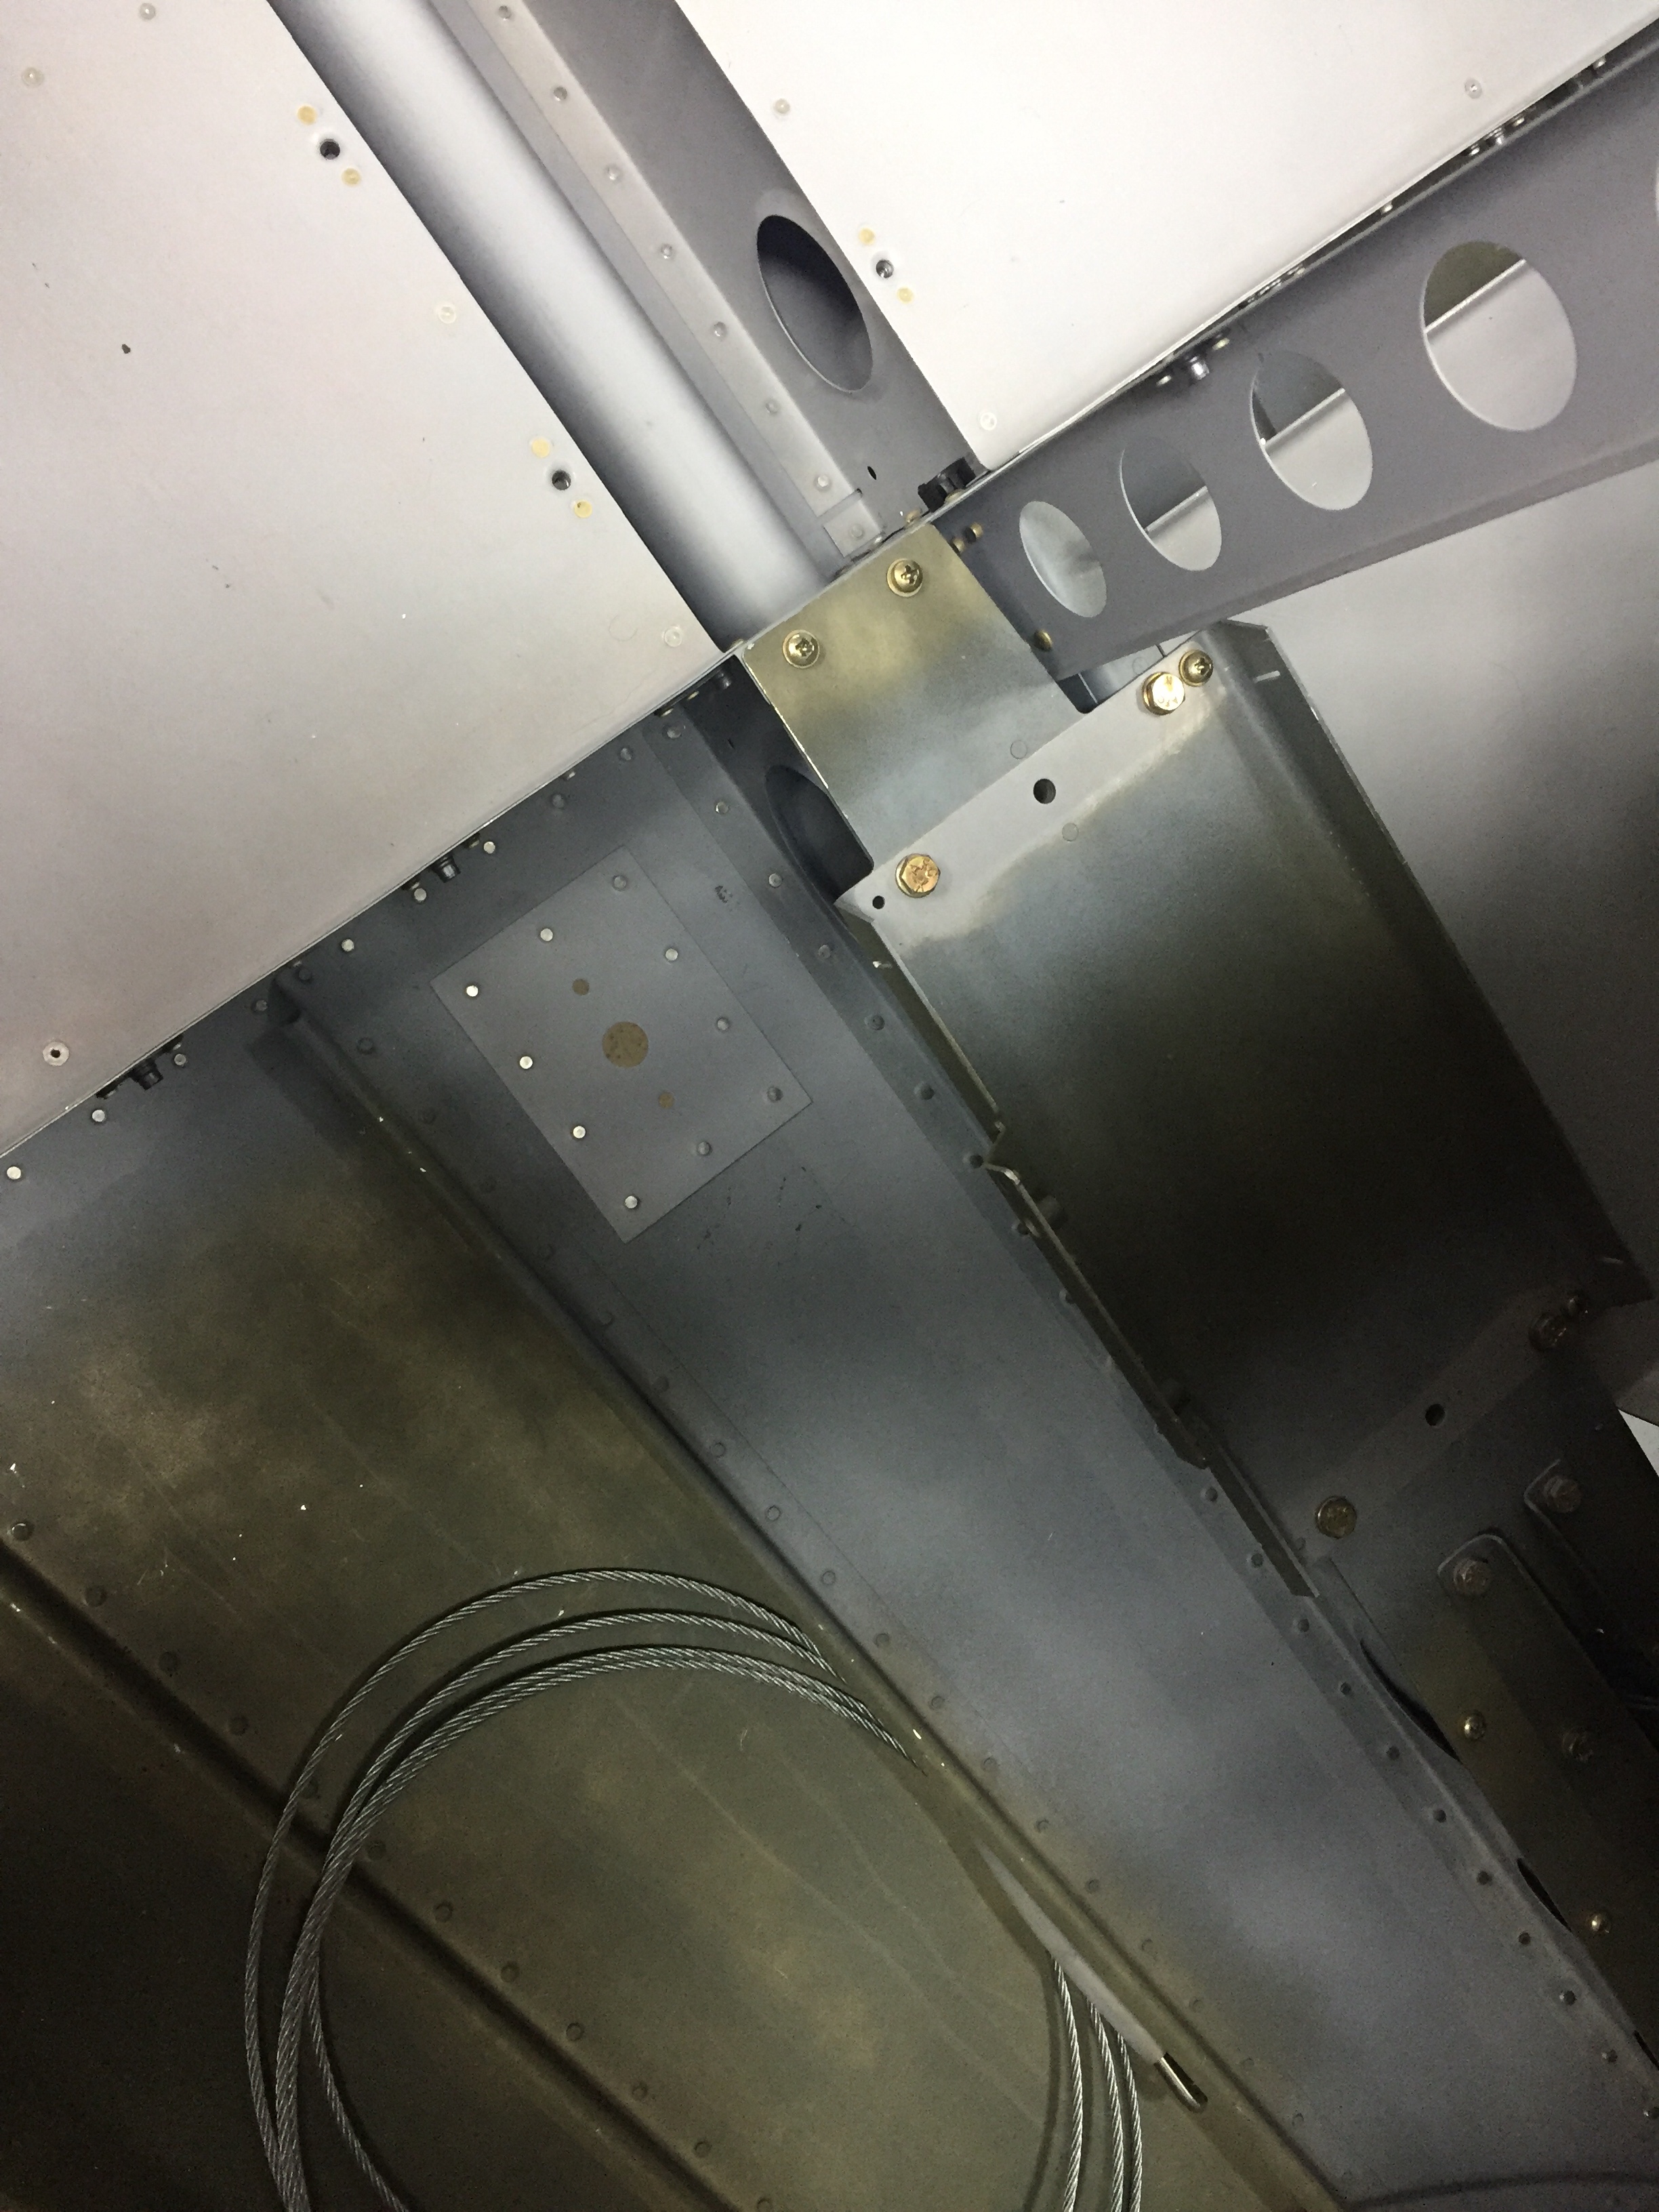
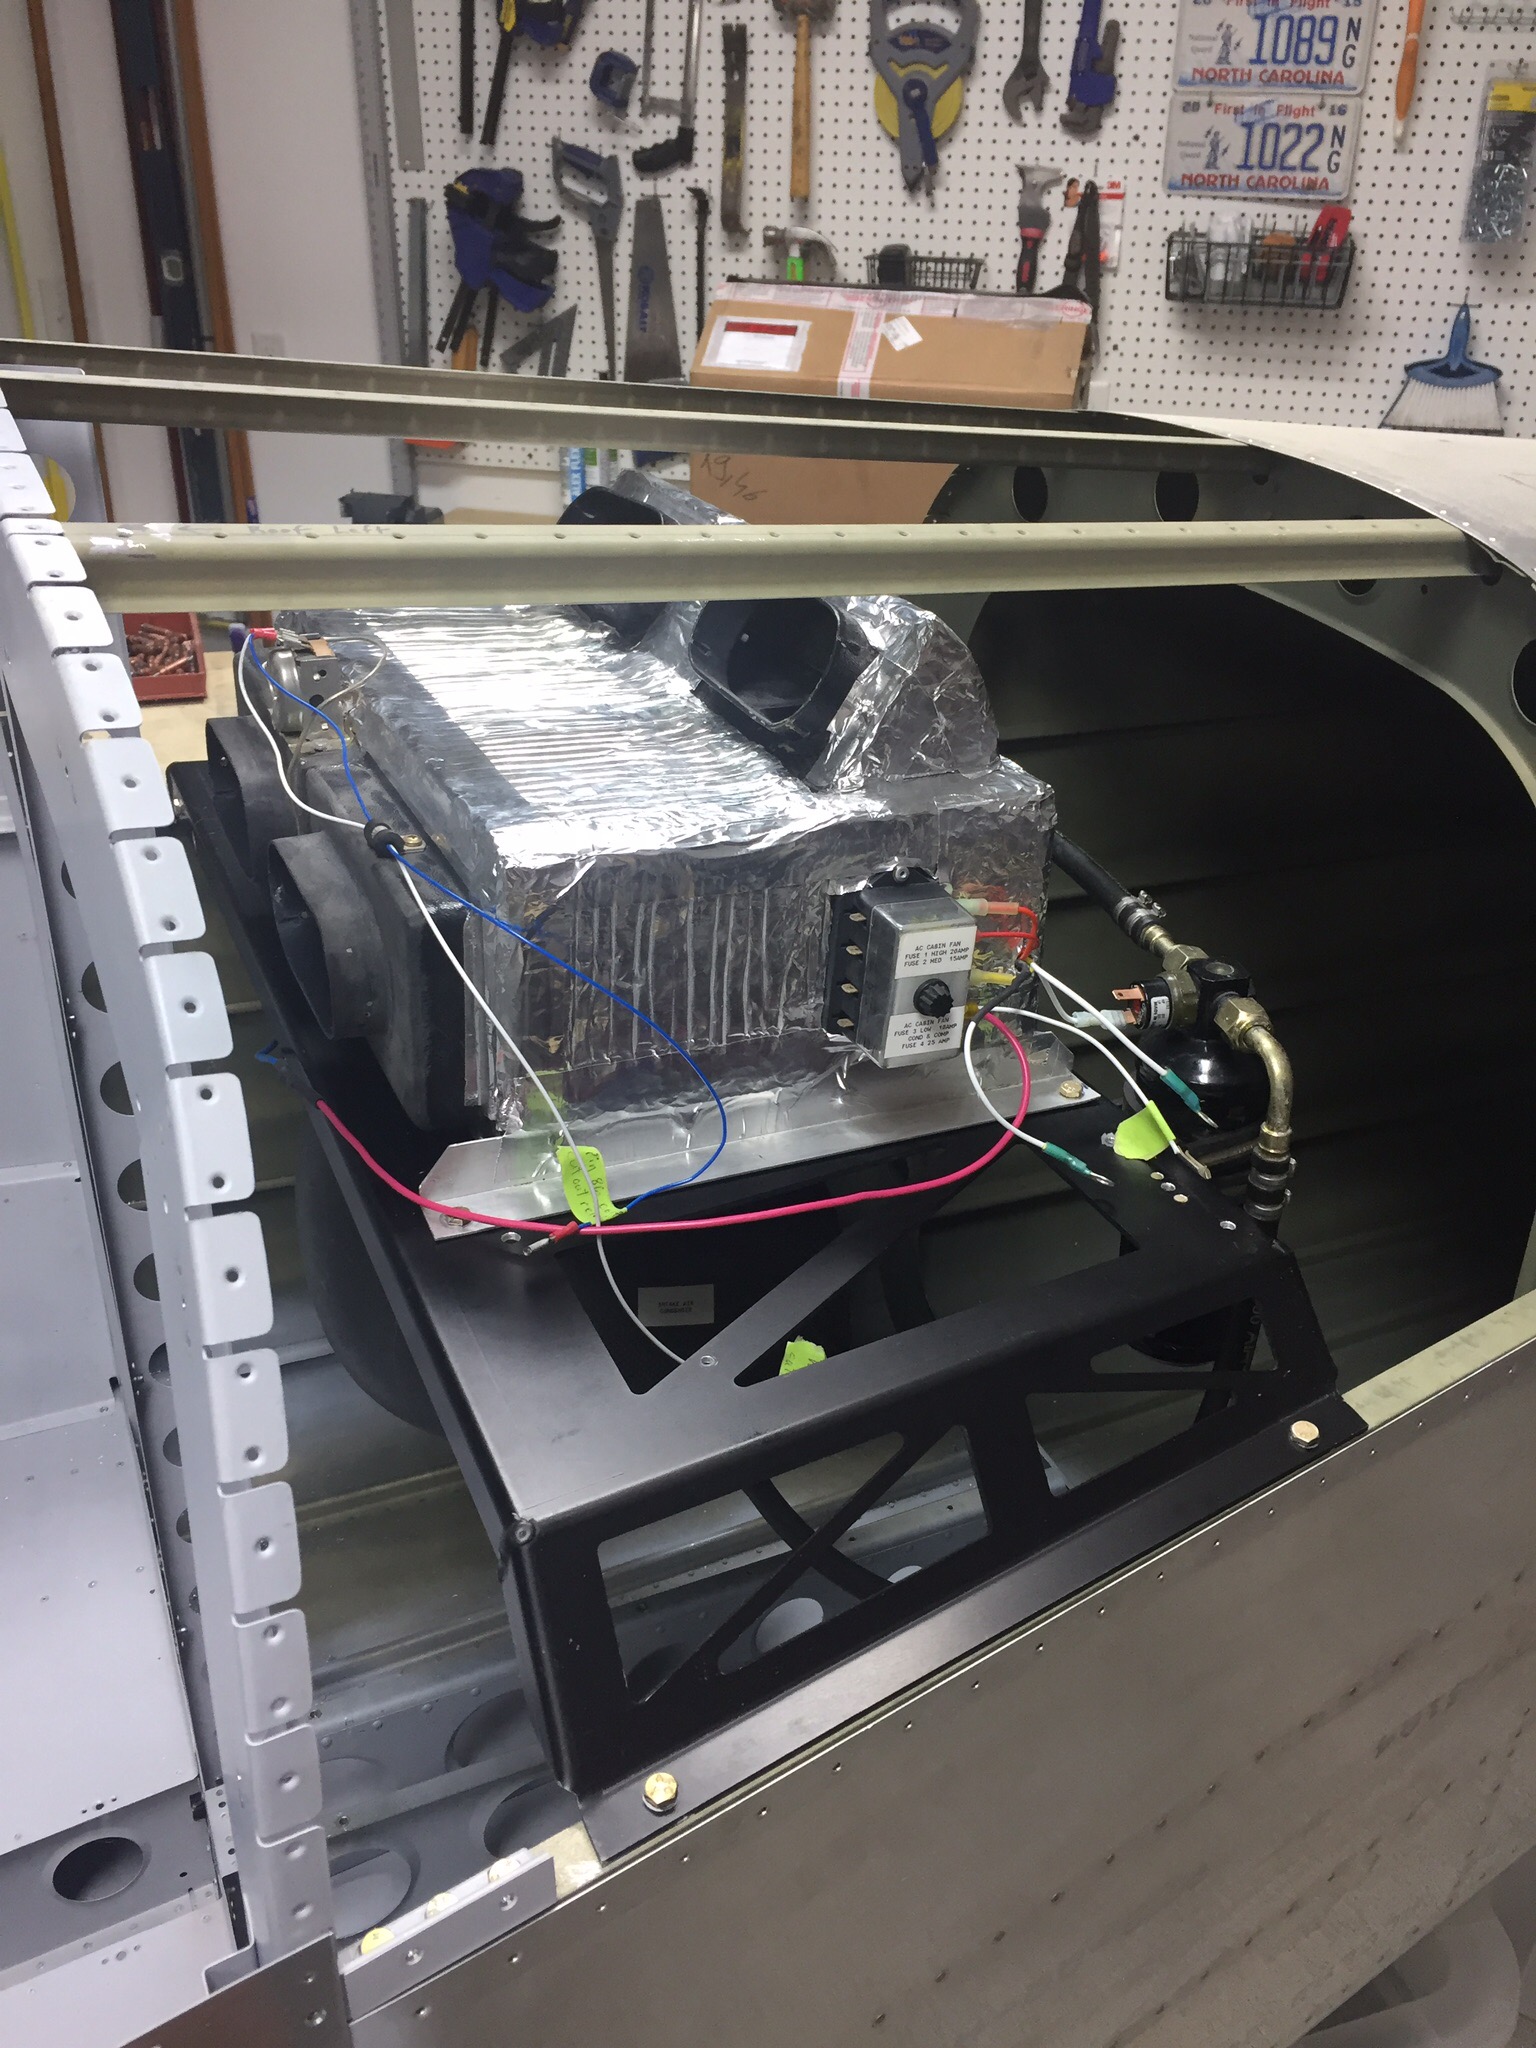
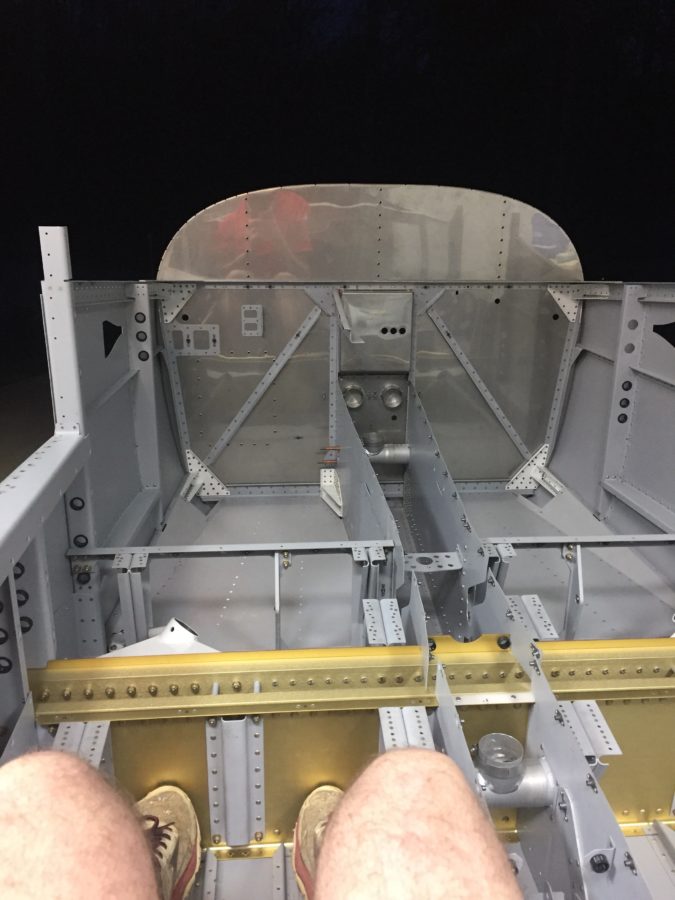
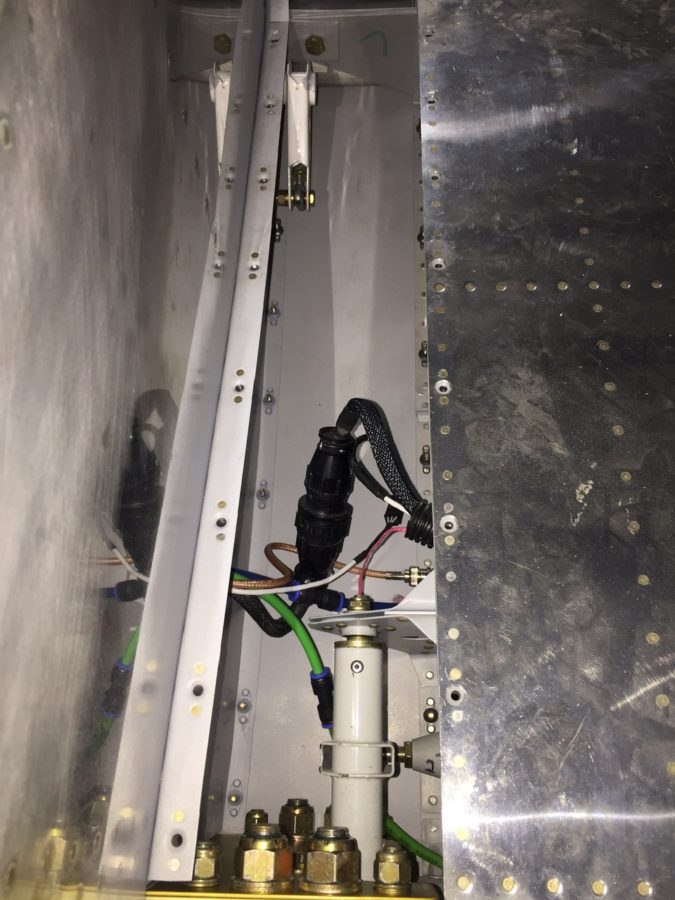
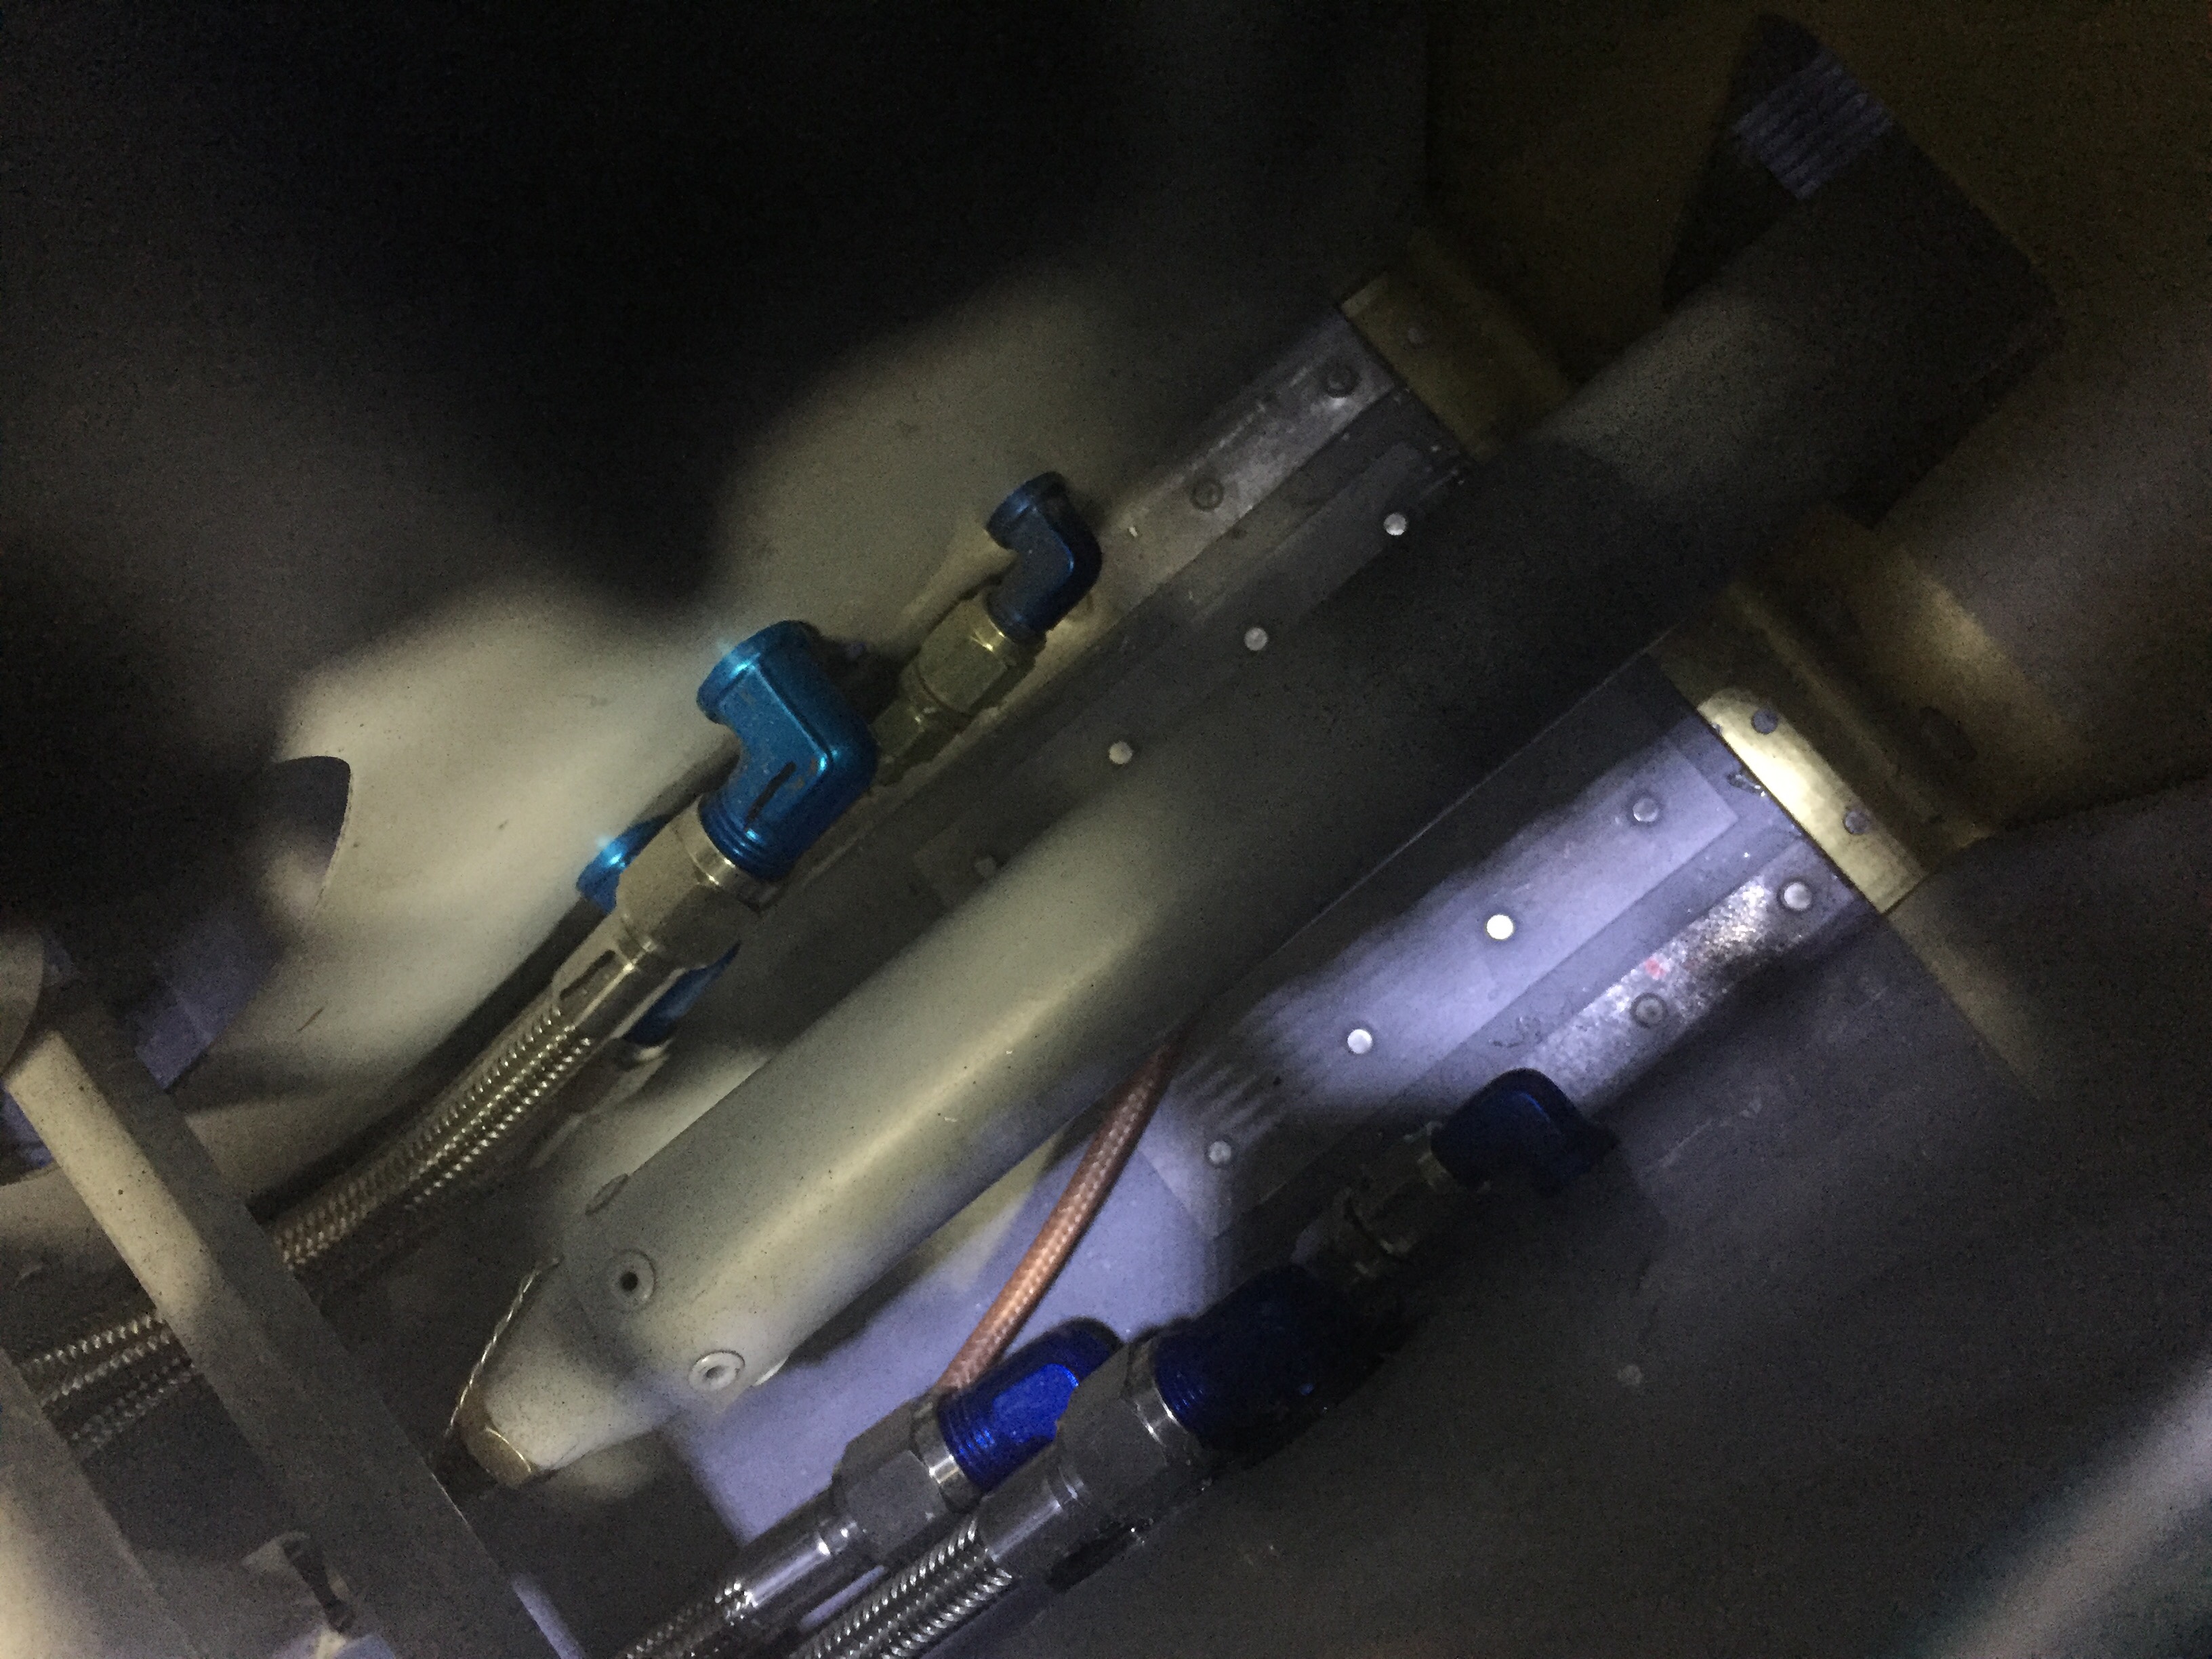
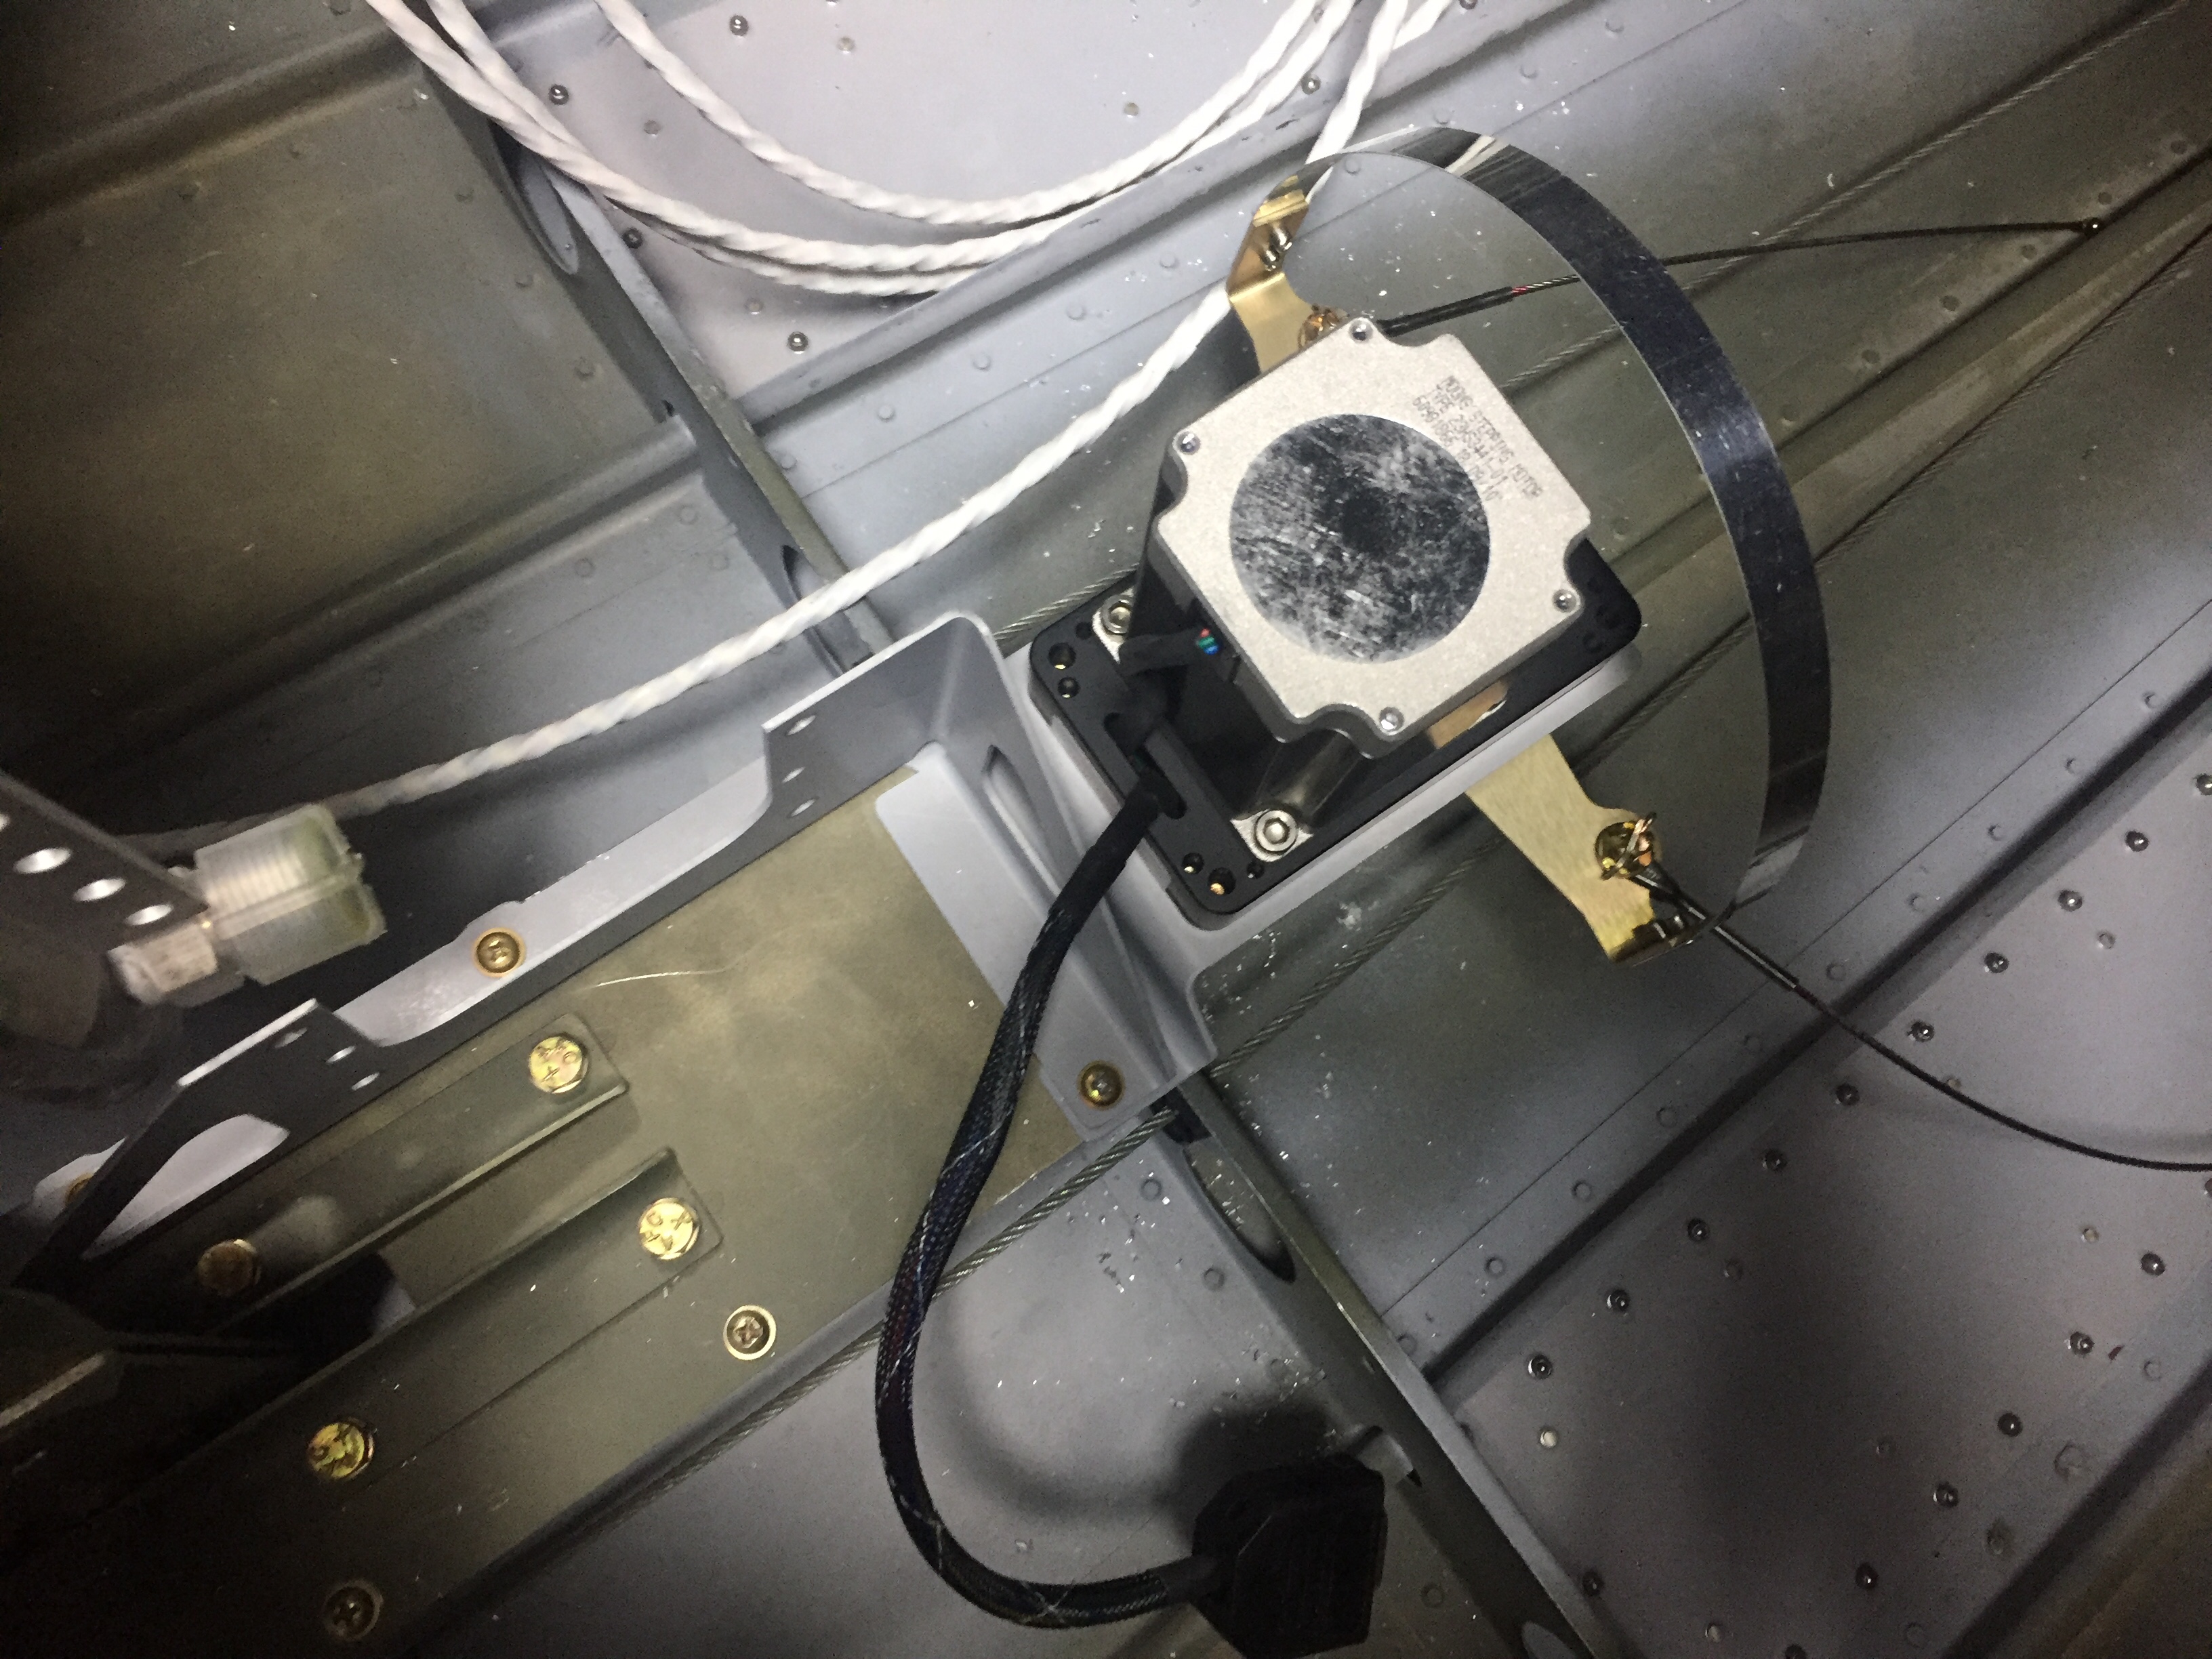
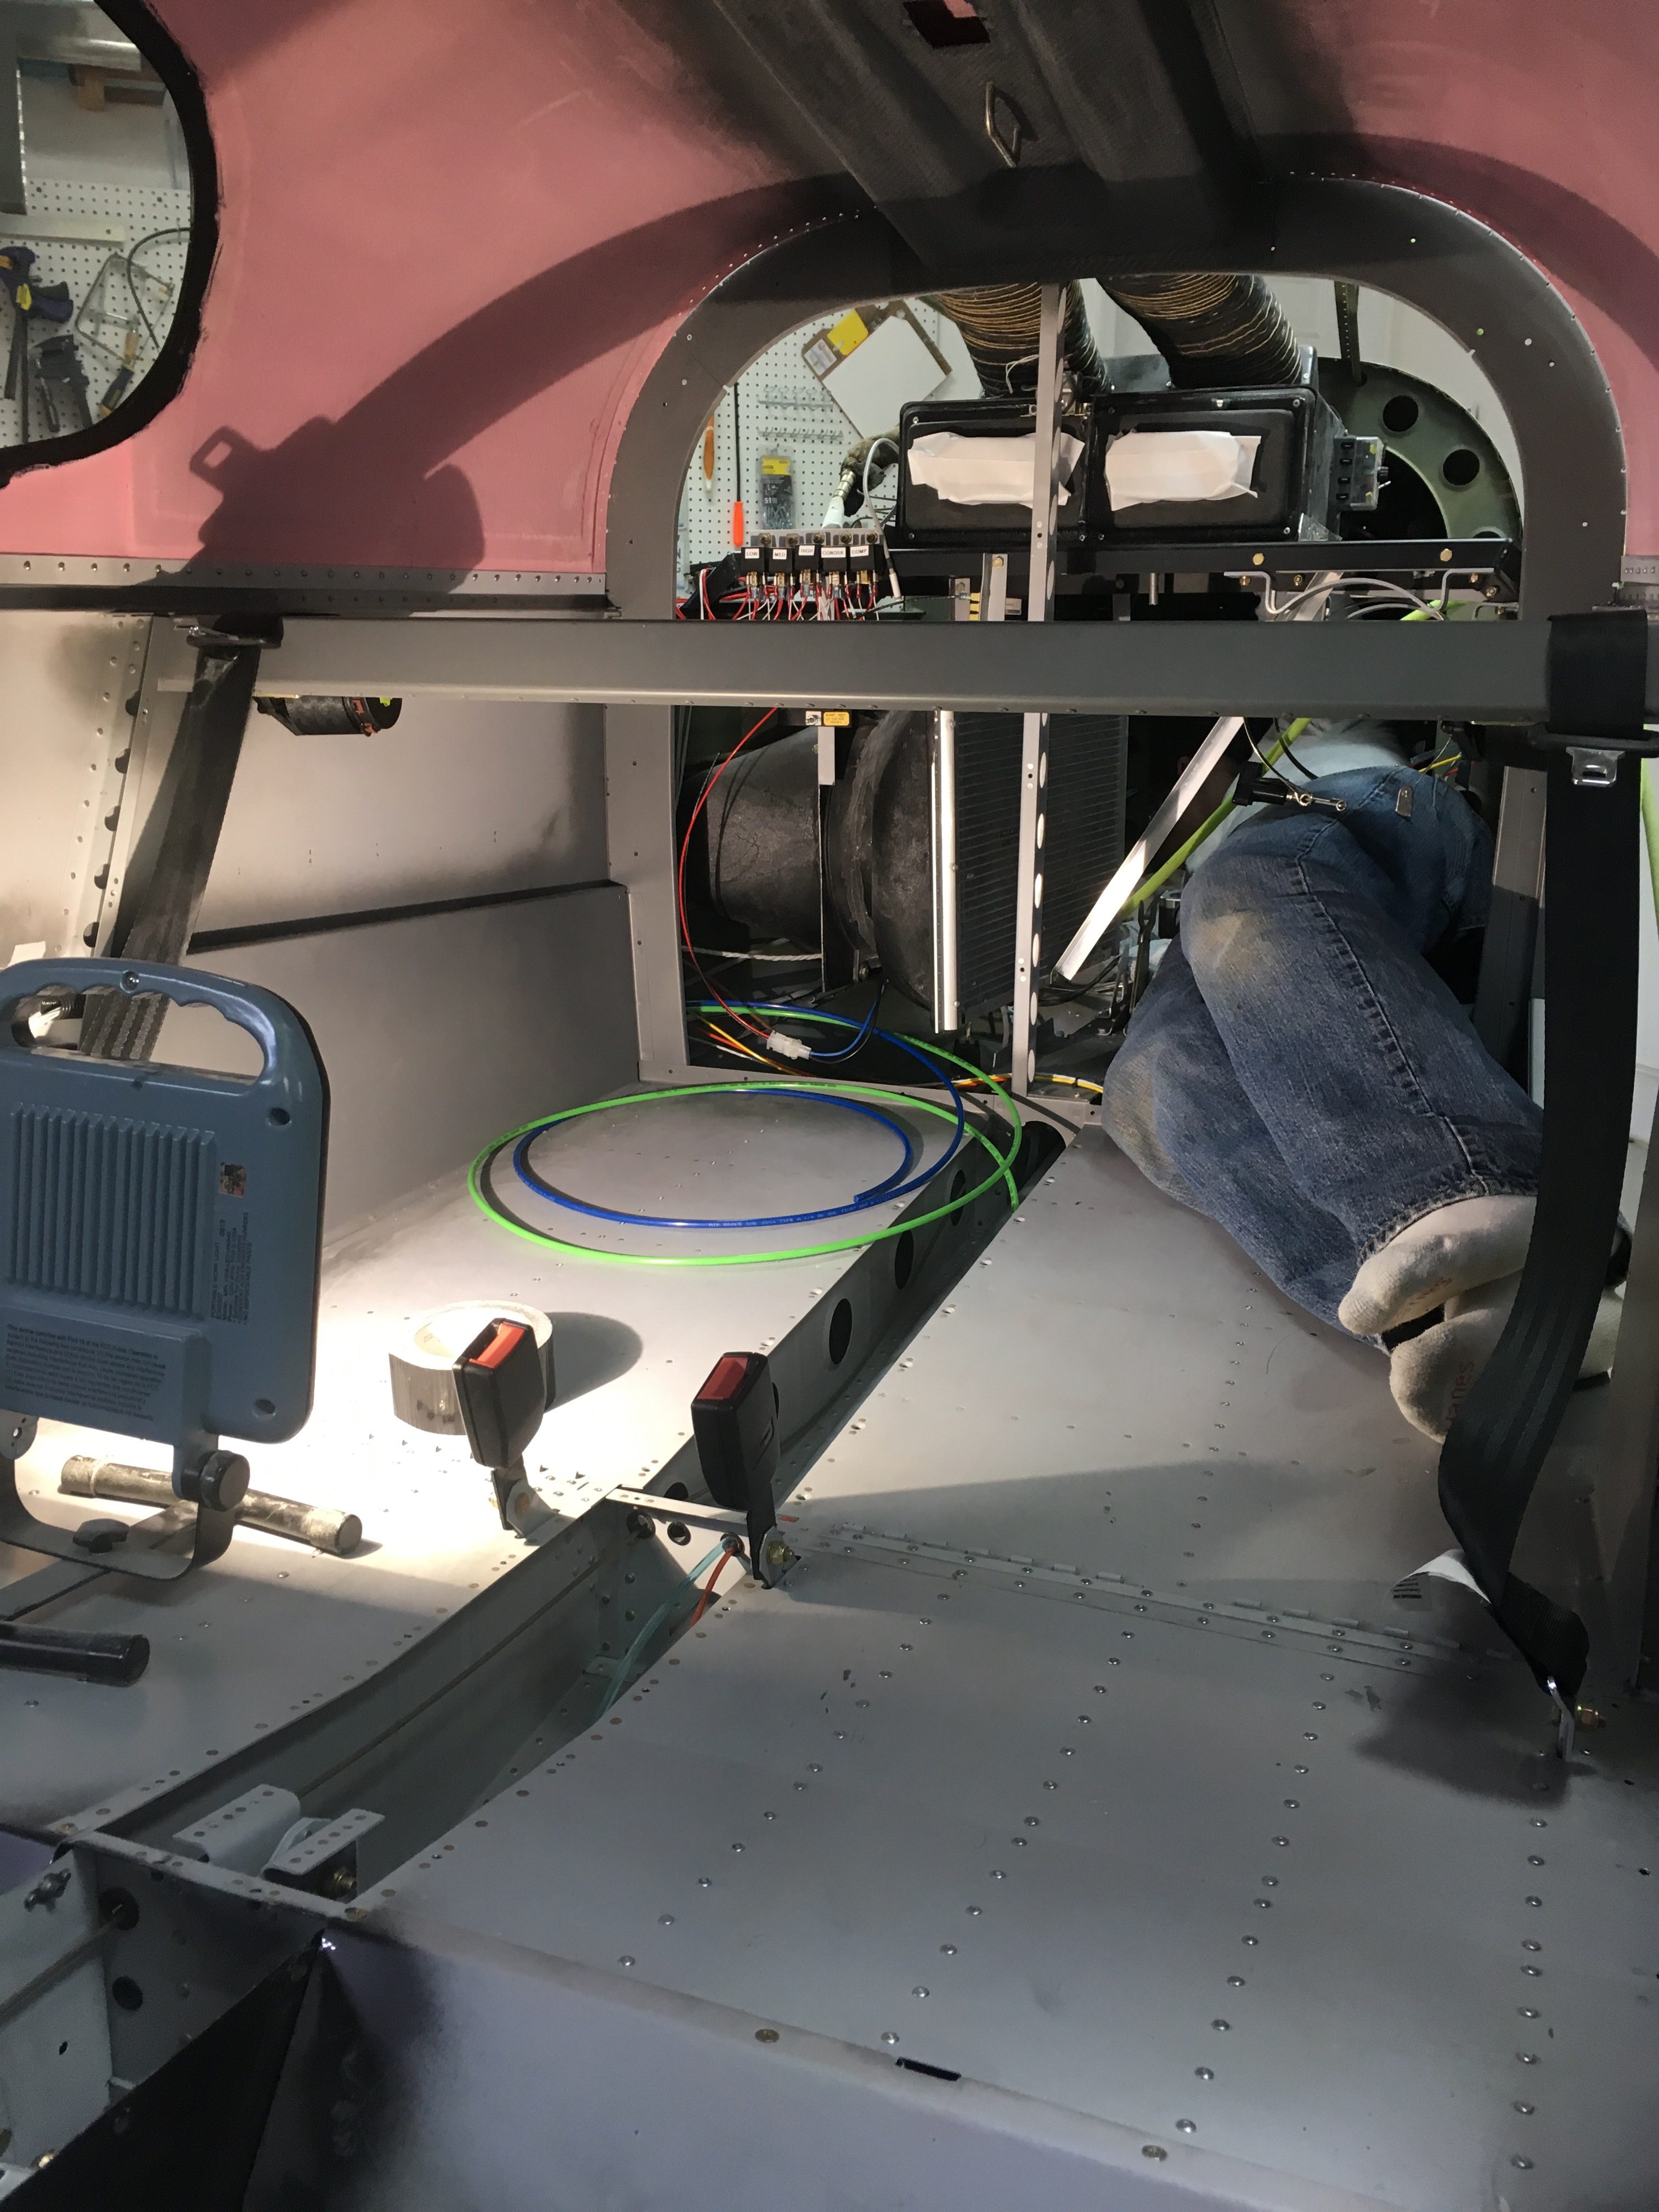
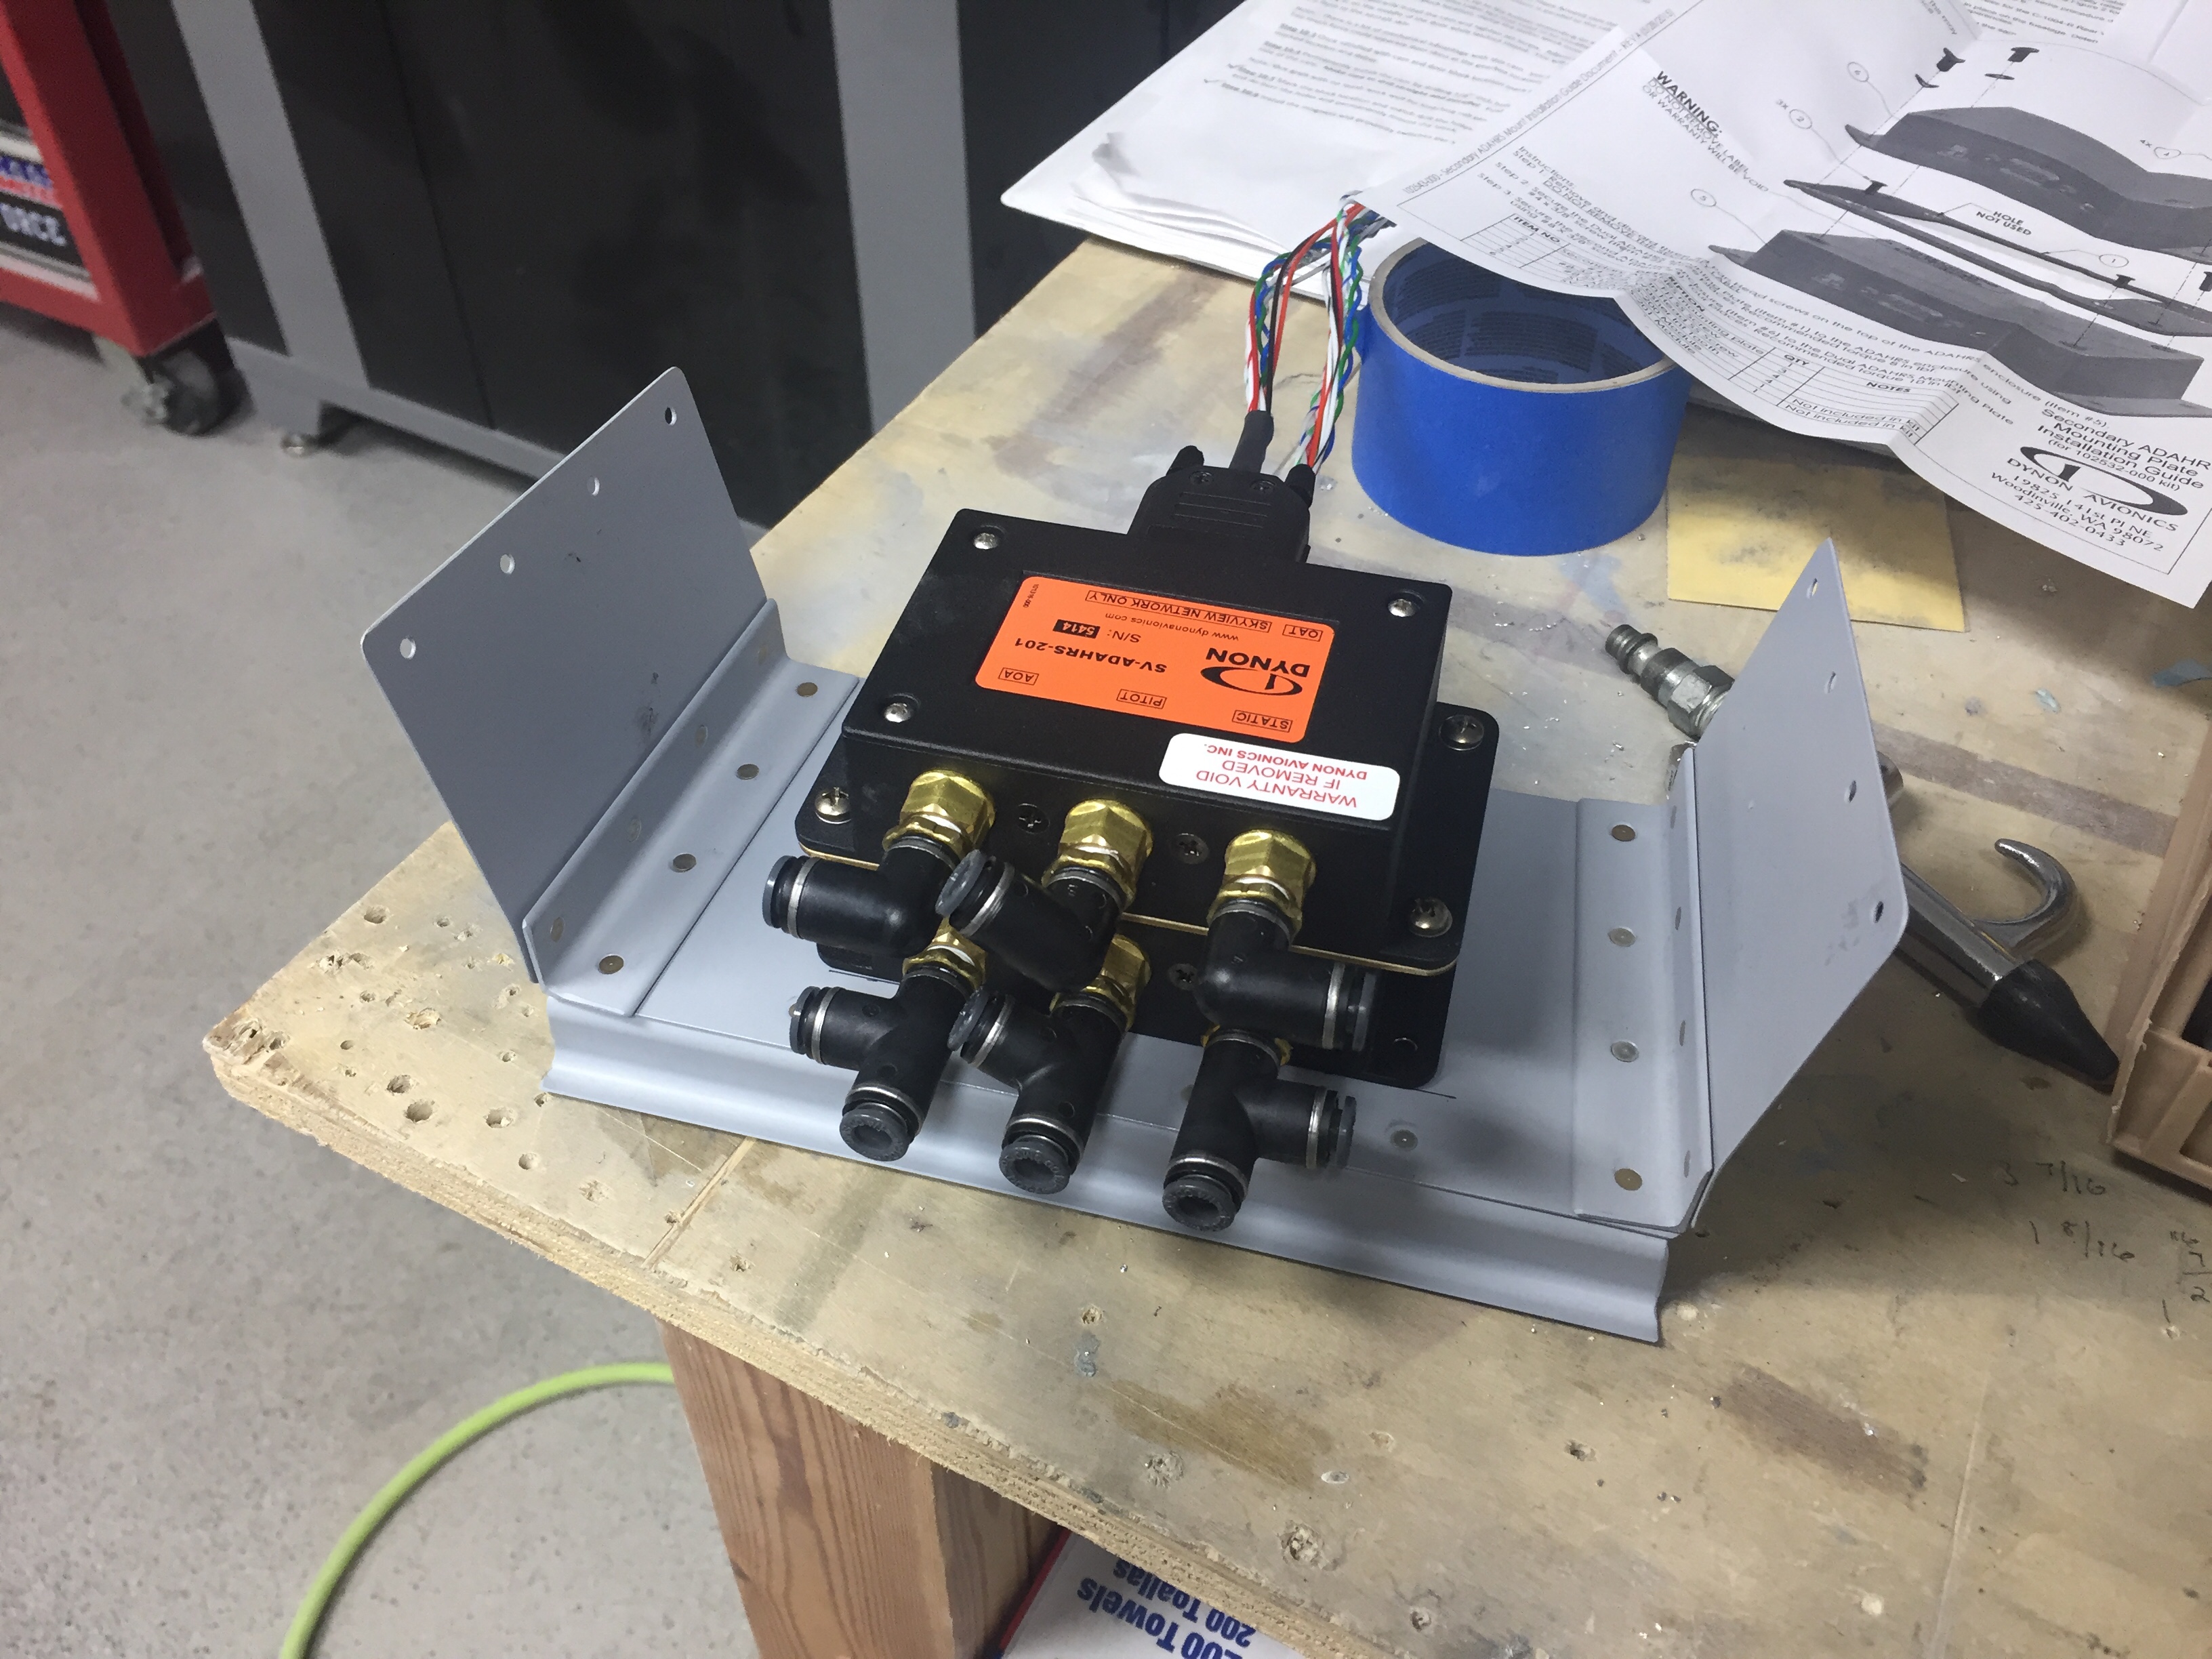
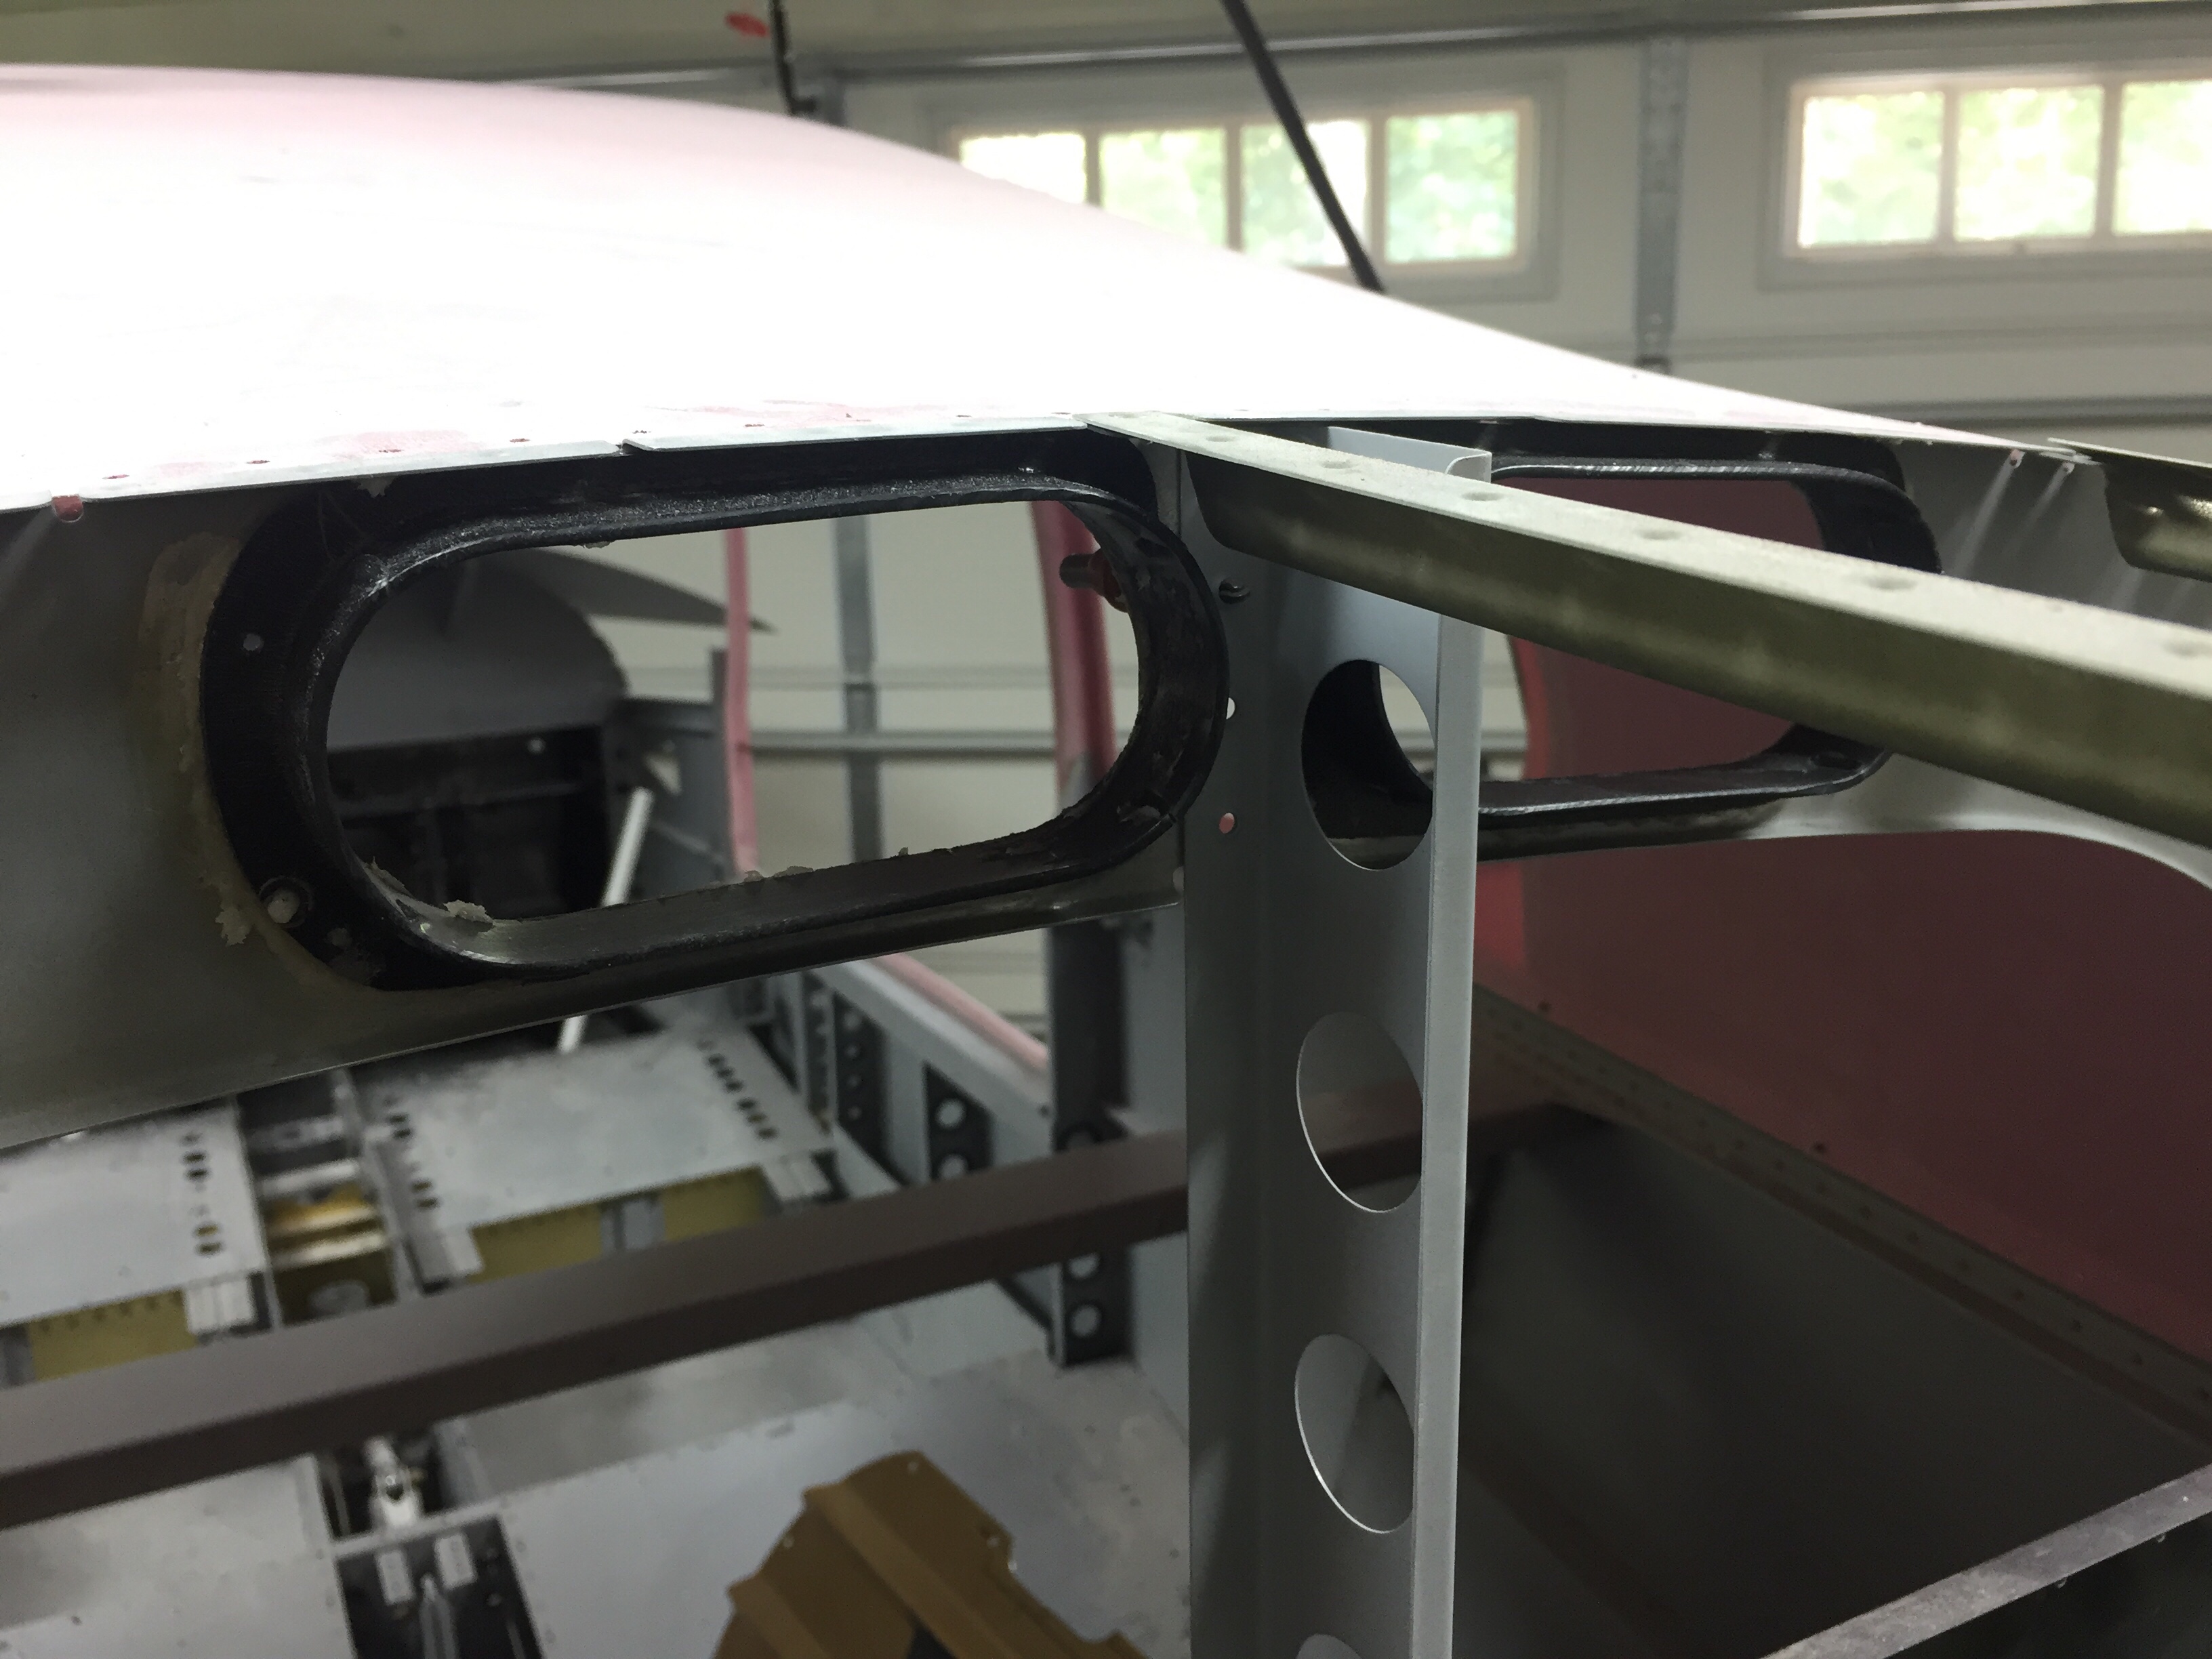
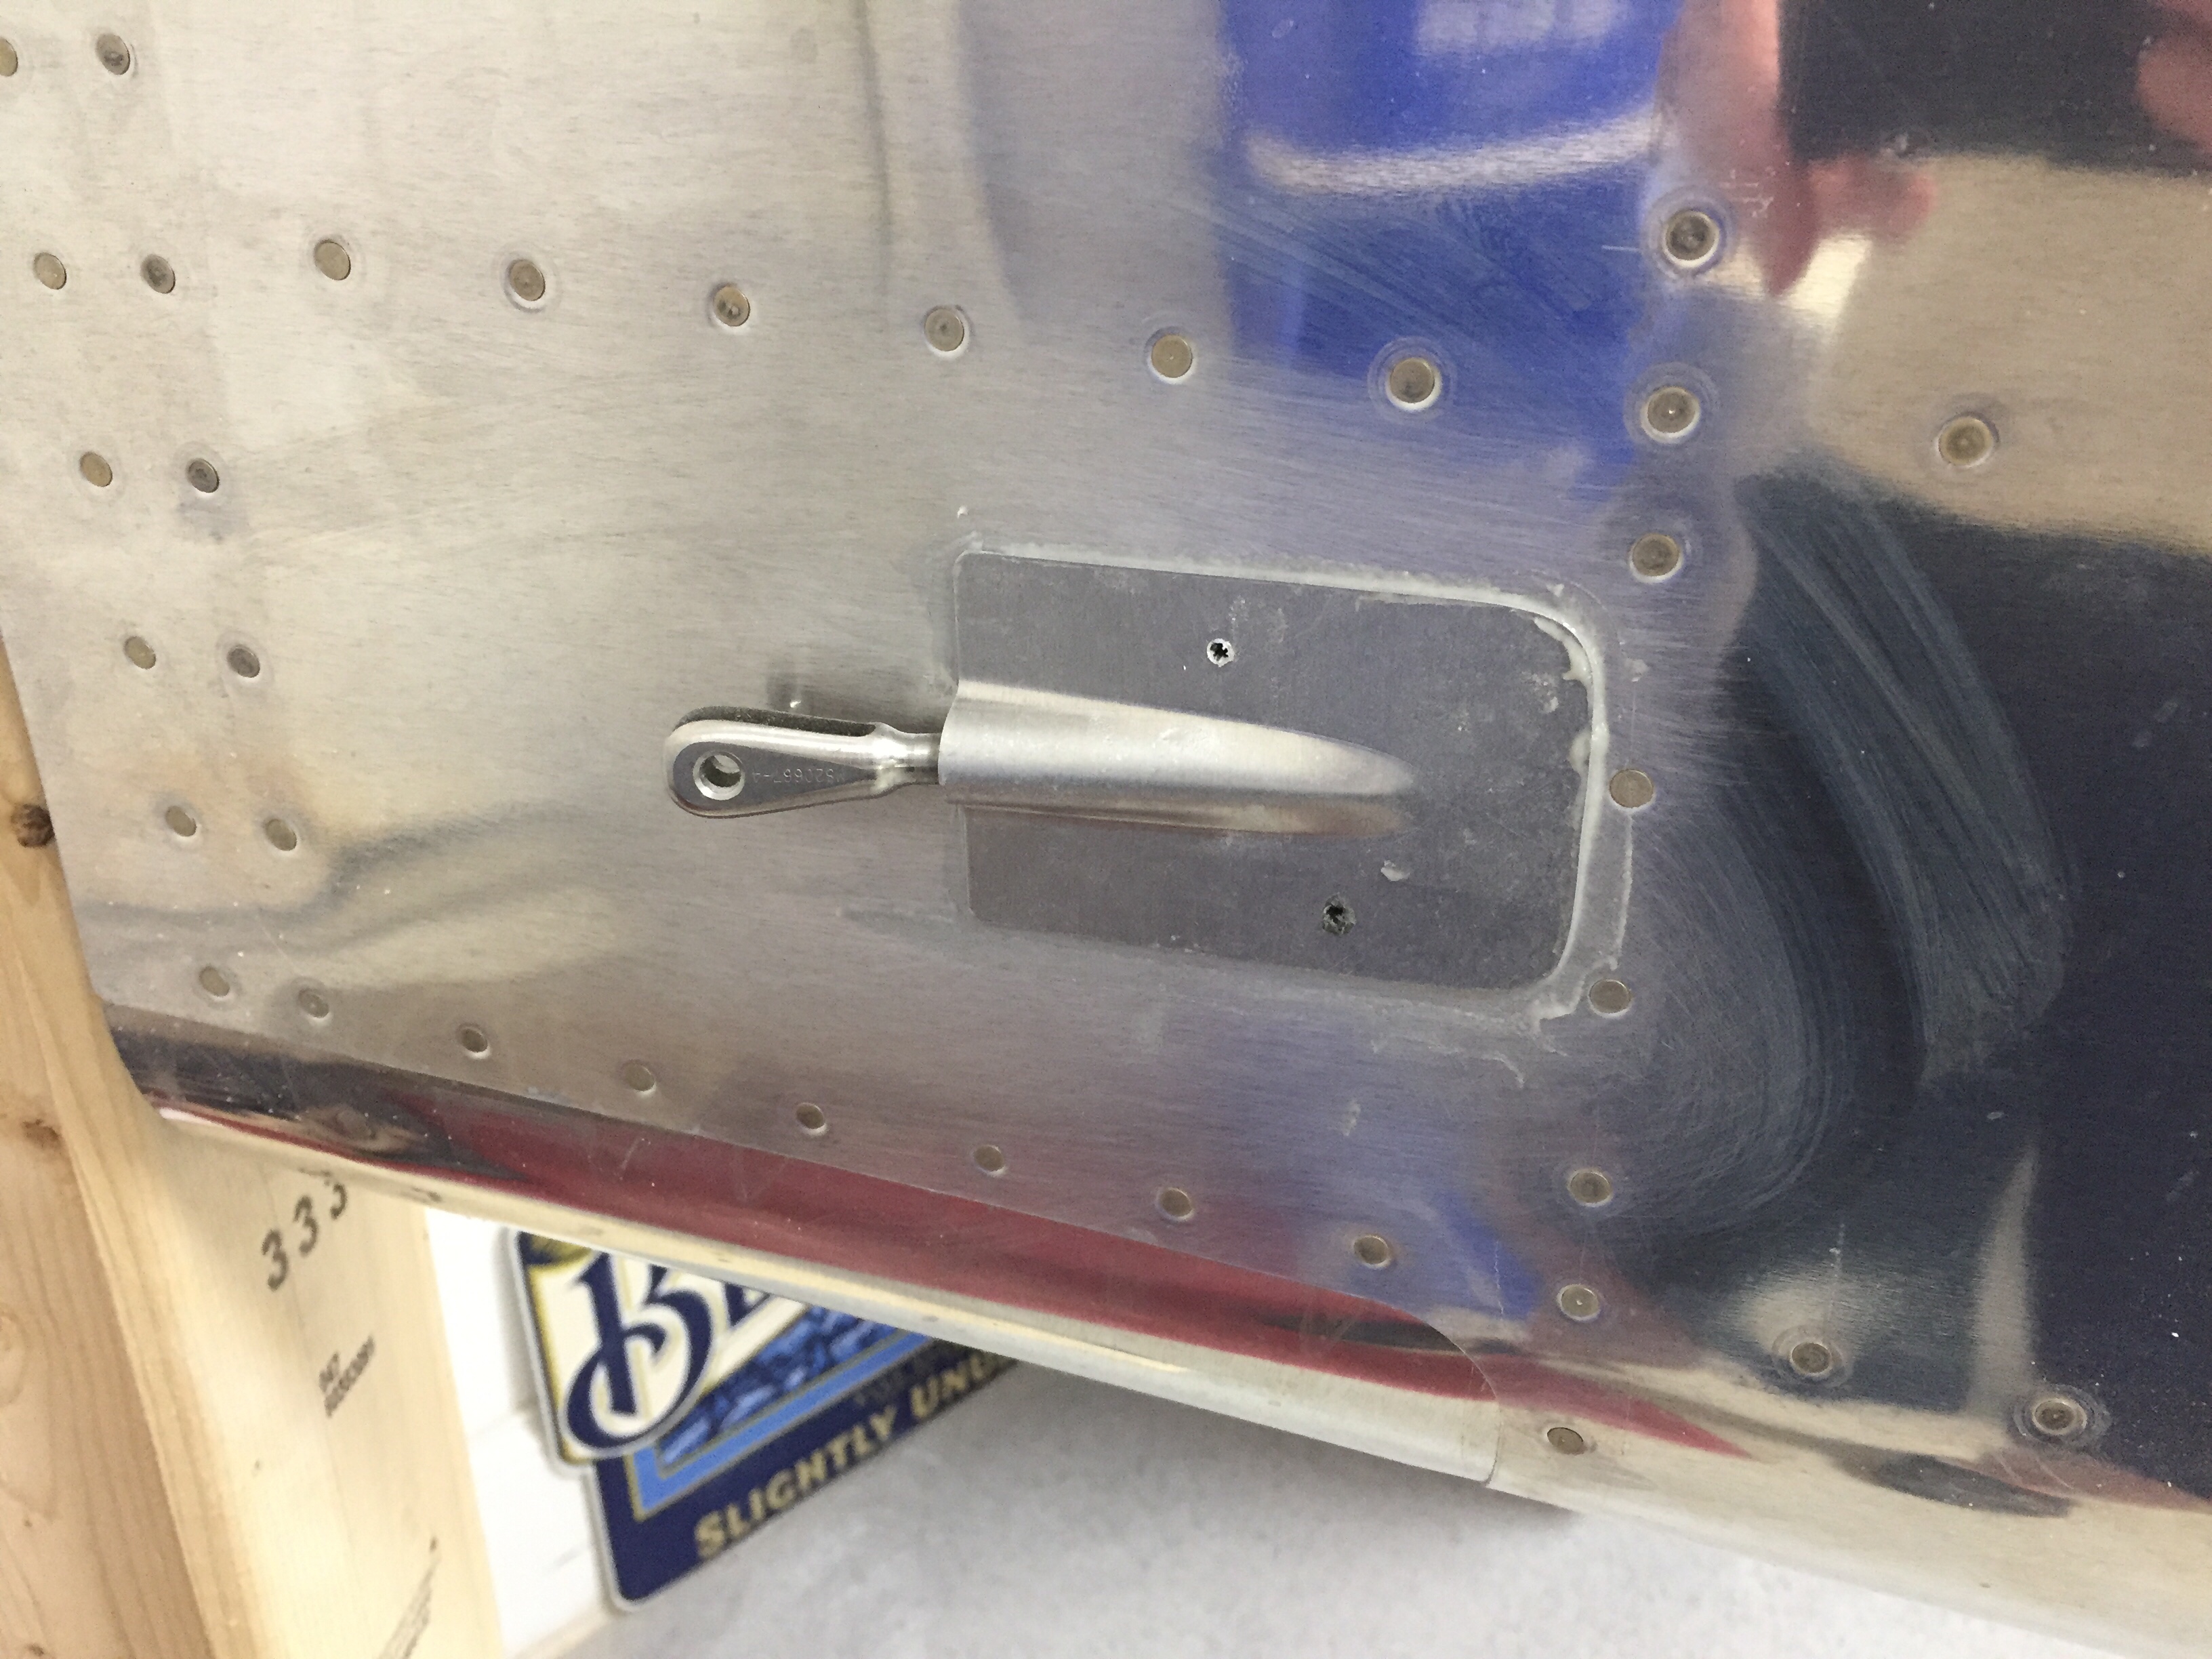
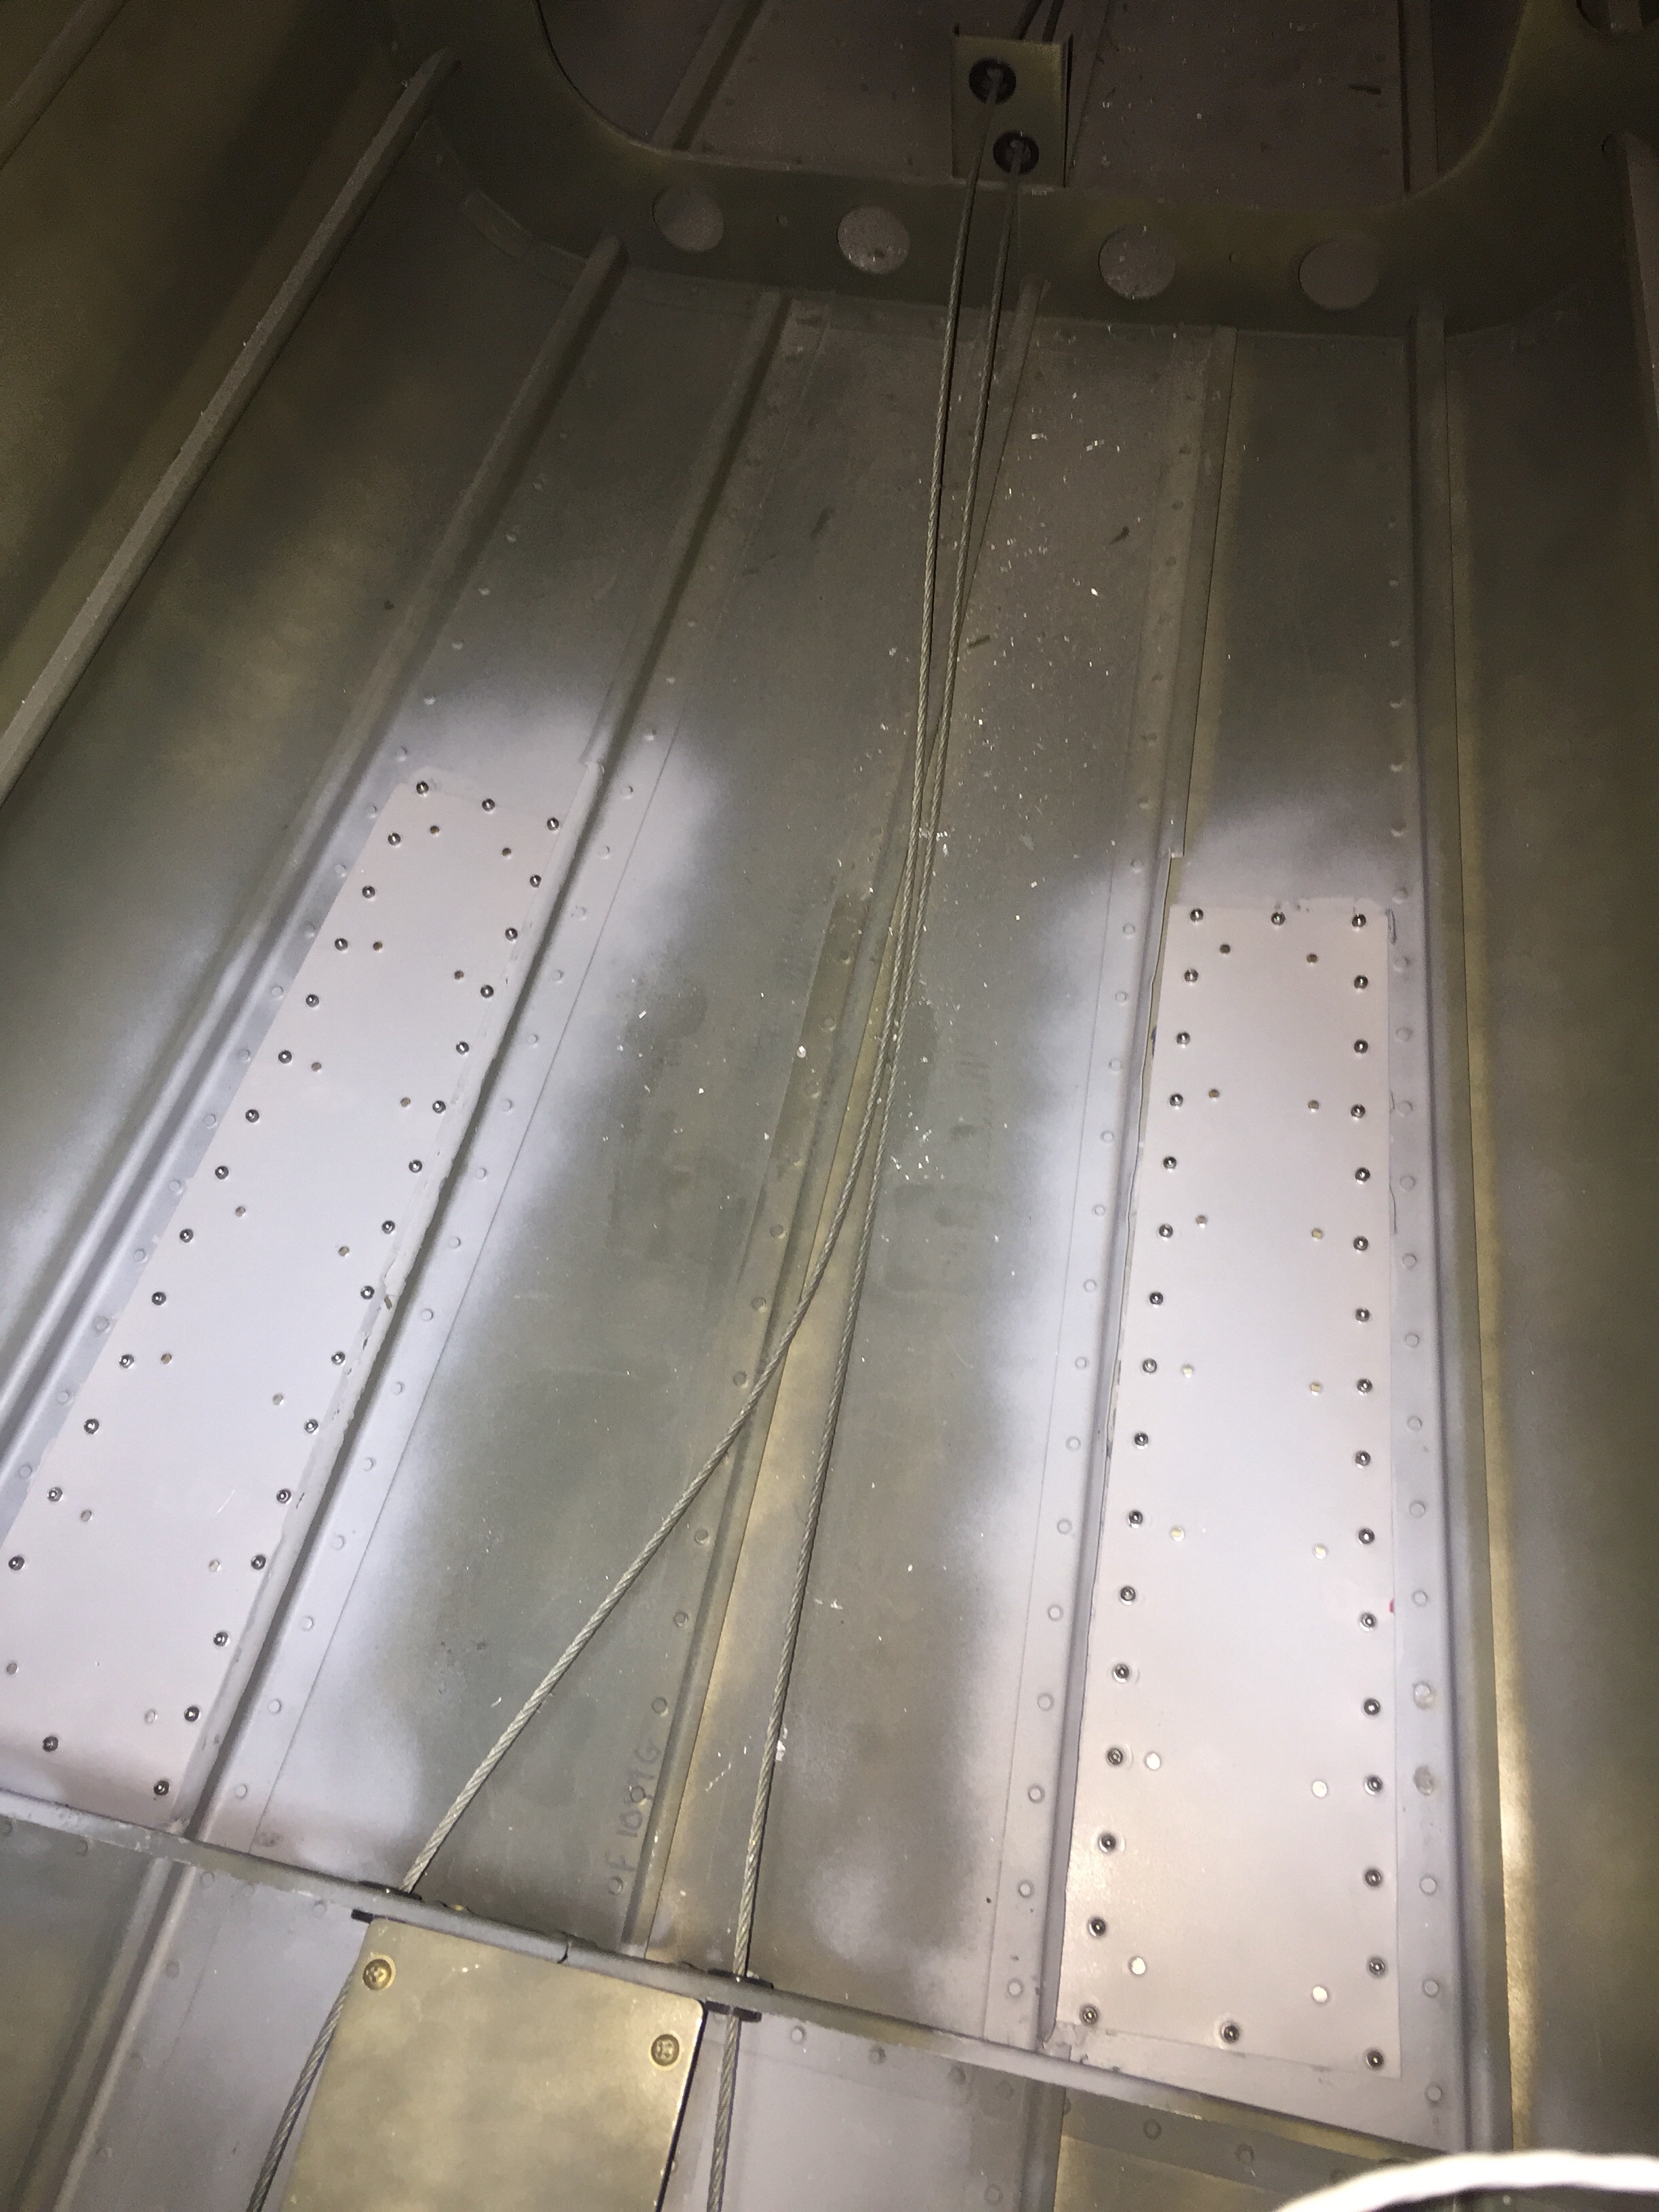
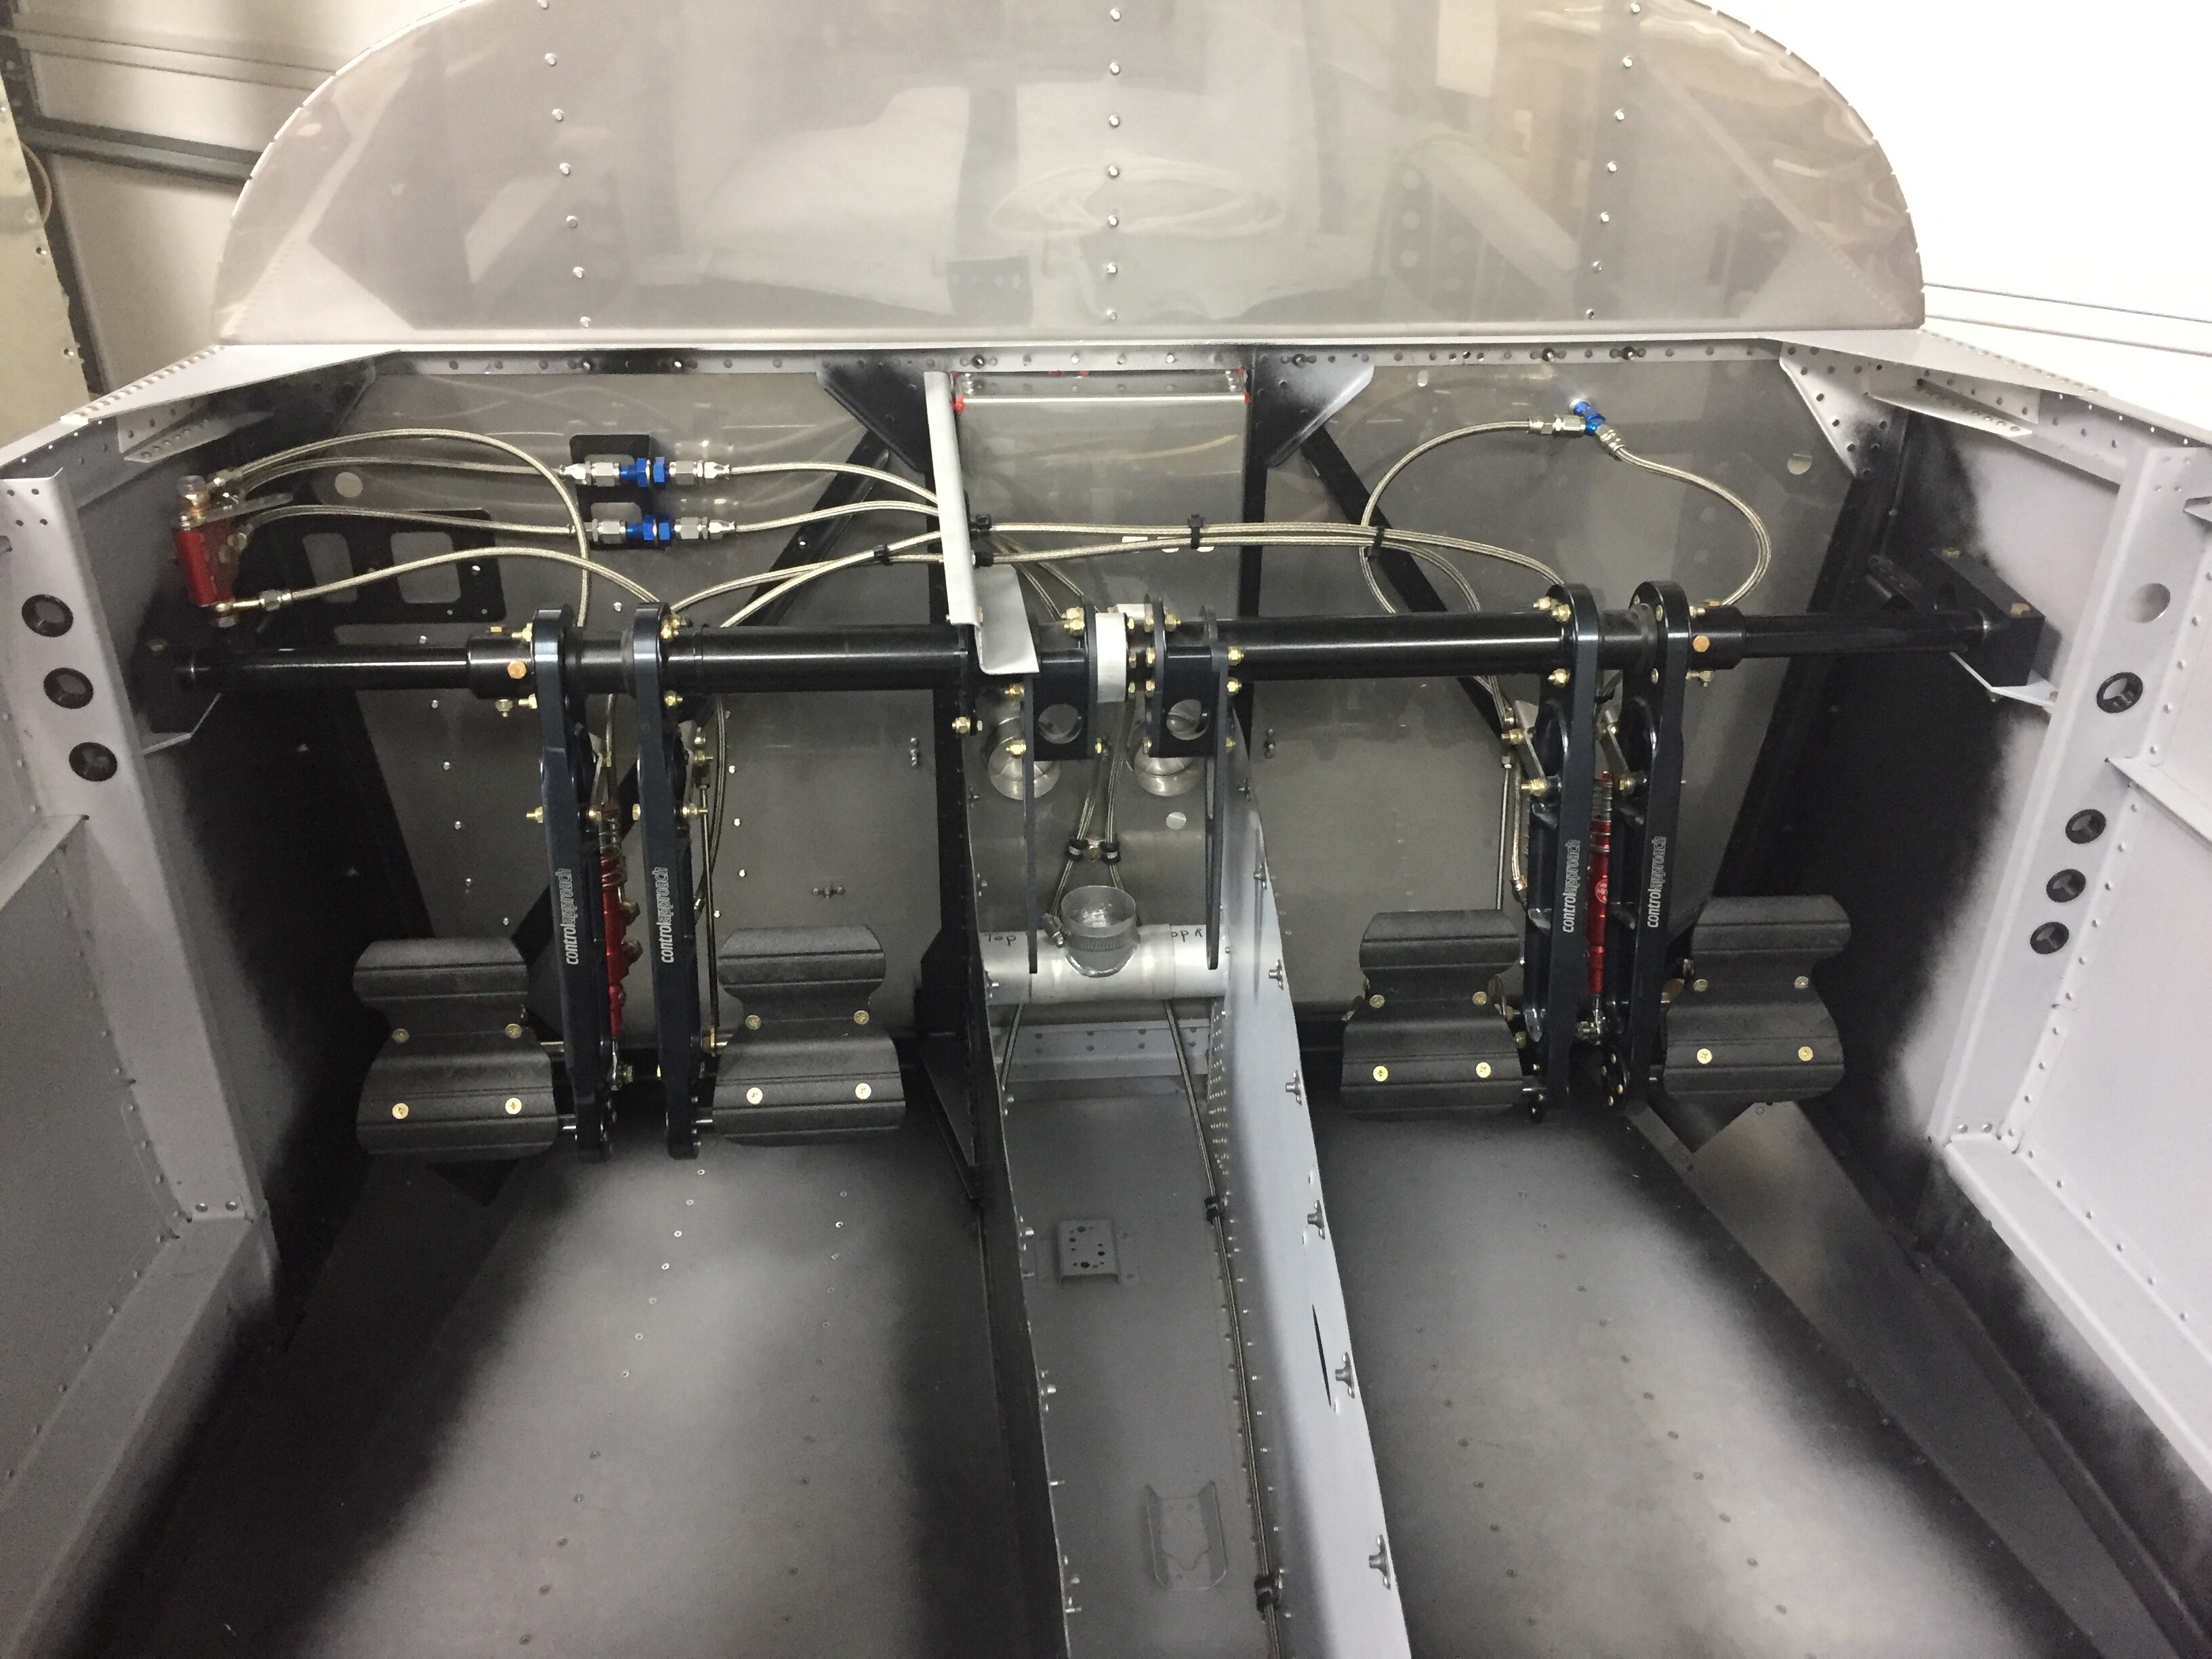
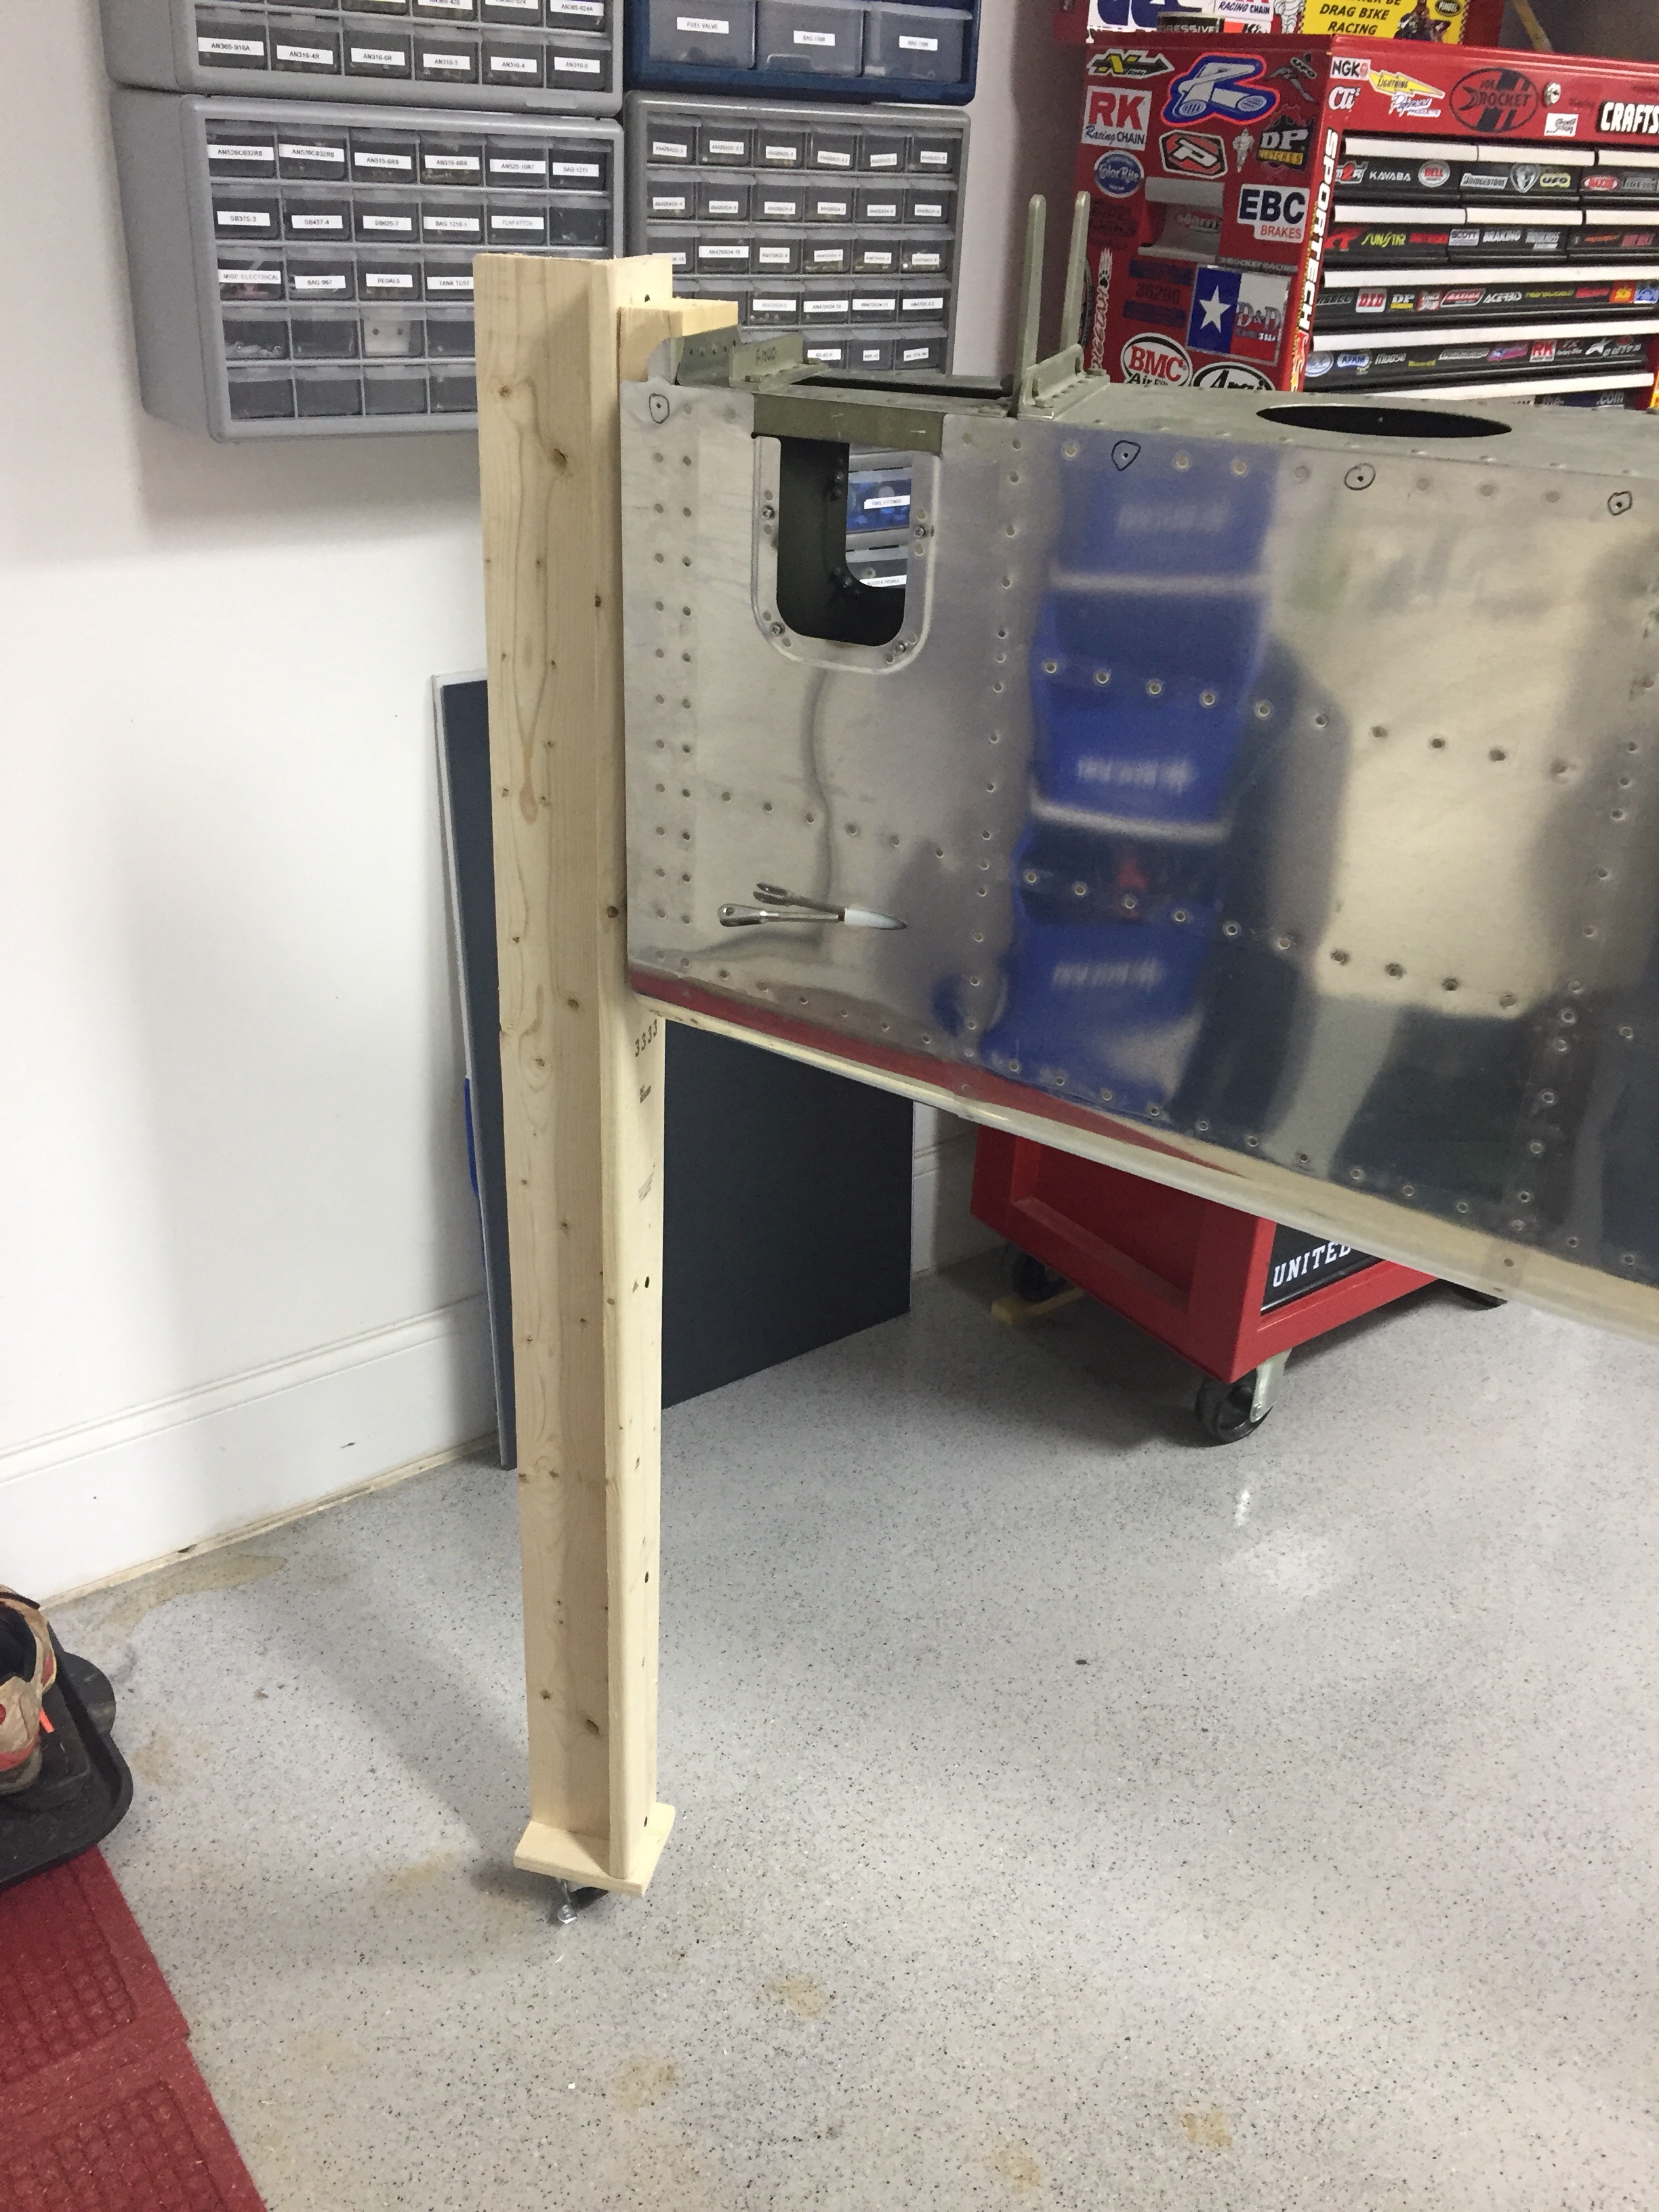 Inside the tail cone, I mounted the new static ports with pro-seal (no rivets this time) and hooked up static line that runs to where the ADAHRS will be mounted just behind the baggage bulkhead. The new static ports look way better than the original ones and I’m happy I made the change. The Safe Air 1 line kit makes it easy to run the tubing and create a leak free system. I also ran the rudder cables through the bulkheads and snap bushings. Ironically, the heads of the cables wouldn’t fit through the bushings without removing them and squeezing a bit. So basically, the cables were a pain to run instead of a quick two minute job. Lots of those in the build, I guess. I got them hooked to the arms on the rudder pedals which are inside the tunnel with the Control Approach pedals. With the A/C in there, it’s a tight fit for me!
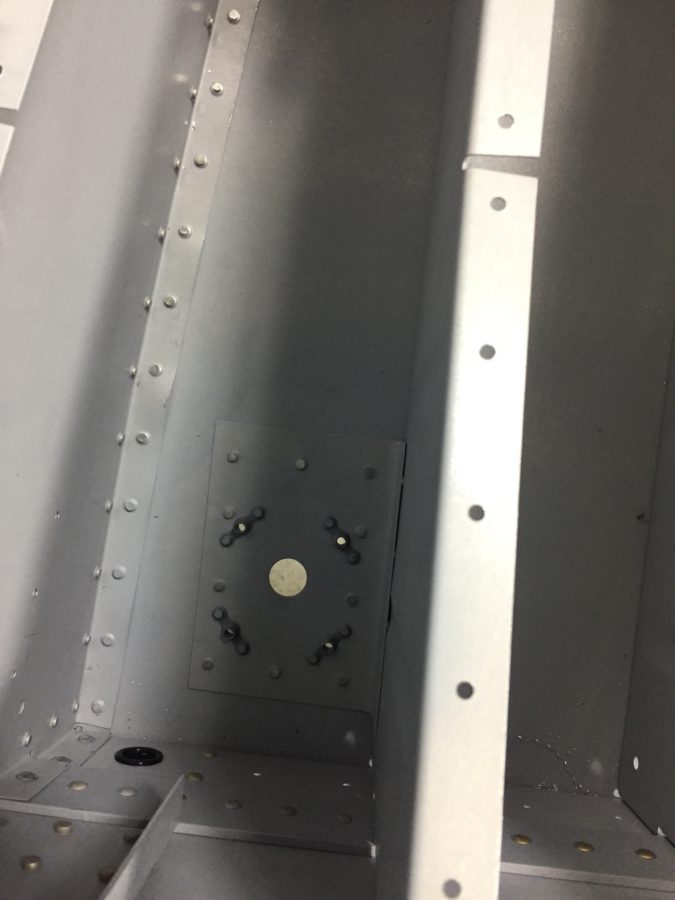
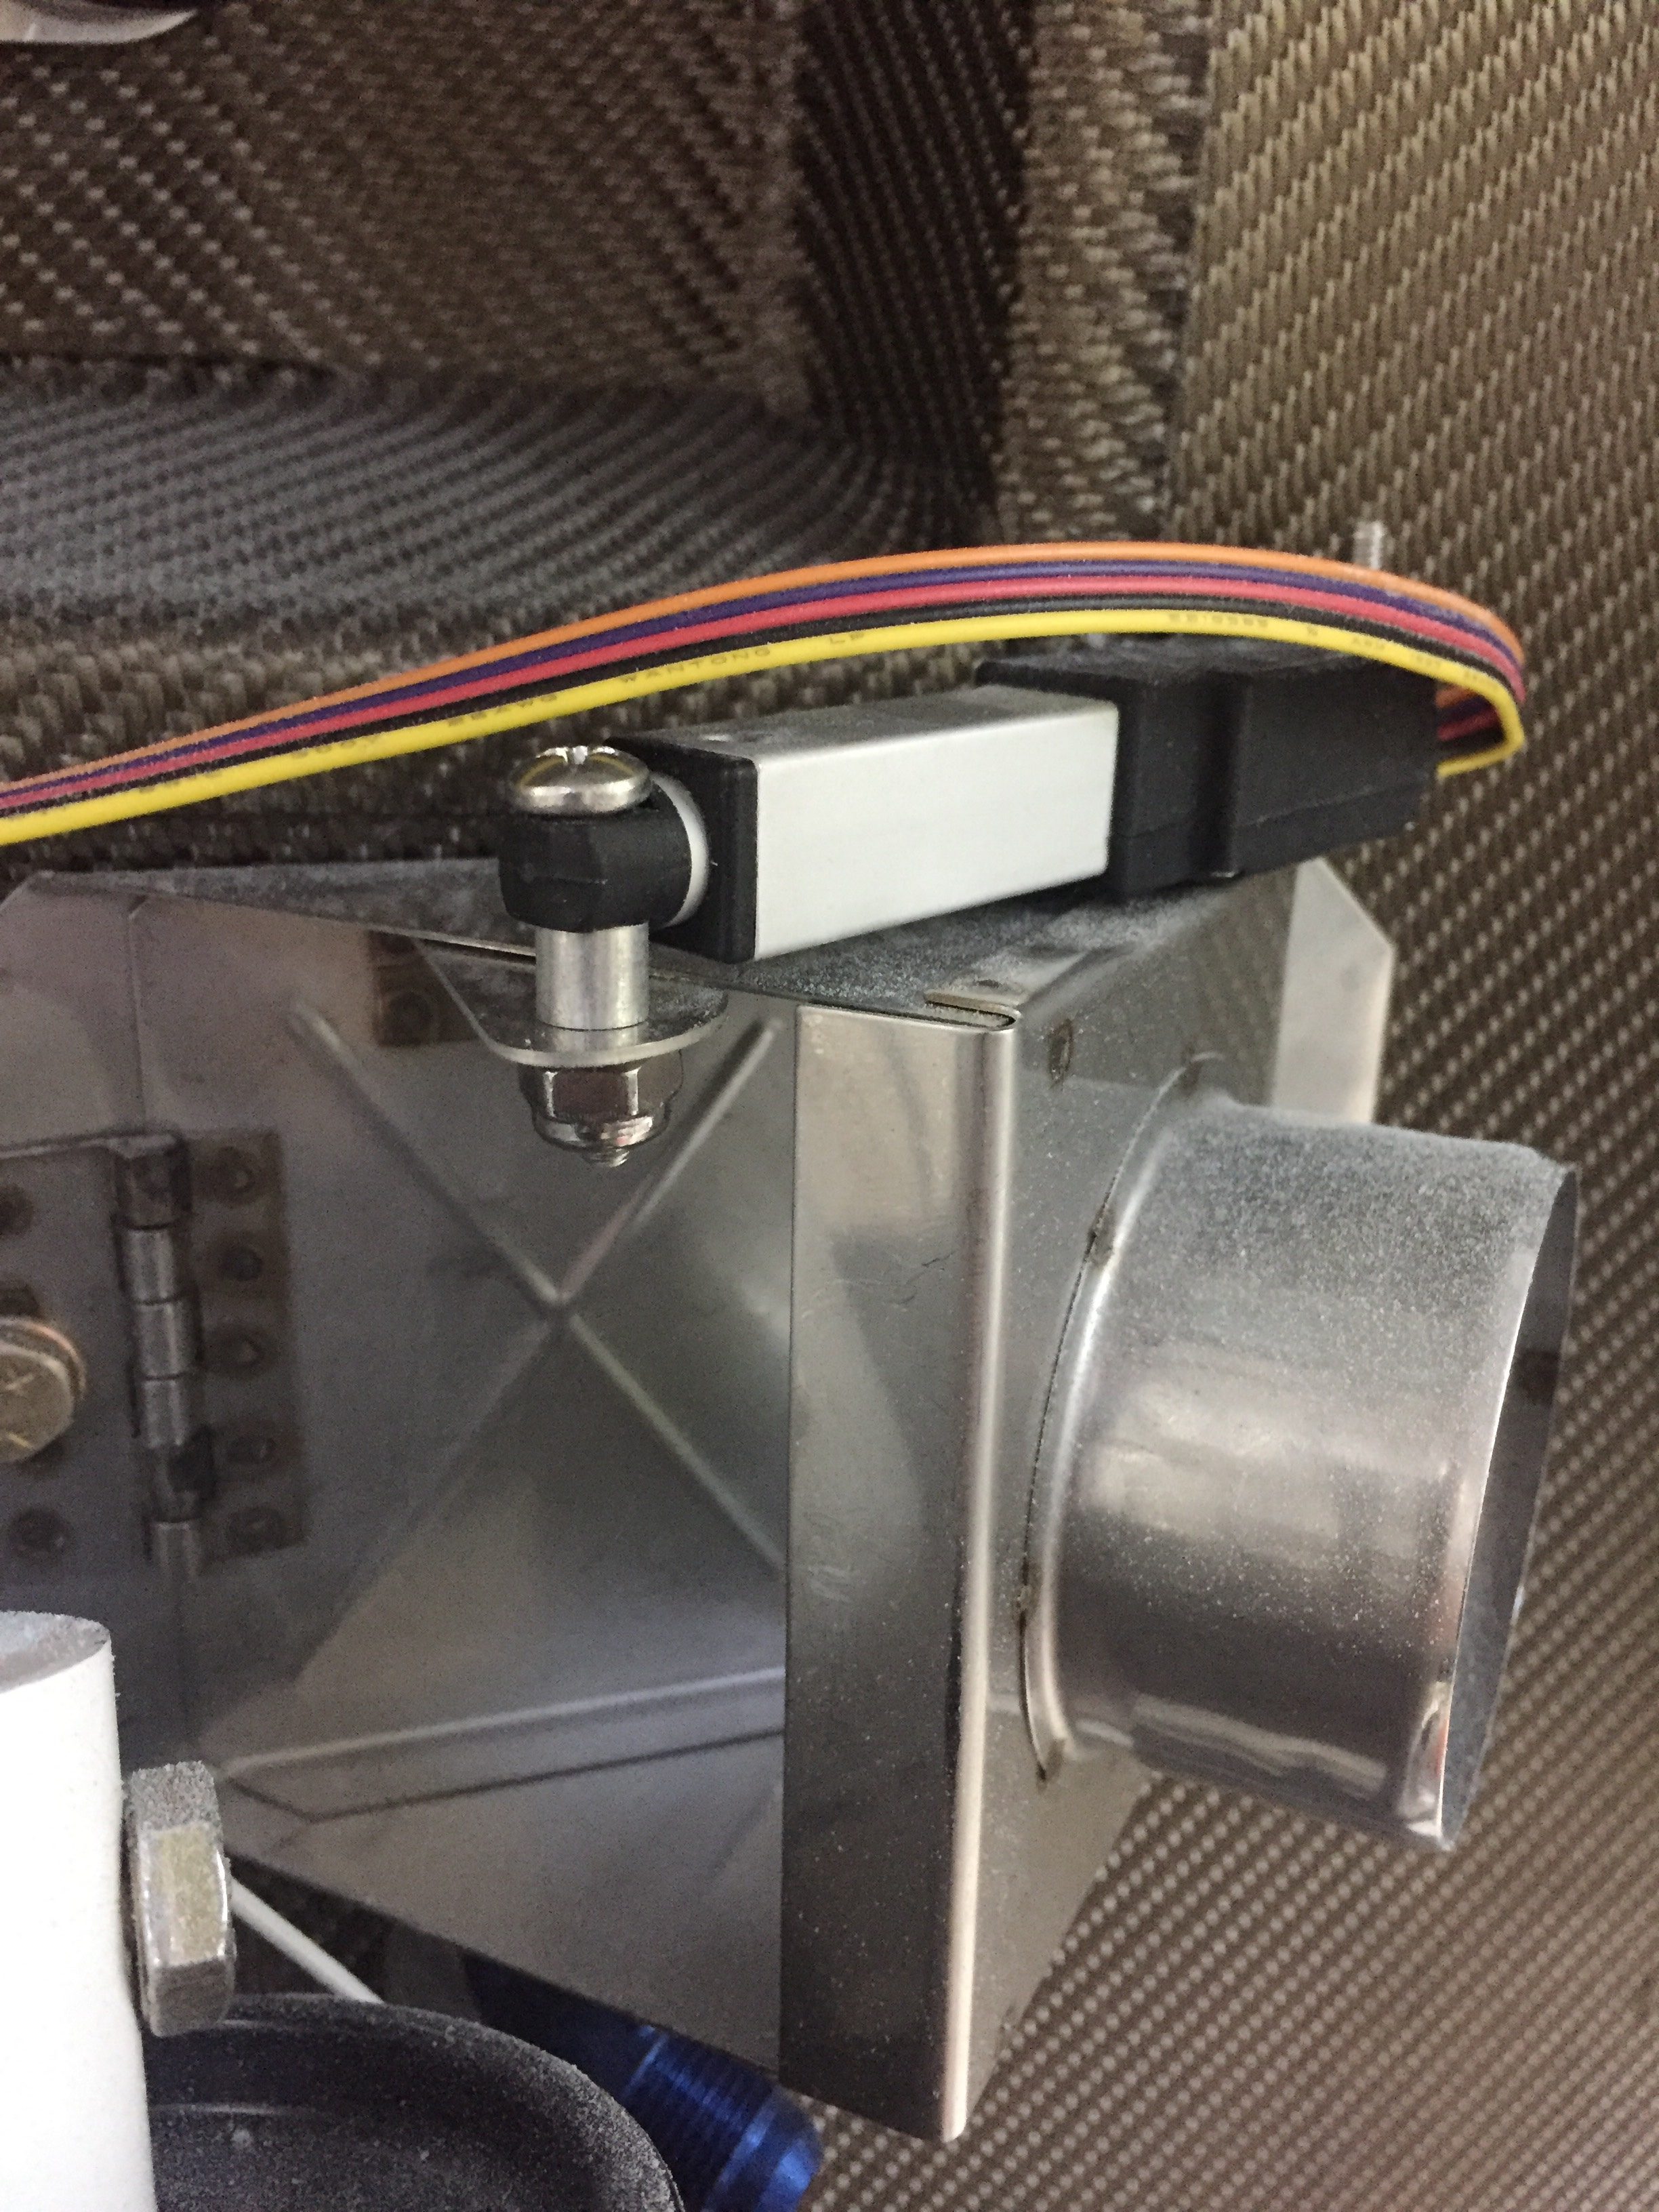
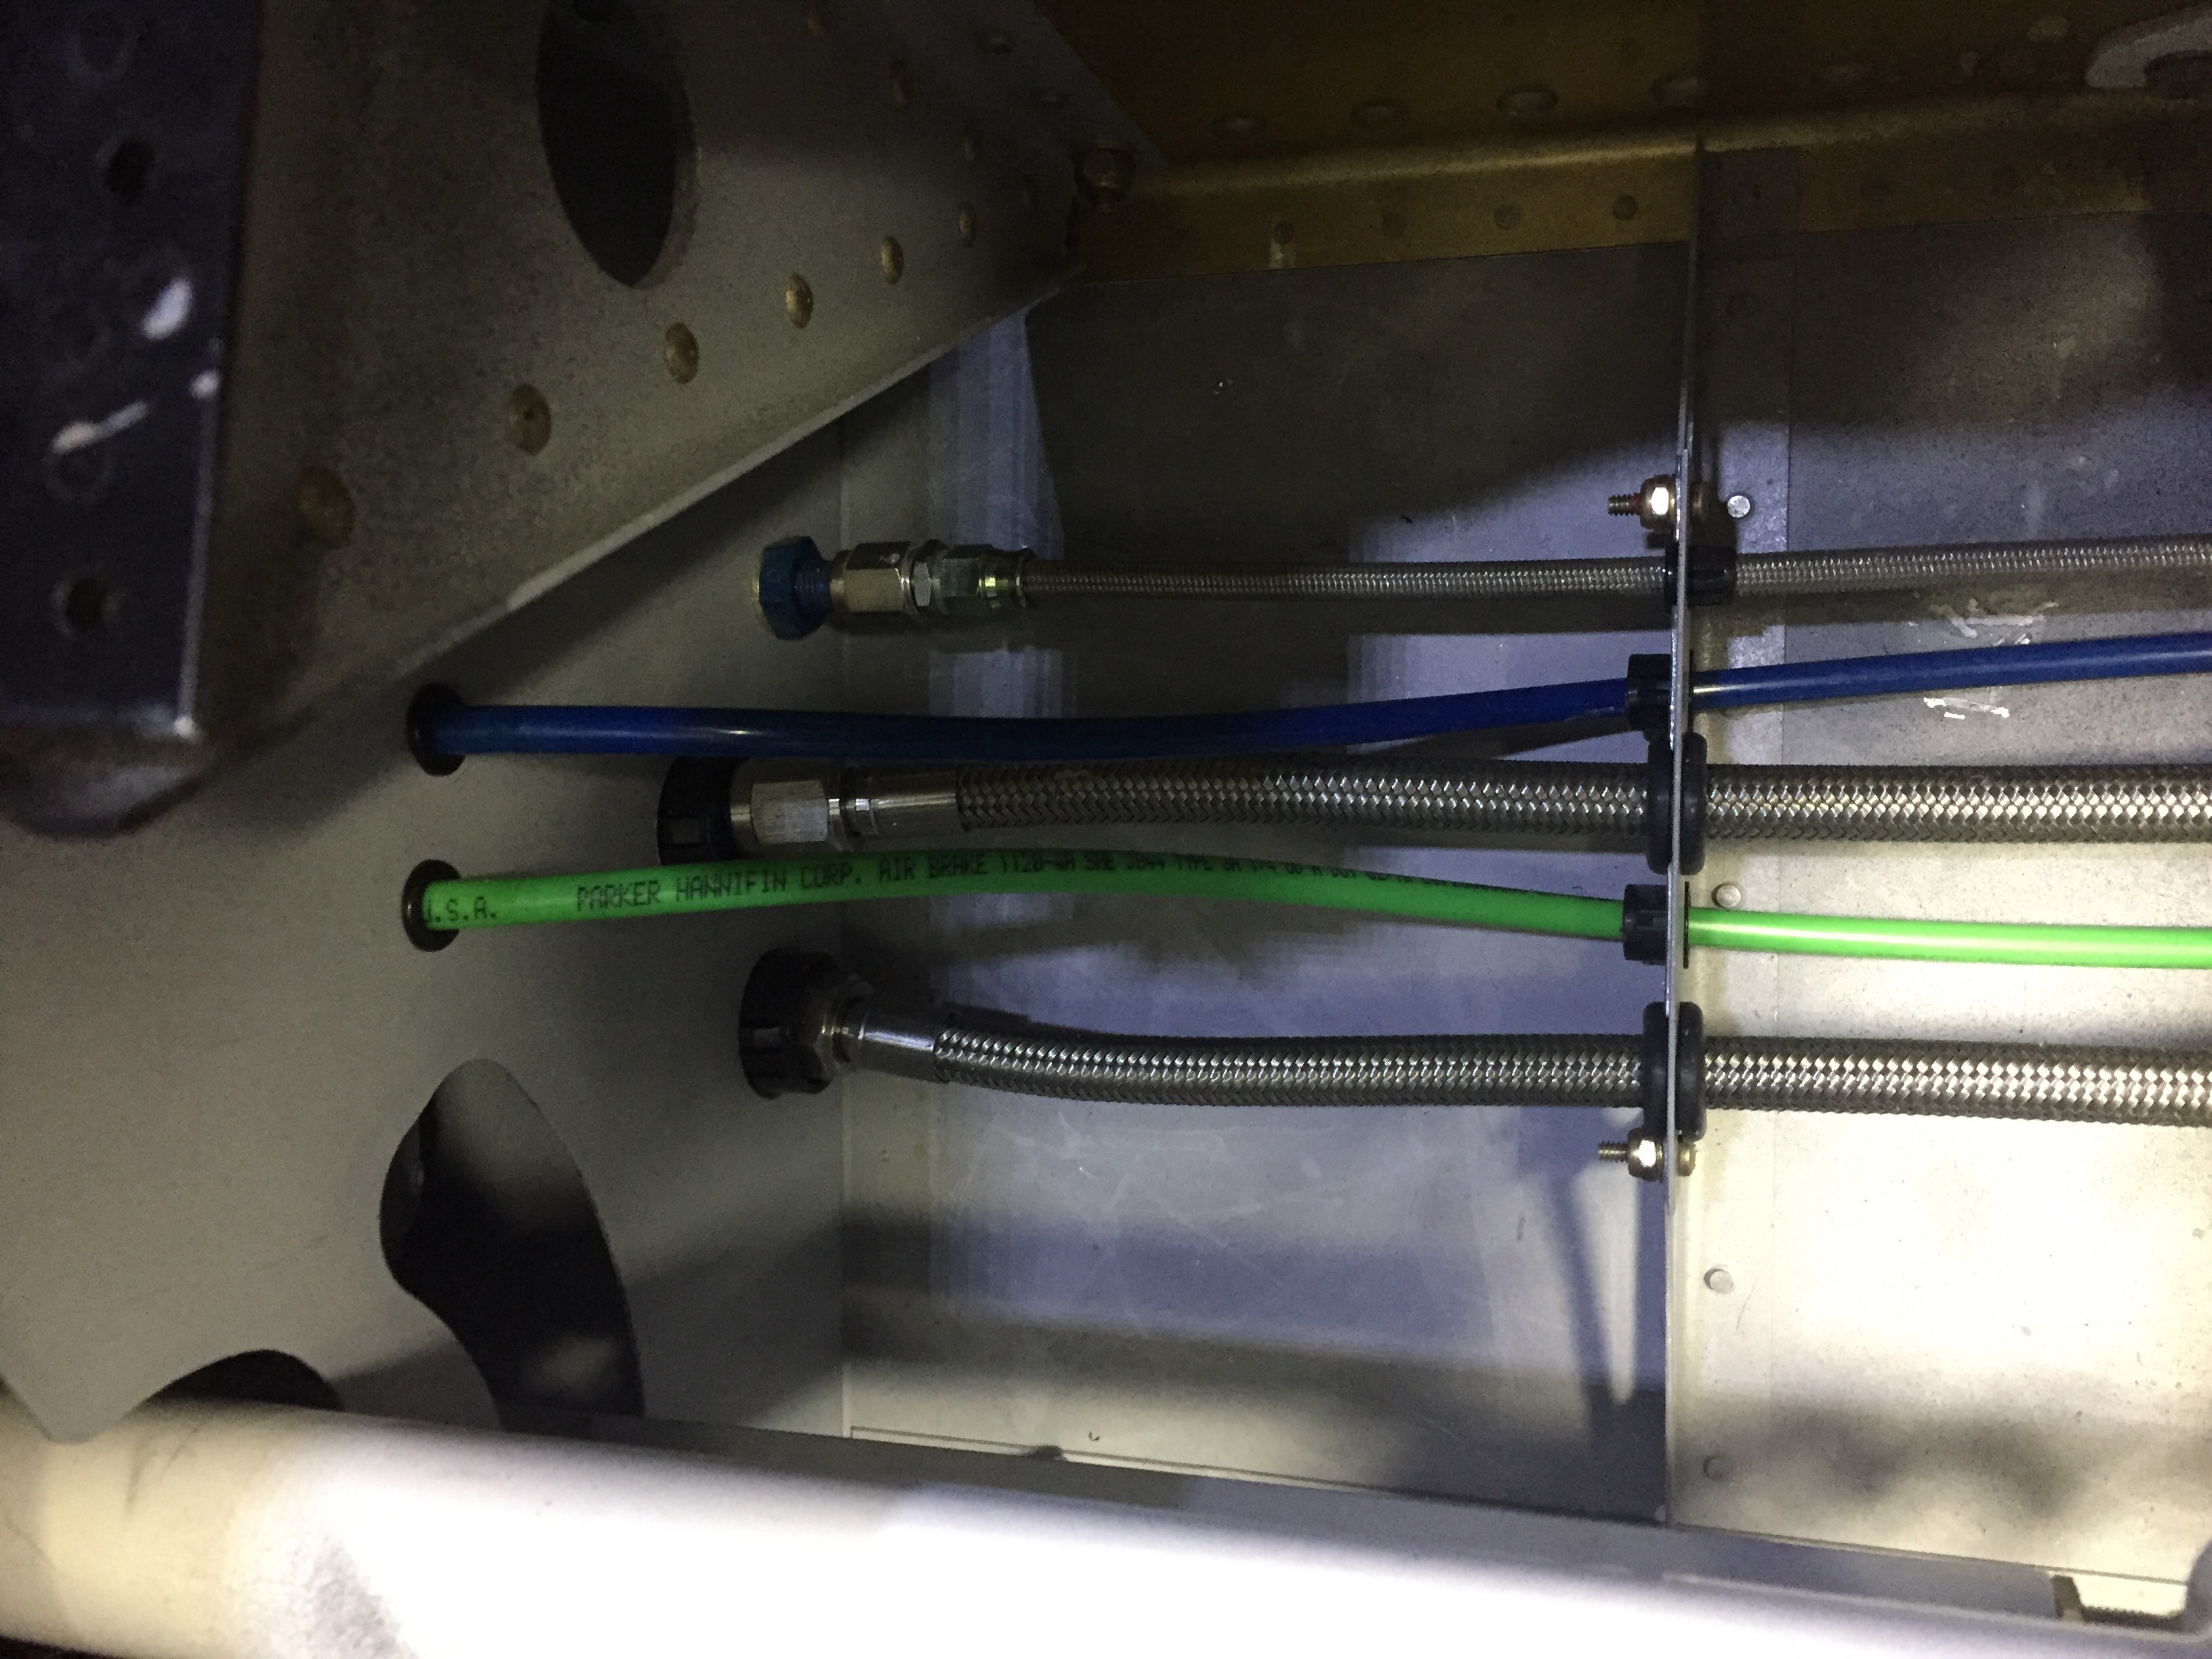
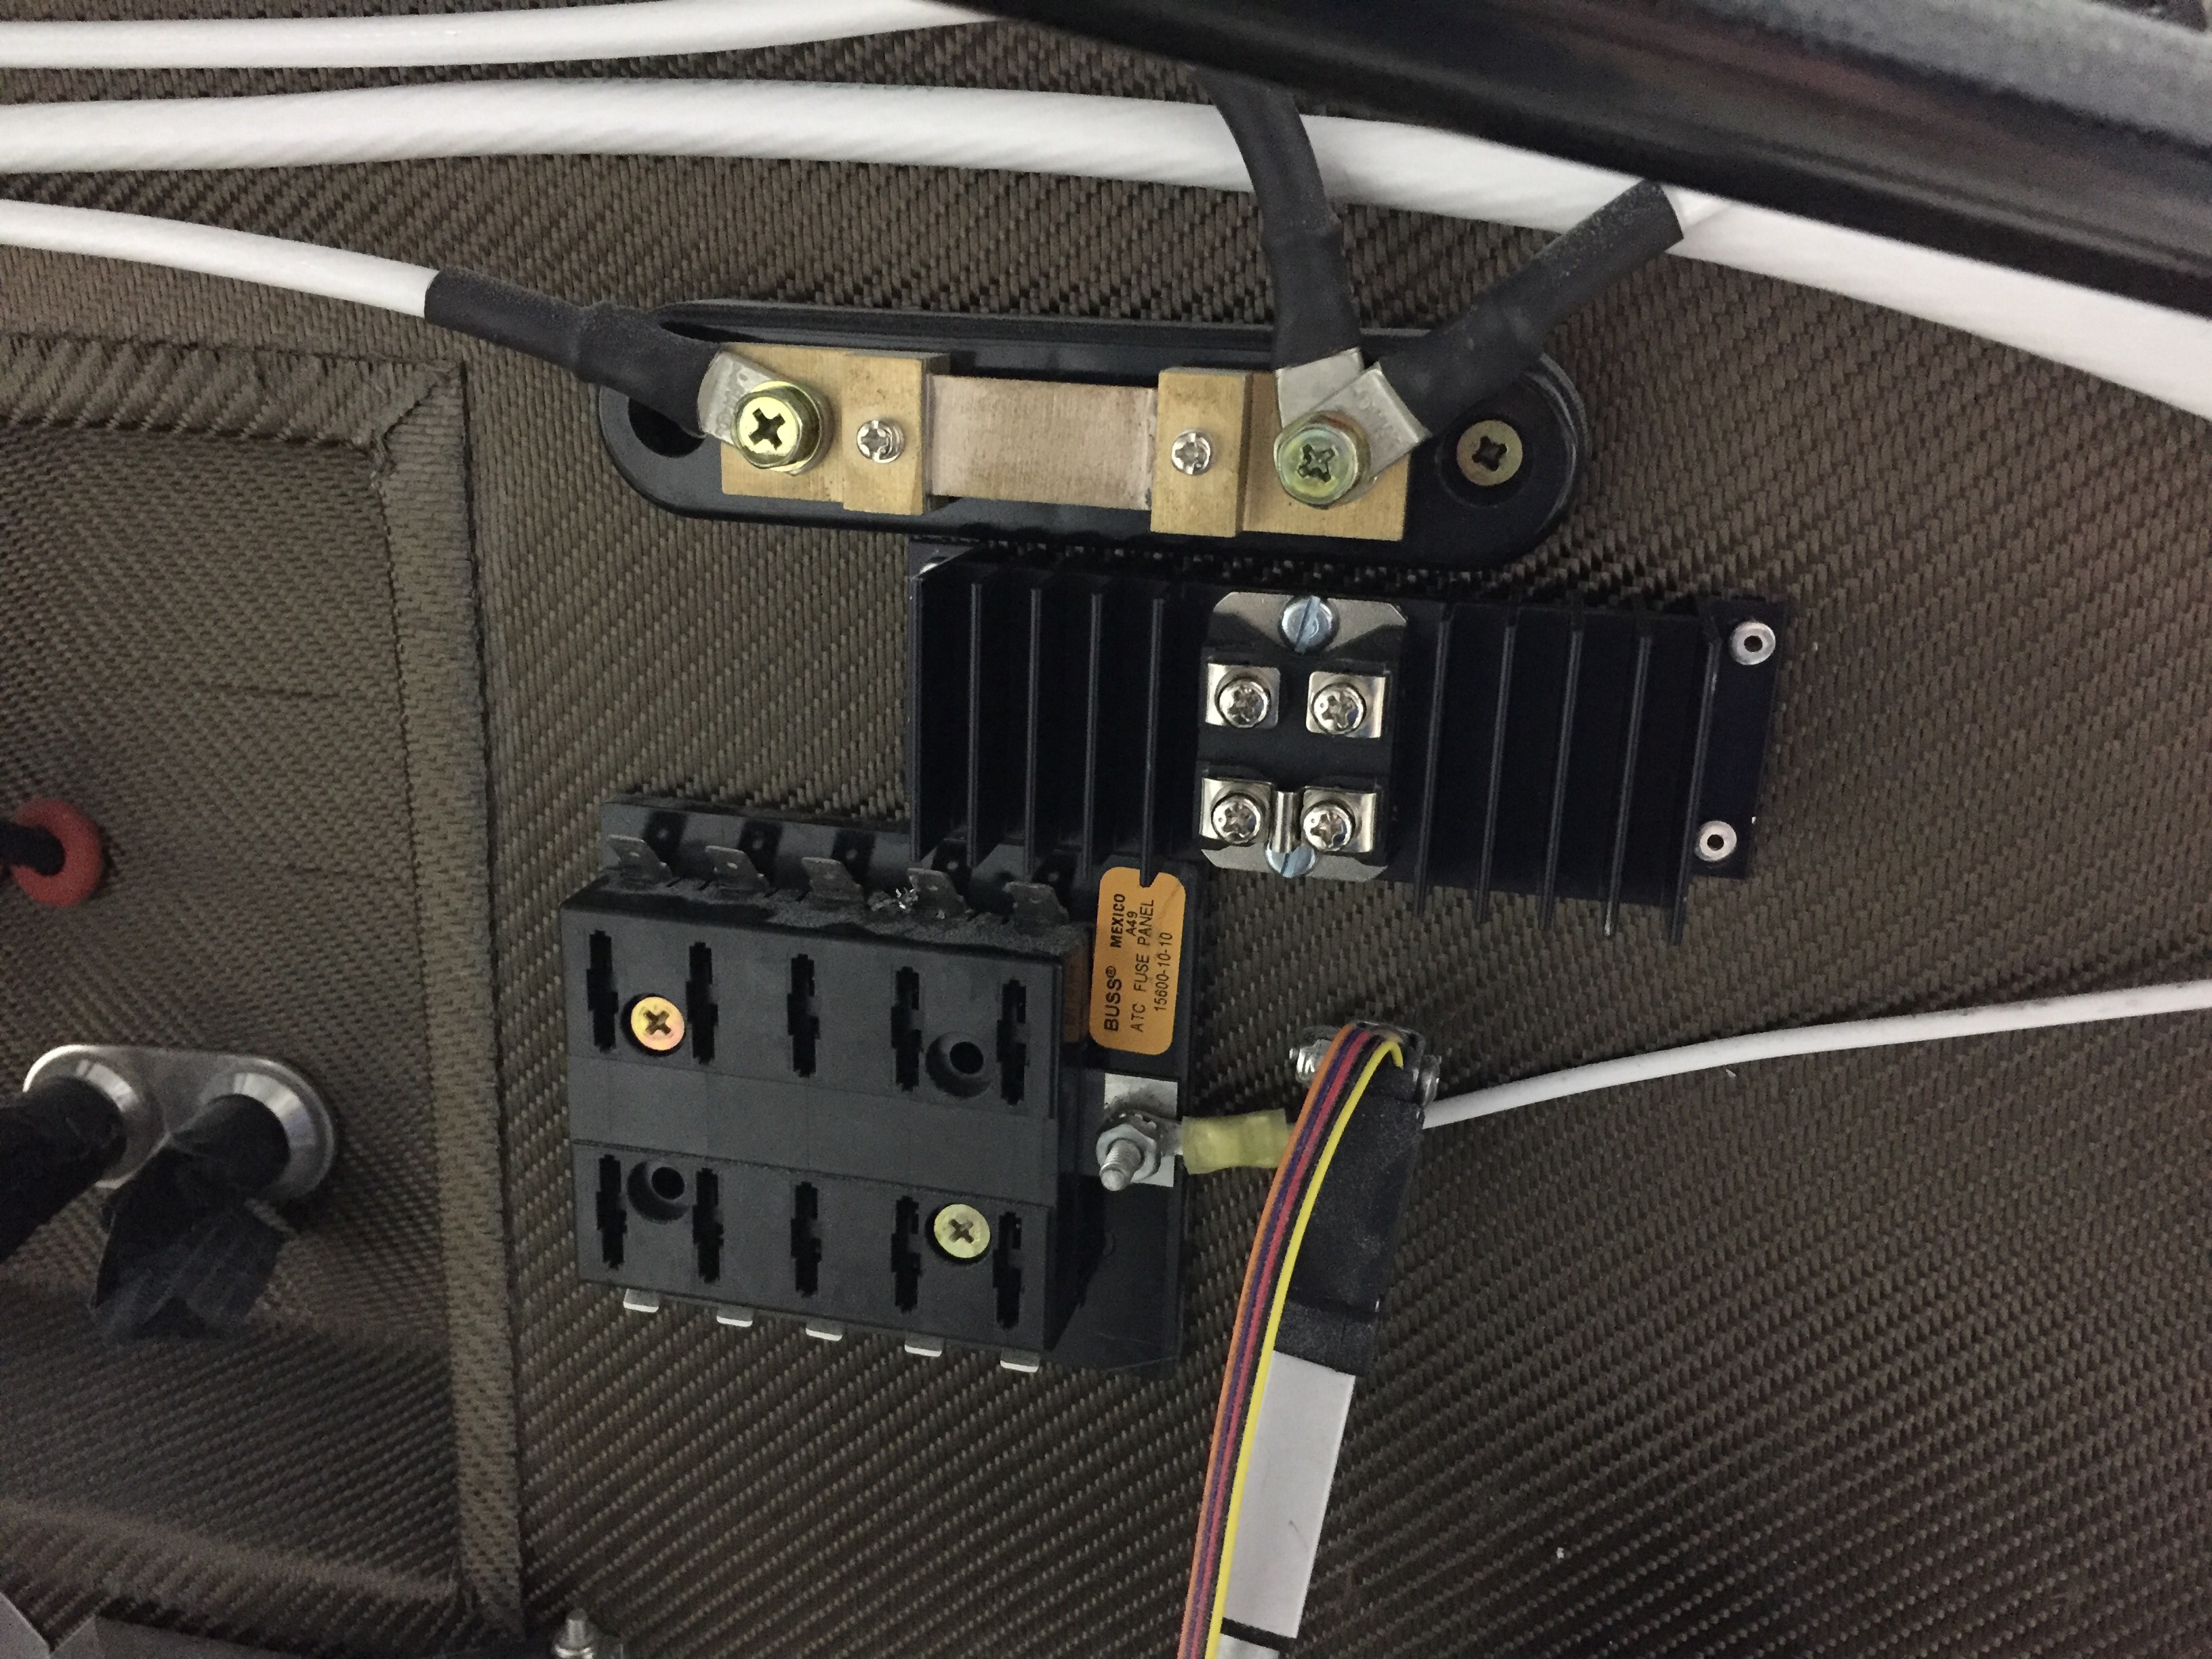
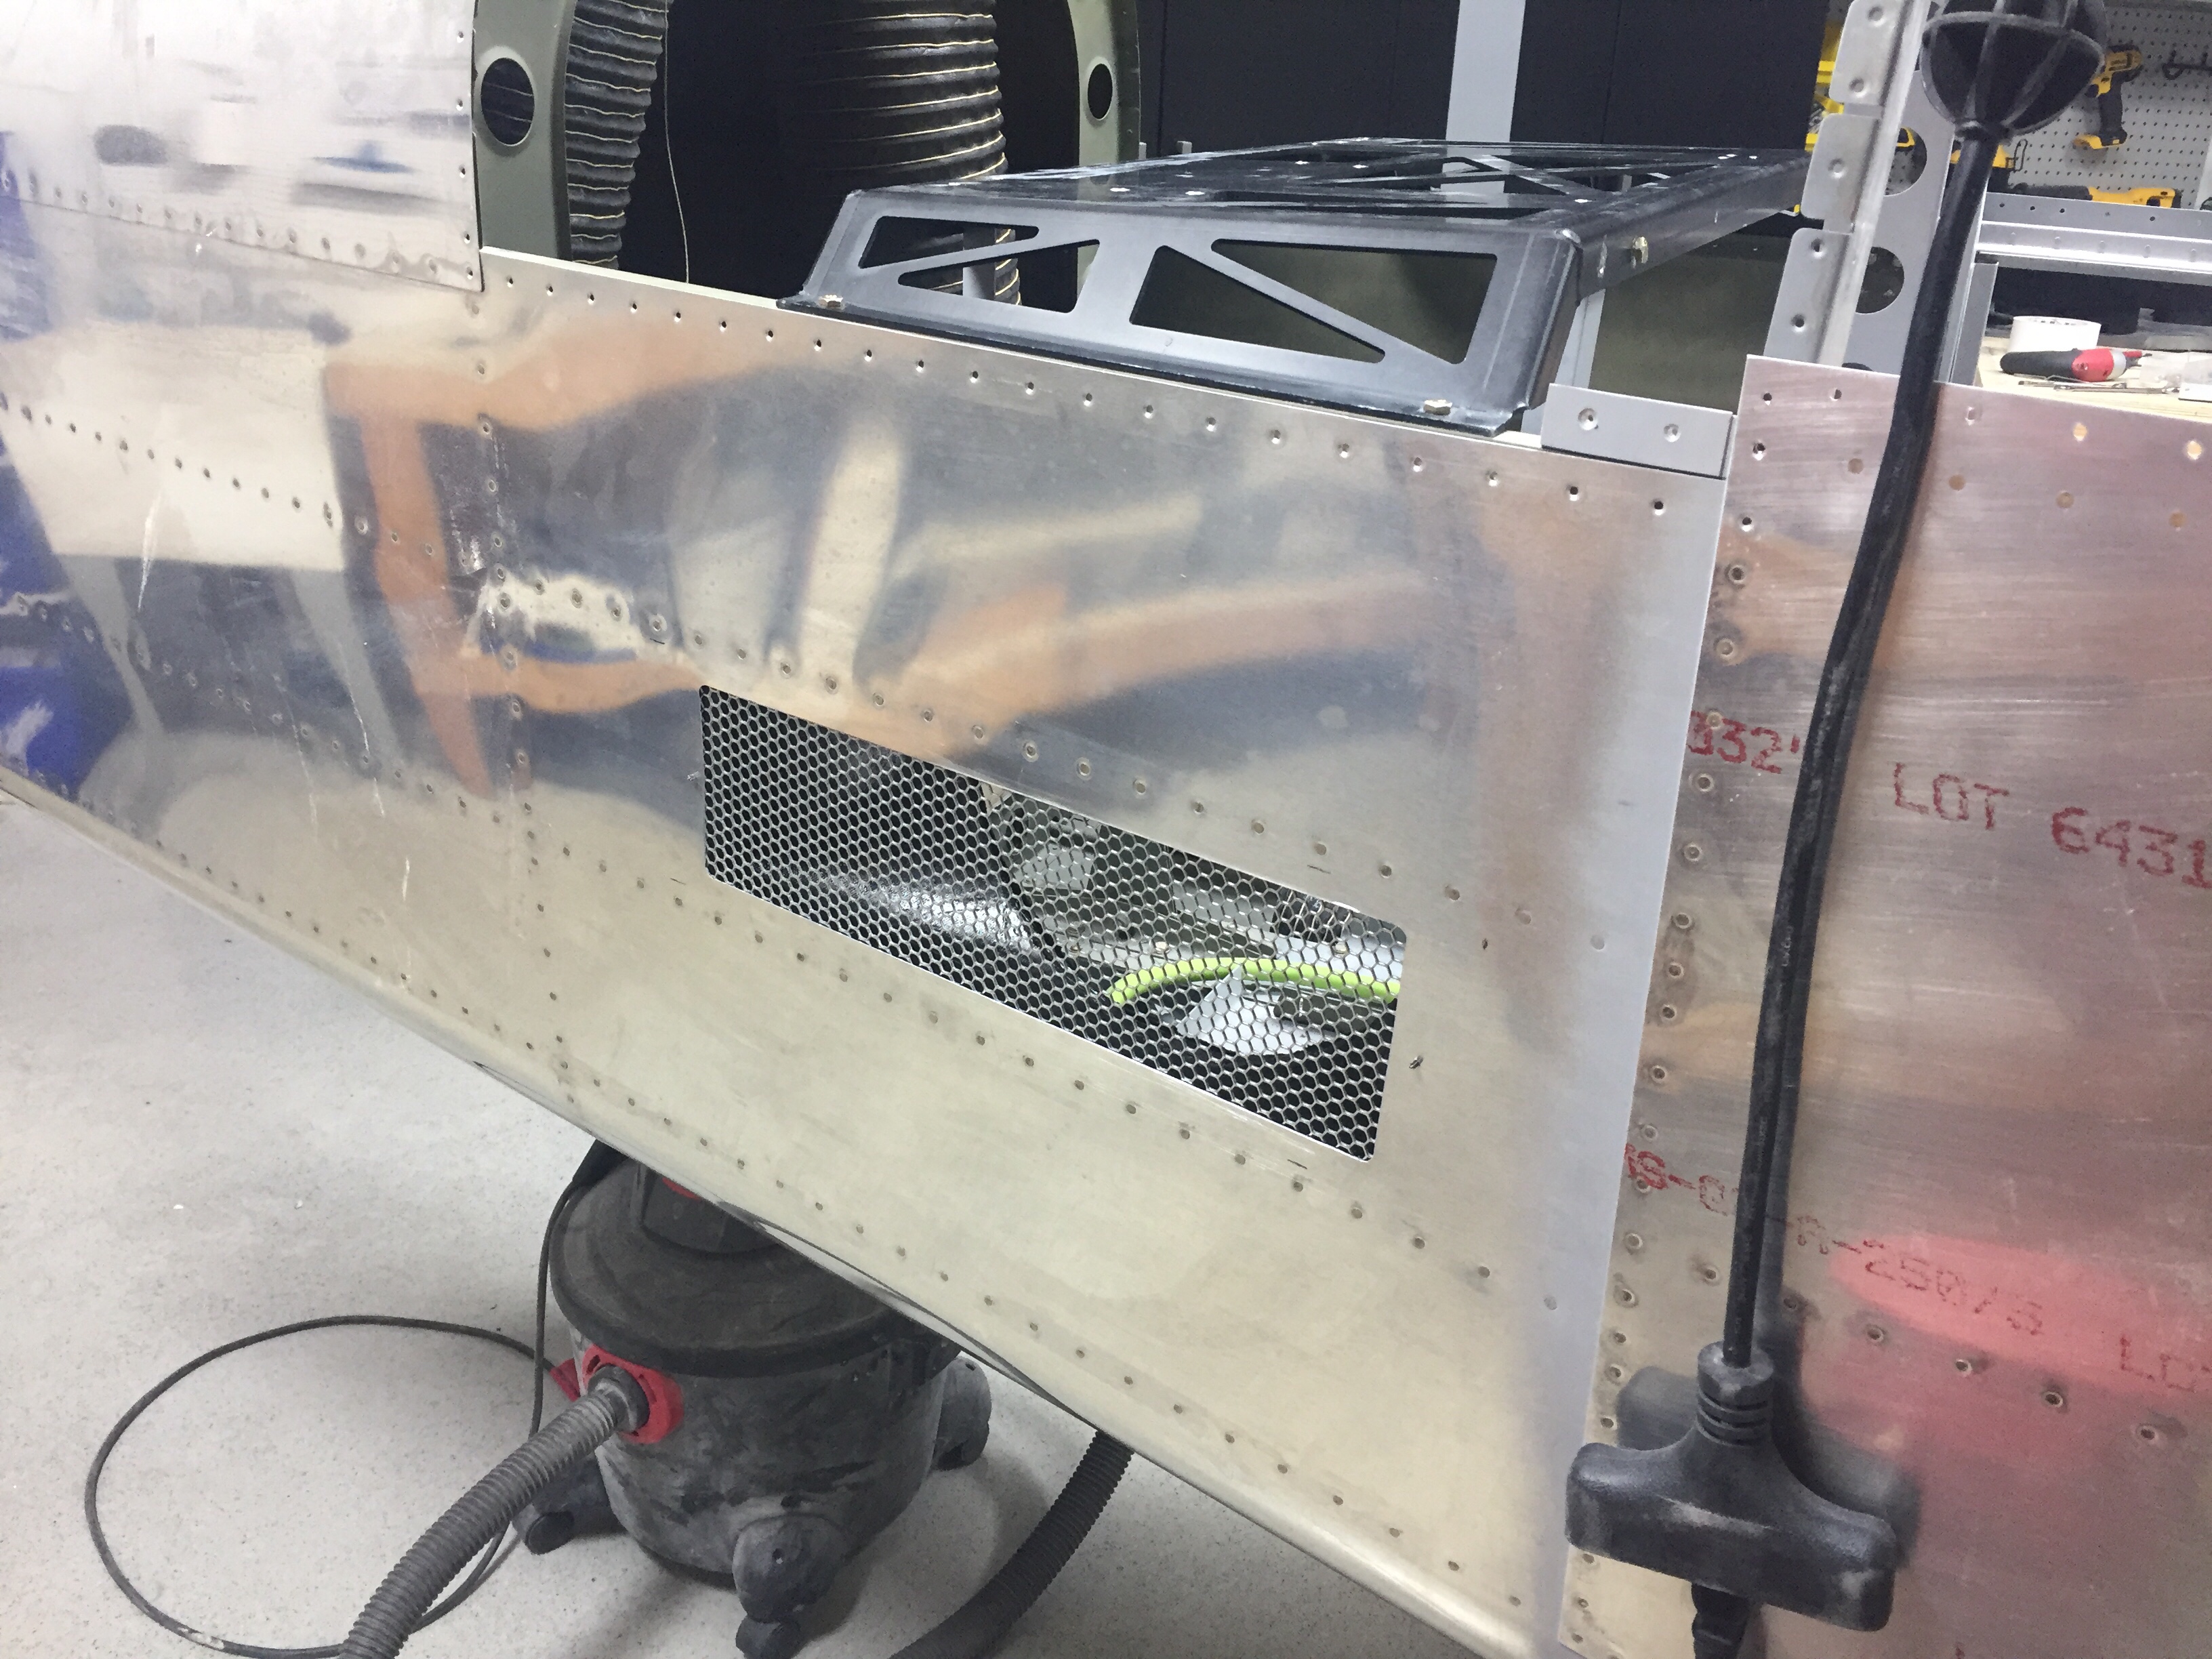
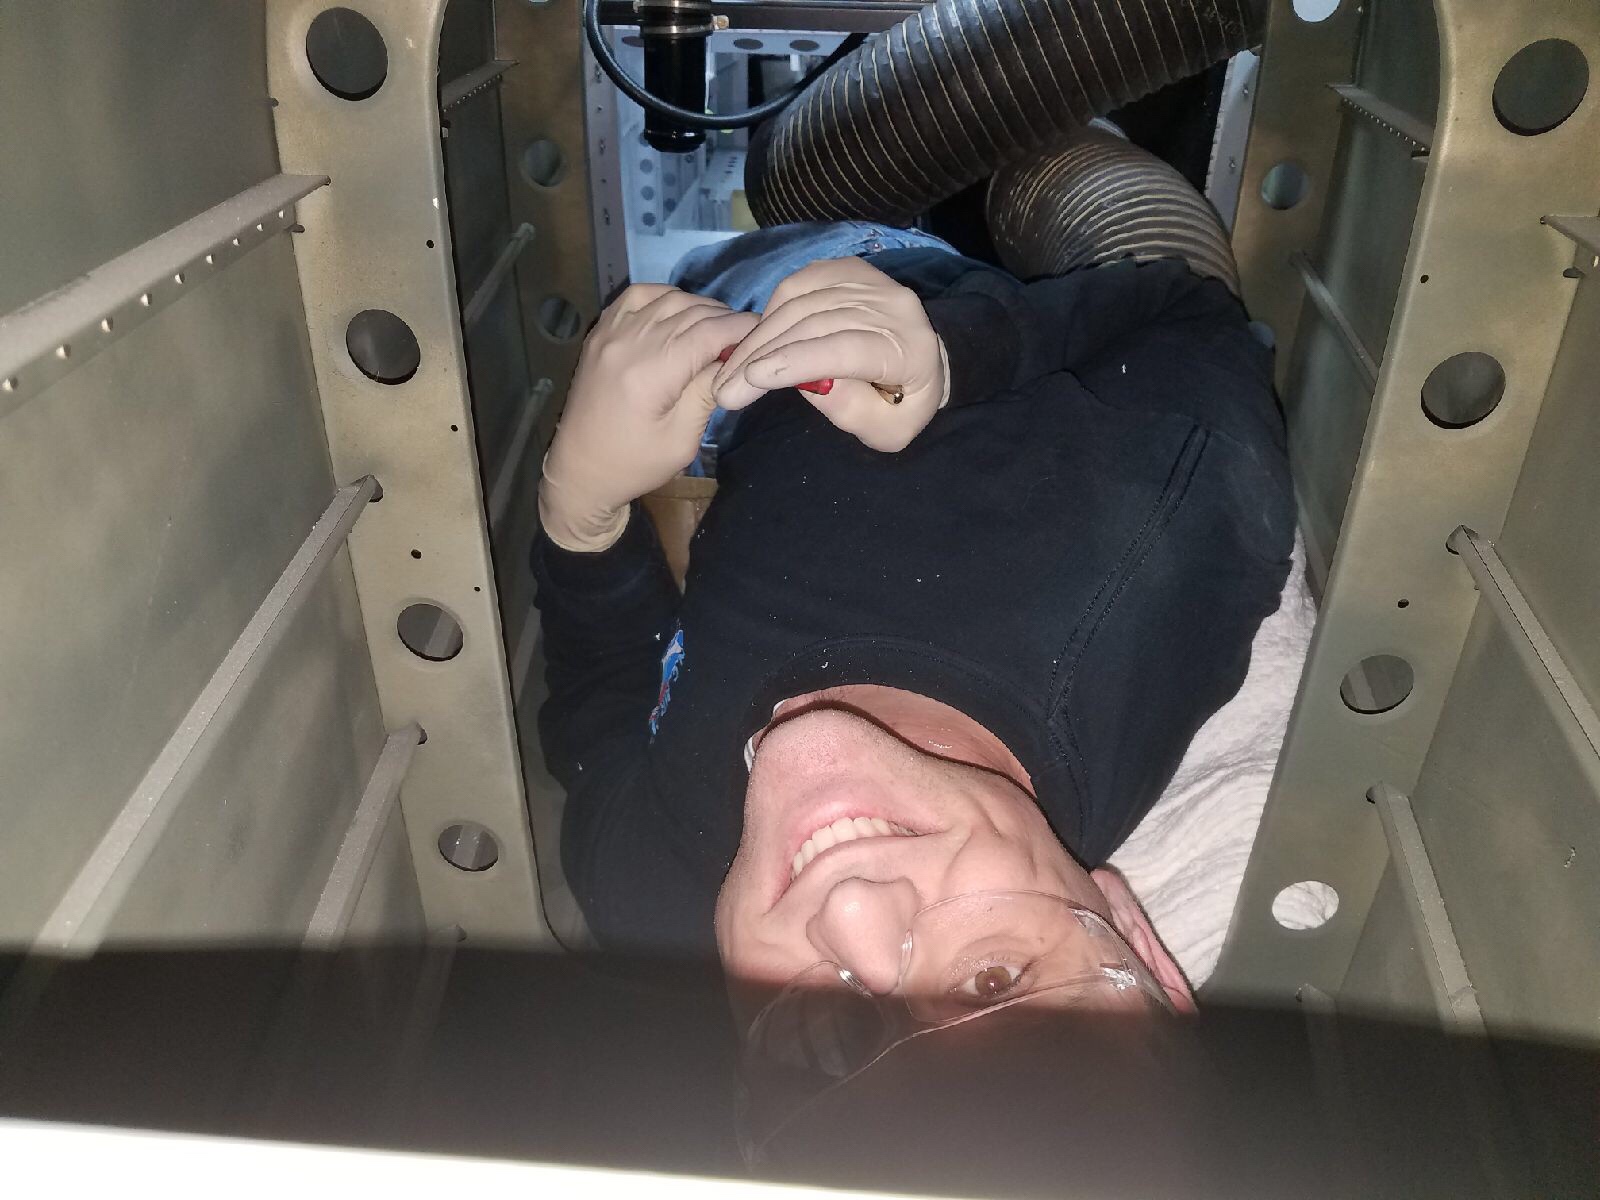 Lastly, I installed the doublers along the center of the fuselage for the transponder and ADS-B antennas to mount to. These will be Delta Pop blades and mount with two studs, so I need access from the tunnel / fuselage. Easy enough with a second set of hands to man the gun and me bucking.