Let me get that door for you

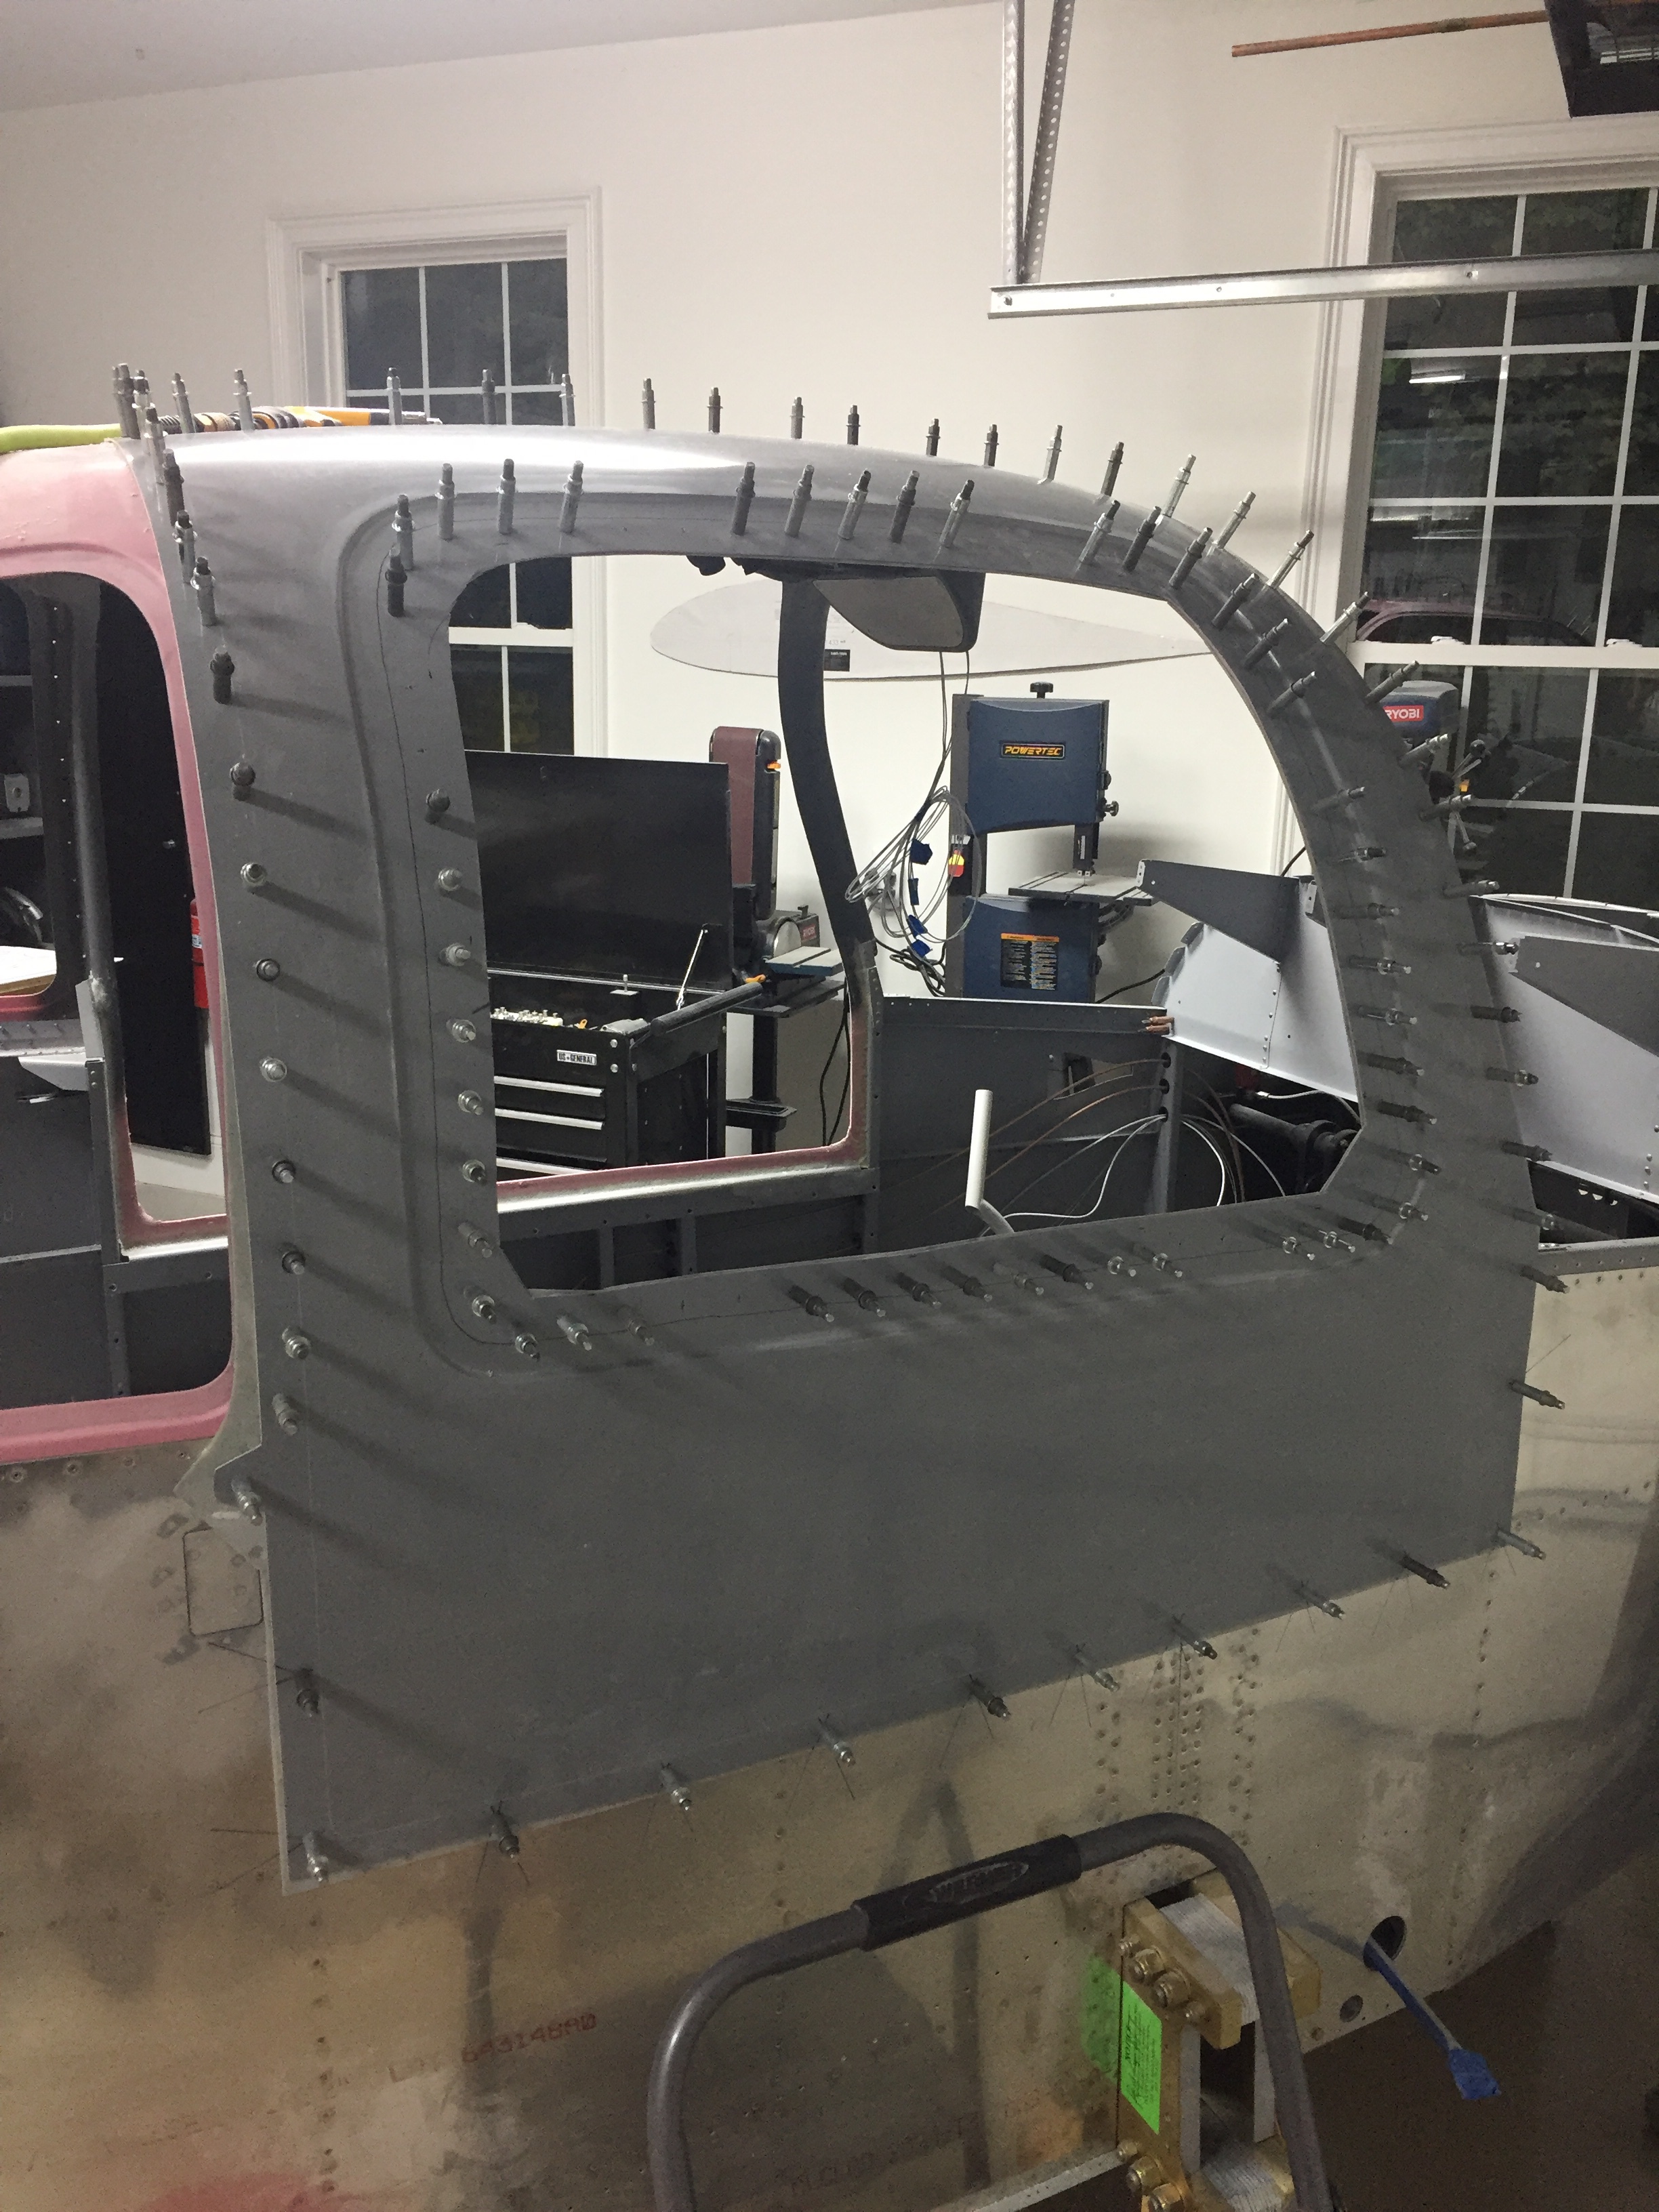
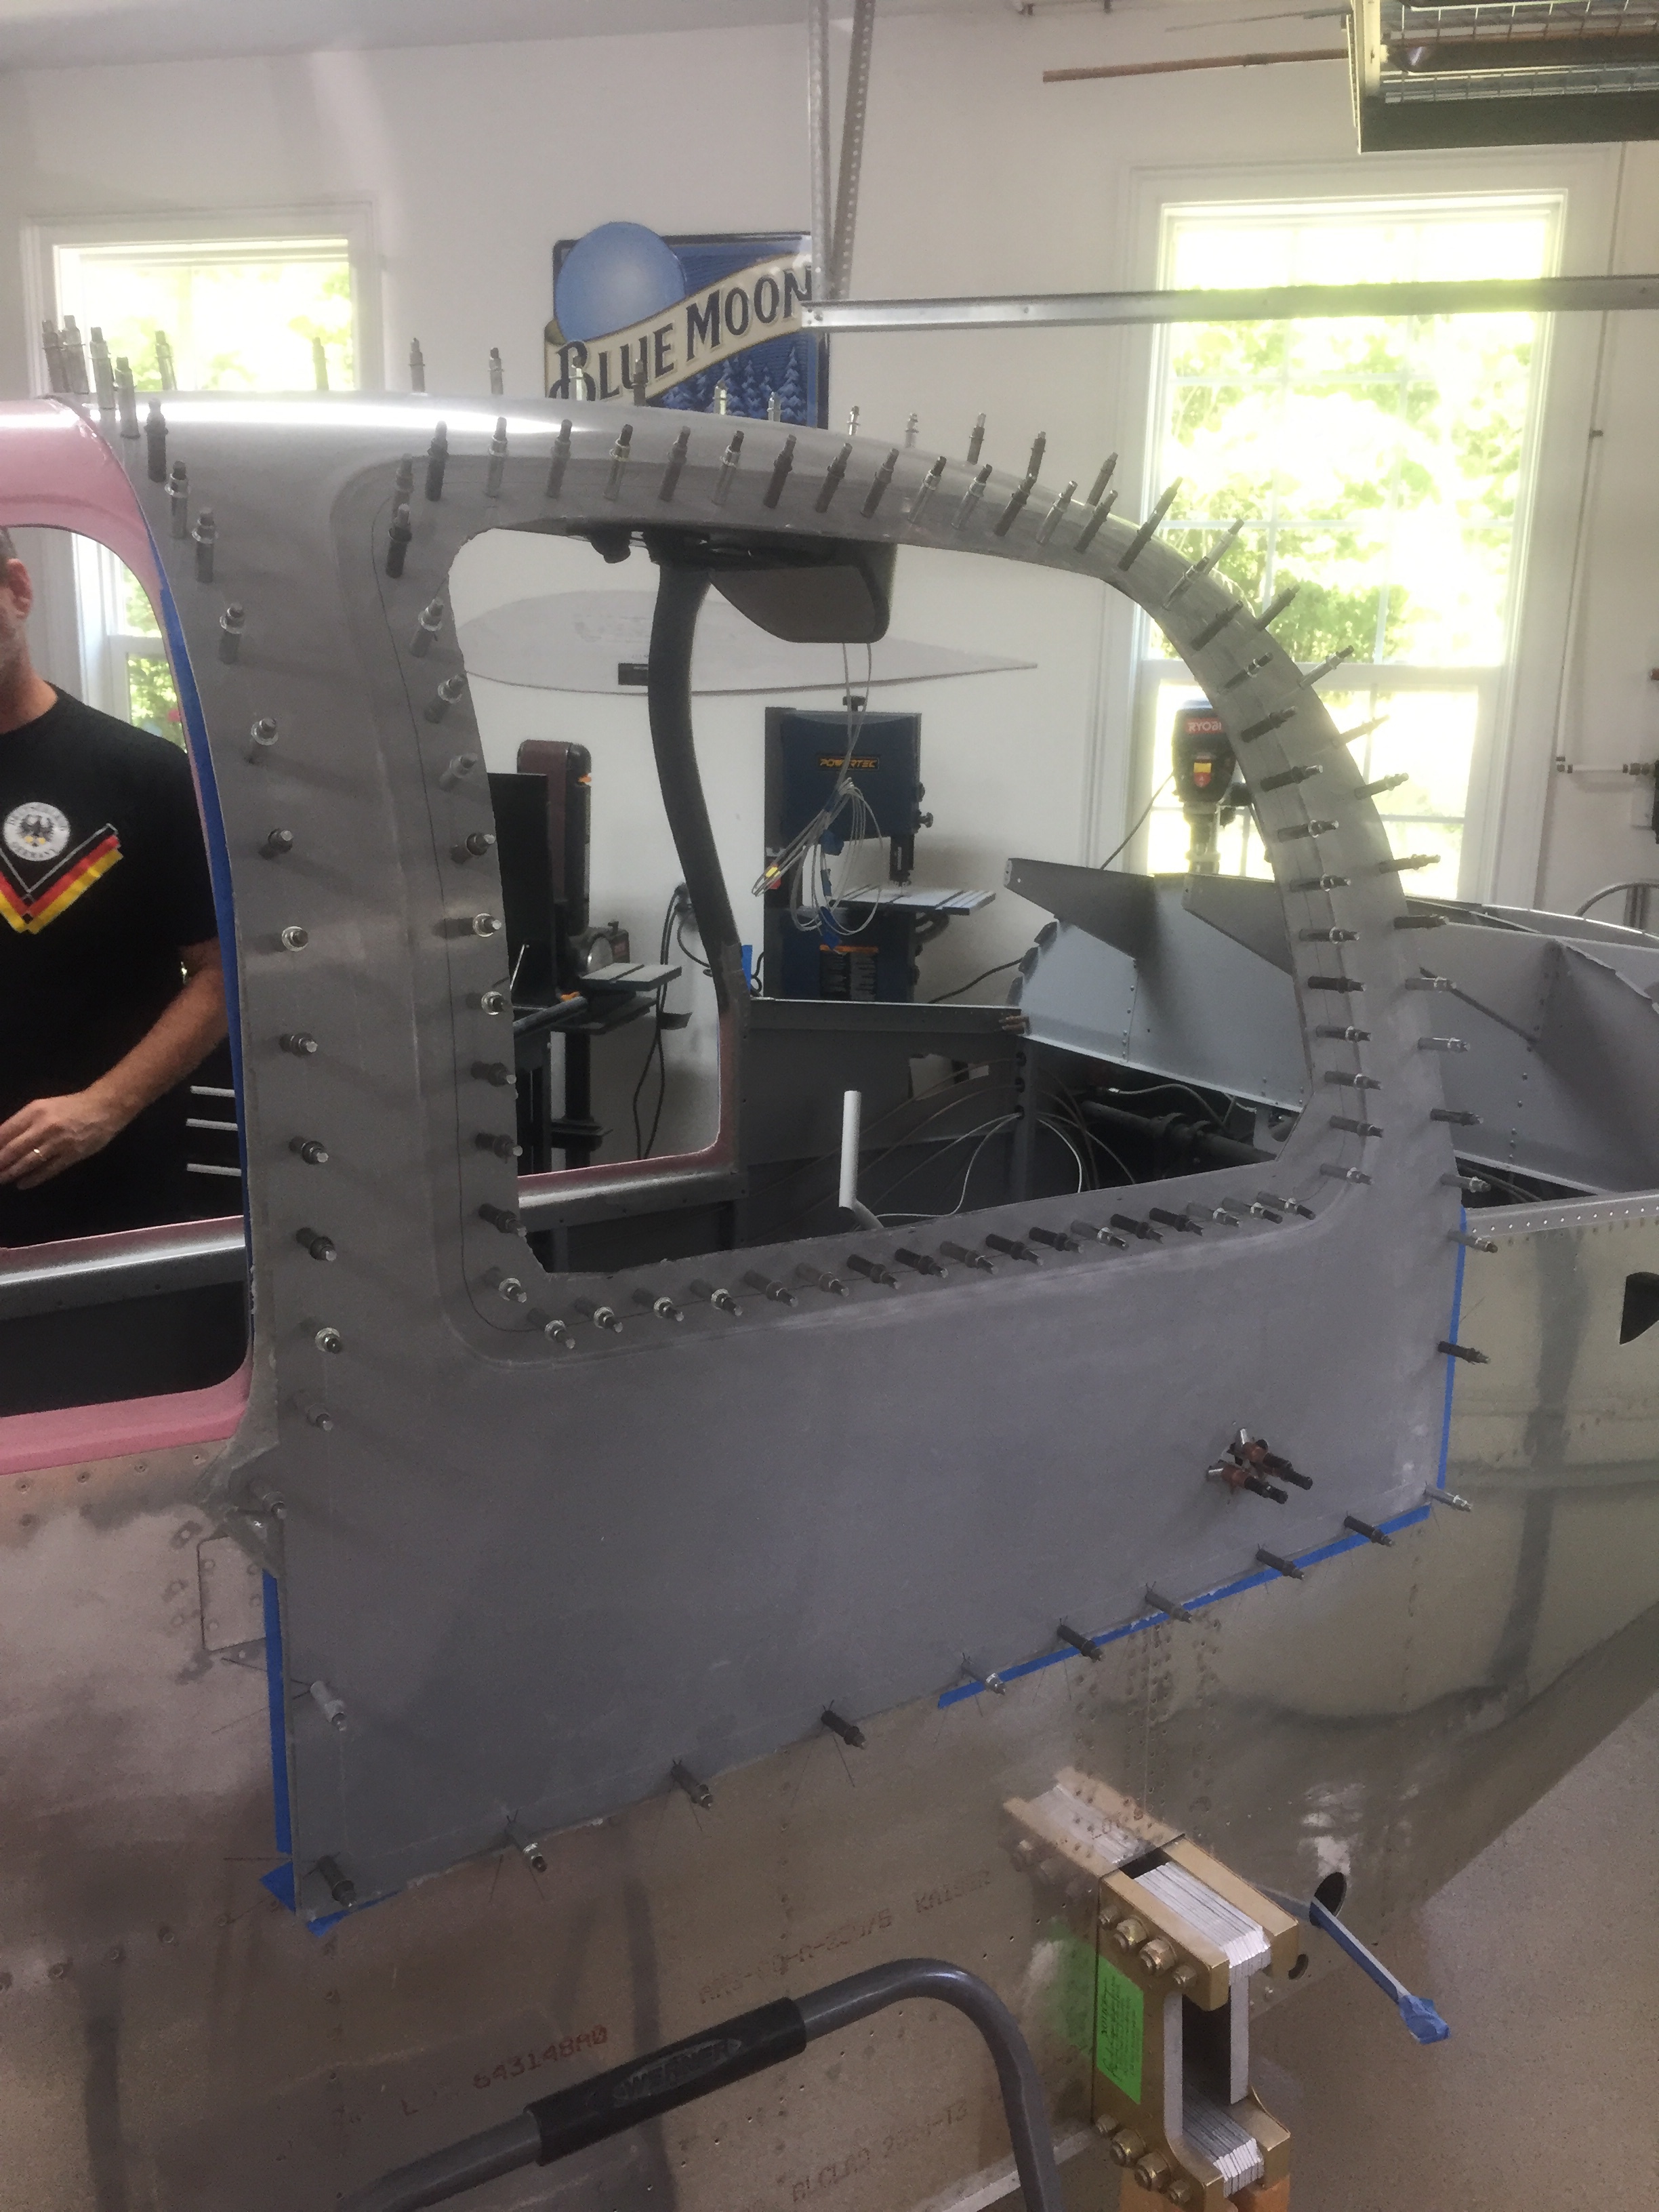
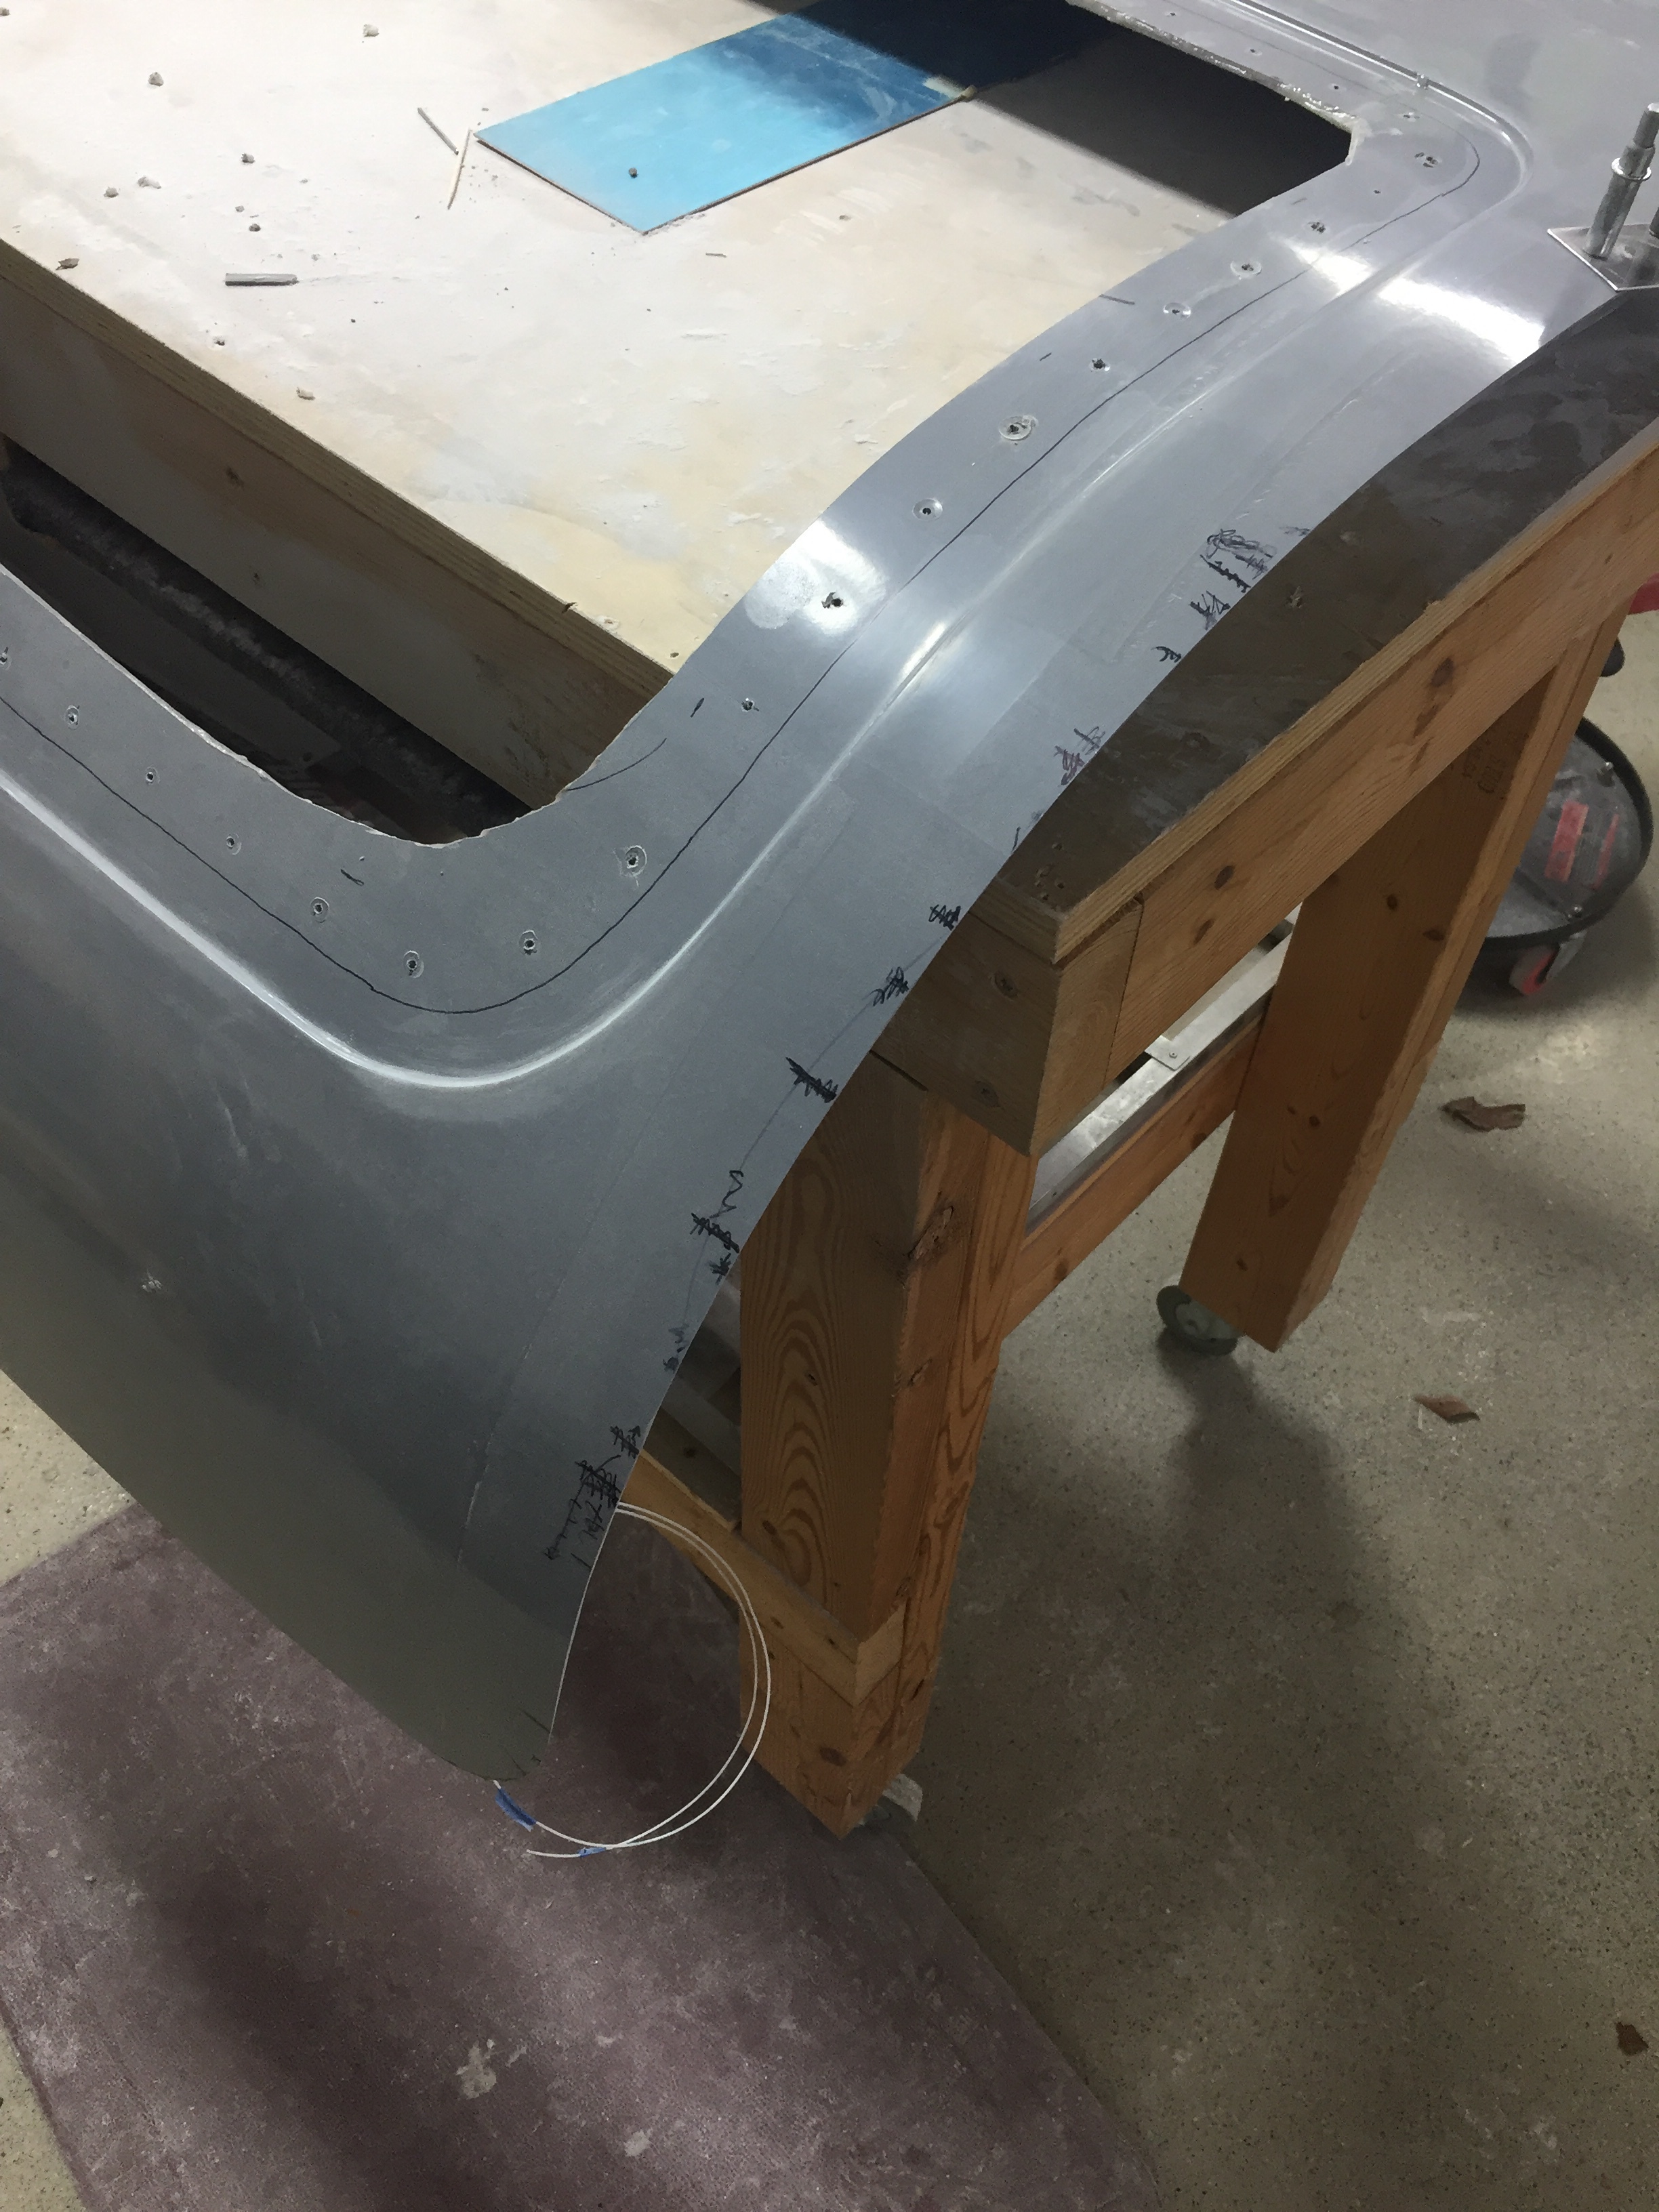
The epoxy dryed overnight and the next morning I was ready to start cursing clecos as I pulled them out of the cured doors.  A few were kinda tough and I ruined some clecos, but eventually all of them were out and I was left with two doors!.  The next step is trimming the outer flanges to fit flush inside the cabin top and fuselage.  It’s a tedious task as you really need to trim them to fit but they need to fit to see where they need to be trimmed.  I took a tip from another builder and created a template to cleco on the door and fuselage instead of leaving tabs on the door flange itself per the plans.  This allows the door to slide into the frame but ensures it’s held in the same place when test fitting it.

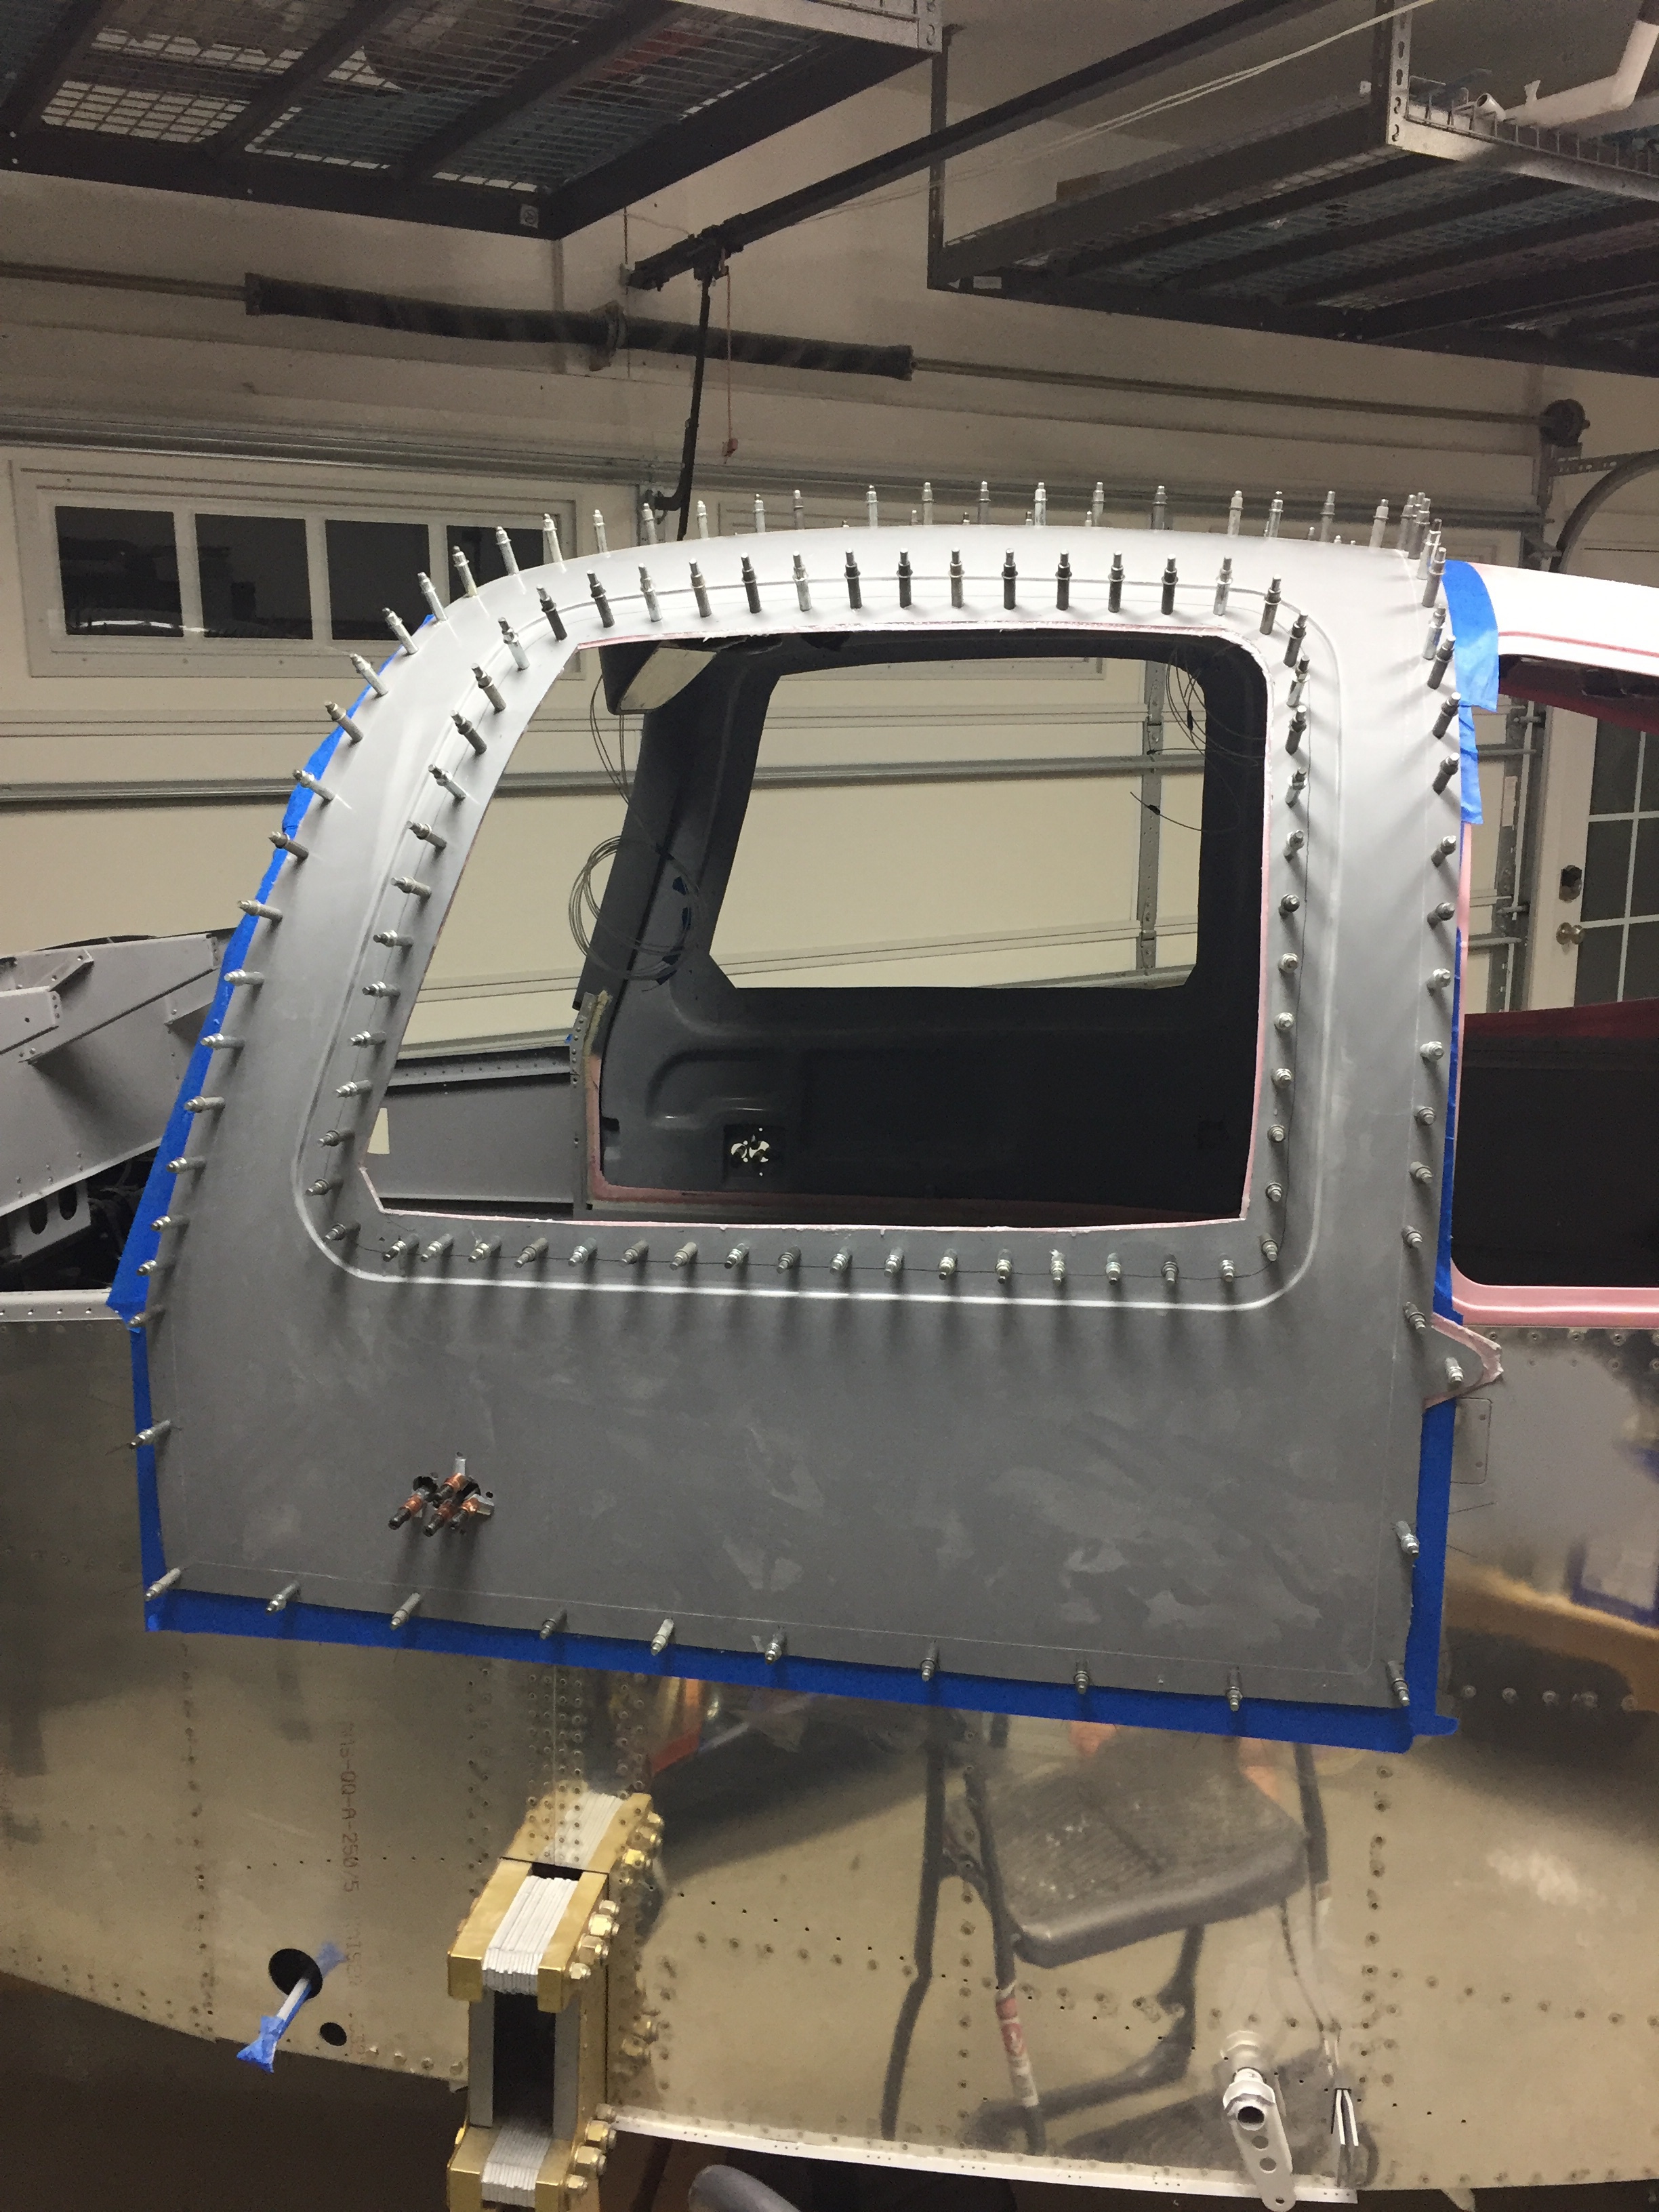
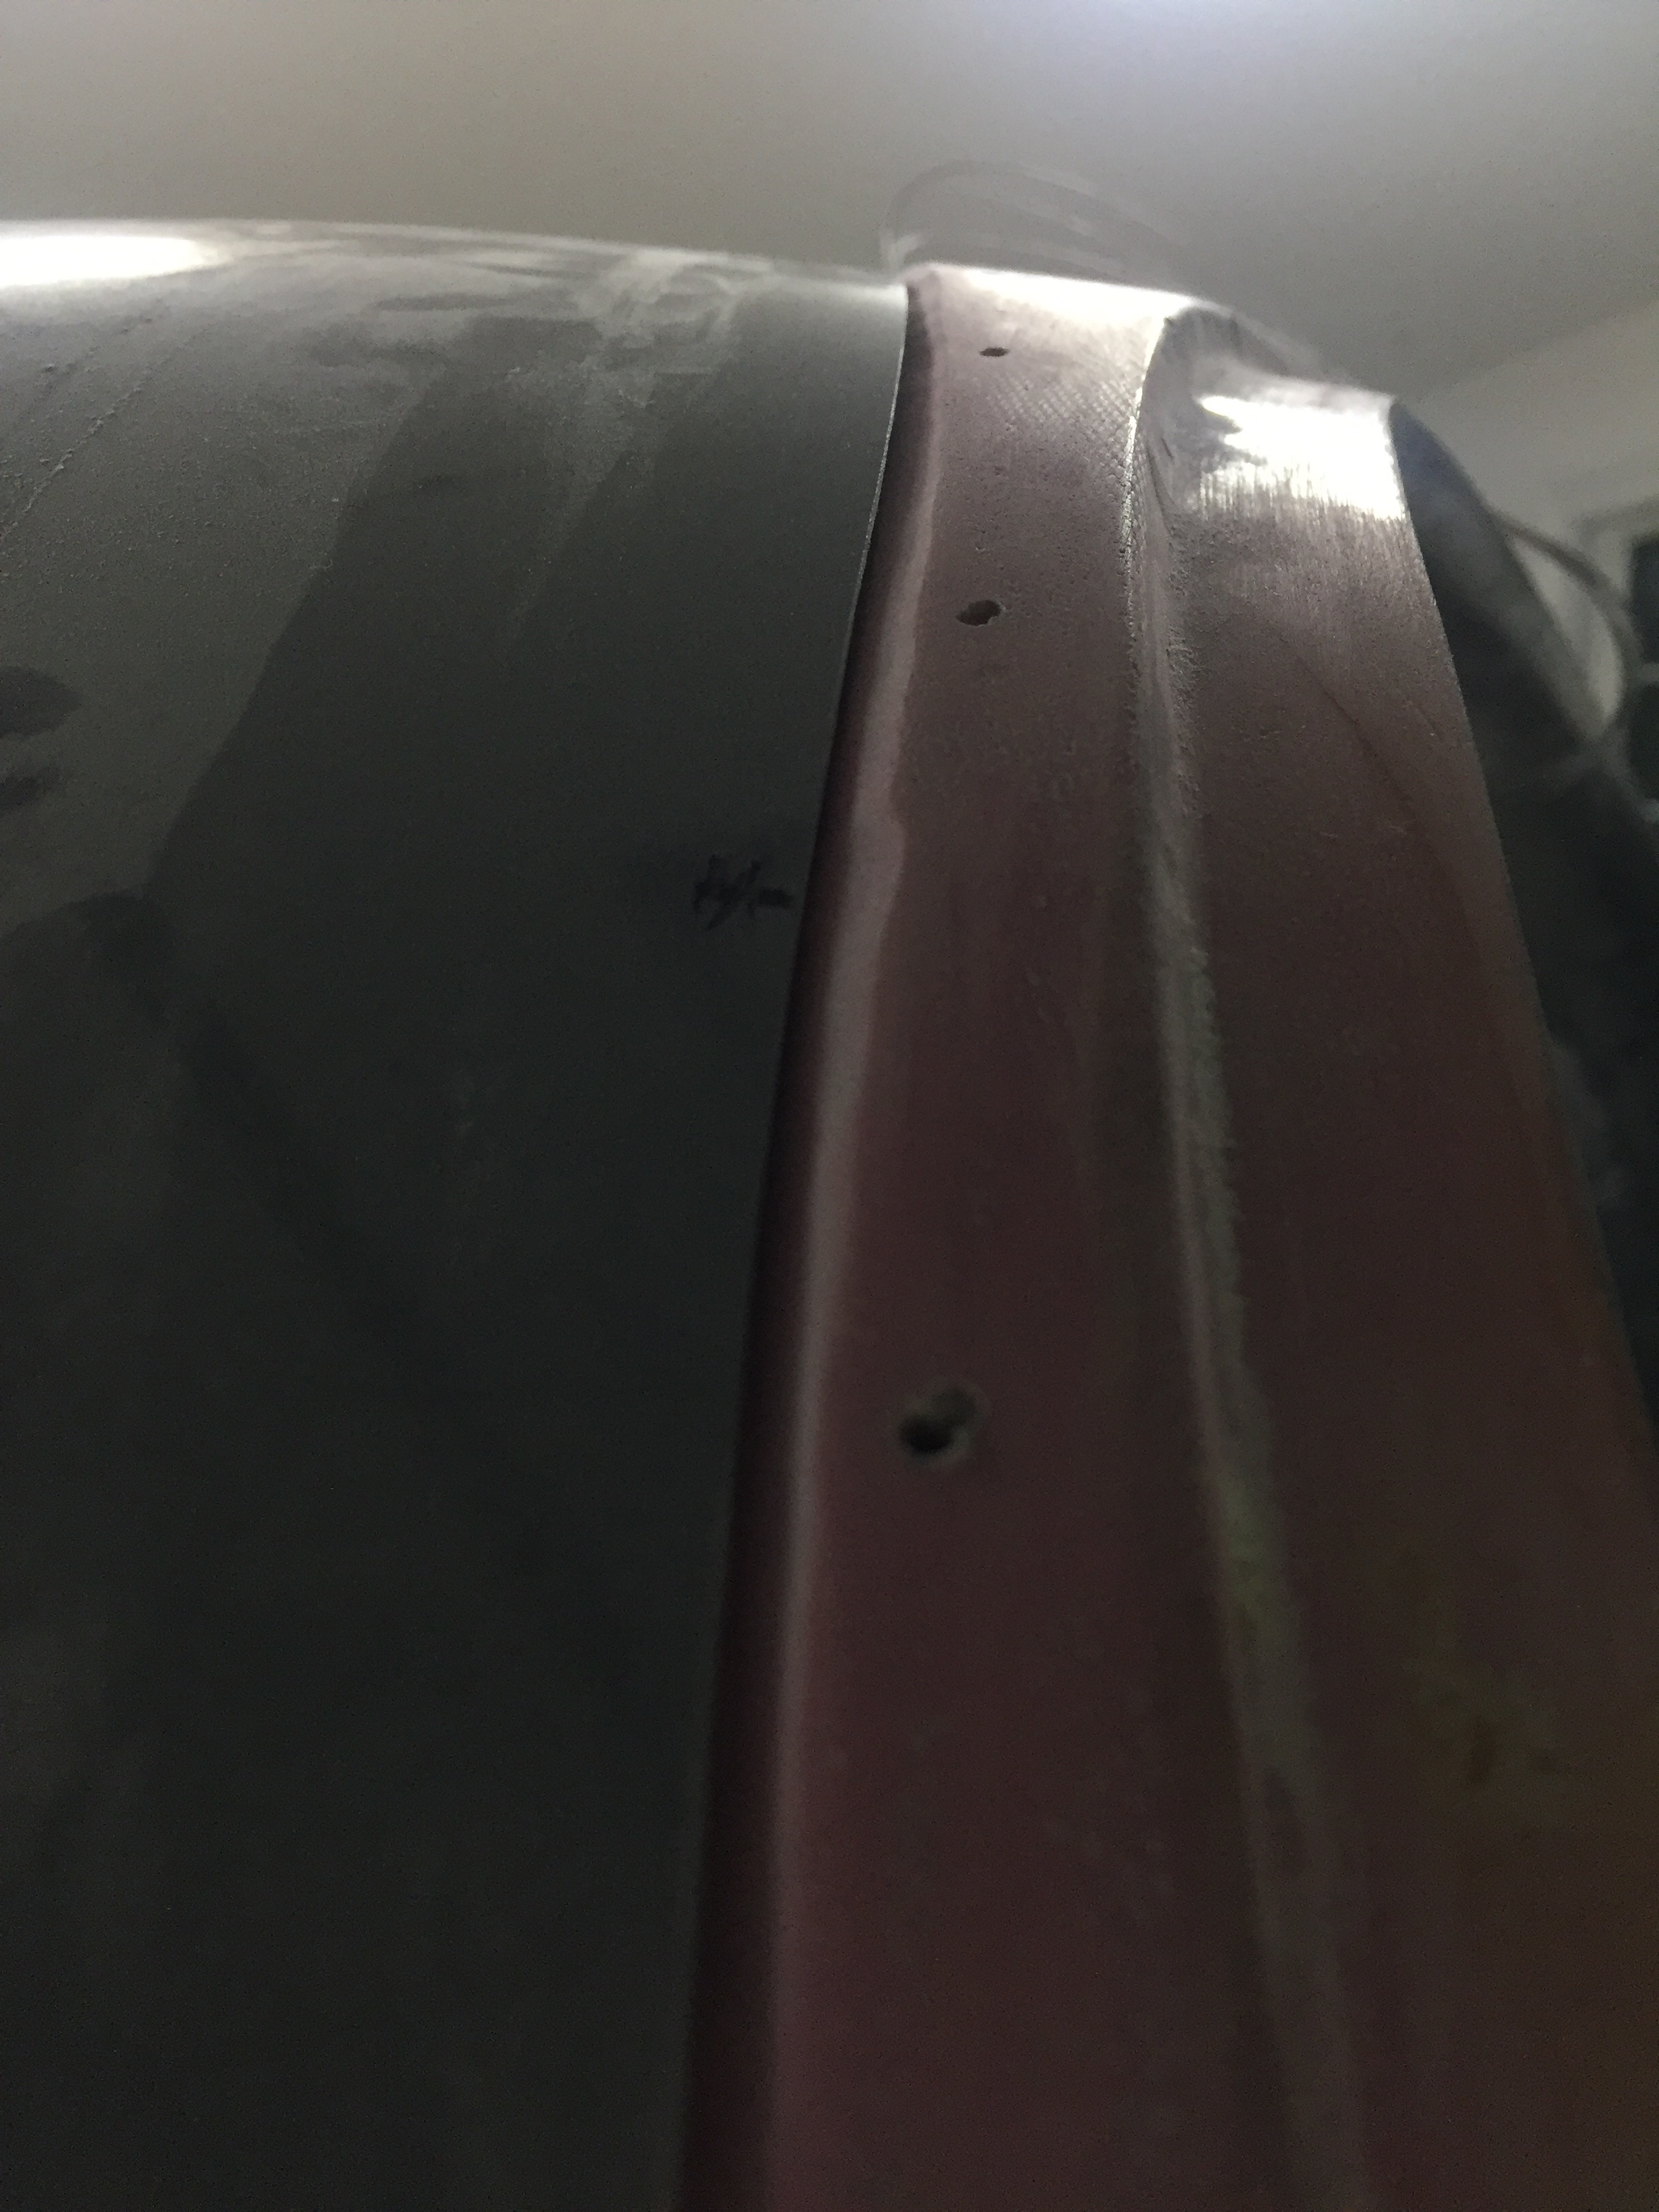
Slow and steady wins the race here, with a lot of sanding/grinding/fitting/repeat to get it just right.  I am neither slow nor steady.  So after about 15 times of test fitting and removing, I went to town with the die grinder and poof, too much gone.  Cardinal sin of building a RV10 door.  When all the dust settled, I realized that the doors themselves weren’t too small but I just didn’t take my time to fit them.  My scribe lines from the factory were WAY off and oversized.  I was shocked at how much material I had to remove to get the doors to sit flush.

In the end, I put a chamfer on the cabin top and the door flanges to get a nice fit that was a complete waste of time.  Since I’m using the McMaster Carr seal, I don’t need a beveled edge on the door and frame and will need to build the cabin top / door up in several places anyway to make the two surfaces flush.  Oh well, I knew doors would be a pain so par for the course.  Nothing was too bad that can’t be fixed, so I still looked at it as a success.

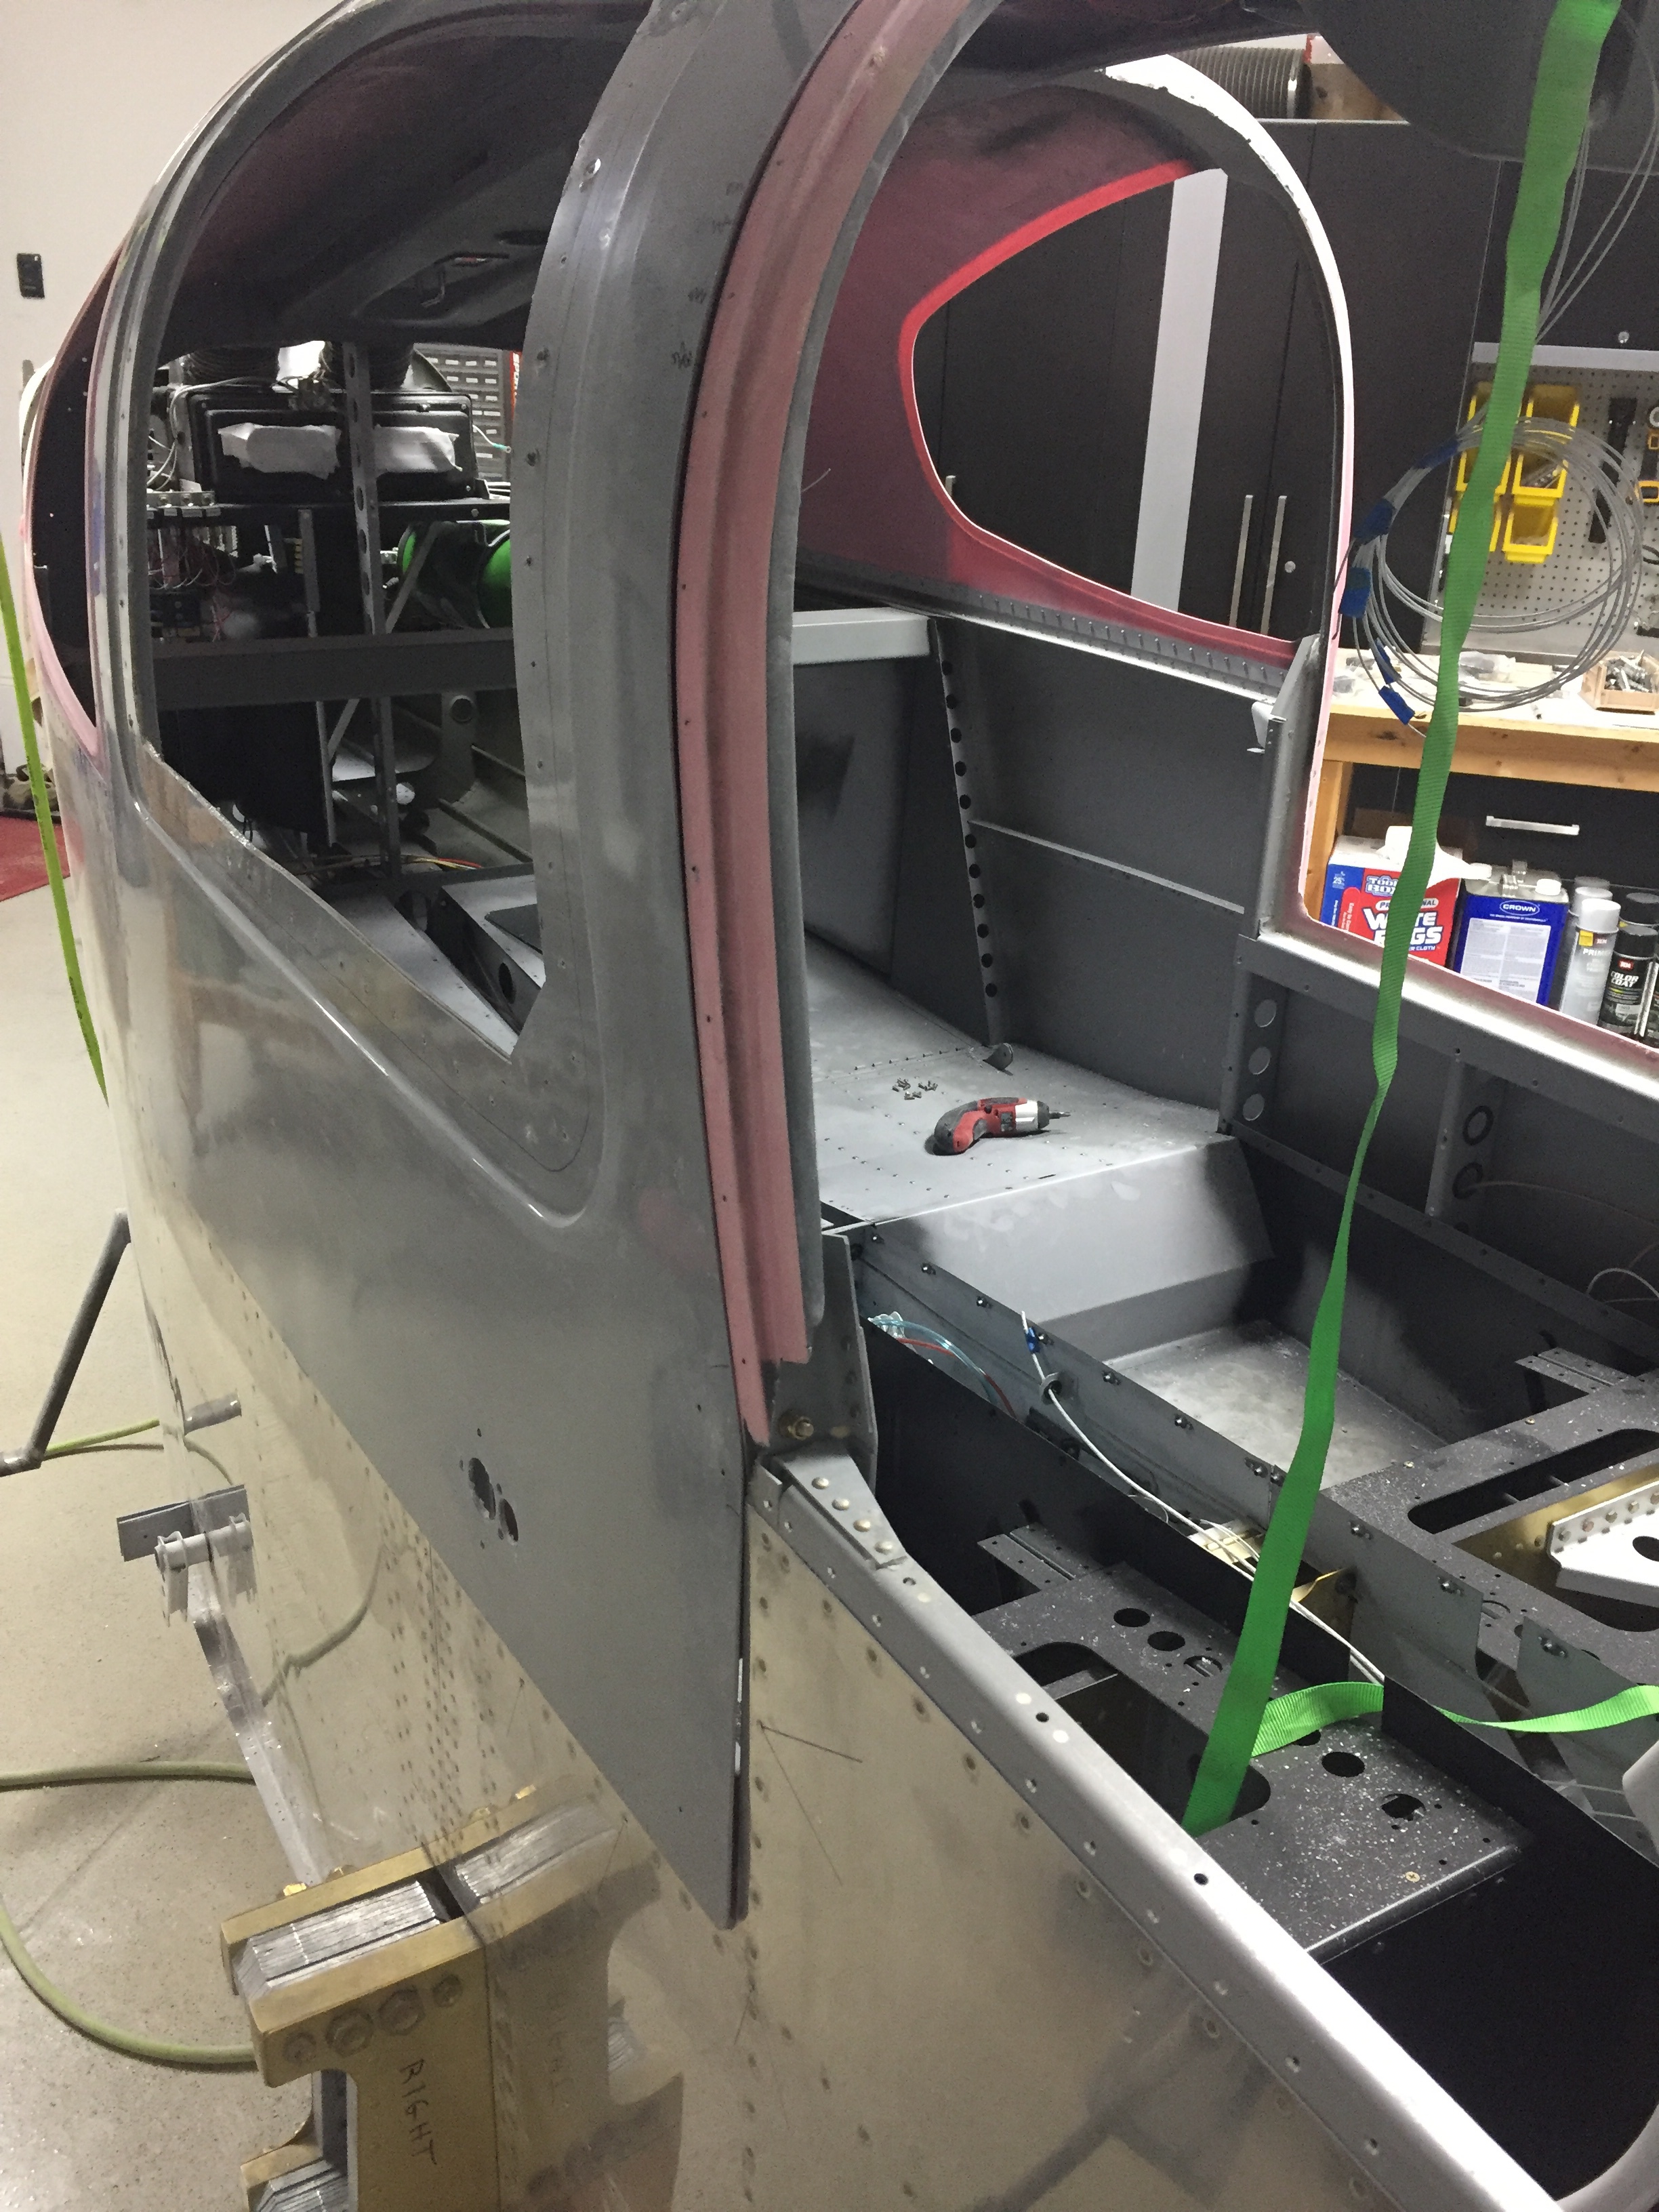
Once I calmed down, I got to work on the right side hinges which went on quickly and easily.  Wouldn’t you know it, I was ready to open the door for my lovely wife to get in her side of the airplane.  Except she wasn’t there and there’s no seat and it’s really dusty and I don’t want her touching anything yet since it’s not finished anyway…..

Dreaded Doors

The biggest and most dreaded part of a RV-10 build for most people are the doors. The are notoriously tough to trim, fit, and fill to get a nice result. However, they are critical in the safety and looks of the plane. And since I don’t want to mess up my hair while flying, I dove in to start closing up the cabin.

It’s commonly known the scribe lines and reference dimples are useless and my doors were no different. The dimples were a half inch off from each other So I matched up the two shells of the doors by eye and measurements. The first step is to trim the window opening and prepare the shells for bonding.

Fiberglass is messy stuff, so use proper PPE! I then did a rough trim on the exterior of the halves to get ready to bond them on the cabin top. You use the cabin top as a template to get the proper curve set while the epoxy sets. So I payed the halves on the top and prepped by drilling holes for the clecos.

I then began working on the Planearound center latch as another builder did, before epoxying the door halves together. It was much easier to work on the back side of each half before the pieces work together. It also allowed me to insert the gear box through one hole instead of having to cut the slot. Looking back, I wish I had done the entire door handle system while the door halves were apart, but I’m getting ahead of myself. I cut the reinforcement tubes and also ran wire for the door/access lights that I ordered from Sean as well. These are smaller versions of what I put in the overhead console and should light up the wing and step at night very well.

I’m also installing the low profile exterior door handles from Aerosport and again it was easier to do some preliminary work on those before the doors went together. Drilling the skins for the large block as well as the door lock and trim ring saves a lot of work later on.

I had a fellow flyer-buddy of mine come over and help mix flox and set everything in place. I chose to follow a few others by using clecos into the cabin top instead of tape, clamps, weight, etc. to get the curve. This worked very well except for one spot on the right side door where the door just would lay flat against my cabin top. I pressed on knowing I’d be doing some fill and finessing later. It takes a lot of epoxy/flox mix to butter the halves up. I filled the cavities near the center cam we slathered on the flox followed by pinning it all to the cabin top.

We cleaned up the excess flox that oozed out and I’ll start popping these off tomorrow. This is all the easy part!

Almost finished!

Ha! No, I’m not nearly almost finished. But the finish kit has arrived! I had it shipped to my work and brought it home on our trailer. I wasted no time in unpacking and inventorying the contents. To be honest, it’s almost a disappointment on how little was in the crate, especially considering how much it cost! Granted, I deleted quite a few items, including the windshield/windows, brakes, wheels, tires, and cowling. I am using all aftermarket vendors for those items and have some of them already.

A few days later, another large crate arrived from Show Planes with my cowl and induction system inside. The cowl has a little different shape to it, most notably around the intakes which are circular and the absence of the snorkel. The induction system splits the two round intakes and provides air to the throttle body. I scored a great deal on a quick turn fastener kit for the cowl as well.

This was perfect timing, as I did a few more odd jobs such as pulling some wires and quick clean up jobs on the fuselage but was quickly running out of things to do. The doors are the first job to tackle from the finish kit while I get busy planning and ordering some other things which I’ll cover next.

Getting back to it

After a busy trip to HI for a NGAUS conference, I’m back in the shop working on the elevators. I finished disassembling both tonight in order to dimple one and remove all the blue film from both skins. The right elevator has already been dimpled but I found a few holes that he missed. I demurred on skin and sanded the edges down a bit to make them all nice and smooth.

I also laid out cut lines for my dimpler table that I have yet to build. It’s absolutely necessary for the skins so I can’t keep putting it off. The table saw is out and ready to go to work in the morning.

Finally tonight, I checked a few toys that came in the mail. The special bucking bar (one of which I already had and forgot about), another 400 silver clecos, and some future supplies. I found a great deal on VAF for the flush door handles, hardened door pins/guides, and a keyed alike flush lock set. At half price and brand new, it was too good to pass up. They will be stashed away for some time in the future. I also received the last of the Aveo Rockrack switches and caps. I heard a lot of folks having availability issues and didn’t want to lose out, so I got all the ones I plan on needing plus a few extra. I played around with the lights on a 9v battery and am really pleased with the way they look.

Hoping to get the table built tomorrow and get the elevators mostly irvine together this weekend.